It never ceases to amaze me...I have about 6.5 months of the year, with very little to do....all the time in the world to work on things. What do I do? Go to the basement and build models. Spring rolls around, and work season fires up...pretty busy. What do I do?....Make even more work for myself. Work motivates me to do even more work.
I'll start this off with one small project...
In our living room is a bay window. Having trees surrounding the house leads to the gutters getting clogged. A heavy downpour leads to the water filling the clogged gutter and spilling over. The way the bay window was finished, led to said water flowing into the bay window....the wife would grab towels and a large bowl...I'd run out to the garage and grab a ladder to unclog the gutter. I finally had enough, and had some motivation to get out there and fix the bay window.
As I tore it apart, I found that there was NO flashing, NO Tyvec, No caulking, NO attempt at water proofing of any sort. I got rid of the 3/8th cedar plywood and underlying OSB. Replaced the OSB, added flashing and tarpaper and caulking and replaced the siding with cedar lap siding.
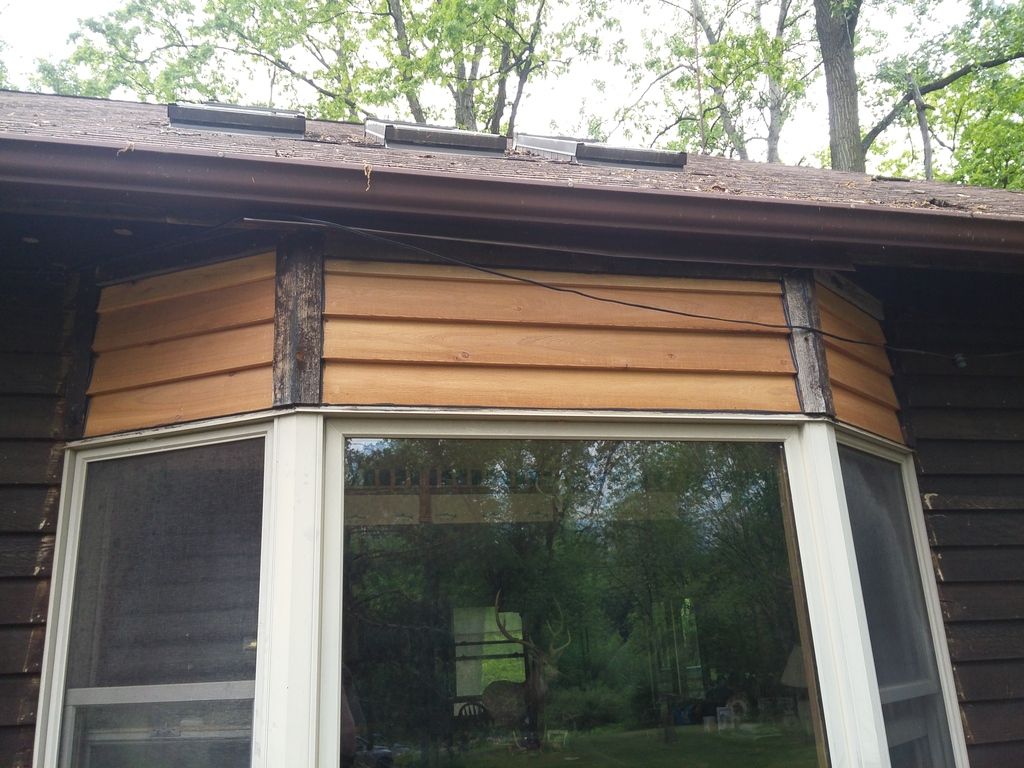
Stopped by the H/D a couple weeks ago and picked up some trim for the sides and some stain...
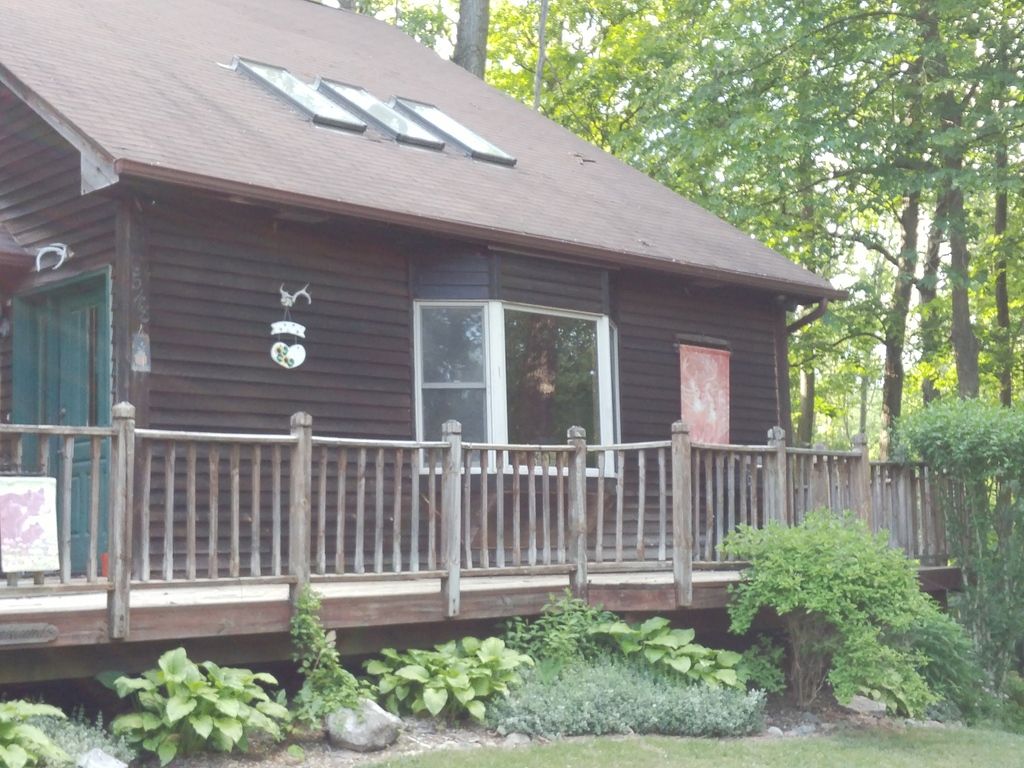
It's a bit dark...but within a couple weeks, it'll fade out and be a good enough match!
So far so good...but the gutters are clean and we haven't had any rain since I finished it.
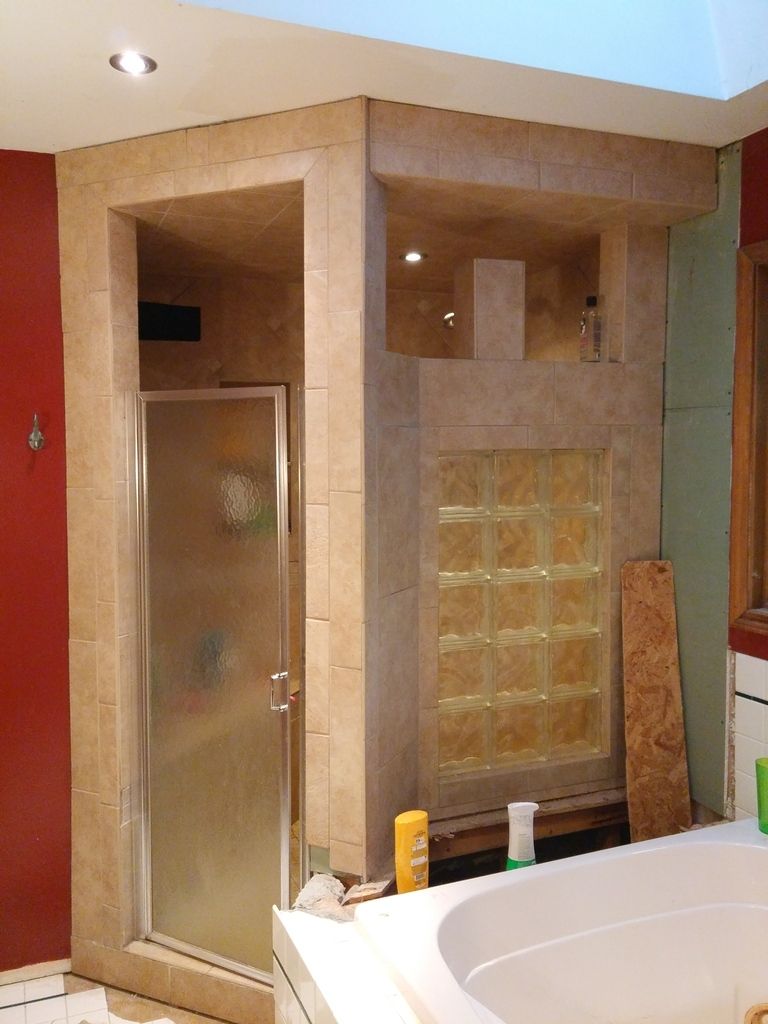
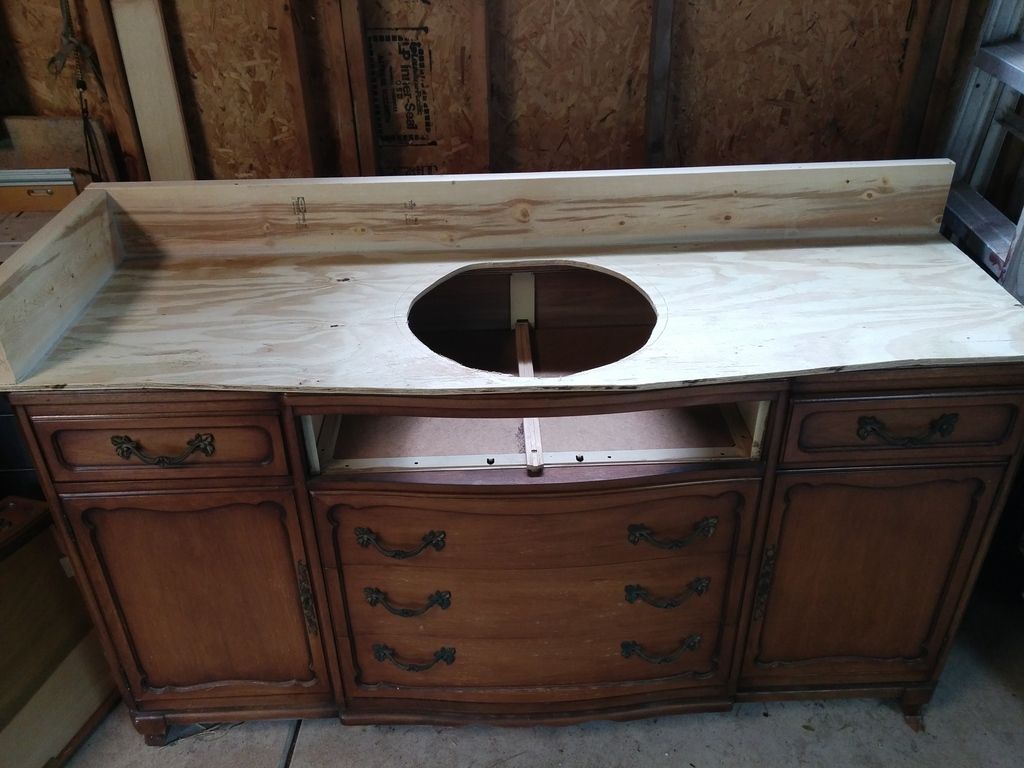
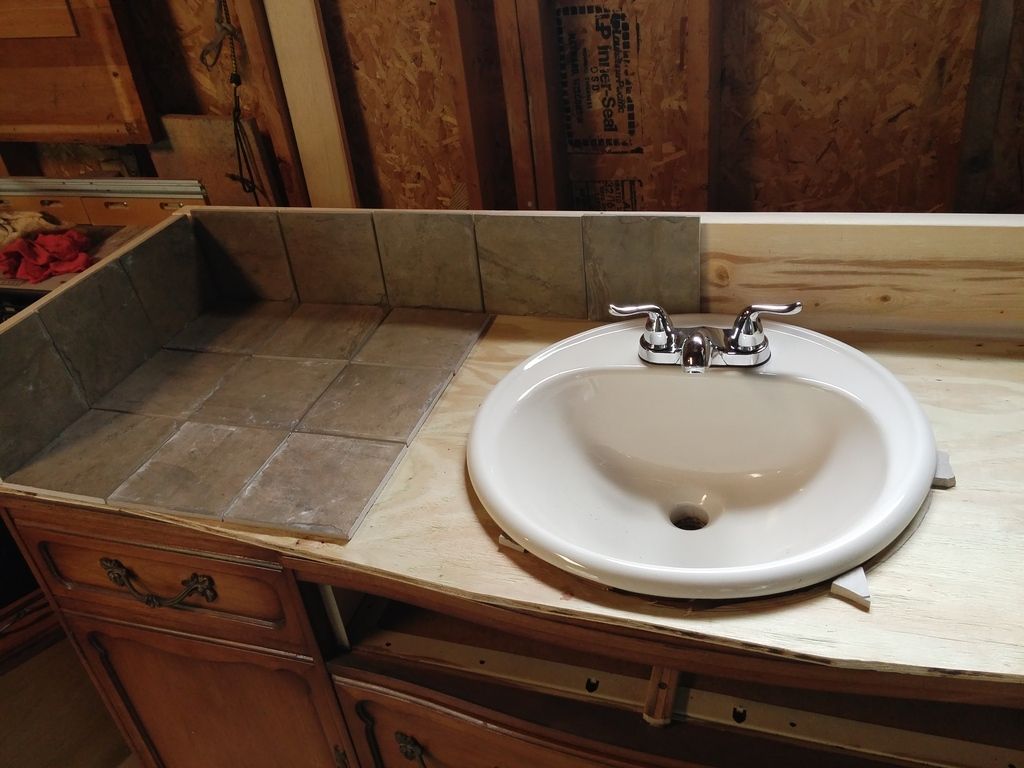
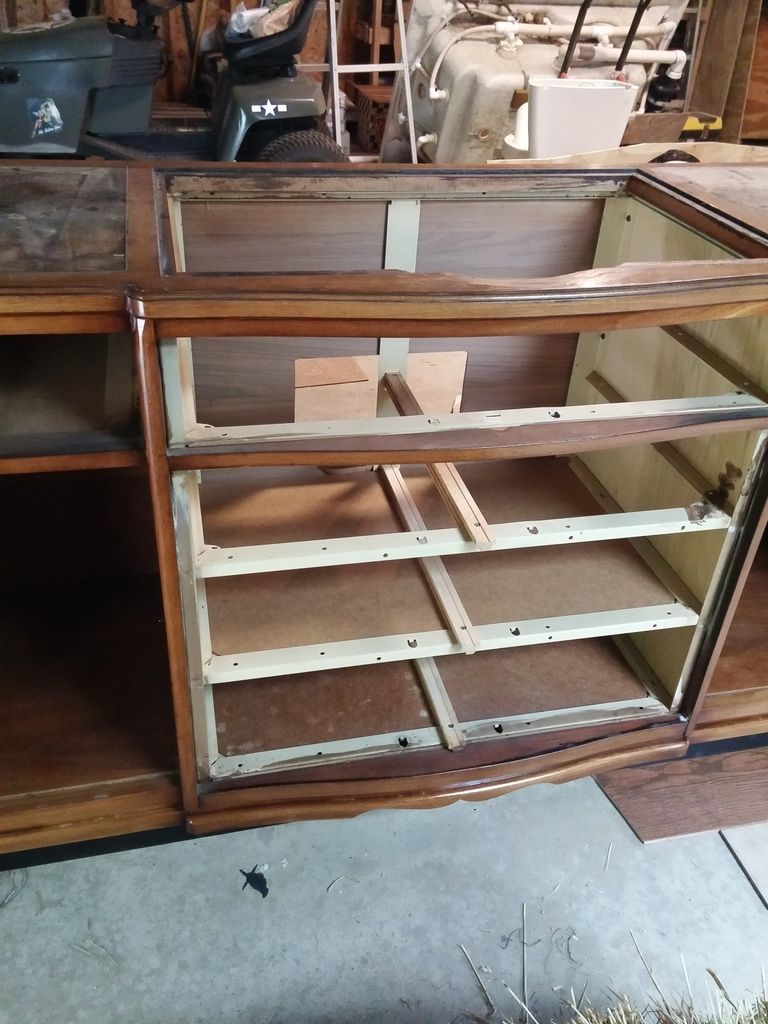
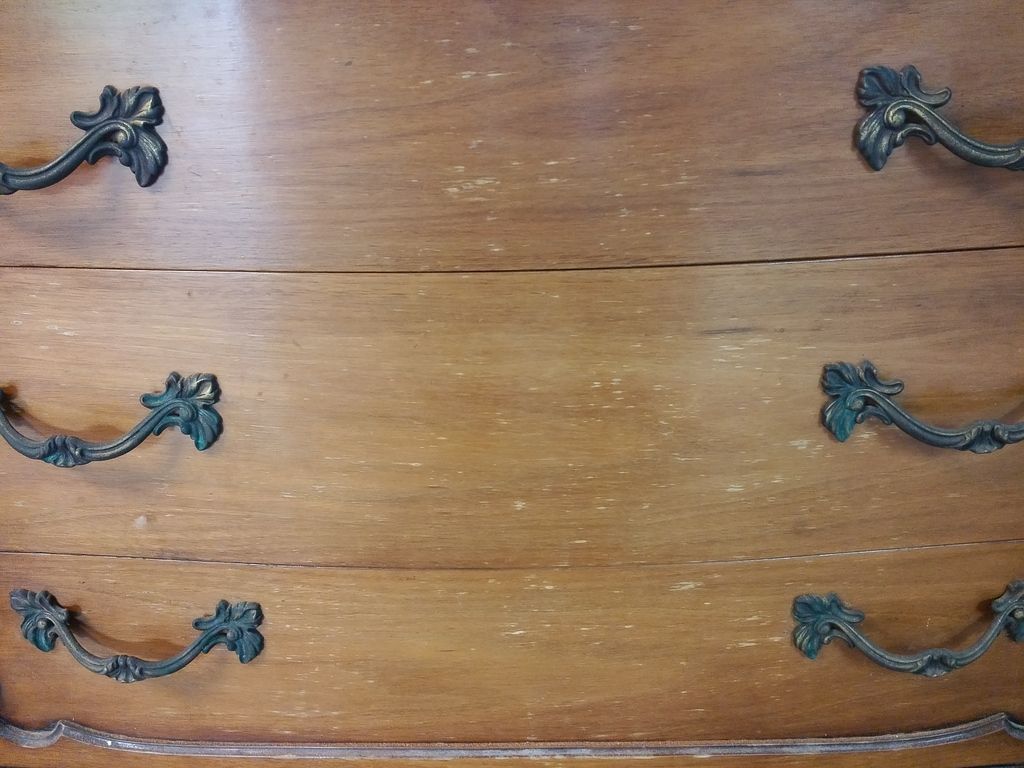
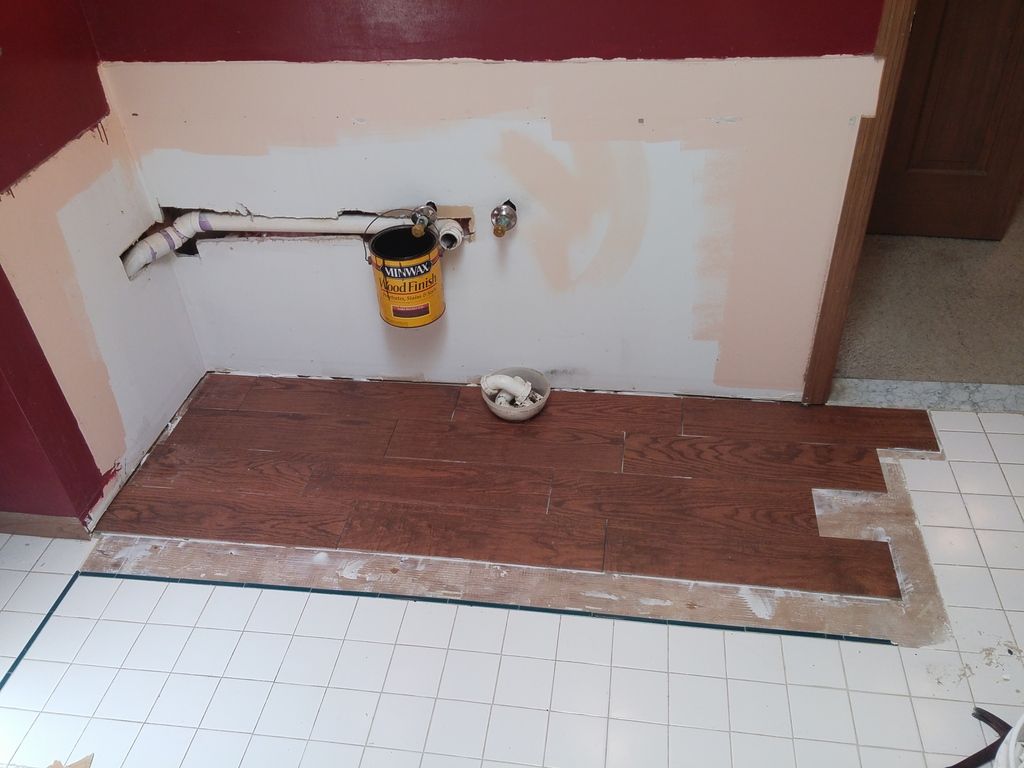
On to the bigger project...
1/1 Spring project
Re: 1/1 Spring project
This master bath project started about 5 years ago. The shower had developed a leak. It was just a little 2'X3' floor pan insert with sliding glass doors, tucked in the corner of the bathroom. Lots of wasted space! I ripped it all out, re-routed the plumbing (my first "go" at plumbing) and build a new shower that filled up all that wasted space. Went from a 6 sq.ft. shower to almost 20 sq.ft.!
A change in jobs, finances and free time completely stalled the project.....see what I did there..."stalled"....get it?...shower "stall"....nevermind.
Anyway...with another change in job, finances and free time (to the better this time), this project is back on!
Last Fall, the wife bought this old hutch...
"That's almost nice....where you gonna put that?"
"" I thought it would be nice to turn into a vanity for the bathroom ""
"#1, there's glass where the sink need to go...2. there's drawers where the sink and plumbing need to go...3. there's a steel bar dead center where the drain goes into the wall.....CHALLENGE ACCEPTED!"
I started by removing the center glass...
Built a new top...
Just to see where it'sa headed...
The top drawer will become a "dummy"...just the face will remain. I will be able to angle the plumbing enough to get it left of center, to clear the other drawer slides and I'll have to notch out the drawers to make room for the drain pipe. I shouldn't have any issue with moving the main drain in the wall either....this is gonna work!
Being that this is an old piece...it needed some help. A lot of little cracks and peeling in the varnish...kinda looks like decal "silvering"...
So...I took my Minwax gloss that I use on my models, and a little paint brush and dabbed each spot to fill in under the peeled areas....worked fairly well. I did a light sanding once that was dry and sprayed another coat of lacquer...
It's not perfect, but it's a hell of a lot better. Still need to do another sanding and gloss.
This will be replacing this ugly "peach" vanity.
I am planning to cover that wall with stone. The rest of the bathroom will be tile...floor to ceiling.
- Stikpusher
- Moderator
- Posts: 18857
- Joined: Sat Apr 05, 2014 8:37 pm
- Location: Ceti Alpha 5
Re: 1/1 Spring project
Did you use any resin or PE on this?
Yes, I'm sure the weather will take care of the weathering to get your paints to match. Mother Nature is pretty good at that sort of thing.
I presume that it is now properly waterproofed and weather sealed?
Yes, I'm sure the weather will take care of the weathering to get your paints to match. Mother Nature is pretty good at that sort of thing.
I presume that it is now properly waterproofed and weather sealed?
"Surely I have made my meaning plain? I intend to avenge myself upon you, Admiral. I have deprived your ship of power, and when I swing 'round, I intend to deprive you of your life."
FLSM
FLSM
Re: 1/1 Spring project
Got the old vanity outta there...
Water lines are a little drippy at the shut off (they don't drip at all when turned on).
You can see the ugly peach color that this room was when we moved in...
Tile busted out...
New tile...just where the vanity will go (for now)...
Grouted....this will pretty much be completely covered by the new vanity...good sample though!
Kind of amazing how nasty things were under and behind the vanity...
Re: 1/1 Spring project
No PE...no resin....flashing and caulk though! I sealed up everything pretty good I think!Stikpusher wrote:Did you use any resin or PE on this?
Yes, I'm sure the weather will take care of the weathering to get your paints to match. Mother Nature is pretty good at that sort of thing.
I presume that it is now properly waterproofed and weather sealed?
- BlackSheep214
- Elite Member
- Posts: 10376
- Joined: Sun Apr 06, 2014 8:47 pm
Re: 1/1 Spring project
I'm loving the idea to use an old dresser into a vanity. Looking forward to the finished product.
“Who controls the skies, controls the fate of this Earth”
Author unknown- 352nd Fighter Group, Blue-Nosed Bastards of Bodney
“Send one plane it’s a sortie; send two planes it’s a flight; send four planes it’s a test of airpower. - Richard Kohn
Author unknown- 352nd Fighter Group, Blue-Nosed Bastards of Bodney
“Send one plane it’s a sortie; send two planes it’s a flight; send four planes it’s a test of airpower. - Richard Kohn
Re: 1/1 Spring project
Thanks! I like it too.BlackSheep214 wrote:I'm loving the idea to use an old dresser into a vanity. Looking forward to the finished product.
Definitely a good challenge!
The vanity is finished...seems like this site was down for a little bit...wouldn't let me post more.
I'm doing the "copy/paste" thing from another forum....just trying to get caught up here!
Re: 1/1 Spring project
I just keep getting "Error 403 Forbidden" every time I try to post progress.
Re: 1/1 Spring project
I'll try just skipping to the end....
Middle drawer notched and "walled" off...
Top drawer...notched and "walled"...
Vanity complete!
Middle drawer notched and "walled" off...
Top drawer...notched and "walled"...
Vanity complete!
Re: 1/1 Spring project
Alright...skipped some stuff, but we're "up to date".
The grand plan...
The whole wall that the vanity is against, and to the left will be stone. The rest of the walls will be tile. Floor will be "wood" tile. New turlet, new tub. Hope to have it all finished up by the end of the work season....more importantly...before deer season!!!
The grand plan...
The whole wall that the vanity is against, and to the left will be stone. The rest of the walls will be tile. Floor will be "wood" tile. New turlet, new tub. Hope to have it all finished up by the end of the work season....more importantly...before deer season!!!