This is going to be my next project. A large scale Tank fighter... a Ta 152H-0, which I will be backdating from the Z-M Ta152H-1 kit.
I am planning on utilizing a few upgrades including:
1. Henri Daehne Ta 152H-1 Resin Prop and Spinner
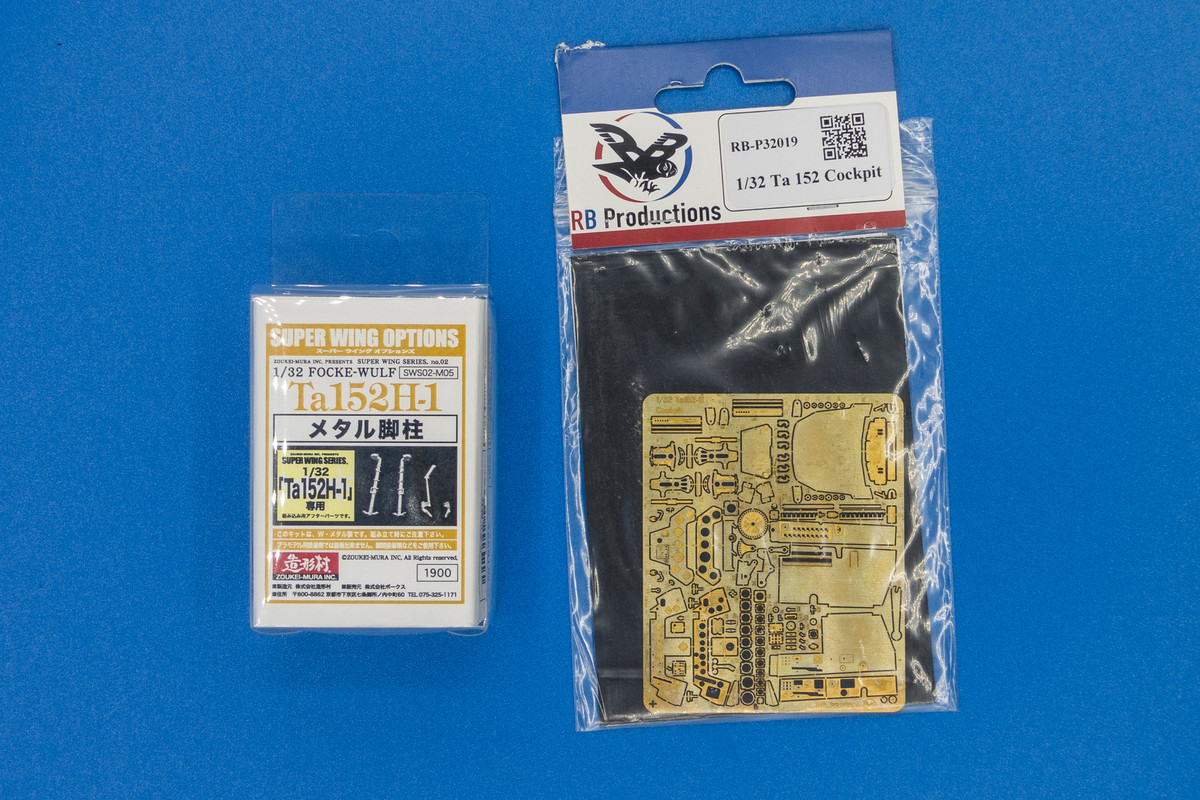
2. RB Productions Ta 152H Photoetch Cockpit set
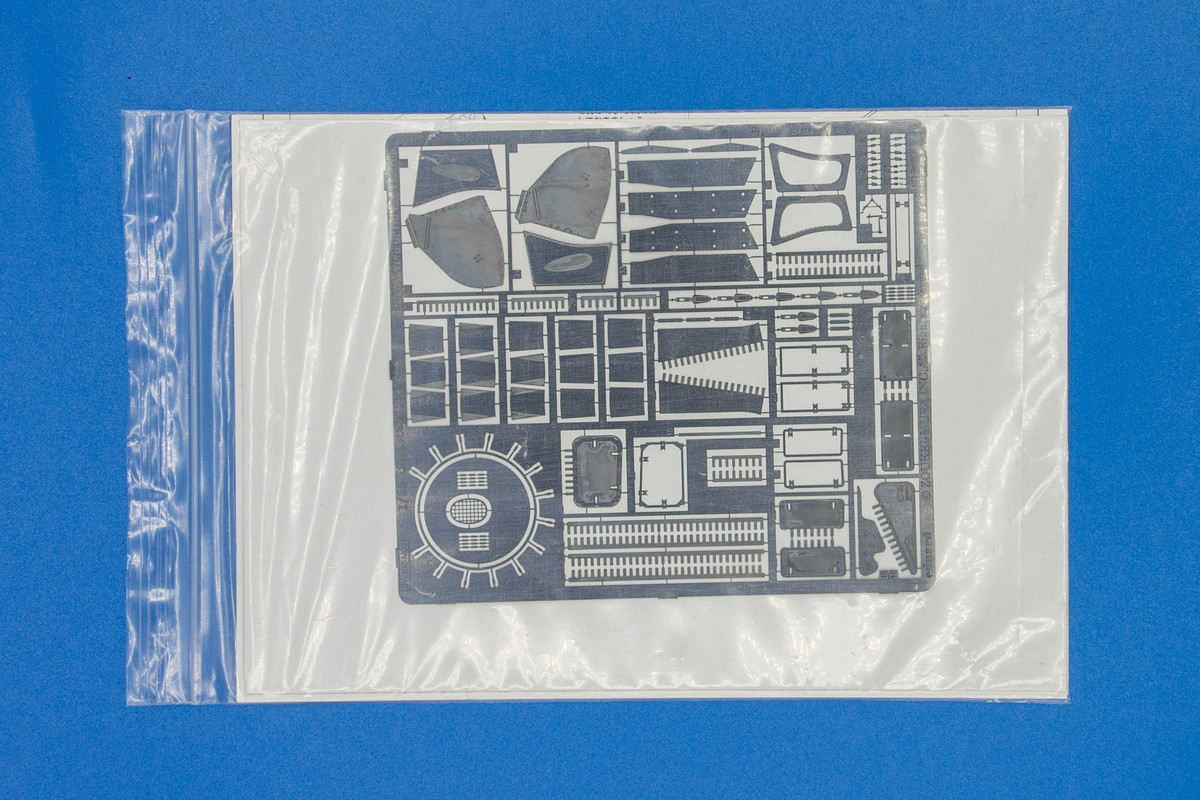
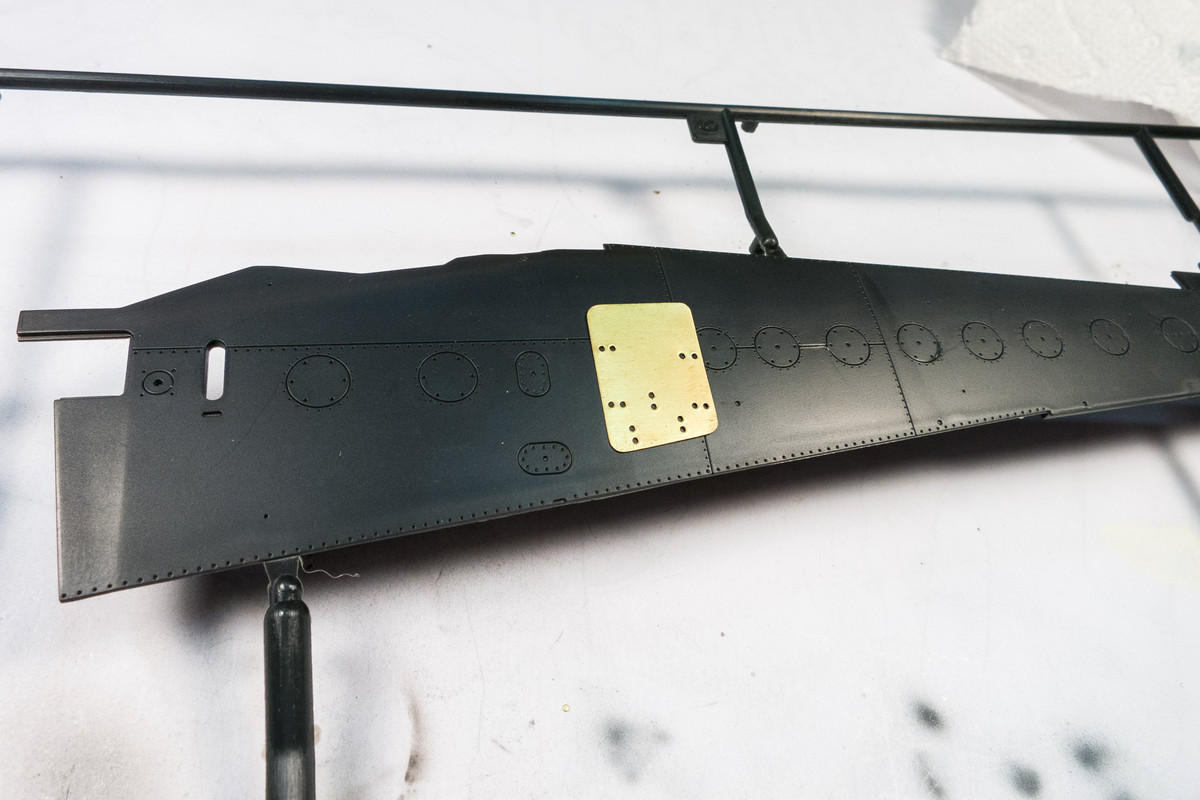
3. Zoukei-Mura Photoetch Exterior Set
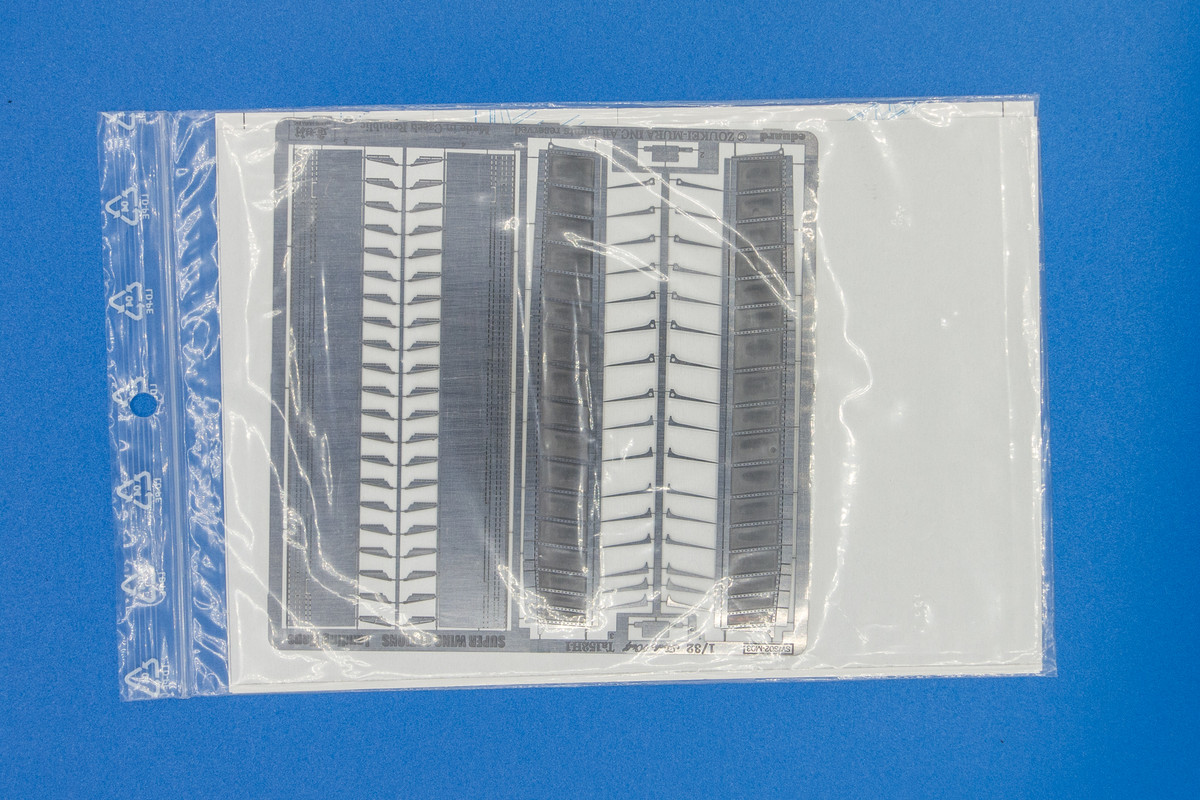
4. Zoukei-Mura Photoetch Landing Flaps
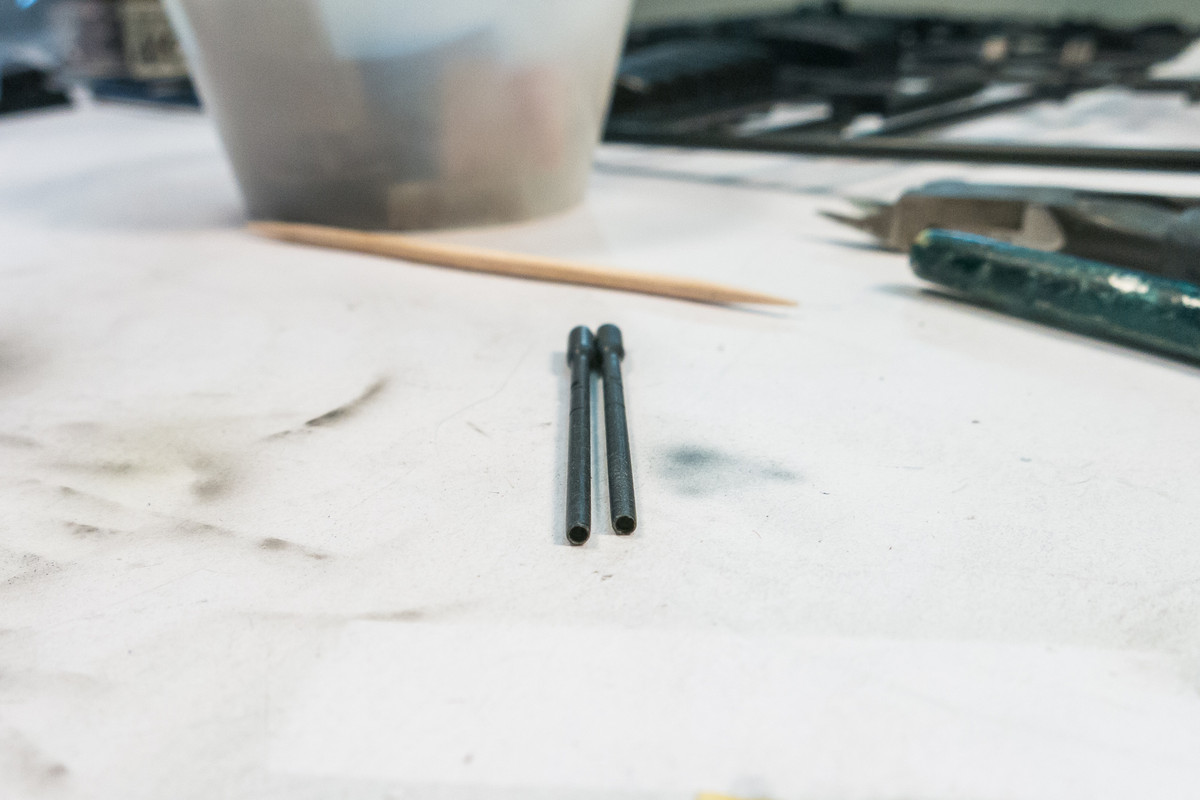
5. Zoukei-Mura Metal Legs
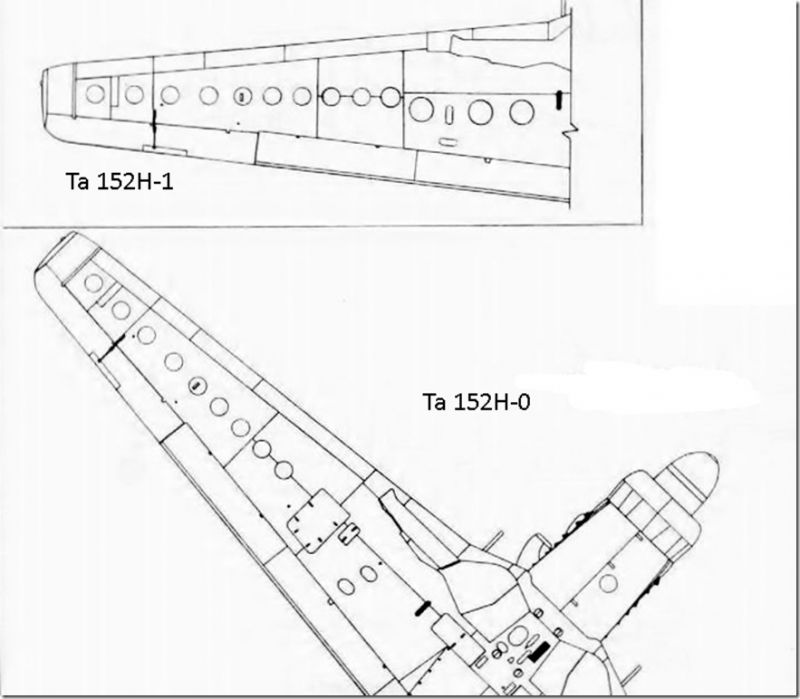
The subject will be White 7, which has the W.Nr. of 150007. It was converted from the prototype designated CW+CG.
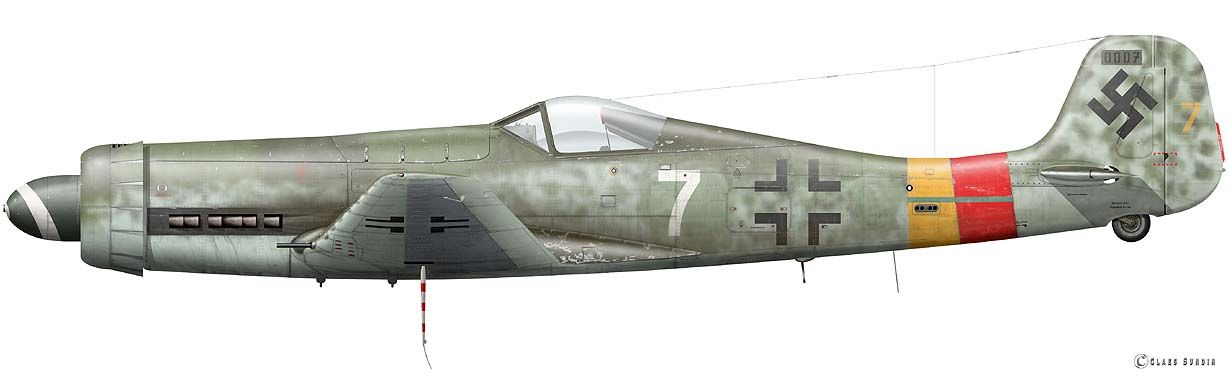
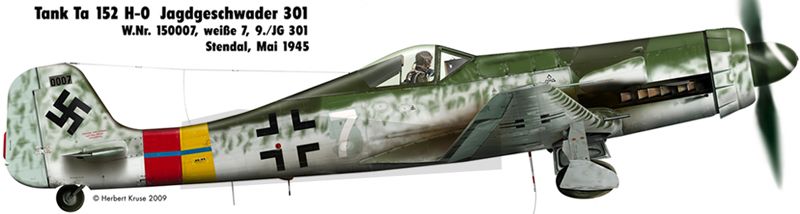
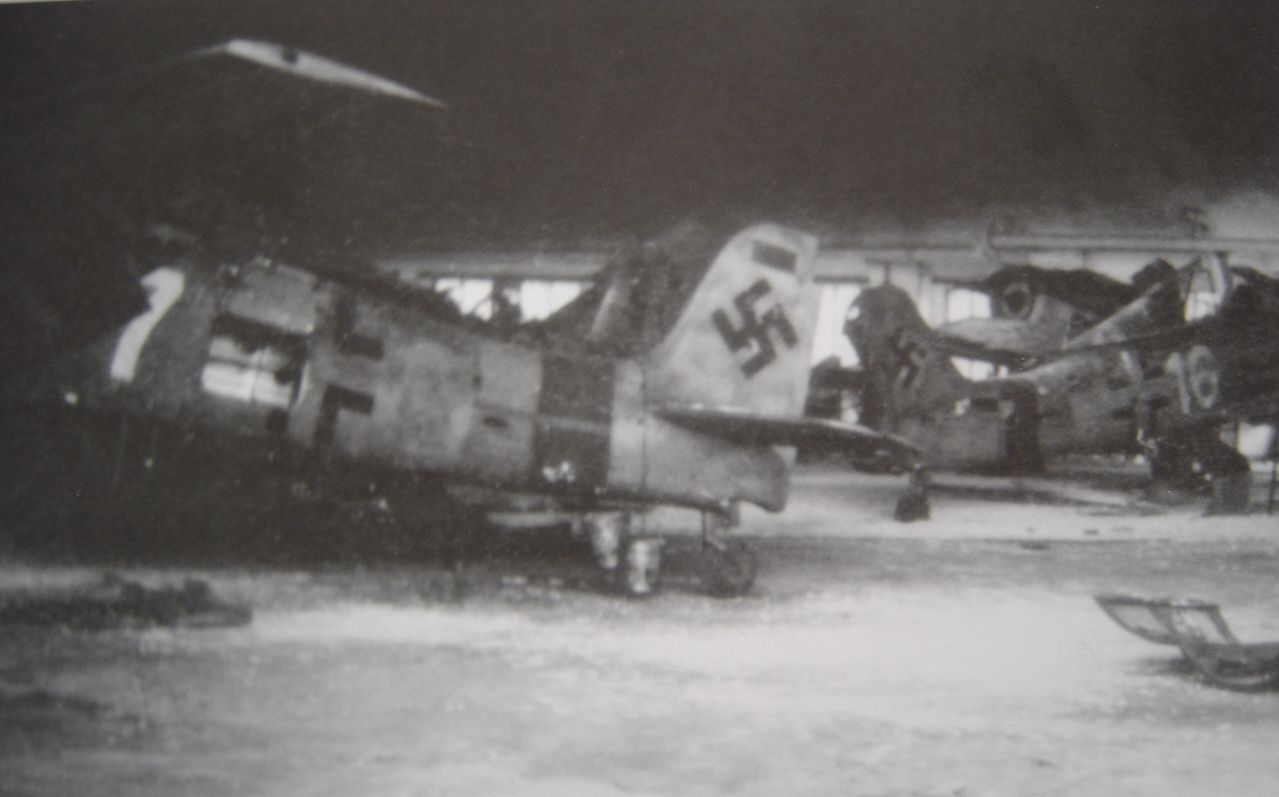
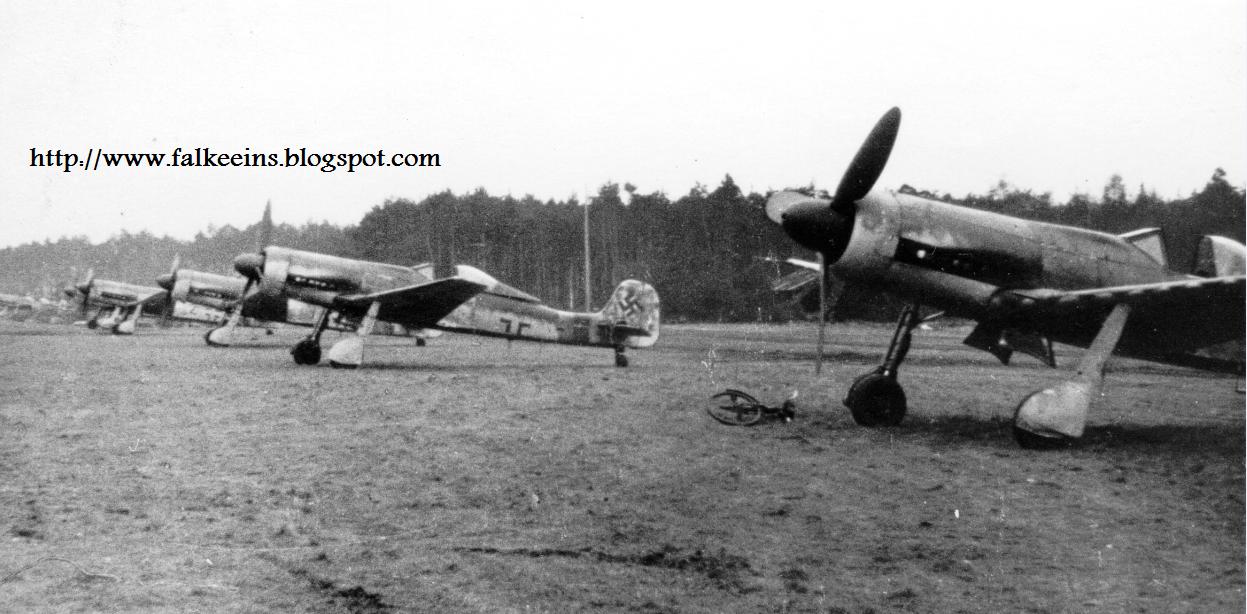
I also have some other photos and a nice color profile of White 7 in Thomas Hitchcock's Ta152 book.
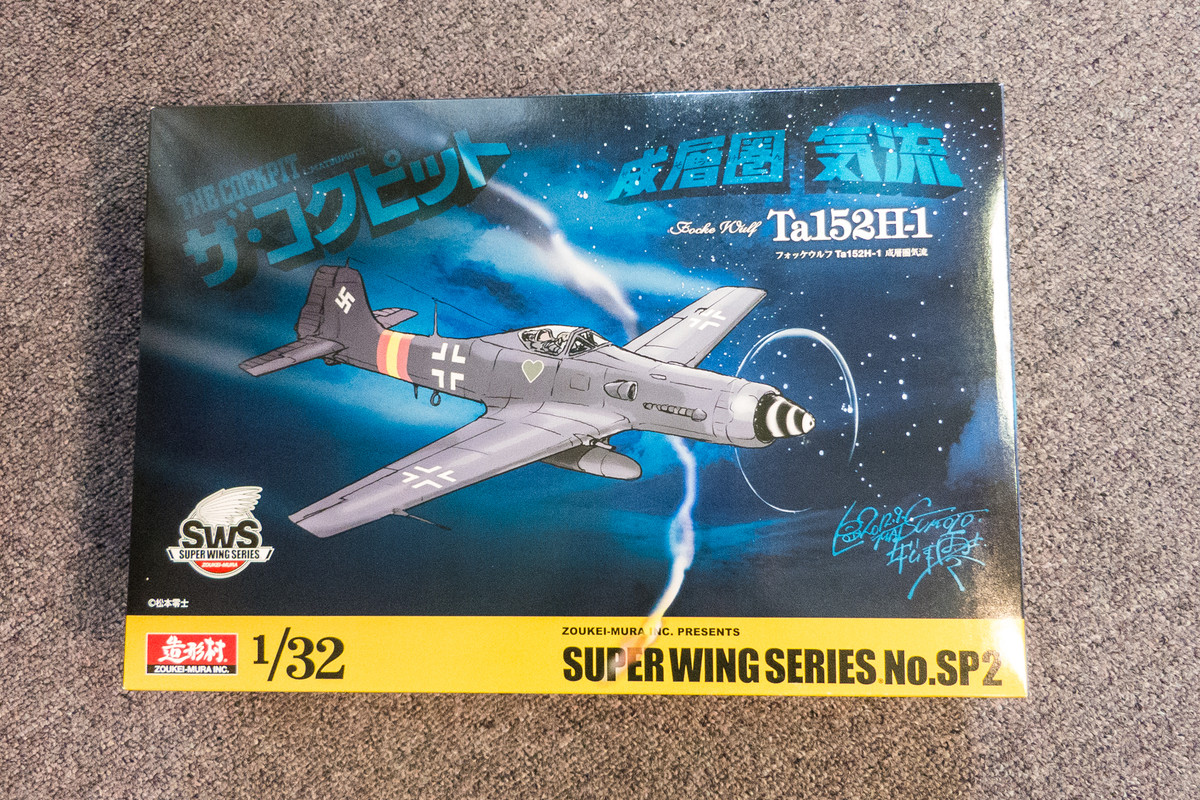
This will be my first large scale Z-M kit. I've heard many good things about the unique mindset that Z-M uses in designing model kits and it will be interesting to see how if fits with my no-panels-open approach to building.
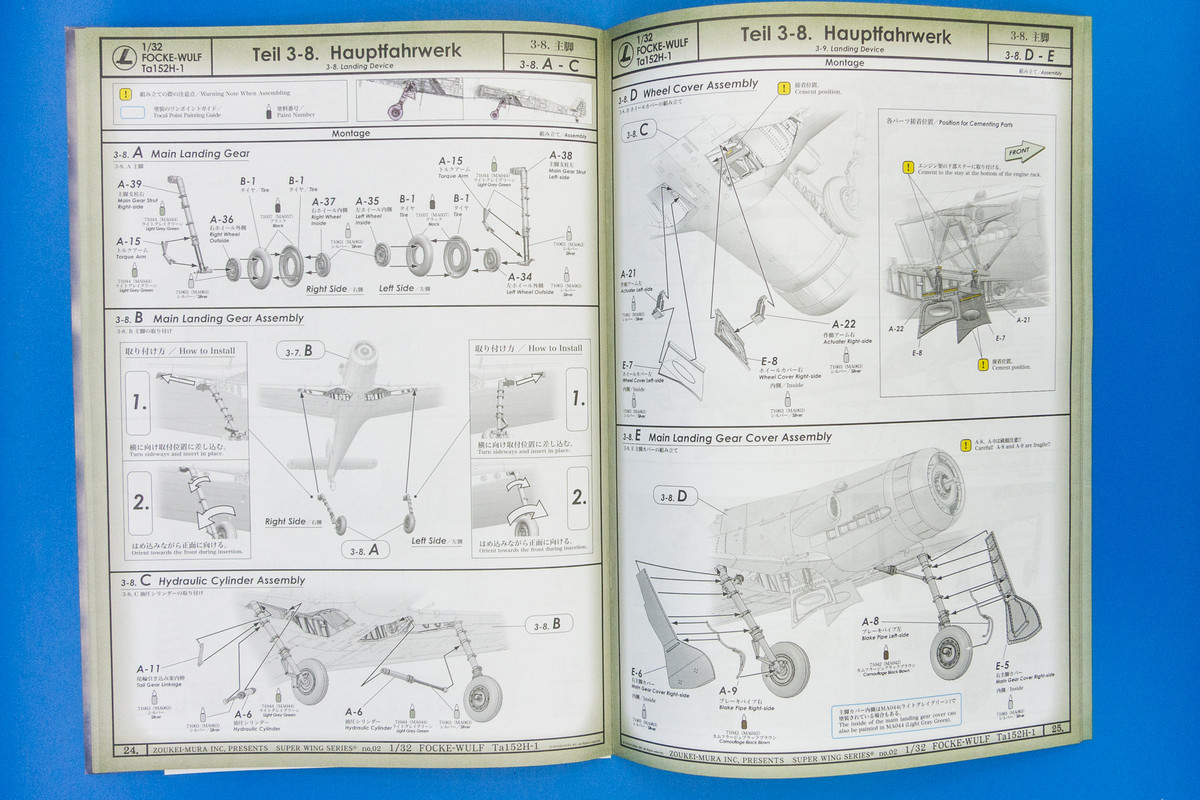
The instructions look like a vintage pilot's manual and offers a combination of rendered drawings and photographs... very unique!
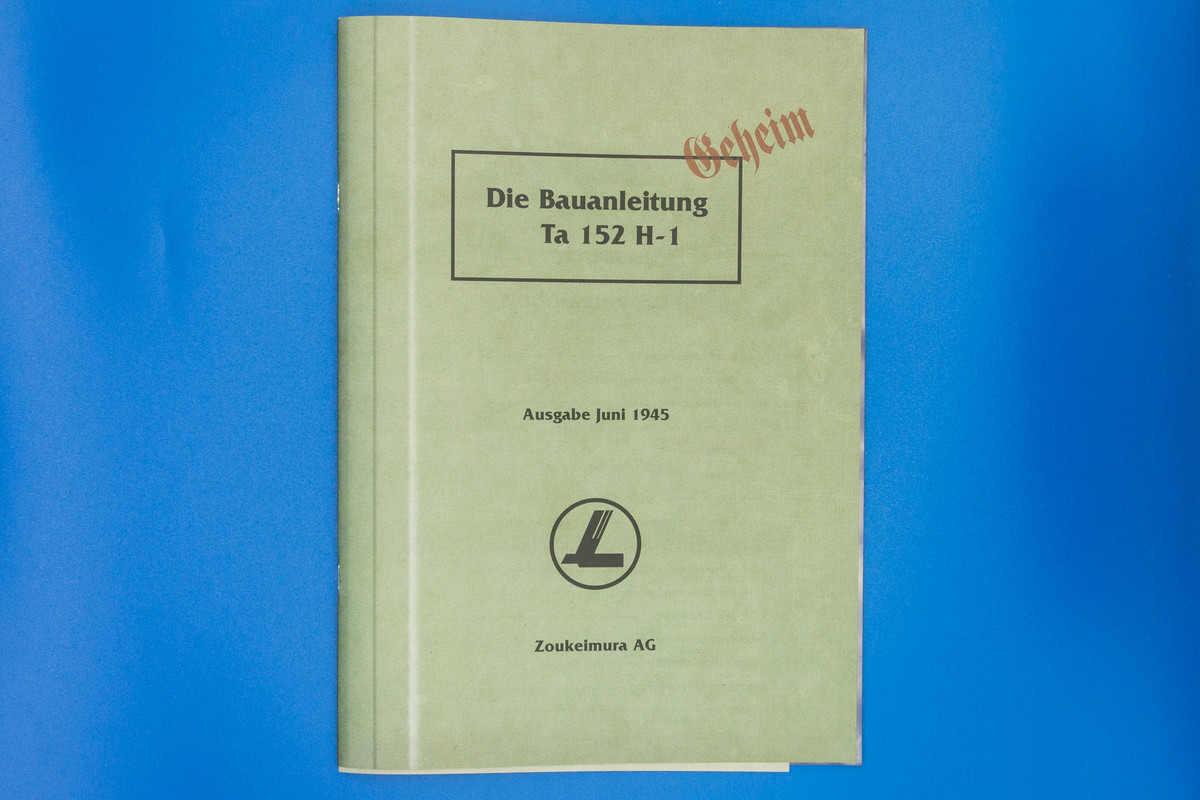
This particular boxing, which was the only Ta152H kit available at the time, is based on an anime series but includes everything in the original H-1 release including a full sheet of decals.
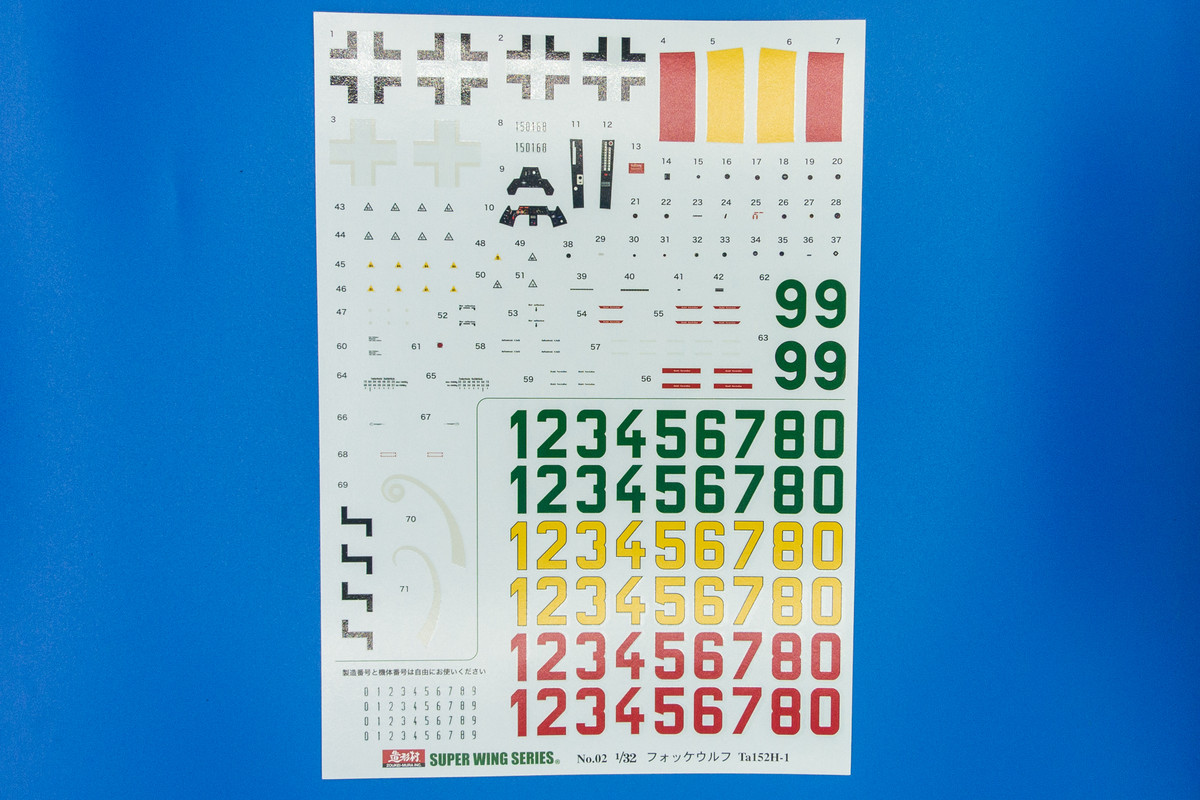
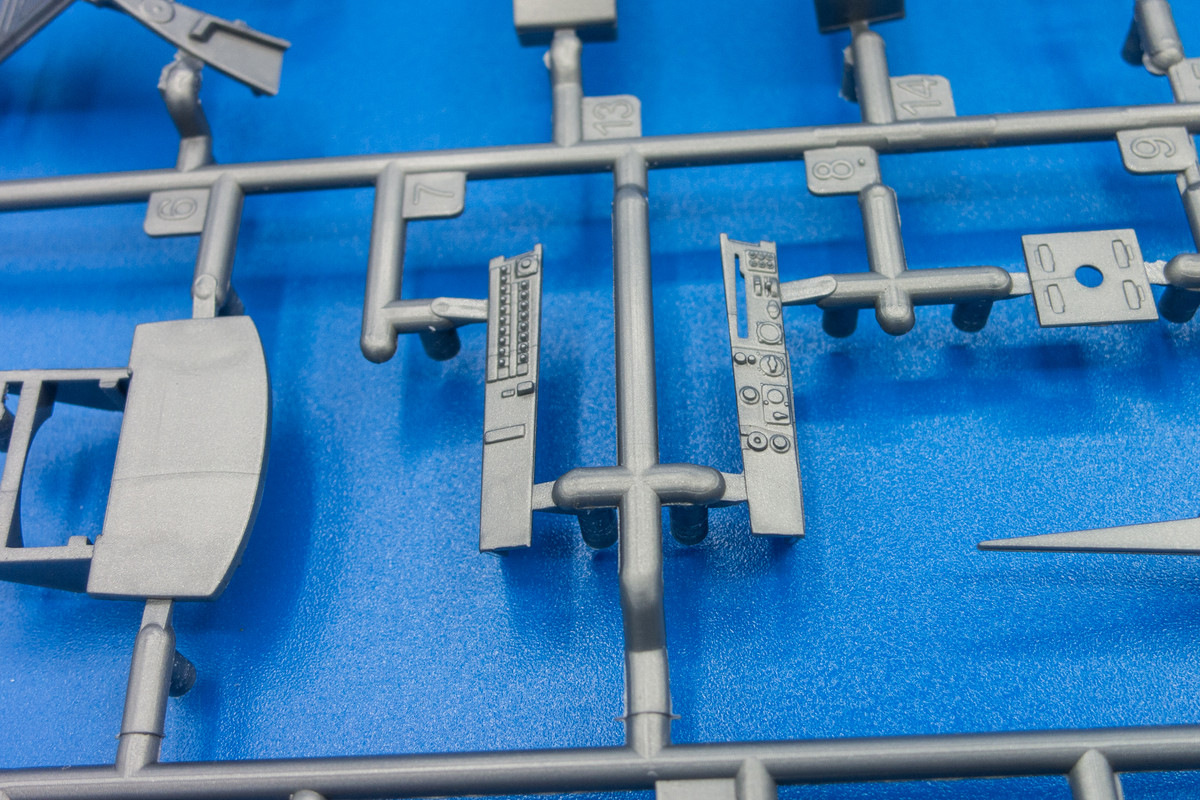
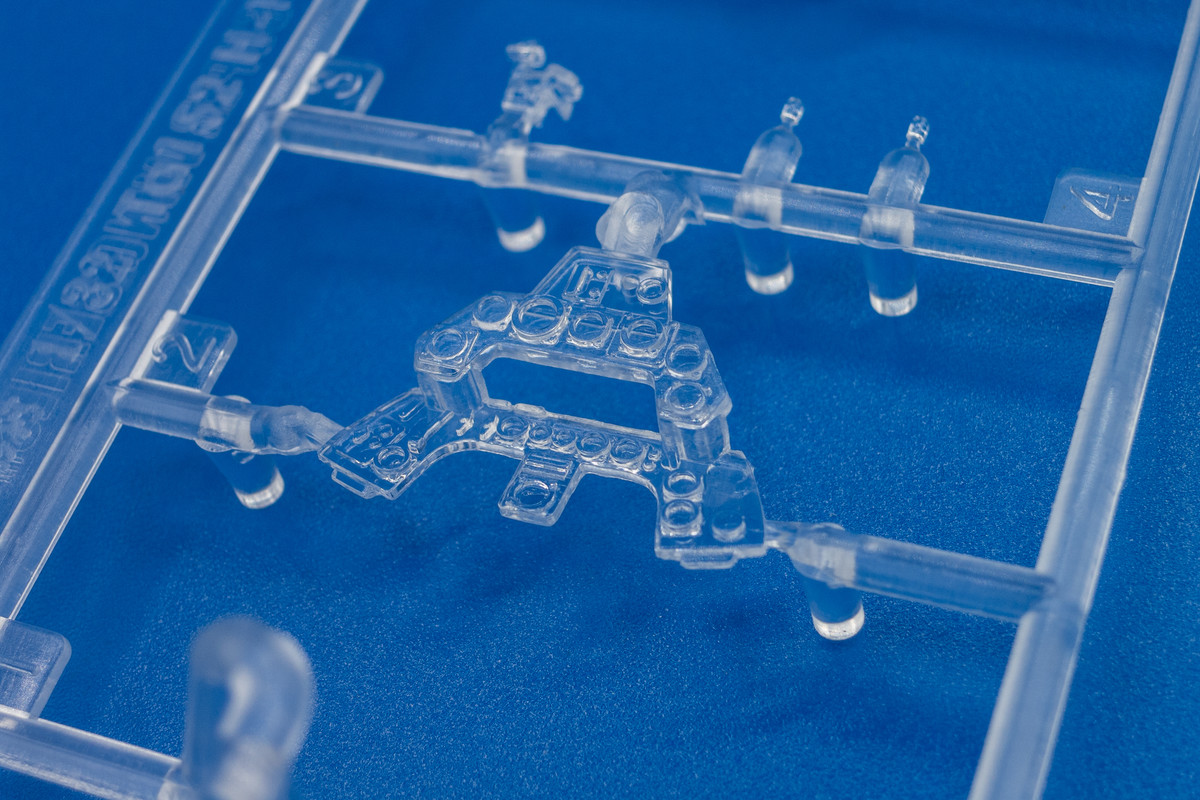
The decals seem to be well printed and include decals for the instrument panel and the cockpit side panels.
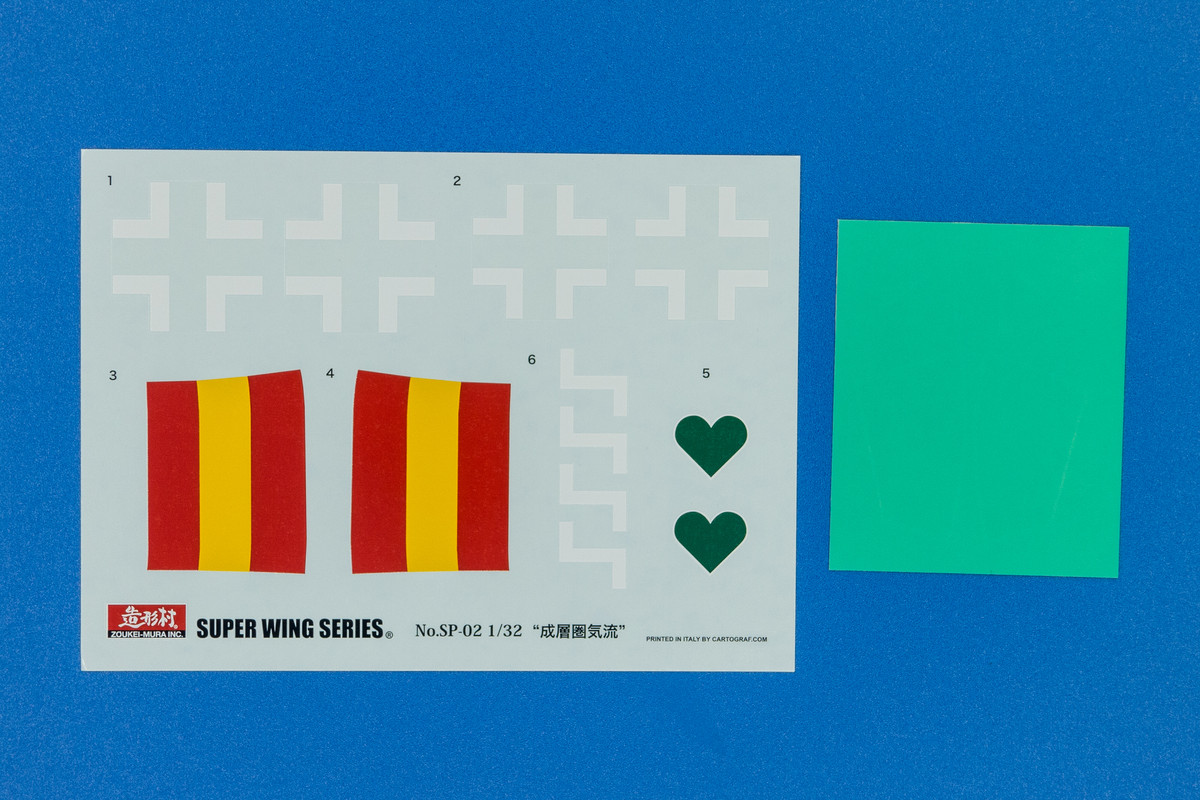
There is a smaller decal sheet with the anime-specific markings, if you want to go that route. Also included are what appear to be pre-cut canopy masks.
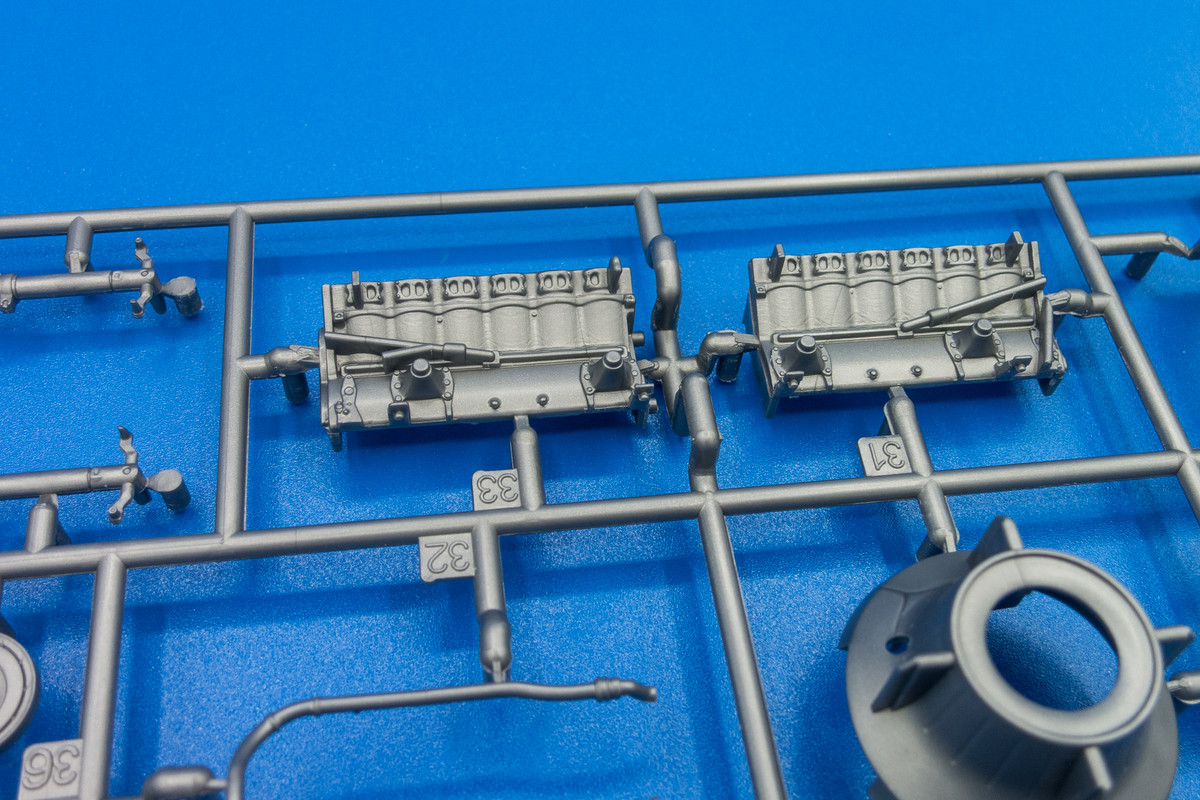
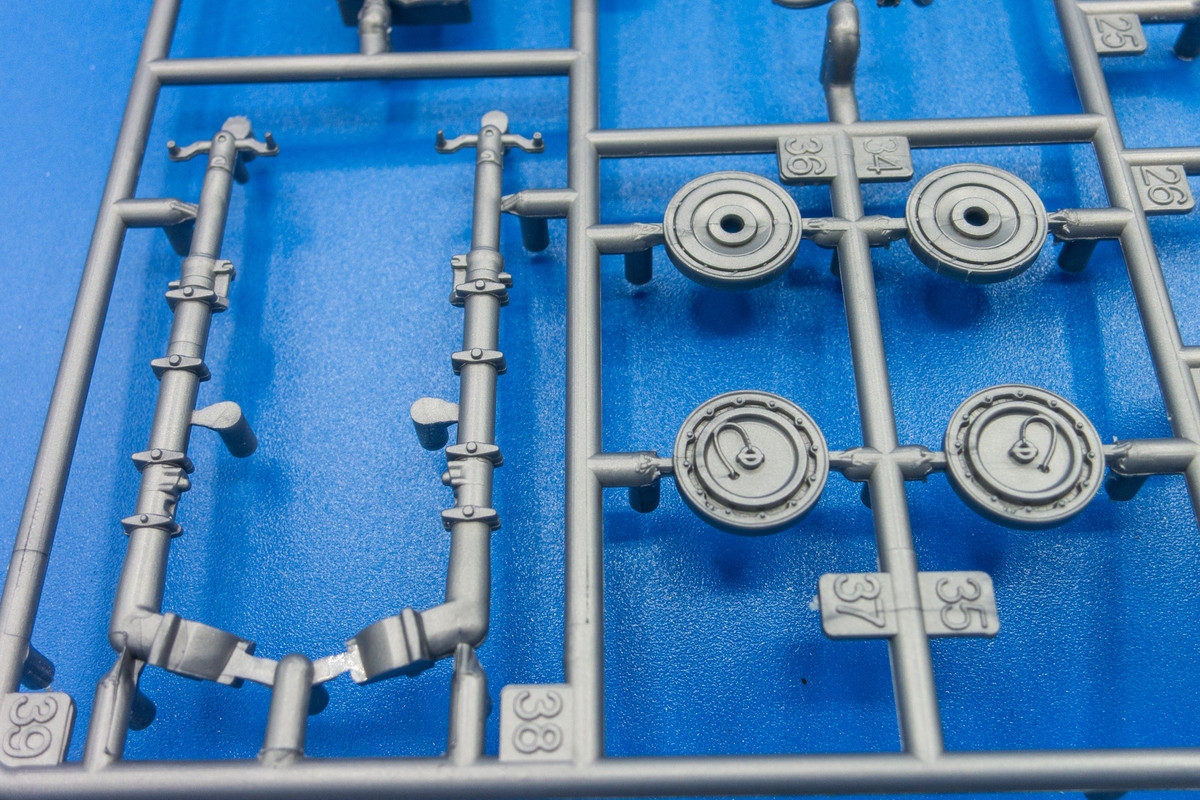
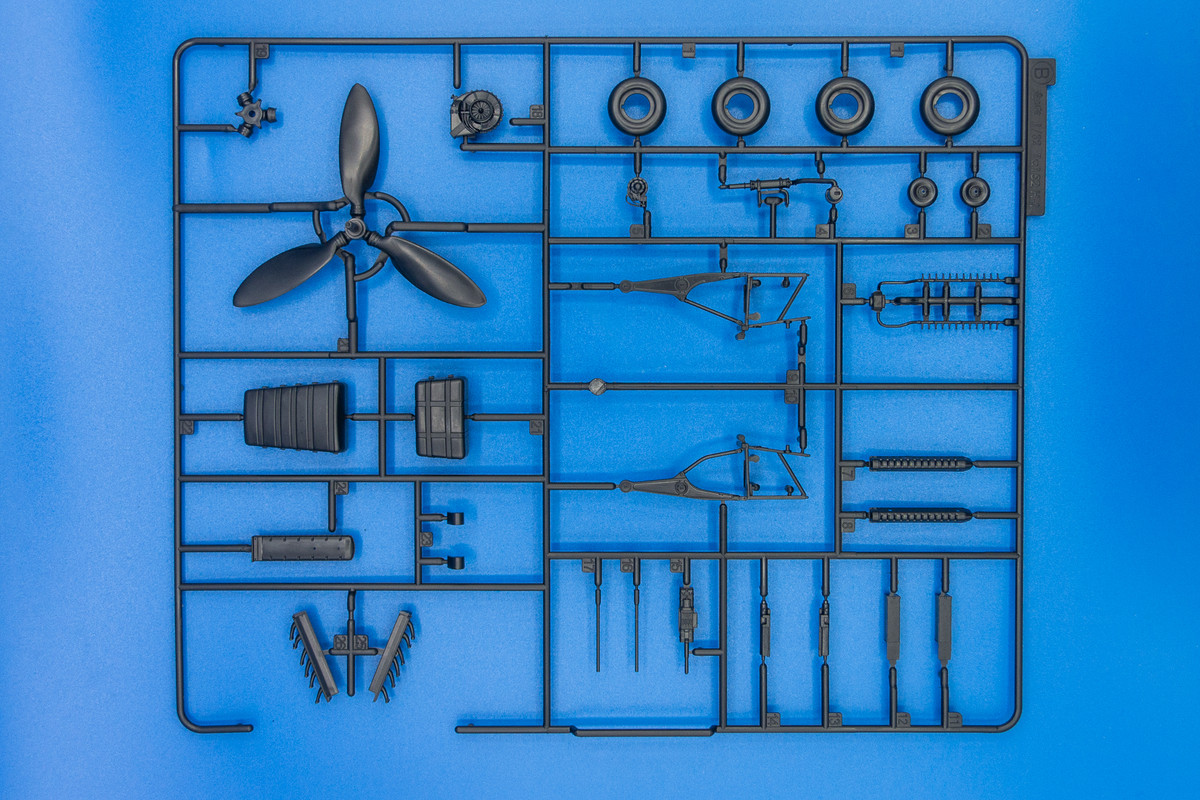
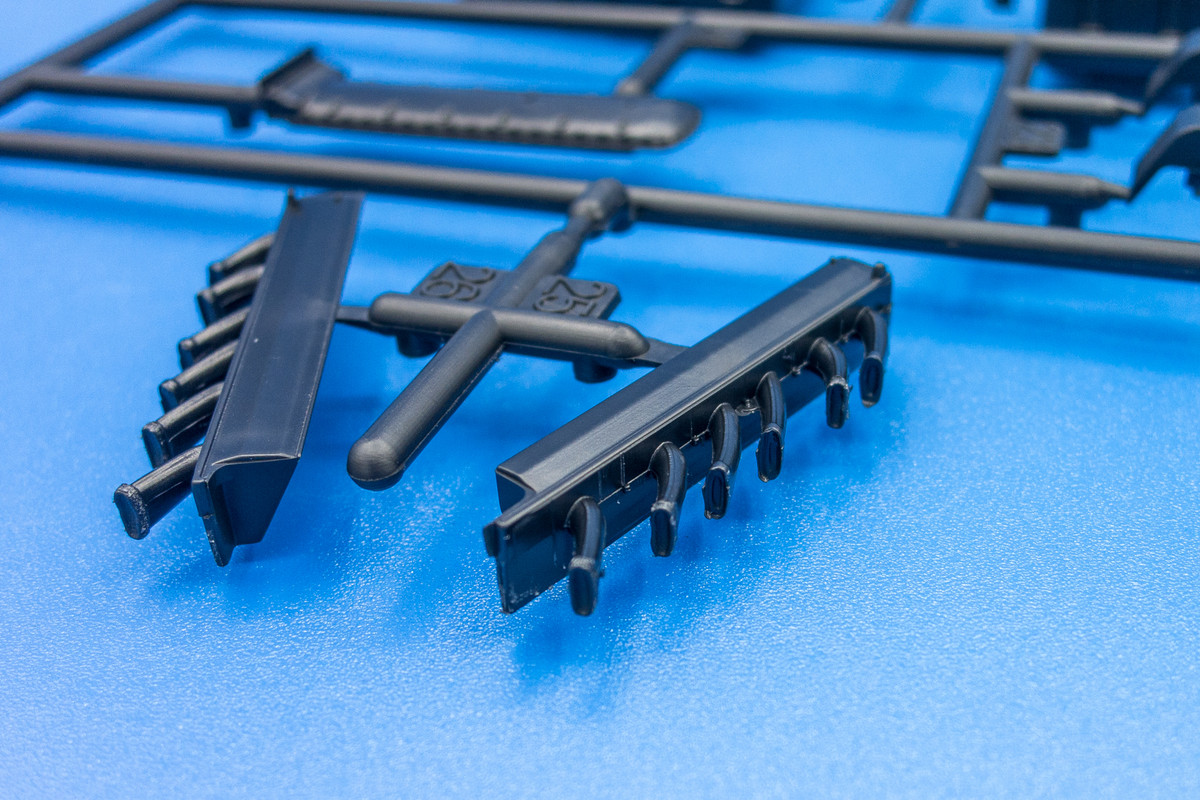
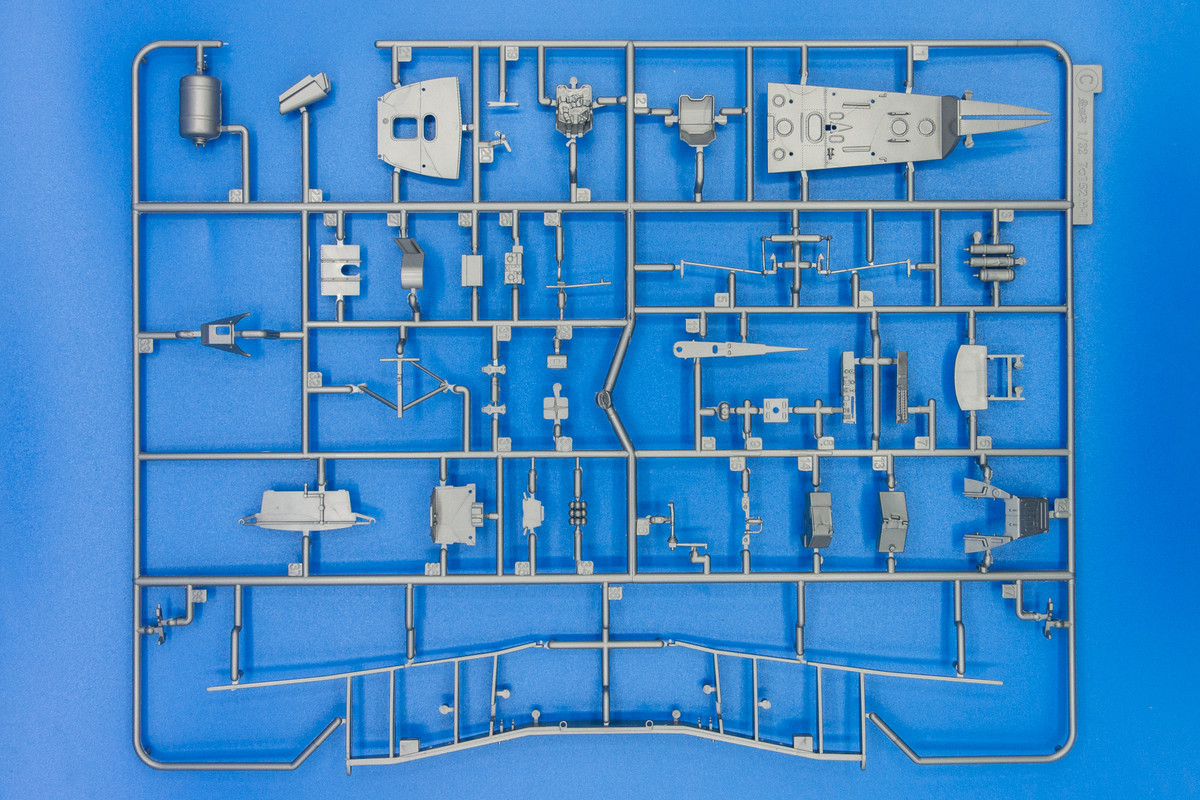
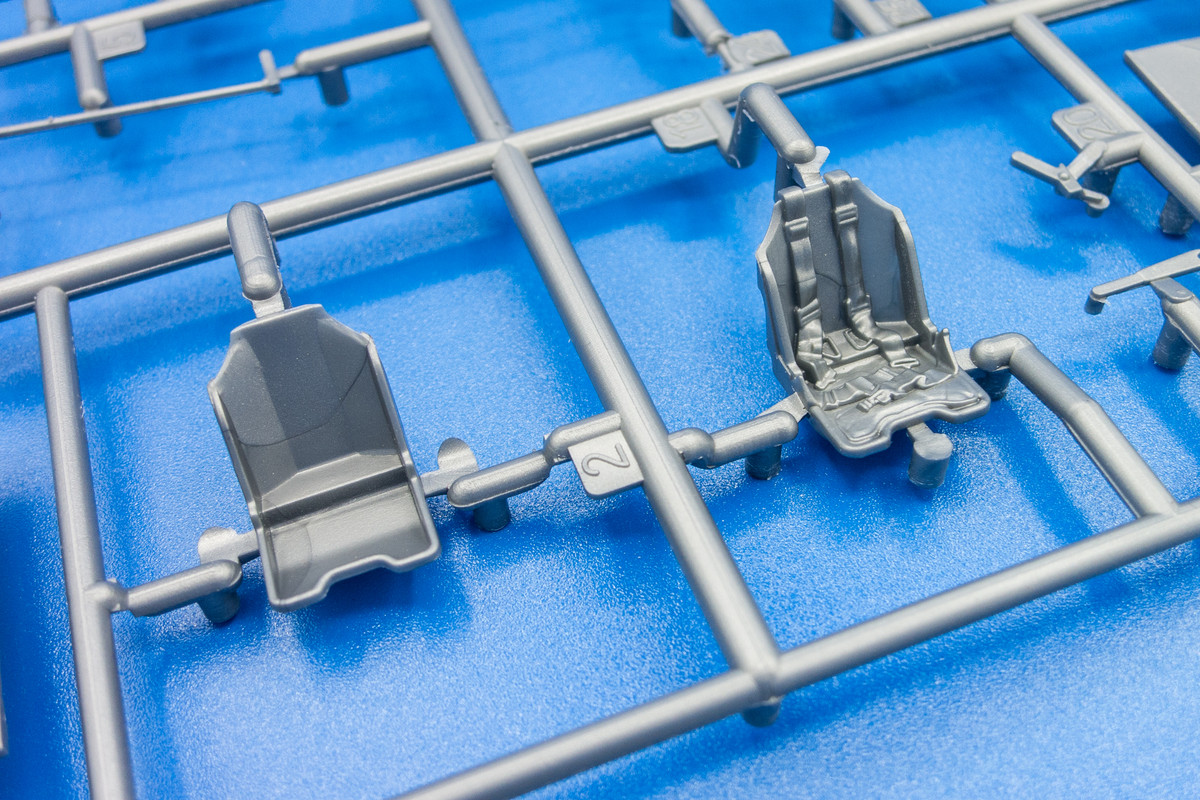
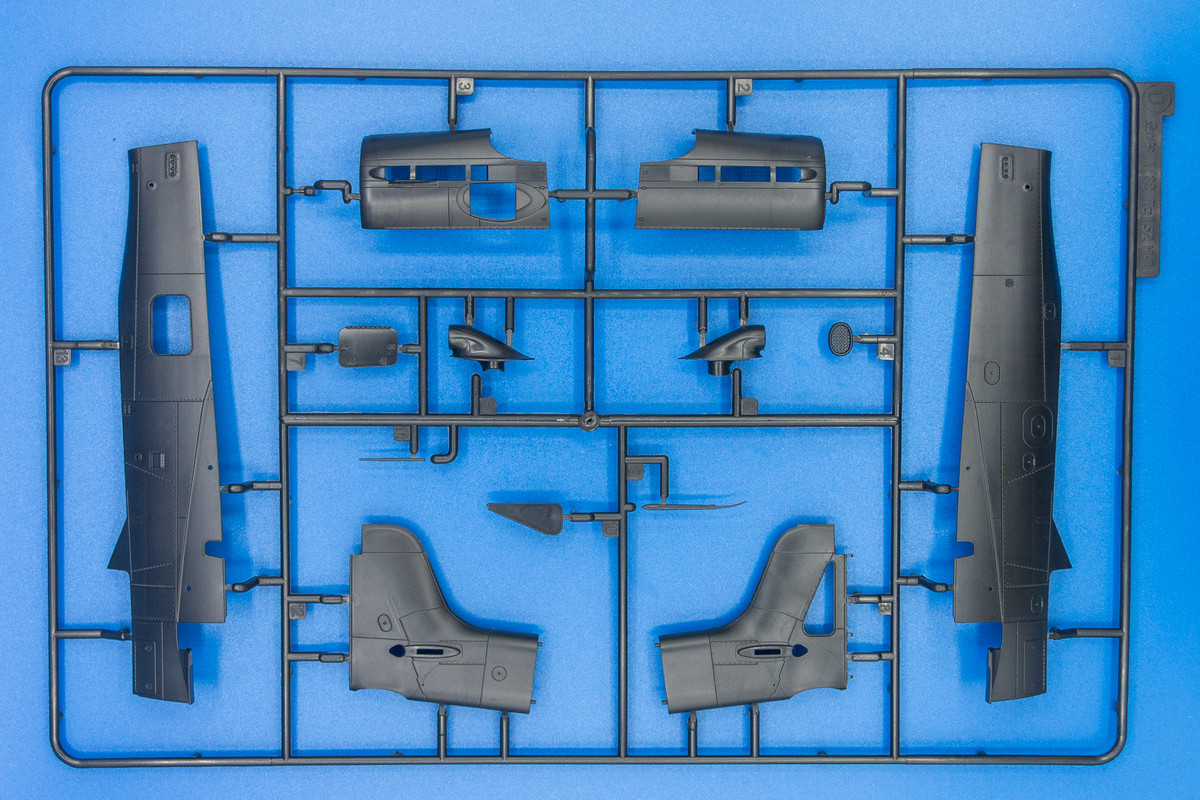
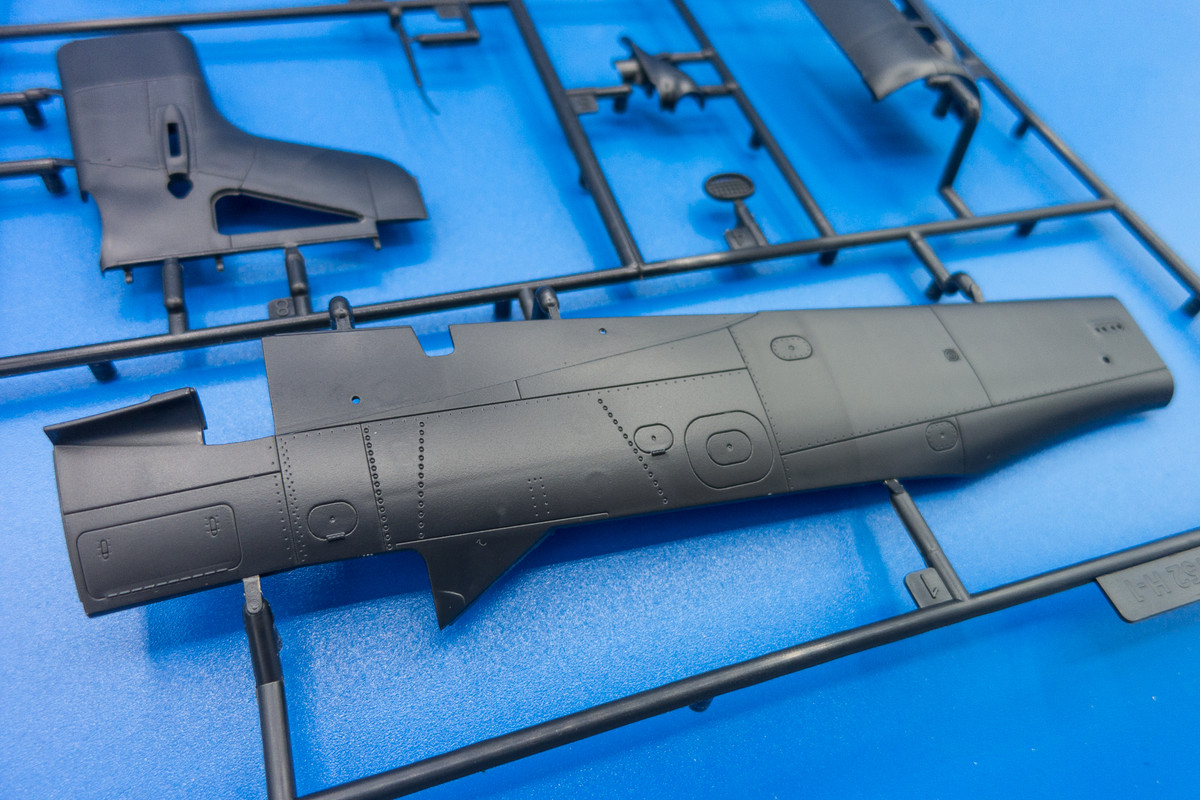
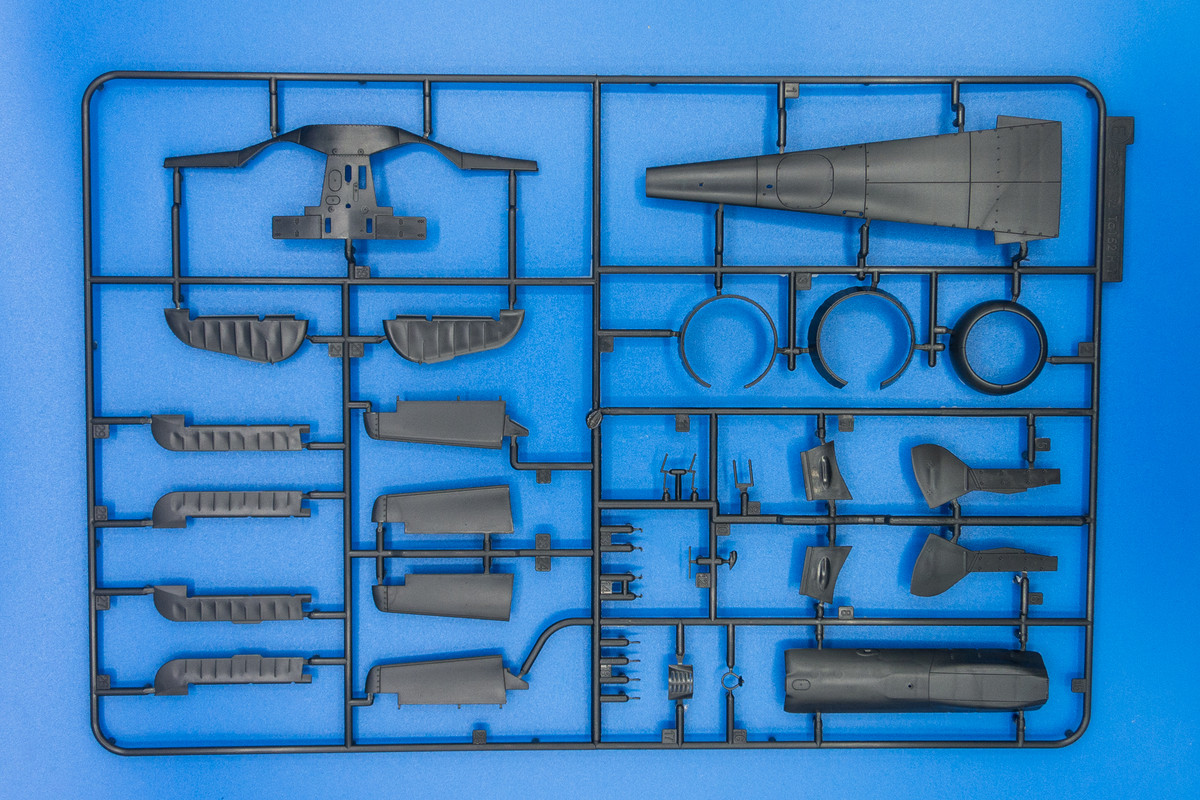
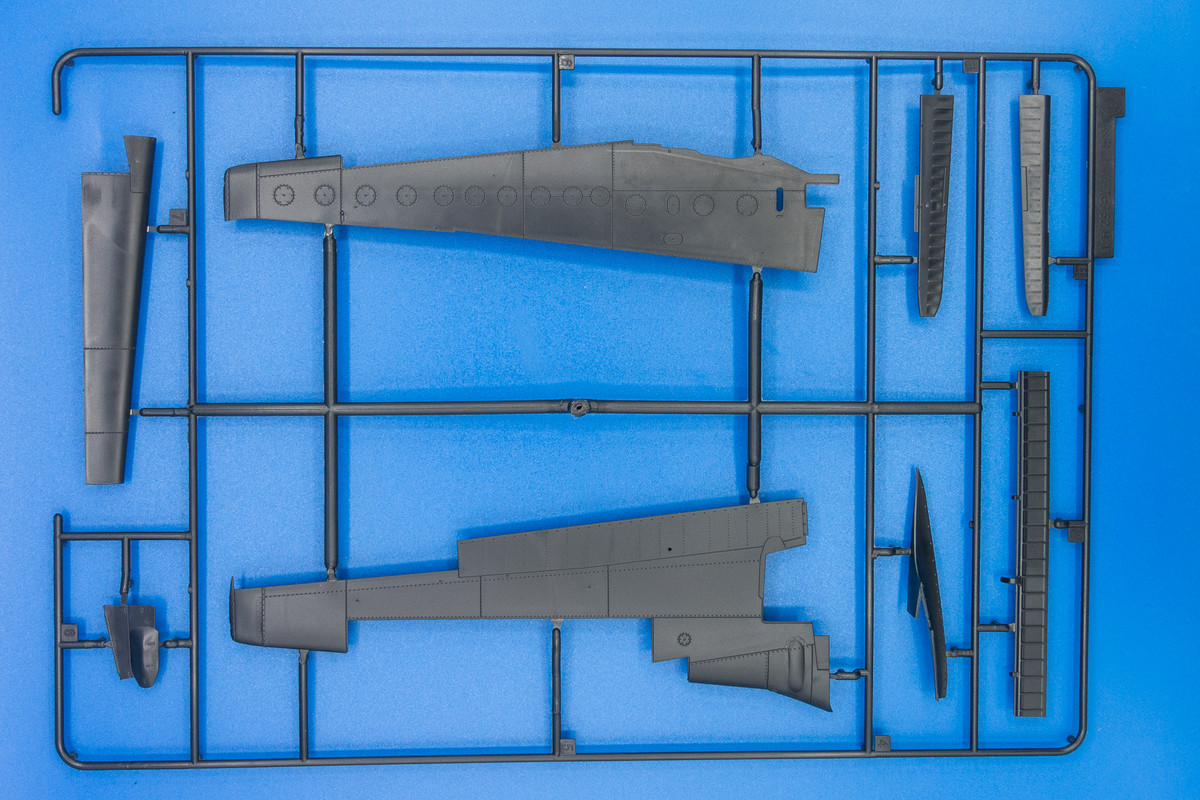
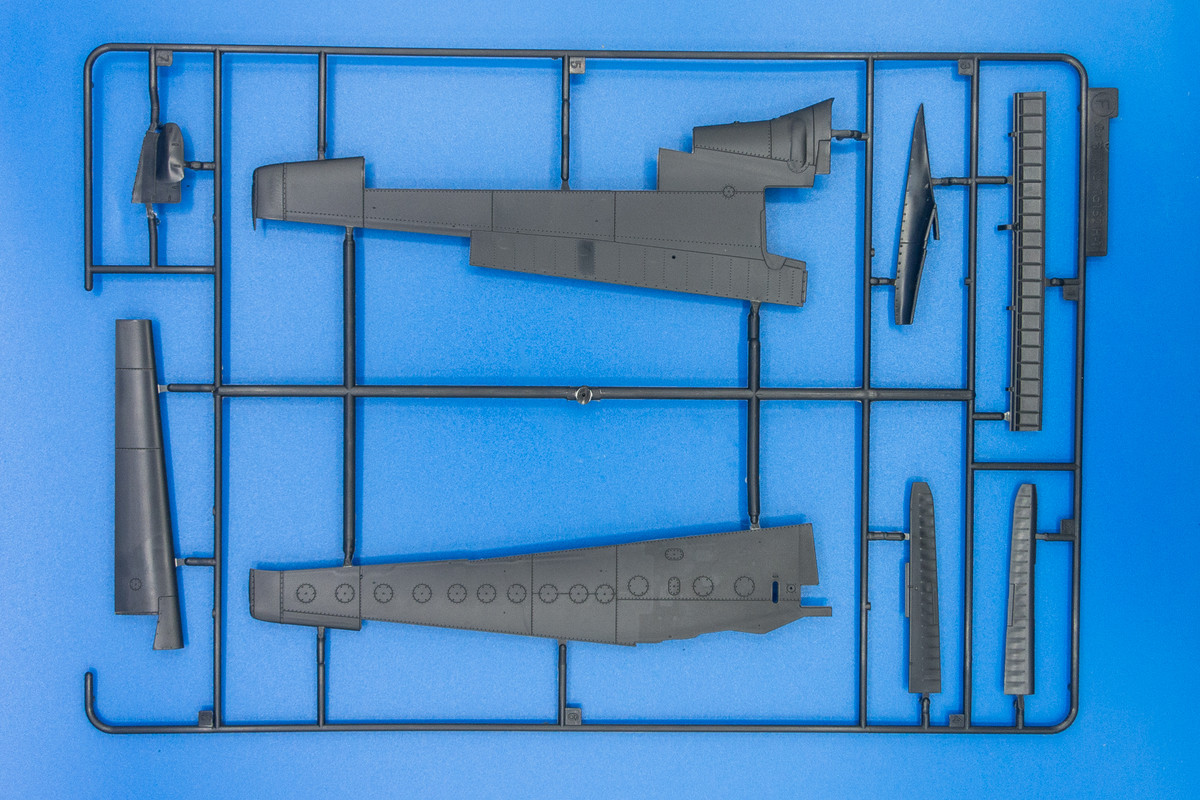
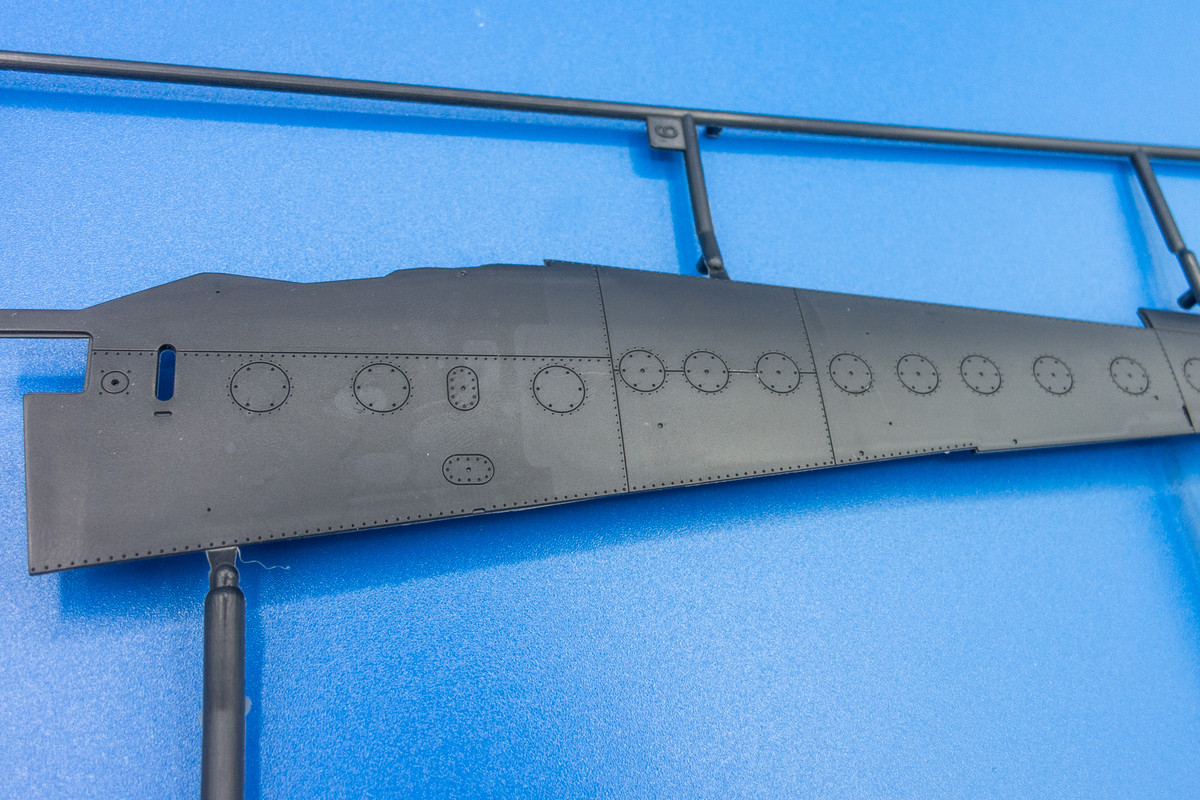
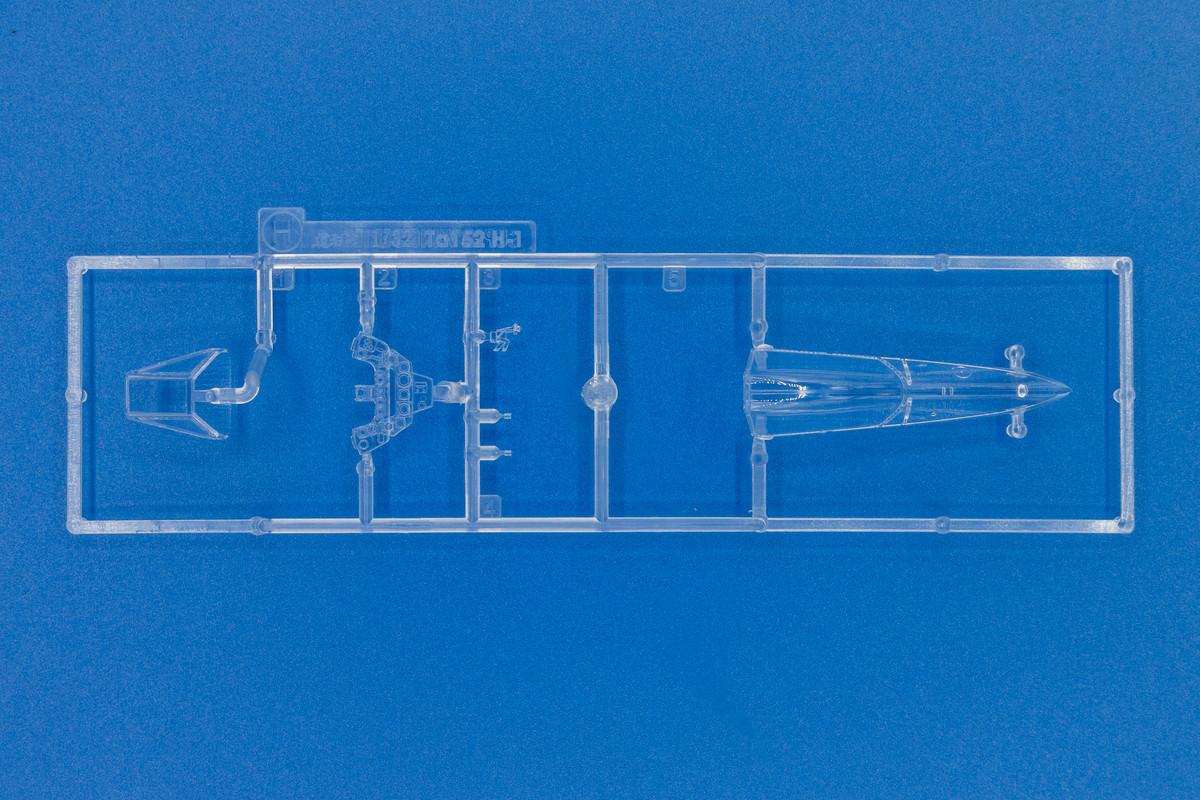
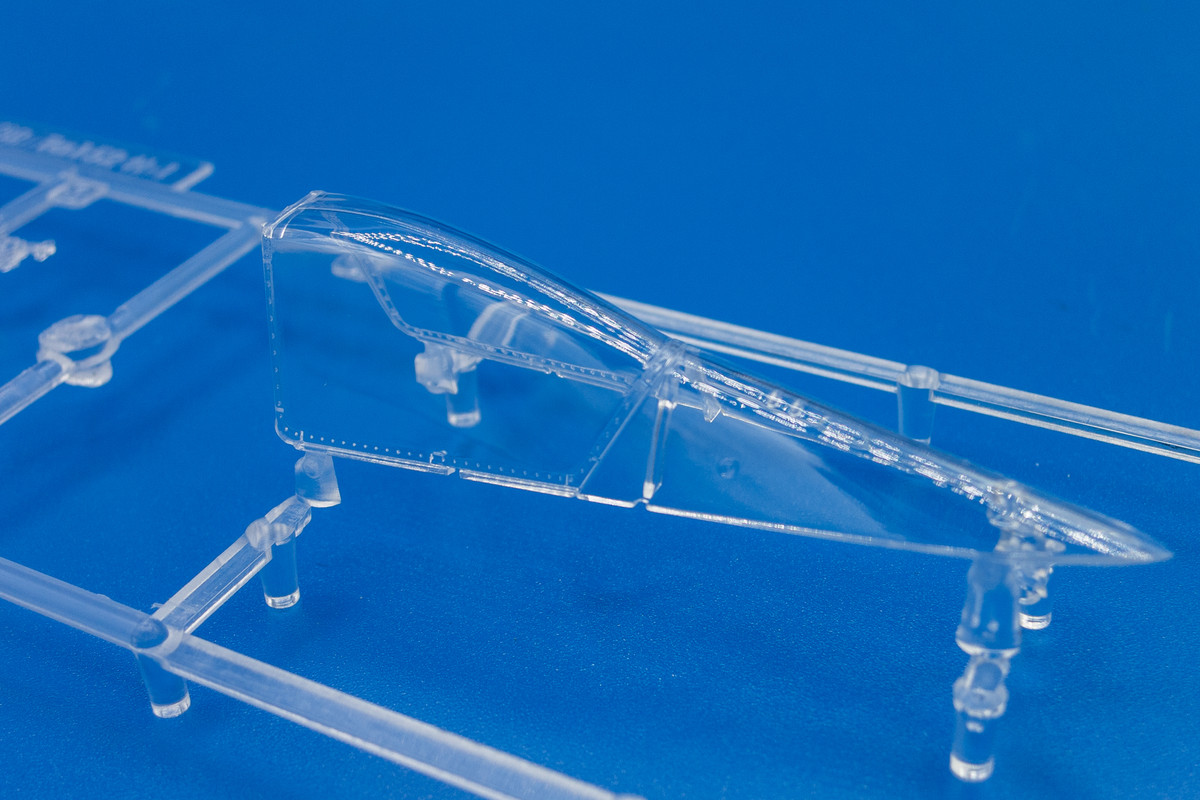
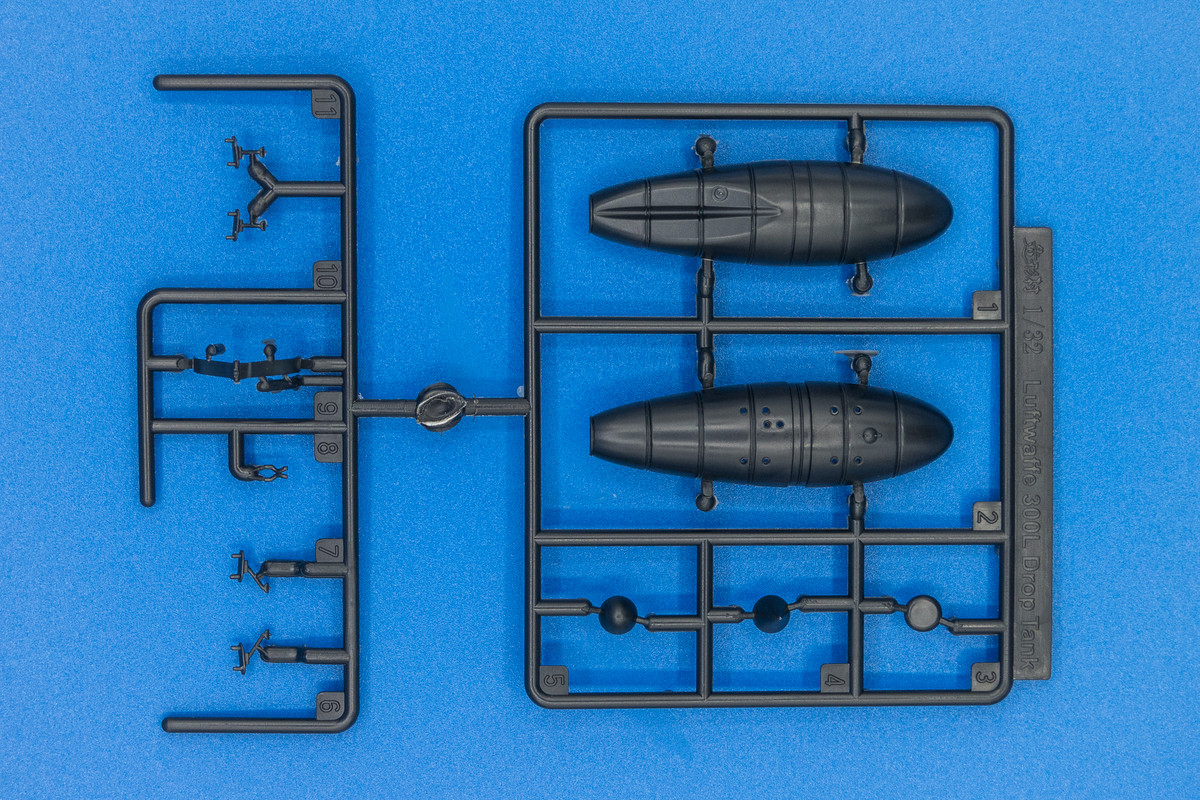
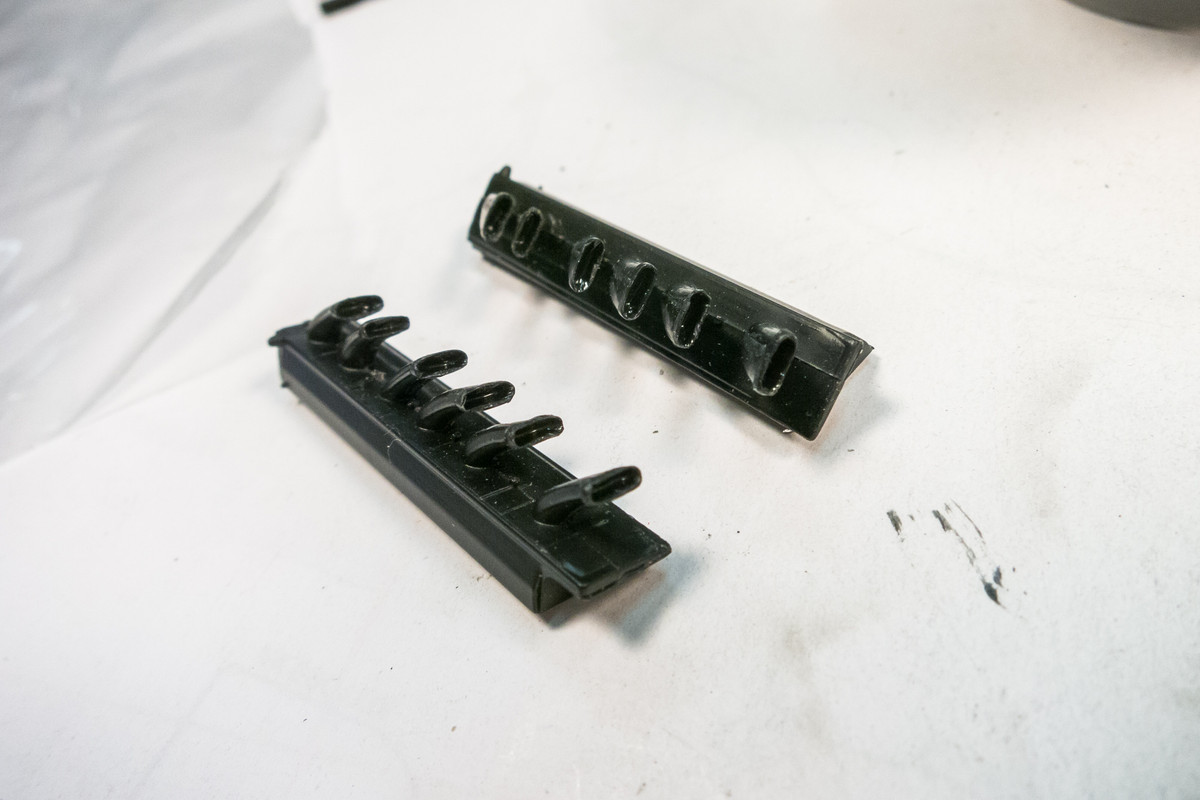
I'll be taking a look at the kit sprues and some aftermarket goodies next.
1/32 Zoukei-Mura Ta152H-0 White 7
Last edited by jkim on Sun Apr 12, 2020 10:15 pm, edited 2 times in total.
John aka JKim
-----------<><
-----------<><
- speedgraflex
- Moderator
- Posts: 9750
- Joined: Fri Feb 10, 2017 11:08 pm
- Location: Santa Monica, California
Re: 1/32 Zoukei-Mura Ta152H-1 White 7
I will follow along with you as always, John! I hope you are enjoying your holidays.
Bruce / SPEEDGRAFLEX
Re: 1/32 Zoukei-Mura Ta152H-1 White 7
Great subject. But I suspect no less, John!
Both pictures you show here are printed in edition 29 of Luftwaffe im Focus that came out last month. So I was immediately familiar with that plane as I saw your post. The caption under the first photo reads as follows:
The caption under the second photo in my own words:
Eight of the eleven received by III./JG 301 are shown. The photo must be taken in early February 1945 because the aircraft got their tactical numbers by January 31. You can see "Yellow 1" of the 11. Staffel besides "Red 1" and "Red 2" of the 10. Staffel. All aircraft wearing a yellow horizontal bar and a yellow and red Defence of the Reich band. The II. Gruppe wore the bar in red, the I. Gruppe in white and the Geschwaderstab in green.
Looking forward to the unboxing.
Both pictures you show here are printed in edition 29 of Luftwaffe im Focus that came out last month. So I was immediately familiar with that plane as I saw your post. The caption under the first photo reads as follows:
The crazy German word Geschwaderstabsschwarm means something like "Squadron Staff Flight". A Schwarm is a formation of four to six fighter planes.(...) the Ta 152H-0 "White 7", Werknr. 150007, must formerly have been an aircraft of the 9. Staffel (III. Gruppe). The green horizontal bar on the fuselage, however, that it must ultimately have belonged to the Geschwaderstabsschwarm. (...) The photo was taken after the war, propably at Stendal.
The caption under the second photo in my own words:
Eight of the eleven received by III./JG 301 are shown. The photo must be taken in early February 1945 because the aircraft got their tactical numbers by January 31. You can see "Yellow 1" of the 11. Staffel besides "Red 1" and "Red 2" of the 10. Staffel. All aircraft wearing a yellow horizontal bar and a yellow and red Defence of the Reich band. The II. Gruppe wore the bar in red, the I. Gruppe in white and the Geschwaderstab in green.
Looking forward to the unboxing.
When the sun of culture hangs low even dwarfs throw shadows.
Re: 1/32 Zoukei-Mura Ta152H-1 White 7
Thanks guys, especially the additional insights on 150007. The only nagging thing about this particular build is that I'm having to backdate an H-1 kit into an H-0 when Zoukei-Mura released an H-0 kit that would've done that work for me! It's just not available. In fact, none of the 1/32 Z-M Ta152H kits are in stock right now. Ah well... I've got a plan for the modification that should simplify things a bit.
But first, let's take a look at the sprues. This kit is molded in three colors of plastic: metallic grey (ugh!), black (double ugh!) and clear. I hate the metallic color because those dark flow lines running through the plastic always throw me off. I hate black plastic because it's hard to discern details off of a black background. The first sprue, A, is in that metallic color and houses most of the engine components.
Unless the engine cowling can be closed tightly without glue, I'll probably be shutting the engine off from view.
The landing gear hardware is on this sprue too. The legs look nice and sturdy and the details on the wheel hubs is nice.
Sprue B is black and holds other internal components from the engine, the guns, the tires and the prop. The prop blades look impressively wide. I'll have to compare them closely with the Henri Daehne prop.
The tips of the exhausts have been scooped out so I won't have to do that myself.
Sprue C is back to the metallic grey and houses much of the cockpit components. I don't see the instrument panel here so it's probably in black or maybe clear.
Two versions of the seat are available, one with belts and one without. I'll be using the one without and adding fabric harnesses from HGW.
Details on the cockpit side consoles looks pretty good.
Sprue D has the fuselage sides and the tail assembly.
The panel lines look nice and there are some rivets in prominent areas. I am considering doing some riveting to add some visual interest to the exterior surfaces.
Sprue E has more exterior components such as the fuselage bottom, wing bottom, engine cowling and control surfaces.
Sprues F and G are the wings.
The H-0 did not have fuel tanks in the wings like the H-1 did and had a different configuration of hatches and ports on the wing bottom. This is where my conversion from H-1 to H-0 will be limited to (I think).
The clear parts are thoughtfully wrapped in foam in a separate plastic baggy. And yes, the instrument panel is on this fret. I don't understand the IP as a clear part approach when the dial decal is designed to be installed on TOP of the panel, not behind.
The last small fret holds the optional drop tank.
John aka JKim
-----------<><
-----------<><
Re: 1/32 Zoukei-Mura Ta152H-1 White 7
Here are the upgrades that I'm looking at for this build. No resin (yet) but a ton of photoetch stuff. The PE can be really fiddly and I'm not married to using it if the benefit/hassle ratio isn't in my favor.
First up is Henri Daehne's resin prop for the Ta152H-1. I'll be showing better photos of each of these upgrades as the build progresses. I'm assuming that it is another beautifully represented prop and spinner combination from a true master.
I bought a set of metal legs because I was leery about the insert-and-twist sequence to install the landing gear legs. I don't like working with all-metal legs as I have problems with getting paint to stick so I'm hoping to get a set of those composite, steel tube/resin cast legs that I featured on my Bf109K-4 build... stay tuned! I also elected to pick up RB Productions Phototech Cockpit set. I am not impressed with the photos I've seen of kit instrument panel and wanted to replace it. Of the two options, this one seems like a bit more work since you have to stack individual instrument bezels onto the panels. But I can paint the components to match instead of relying on that funky Eduard pre-painted color.
Brass flaps are a nice touch if you don't mess up the folding sequence and that is easy to do. Attachment of brass doors and flaps can be fiddly too so if I'm successful with all of that, they'll be added. I'm not sure what the Exterior set offers besides thinner landing gear covers and cowl flaps... I just threw them into the cart when I bought the legs and flaps.
So getting into the actual build, let's talk about the differences between the H-1 and H-0. The LSP review of the Z-M Ta152H-0 kit includes a diagram of the differences, which are relegated to the bottom of the wing.
Using a CAD program, I developed masks for the H-0 hatches and ports. The detailed drawings that I first used didn't match the model so I ended up scanning the model part and then grafting the H-0 hatches and ports from the drawings onto the scan. If you look at the photo of the wing bottom closely, you can see the residue of a mask that was placed on the wing and then removed.
The masks will help me orient the hatches and ports without guess work. The smaller ovals and rectangles can be scribed using standard templates. The larger rectangular hatch is a bit more complicated due to the non-standard shape. Another handy use for the masks I've made is that I can use them as a template to cut scribing templates out of brass sheet.
The plan is to fill in the appropriate panel lines and hatches first. Then I can use the masks to place the scribing templates. The large template will be glued into place using a bit of CA glue. After scribing, I can pop off the template and clean up the glue with debonder.
John aka JKim
-----------<><
-----------<><
- BlackSheep214
- Elite Member
- Posts: 10376
- Joined: Sun Apr 06, 2014 8:47 pm
Re: 1/32 Zoukei-Mura Ta152H-1 White 7
I hear you. I hate colored plastic on sprues. White or grey don't bother me, but color? Yuck!
“Who controls the skies, controls the fate of this Earth”
Author unknown- 352nd Fighter Group, Blue-Nosed Bastards of Bodney
“Send one plane it’s a sortie; send two planes it’s a flight; send four planes it’s a test of airpower. - Richard Kohn
Author unknown- 352nd Fighter Group, Blue-Nosed Bastards of Bodney
“Send one plane it’s a sortie; send two planes it’s a flight; send four planes it’s a test of airpower. - Richard Kohn
Re: 1/32 Zoukei-Mura Ta152H-1 White 7
Nice work on the hatch. This will be fun to watch!
To make each build less crappy than the last one. Or, put another way, "Better than the last one, not as good as the next one!"..
- Thomas_M
- Admin
- Posts: 4407
- Joined: Fri Dec 13, 2013 9:43 am
- Location: Bad Wurzach - Germany
- Contact:
Re: 1/32 Zoukei-Mura Ta152H-1 White 7
An engineer's approach! First class pics and text, love it! Reading this is full of tension to me, cannot wait for an update! Maybe you could teach me how to do the working hinges on the PE sheet...
Re: 1/32 Zoukei-Mura Ta152H-1 White 7
Thanks guys! Spent most of the weekend freezing up at the South Rim of the Grand Canyon! Brrrrr.... according to my car thermometer, the temps dropped to as low as MINUS 15 degrees Fahrenheit.
Just doing some preliminary poking around at the kit parts right now. The wing cannon parts seem to be straight and have a dimple on the business end to represent an open gun barrel. I've sanded the barrels round and deepened to barrel openings. I can always replace with brass tubing if the kit plastic is not convincing enough.
The dimples on the exhaust pipes were also gouged out further to simulate hollowness. The black kit plastic is interesting... a bit soft and rubbery like hard vinyl. It has some advantages like being flexible and less prone to breakage but it's more difficult to sand smooth. The insides of the exhausts were touched up with Tamiya Extra Thin cement to get rid of the bits of excess plastic left over from the gouging process.
The supercharger intake is molded with some sort of grating over the opening. I believe this is inaccurate so I've removed the grating.
That's all for now!
Working hinges? Hmmm.... I may decide NOT to take advantage of that feature on my build since I prefer hatches and doors closed. We'll take a closer look at it though.Thomas_M wrote:An engineer's approach! First class pics and text, love it! Reading this is full of tension to me, cannot wait for an update! Maybe you could teach me how to do the working hinges on the PE sheet...
Just doing some preliminary poking around at the kit parts right now. The wing cannon parts seem to be straight and have a dimple on the business end to represent an open gun barrel. I've sanded the barrels round and deepened to barrel openings. I can always replace with brass tubing if the kit plastic is not convincing enough.
The dimples on the exhaust pipes were also gouged out further to simulate hollowness. The black kit plastic is interesting... a bit soft and rubbery like hard vinyl. It has some advantages like being flexible and less prone to breakage but it's more difficult to sand smooth. The insides of the exhausts were touched up with Tamiya Extra Thin cement to get rid of the bits of excess plastic left over from the gouging process.
The supercharger intake is molded with some sort of grating over the opening. I believe this is inaccurate so I've removed the grating.
That's all for now!
John aka JKim
-----------<><
-----------<><
Re: 1/32 Zoukei-Mura Ta152H-1 White 7
Great craftsmanship! Looking good!
To make each build less crappy than the last one. Or, put another way, "Better than the last one, not as good as the next one!"..