MiG-23ML Flogger G - Trumpeter 1/48
-
Medicman71

- Elite Member
- Posts: 9715
- Joined: Mon Apr 07, 2014 9:32 am
- Location: Houston, Tx
Re: MiG-23ML Flogger G - Trumpeter 1/48
Wow! That looks great!
Mike
Sponsored by Boeing, Lockheed Martin, Northrop Grumman, Saab, BAE, and Dassault
Sponsored by Boeing, Lockheed Martin, Northrop Grumman, Saab, BAE, and Dassault
-
Norman

- Senior Member
- Posts: 85
- Joined: Sun Apr 06, 2014 12:54 am
- Location: Hamburg, Germany
- Contact:
Re: MiG-23ML Flogger G - Trumpeter 1/48
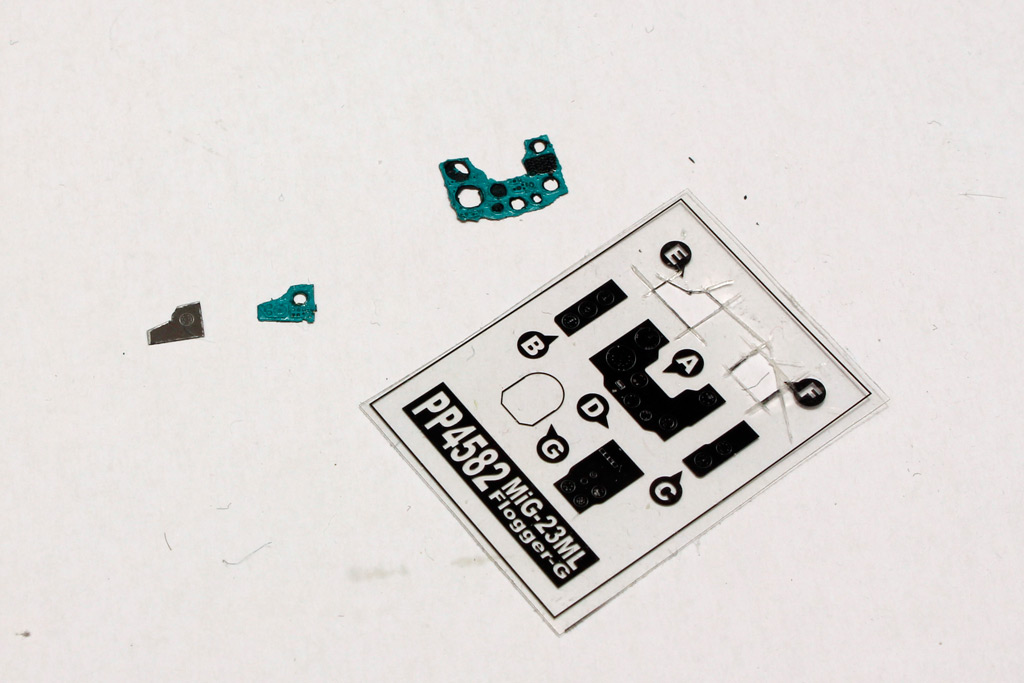
Meanwhile in Hamburg, Germany ... Aires cockpit, feel my pain between my legs. 
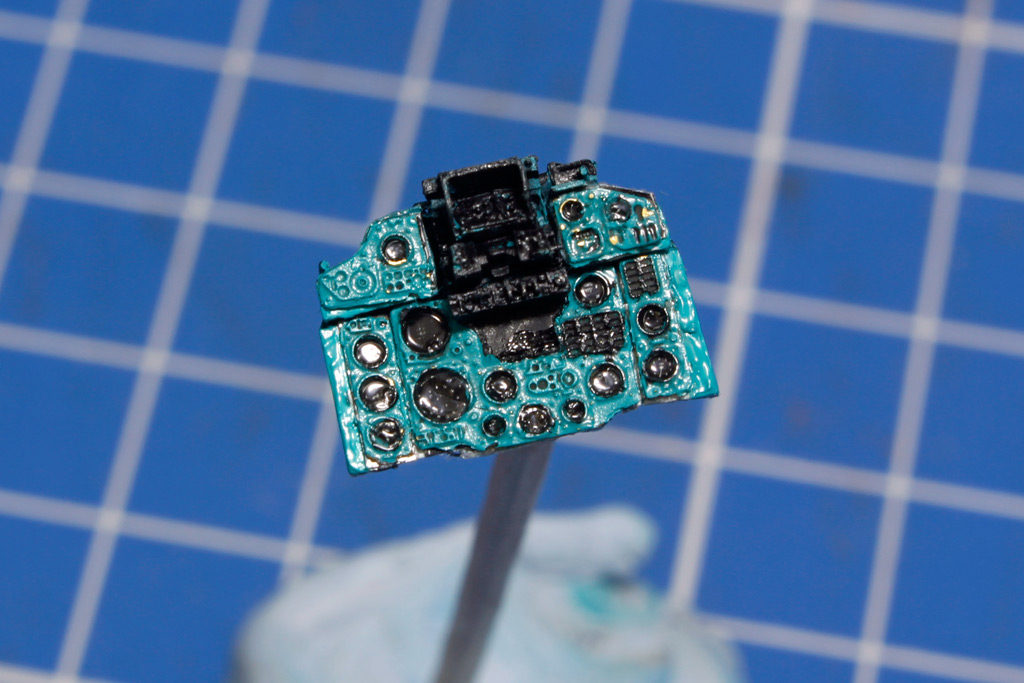
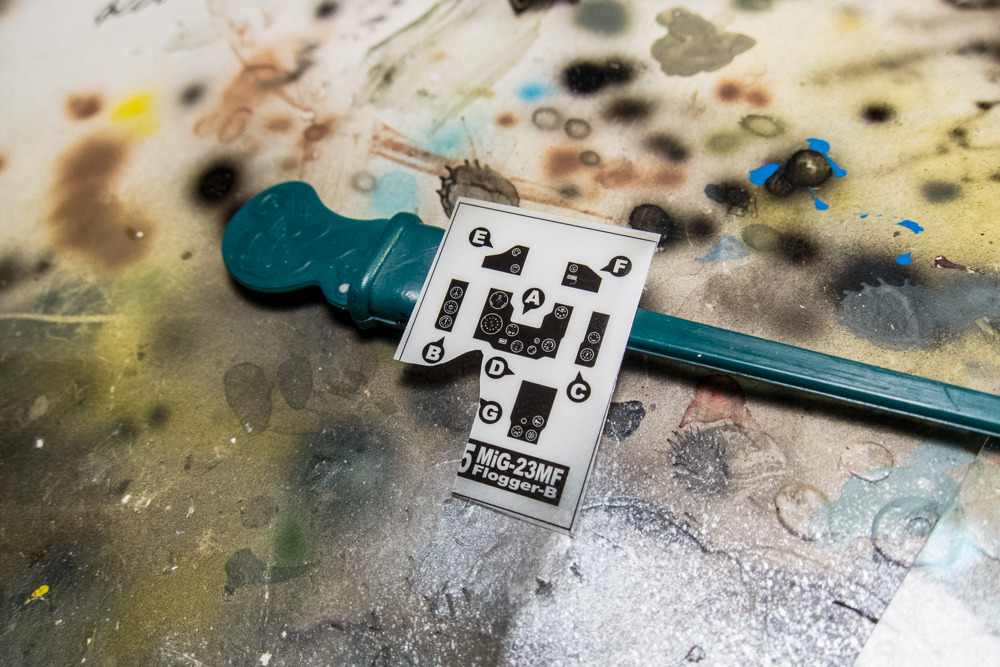
Instrument panel with small parts. Unfortunately, the instruments can hardly be recognized. Even though I painted it with white paint. Unfortunately too small to recognize anything. Next time I'll probably use a look part from Eduard
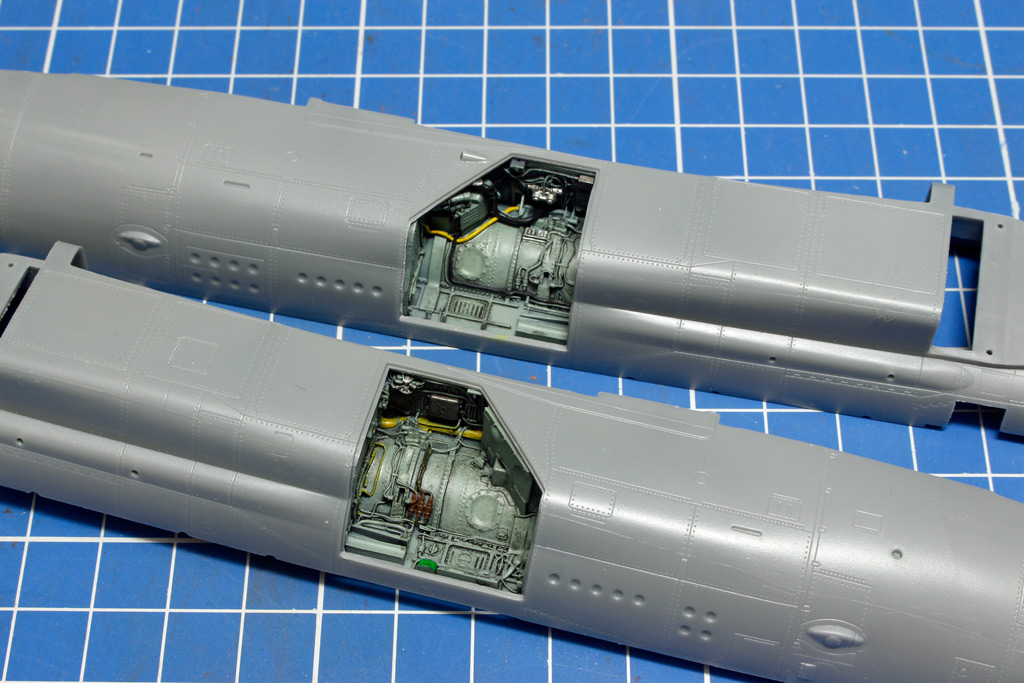
Testfit, not glued yet.
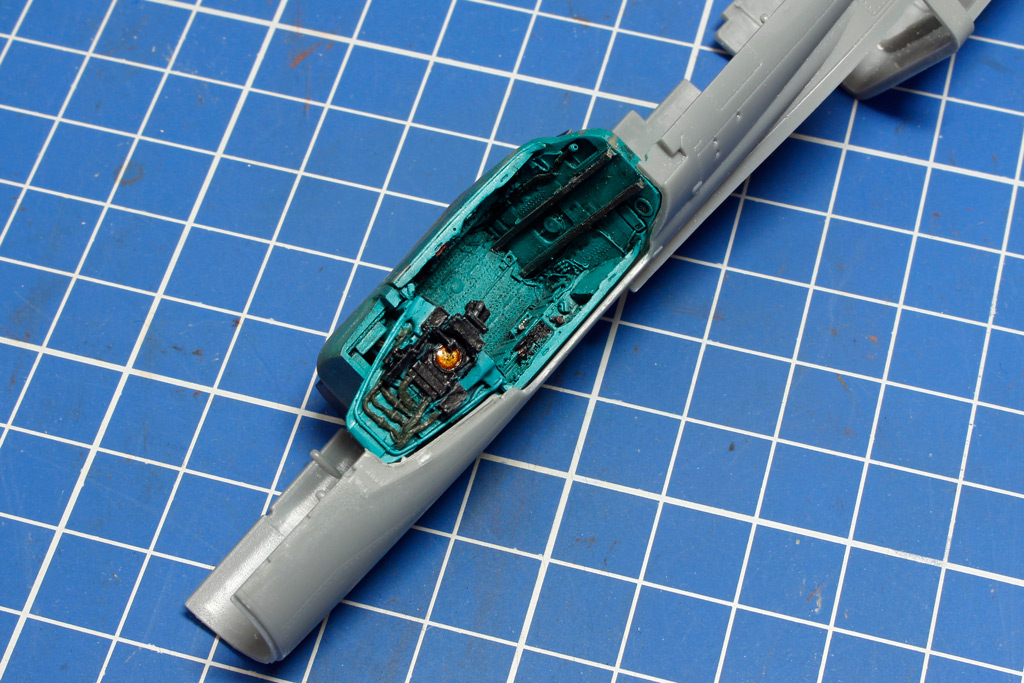
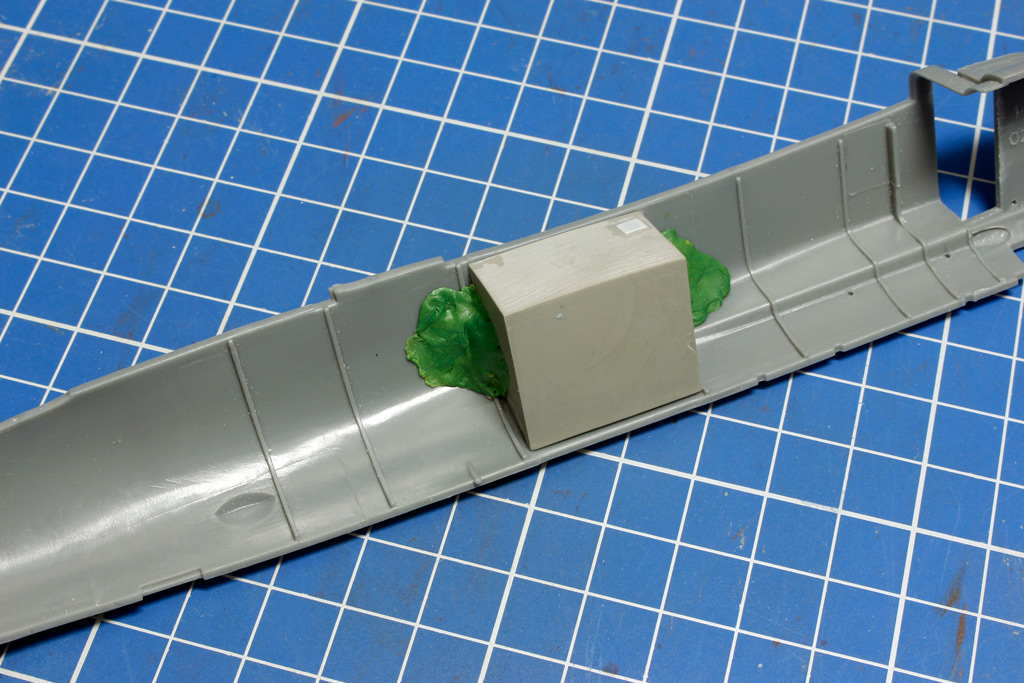
The Eduard Wheel wells are glued in with super glue and fixed with green stuff. My epoxy glue was to old for use. I hobe it will works. The fit of the parts was not so outstandig, which didn't make gluing easier.
Instrument panel with small parts. Unfortunately, the instruments can hardly be recognized. Even though I painted it with white paint. Unfortunately too small to recognize anything. Next time I'll probably use a look part from Eduard
Testfit, not glued yet.
The Eduard Wheel wells are glued in with super glue and fixed with green stuff. My epoxy glue was to old for use. I hobe it will works. The fit of the parts was not so outstandig, which didn't make gluing easier.

Re: MiG-23ML Flogger G - Trumpeter 1/48
Well done! What is the size of thus?
To make each build less crappy than the last one. Or, put another way, "Better than the last one, not as good as the next one!"..

Re: MiG-23ML Flogger G - Trumpeter 1/48
That's interesting... I got a different result using a similar Aires cockpit set. I sprayed the white onto the back of the clear acetate sheet. Maybe the ML cockpit instruments are different than the MF?Norman wrote: Instrument panel with small parts. Unfortunately, the instruments can hardly be recognized. Even though I painted it with white paint. Unfortunately too small to recognize anything. Next time I'll probably use a look part from Eduard
I love the crazy turquoise color in the cockpits of these Russian fighters. I wonder what the rationale was to use such a color.
John aka JKim
-----------<><

-----------<><
-
Stikpusher

- Moderator
- Posts: 18869
- Joined: Sat Apr 05, 2014 8:37 pm
- Location: Ceti Alpha 5
Re: MiG-23ML Flogger G - Trumpeter 1/48
I vaguely remember reading somewhere that the color was chosen for psychological reasons. The color is supposed to be visually soothing in some manner according to some Soviet scientific reasoning.jkim wrote: I love the crazy turquoise color in the cockpits of these Russian fighters. I wonder what the rationale was to use such a color.
"Surely I have made my meaning plain? I intend to avenge myself upon you, Admiral. I have deprived your ship of power, and when I swing 'round, I intend to deprive you of your life."
FLSM
FLSM
-
Norman
- Senior Member
- Posts: 85
- Joined: Sun Apr 06, 2014 12:54 am
- Location: Hamburg, Germany
- Contact:
Re: MiG-23ML Flogger G - Trumpeter 1/48
Warning, high stress levels expected.
On both halves of the fuselage, there is a molded seam, most raised and sometimes sunk. I try sanding as best I can.
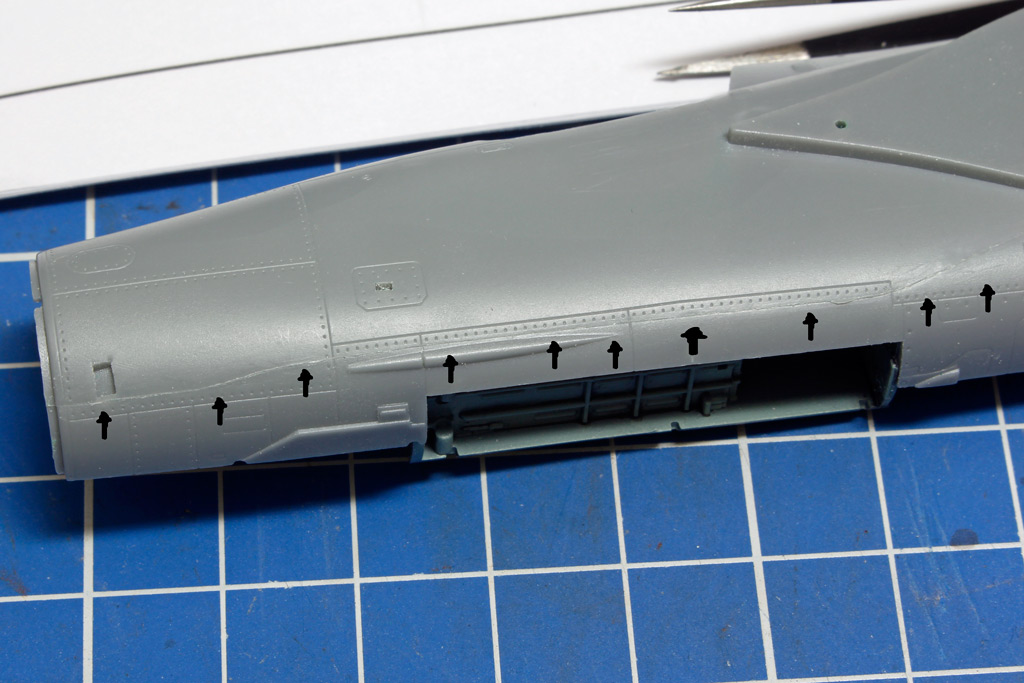
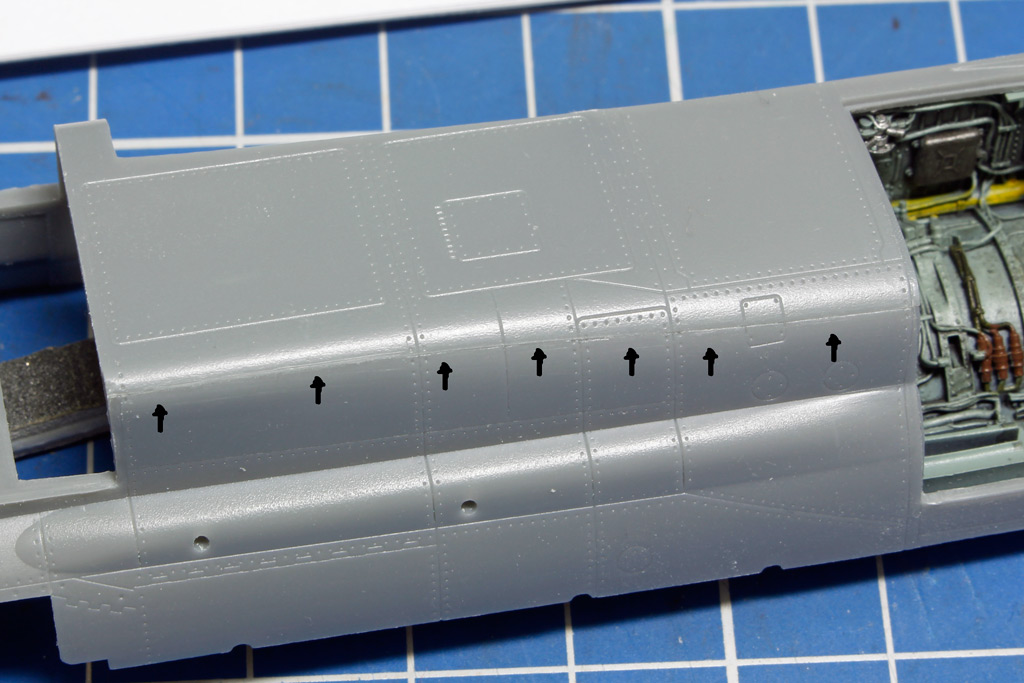
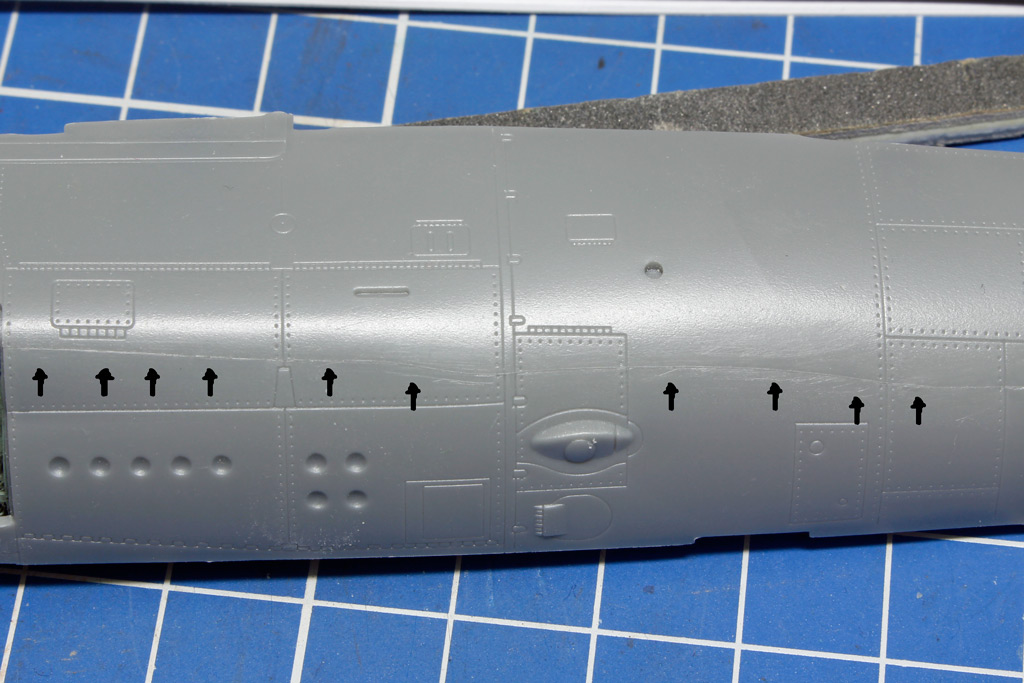
On both halves of the fuselage, there is a molded seam, most raised and sometimes sunk. I try sanding as best I can.

Re: MiG-23ML Flogger G - Trumpeter 1/48
Wow, that's a curvy and damn long mold line. But I'm sure you'll make it your bitch. 
-
Stikpusher
- Moderator
- Posts: 18869
- Joined: Sat Apr 05, 2014 8:37 pm
- Location: Ceti Alpha 5
Re: MiG-23ML Flogger G - Trumpeter 1/48
mostrich wrote:Wow, that's a curvy and damn long mold line. But I'm sure you'll make it your bitch.
"Surely I have made my meaning plain? I intend to avenge myself upon you, Admiral. I have deprived your ship of power, and when I swing 'round, I intend to deprive you of your life."
FLSM
FLSM

Re: MiG-23ML Flogger G - Trumpeter 1/48
Superb work!
Stuart Templeton 'I may not be good but I'm slow...'
My blog: https://stuartsscalemodels.blogspot.com/
My blog: https://stuartsscalemodels.blogspot.com/
-
Norman
- Senior Member
- Posts: 85
- Joined: Sun Apr 06, 2014 12:54 am
- Location: Hamburg, Germany
- Contact:
Re: MiG-23ML Flogger G - Trumpeter 1/48
It continued with the MiG-23.
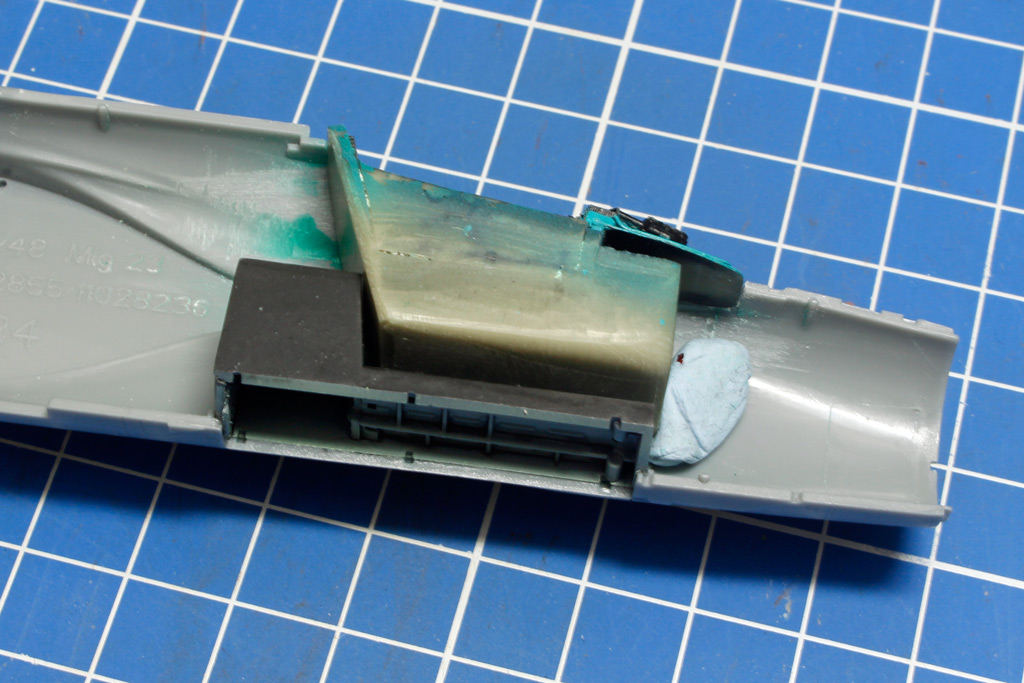
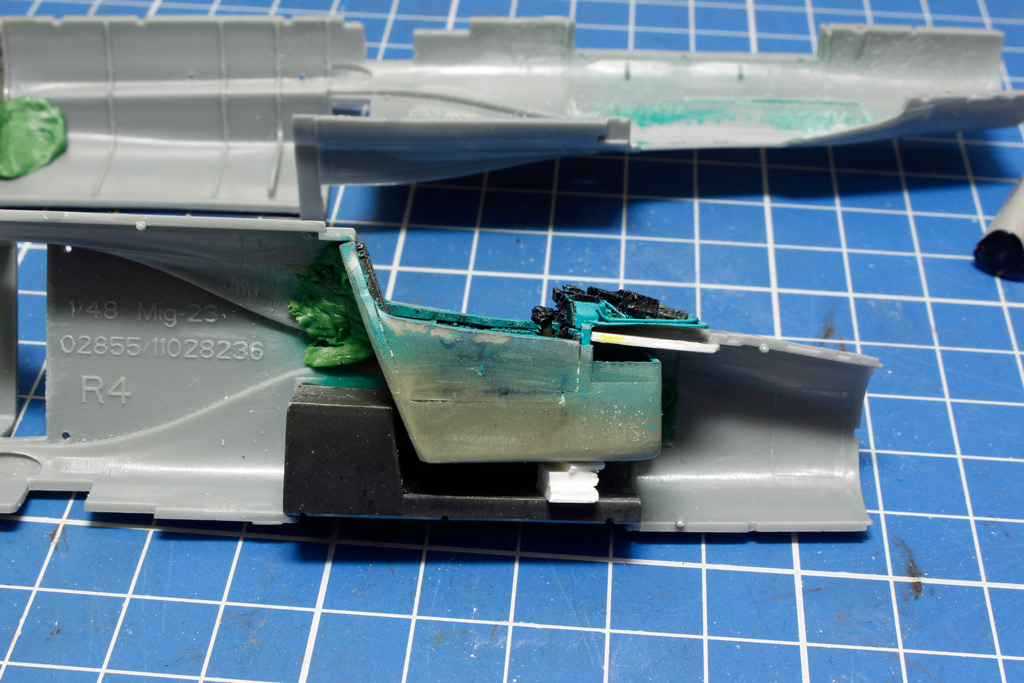
The cockpit was glued into one half of the fuselage. I used the front wheel well with about 5 mm plastic spacer to place the cockpit a little better, for the further gluing.
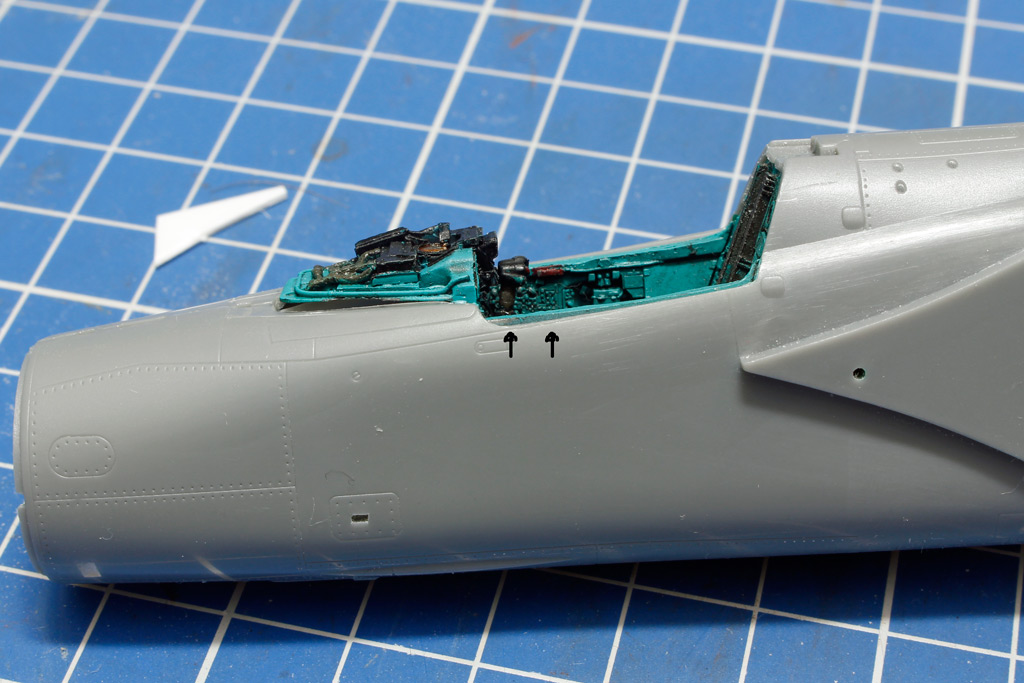
For the HUD I cut some plastic in the upper area and lined it with a plastic sheet to align the HUD better later.
Afterwards it would have been better to glue the cockpit side parts to the fuselage halves without gluing the main cockpit part. A side wall had to be sanded lightly
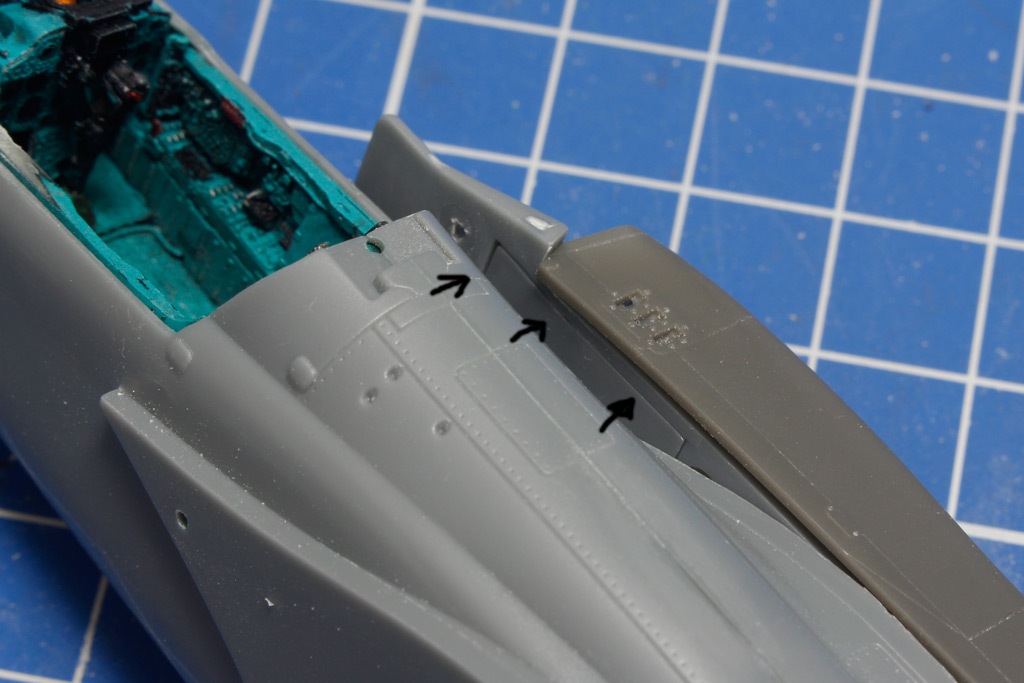
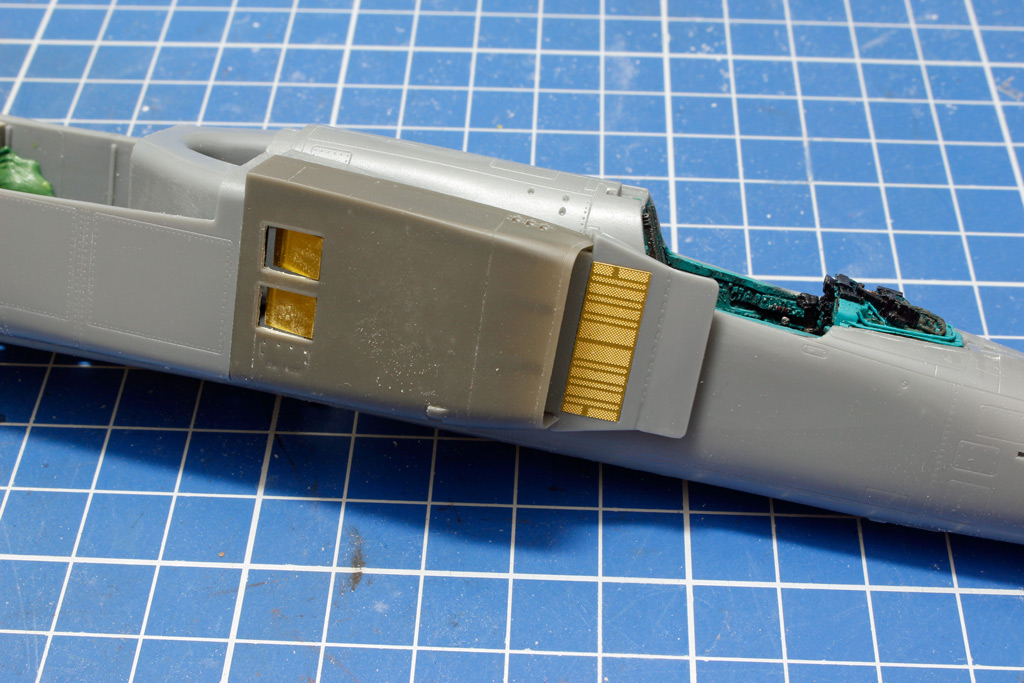
Air intake parts from Eduard.
The splitter plates from the kit do not quite match the parts from Eduard, there is a gap. Due to the gap, the pins no longer fit to glue the air intake to the fuselage.
In addition, a lot of filling has to be done here, because you can see this area later.

Here you can see quite well that you have to completely fill the cockpit.
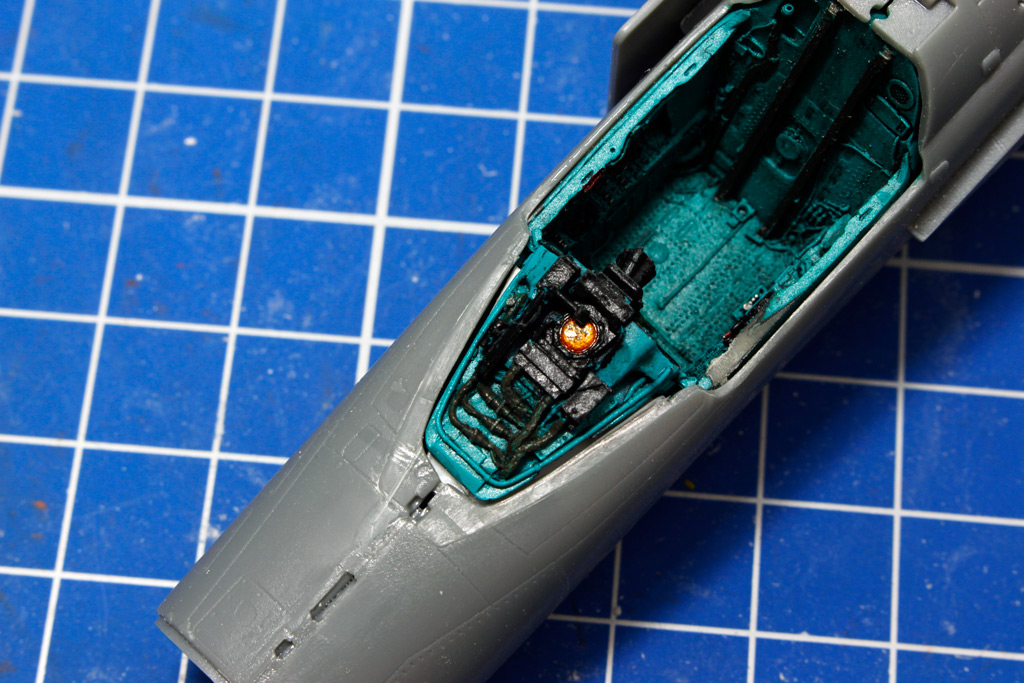
The MiG-23 will need a lot of filler
The cockpit was glued into one half of the fuselage. I used the front wheel well with about 5 mm plastic spacer to place the cockpit a little better, for the further gluing.
For the HUD I cut some plastic in the upper area and lined it with a plastic sheet to align the HUD better later.
Afterwards it would have been better to glue the cockpit side parts to the fuselage halves without gluing the main cockpit part. A side wall had to be sanded lightly
Air intake parts from Eduard.
The splitter plates from the kit do not quite match the parts from Eduard, there is a gap. Due to the gap, the pins no longer fit to glue the air intake to the fuselage.
In addition, a lot of filling has to be done here, because you can see this area later.
Here you can see quite well that you have to completely fill the cockpit.
The MiG-23 will need a lot of filler