Page 3 of 30
Re: 1/32 Hasegawa Fw 190D-13 Yellow 10
Posted: Sat May 23, 2020 3:52 am
by Floki
Great idea cutting the resin piece in two.
Re: 1/32 Hasegawa Fw 190D-13 Yellow 10
Posted: Sat May 23, 2020 9:13 am
by Stikpusher
Indeed! And you can easily fill that gap with a piece of styrene strip. Between that and the external piece, the gap would become virtually invisible.
Re: 1/32 Hasegawa Fw 190D-13 Yellow 10
Posted: Sat May 23, 2020 10:23 pm
by jkim
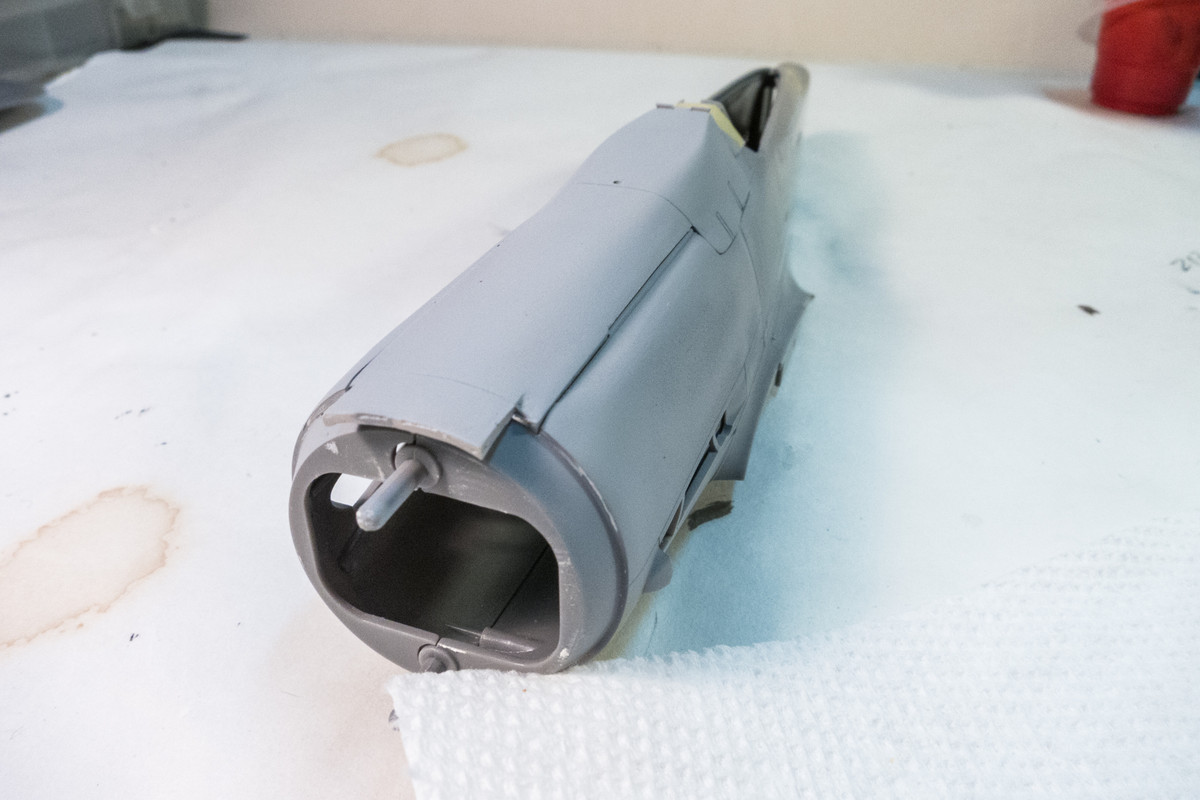
Hey guys! I'm glad I found a way to utilize the Aires wheel well set without having to make an major modifications to the kit. I'll probably use bits of Milliput to anchor the wheel wells into place, much like the Blue Tack. I'll have plenty of time before the putty hardens to make sure the gun barrel openings line up and then I can seep some CA glue into the joints for a more secure bond.
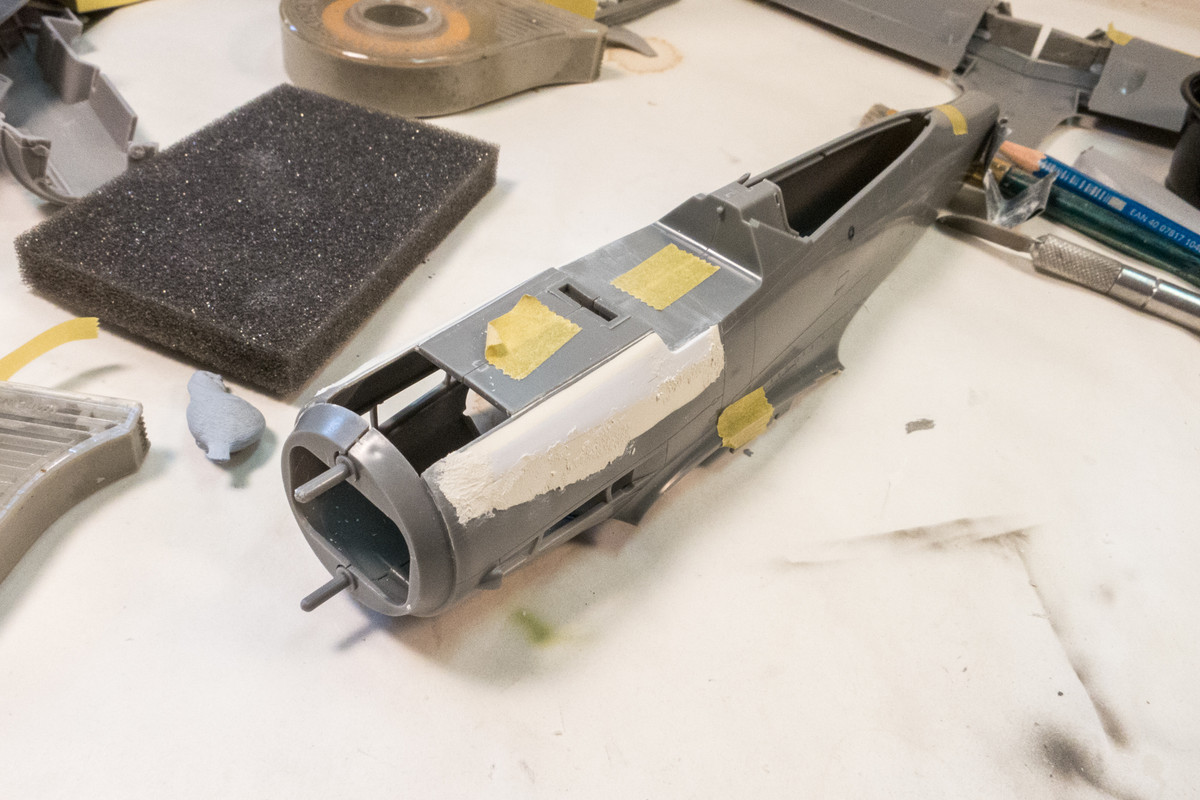
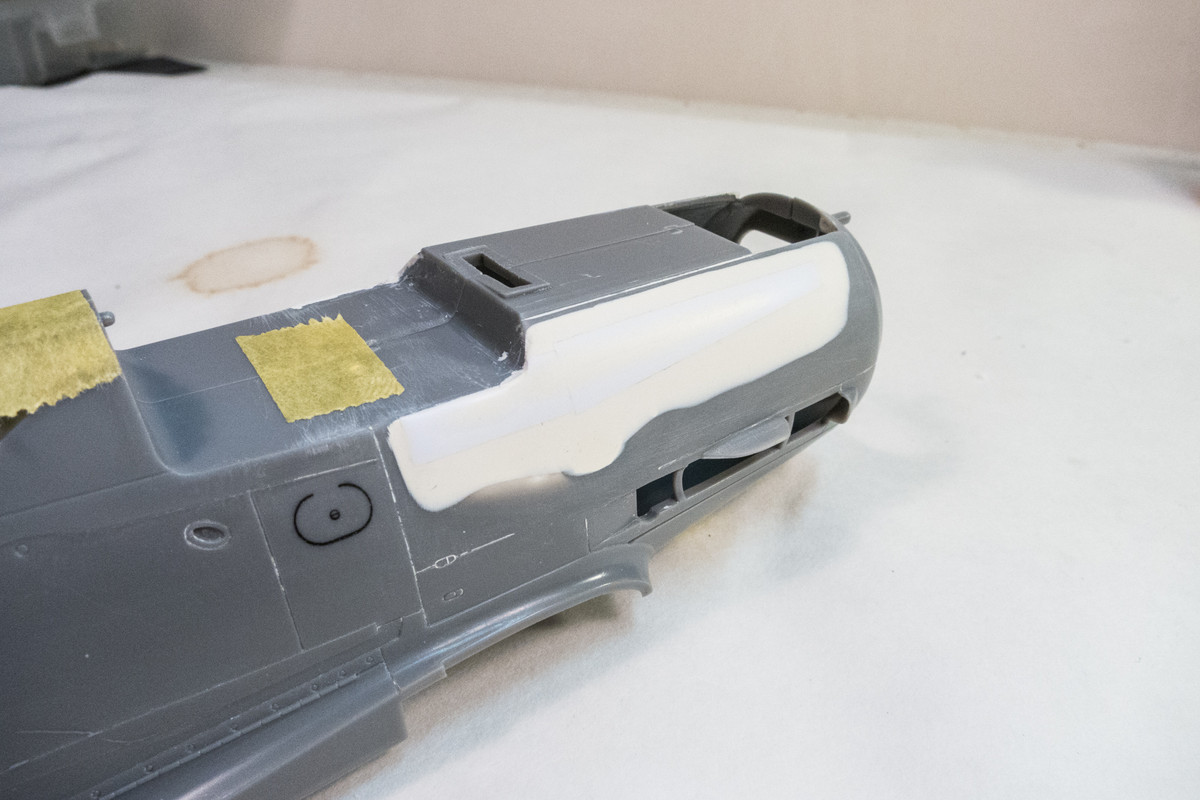
The major exercise of this conversion is the "bulge" and that is what I have been working on yesterday and today. Because it takes so long for Milliput to harden, progress has been slow but I've finally reached a rough approximation of the what bulges will look like.
Using the pieces of styrene as a "base", I've applied Milliput to build up the bulge and transition it back to the fuselage. The pieces of sheet plastic created some issues for me. They were thin enough that I thought they would conform to the curvature of the fuselage. I even took extra care of securing the top joint firmly with Tamiya Extra Thin cement, waiting that to cure and then gluing down the bottom joint. Still, the plastic sheet ended up being too flat and I've had to add a bead of putty down the middle of the white plastic to create a more curved surface.
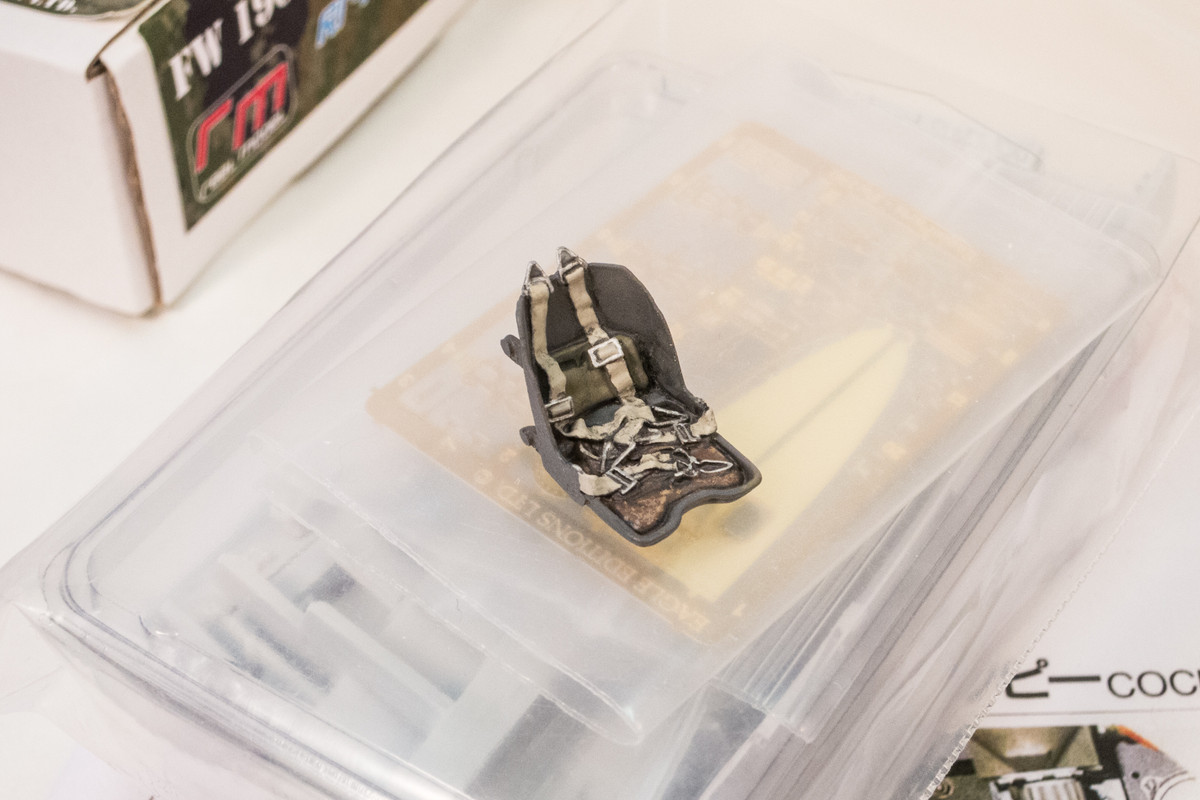
This took multiple applications of Milliput, with each of them allowing to cure at least 4-6 hours before sanding. In the down time, I ended up painting the seat from the Eagle Editions cockpit, which comes with two versions: one with belts and one without. I'll probably end up using HGW harnesses but I thought I'd see what the other seat would like like with a quick paint job.
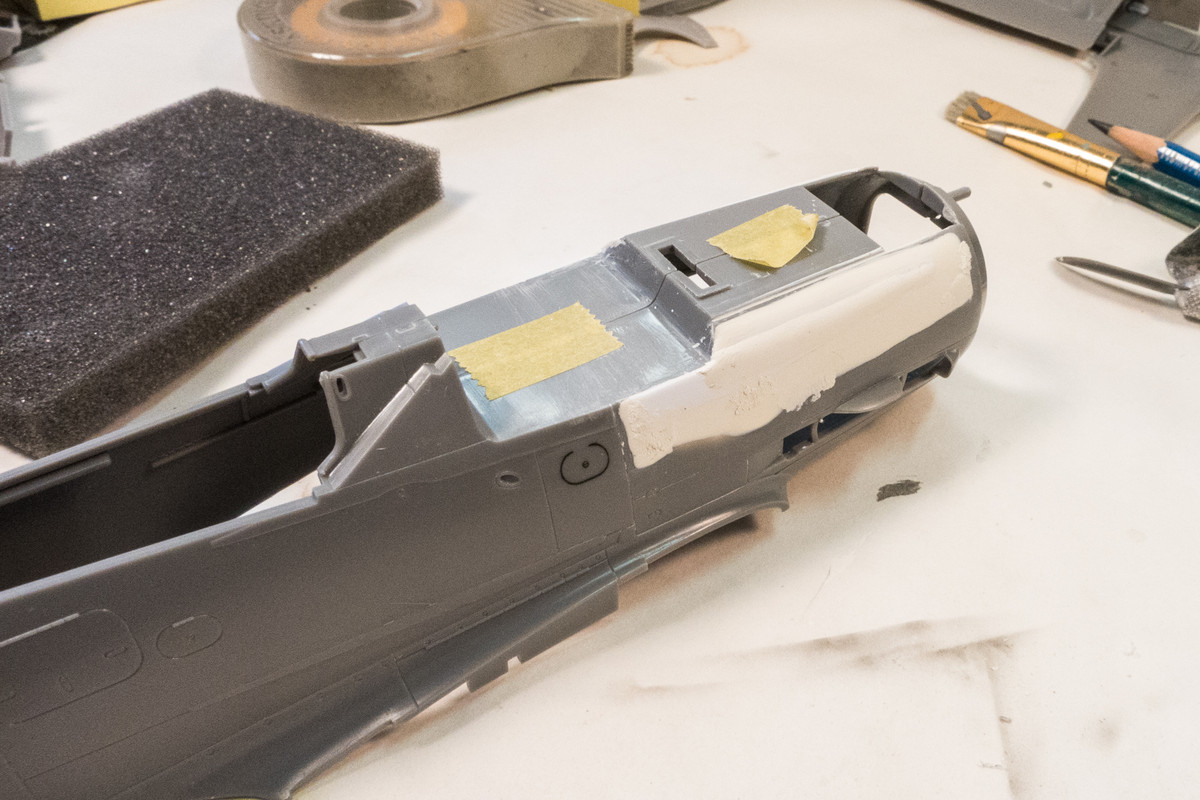
After a few iterations of puttying and sanding, I've gotten to a point where the bulge has been established and curvature of the sides of the fuselage have been restored. Unlike the GM resin fuselage, I've elected to fair the bottom edge of the raised area cleanly into the fuselage, creating a single "ridge" on the top and not a bulge with an upper and lower ridge. This is based on the cross-sections of the D-13 in my Dora Volume 2 book.
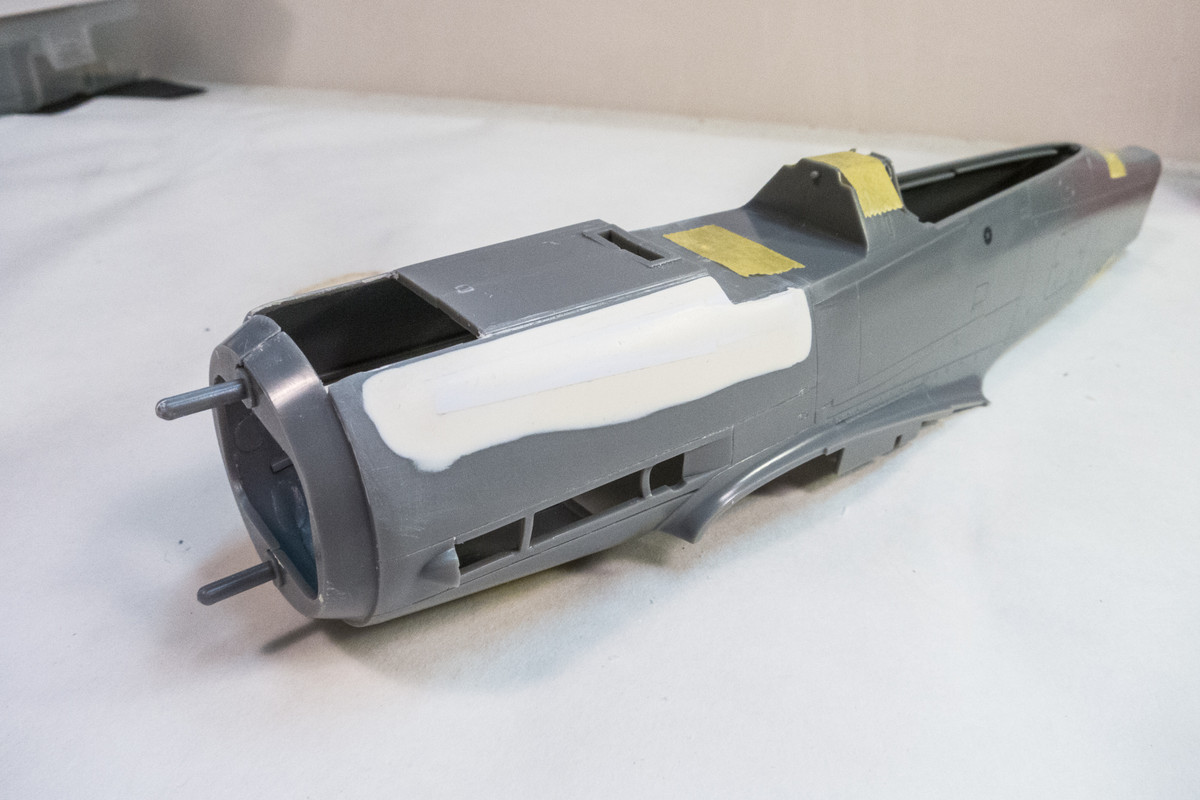
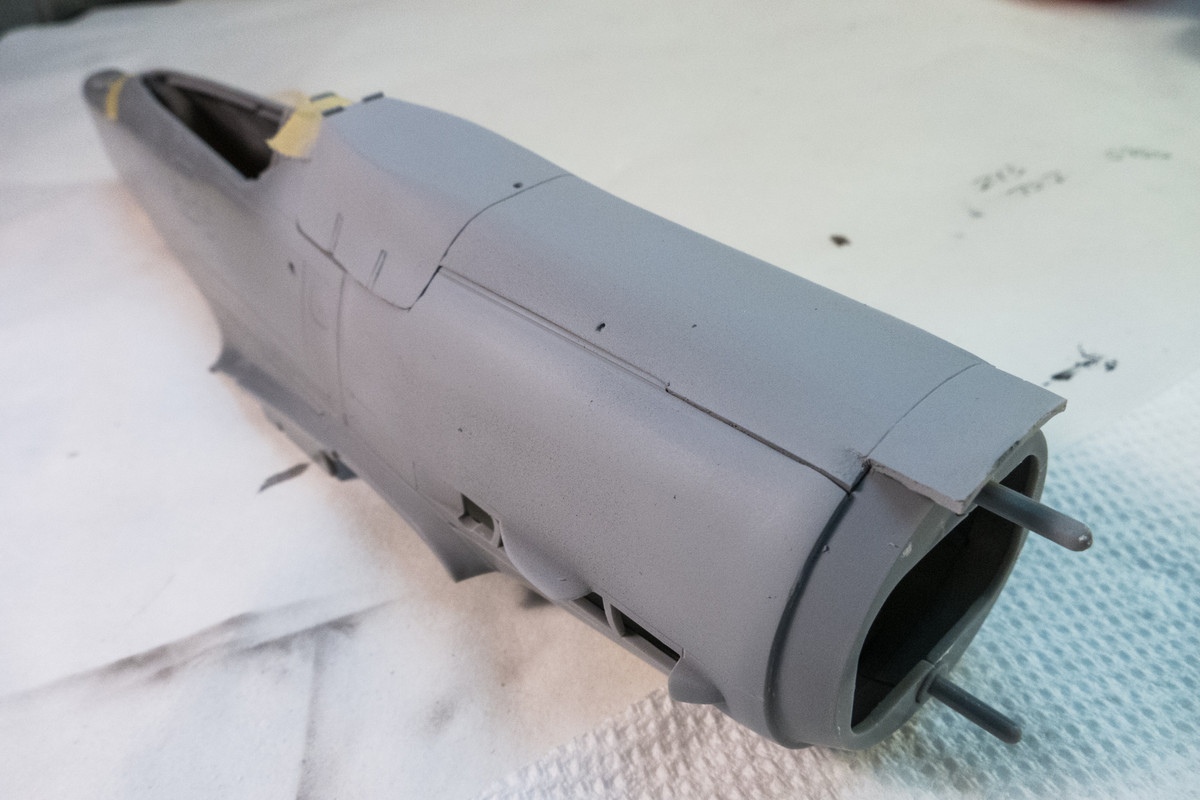
Time to shoot this sculpting exercise with the some primer to check my work. I used Mr Surfacer 1200 cut with Tamiya Lacquer Thinner.
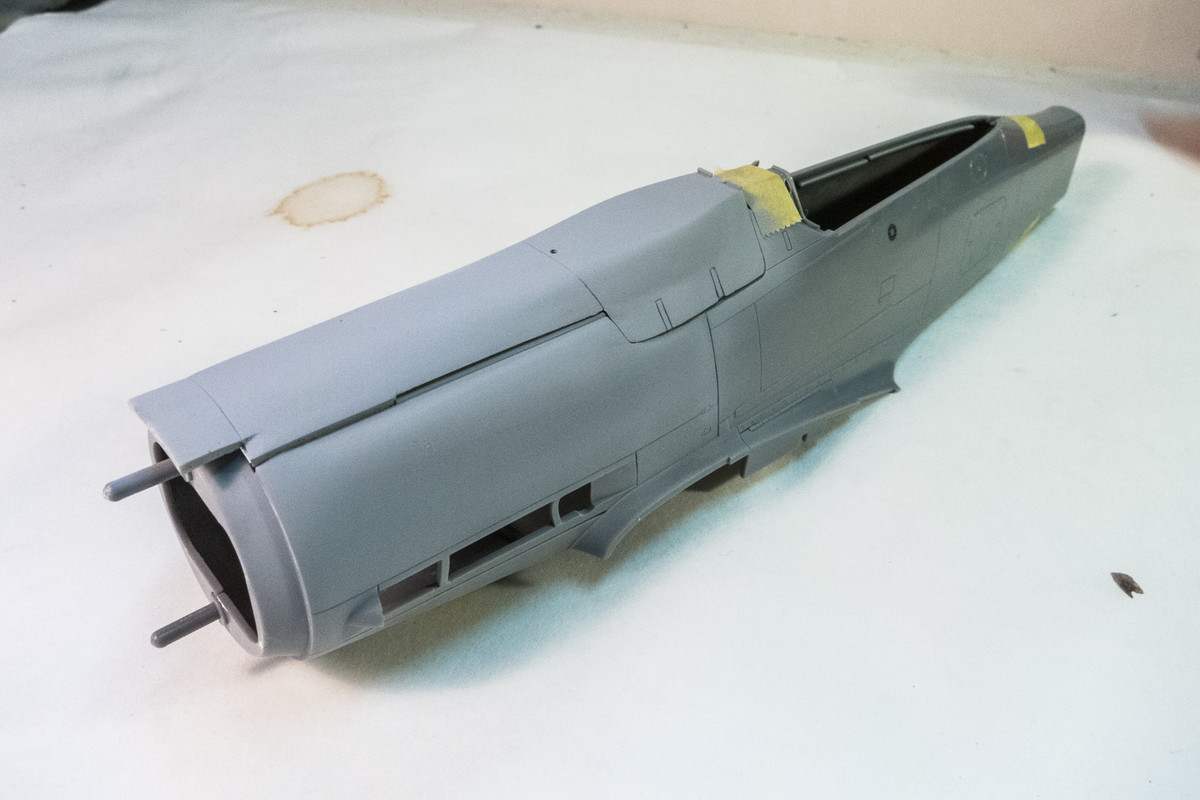
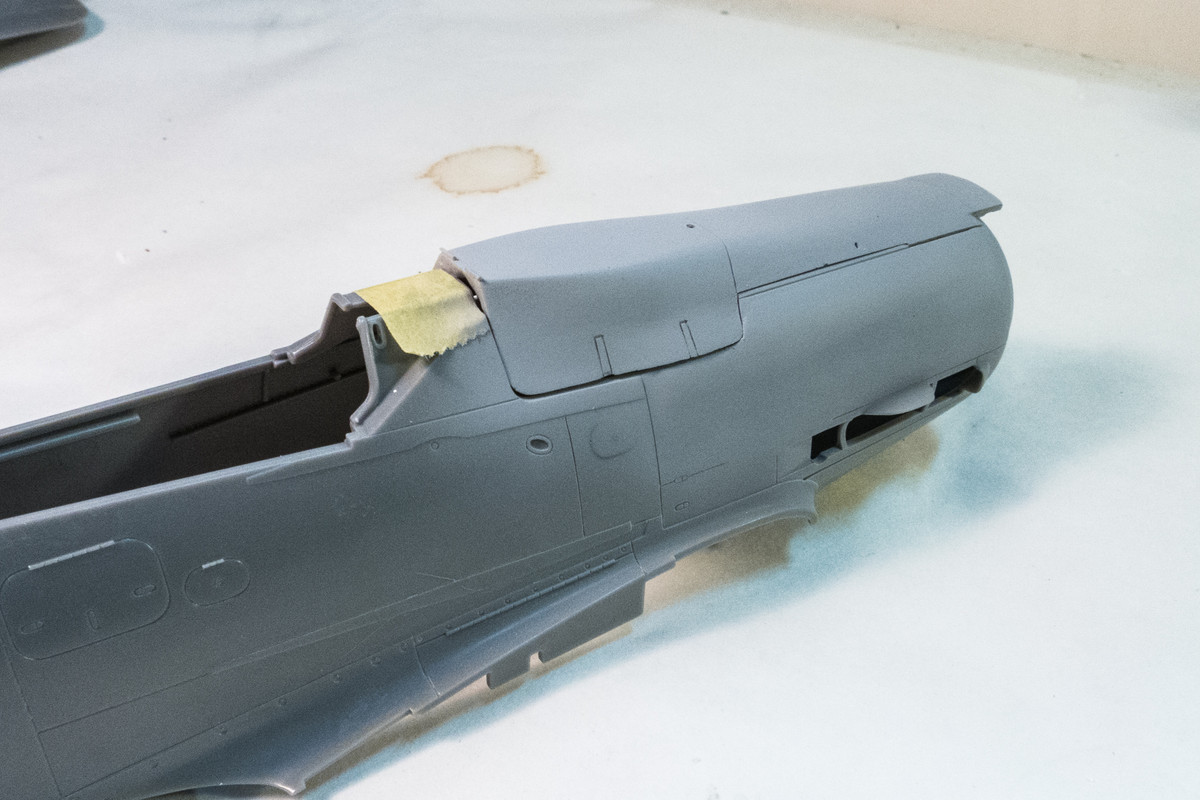
Hey, where did the bulge go? That's what I thought after I sprayed the primer on. My result is much more subtle than the GM conversion. I can definitely see it in person and also feel it when I run my fingers over the model but it doesn't show up very dramatically in the photos. Is this a good thing or bad thing?
The lack of panel lines or other details adds to the disappearing act and I think the rivet lines will accentuate the curvature. But the disruption camo pattern will act the opposite and help hide the surface curvature. I'm going to set this aside and think about it. There are some edges and transitions that need to be cleaned up... maybe during that process I'll end up liking my result a little more.
Re: 1/32 Hasegawa Fw 190D-13 Yellow 10
Posted: Sat May 23, 2020 11:11 pm
by Floki
I'm really liking the progress here. I would say see what it looks like with a few rivets and panel lines engraved on it before changing it. If you think it needs more then they can easily be filled back in.
Re: 1/32 Hasegawa Fw 190D-13 Yellow 10
Posted: Sun May 24, 2020 6:34 am
by Stuart
Excellent work John!
Re: 1/32 Hasegawa Fw 190D-13 Yellow 10
Posted: Sun May 24, 2020 10:20 am
by Medicman71
Incredible work on everything as always John.
Re: 1/32 Hasegawa Fw 190D-13 Yellow 10
Posted: Sun May 24, 2020 10:27 am
by BlackSheep214
Re: 1/32 Hasegawa Fw 190D-13 Yellow 10
Posted: Sun May 24, 2020 7:28 pm
by jkim
Thanks guys! The more I think about the bulge, the less I'm inclined to change it. I'm thinking that it is probably more in line with what the actual aircraft designers did when trying to accommodate the larger engine bearers and is supported by the profile drawings. It just doesn't jump out at first glance.
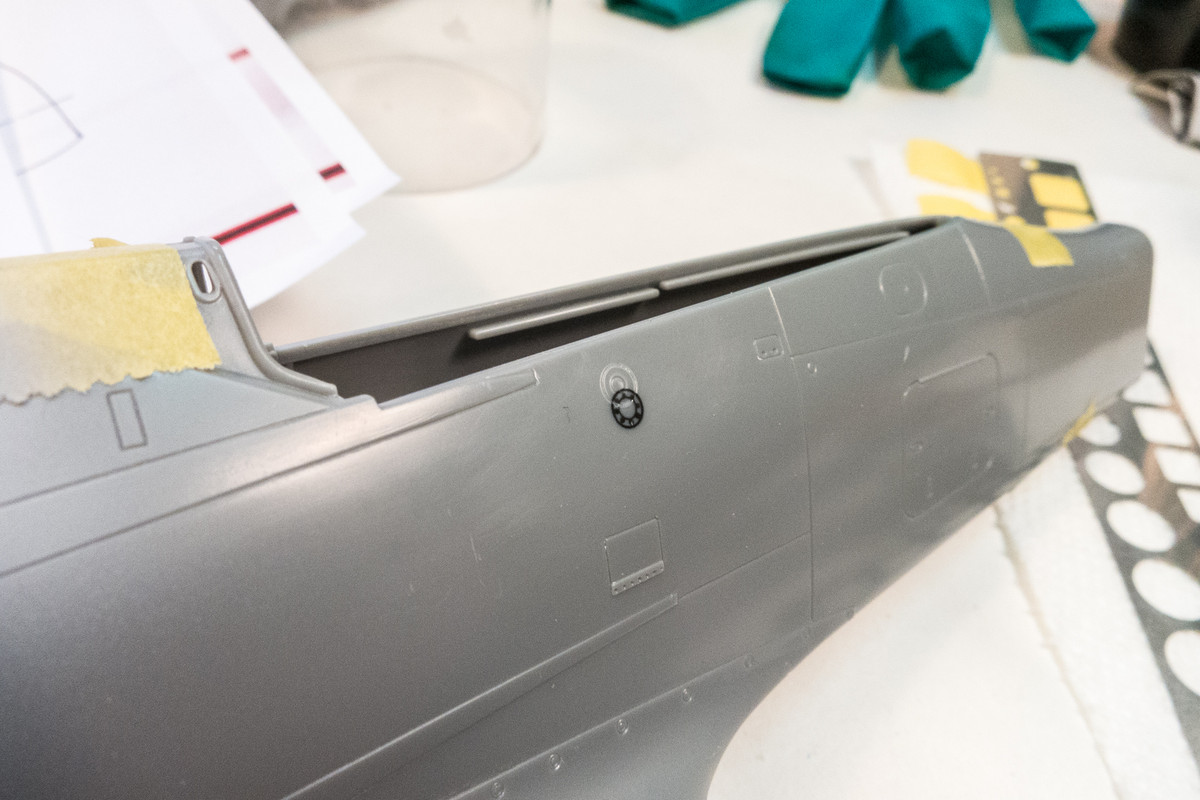
A few minor adjustments were performed per my references. The fuel port on the starboard side is slightly LOWER on the D-13 than the D-9...
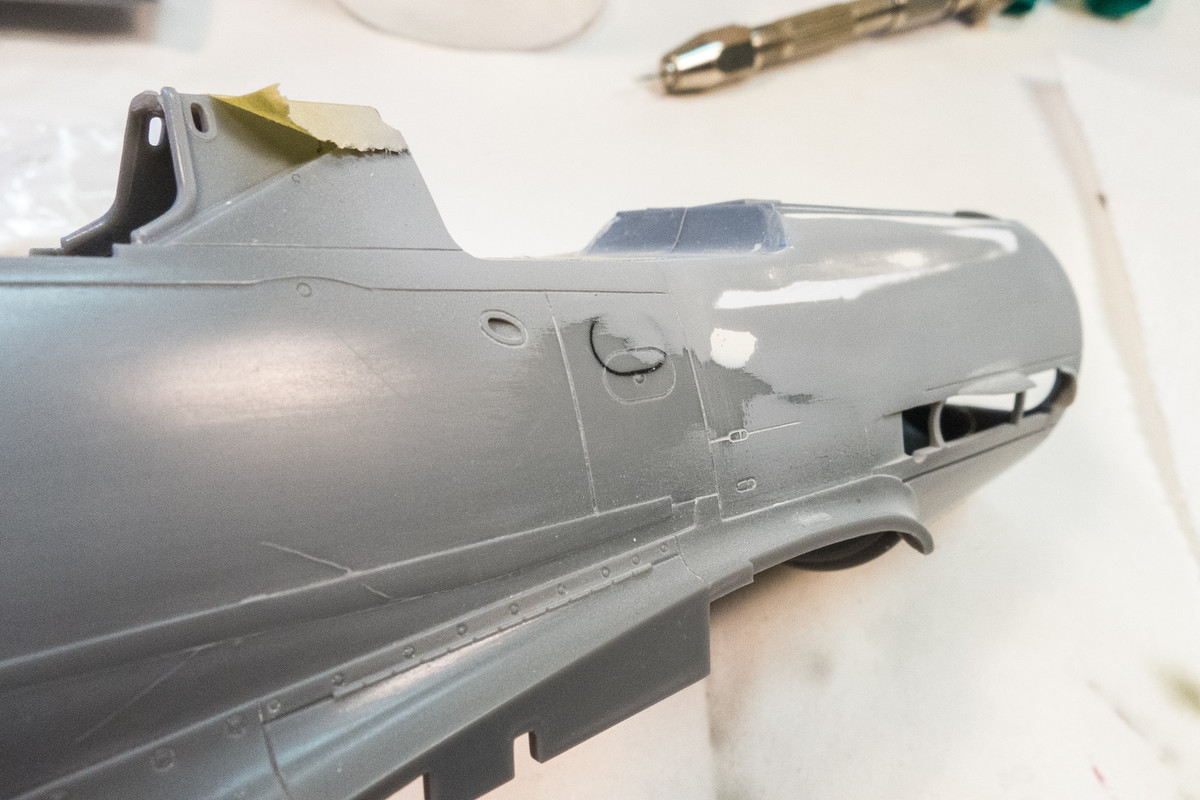
And the primer fuel port on the port sides is slightly HIGHER on the D-13 than the D-9...
After some slight touch-up putty was applied, the fuselage was set aside and took out the Eagle Editions tail gear.
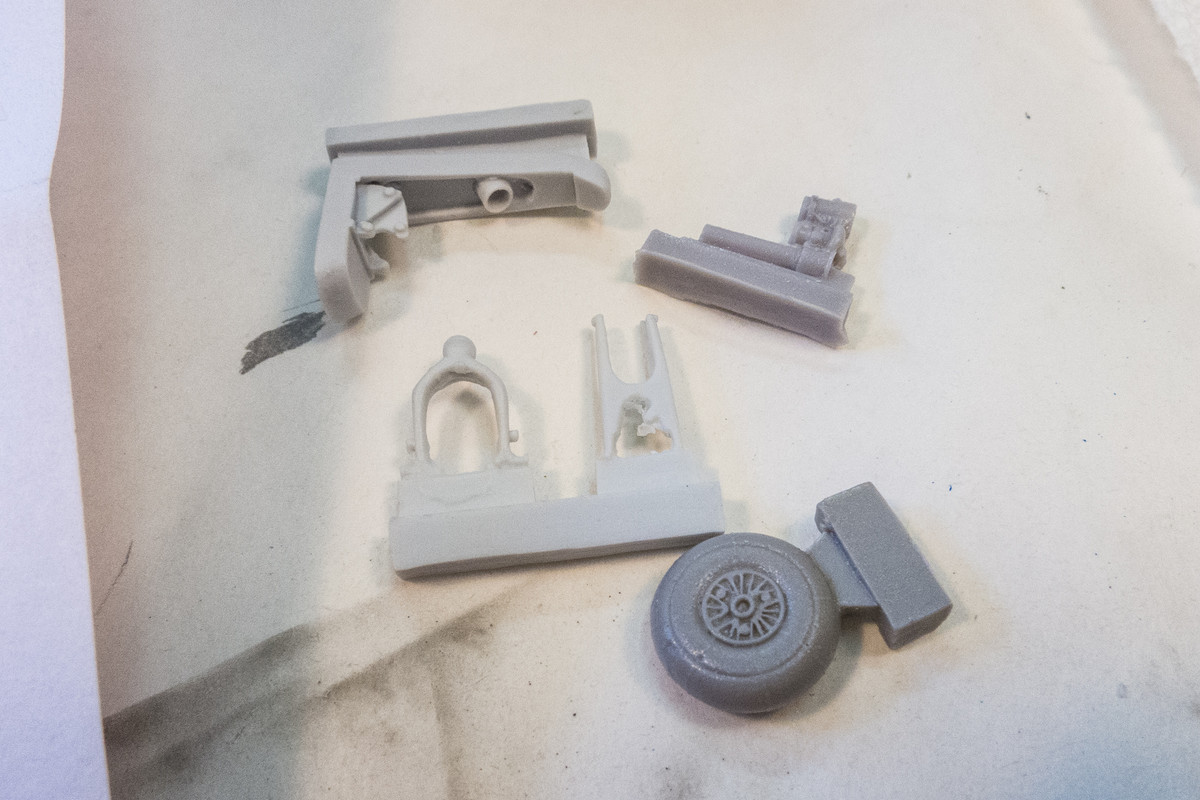
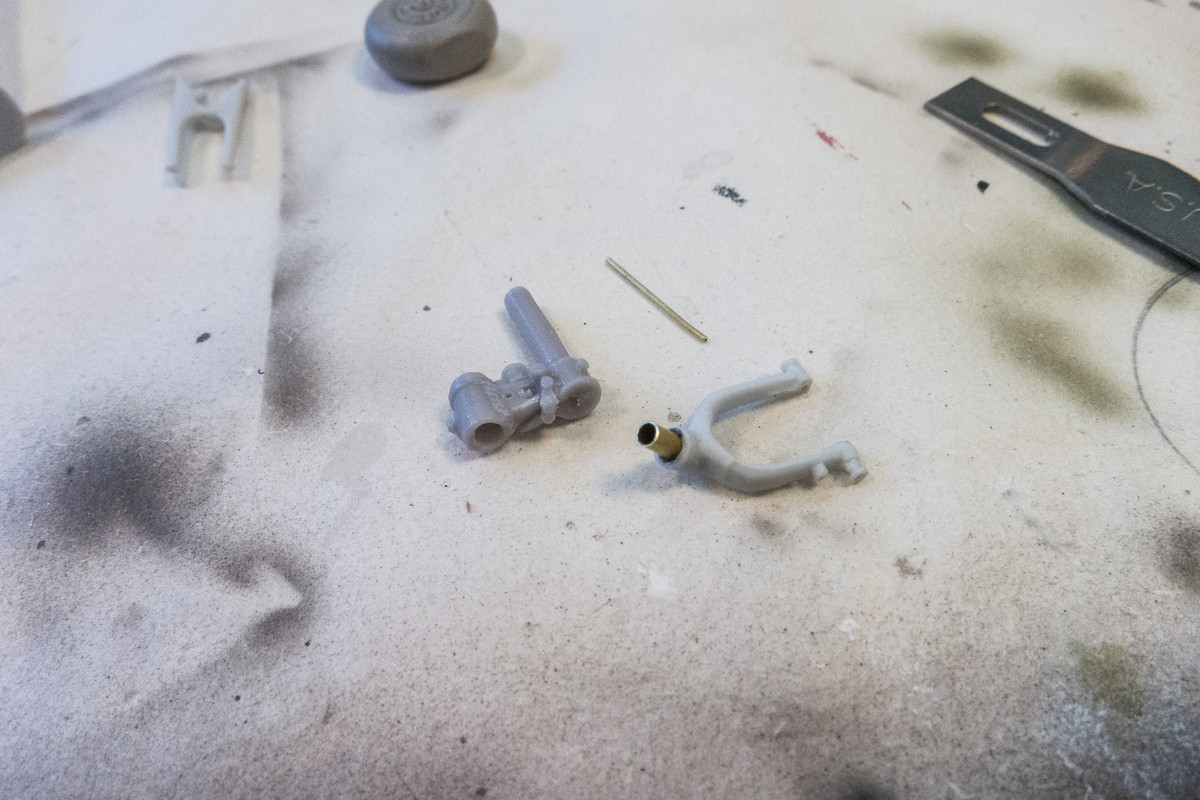
The parts go together rather well but I'm going to strengthen the connection between the parts using brass tubing.

I made an axle for the tail wheel.
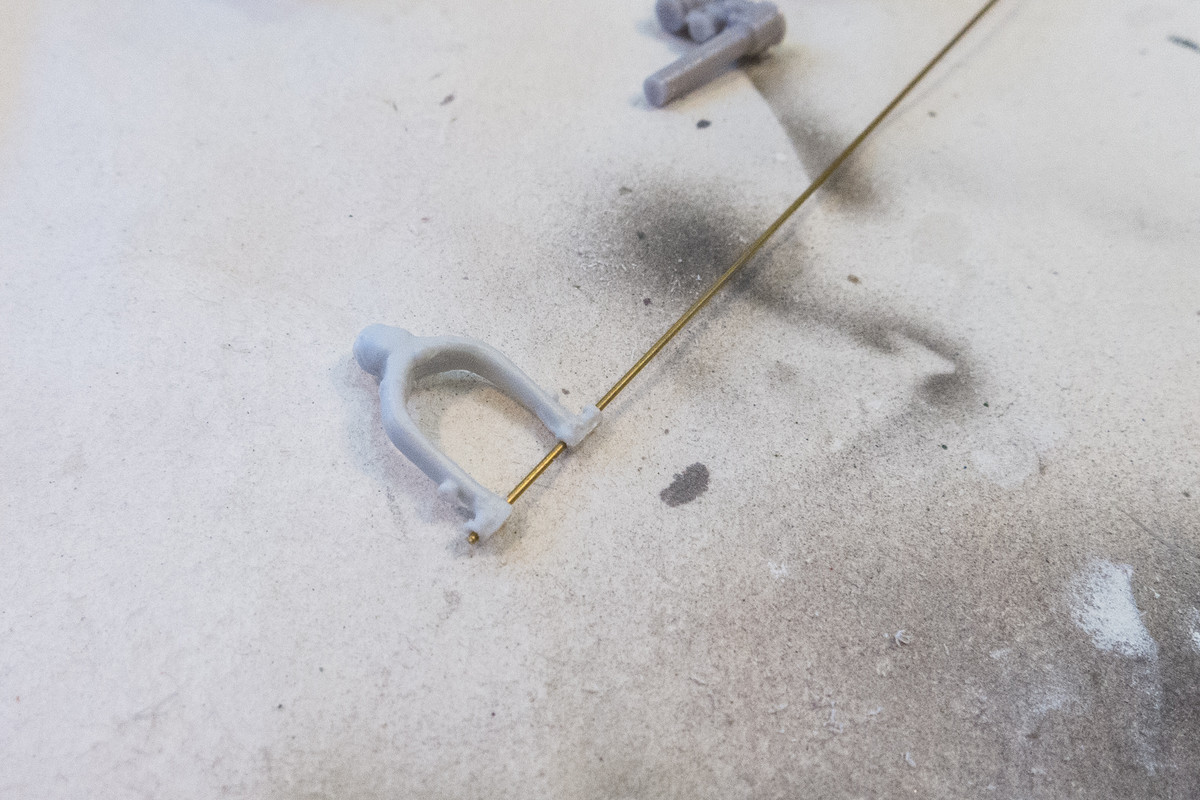

A larger diameter brass tube was used for the connection between the wheel yoke and gear strut.
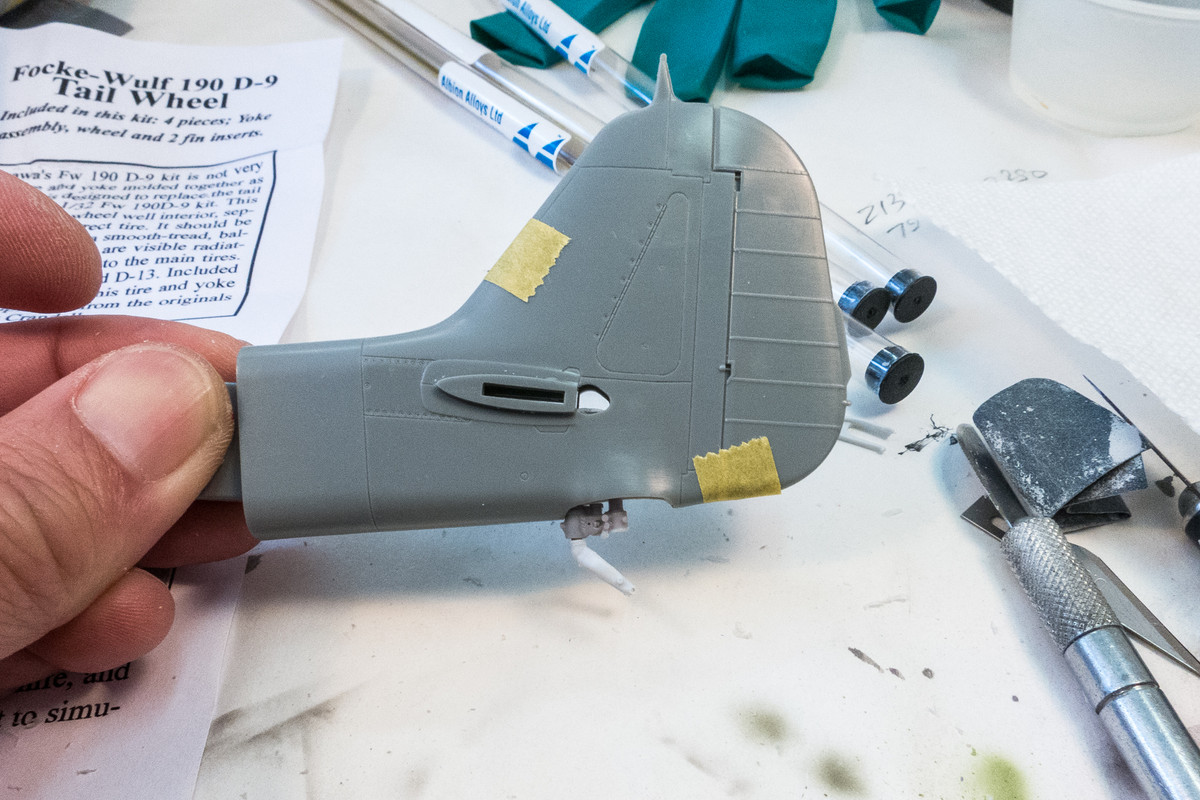
The "sit" of the tail gear can be adjusted by shortening the strut. Without modification, you can see that the gear sticks out a little too much, based on reference photos.
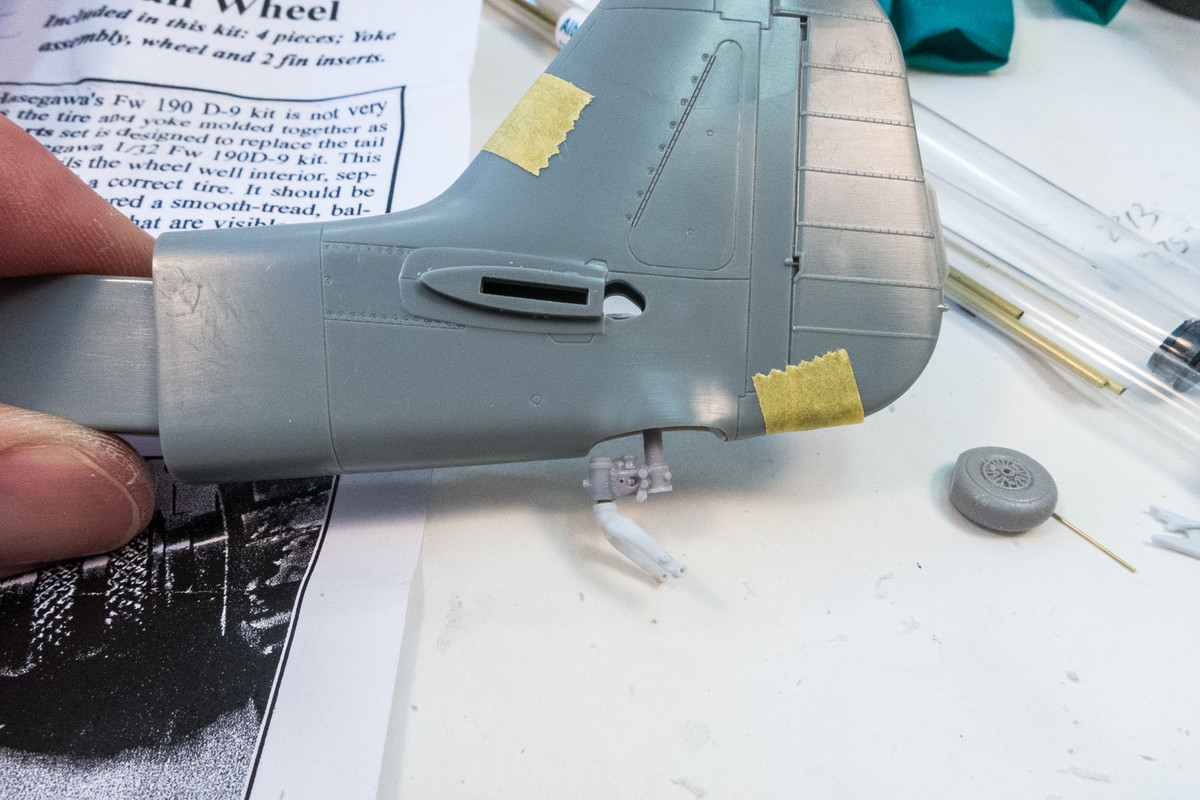
So I cut down the strut for a more naturally weighted position of an aircraft in service.
Re: 1/32 Hasegawa Fw 190D-13 Yellow 10
Posted: Sun May 24, 2020 8:34 pm
by Stikpusher
Those silly engineers had to change the positions of everything...

Nice work on all the changes and upgrades.
Re: 1/32 Hasegawa Fw 190D-13 Yellow 10
Posted: Mon May 25, 2020 12:13 am
by jeaton01
Attention to detail, that's what I'm seeing here. Best I take notes.