Page 5 of 30
Re: 1/32 Hasegawa Fw 190D-13 Yellow 10
Posted: Thu May 28, 2020 7:31 pm
by jkim
Thanks guys! Carlos... I don't use sanding blocks but sometimes there is a need to ensure a flat surface. In these cases, I will use a combination of sanding sticks and 3M sanding pads.
Thanks for that photo link! I've seen this page and also a photo dump of the Gosshawk restoration on an aircraft message board that I've been referencing. Lacking wartime documentation, I've had to rely more on the restoration pics... like in the cockpit for example. One thing I won't be referencing is the paint job that Yellow 10 received.
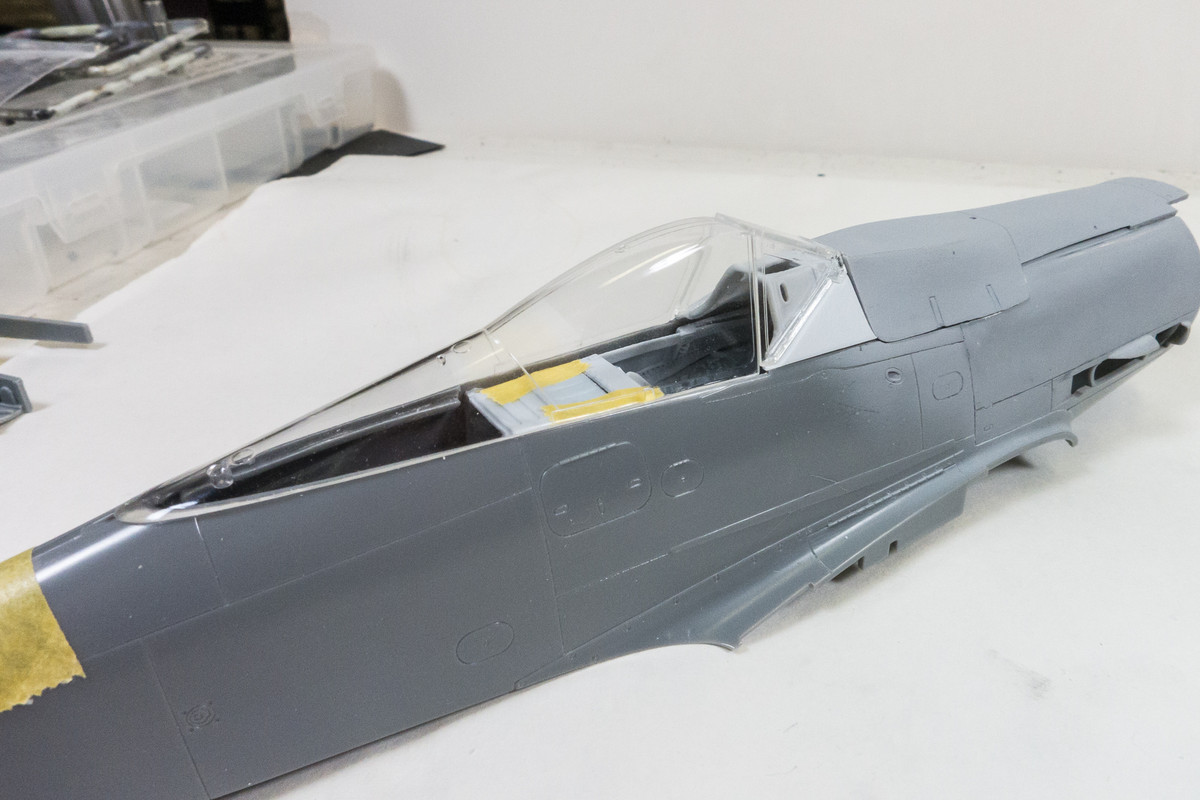
After much more futzing with the fuselage interior and the external edges of the resin cockpit, I've arrived at a place where feel good about the fit. This is not an exact science since there is a lot of give and play with taped components but a good indication of how things will go when glue is eventually applied. The cockpit is taped into the fuselage.

Without unnecessary force and accounting for the taped joints, the cockpit looks to be in proper position.
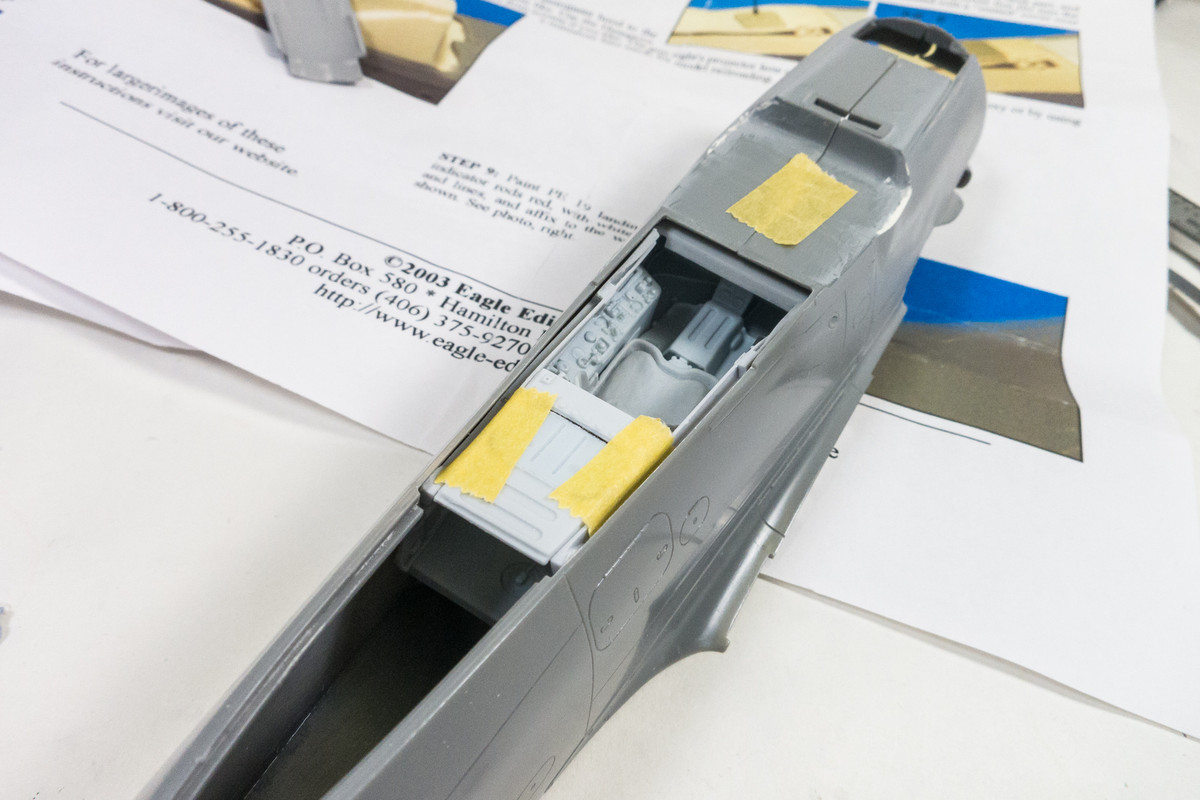
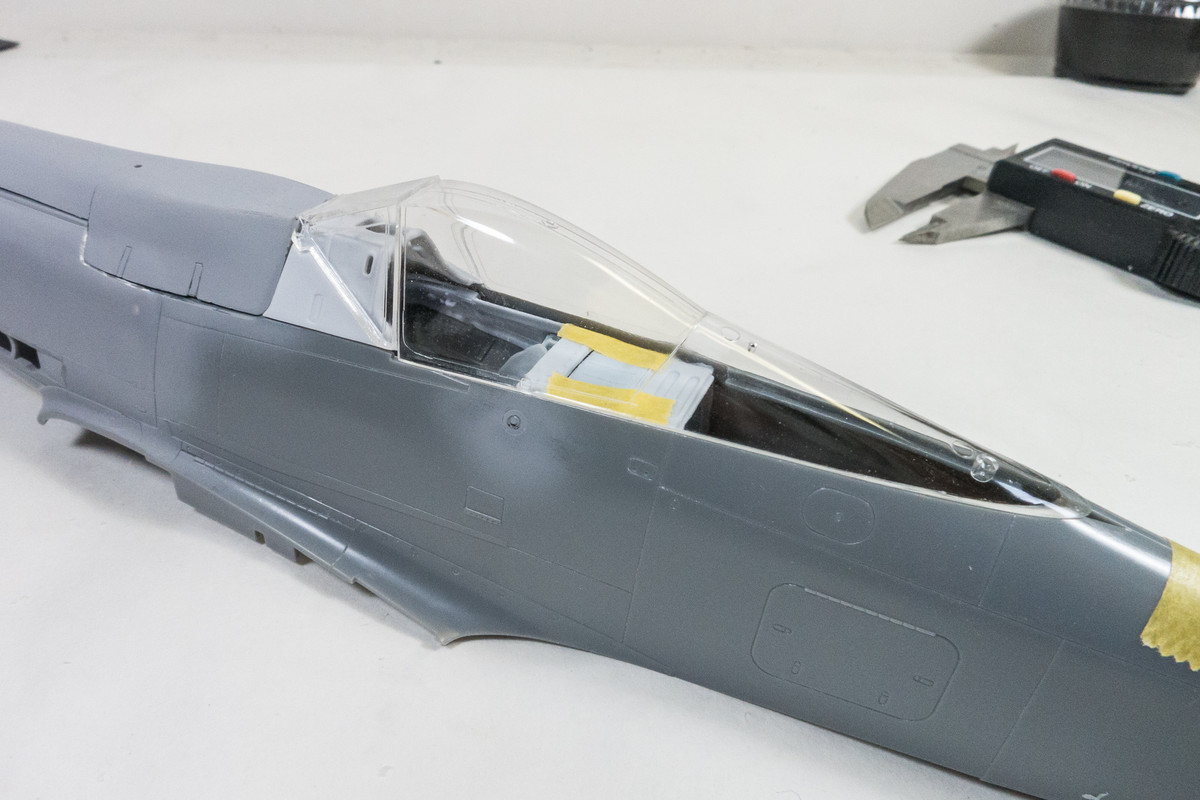
Forcing the cockpit into position may push the canopy opening too wide so I want to check the position of these components as well. With only gravity holding them in place, the engine cowling, the instrument panel hood, the windscreen and sliding canopy appear to be in good position.
I didn't take photos but I've also conducted a preliminary check of the rear engine plug assembly that is visible from the open wheel wells. Some modifications will be necessary to account for the single ammo chute but I haven't solved that riddle yet.
Re: 1/32 Hasegawa Fw 190D-13 Yellow 10
Posted: Thu May 28, 2020 11:16 pm
by speedgraflex
John,
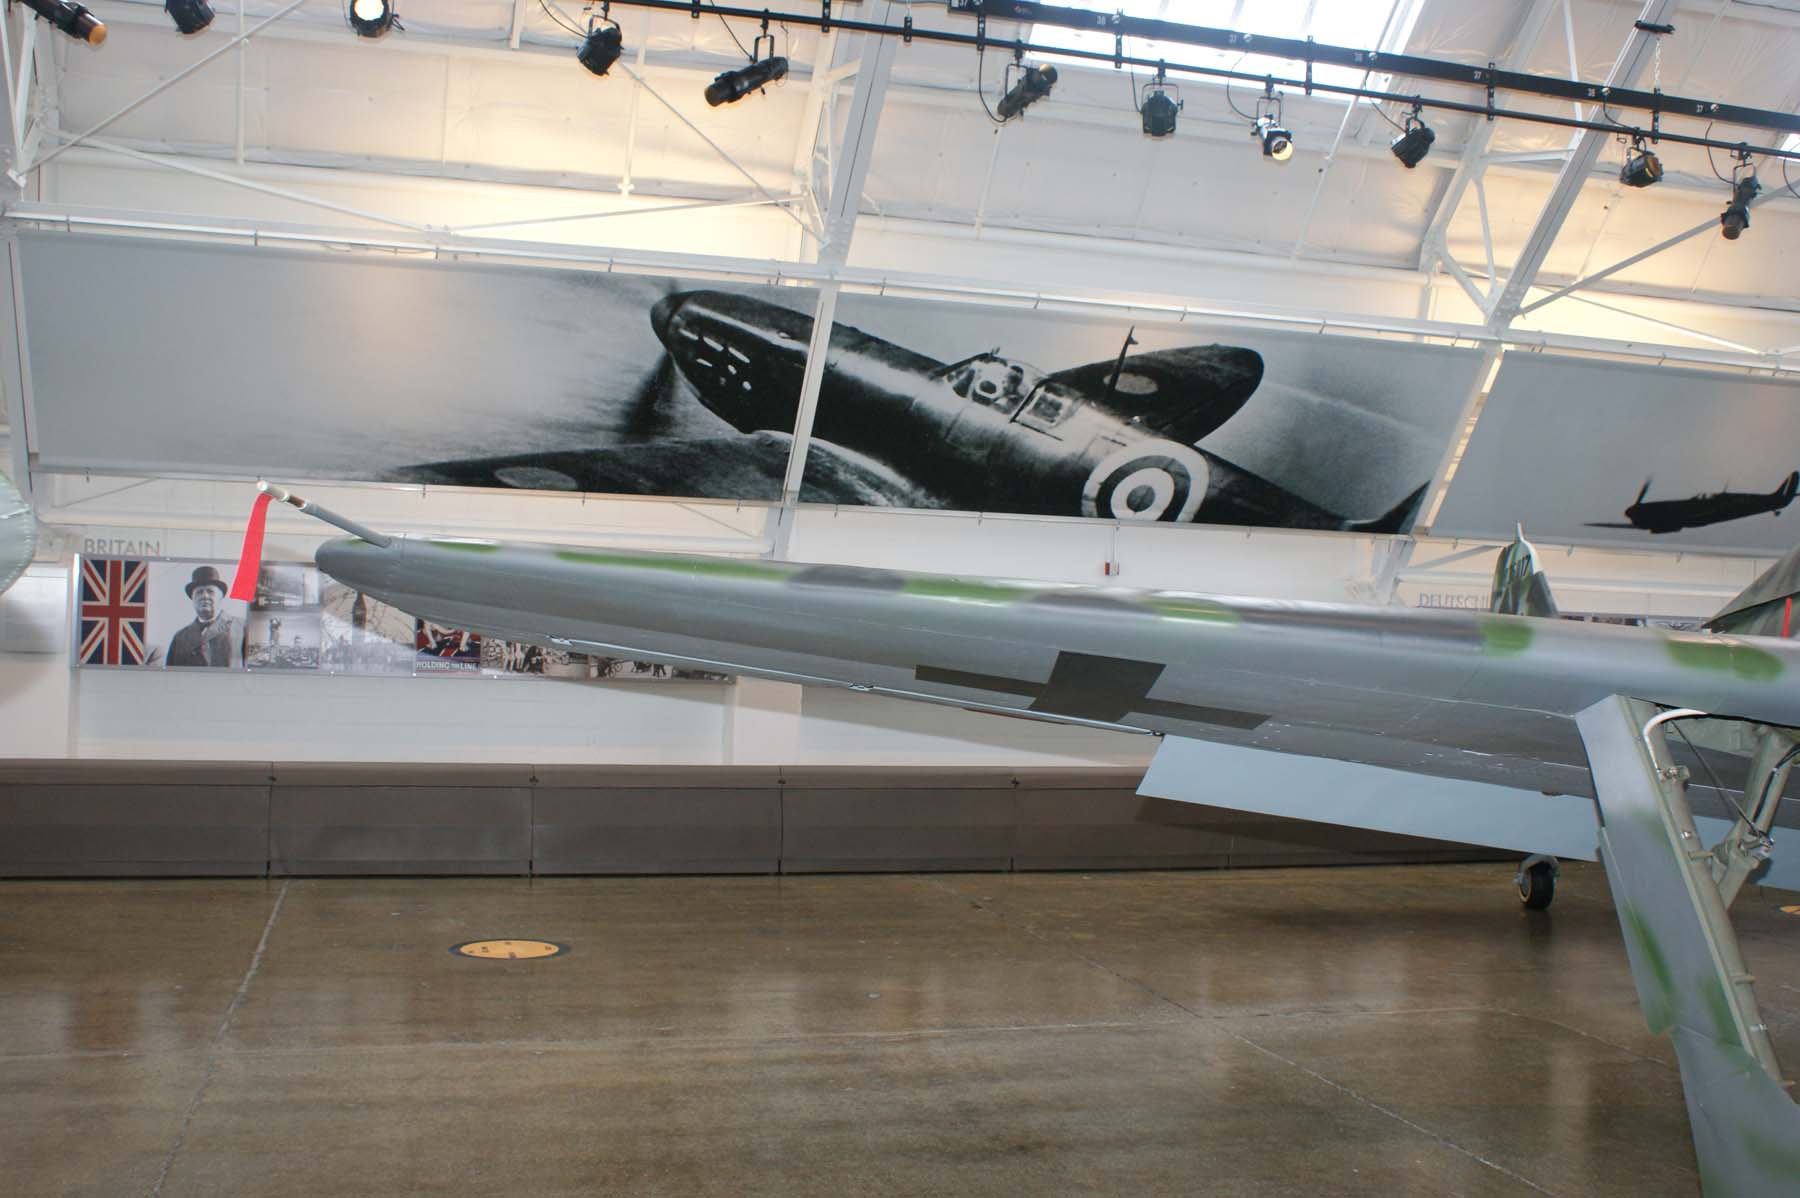
Looks splendid! I, too, agree with you about the "paint job" on the restored D-13. I don't understand that at all. It's painted without any feeling for the reference. It's an absolute tragedy. I mainly liked the comparison shots of the original parts with the copies. Especially the ammo chutes. The machining of the originals is just much more skillful!
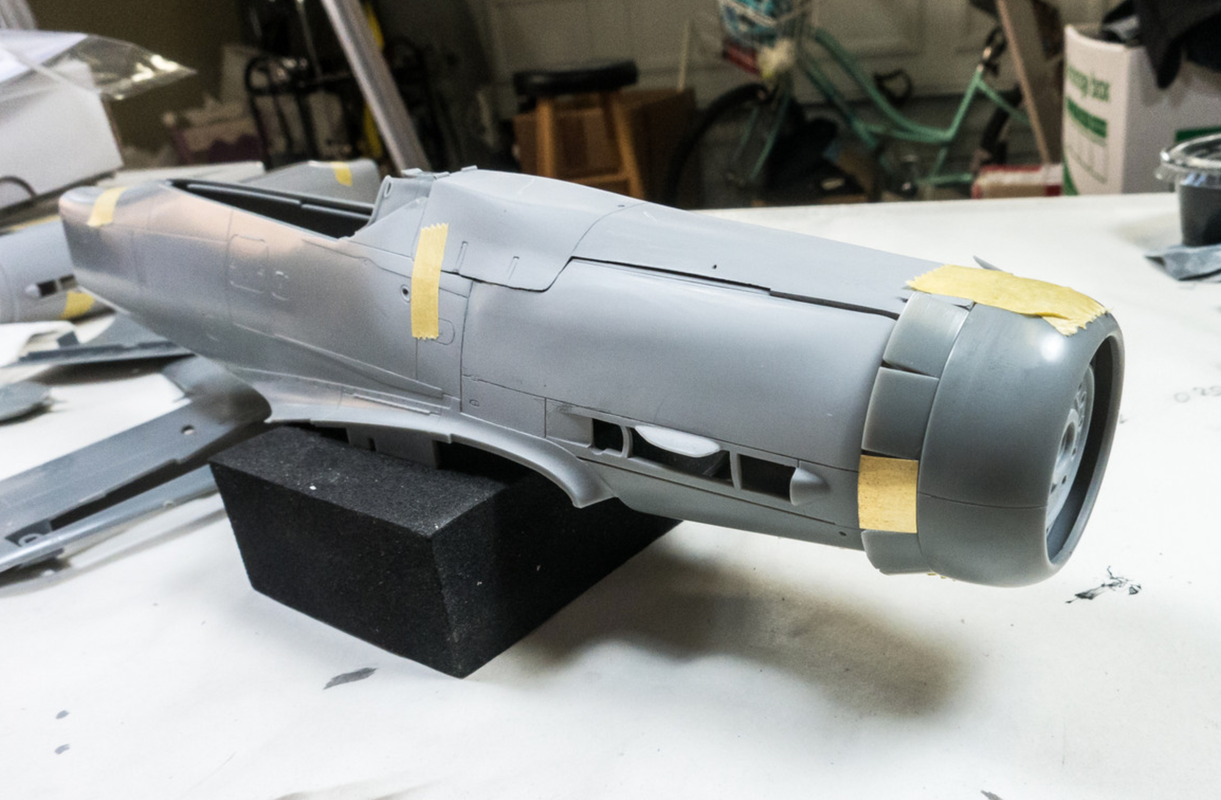
I keep looking at the seam which separates your fill of the cowling and the cowling piece that mates to it (the top piece). Apologies for not knowing offhand what that is called (I know it is called something other than "top piece). Is that going to be tighter fitting?
Congrats on putting all that resin together so darn well! Cheers.
Re: 1/32 Hasegawa Fw 190D-13 Yellow 10
Posted: Fri May 29, 2020 12:02 am
by jkim
Thanks Bruce! No glue yet so actual resin assembly is going to come further down the road. I still have to work out the engine plug details before the fuselage halves can come together. But getting the Eagle Editions cockpit to this point was a big milestone in this build.
speedgraflex wrote:I keep looking at the seam which separates your fill of the cowling and the cowling piece that mates to it (the top piece). Apologies for not knowing offhand what that is called (I know it is called something other than "top piece). Is that going to be tighter fitting?
Yes, the fit between the top engine cowling and the fuselage should be tight without any significant gaps. Due to the slight warpage of the resin, I can't mate the two positively without glue. What's pictured is simply gravity with a little bit of help from some Tamiya tape.
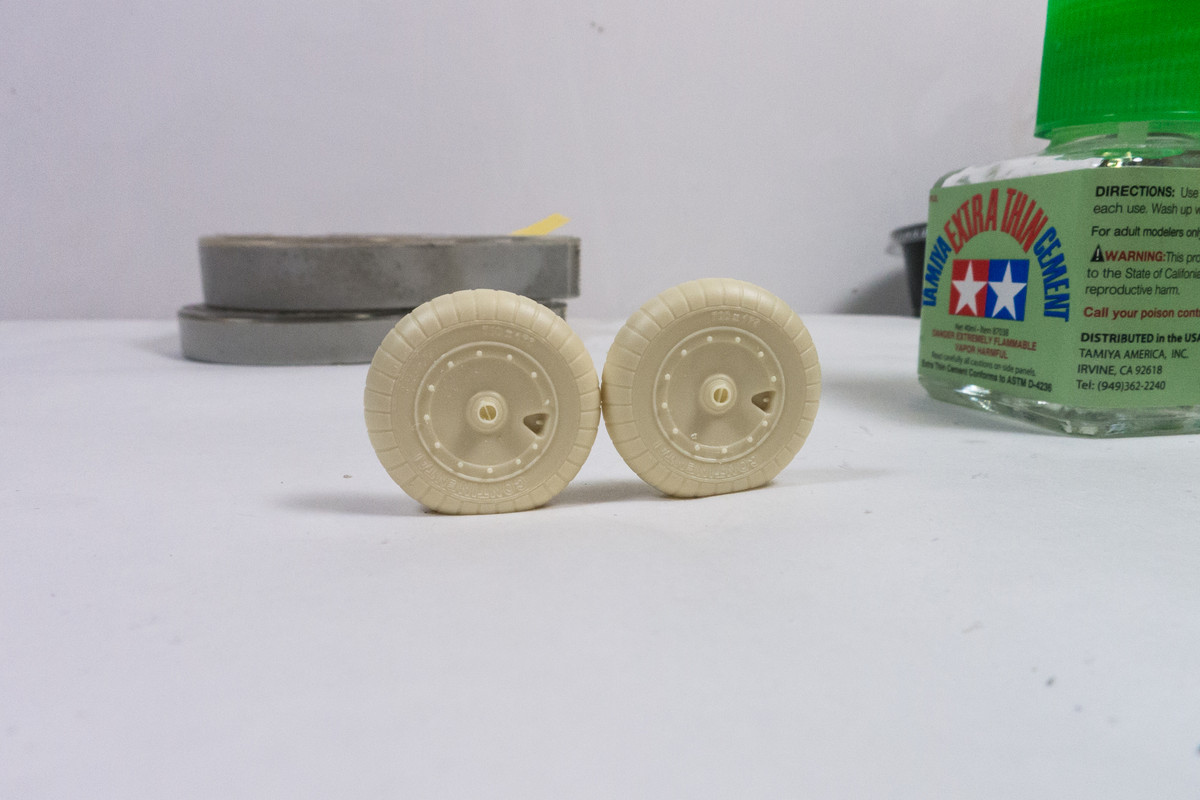
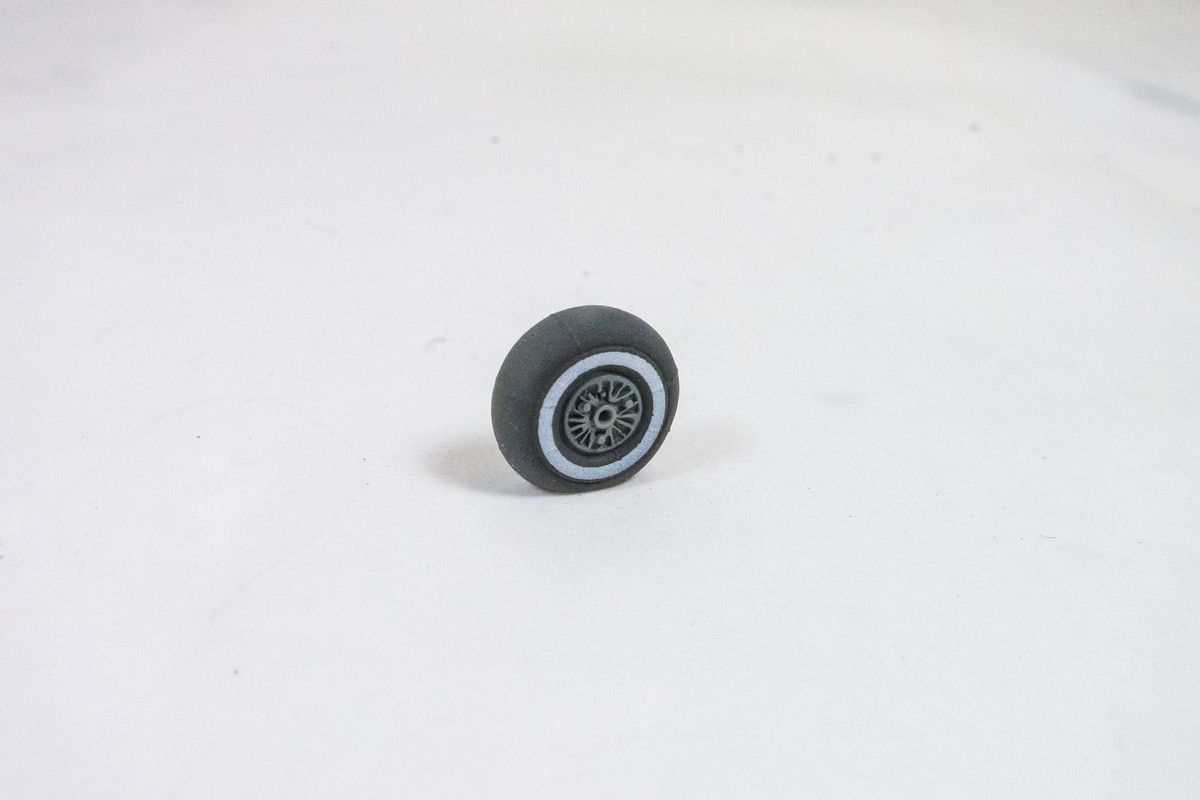
Playing around with some of the landing gear bits. I've cleaned up the Barracuda resin wheels. This is a pair of treaded tires. I've also assembled one of the kit tires, which portrays the smooth, non-tread tire. Interestingly, photos of Yellow 10 seem to show that it has one treaded tire and one smooth. I'm not sure if I'm going to portray that peculiarity or not but I'm prepared to do so.
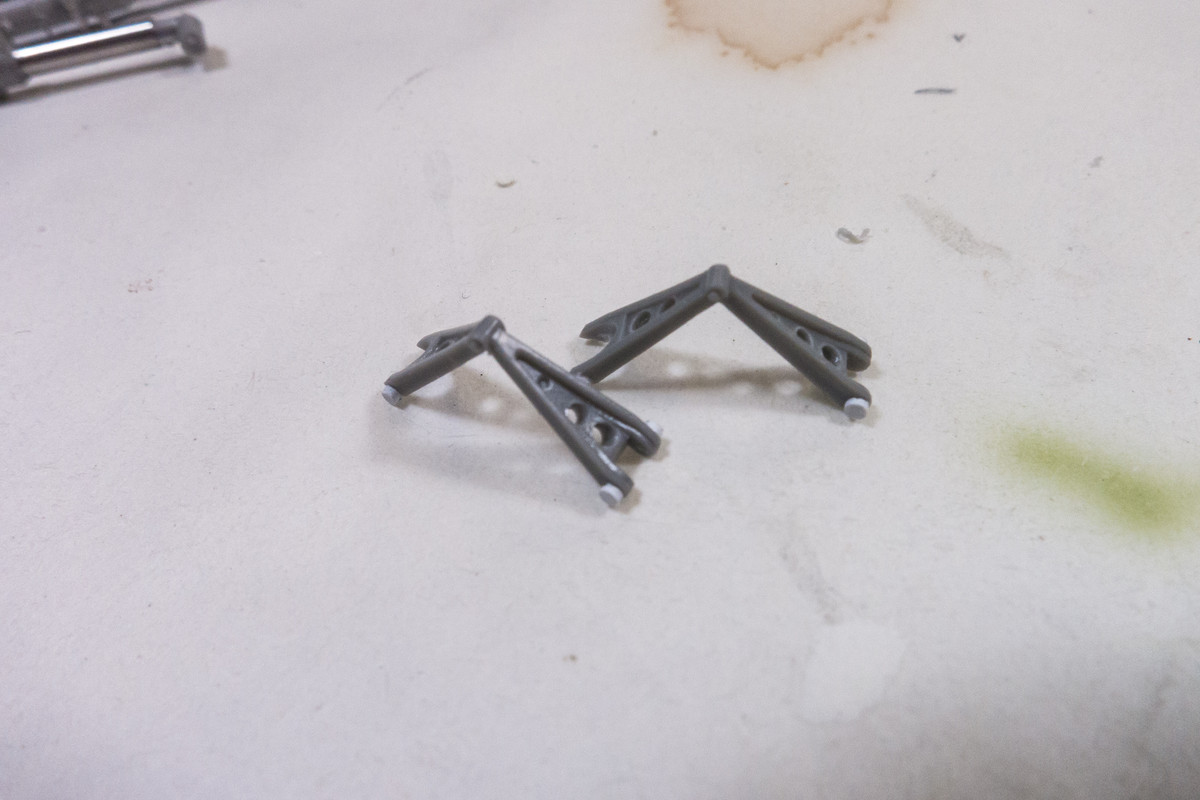
Drilled out some lightening holes and added some bits to the oleo scissors.
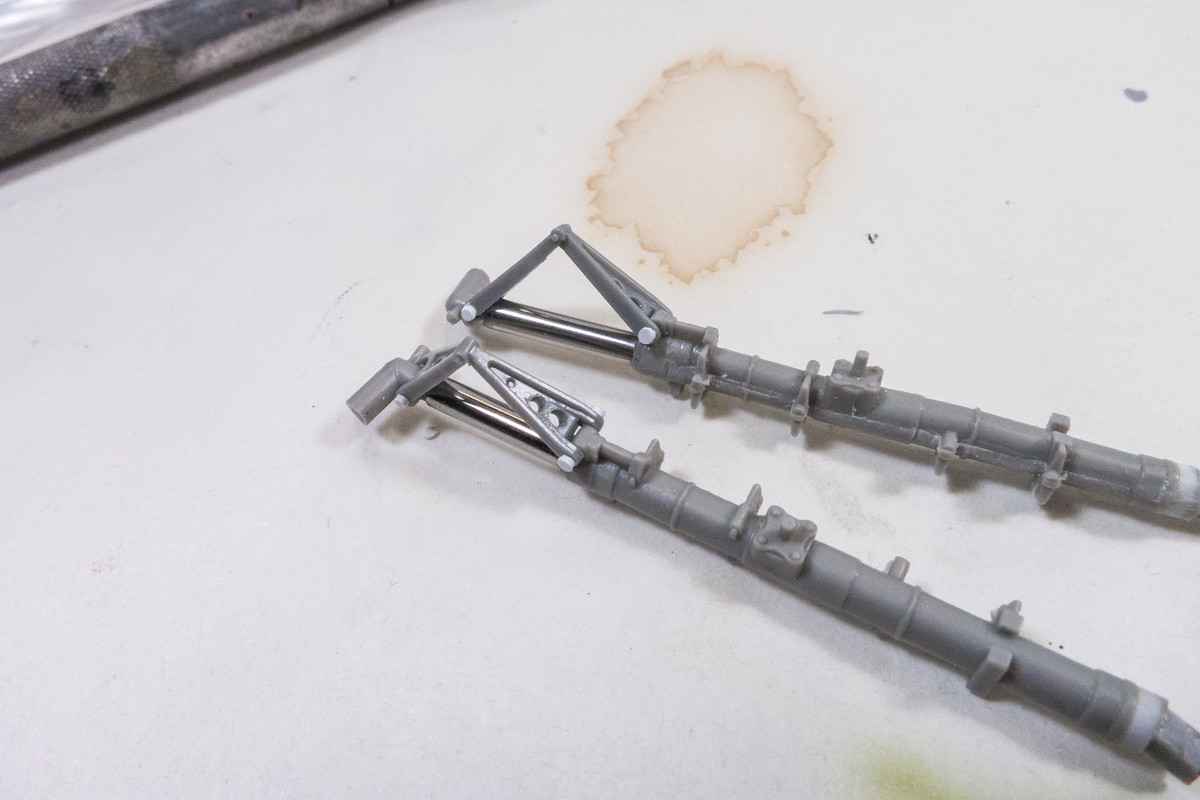
Mounted on the Synthetic Ordnance Works landing gear... I love the shiny metal without having to paint it! Don't mind that mold seam... Damian has thoughtfully put it on the side of the landing gear doors.
Re: 1/32 Hasegawa Fw 190D-13 Yellow 10
Posted: Fri May 29, 2020 3:27 pm
by speedgraflex
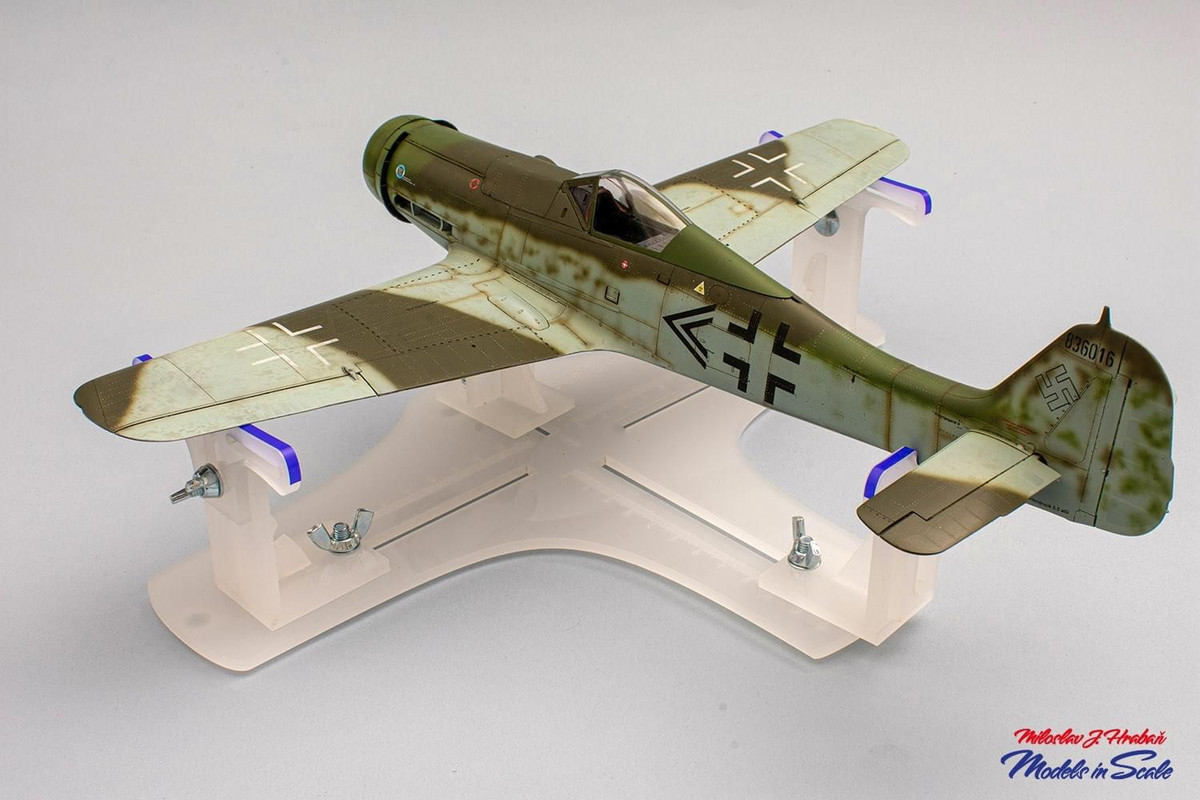
Hi! Happy Friday! Have you been following HGW Martin’s posts of Miloslav’s Black Chevron D-13. I was asking Martin about seat belts when I saw he posted these examples of positive rivets:
Looks good painted, too:
1/32 Hase
Re: 1/32 Hasegawa Fw 190D-13 Yellow 10
Posted: Fri May 29, 2020 5:17 pm
by jkim
Yes, I am following Miloslav's D-11/D-13 dual build over at LSP. He is the person that makes the Real Model D-13 conversion.
Kind of in a holding pattern since I've been preparing for an all-Saturday fishing trip. I managed to get some paint on the tail wheel...
Re: 1/32 Hasegawa Fw 190D-13 Yellow 10
Posted: Fri May 29, 2020 6:01 pm
by speedgraflex
Small world! I am hoping to do some trout fishing in the Ogden area with my buddy in July. Fingers crossed we can do it.
Re: 1/32 Hasegawa Fw 190D-13 Yellow 10
Posted: Sun May 31, 2020 11:37 am
by Stuart
Masterly work John!
Re: 1/32 Hasegawa Fw 190D-13 Yellow 10
Posted: Wed Jun 03, 2020 11:12 am
by jkim
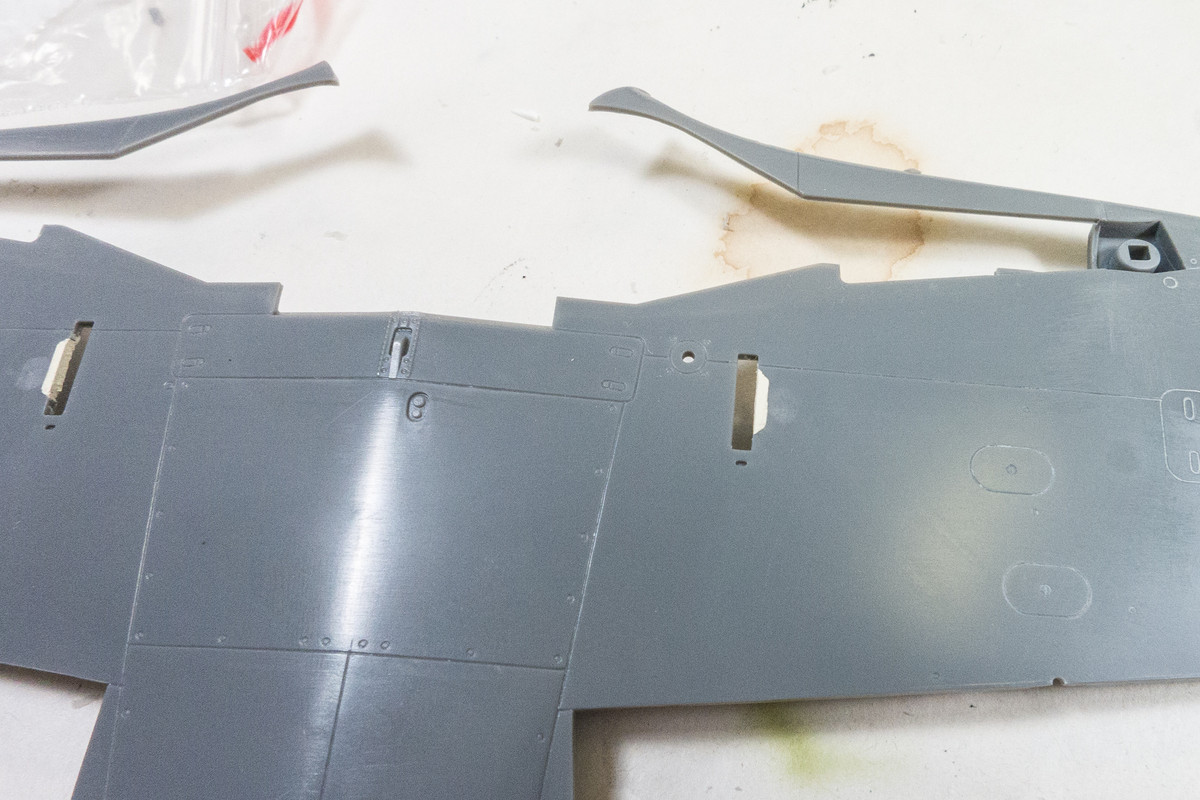
A very small update... I believe that Yellow 10 had different ammo chute openings than what is represented by the kit. This is based on photos of the restored D-13, which now has the correct D-13 wings in place, which wasn't the case prior the most recent restoration.
I've used Milliput to fill in the the cut-outs of the ammo chutes.
Now that the G-14 build can be re-started and the Ta152H may be in that position soon, I may have to pause this build. Three on-going builds is a little much for me and I don't want to get confused and do something stupid.
Re: 1/32 Hasegawa Fw 190D-13 Yellow 10
Posted: Wed Jun 03, 2020 7:35 pm
by Floki
By the photo I say you are correct about that. Three builds going at once would be a nightmare, I can't even handle two.
Re: 1/32 Hasegawa Fw 190D-13 Yellow 10
Posted: Wed Jun 03, 2020 10:17 pm
by speedgraflex
Yea, three builds has to be a real stretch when you are this detailed. This is gorgeous, by any standard, though. Truly.