
NICE & coool !jkim wrote:
Yup! Enjoying the new car buzz!
- Kari
NICE & coool !jkim wrote:
Yup! Enjoying the new car buzz!


scorpiomikey wrote: Whats the secret?
Ok, I'm going to reveal John's secret: He's an elf and only three inches tall.Paul wrote: What's your secret, John?
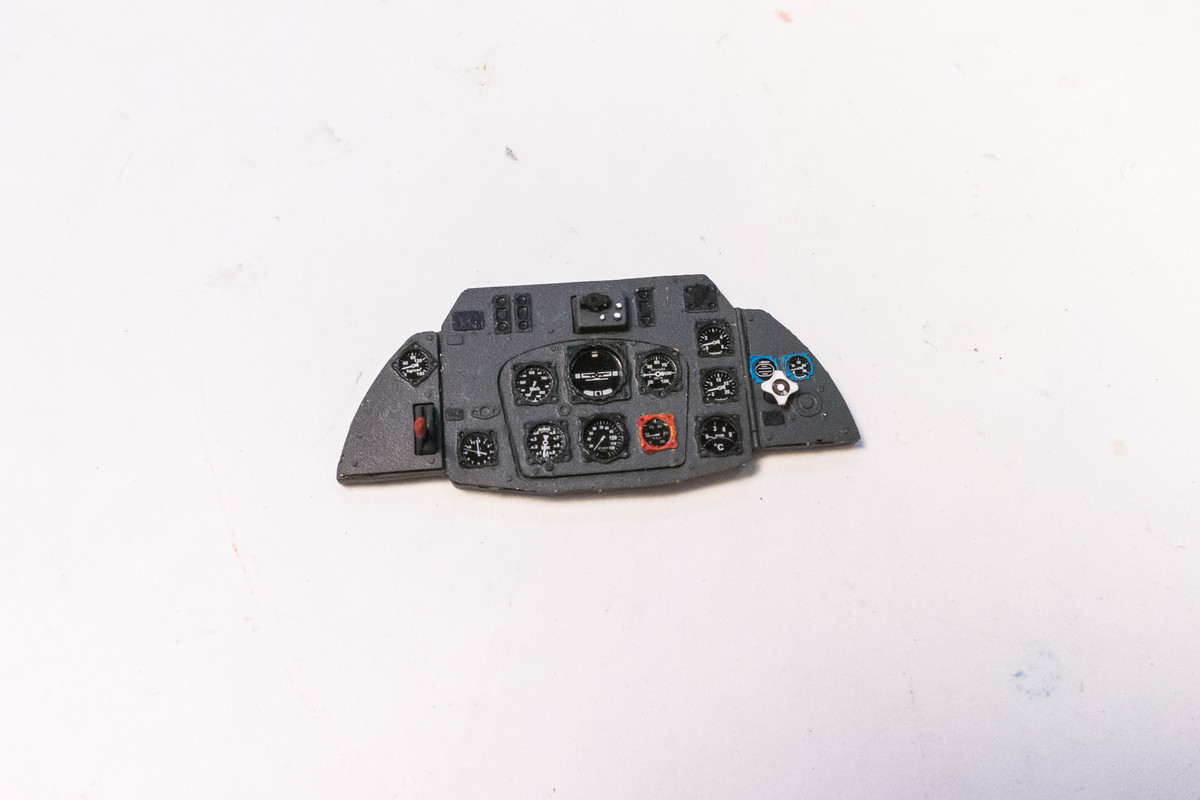
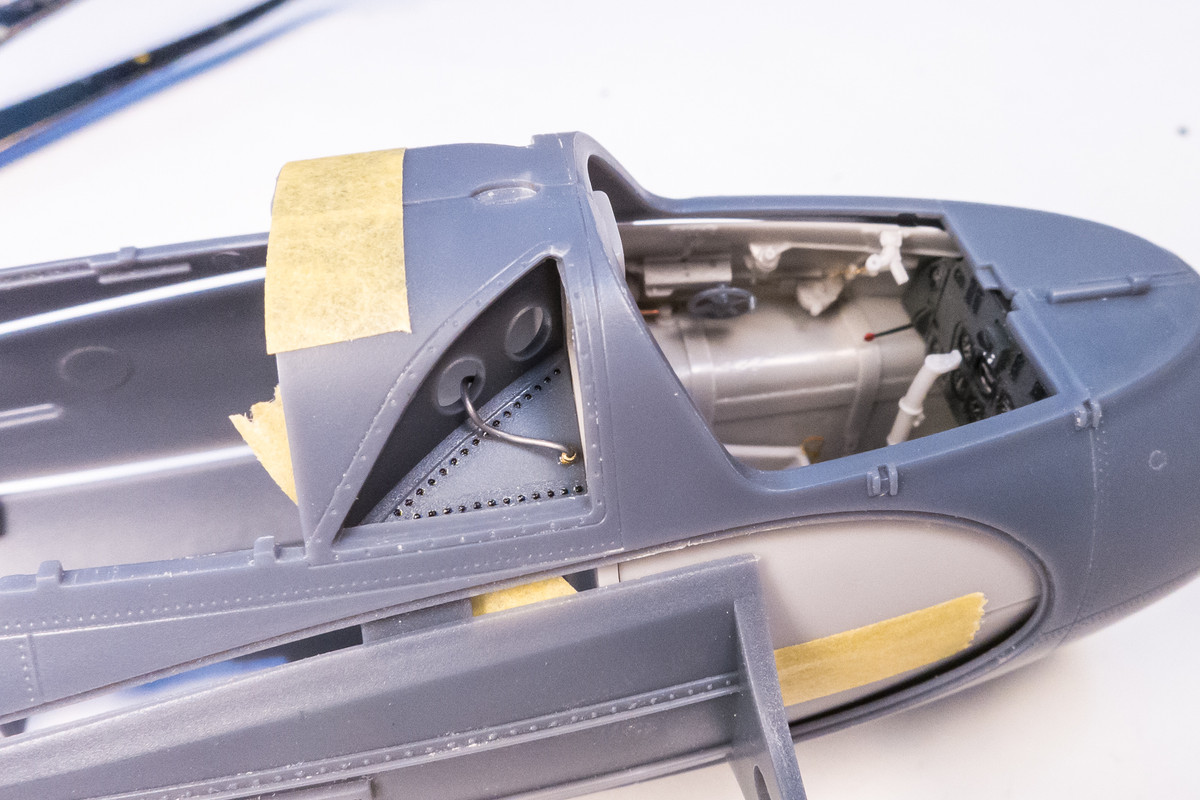
scorpiomikey wrote:Ok i have to ask.
How did you get the details so crisp on your IP?
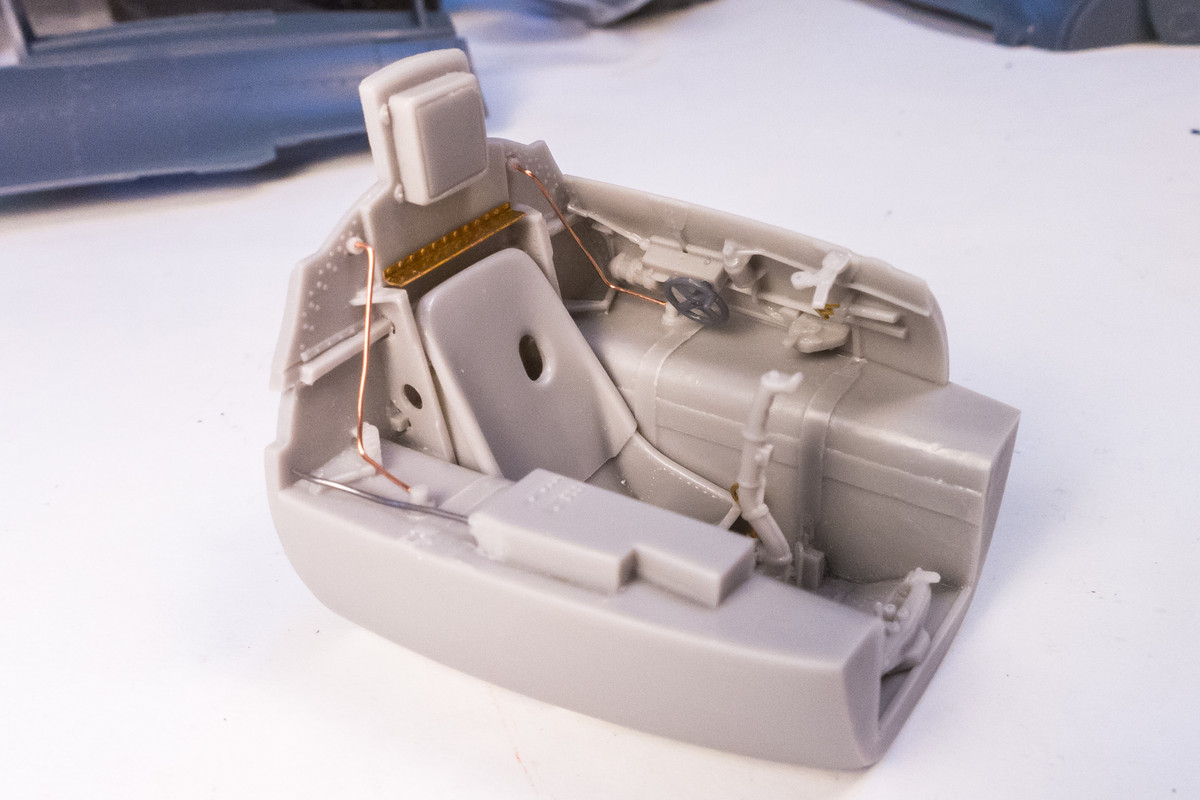
I tried painting the red bit, i tried my finest brush with thinned down miniature paints, gave up, tried a tooth pick, still couldnt get it right.
Whats the secret?
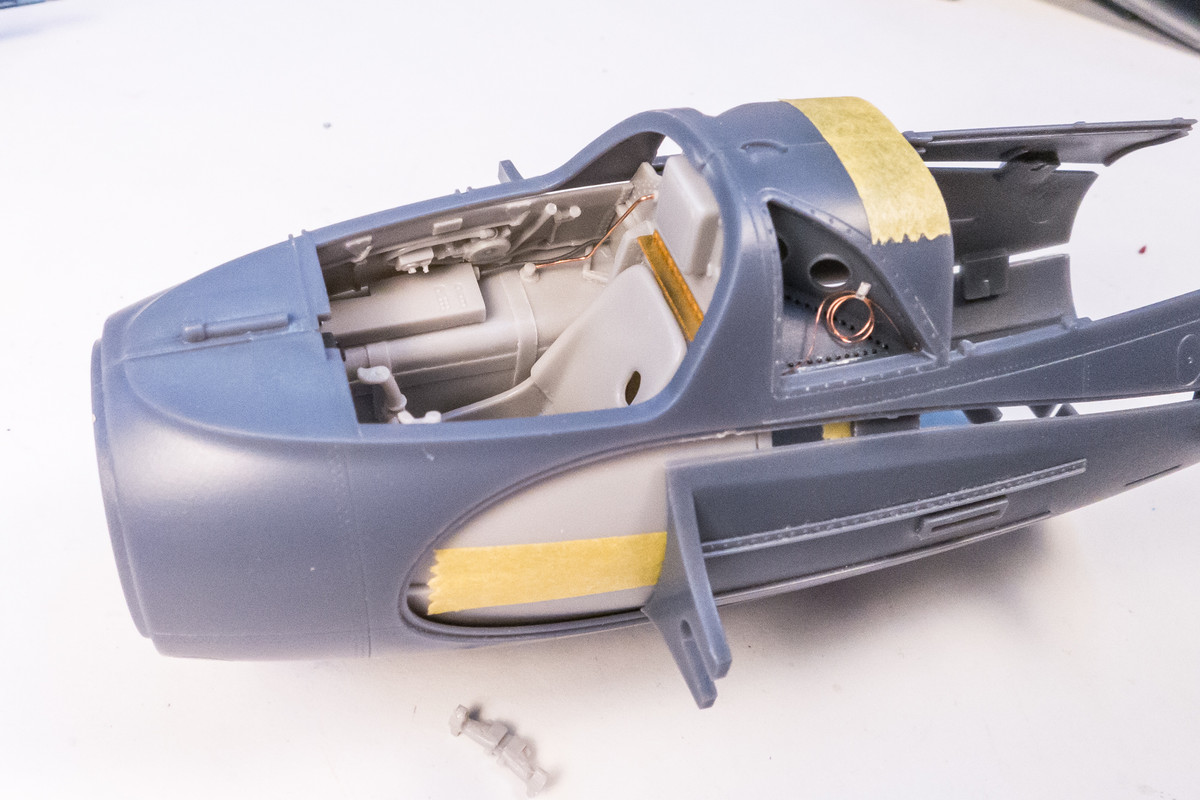
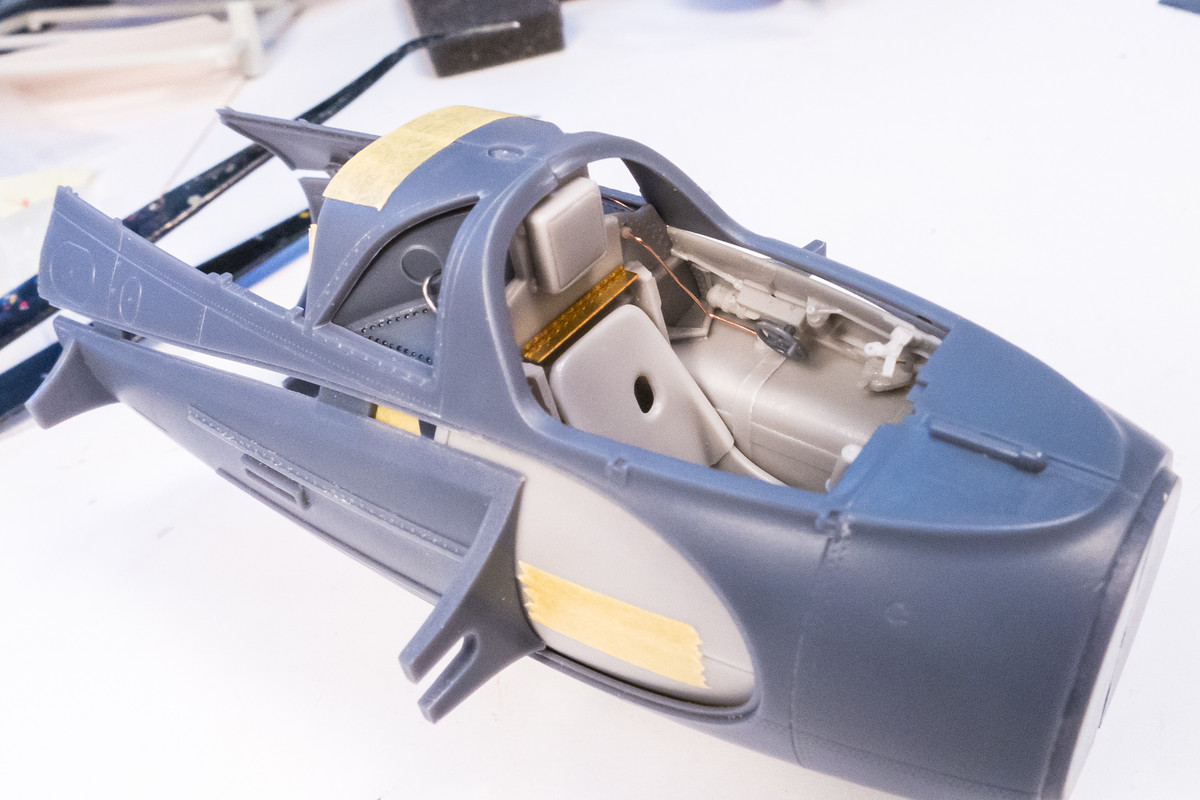
Hmmm... outside of just doing it, I haven't really thought about technique. I think preparing the paint is important. I use Tamiya acrylics and they are not the best when it comes to brush painting. Also, there is a lot of variability within the Tamiya paint line as well... some colors just brush better than others. Acrylics dry fast and this can lead to the paint lumping up as it is brushed on. Using the paint bottle lid as a palette, I always mix in a drop or two of 91% iso alcohol as a thinner/retardant to the paint I'm brushing.Paul wrote:I even use a 20/0 detail brush and have problems with that. What's your secret, John?
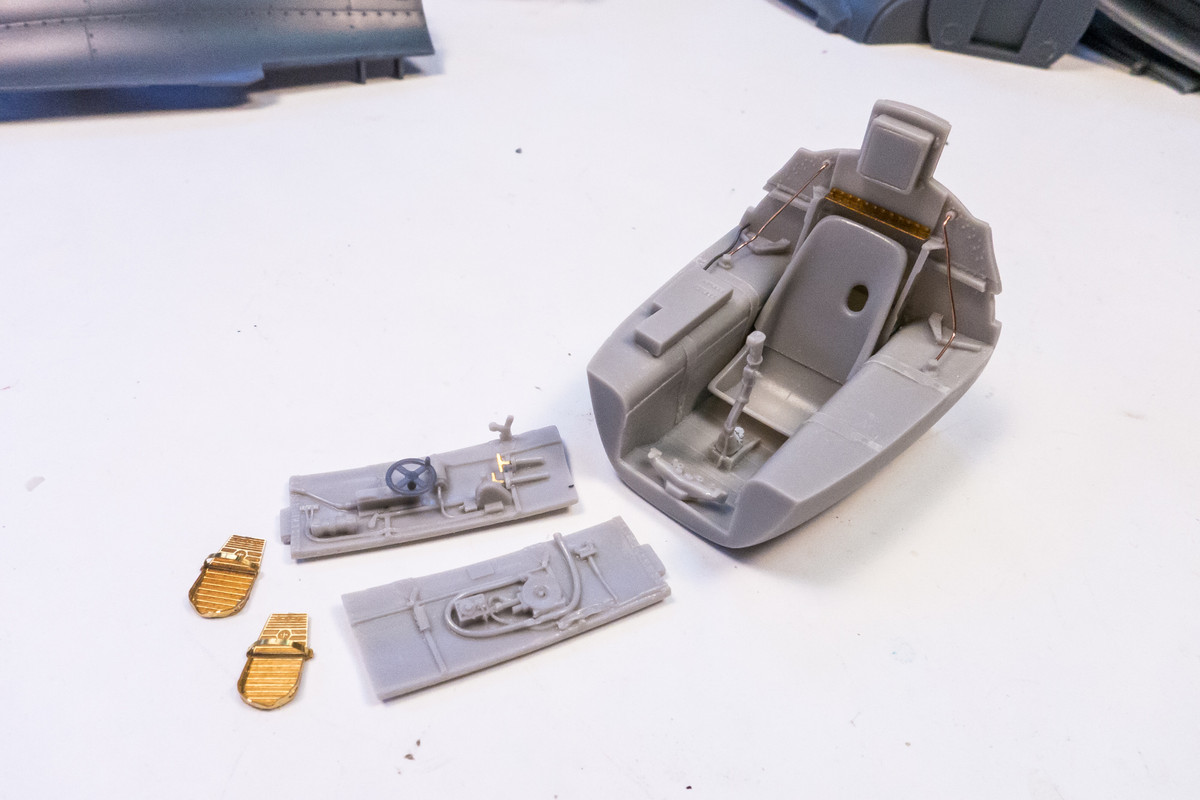
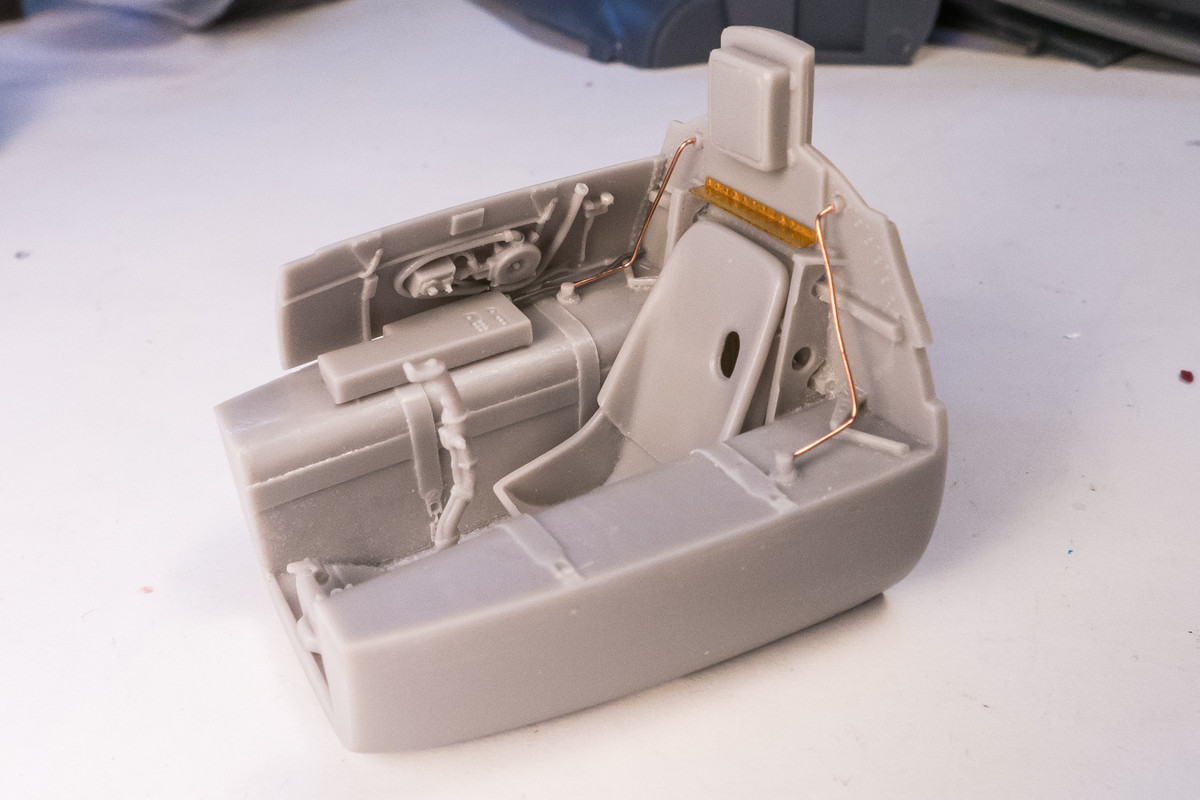
Thanks Carlos! I think that is an excellent way to describe my work. I'm really into improving kits that are already decent. I'm not as good at taking a bad kit and turning it into good model.Stikpusher wrote:John, as usual, you take something good to very good and make it outstanding.
Thank you very much!Bish wrote:Outstanding indeed, thats some very nice work.
Ha ha... actually that's a good way at looking at modeling. I think it is important to reduce your perspective to that level in your mind. Mentally shrinking yourself to elf size.mostrich wrote:Ok, I'm going to reveal John's secret: He's an elf and only three inches tall.
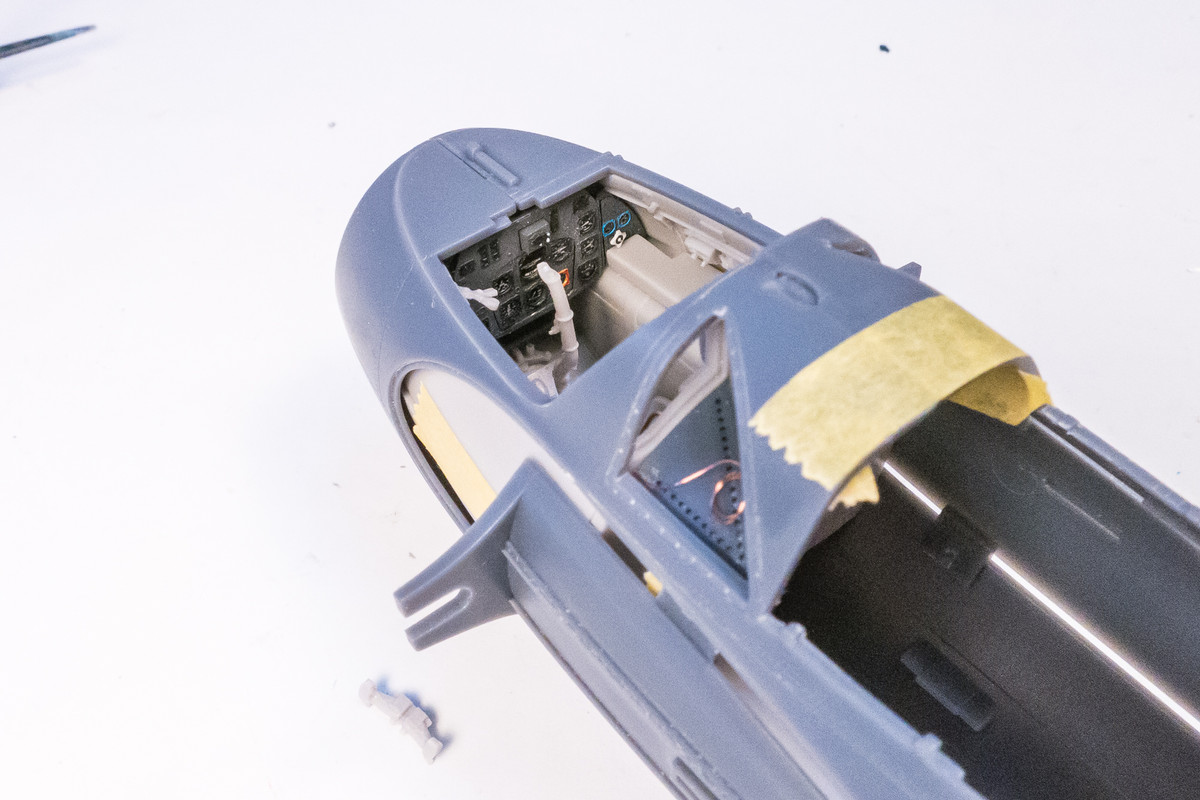
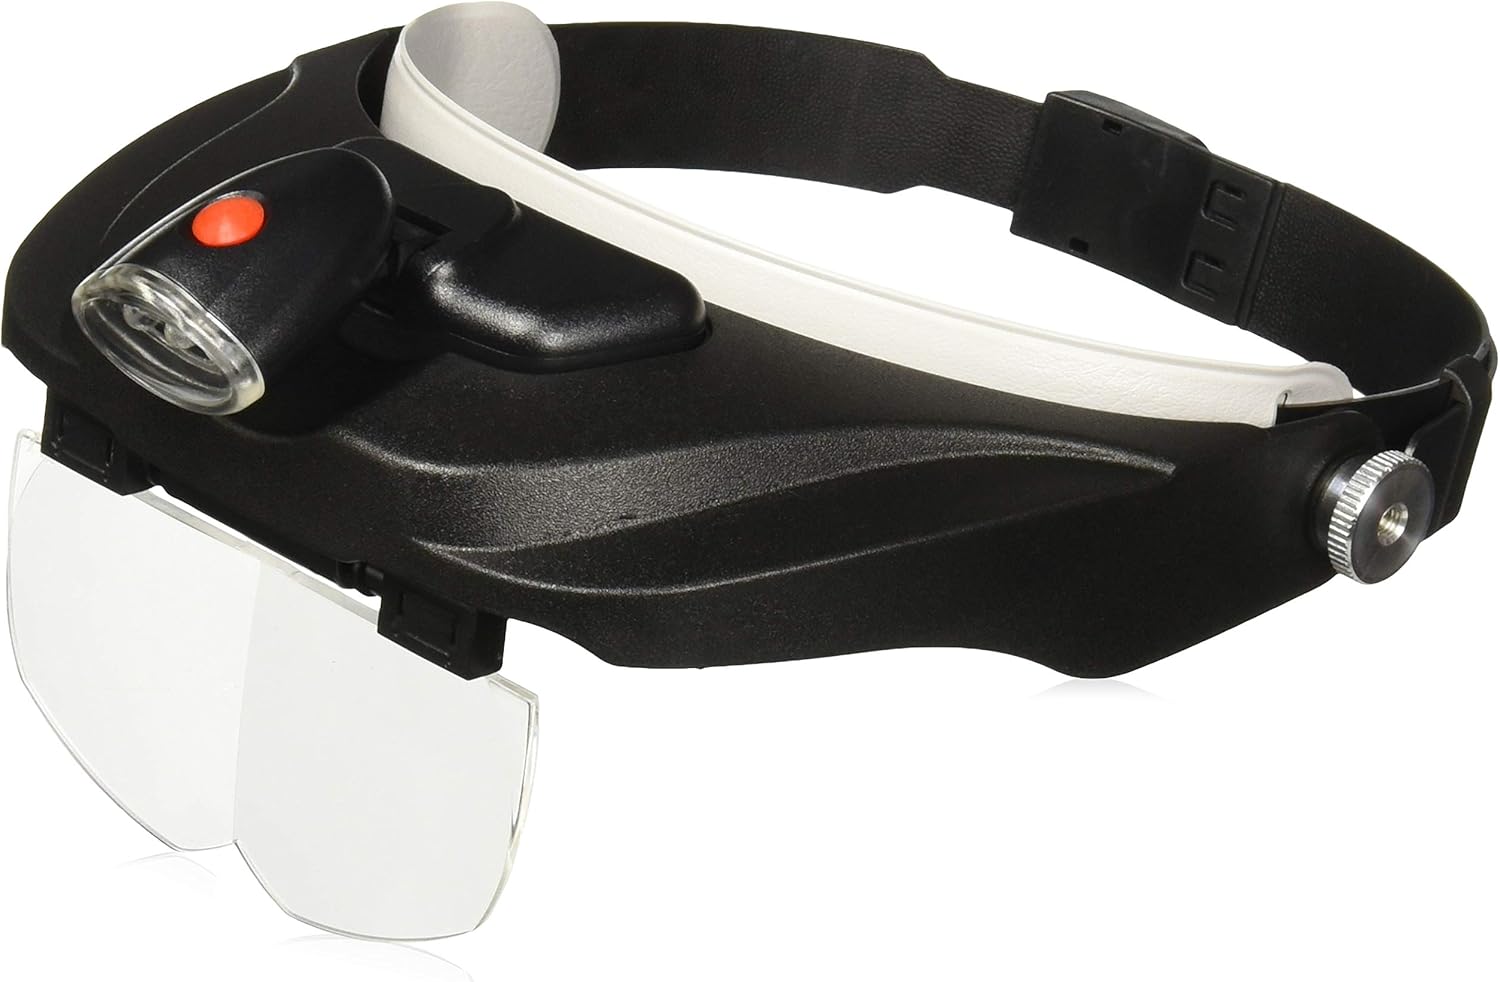
I have also been thinking to get these kind of magnifiers, but I have not come so far that I would have started to investigate what's avaible and good. I bought some years ago some cheap magnifier "things", that were very light. The construction as such was "ok", but the quality of the magnifier (plastic) was very poor. So even if the lenses magnfied pretty well, the quality was very bad and did not help at all.jkim wrote: Proper magnification is also essential to good detail painting. Almost all of my modeling work is done under magnification. In addition to the reading glasses that I have to wear because of farsightedness, I always have these visor-style magnifiers on...


