The Warrior is now at the painting stage, given the amount of AM and scratch work, i am surprised at how quick it come together.
After the last update, the next thing i got to was prepping the road wheels. In this pic, the kit wheels are on the left, resin the right. On the inner wheels at top, you can see bolt detail on the resin wheels. And on the outer set, the resin wheels have much nice detail around the hub as well as the oil filler plug for the hub oil reservoir.
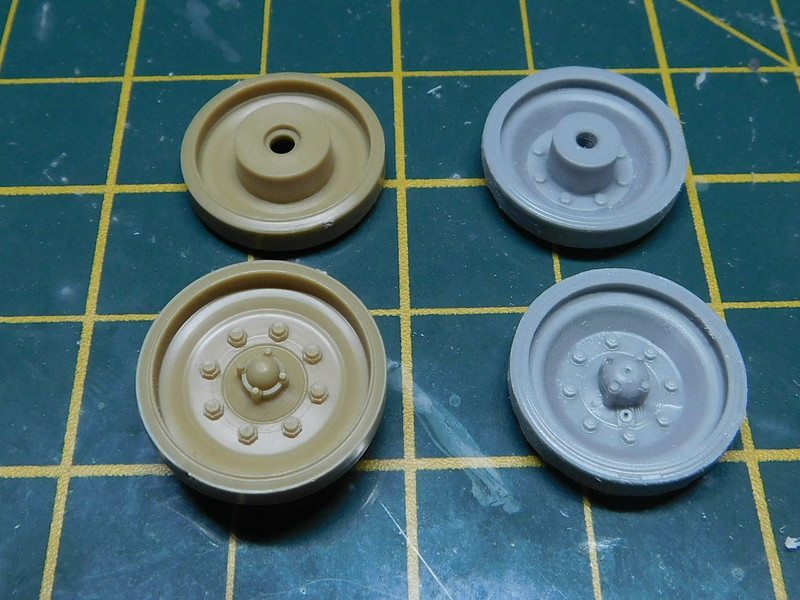
The resin wheels were cleaned up by running a rough sanding stick around then and then i took a needle file to some to take out a few small chunks of rubber. Then they all got primed. Can't beat wheels on sticks.

I also primed the inside of the hull after fitting the rear. I had to open the 2 small windows as these were solid.

While that was drying i got most of the turret together. The barrel trough was fitted as this is the same green as the rest of the vehicle. The barrel will be painted seperatly and added later. The antenna base mounts came with clansman antenna bases. These were removed and replaced with bowman one. The set included 3 styles. The small device on the front right antenna is a GPS transciever and had to be taken from one of the other style of bases.The armoured covers for the Raven sites have been left off to paint seperatly. By 2006 this vehicle had the new BGTI sites, but the houseing is the same and externally there is no differance.
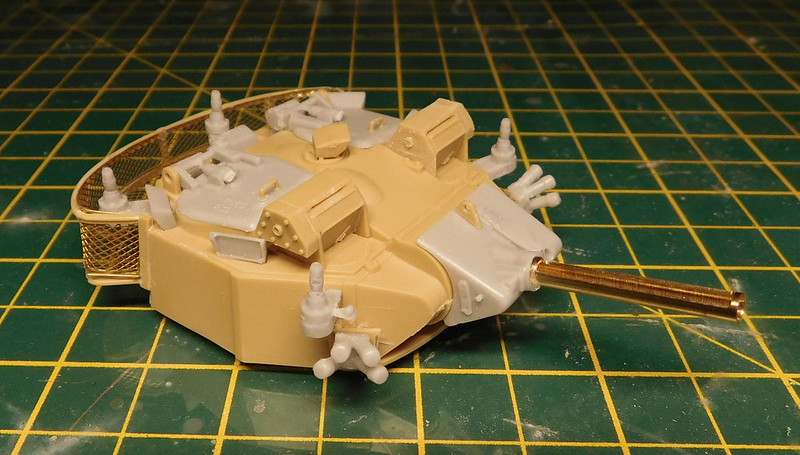

There are still a few more bits to add.
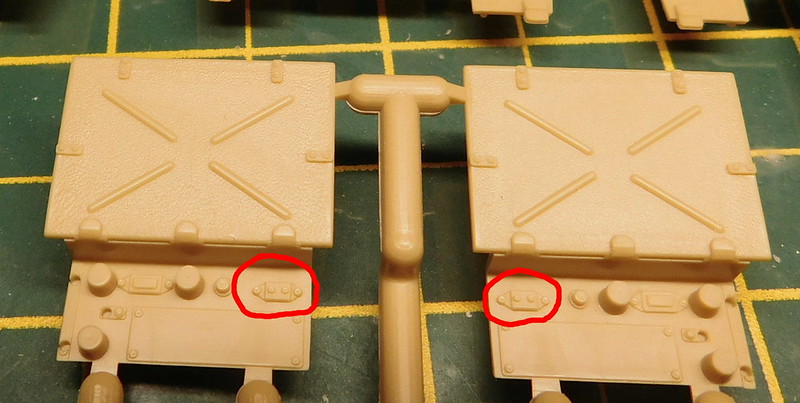
These two parts are the rear light houseing which comes with the bottom and rear of the rear bins attached. The two areas indicated are the buttons for the door of the 510. But on the real vehicle, these buttons are only on the left, the right is just a blanking plate. However, the 511 has a manually operated door so there are no butons at all. Accurate Armour does not mention that the buttons have to be removed. A quick swipe with a scalpel blade will do the job.
And the cam pole holders are pretty poor. I wil replace these with brass tube. There are 8 sets in total.

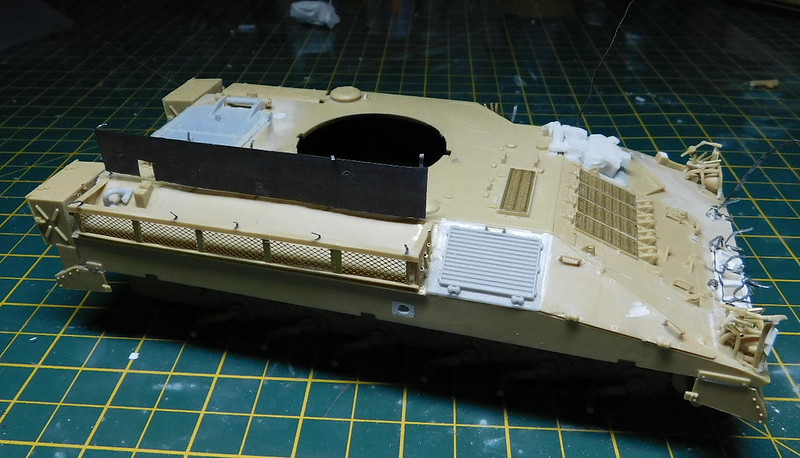
And with all these parts sorted and the hull fully assemebled, its now ready for some paint. I had to modify and move the fire extingusher holder just behind the left lights. Tools are secured with canvas webbing straps secured with a metal plate. I use lead foil and styrene rod for these. The long bit of lead foil and the metal brackets for the shovels and axe. I will trim to fit later.
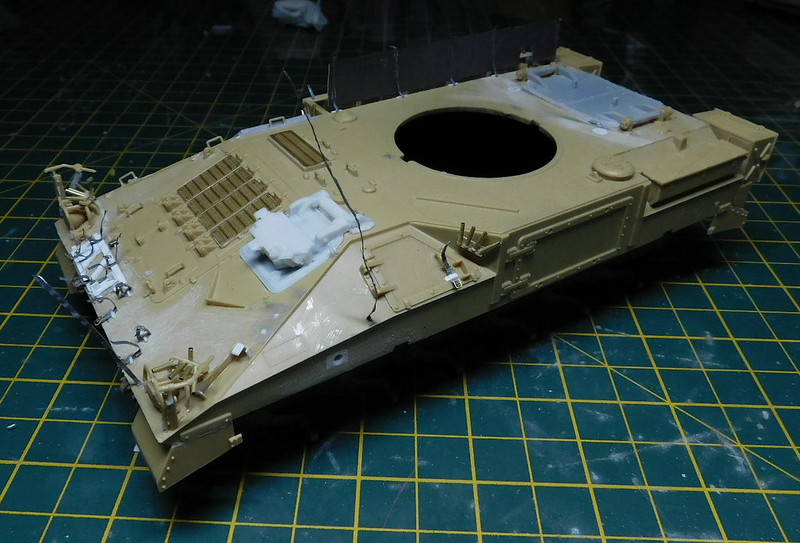
The cover for the side bin was cut out of lead foil.
Close up of the front tool holders. Also you can see the access step. this had to be thined and reshaped. The part coming out from the side is the step thats designed to be fited with the chobham. The kit step was to short. You can also see one of the new cam pole holders on the front light guards. The lightguards had to be raised at the front as i realised the angle was wrong when fitting the cam pole holders.

Closer short of the right side cam pole holder.

Rear all fitted out.


The the whole thing was hit with primer and the underside painted with Alclad aluminium.

I also sprayed Alclad where i will do some light chipping. namely the ice breaker and access step.

I have since given it a coat of green. Tonight its ready for masking and the black.