- Kari
Der Beetle Bus XL-Pressing Forward-01/05
Re: Der Beetle Bus XL-In Progress Comparison Shots-11/27
- Kari
---
On the bench:
Tamiya F-4B Phantom II 1/48
Kinetic F-16A (new tool) 1/48
https://www.facebook.com/GrundAsk-Scale ... 721218708/
On the bench:
Tamiya F-4B Phantom II 1/48
Kinetic F-16A (new tool) 1/48
https://www.facebook.com/GrundAsk-Scale ... 721218708/
- mustang1989
- Moderator
- Posts: 4903
- Joined: Tue Mar 18, 2014 8:35 pm
Re: Der Beetle Bus XL-In Progress Comparison Shots-11/27
I'll be on this one again on Friday morning Kari. Till then it's the Arado's turn...........KSaarni wrote:
- Kari
- mustang1989
- Moderator
- Posts: 4903
- Joined: Tue Mar 18, 2014 8:35 pm
Re: Der Beetle Bus XL-In Progress Comparison Shots-11/27
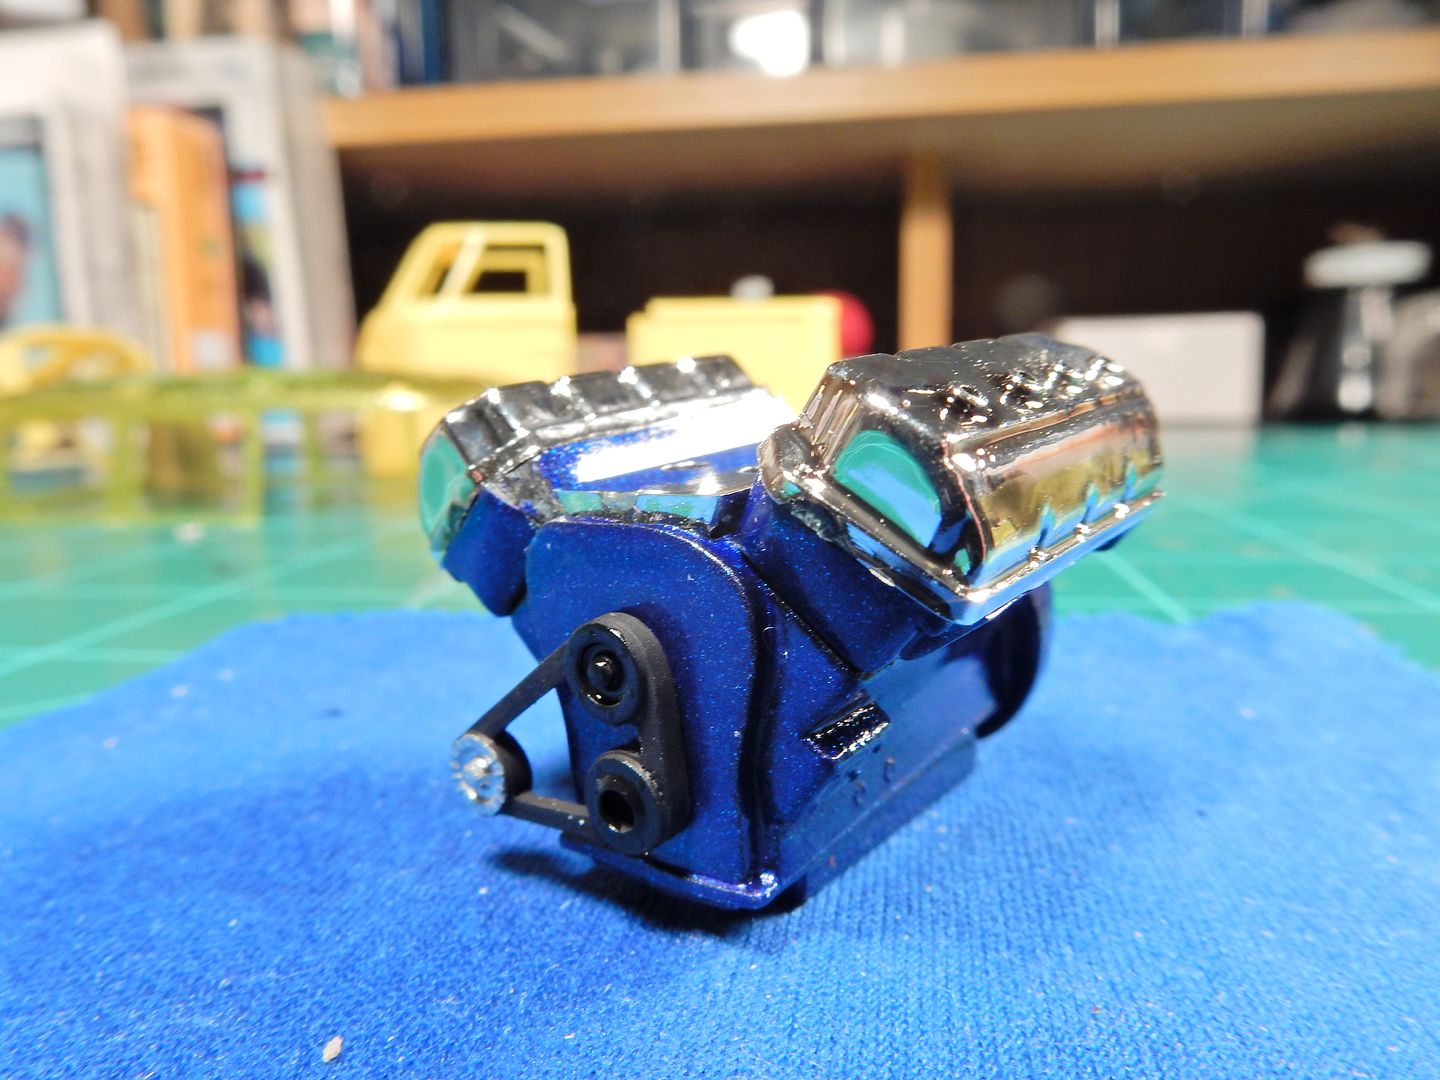
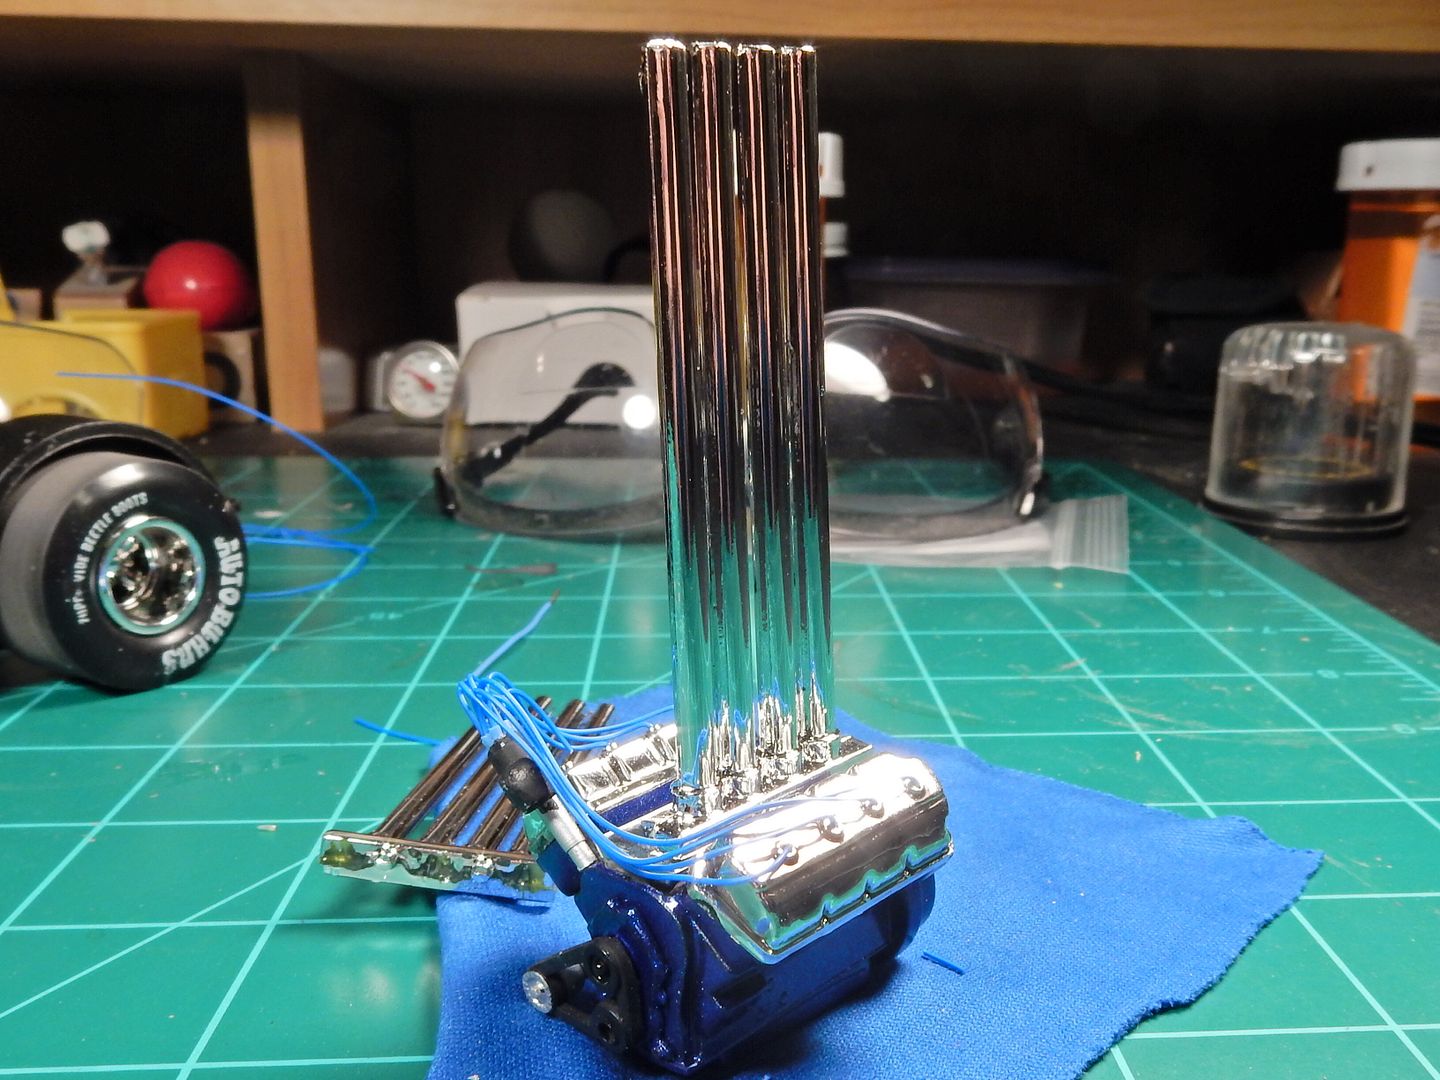
Okeedokee folks. I left off with the OOB engine with no timing cover, water pump....nothin'. Man did that look blank! I was initially going with a Hemi that I built as a kid and then backed out of that one just because of all the mods I would have to do to get it looking right and fitting. So I took the timing cover and water pump from that engine and put over onto this engine first of all. Secondly, I couldn't leave the engine with now ignition system given all this effort I'm going through to "enhance" things a bit so I added some wire's from Lex's after drilling out the distributor cap and going through the usual process of installing wires into the cap and routing and all.
A before shot:
and the current progress with the L/H OOB injector stack test fitted and the timing cover now in place:
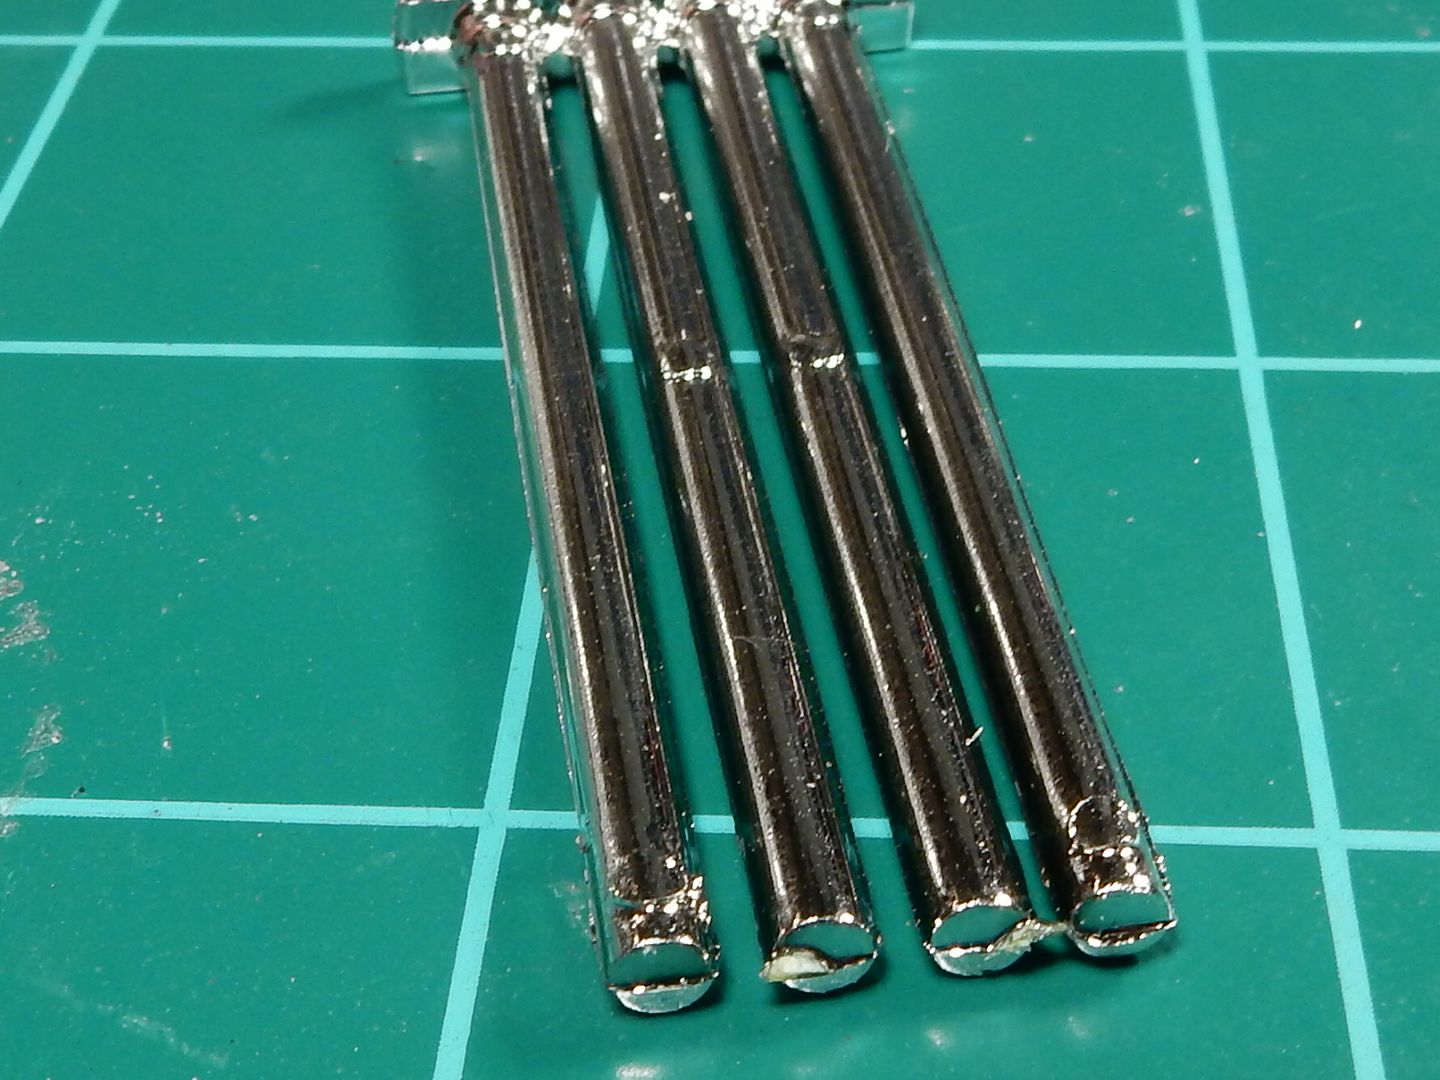
Lastly, speaking of injector stacks, while I like the idea of those on this kit I strongly dislike all the seam lines and flash associated with the parts that AMT used. From a distance they look great and the stacks are at least not molded together but close up they are a complete disaster that would require total reworking to straighten out!
Let's zoom in a little closer....
So I'll start fixing that by cutting off the stacks from the bases....
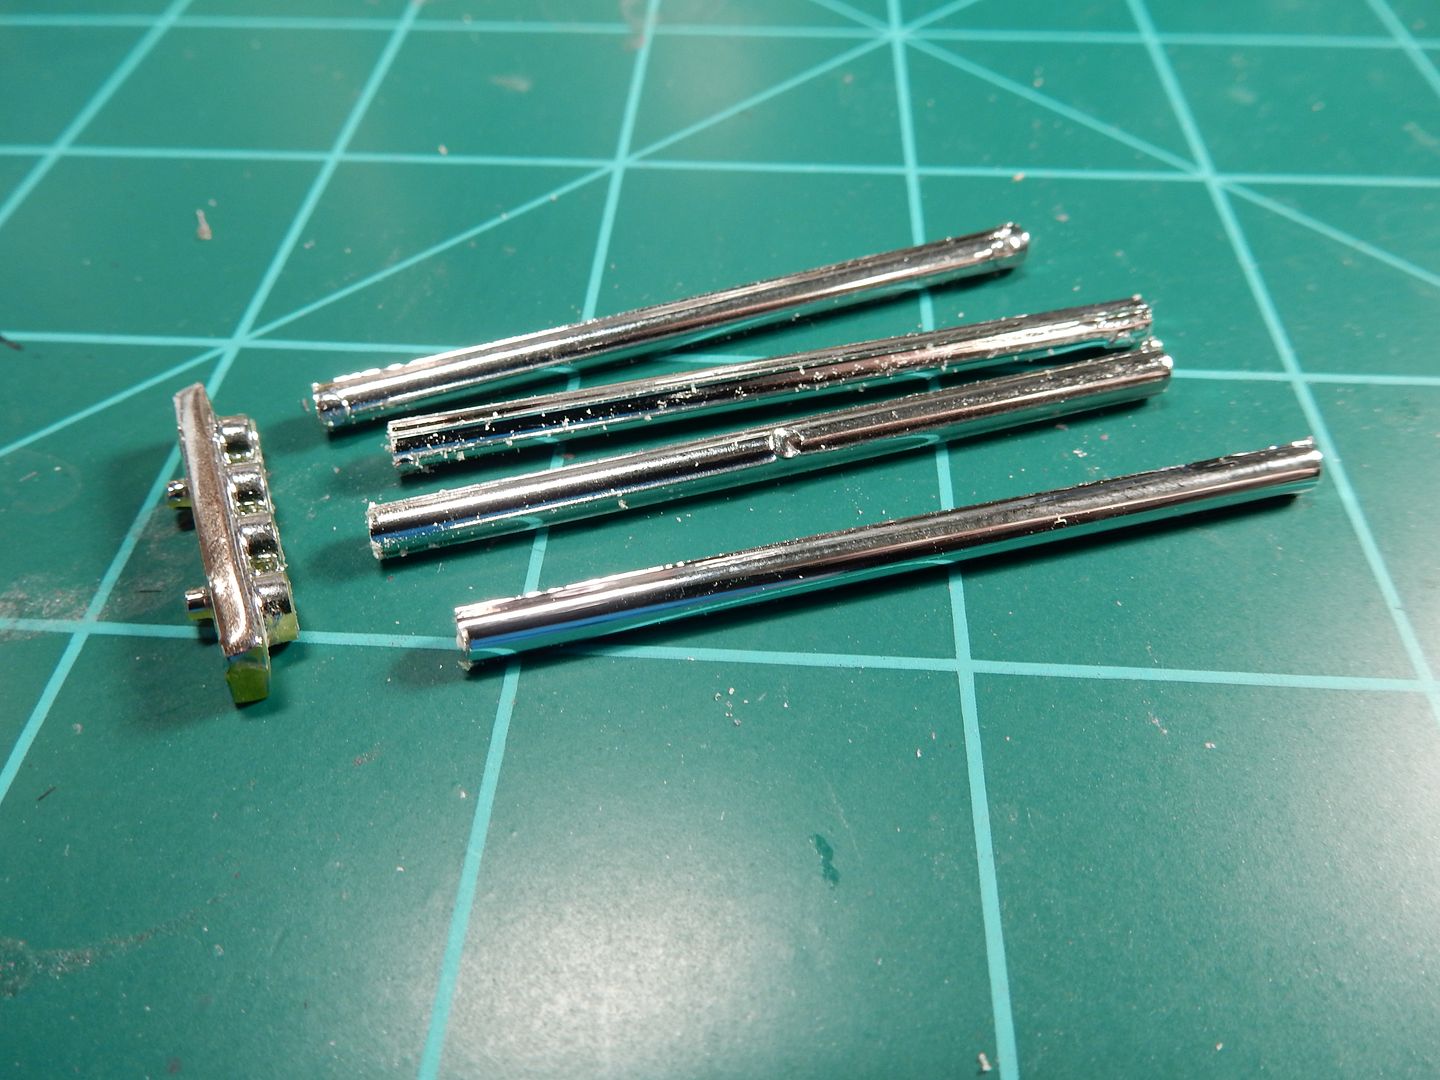
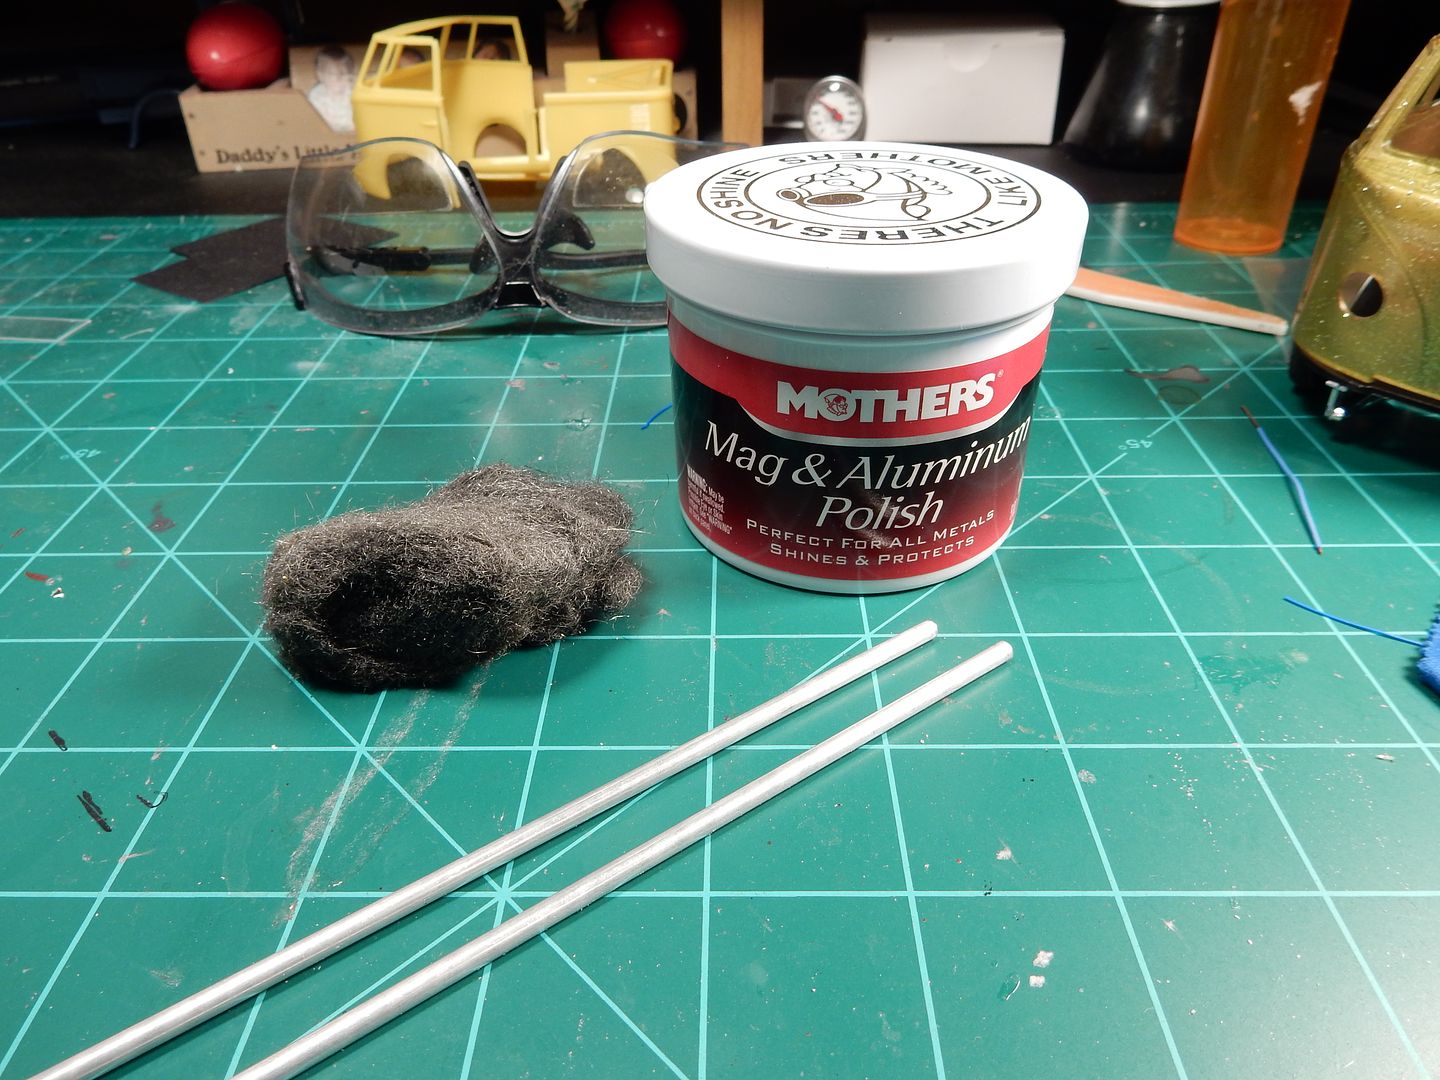
Here's what I'm going to use instead. I picked up some aluminum tube from HL and will cut each stalk in half, chuck it up in a drill and spin it up in the steel wool there beside the stalk here to start a base for the shining process and then switch over to spinning it up in a polishing cloth with some Mothers Aluminum polish to "polish" things off. Sorry...............couldn't help the pun.
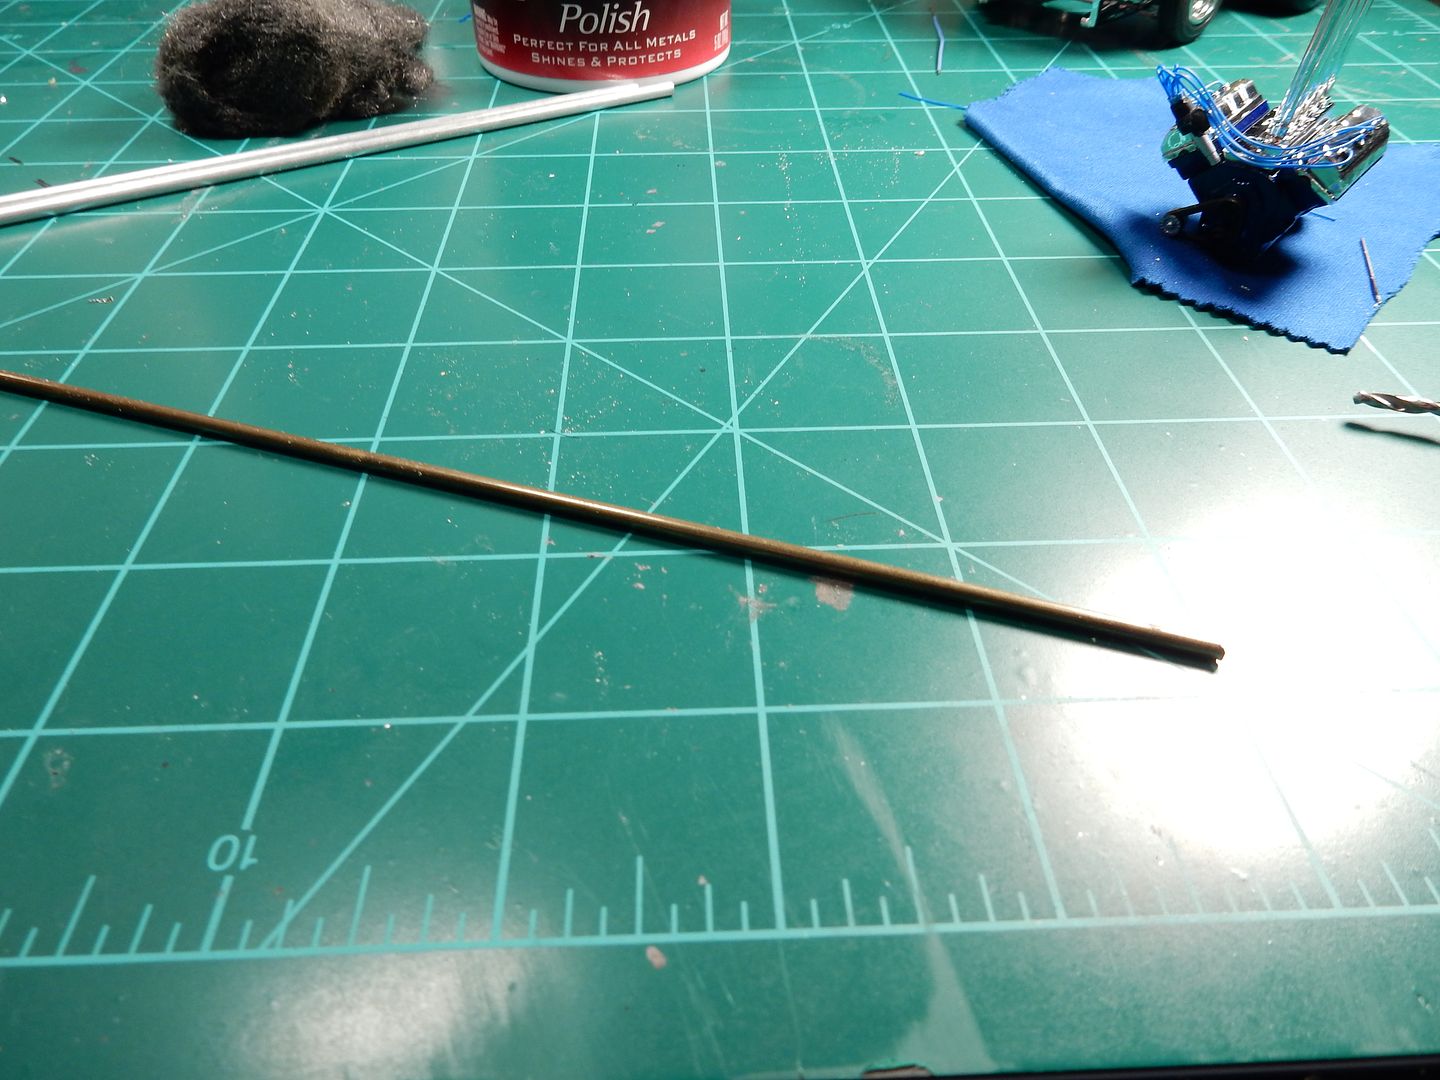
I needed locators in which to create a strong adhesion and to help line everything up so I chose some smaller diameter brass rod that slips right into the aluminum rod perfectly.
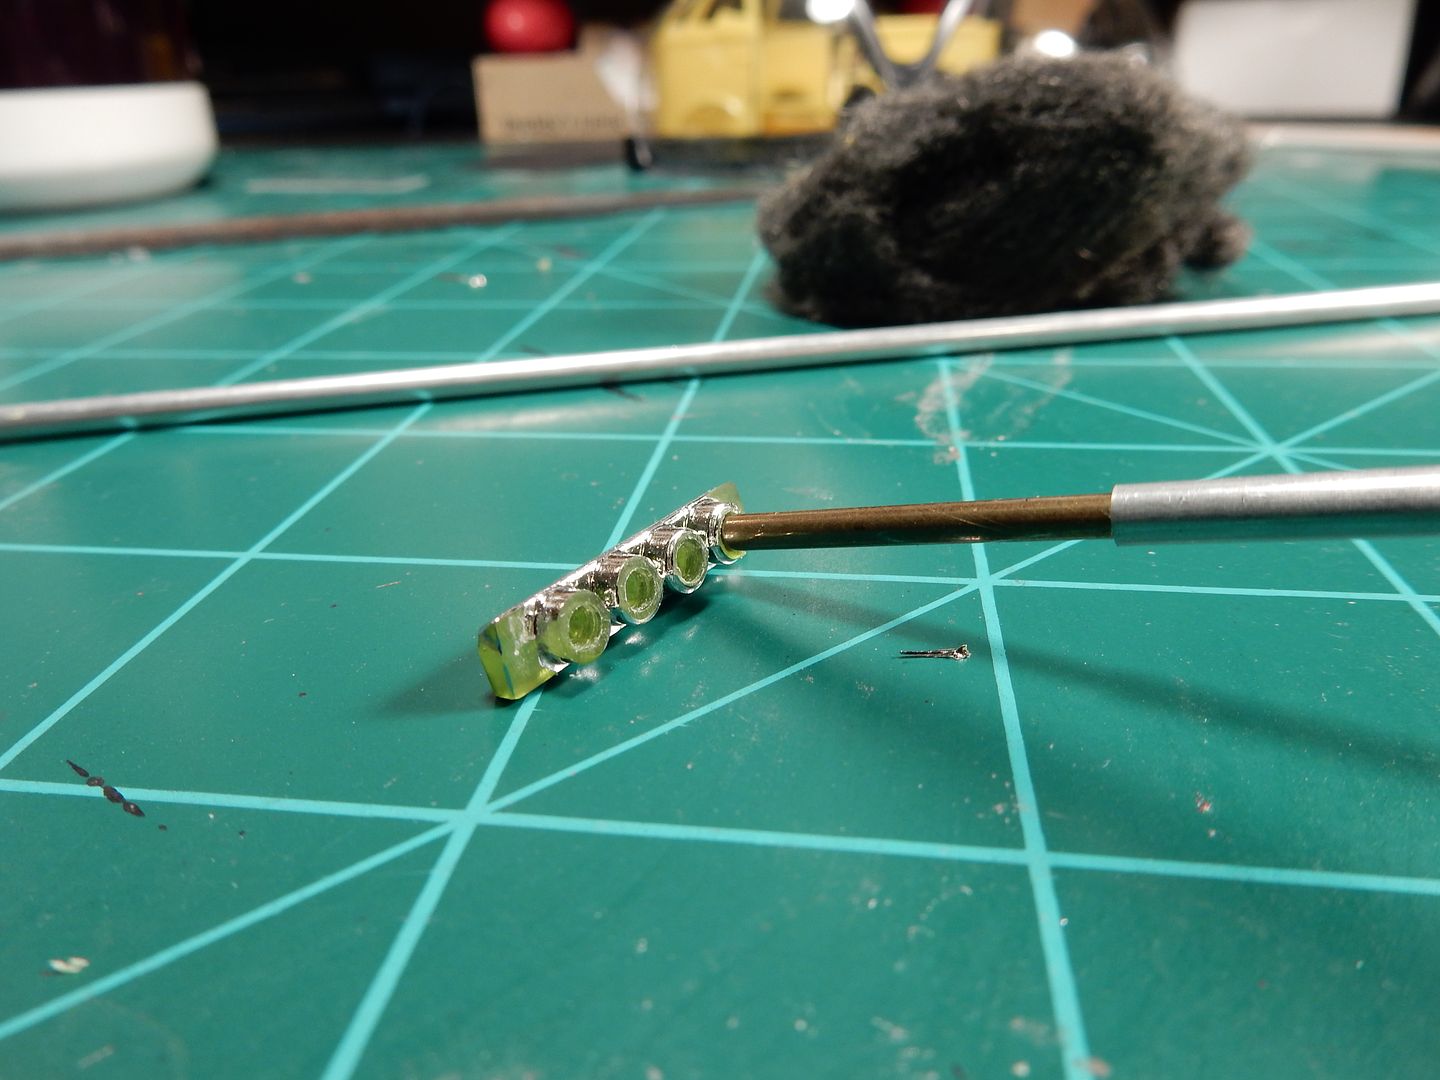
and in one photo I'll illustrate the process. I drilled into the injector stack base at each outlet to create a pilot hole for the brass rod which fits snugly inside each hole, then will slip the aluminum rod over the short lengths of brass rod like so.............
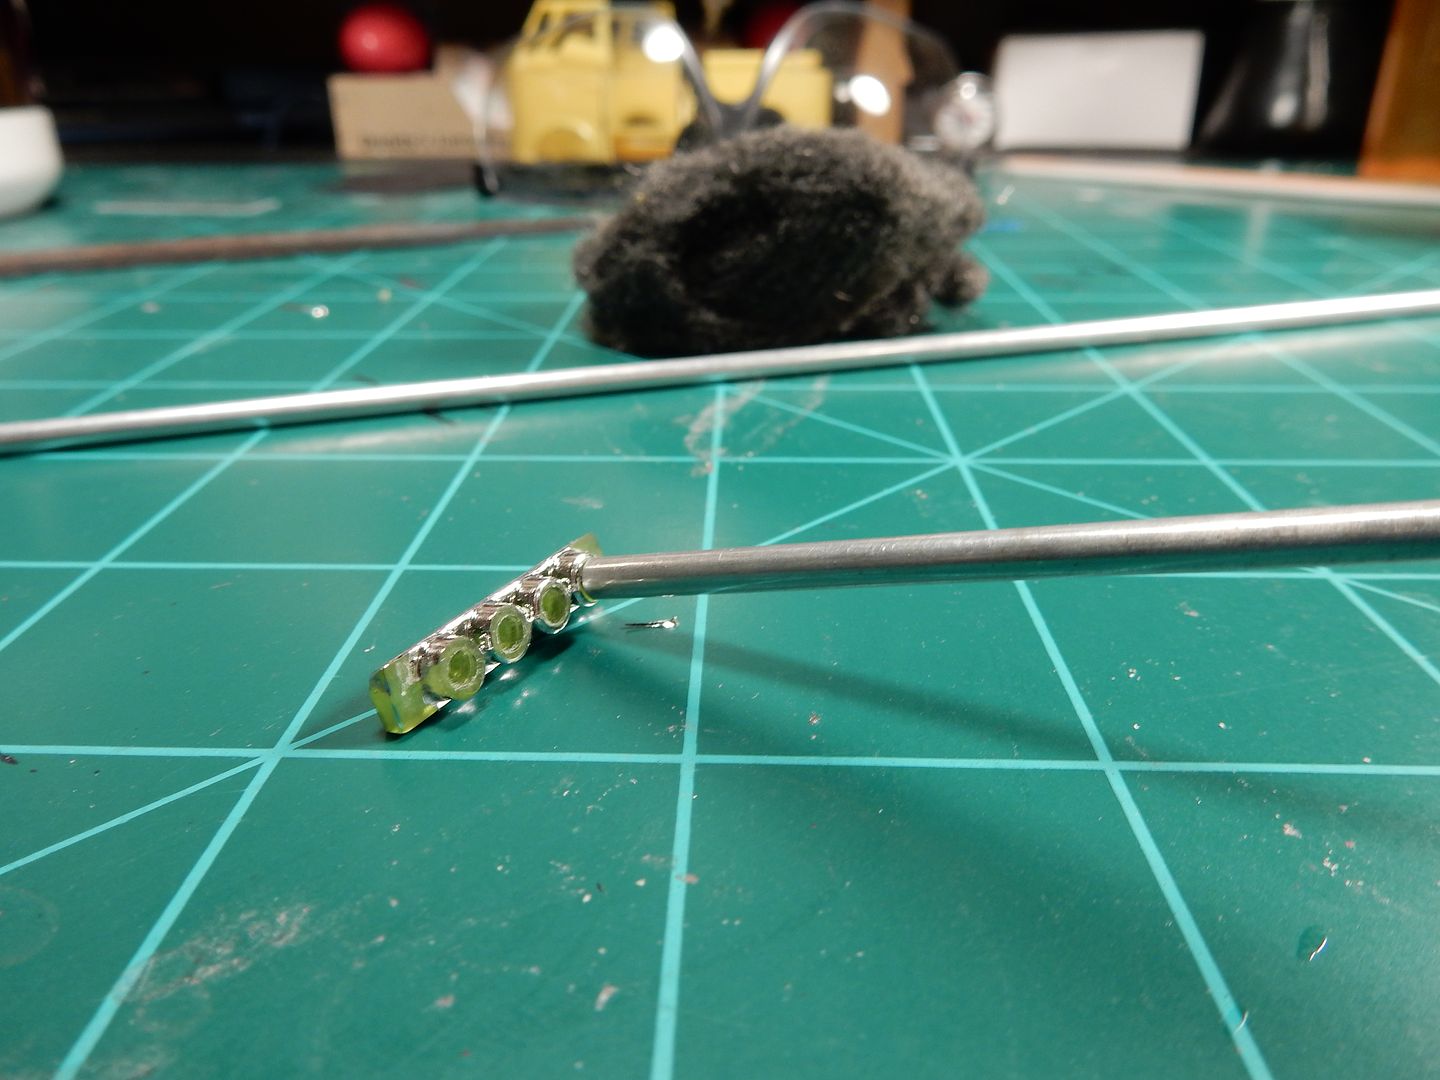
and then slid it on down to it's "home" position like so..............and do 7 more like that and I'll be home free with a lot better looking stacks than I started out with.
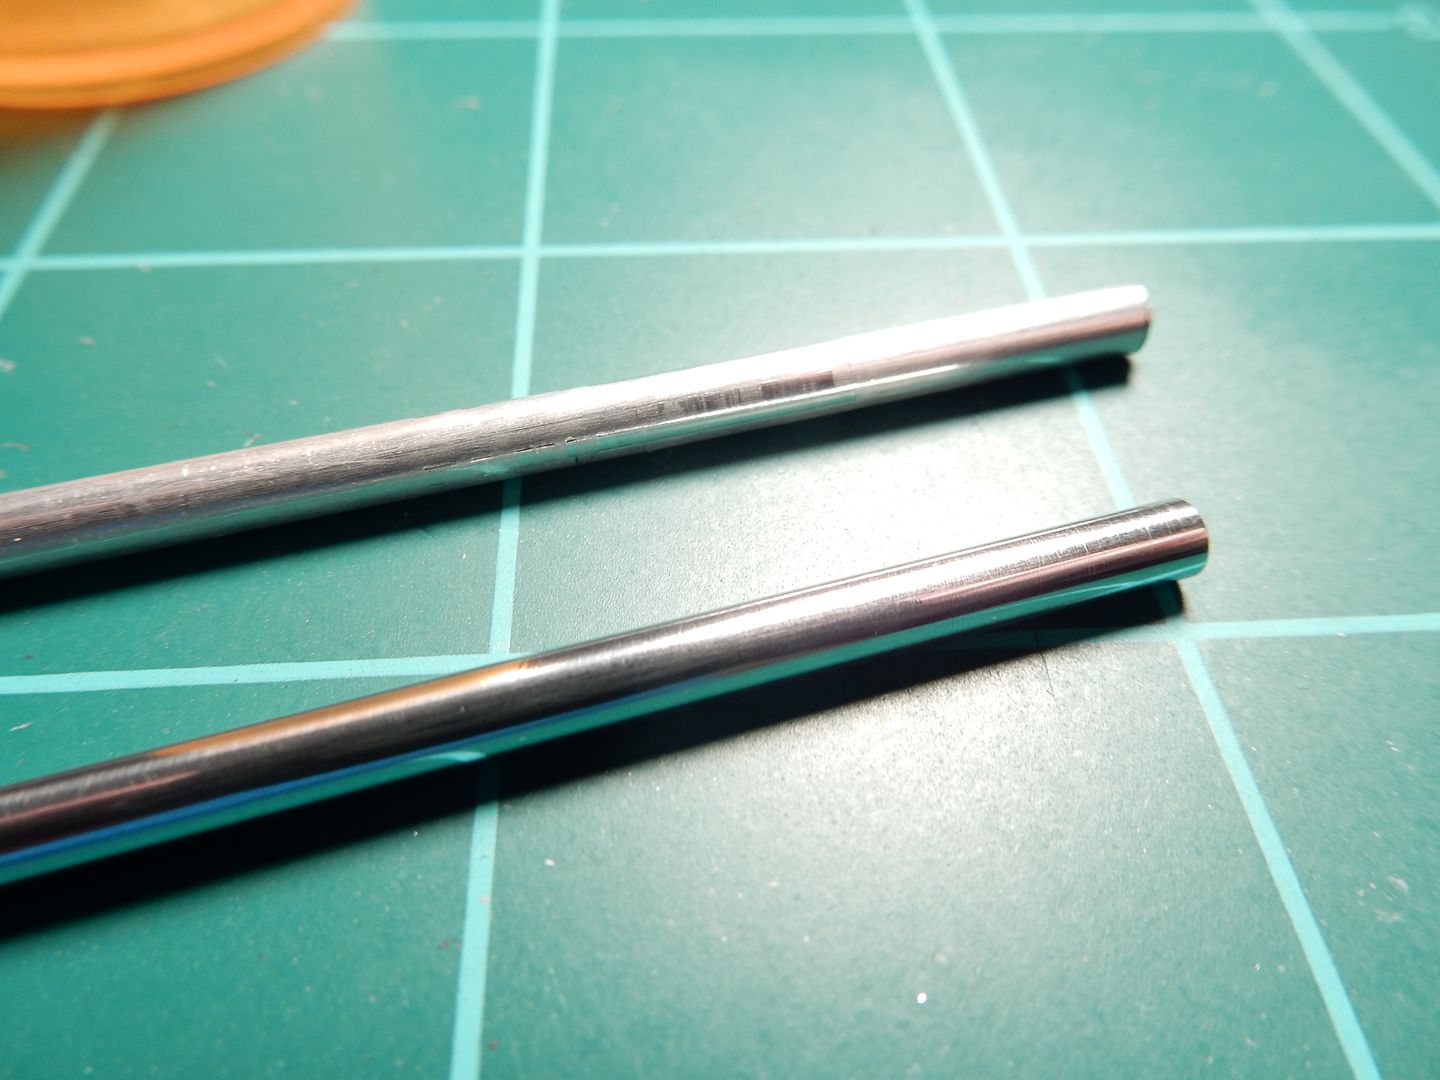
I've shined up two using the procedure outlined above so far. The top one is untouched and the bottom one is after 10 minutes of polishing with the wool first then the Mothers.
A before shot:

and the current progress with the L/H OOB injector stack test fitted and the timing cover now in place:

Lastly, speaking of injector stacks, while I like the idea of those on this kit I strongly dislike all the seam lines and flash associated with the parts that AMT used. From a distance they look great and the stacks are at least not molded together but close up they are a complete disaster that would require total reworking to straighten out!
Let's zoom in a little closer....

So I'll start fixing that by cutting off the stacks from the bases....

Here's what I'm going to use instead. I picked up some aluminum tube from HL and will cut each stalk in half, chuck it up in a drill and spin it up in the steel wool there beside the stalk here to start a base for the shining process and then switch over to spinning it up in a polishing cloth with some Mothers Aluminum polish to "polish" things off. Sorry...............couldn't help the pun.

I needed locators in which to create a strong adhesion and to help line everything up so I chose some smaller diameter brass rod that slips right into the aluminum rod perfectly.

and in one photo I'll illustrate the process. I drilled into the injector stack base at each outlet to create a pilot hole for the brass rod which fits snugly inside each hole, then will slip the aluminum rod over the short lengths of brass rod like so.............

and then slid it on down to it's "home" position like so..............and do 7 more like that and I'll be home free with a lot better looking stacks than I started out with.

I've shined up two using the procedure outlined above so far. The top one is untouched and the bottom one is after 10 minutes of polishing with the wool first then the Mothers.

- Stikpusher
- Moderator
- Posts: 18880
- Joined: Sat Apr 05, 2014 8:37 pm
- Location: Ceti Alpha 5
Re: Der Beetle Bus XL-Eng. Updates & Inj. Tube Re-work-12/06
"Surely I have made my meaning plain? I intend to avenge myself upon you, Admiral. I have deprived your ship of power, and when I swing 'round, I intend to deprive you of your life."
FLSM
FLSM
- mustang1989
- Moderator
- Posts: 4903
- Joined: Tue Mar 18, 2014 8:35 pm
Re: Der Beetle Bus XL-Eng. Updates & Inj. Tube Re-work-12/06
Ok I finished stripping the chrome off both fuel injector air horn bases and set those aside. I got the engine installed this morning but before I did I mounted the cooling fan up and made some minor adjustments to the radiator. I've never seen a cooling fan installed..........on the crankshaft pulley???? Too weird and I didn't like it and besides, the OOB fan was too dang bulky and big anyhow. I went with a cooling fan from Revell's Pro Stock Thunderbird kit and it worked great AND I installed it in the "normal" position at the water pump pulley. Criminy! 
I'm also in the process of stripping all the chrome from the fuel injector stack bases so I can apply gloss black to them and shoot a coat of Alclad chrome over them.
Anyhow here's todays progress report...............
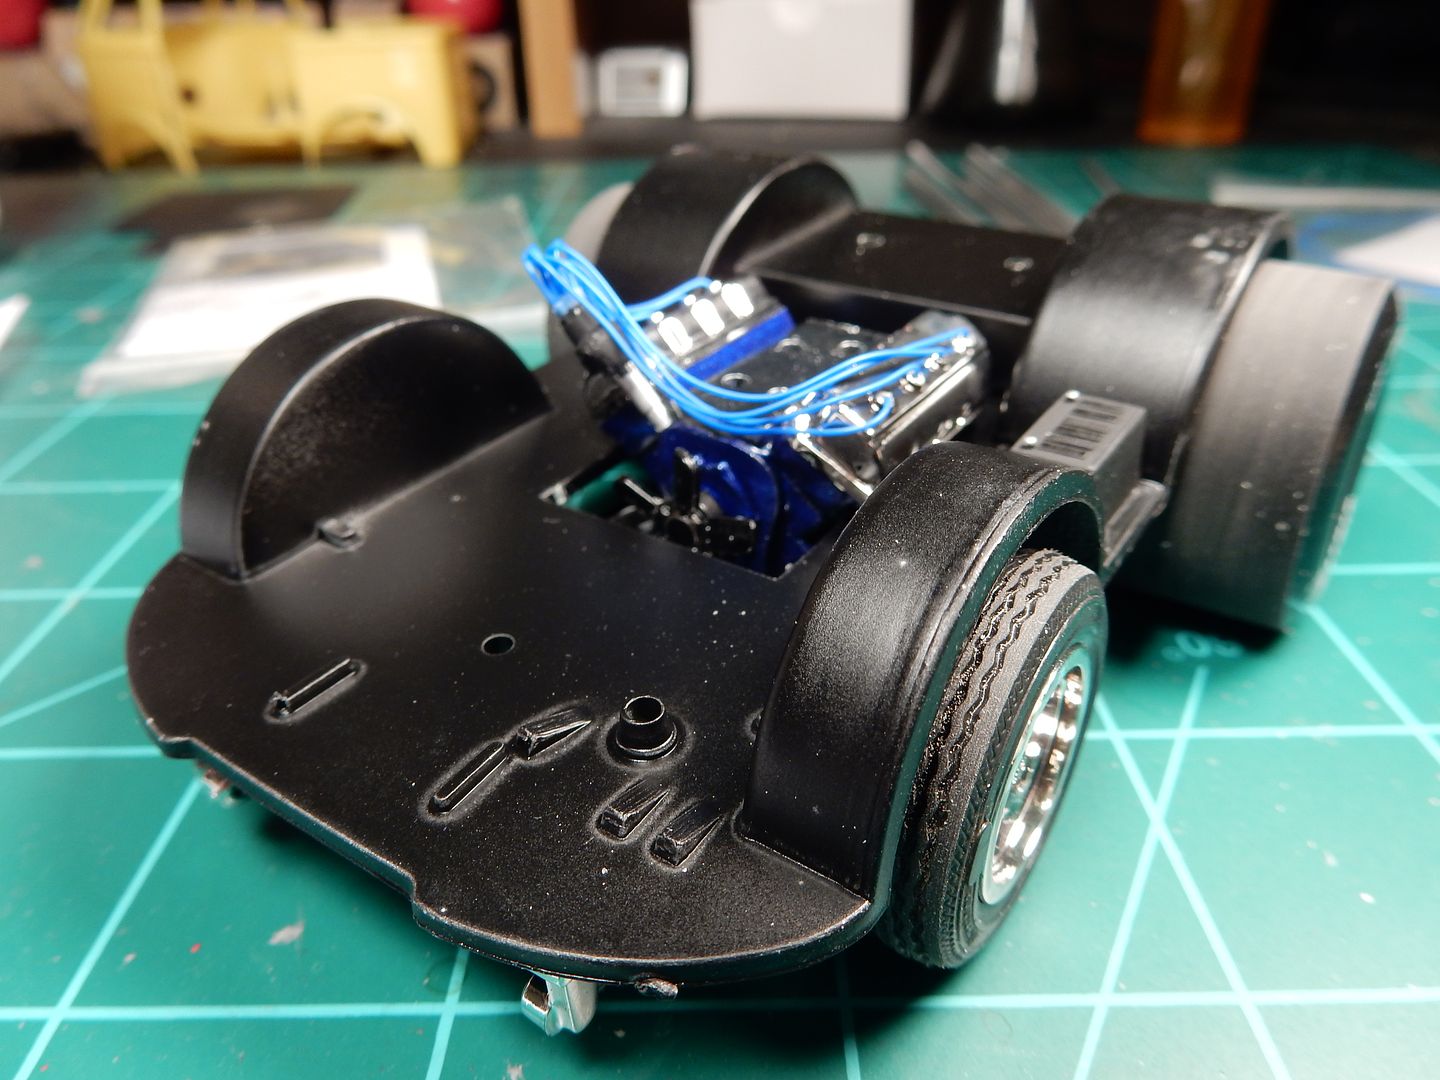
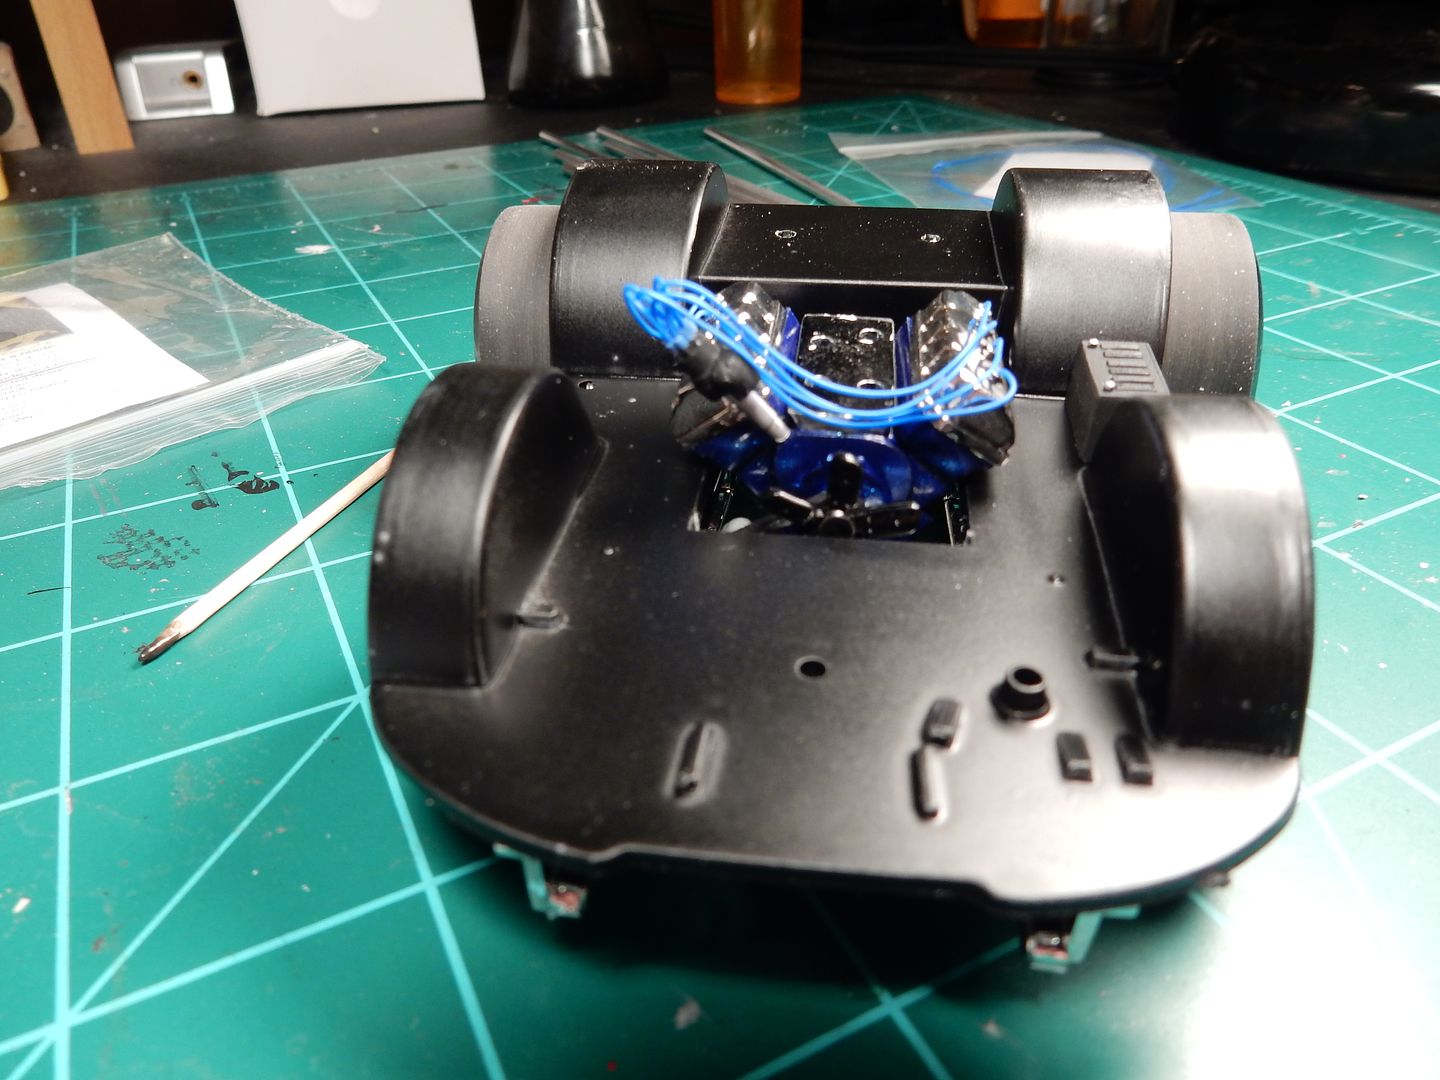
I'm also in the process of stripping all the chrome from the fuel injector stack bases so I can apply gloss black to them and shoot a coat of Alclad chrome over them.
Anyhow here's todays progress report...............


- mustang1989
- Moderator
- Posts: 4903
- Joined: Tue Mar 18, 2014 8:35 pm
Re: Der Beetle Bus XL-"OOB" Overall Progress-12/09
I managed to get some things done today on the interior and I got a gloss black coat over the injector stack bases. After that dries I'll shoot some Alclad over them and start working on installation of the stacks.
While the injector stacks were drying I couldn't help myself any longer. I had primed a spare roof section from my cut up bus a couple of days ago and decided to spray the base coat yesterday followed up with the clear this morning. The results are EXACTLY what I was after. In the pictures below you'll see the teal base color but you'll also be able to pick out the blue and purple on the curves and angles. This color has always been one of my favorites due to the sheer wickedness of its look.............
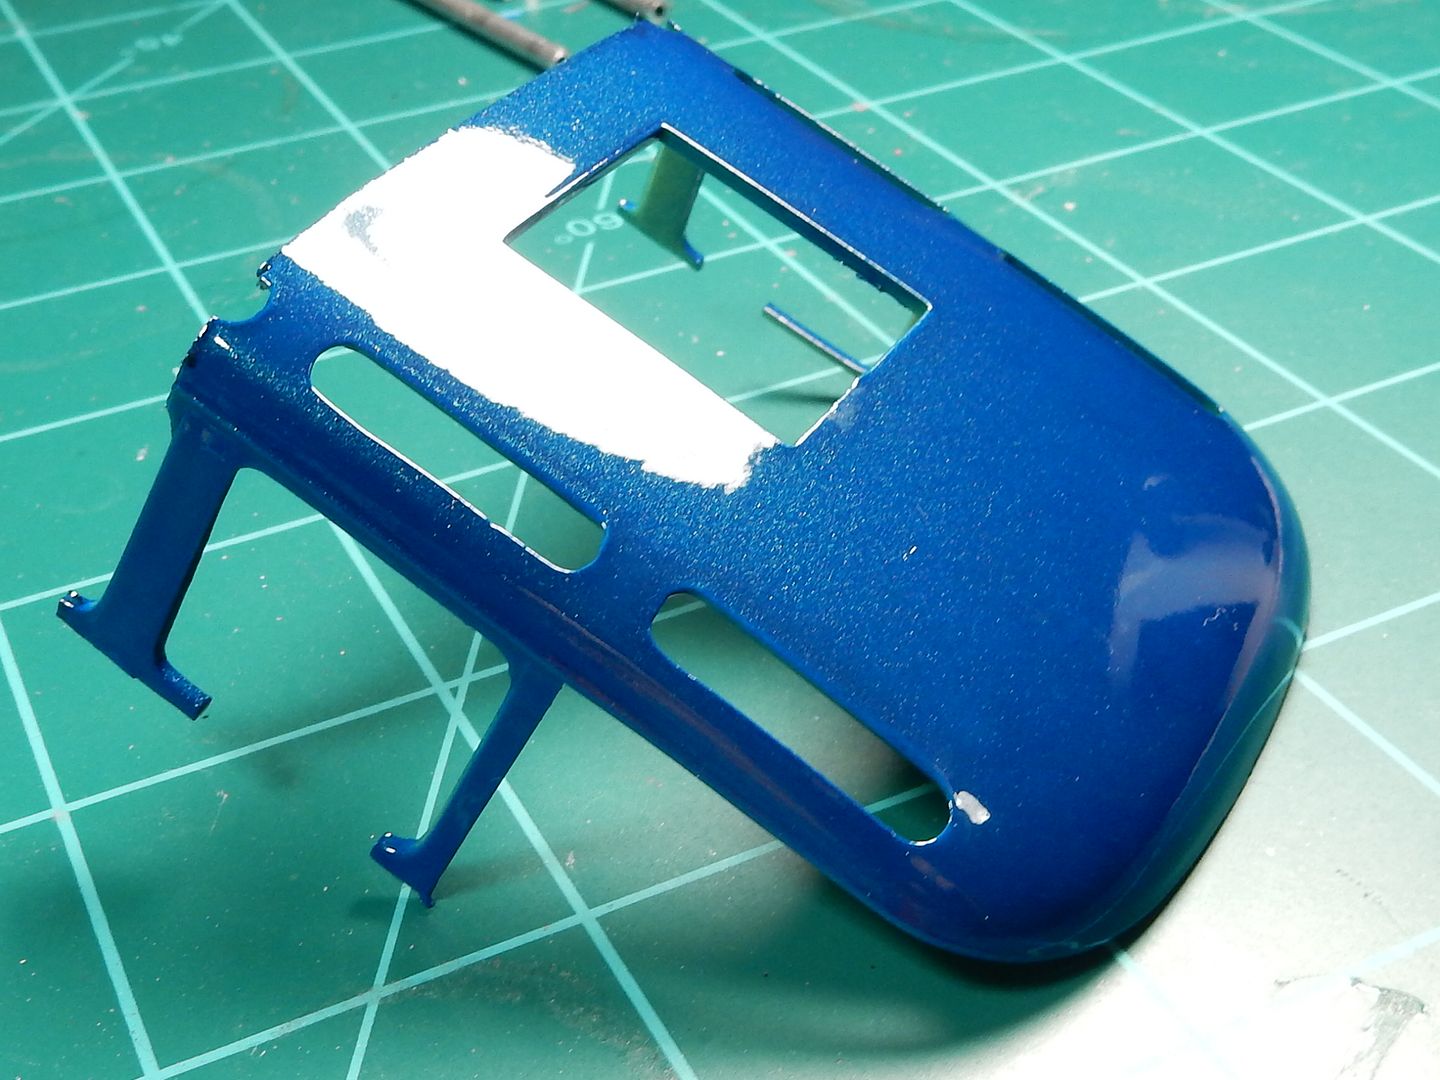
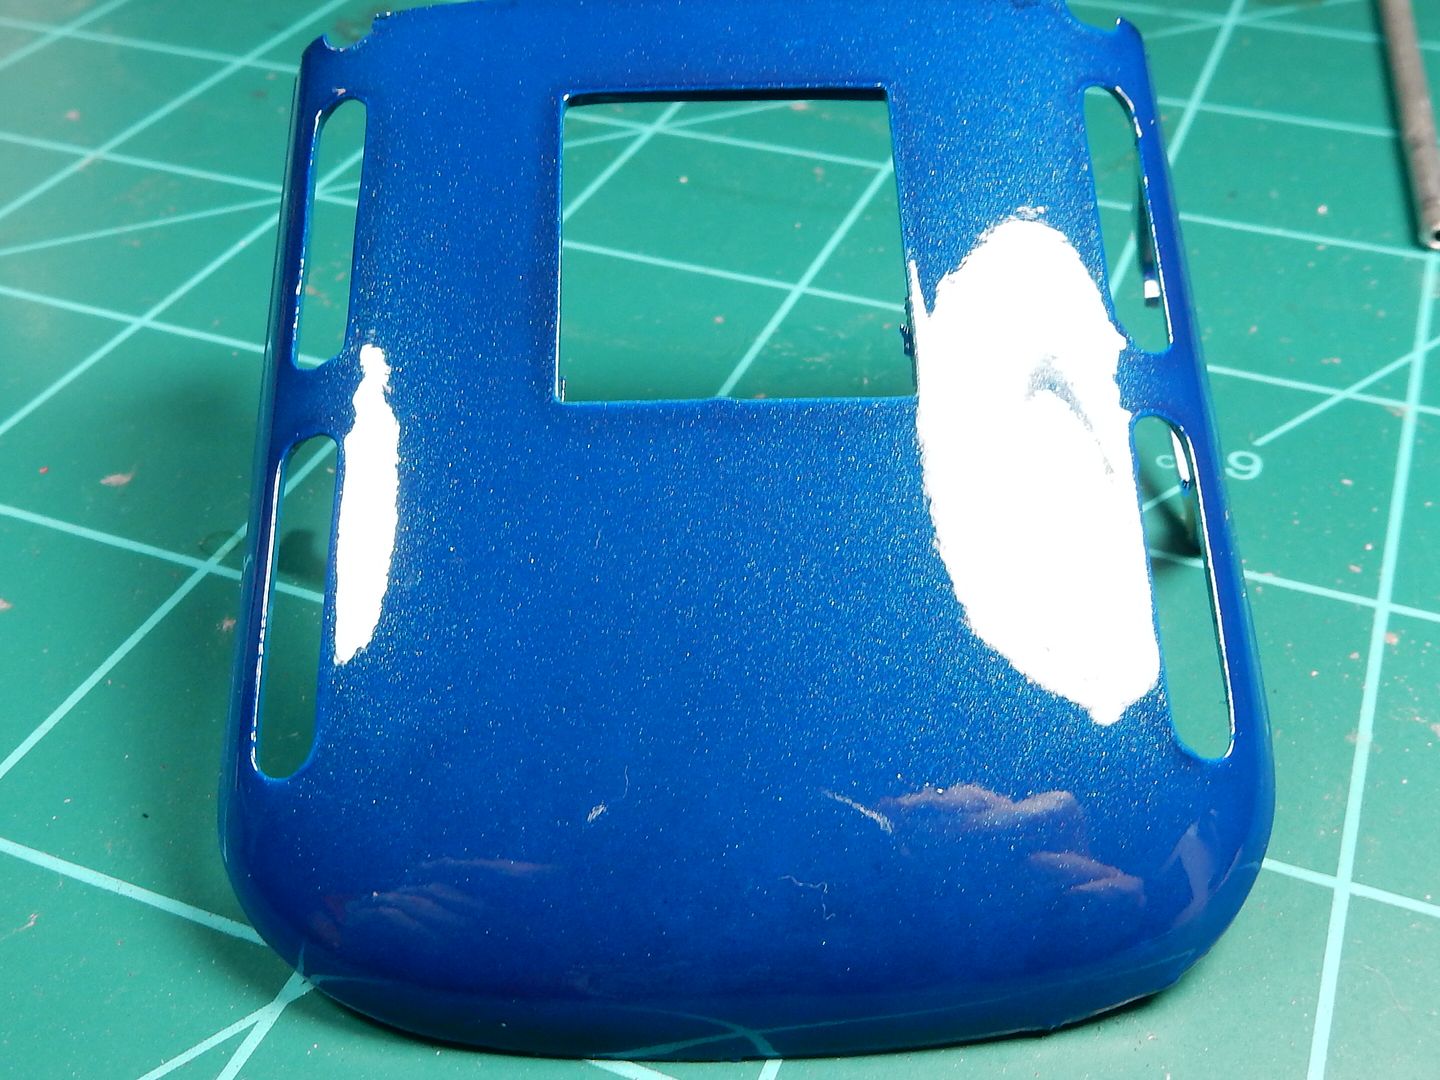
While the injector stacks were drying I couldn't help myself any longer. I had primed a spare roof section from my cut up bus a couple of days ago and decided to spray the base coat yesterday followed up with the clear this morning. The results are EXACTLY what I was after. In the pictures below you'll see the teal base color but you'll also be able to pick out the blue and purple on the curves and angles. This color has always been one of my favorites due to the sheer wickedness of its look.............


- tempestjohnny
- Elite Member
- Posts: 3347
- Joined: Sat Oct 15, 2016 4:51 am
- Location: Naples. FL
- mustang1989
- Moderator
- Posts: 4903
- Joined: Tue Mar 18, 2014 8:35 pm
Re: Der Beetle Bus XL-79U/ Mystic Teal Metallic Tryouts-12/1
Thanks Johnny. lol .
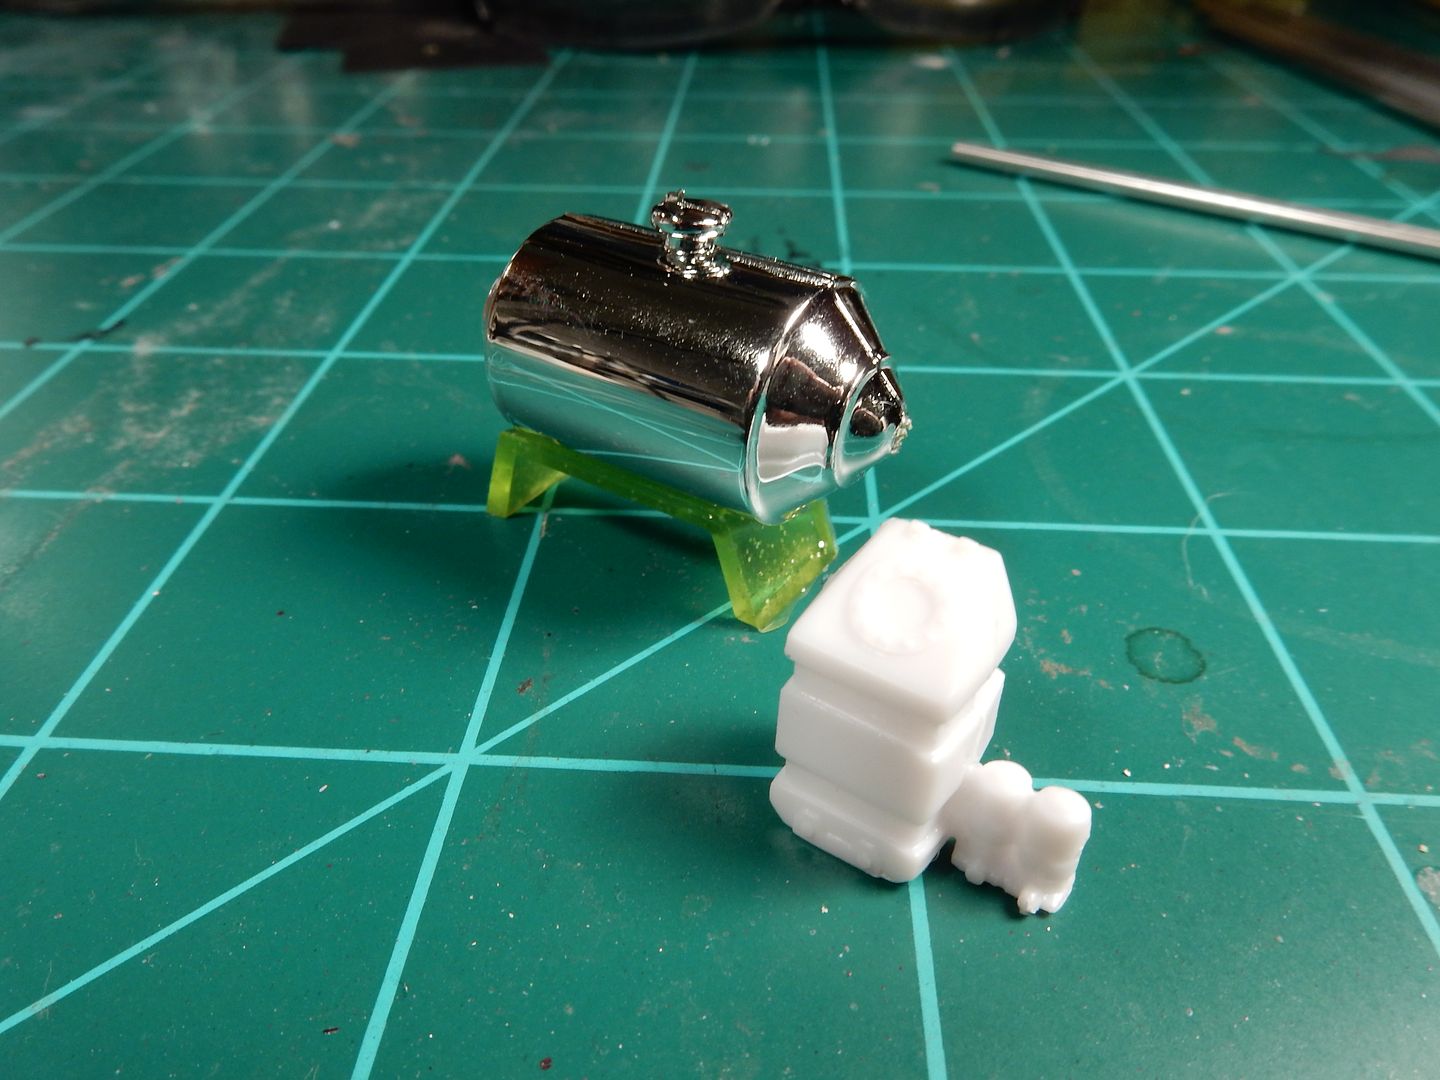
I didn't get a whole lot of bench time in this morning (1 hour) like I usually get on the weekend (3+ hours) as I've been really tired the last few days and it caught up with me yesterday so I slept in a little bit longer this morning. I did get my injector stack bases coated with some Alclad II this morning and started working on a replacement fuel cell for the OOB build.
On the left and in the back ground is the OOB fuel cell which to me just looks TOTALLY ridiculous so I opted for one from my Camaro Pro Stock kit which looks less toy like (like that whole kit doesn't look that way already right?) plus I get to detail it a little bit more than the OOB one. Got it glued together and I'll be working on the seam line and detailing in the days to come.

- Stikpusher
- Moderator
- Posts: 18880
- Joined: Sat Apr 05, 2014 8:37 pm
- Location: Ceti Alpha 5
Re: Der Beetle Bus XL-Progress-12/11
That color does look really cool. I bet it looks even better in person.
"Surely I have made my meaning plain? I intend to avenge myself upon you, Admiral. I have deprived your ship of power, and when I swing 'round, I intend to deprive you of your life."
FLSM
FLSM
Re: Der Beetle Bus XL-Progress-12/11
Great Progress Joe!
Stuart Templeton 'I may not be good but I'm slow...'
My blog: https://stuartsscalemodels.blogspot.com/
My blog: https://stuartsscalemodels.blogspot.com/