Revell 1/32 UH-1D Gunship
-
Thomas_M

- Admin
- Posts: 4407
- Joined: Fri Dec 13, 2013 9:43 am
- Location: Bad Wurzach - Germany
- Contact:
Re: Revell 1/32 UH-1D Gunship
My Japanese Val had terrible decals: they behaved as if being waxed! No setting solution would stay on them to work...

Re: Revell 1/32 UH-1D Gunship
Very nice build & result Lyle!
- Kari
- Kari
---
On the bench:
Tamiya F-4B Phantom II 1/48
Kinetic F-16A (new tool) 1/48
https://www.facebook.com/GrundAsk-Scale ... 721218708/
On the bench:
Tamiya F-4B Phantom II 1/48
Kinetic F-16A (new tool) 1/48
https://www.facebook.com/GrundAsk-Scale ... 721218708/

Re: Revell 1/32 UH-1D Gunship
Thank you, Kari.
To make each build less crappy than the last one. Or, put another way, "Better than the last one, not as good as the next one!"..
Re: Revell 1/32 UH-1D Gunship
Here you go, Bruce....updated pic links above.
To make each build less crappy than the last one. Or, put another way, "Better than the last one, not as good as the next one!"..
Re: Revell 1/32 UH-1D Gunship
Rather than go back and update the quoted items....here is a completed one.
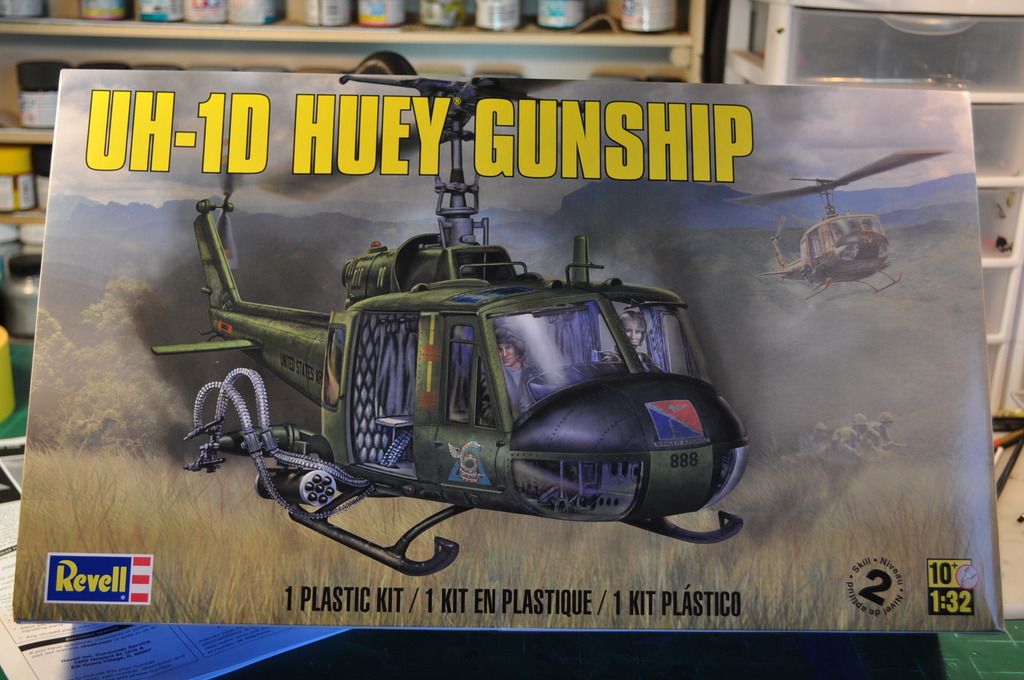
LyleW wrote:You guys know the history or the venerable UH-1 helicopter. It became the symbol of Vietnam for all of its uses and its ubiquitous presence. This kit was released by Revell in June 2015. I do not believe it is a new tool, but I cannot find the original release date as yet.
Product ID: 85-5536
Overview
Skill Level 2
Scale: 1/32
Length: 15-3/4"
Width: 3-1/8"
Height: 5-3/8"
Parts: 139
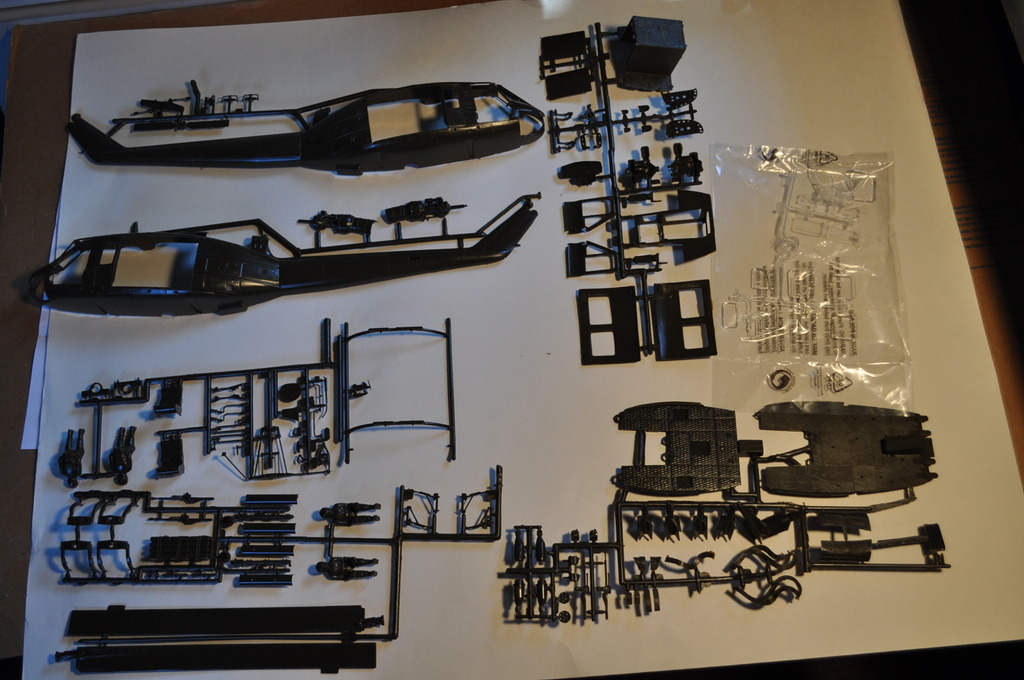
Sprues are pretty much as you would expect, all molded in dark OD plastic, except the clear (DUH) parts.
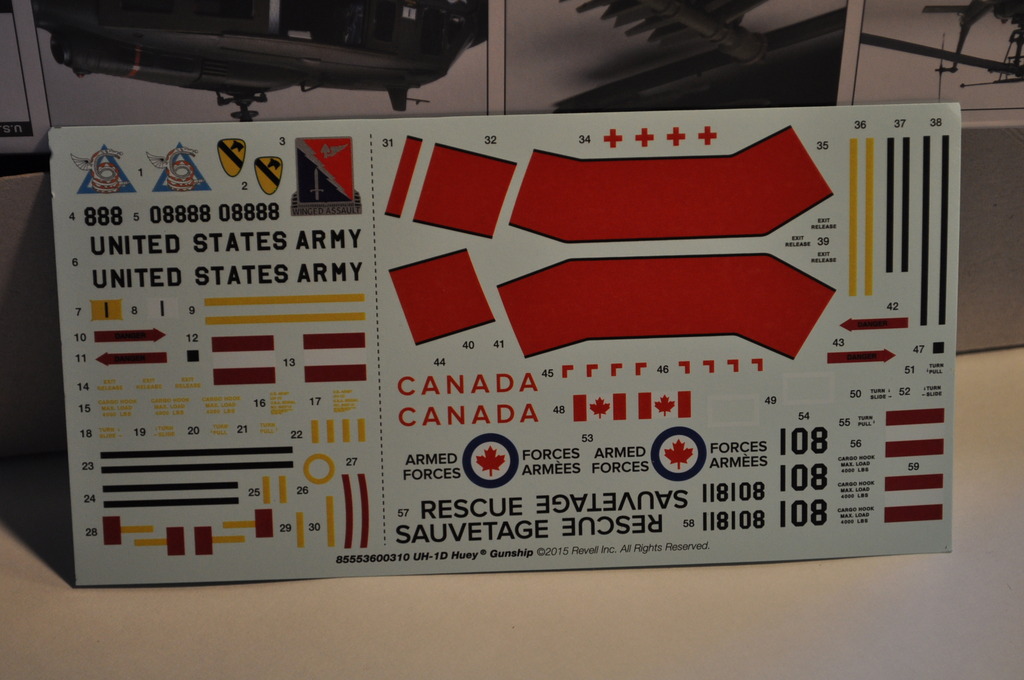
Decals:
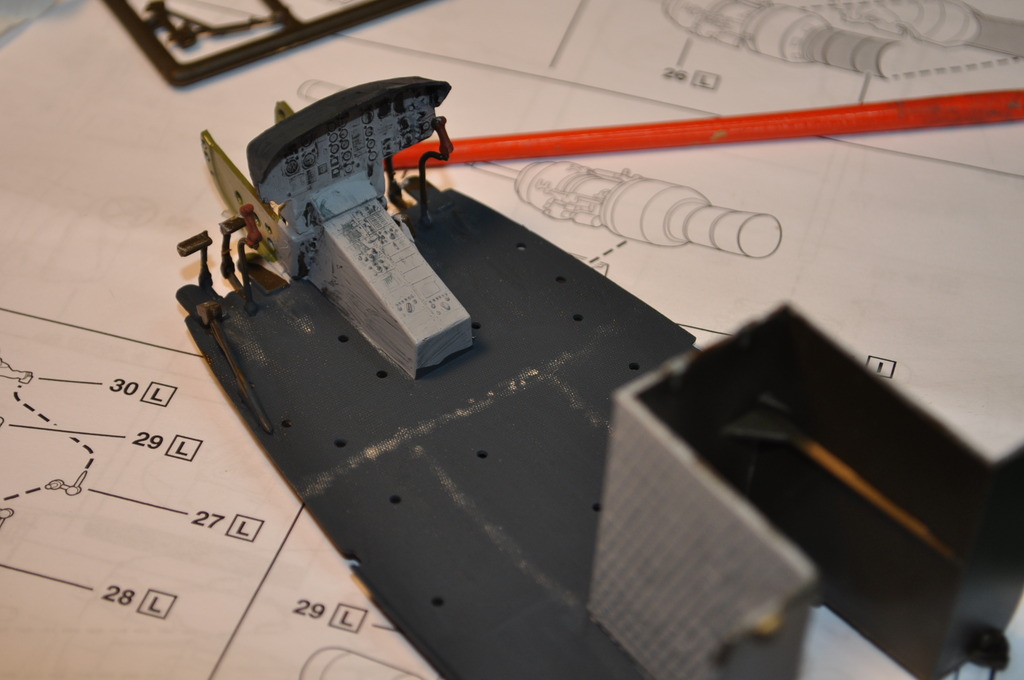
The Build:
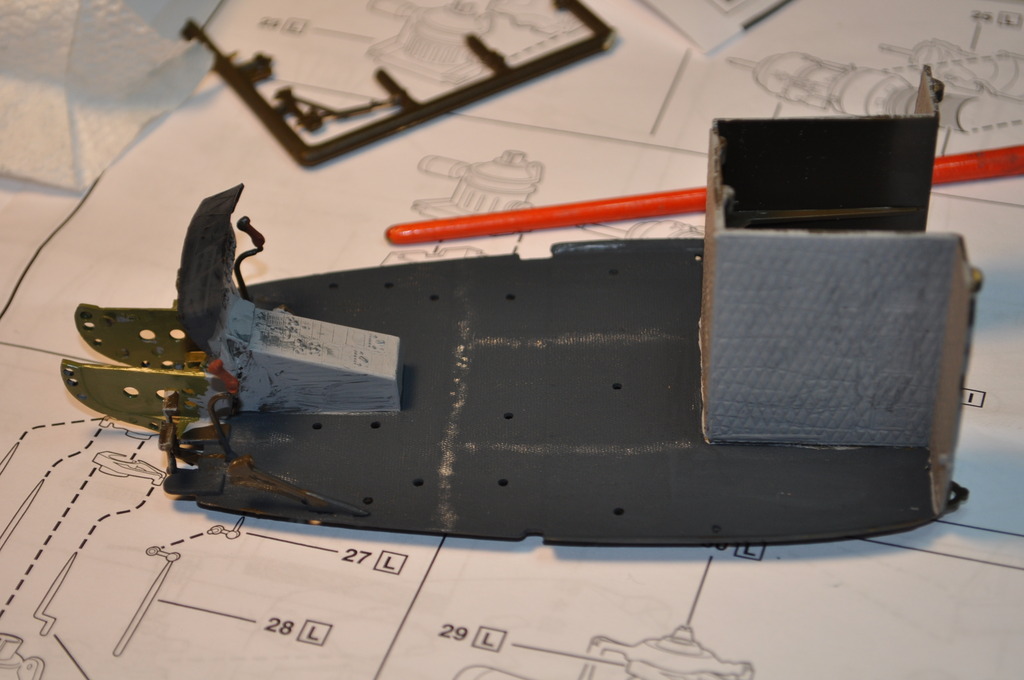
Interior is minimal at this point. It also has some minor fit issues. Locator pins don’t quite locate, tabs don’t always slide into place. . . and flash. Not much, but it is there as are the mold seams.
I don’t think I’ll do much weathering. One, I’m not very good at it yet and two I’m not very good at it yet. I have gone back and added some “wear” to the floor and will hit it with some additional dry brushing.
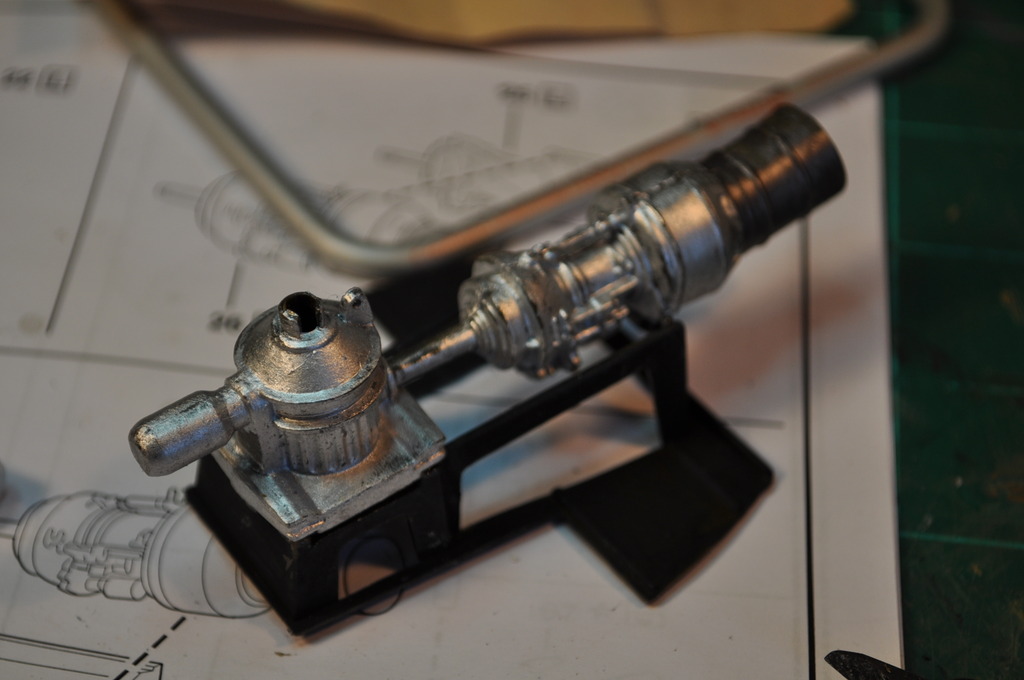
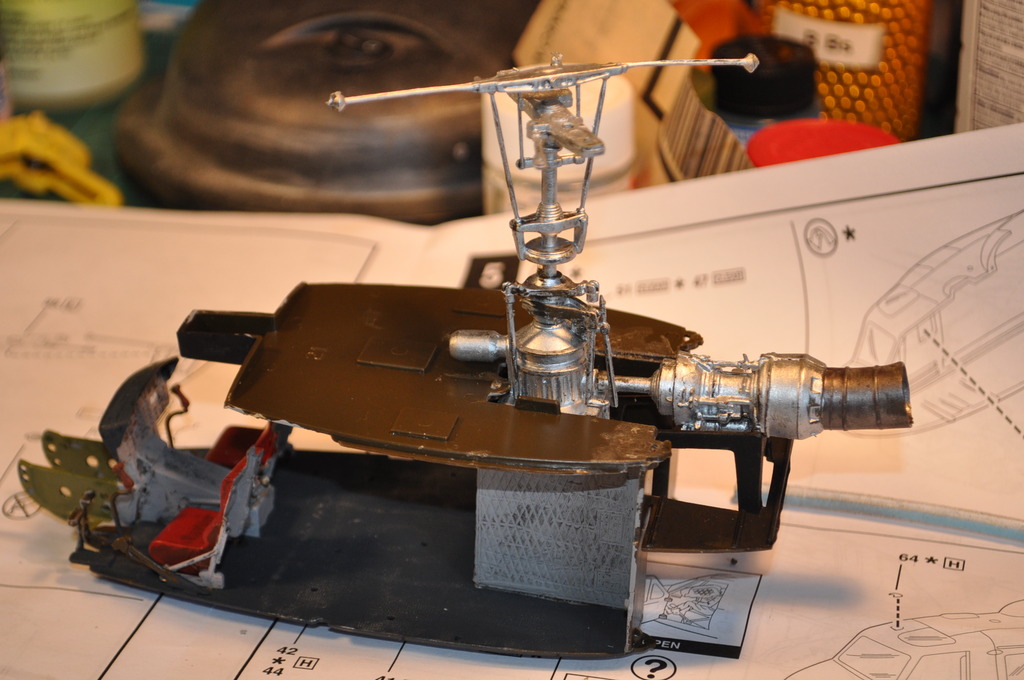
Seams and flash – could be a new TV detective show, but alas, no. Still a bit of touch up on the engine:
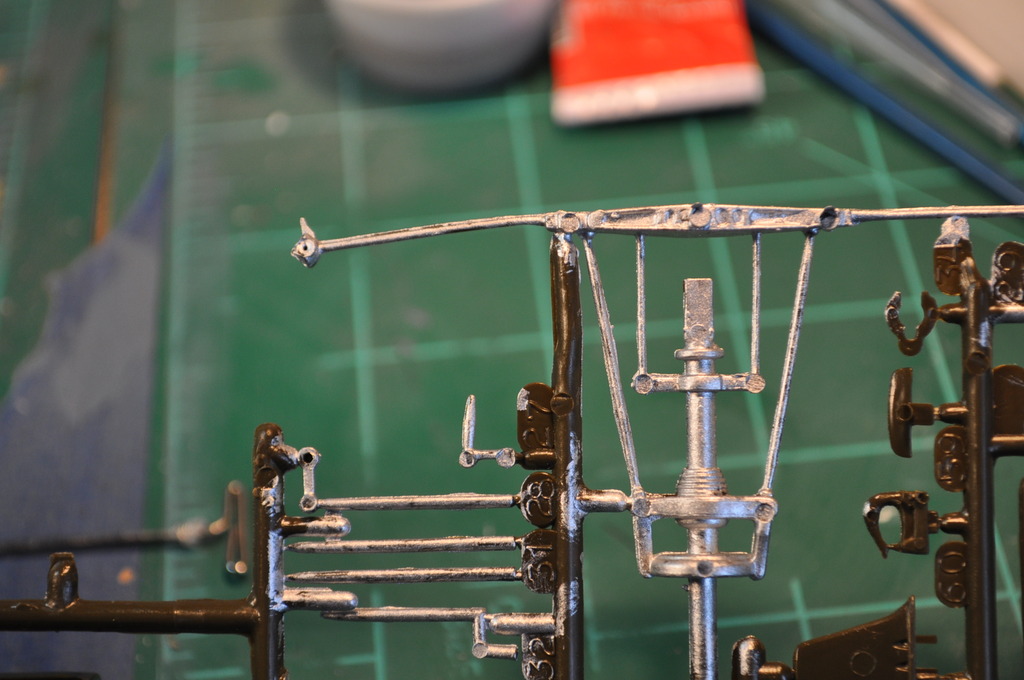
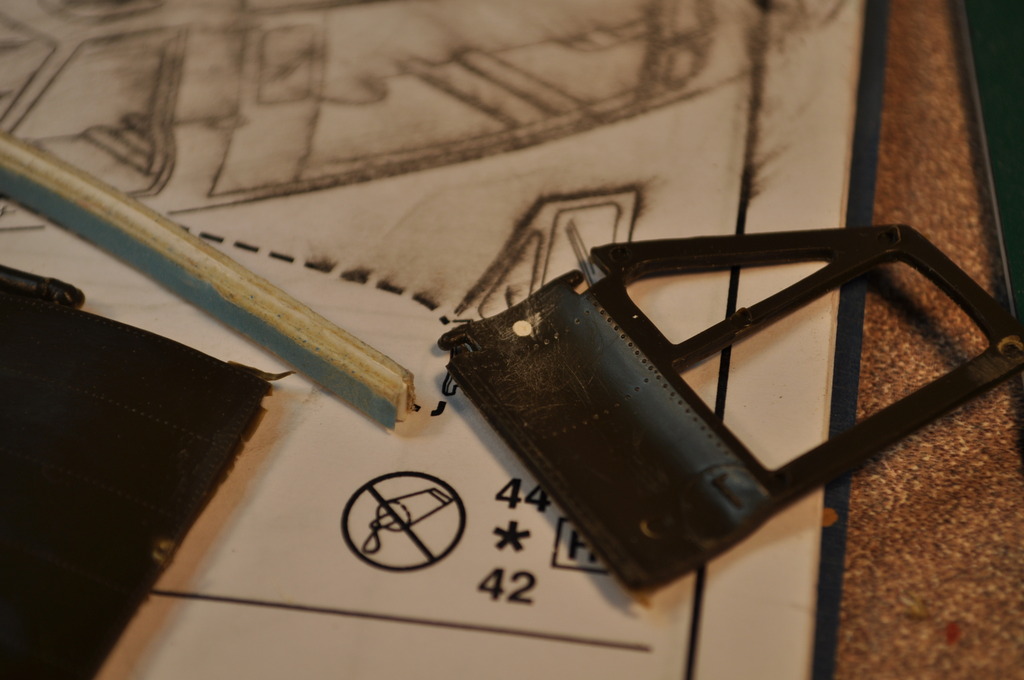
The choices made for attach points to the mold/sprue are curious in some cases. Below is a pretty fragile part – only one arm supported, hence:
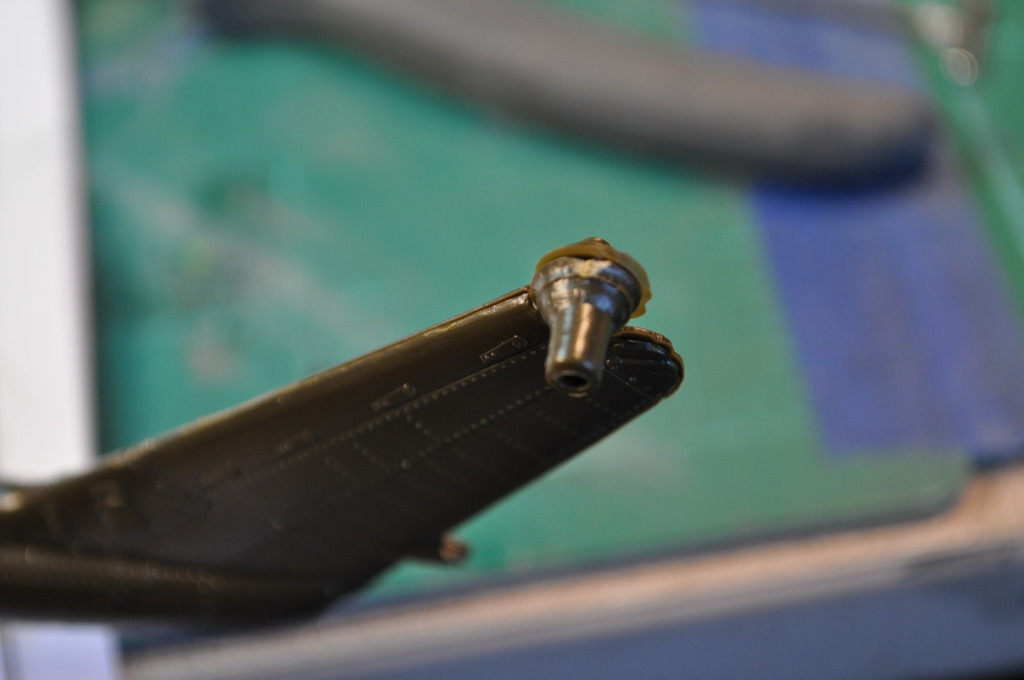
The sprue attachment to the fuselage was down the entire length of the body and they were huge, spilling over into the inside of the seam – I did use the Tamiya sprue cutters and still this is what I got. Not sure it is all my fault.

***UPDATED August 21, 2015 ***
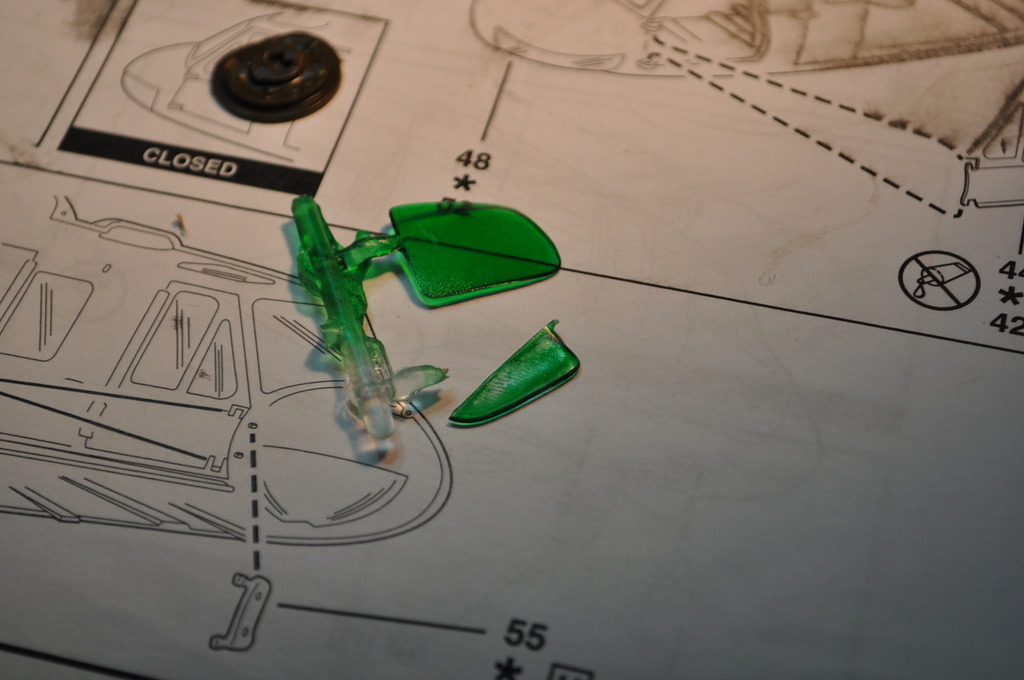
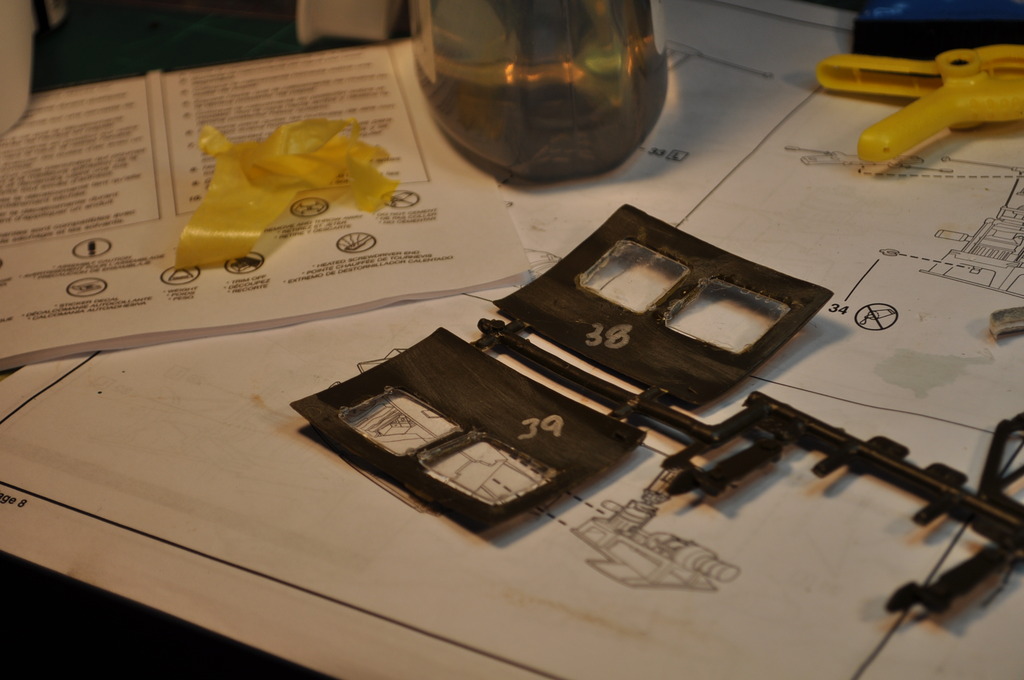
Bought some clear green. This is the first time I've used this. It is from Tamiya. I even broke out the airbrush. One piece had some off the sprue in the bag, so I held it gently in a pair of pliers....or so I thought.
I have ordered another from Revell and I've not found the other piece of that window.
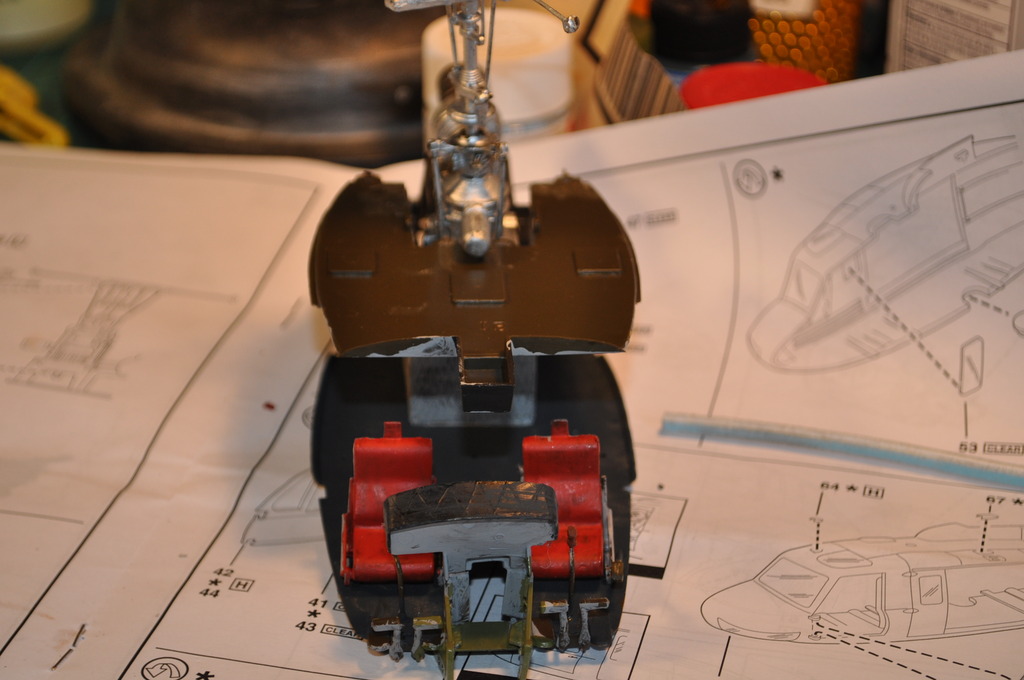
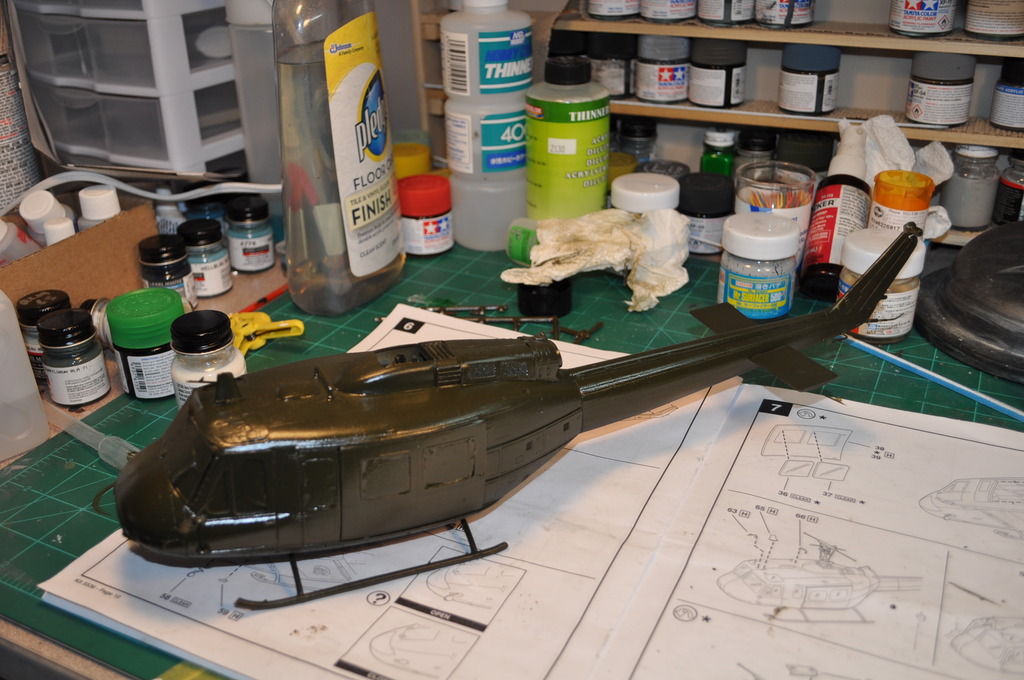
The interior went together without much fuss.
No seat belts included, so I'm going with what is in the box. . . or not in the box.
The interior assembly fits in place with no fuss and bother, rather nice.
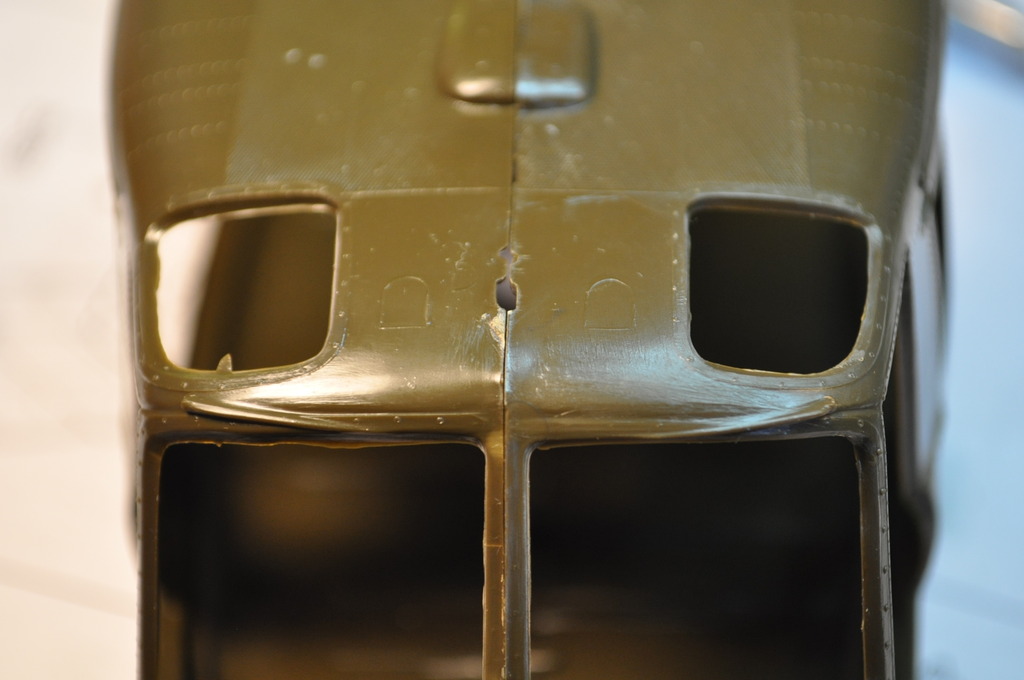
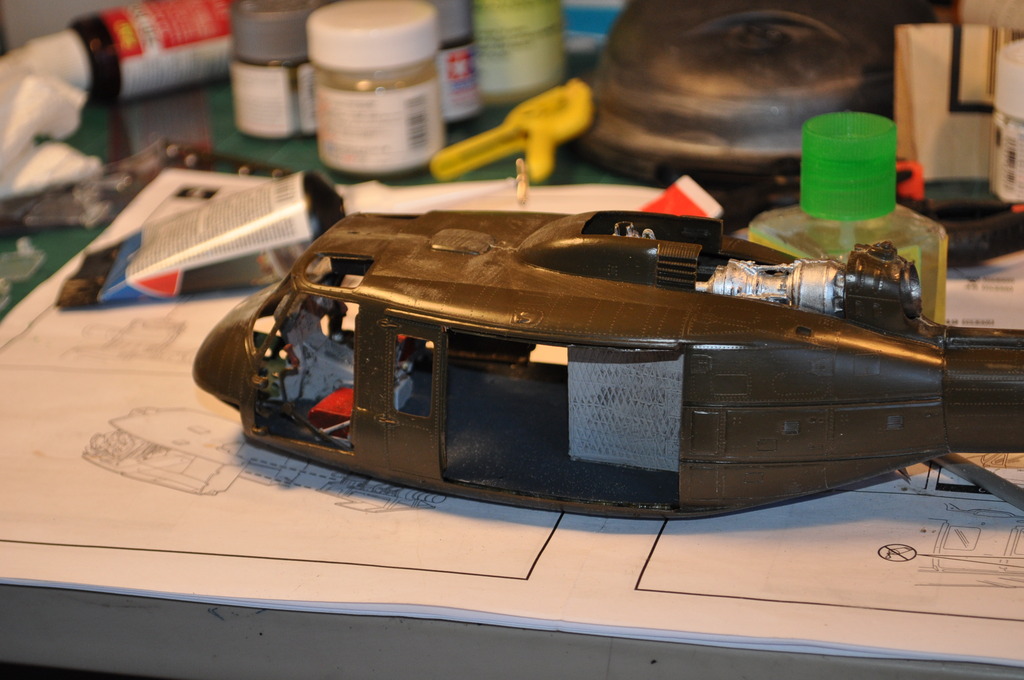
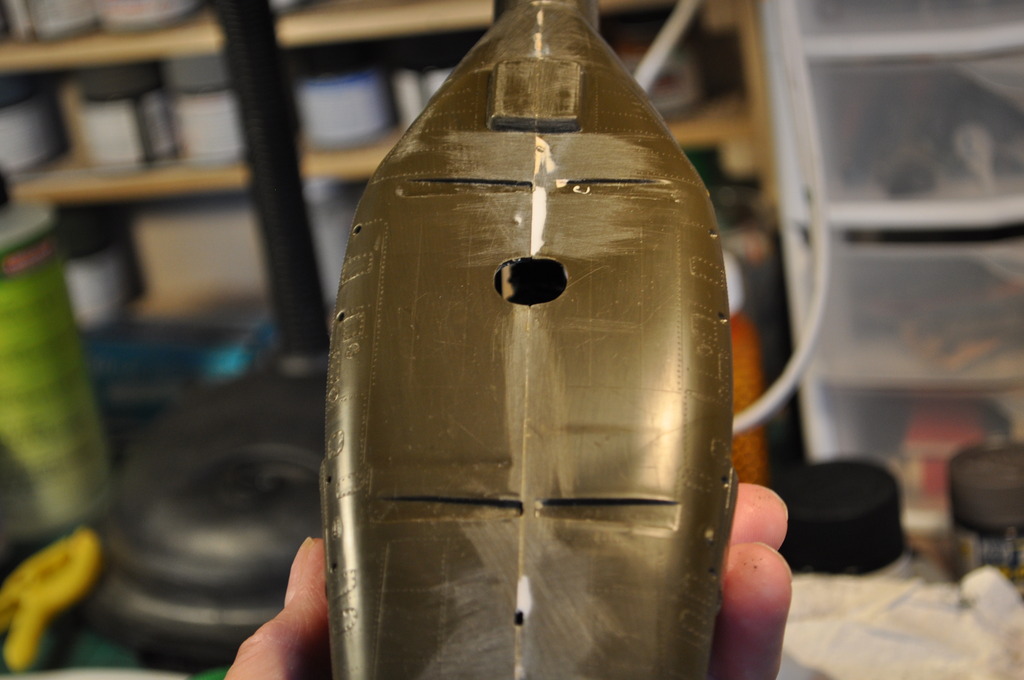
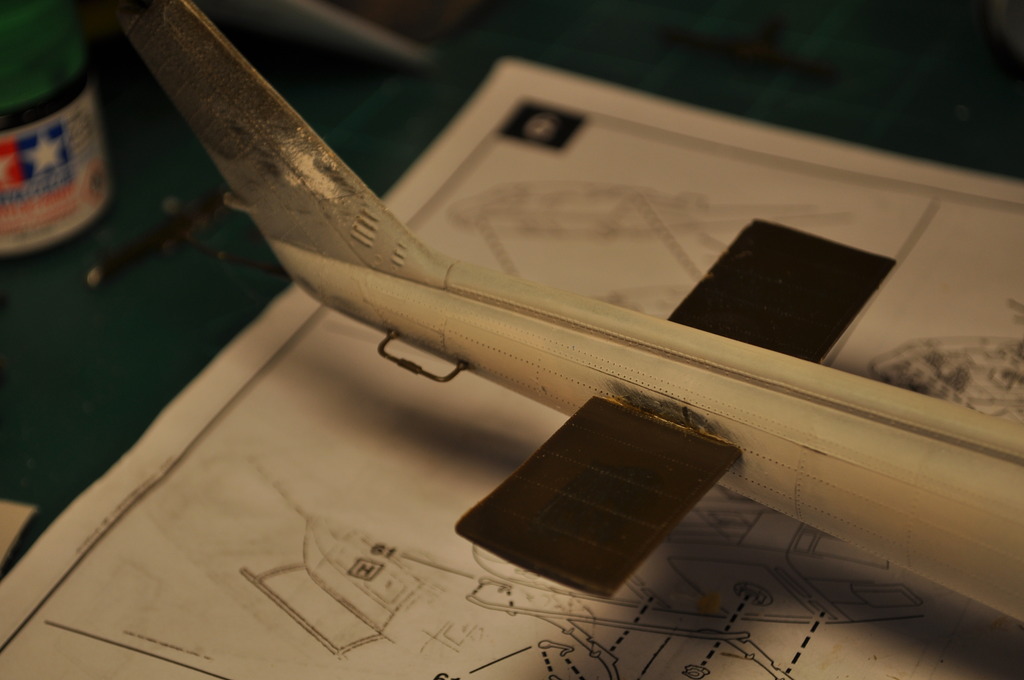
The two fuselage halves fit amazingly well, and there were no gaps to speak of. There were a couple of small gaps, caused by my not clamping the halves together with enough force, but the seams were very straight and flat. Only problem was they were a bit uneven and required some dressing out.
Now to prime, mask or mask and prime. My favorites!
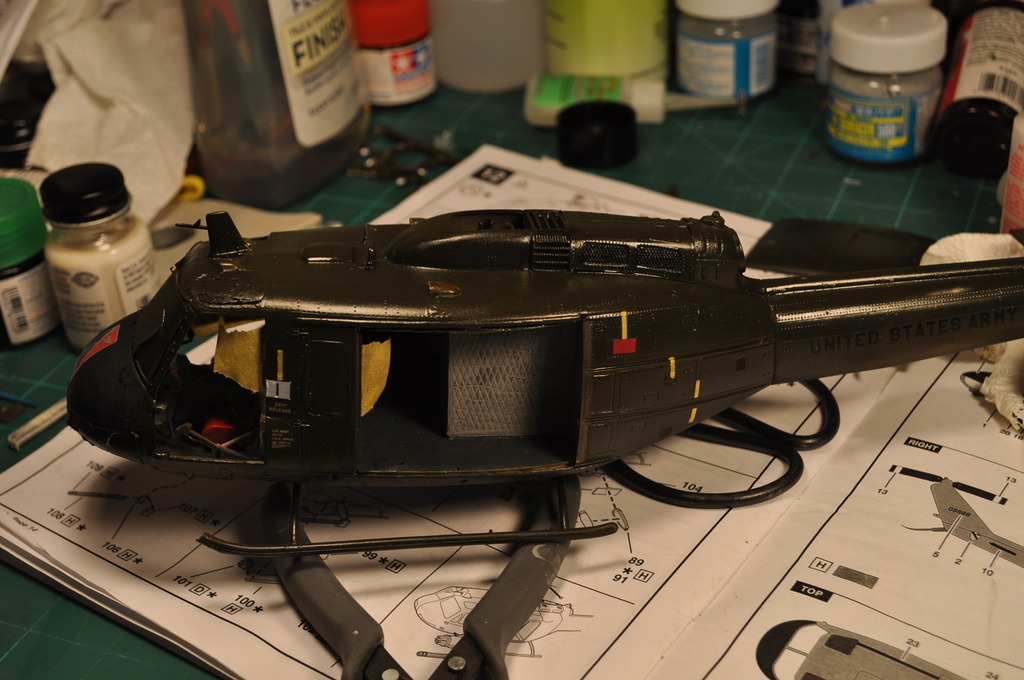
I spoke too soon on the windows. The chin, main windscreen fit very well. The upper left overhead has a gap at the forward edge, the doors and side windows all had those lovely placement tabs. These of course stick out into to the visible area. They are also not very tight fitting. I've made somewhat of a mess, but using the window glue, hoping I can clean up after myself.
Then there are those $%^& hinges on the front doors! And, the ejection marks (see white dot). Used Perfect Plastic Putty.
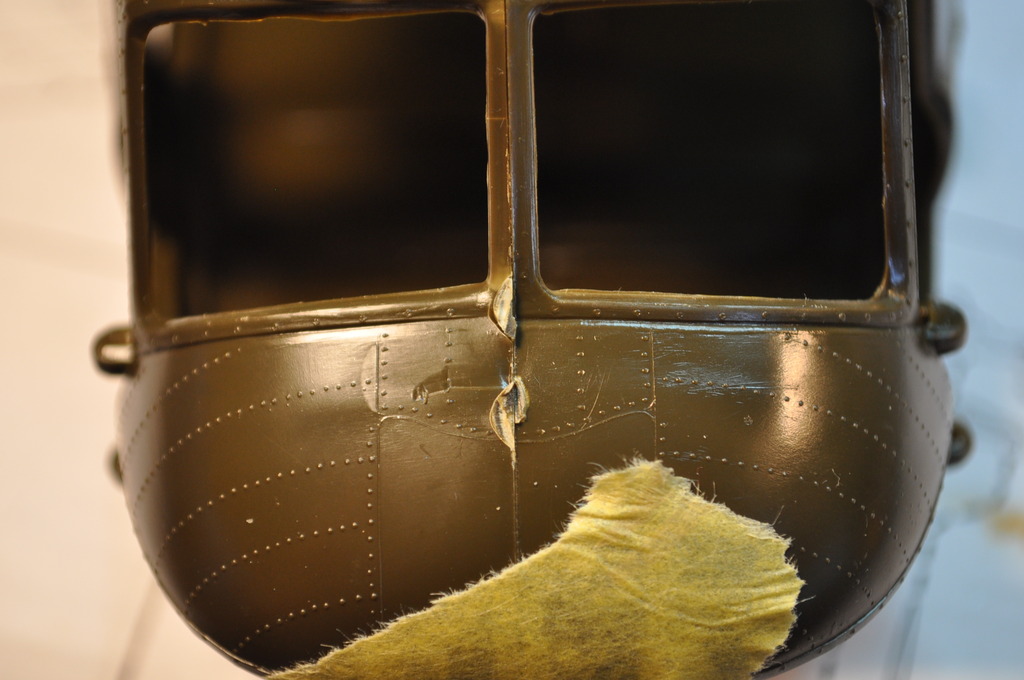
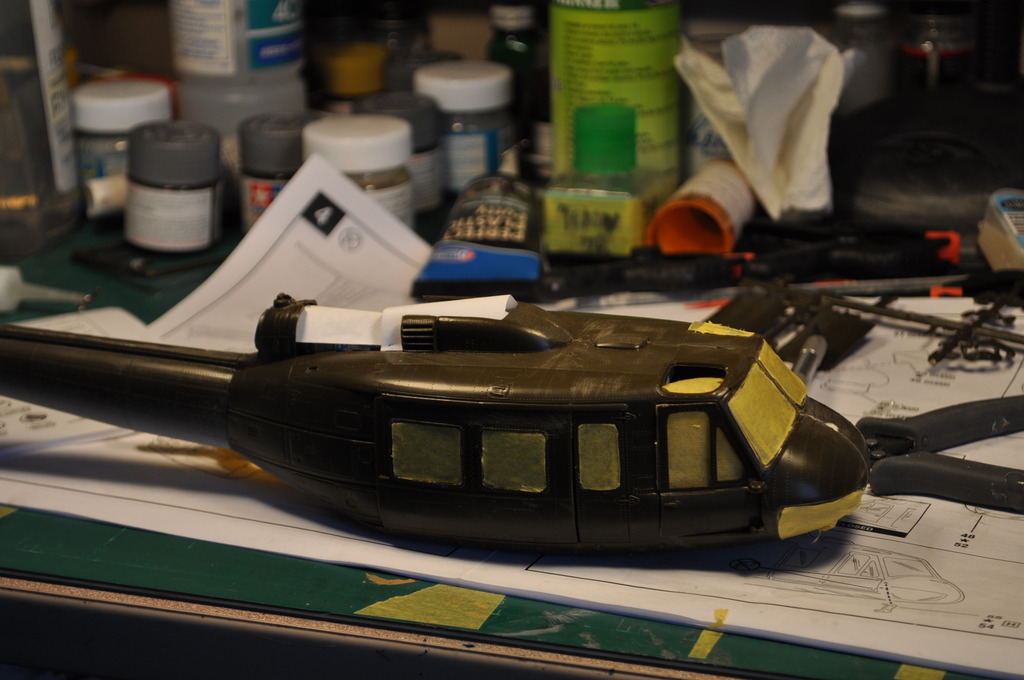
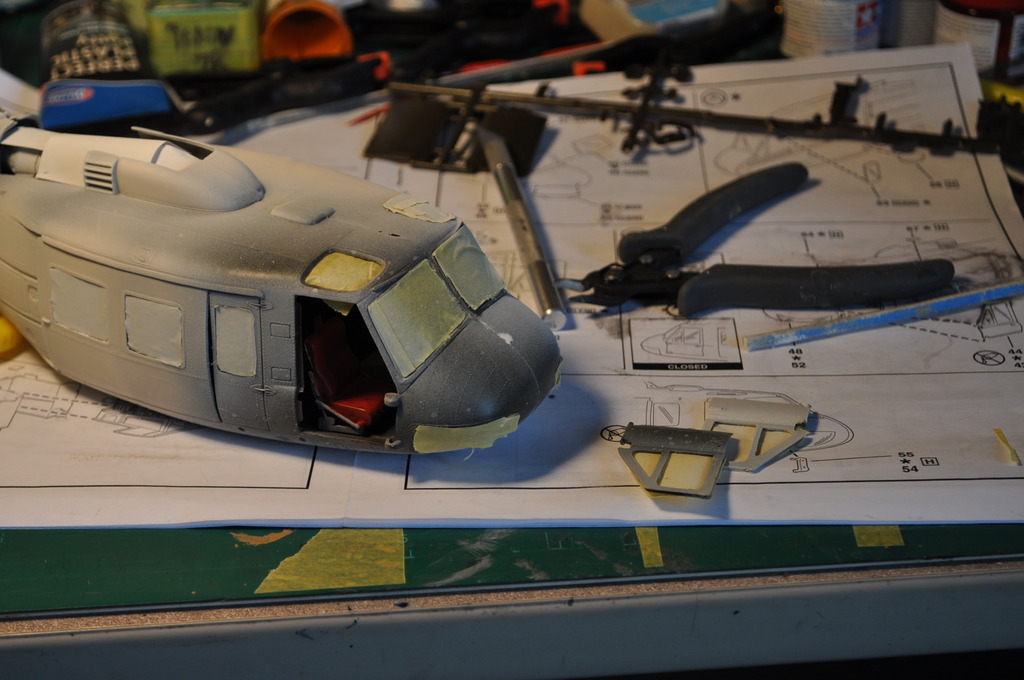
Got it masked, so to speak. Still no replacement "eyebrow" window for the right side, so I stuck tape to the inside. The front doors will not stay put.
Using a flat white primer from Krylon. Why? That is all I had handy. Ran out of the trusty Tamiya gray.
It looks a bit better than the pic. I had to stop when the door fell away yet again. I've learned to stop for a while when I get frustrated.
***Update Sept 29, 2015 ***
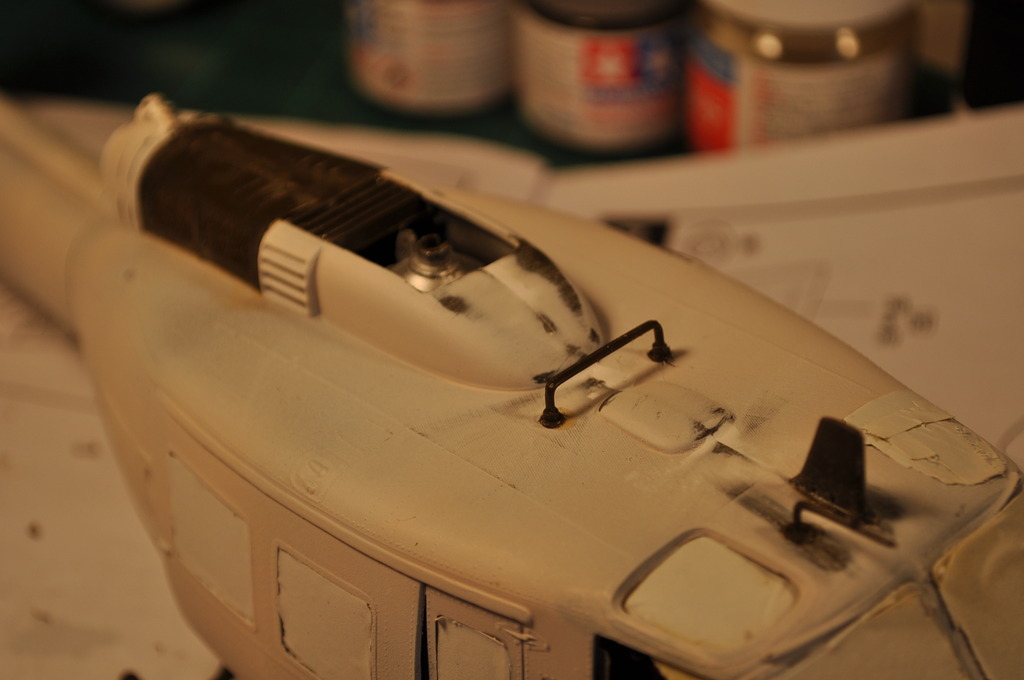
Got most all of the fiddly bits attached and so far, I've not knocked anything off.
Added the air scoops on the top later. I'd like to tell you it was part of the plan, but I simply missed that step in the instructions. One of several.
Gloss coat applied. I used Model Master Clear gloss.
And one side decaled. Those yellow stripes and little-bitty stencil are a PITA. I will be hitting them again with some MicroSol.
That is all for today.
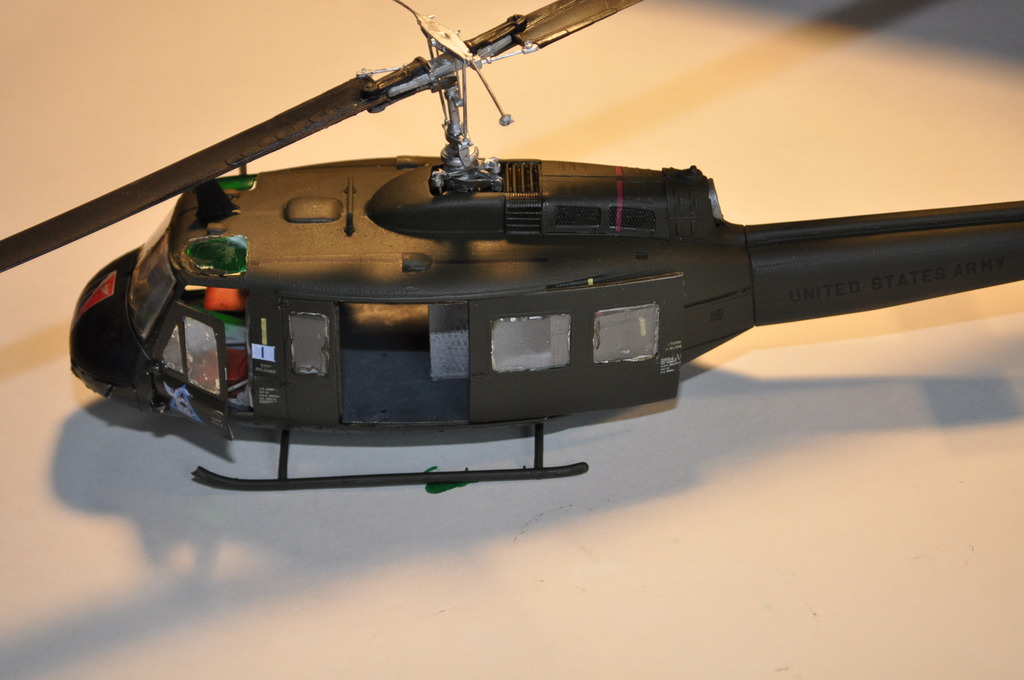
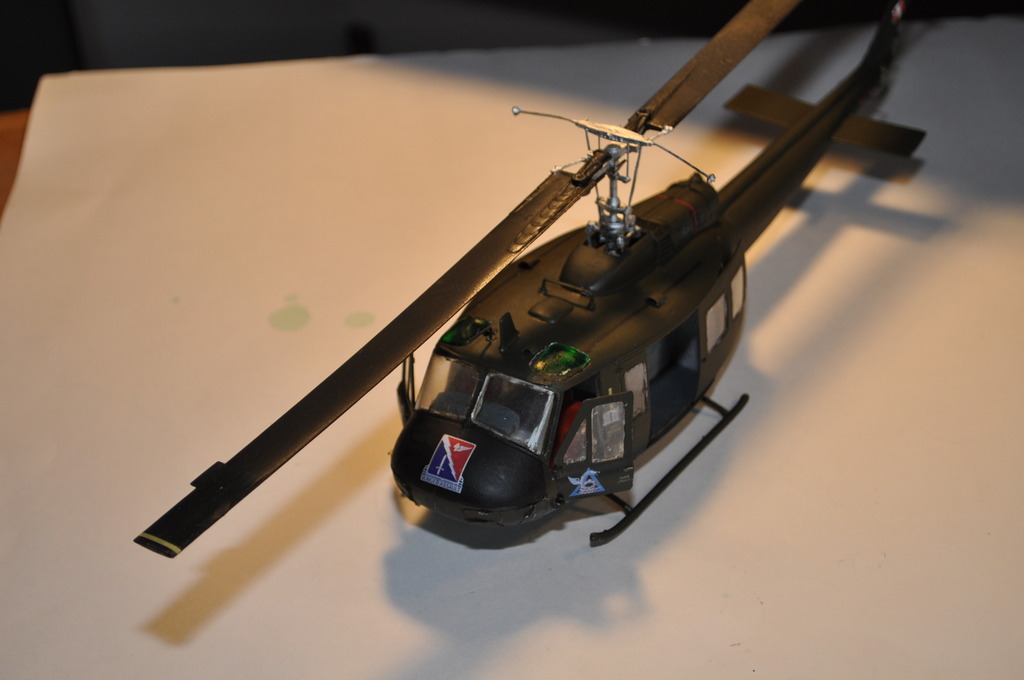
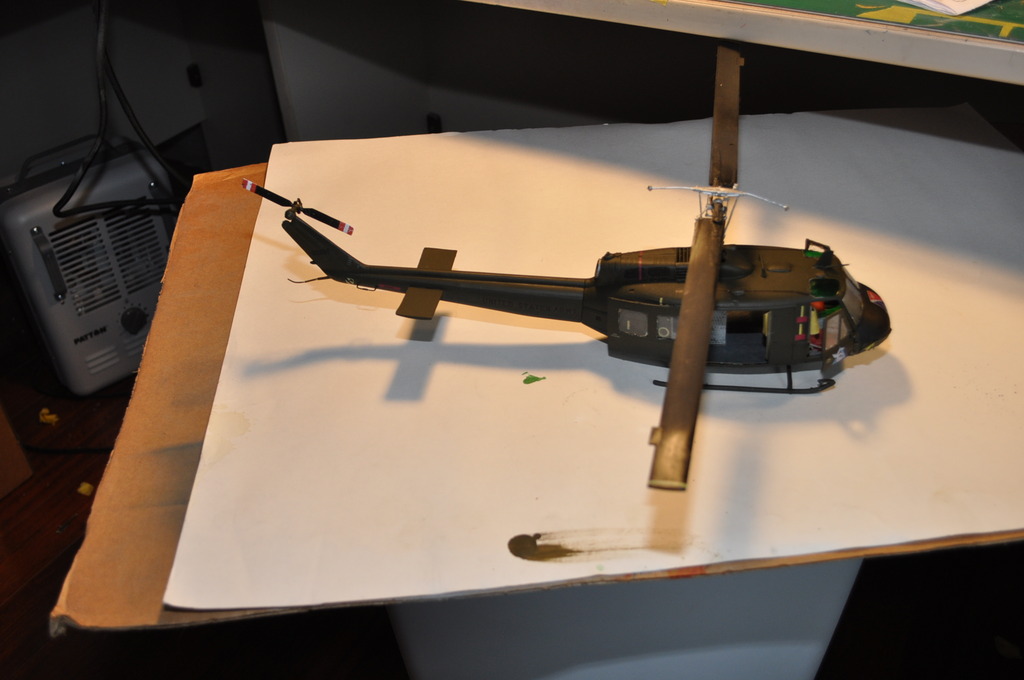
Calling this finished. There is much I like and things I don't, both in the kit and the builder.
Pros:
Not too many small bits to loose. Nice scale, 1/32.
The fit in most all cases was very, very good.
Thin decals. Laid down very well and took to MicroSol.
Several load out options and two version options.
Cons:
Thin decals - they were almost translucent so some look rather faint. I don't know if it ways my eyes or what, but the yellow stencils and anything white
(tail rotor stripes) were almost impossible to see.
Some pieces of the cockpit had small fit issues.
To me, some of the steps were not as clearly stated or marked as they could have been
Most windows fit quite good. The door "glass" was an issue with those little tabs.
Overall:
For me, it was a fun build. This is a good kit for someone needing a Huey in their collection in 1/32. This was built out of the box, but there are many, many opportunities to jazz it up if you would want to!
On much of it , I was quite satisfied with the effort. The widows are another story. Still a lot to learn in dealing with them. However, they are what they are.....and I managed to finish a build.
Many thanks to REVELL again, for providing this kit. We appreciate you!


To make each build less crappy than the last one. Or, put another way, "Better than the last one, not as good as the next one!"..
-
speedgraflex

- Moderator
- Posts: 9750
- Joined: Fri Feb 10, 2017 11:08 pm
- Location: Santa Monica, California
Re: Revell 1/32 UH-1D Gunship
Thank you so much, Lyle!! A great resource to study. I have seen only two others completed although many modelers will say they built one once! Cheers!
Bruce / SPEEDGRAFLEX
-
Thomas_M
- Admin
- Posts: 4407
- Joined: Fri Dec 13, 2013 9:43 am
- Location: Bad Wurzach - Germany
- Contact:
Re: Revell 1/32 UH-1D Gunship
Not too bad, my friend, not to bad! According to ScaleMates this kit dates back to 1967! So, no surprise about fit and flash...
I remember having build this one as a kid. Even got an electric motor in to drive the main rotor. That was fun! Cannot remember where this one ended...
I remember having build this one as a kid. Even got an electric motor in to drive the main rotor. That was fun! Cannot remember where this one ended...
-
BlackSheep214

- Elite Member
- Posts: 10371
- Joined: Sun Apr 06, 2014 8:47 pm
Re: Revell 1/32 UH-1D Gunship
Yup. Did that one back in the 70s myself as well.
“Who controls the skies, controls the fate of this Earth”
Author unknown- 352nd Fighter Group, Blue-Nosed Bastards of Bodney
“Send one plane it’s a sortie; send two planes it’s a flight; send four planes it’s a test of airpower. - Richard Kohn
Author unknown- 352nd Fighter Group, Blue-Nosed Bastards of Bodney
“Send one plane it’s a sortie; send two planes it’s a flight; send four planes it’s a test of airpower. - Richard Kohn
-
Stikpusher

- Moderator
- Posts: 18857
- Joined: Sat Apr 05, 2014 8:37 pm
- Location: Ceti Alpha 5
Re: Revell 1/32 UH-1D Gunship
BlackSheep214 wrote:Yup. Did that one back in the 70s myself as well.
Likewise. Both the Slick and the Hog original releases....
"Surely I have made my meaning plain? I intend to avenge myself upon you, Admiral. I have deprived your ship of power, and when I swing 'round, I intend to deprive you of your life."
FLSM
FLSM
-
Thomas_M
- Admin
- Posts: 4407
- Joined: Fri Dec 13, 2013 9:43 am
- Location: Bad Wurzach - Germany
- Contact:
Re: Revell 1/32 UH-1D Gunship
I once also had the 1/24 kit. Man, this one really showed its age...