Re: Maddog Manufacturing 2020 Production
Posted: Fri May 08, 2020 3:22 pm
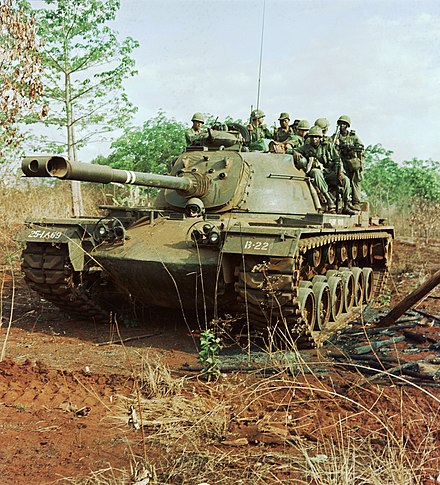
Thanks Medic! Given the complexity of those Abrams, I'm surprised they are moving so fast. I do agree, you need to get one.
Thanks Carlos! These three are completing a Platoon. I already have an M-1A2 already built some time ago. In fact, they will be a second platoon of Abrams, not counting my M-1 Panther mine clearing vehicle.
Bruce, thanks for the awesome compliments! I do try to keep going as I want to finish everything I start. If that means fighting through issues then so be it. Okay, let me try to answer you on those questions.
-> the An-124 Condor: it was both a learning curve and the design. On the instructions, the exhaust part of the engine was built first; and it looks like a mini engine. That threw me for a bit until I realized that it fits in the rear of the main engine nacelle. Furthermore, all the pieces for each engine had incredible difficulties closing up properly because of bad fit; so manipulating and modifying them took some experimentation and quite a bit of filler and sanding. I have one more engine to go.
-> the Israeli F-16 I Sufa: Basic prep was very simple: I masked the canopy with tape; wrapped tape around the burner can, and filled the wheel wells with Silly Putty. I then shot the lower grey color. When it dried, I masked the bottom and shot the upper base color. Two rounds of Silly Putty and color later; I peeled everything off (except the canopy mask, burner can and wheel wheels) and I had a camouflage pattern. Two gloss layers later, I added the decals and finished with one flat coat. Finally, I removed all other masking. Now I just need to finish detail painting and adding the final detail parts, landing gear, landing gear doors and underwing stores and that bird will be done.
-> the 1/35th scale Patton: I'm doing more subassemblies for one thing; but then more are needed due to the sheer size of this beast compared to the small stuff I usually build. Otherwise I'm following the same process I do for my smaller armor: build the lower hull and suspension parts; match the wheels for painting while leaving them on the sprues; assembling the turret; build and add the detail parts of the upper hull, and add to the lower hull if that facilitates painting; and building any other subassemblies like the cupola and machine gun mounts to paint separately before adding it all together (including wheels and tracks) after paint. After that I'll apply a gloss coat, decal it and then flat coat it. Final weathering comes after that with the final installation of all fiddly; easily-broken parts and subassemblies at the end.
I do hope I helped answer your questions adequately. I am thrilled that you posted here too. Many many thanks again for the incredible compliments. Stay tuned, I hope to have more done this weekend, including two or three finished models.