Update time:
For the cockpit this is the only real tip I can give that is new, like my previous builds I attach everything that would be mated to both side to the right side fuselage. New tip is don’t bother attaching the lower IP to the stand that is a part of the floor. It fights too much, gets crooked, way easier to glue it as shown. The ONLY thing you have to do before you install the floor section to the bottom is make sure the stand that the lower IP is instructed to attach to goes behind the lower IP. Then when the floor section is sitting nicely, cement from the backside.

Now you will notice the switch box looks like crap, a color PE part goes here. But what I do want to advise you is on the gun platform and the back side of the upper IP and why it looks like crap. It needs to, here is why: if you want to build a closed up Eduard Emil, the gun cover will not sit in place nicely unless you eliminate the gun mounts and sand the crap out of the cover for the back side of the upper IP. No way, no how. So get you ugly stick and make a quick process out of this. Dont even try to make it look pretty since after the cover is install, no one will ever see it again.

But all that work will pay off and the upper cover and upper engine cowl will sit nicely together!
But wait!!!! I forgot one important step!!!! Make sure you install the fuselage magazine panel and supercharger intake panel on the fuselage as the first step of doing ANYTHING to the fuselage!!! Don’t paint or install any other parts without doing those covers first! They are easy and this is the best time to make the strongest bond by cementing from the backside!
The wing saga continued last night too, I just wasn’t happy with the way the gap looked on the radiator cowl so more work went into it. Then I was happy enough but lost rivet detail so out came Rosie, good as it’s gonna get gents before my wife sends me to a padded room.

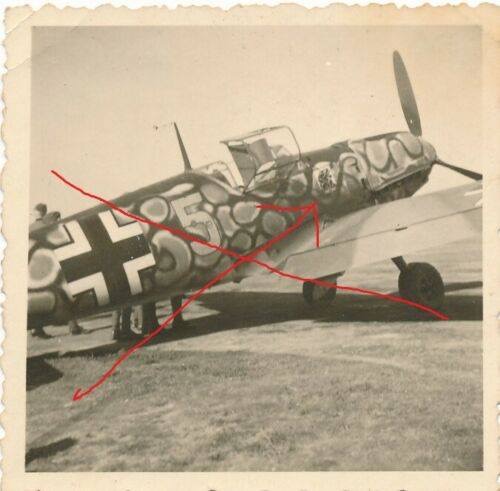
The first trop got a little update: since I was painting RLM02 I painted the wing slat gap in the appropriate color, other than that one last thing to do before I say she is done: