mustang1989 wrote:This is moving right along Bruce!! Looking forward to those pictures man.
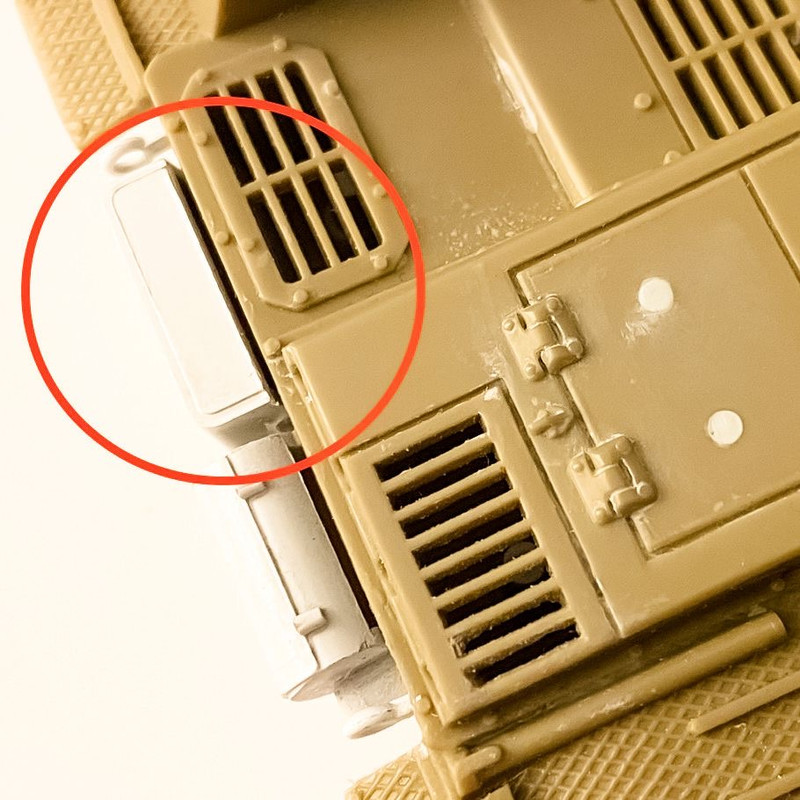
Mustang! Thank you so much for following along. This is more or less like building a battleship with wheels (my frame of reference), but like with car builds, or any build, the more you adjust the more keeping the untouched surfaces clean and clear becomes an issue. I think I have moved up from 1200 to 3000 grit on the hull, but here you can see the first putty fill for that gap. I actually purchased Surfacer 1000 to make spot adjustments since there is some risk of marring the adjacent areas, but I think I’ll be able to mask the rivets and use more Milliput.
Stikpusher wrote:BlackSheep214 wrote:For such a simple easy kit, you find imperfections.

Hey now, in 1971 those were not imperfections.

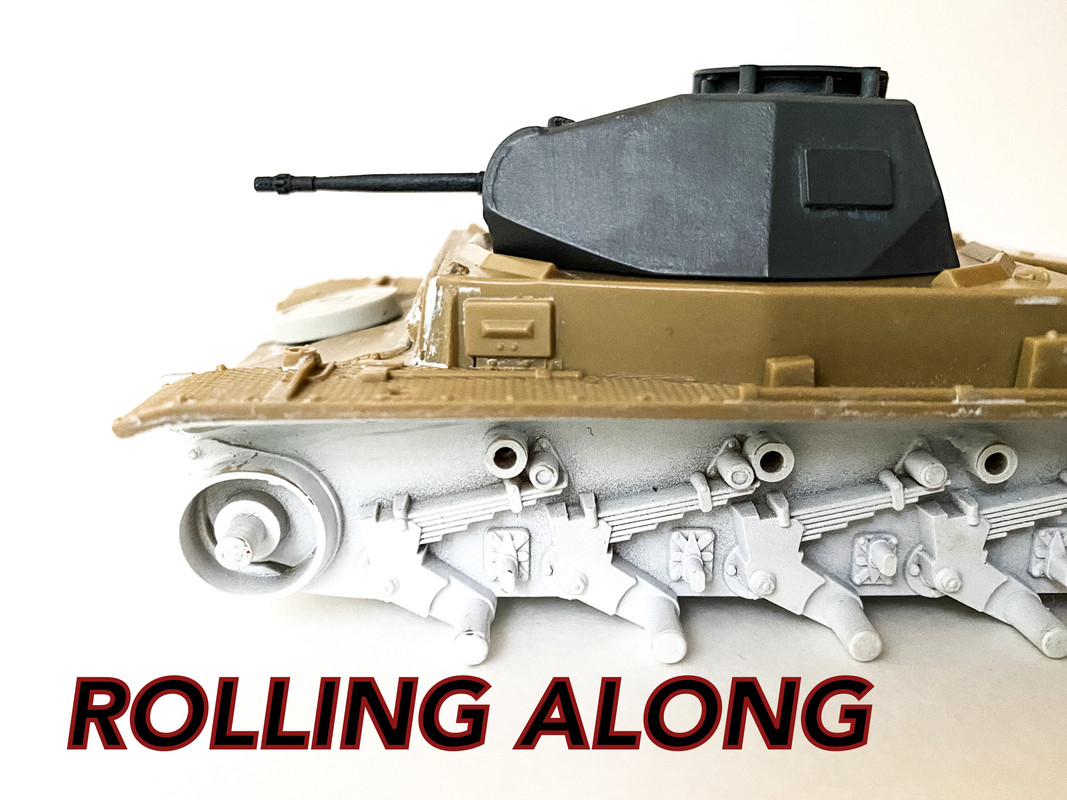
Thanks, Tom. Diversity rules. I have reviewed your forum thread of the kit a few times just to see how you handled the fitting part of assembly. Very interesting. Ultimately we all build the way we want. I do not see the kit as simple. This is Tamiya’s motorized tank line from the Seventies, which has a lot of personality, a fair rendition of the original subject, with potential for a more refined presentation or statement. Diversity of approach makes life… life!
Stikpusher wrote:You circled the area to draw attention. What are your plans for that area?
Carlos! Without your advice, I would be stuck. I am truly grateful for all you write, and each image you provide.
First fill
For a gap I usually fill slightly below the line, then add more. I know a lot of model builders fill above than sand down but I want to preserve the surface details.