Re: 1/32 Hasegawa N1K2-J Shiden Kai
Posted: Thu Nov 12, 2020 11:44 pm
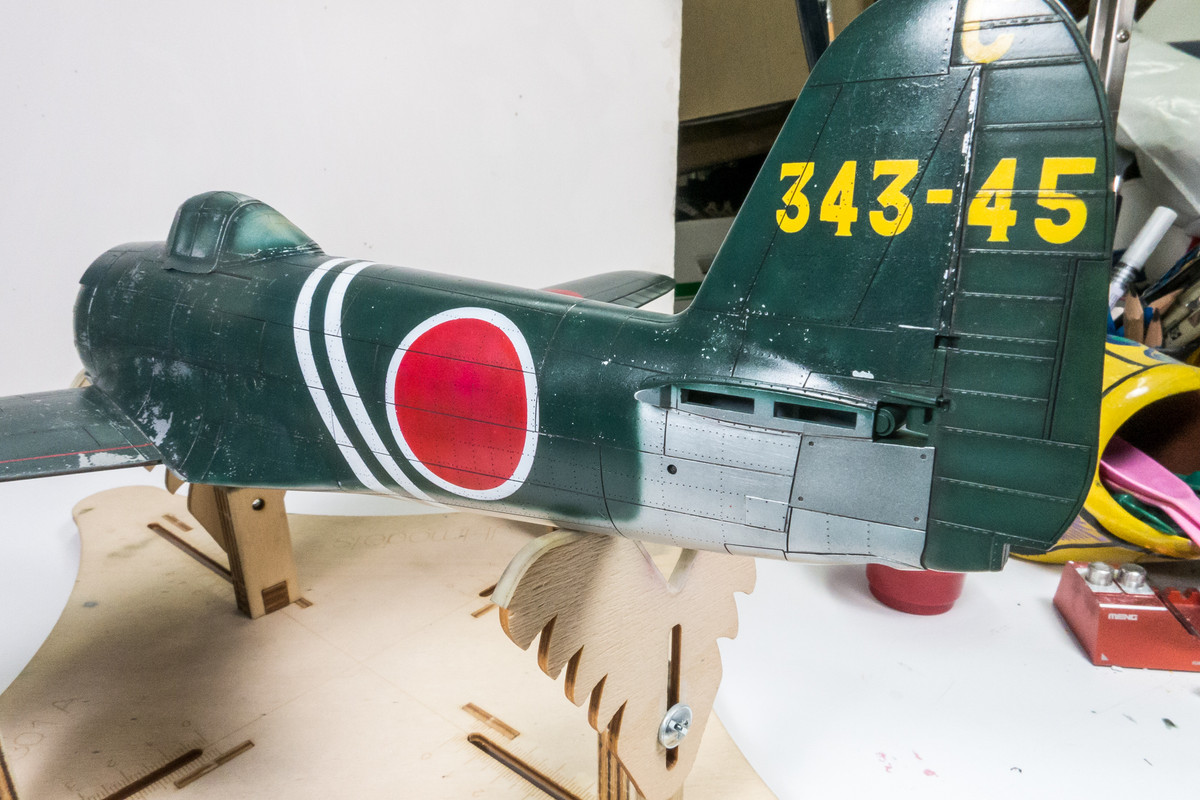
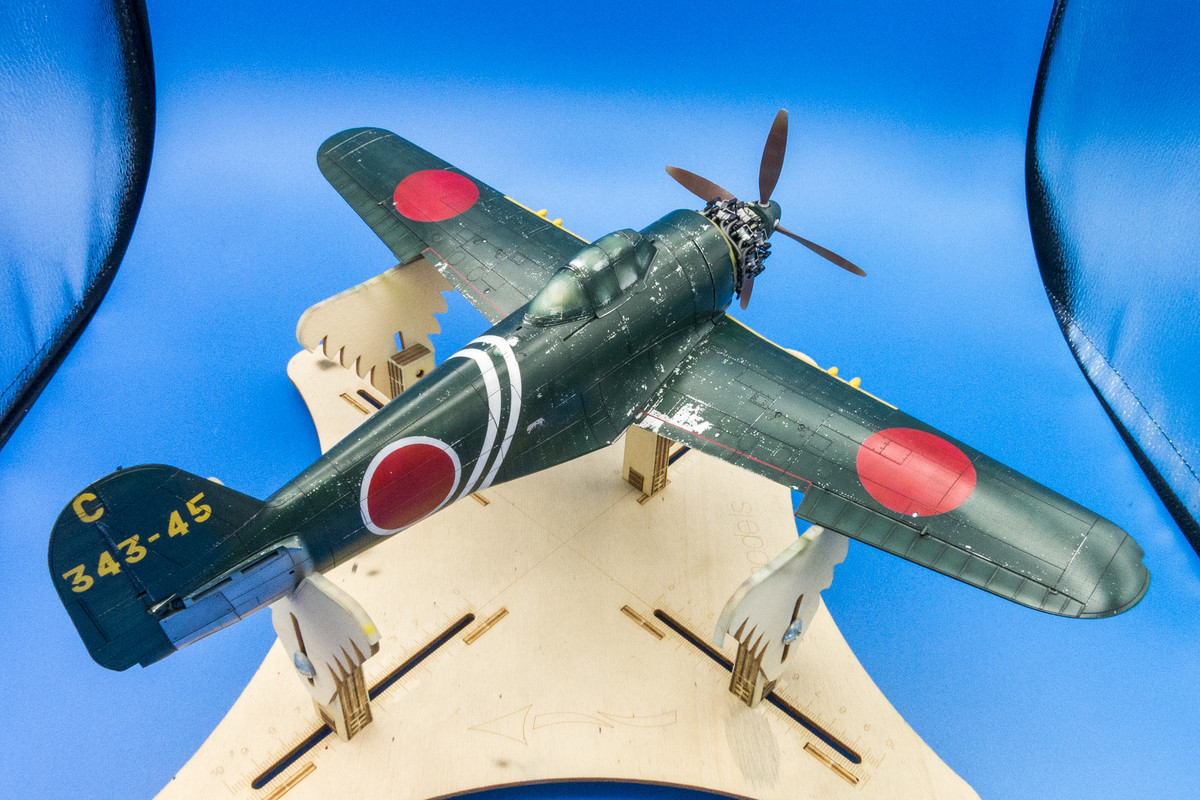
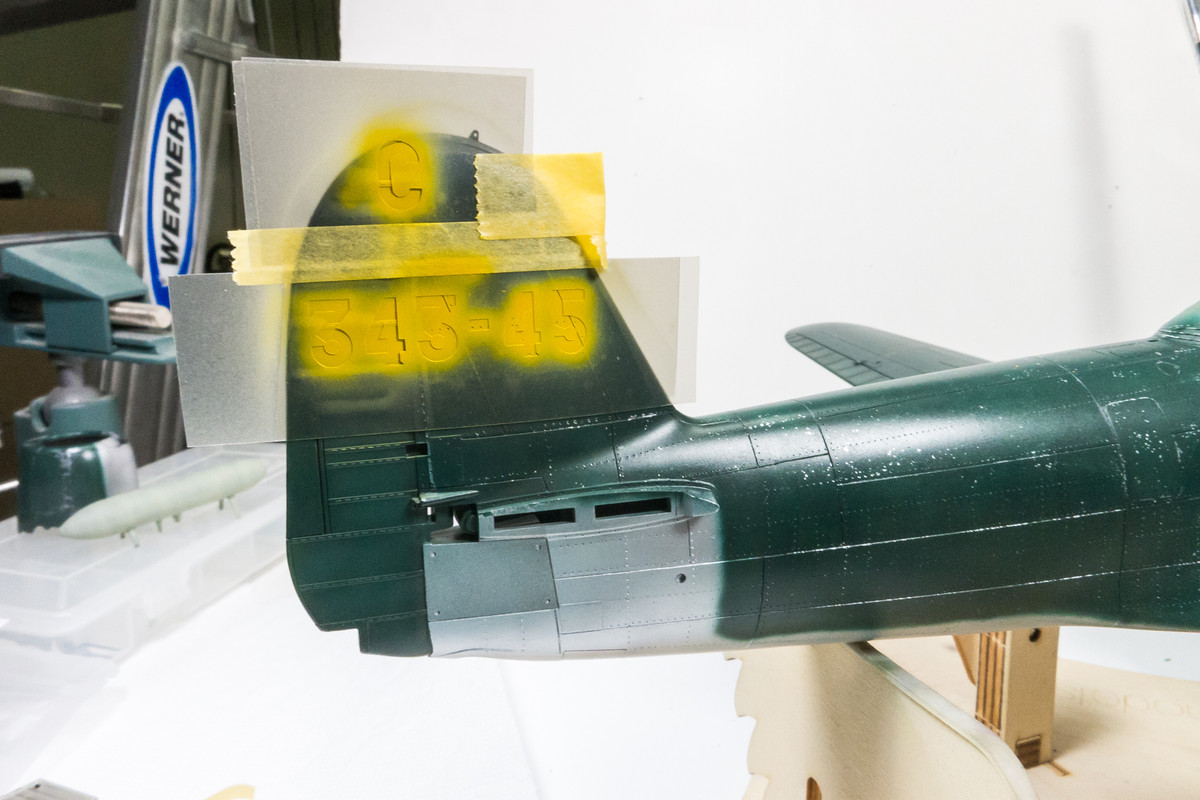
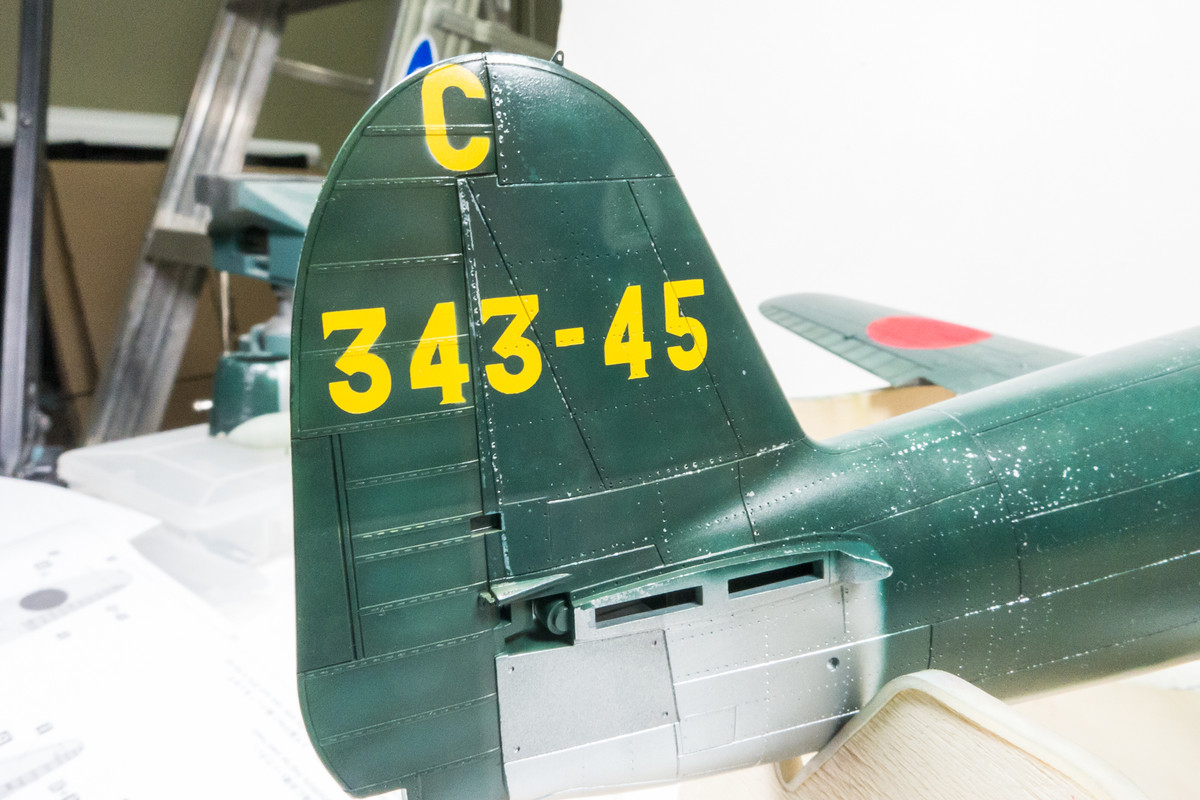
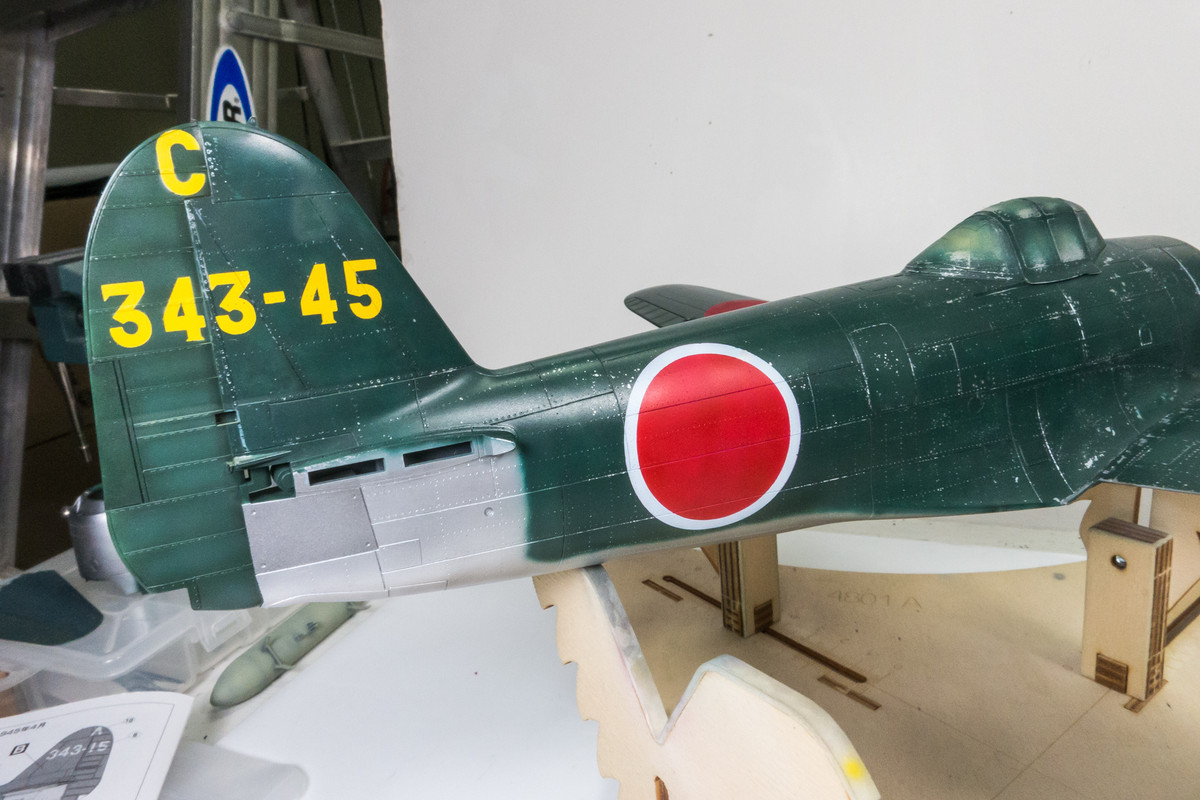
Thanks guys! After letting the green paint sit a full day after the chipping exercise AND with a clear coat over it as an insurance policy, it is time to do rest of the mask markings. First I tackled the yellow tail codes. I used a coat of white to serve as a base for the yellow which was Tamiya Yellow plus a dab of Tamiya Red.
I got a little bit of paint lifting on the starboard side but nothing too alarming.
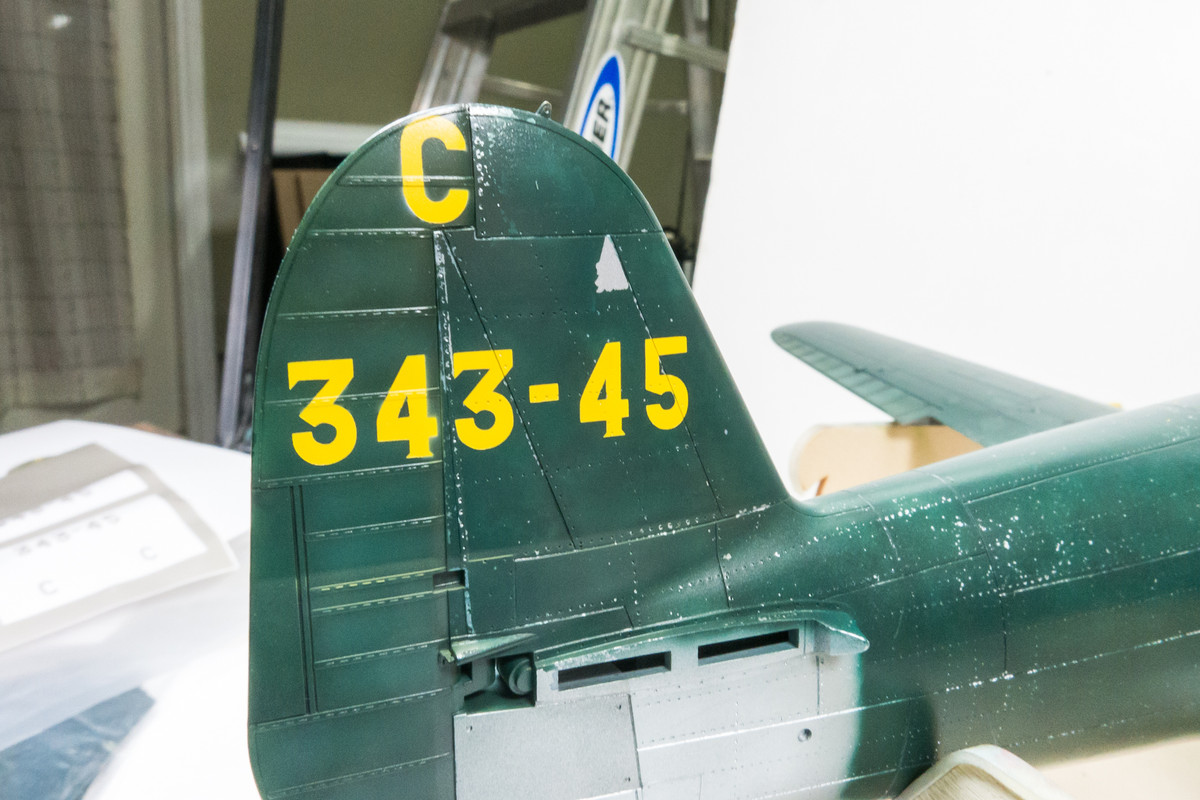
No lifting on the port side!
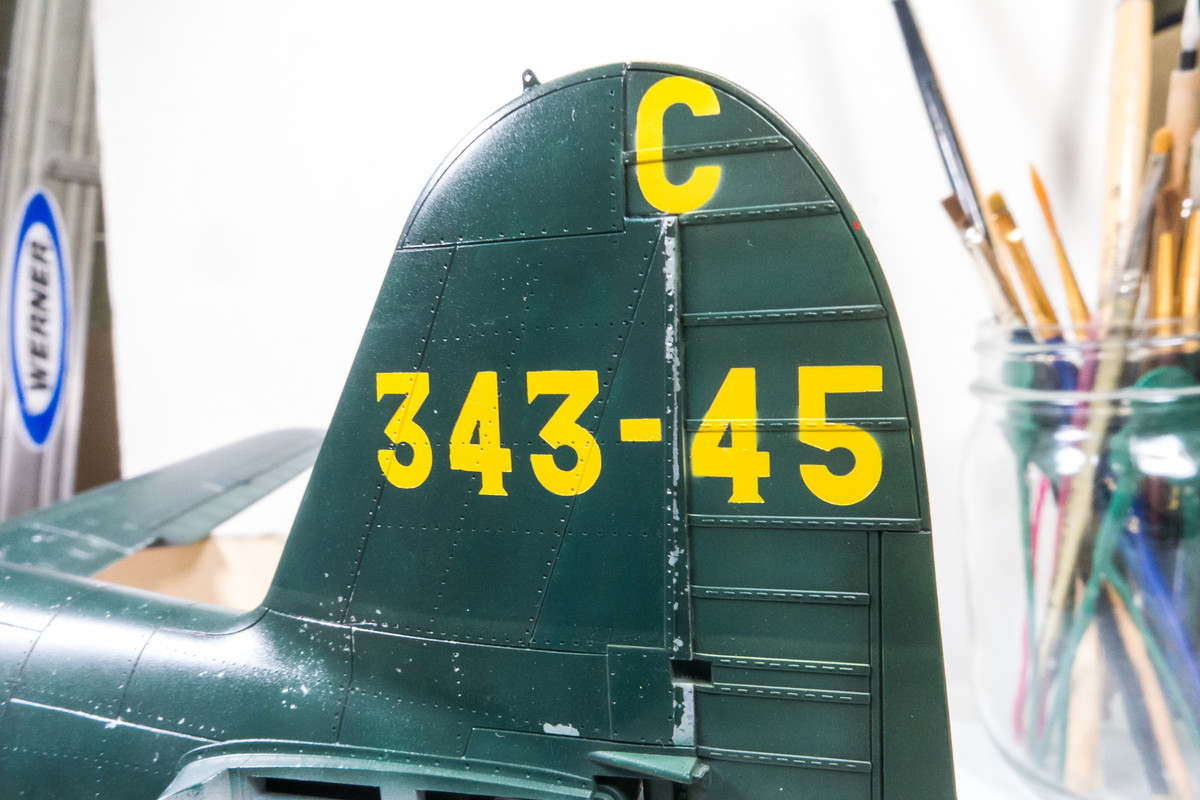
There was a bit of overspray since the raised details on the rudder prevented the masks from sitting flush in certain areas. The starboard side "4" was the worst offender and since I had to fix the paint lift, I used the positive "4" mask to fix both areas. The chip fix area stands out right now because it is flat but should disappear once a clear coat is applied.
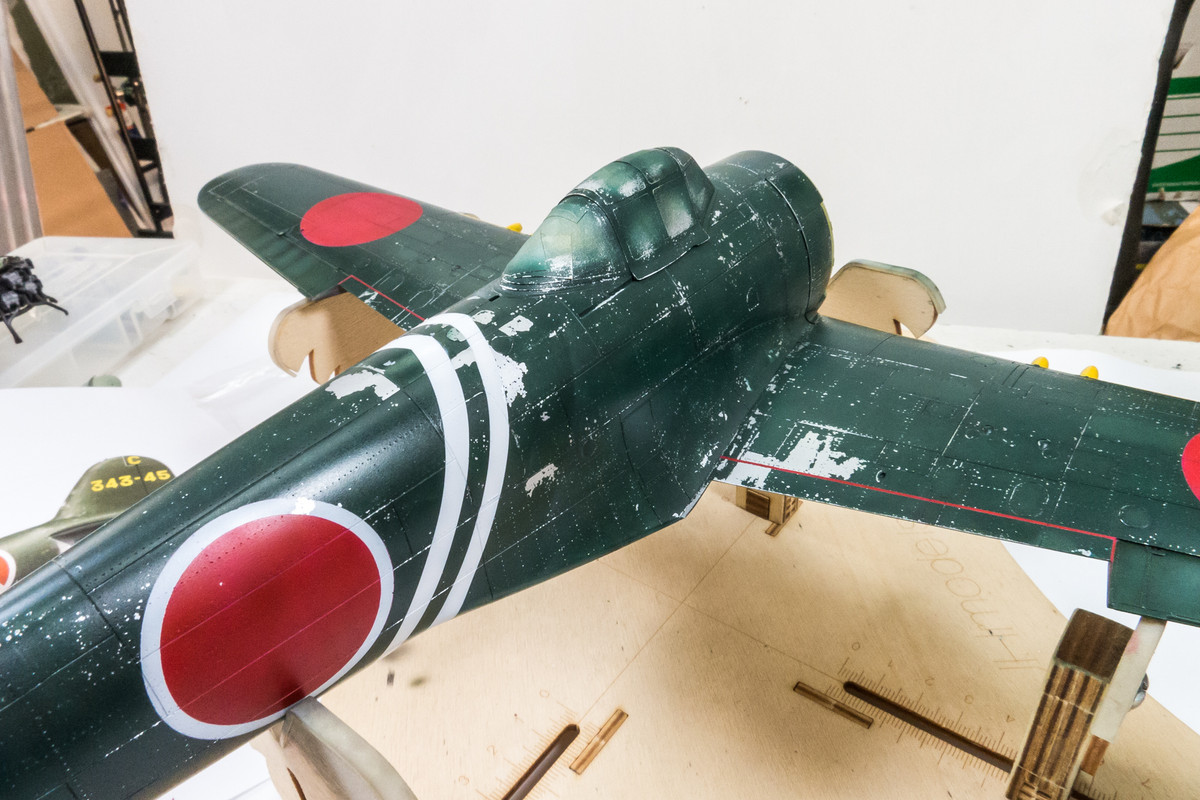
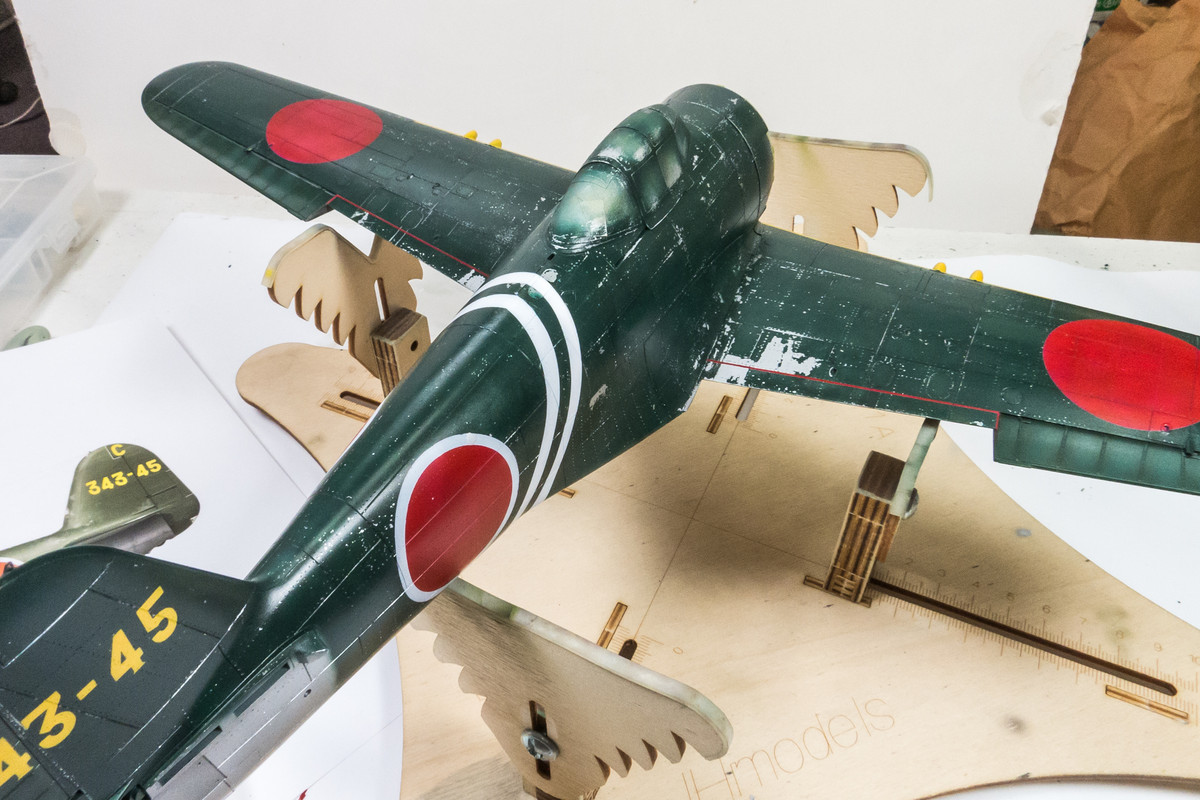
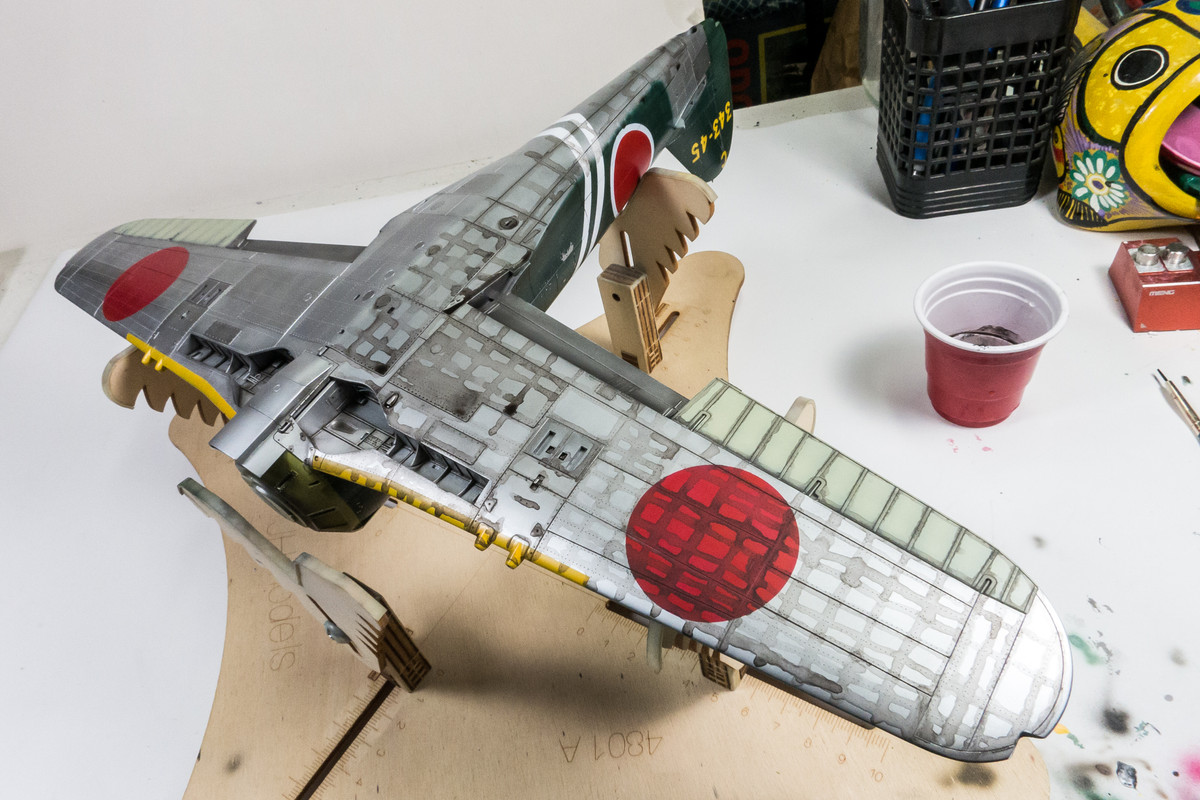
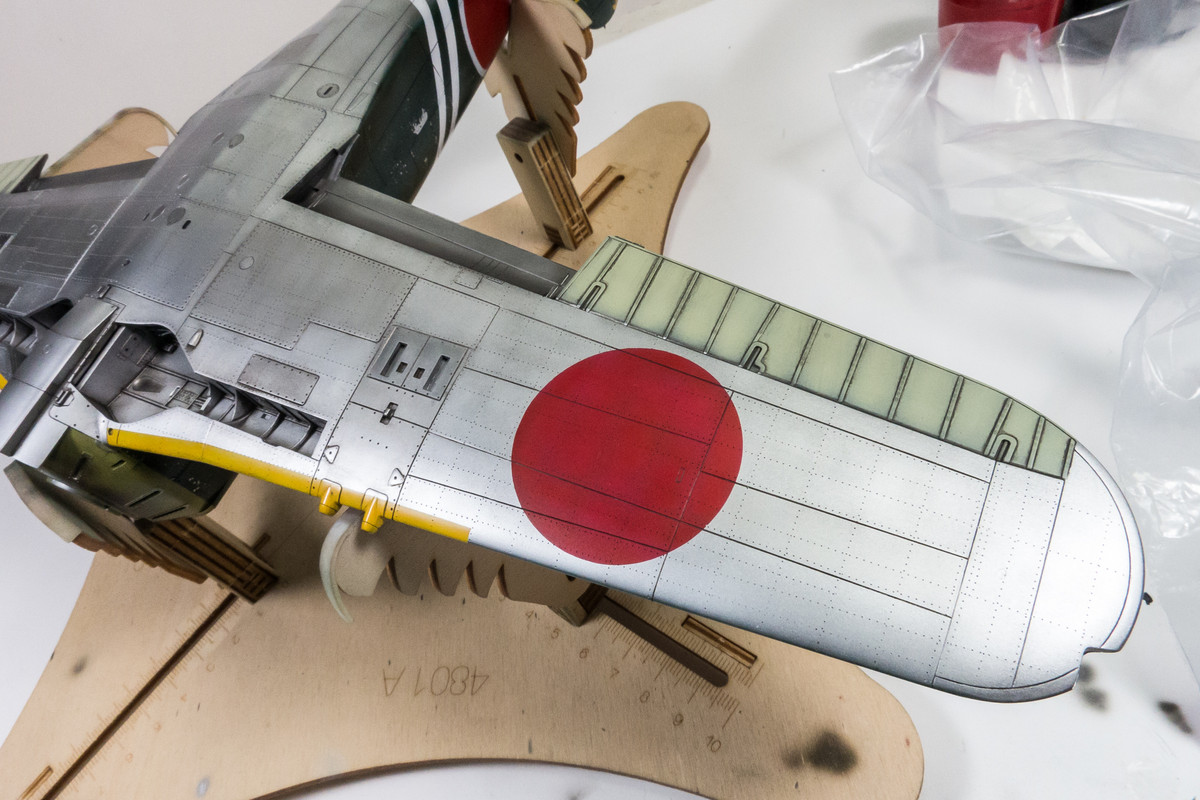
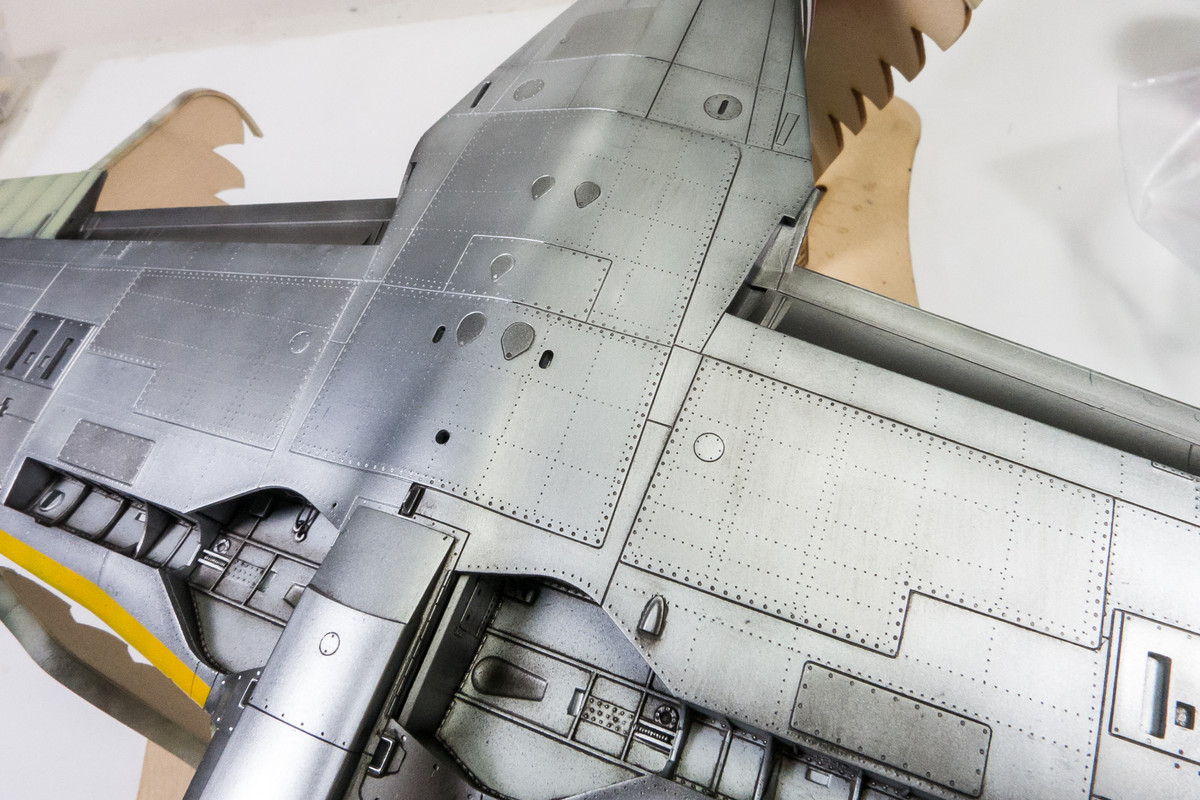
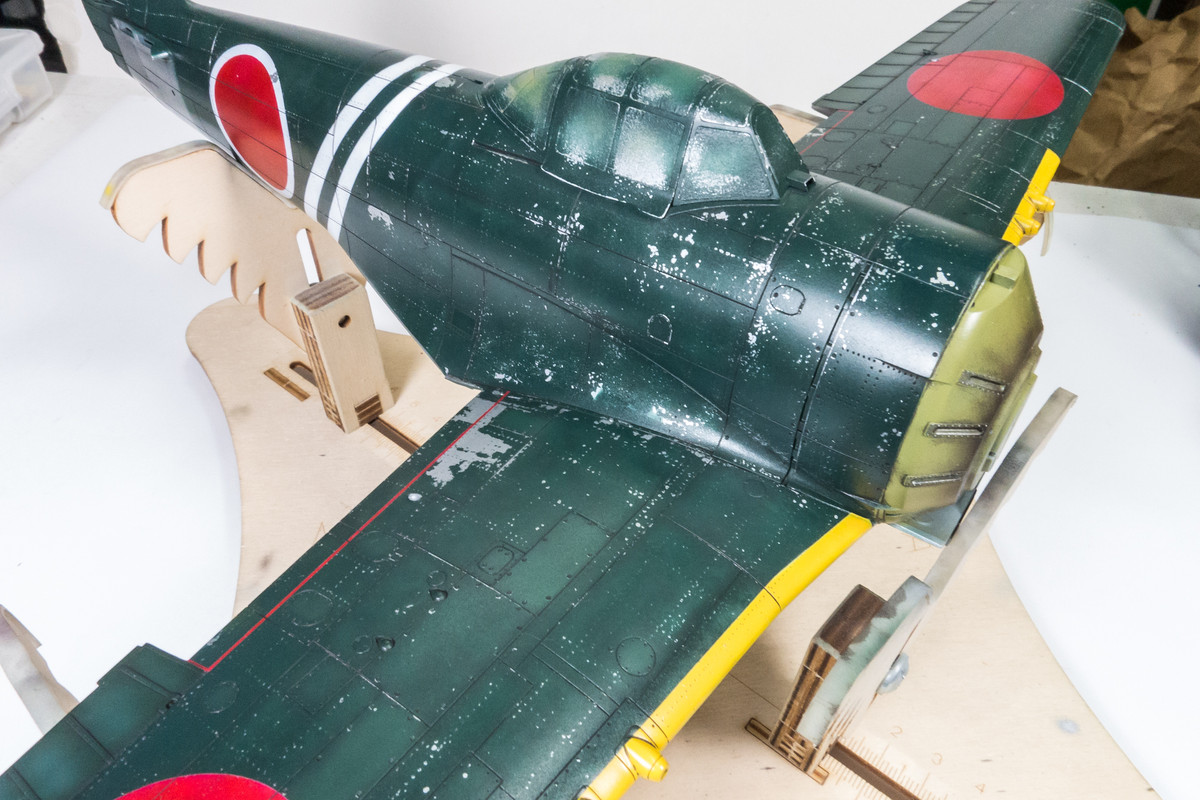
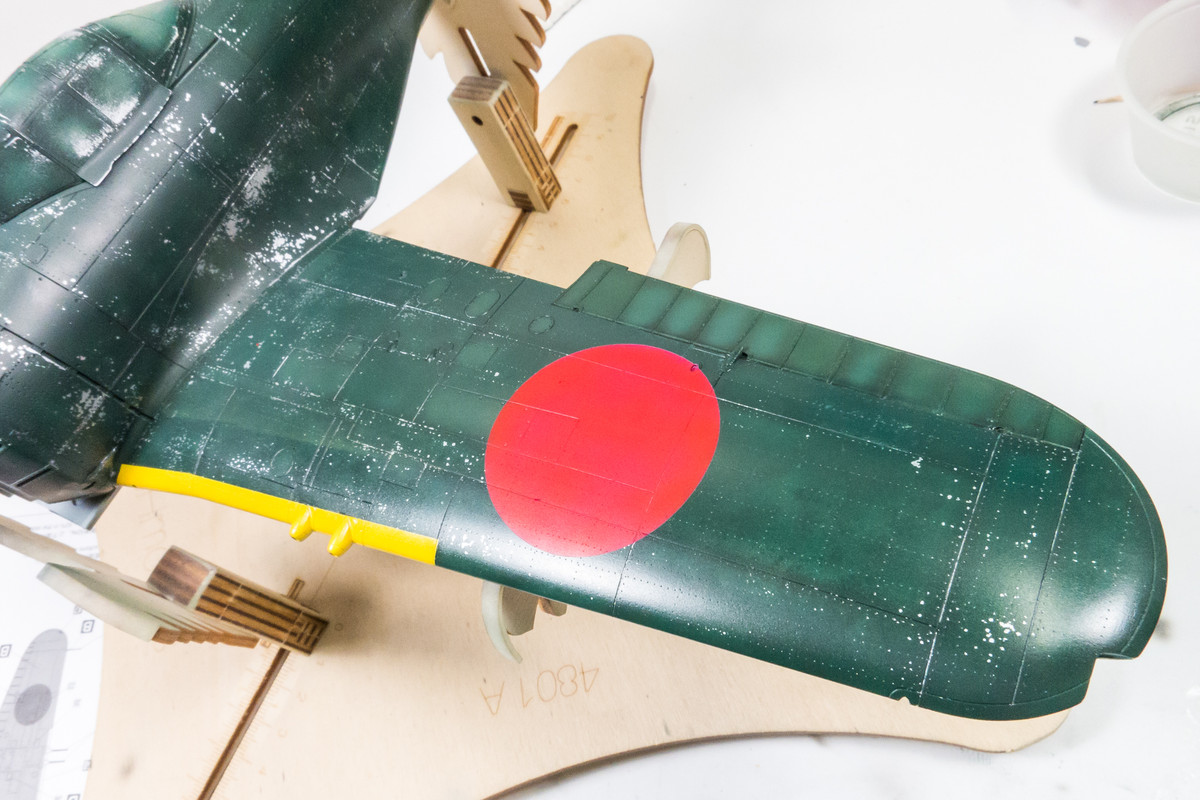
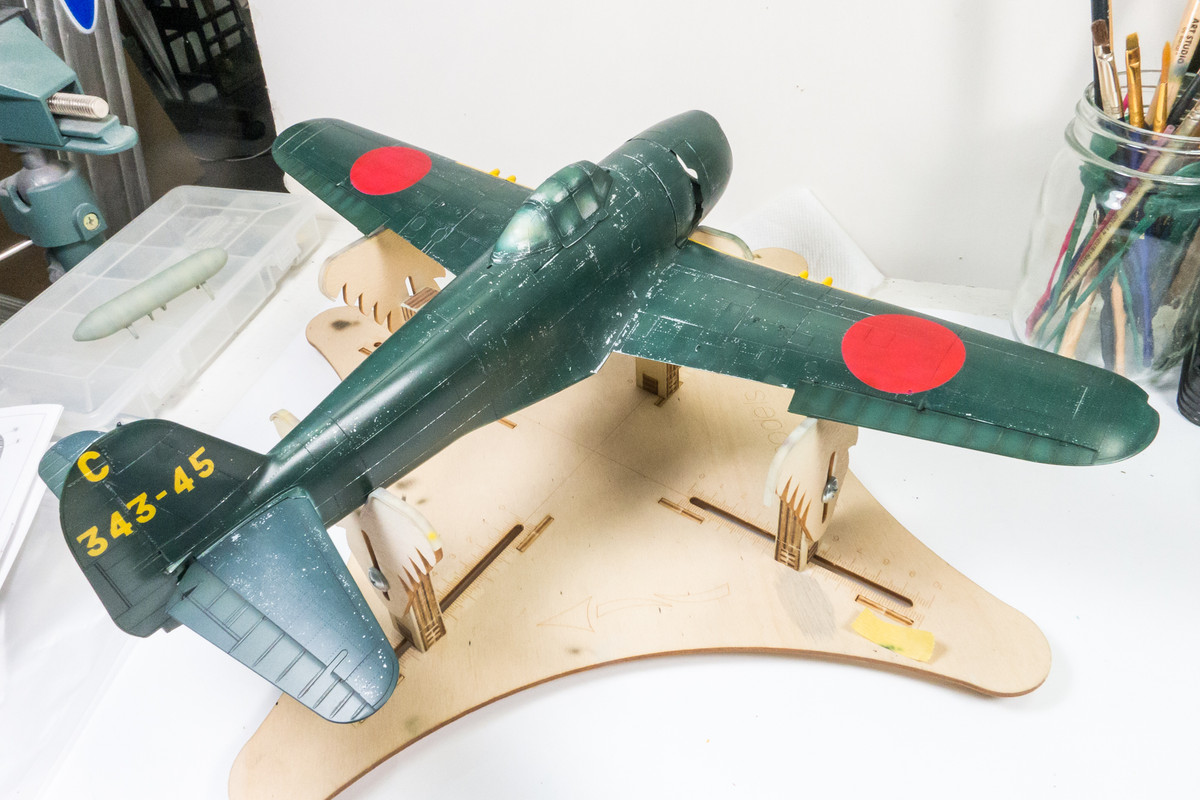
The upper wing hinomarus are next. They are done just like the bottom.
No paint lifting on either side... what a relief!
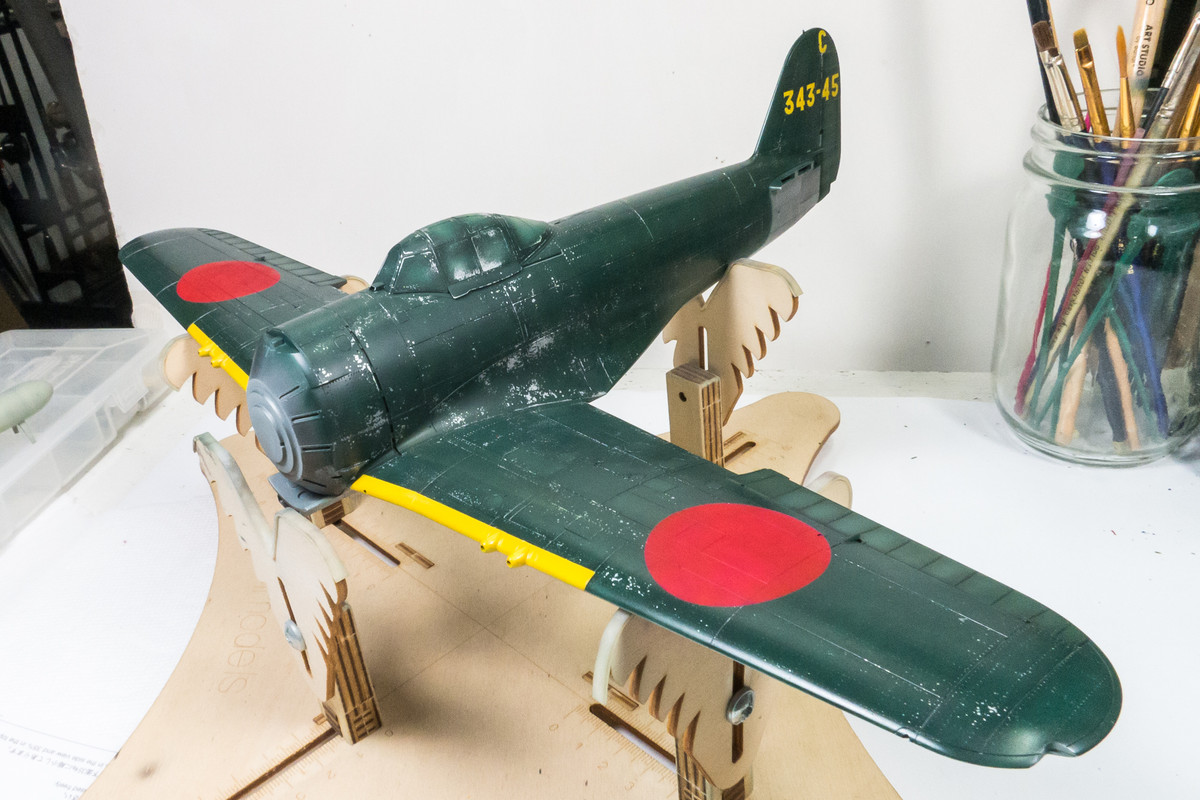
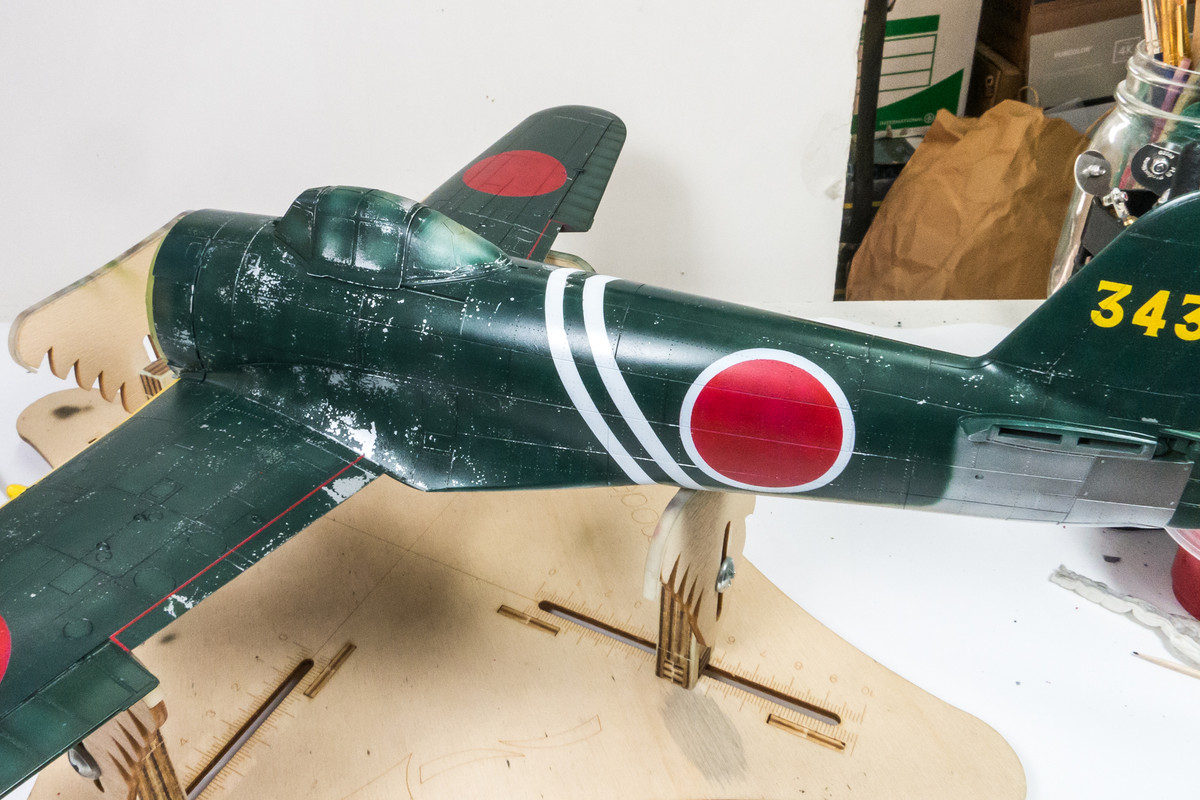
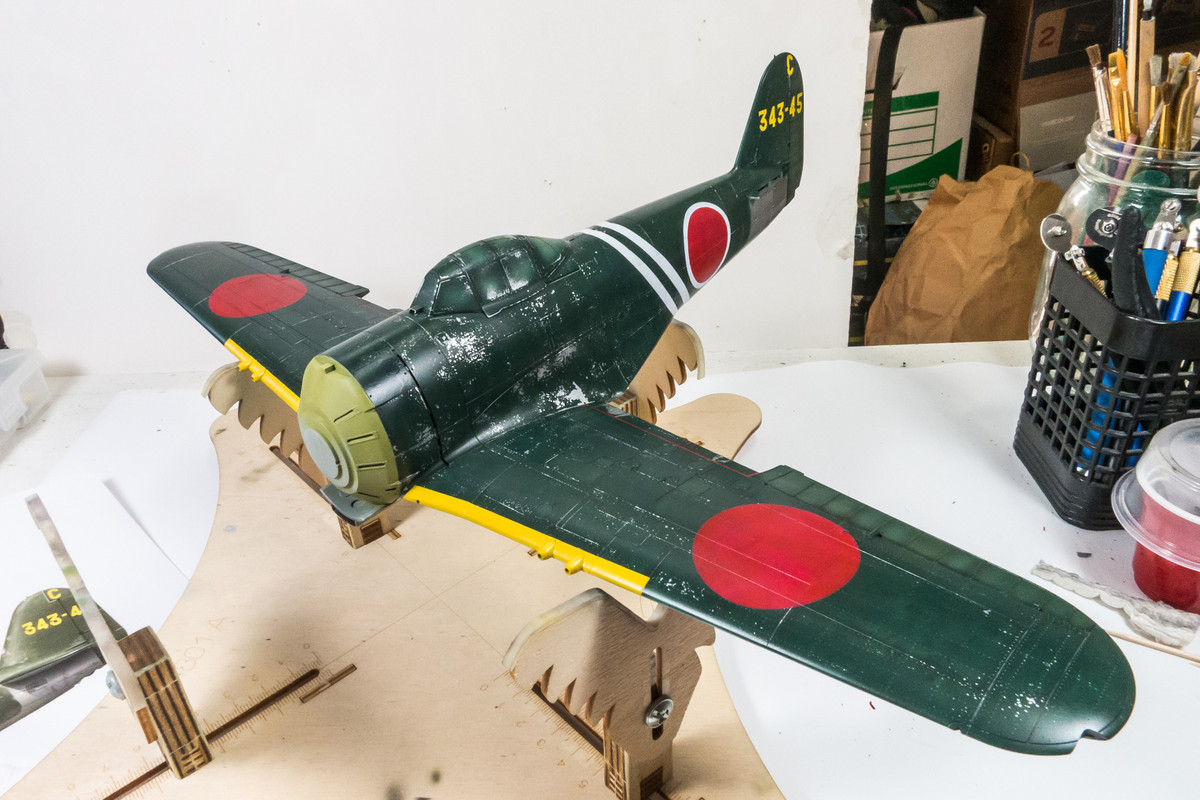
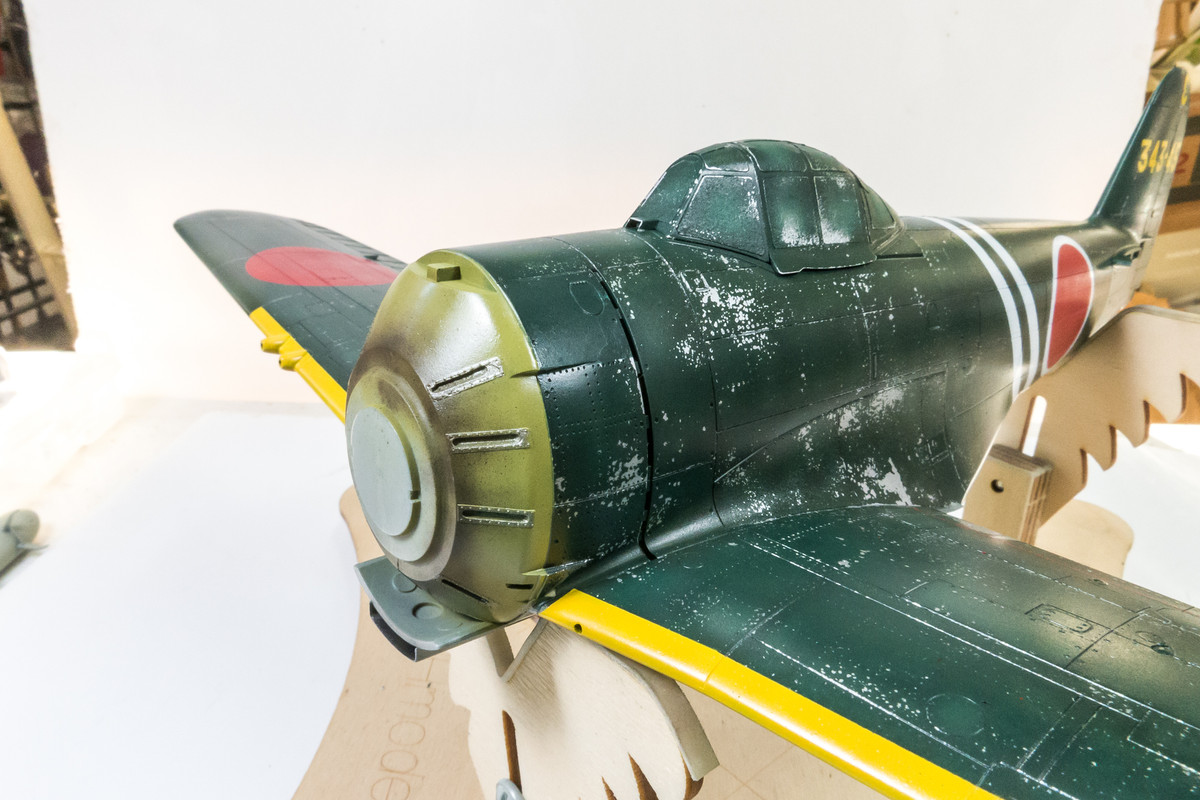
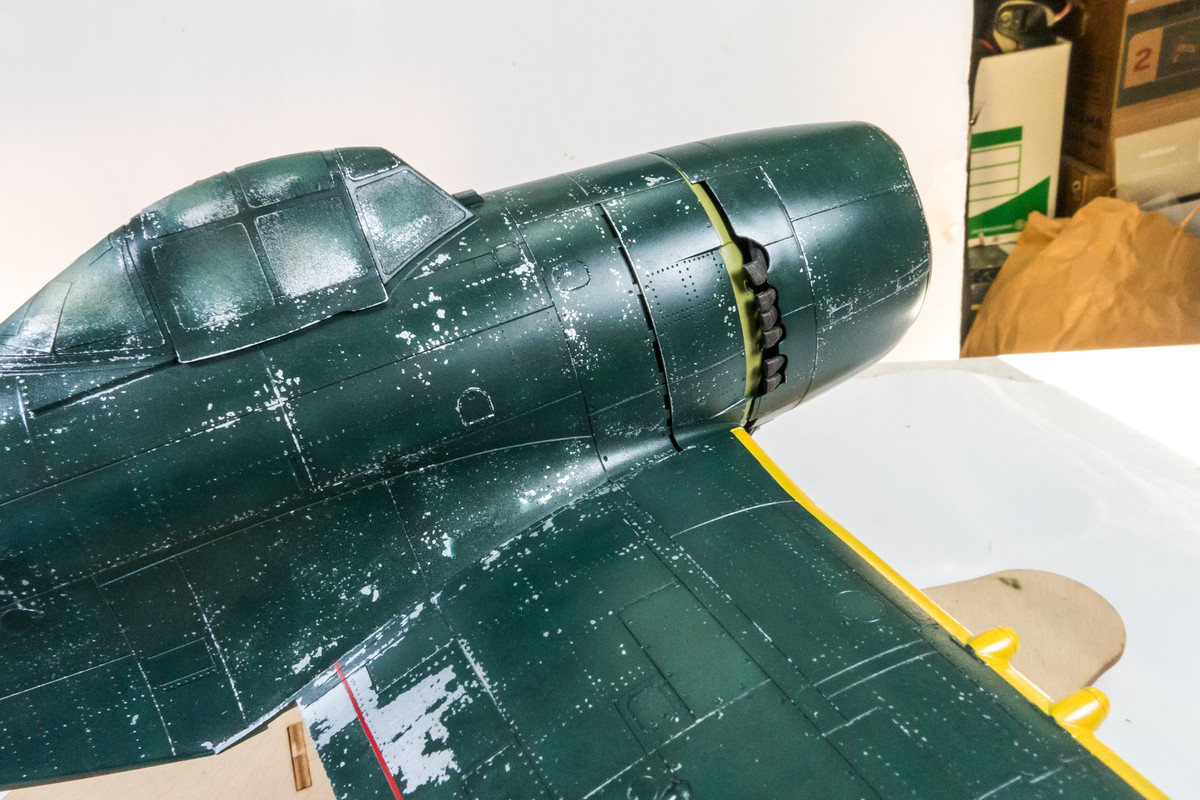
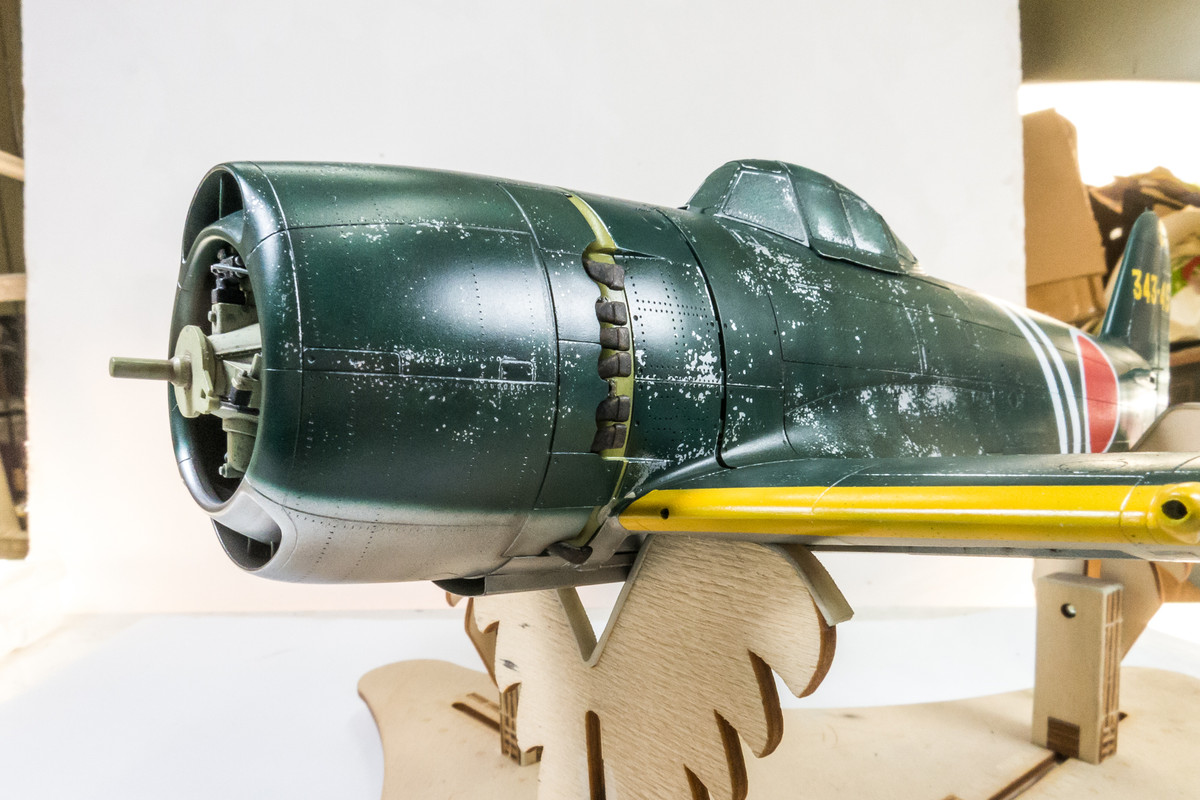
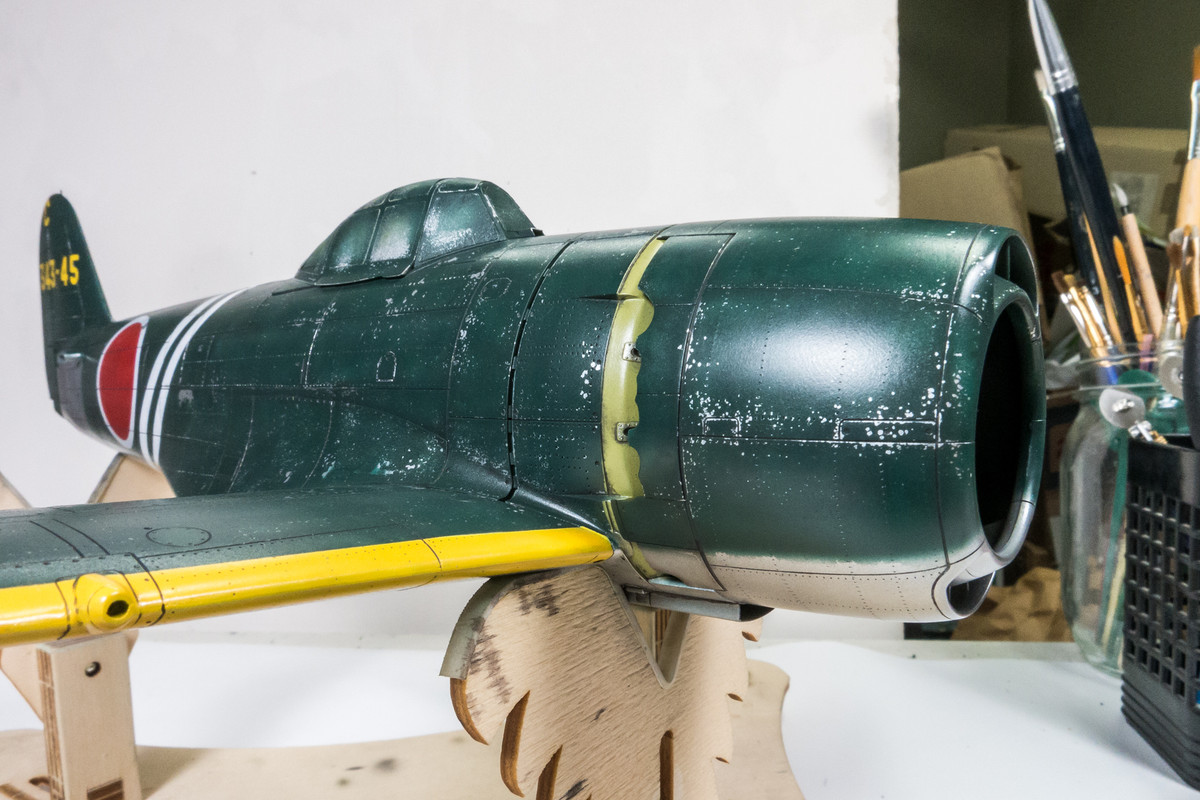
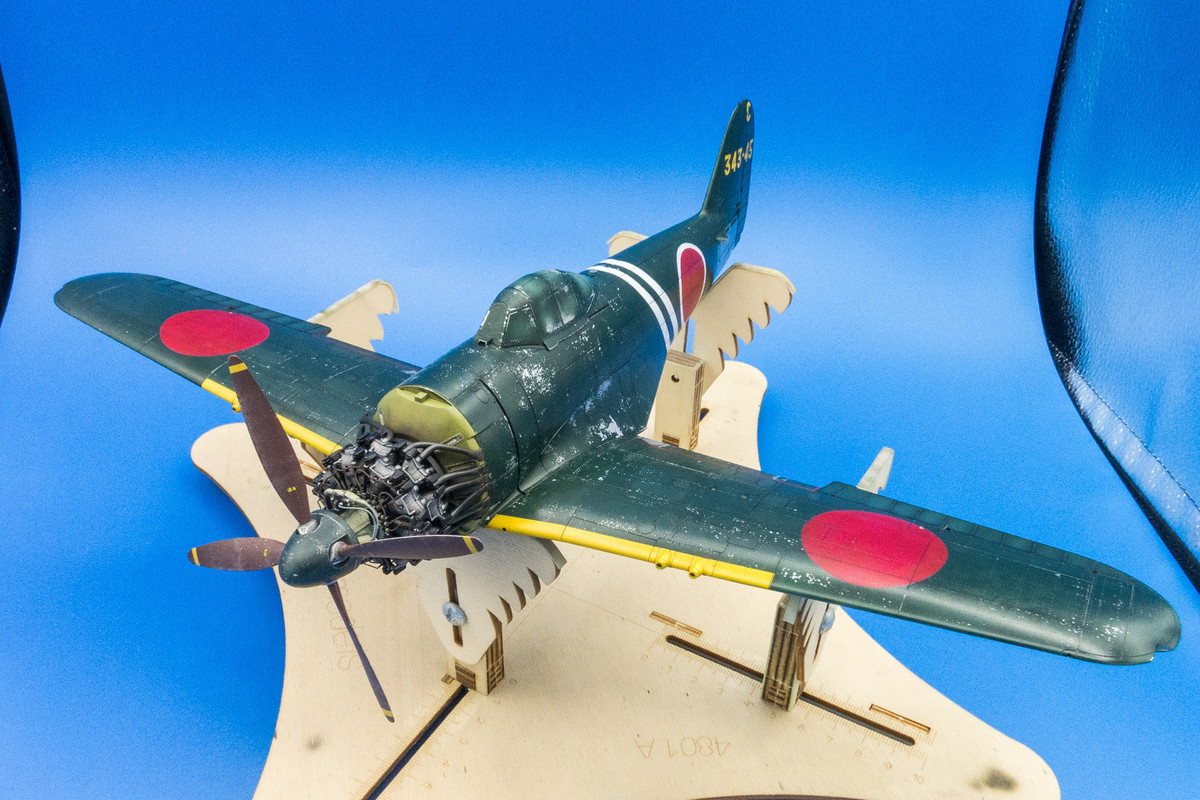
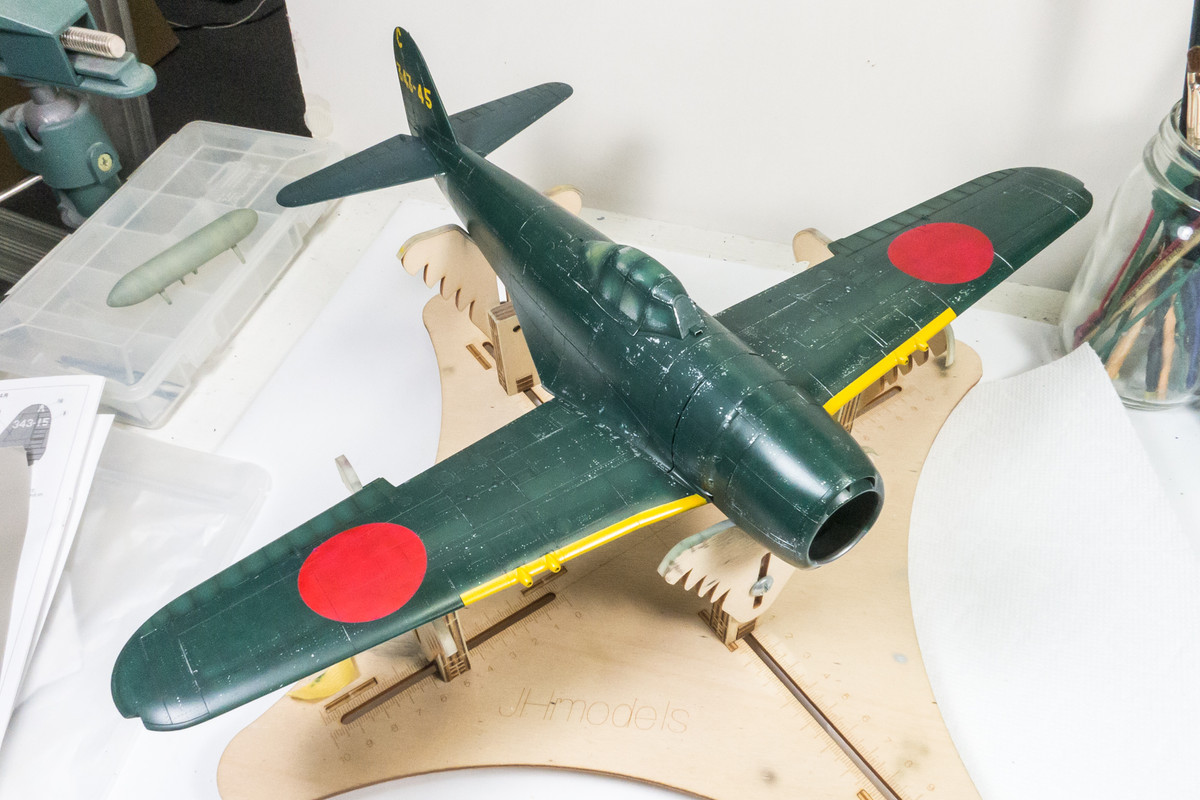
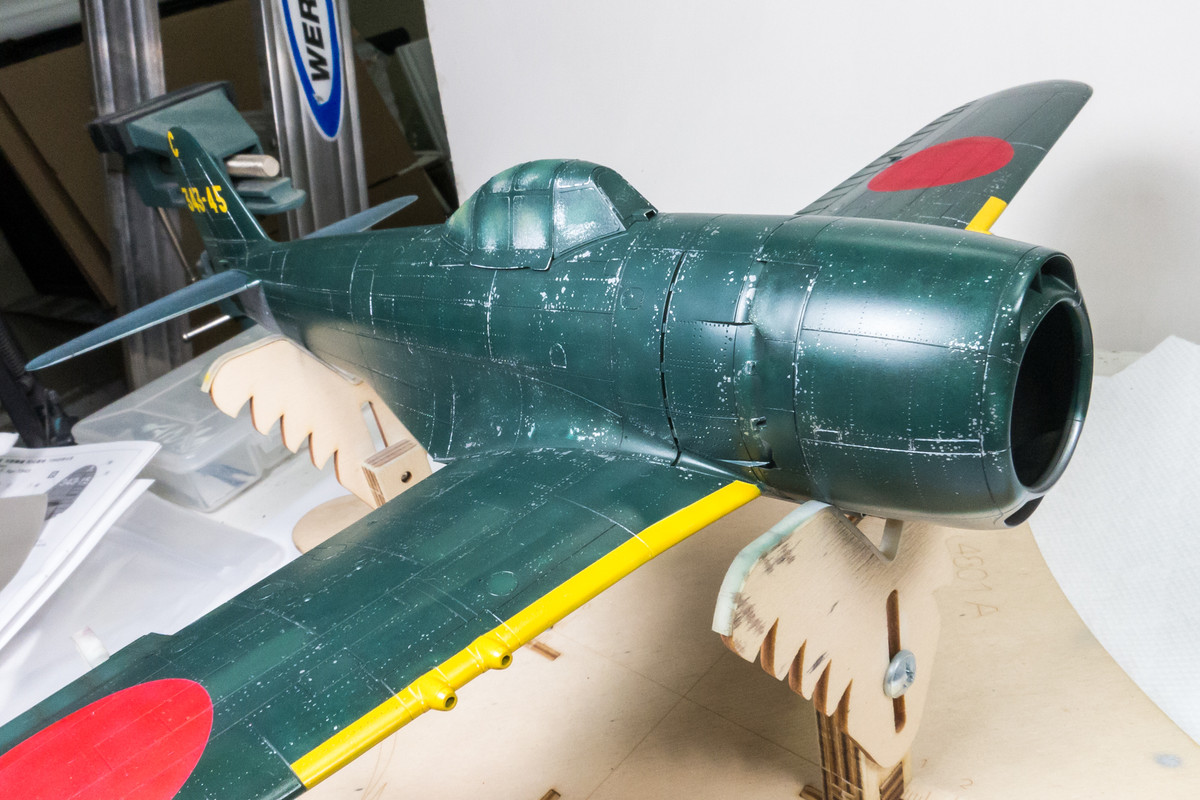
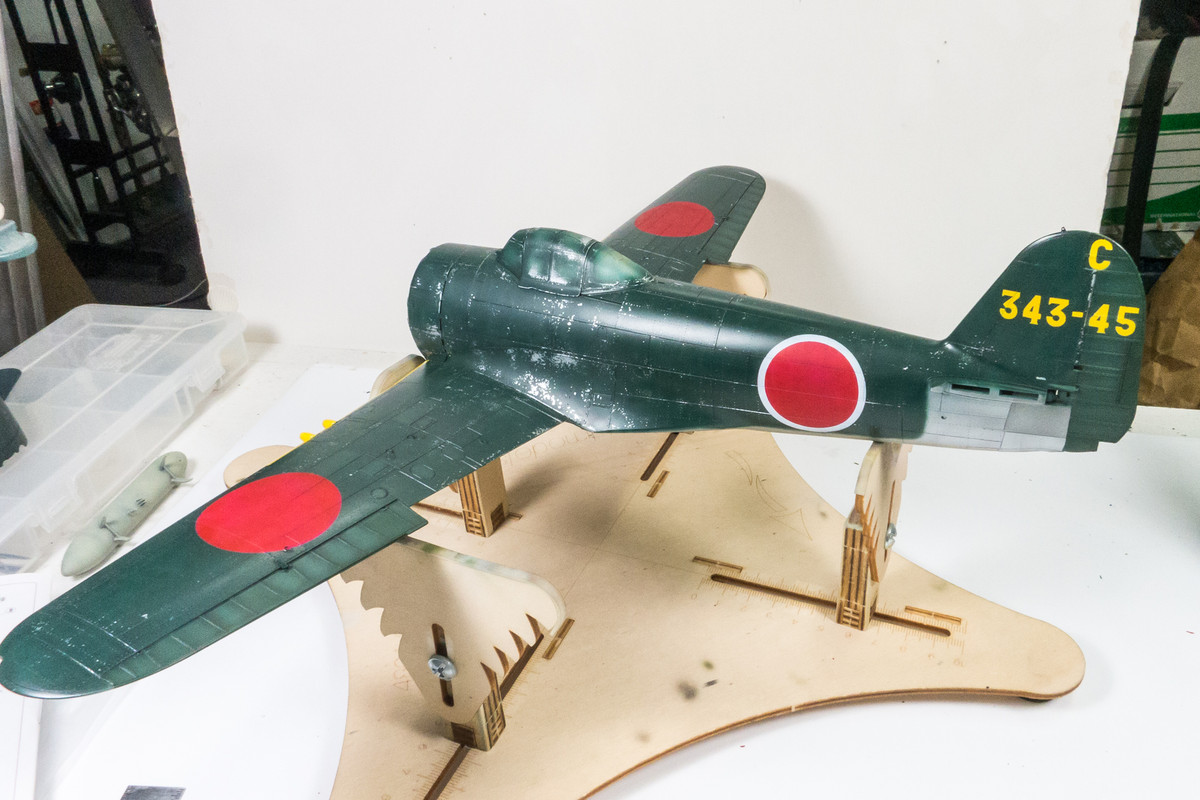
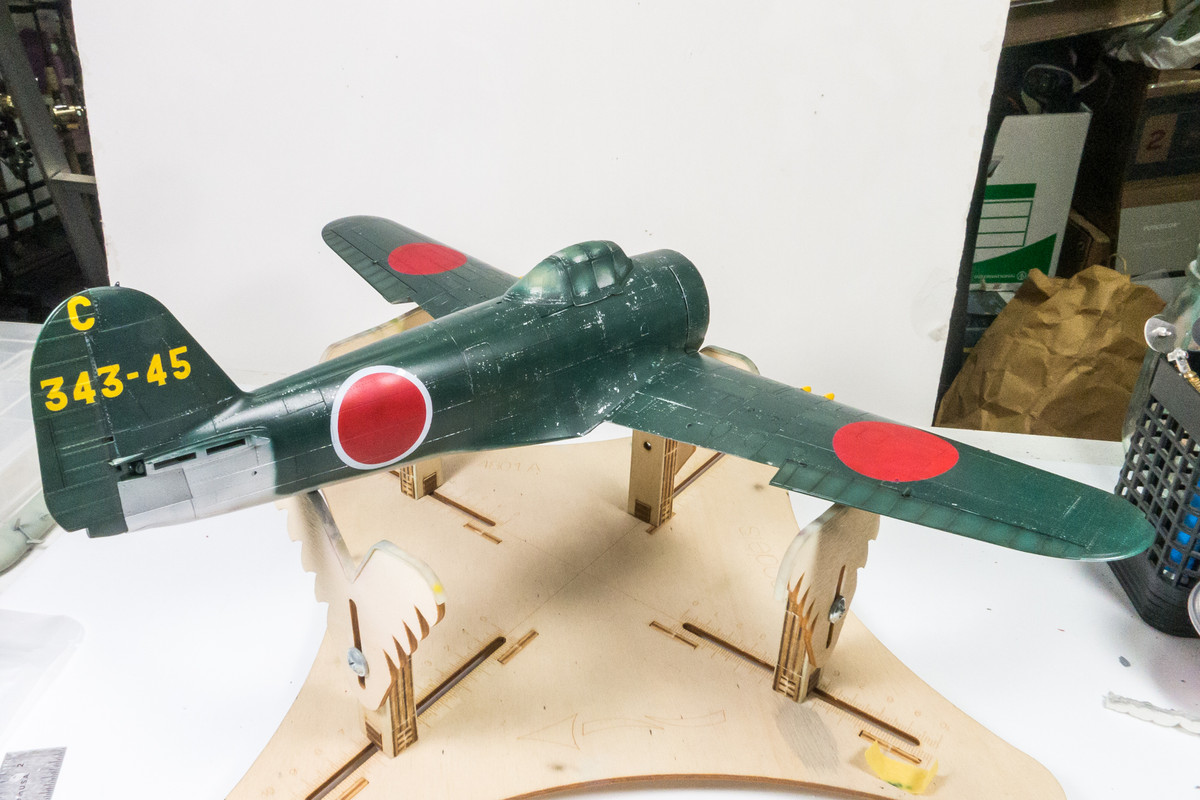
With the cowling and stabilizers attached, it is starting to look like a Shiden Kai.
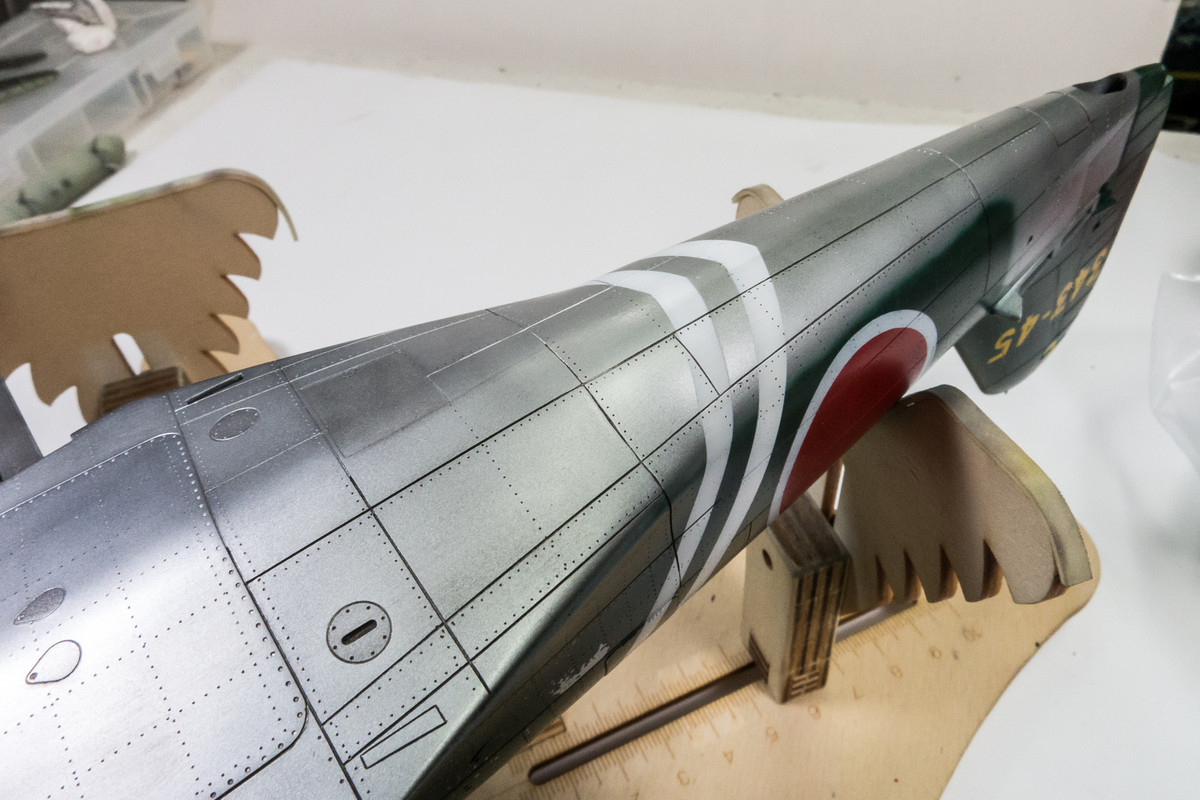
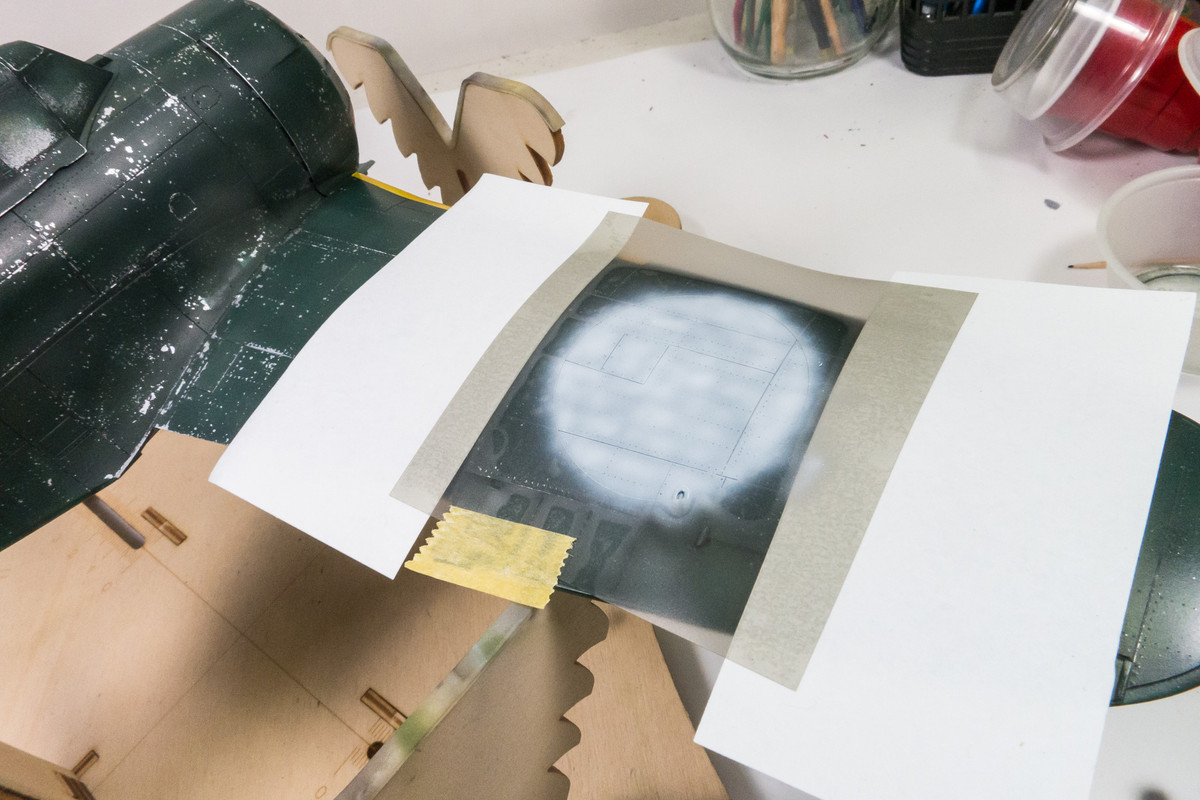
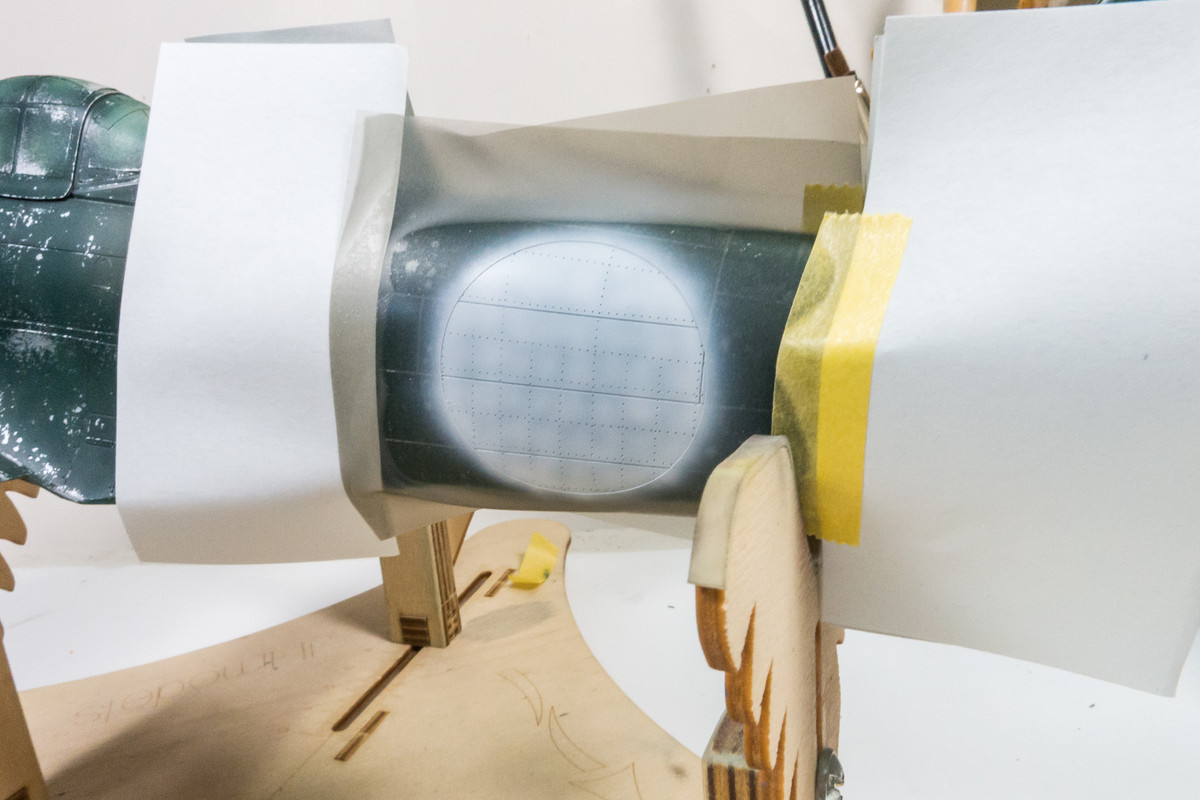
Next come the fuselage hinomarus, which have white borders. First the outline mask is applied and white is sprayed on similar to the other hinomarus but with more white around the circumference of the circle. That is allowed to dry for a couple of hours.
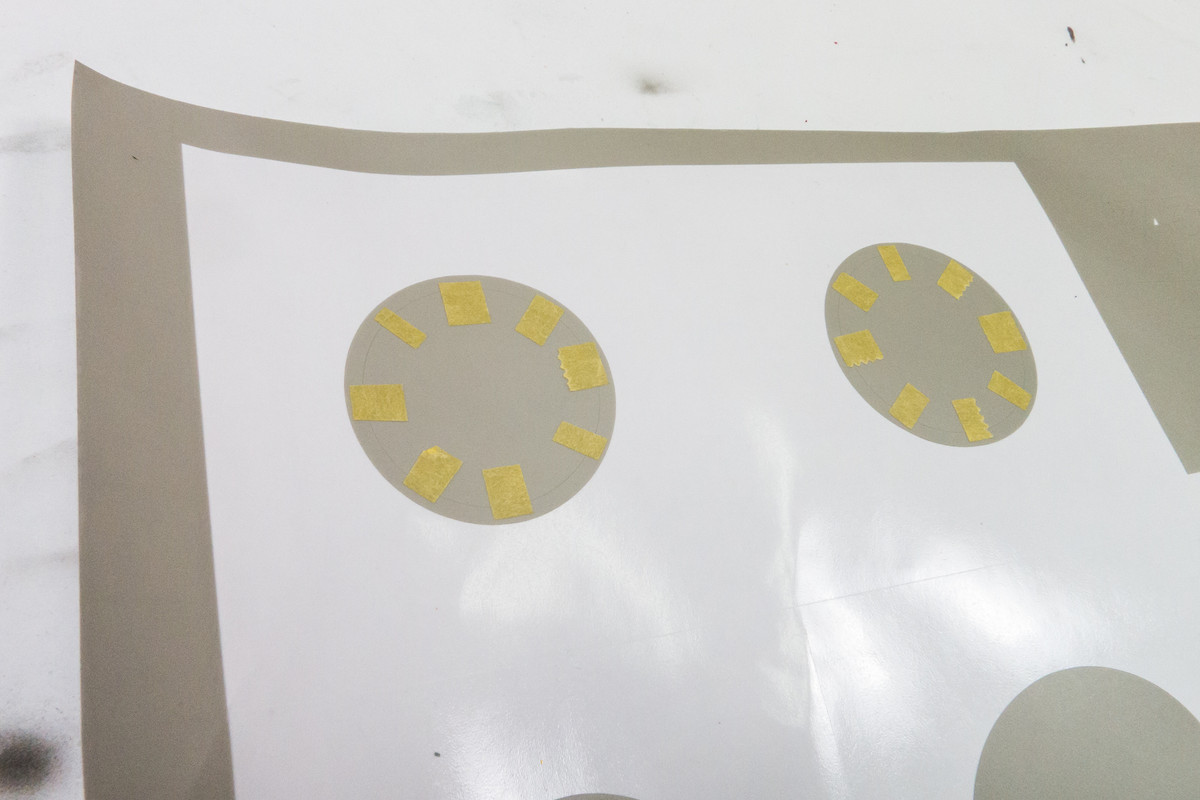
I thought a circle would be much easier to manipulate than a flimsy ring so I used bits of Tamiya tape to affix the ring to the inner circle temporarily.
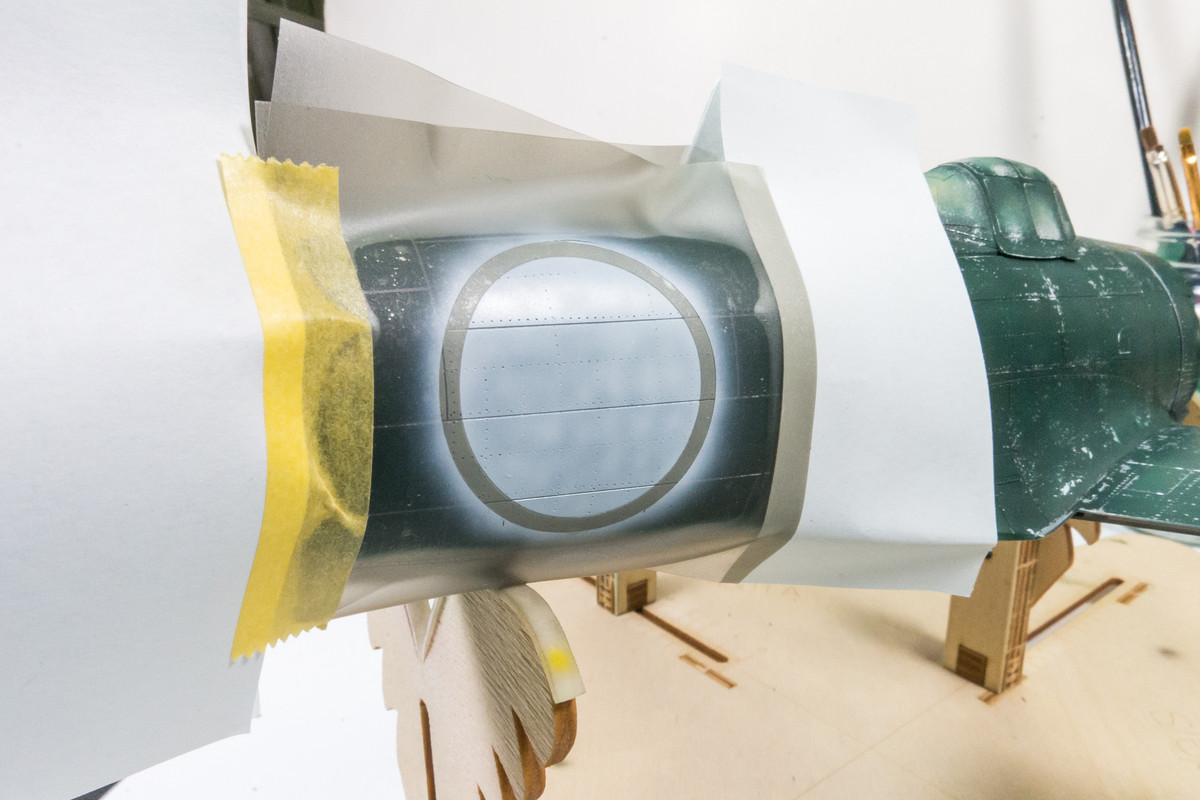
Once the composite circle mask was placed in position, the tape and center circle are removed, leaving only the outer ring. To prevent any paint leakage between the two mask components, I sprayed the joint with clear. Liquid mask would be another alternative.
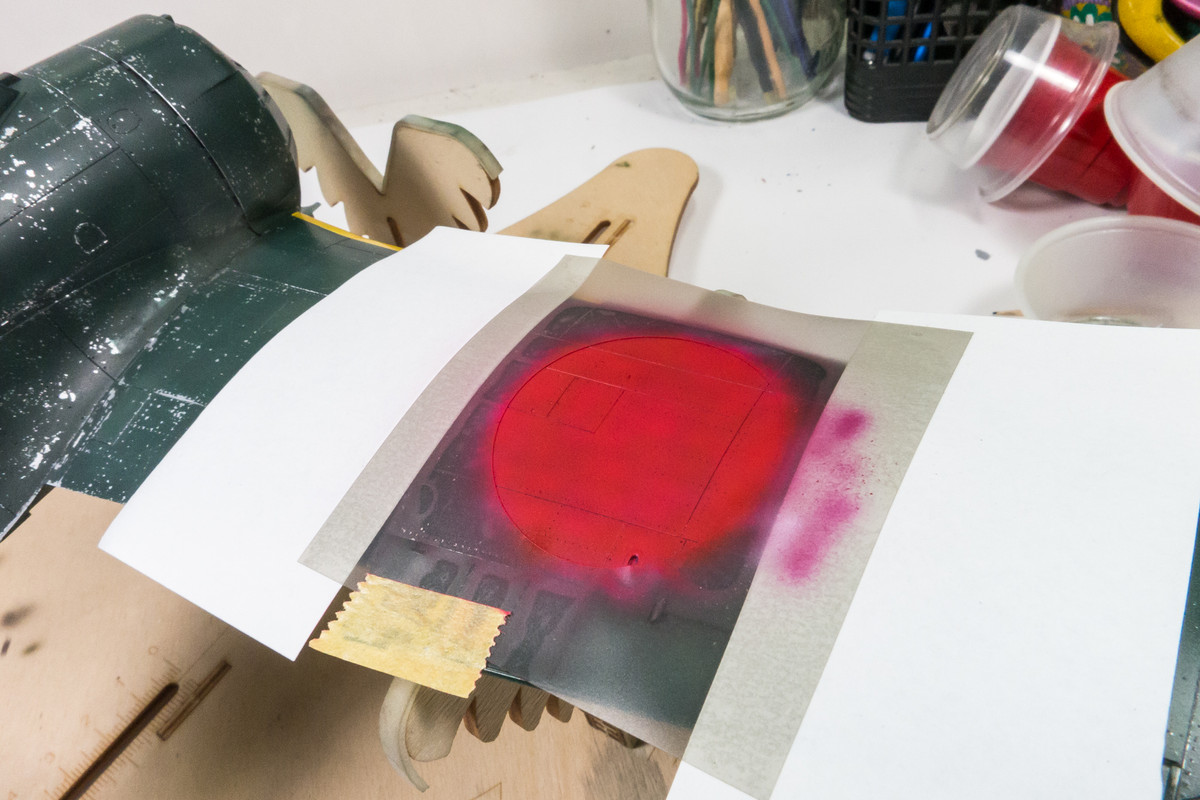
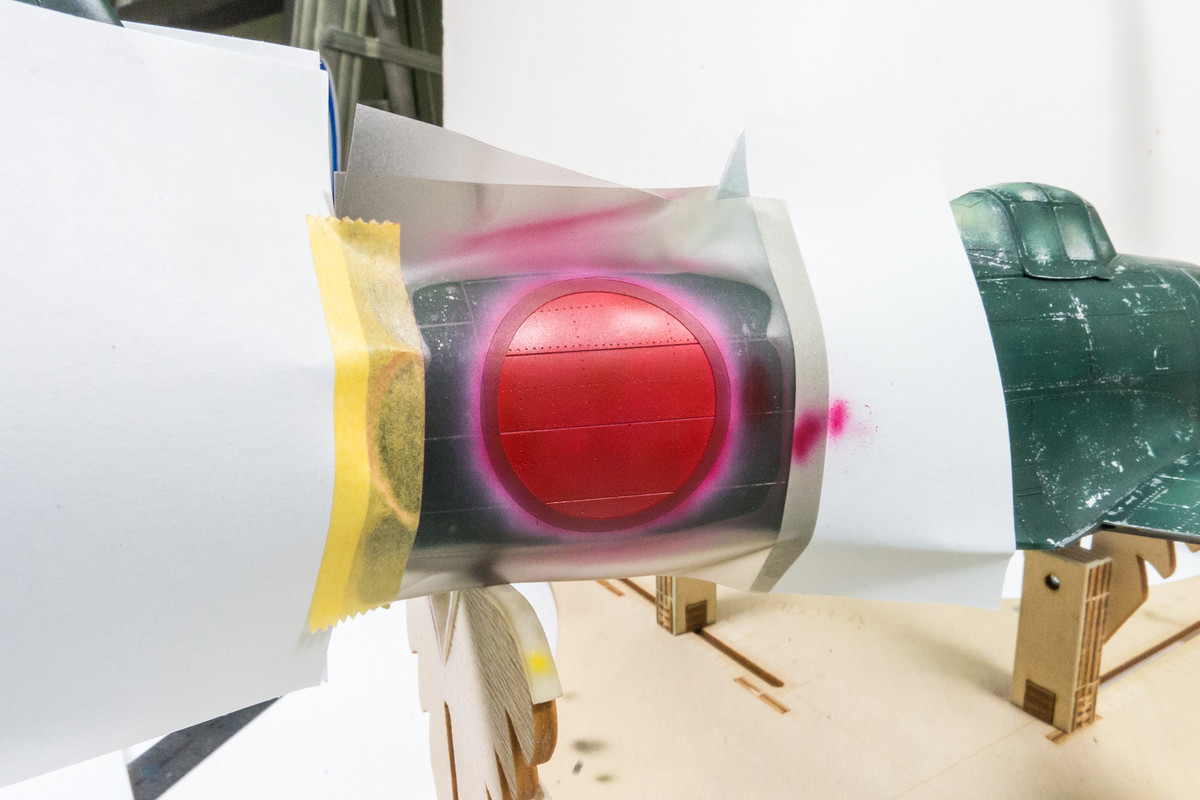
The red is then applied.
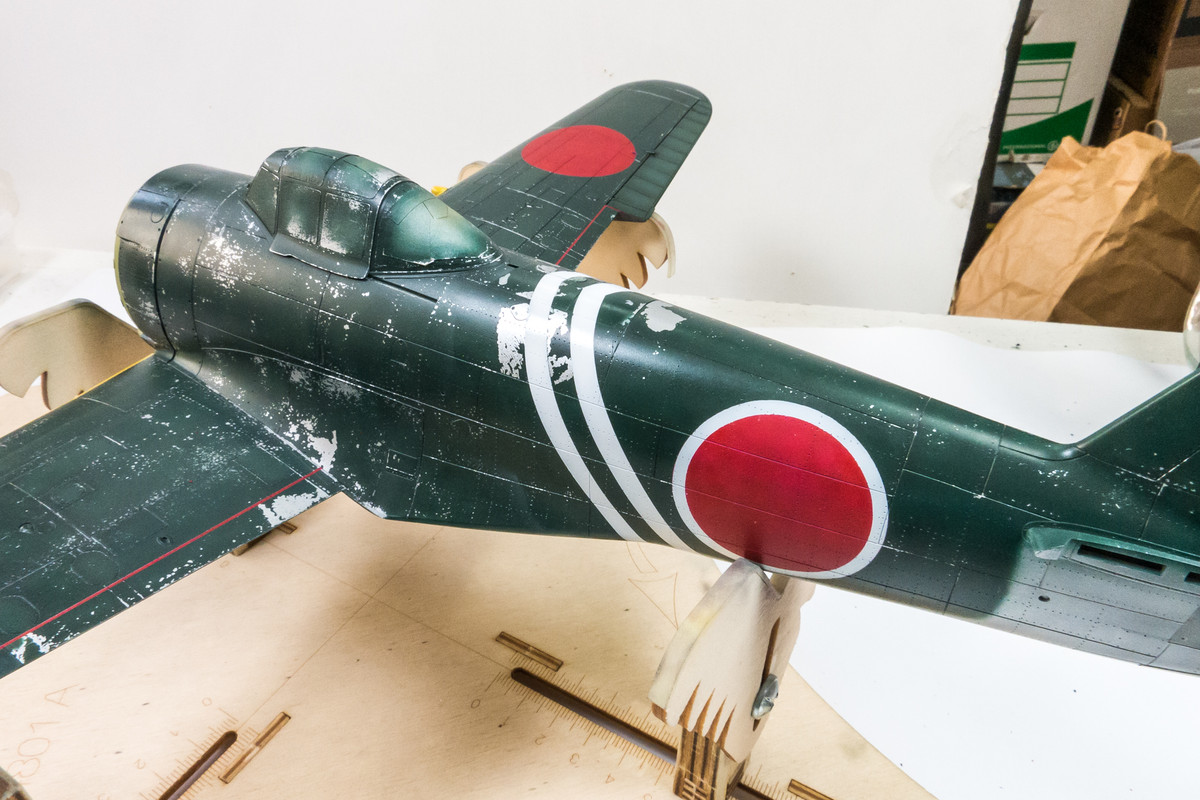
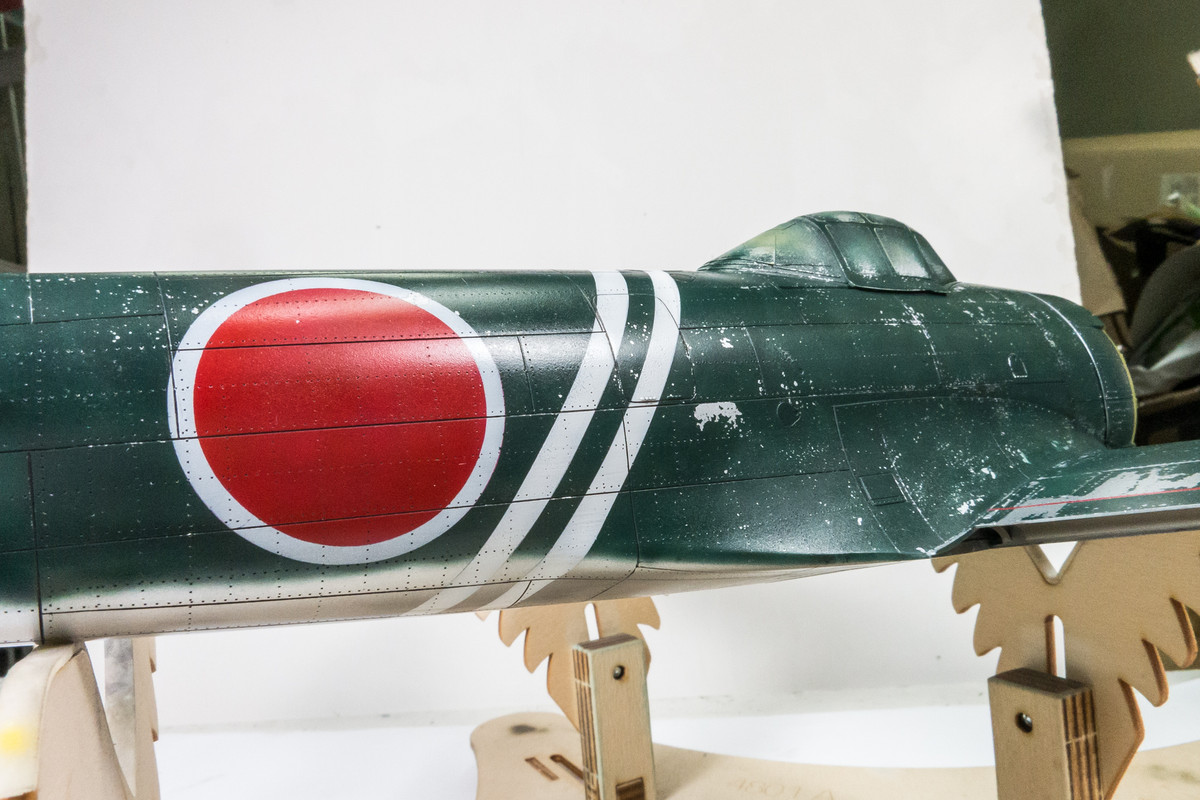
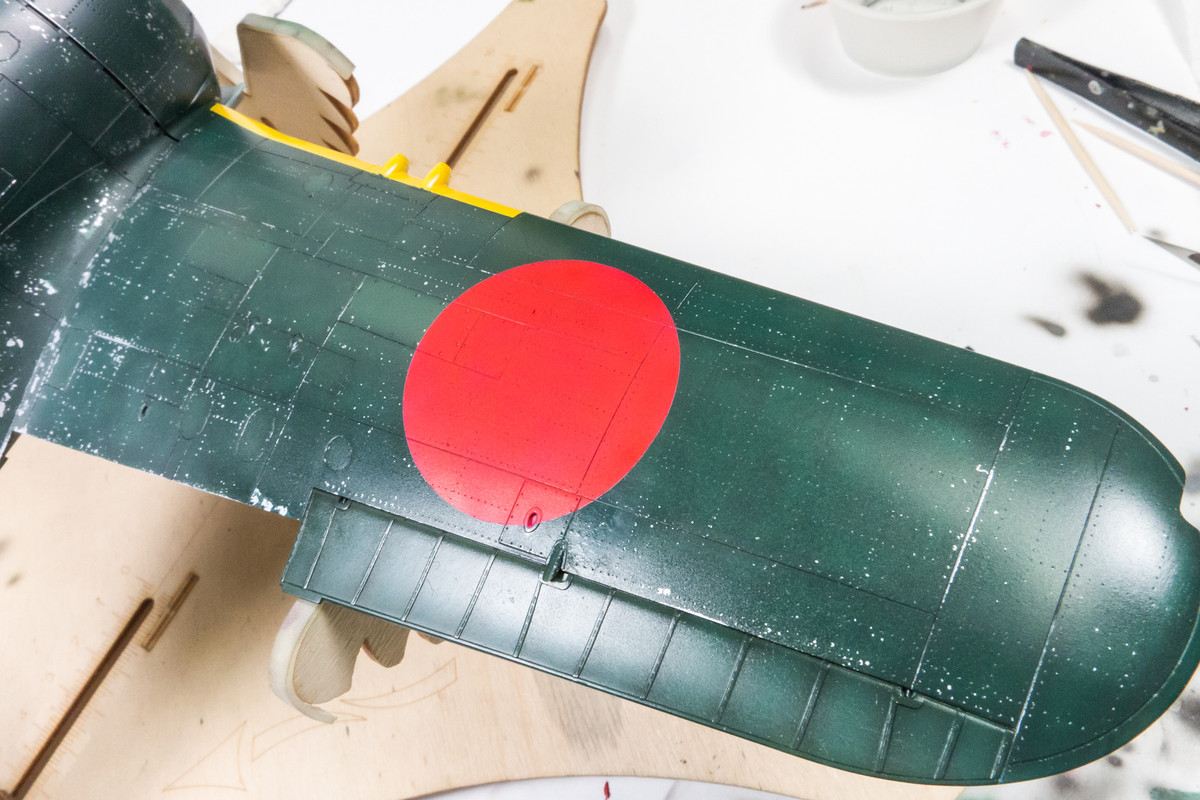
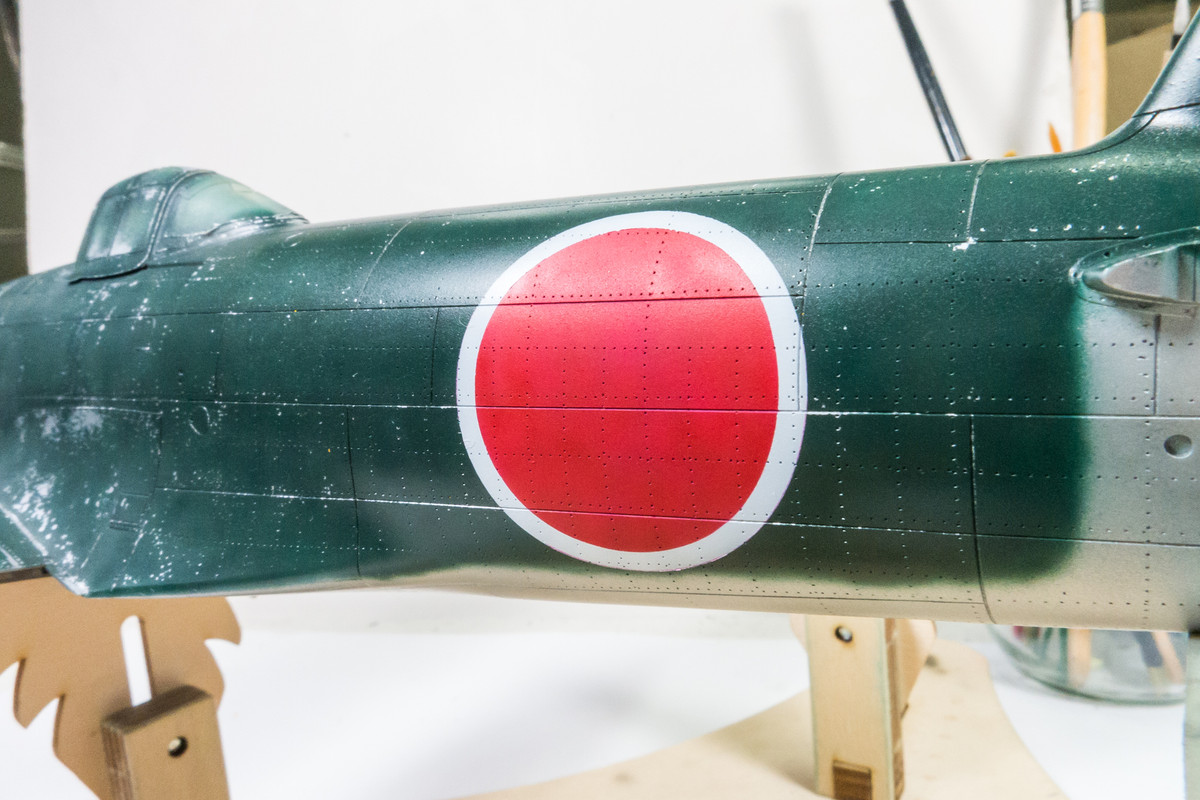
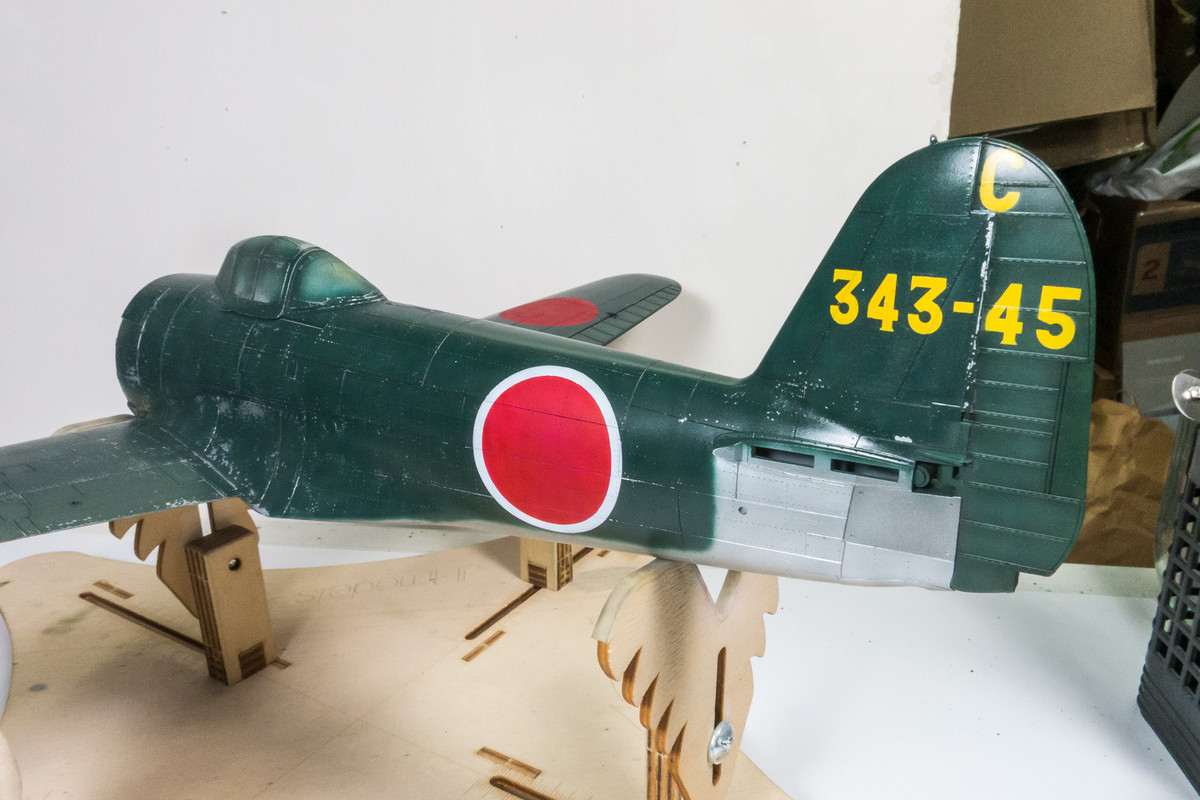
The finished two-color hinomaru. There was only a small paint lift on the white ring of the starboard hinomaru. I might just leave it alone.
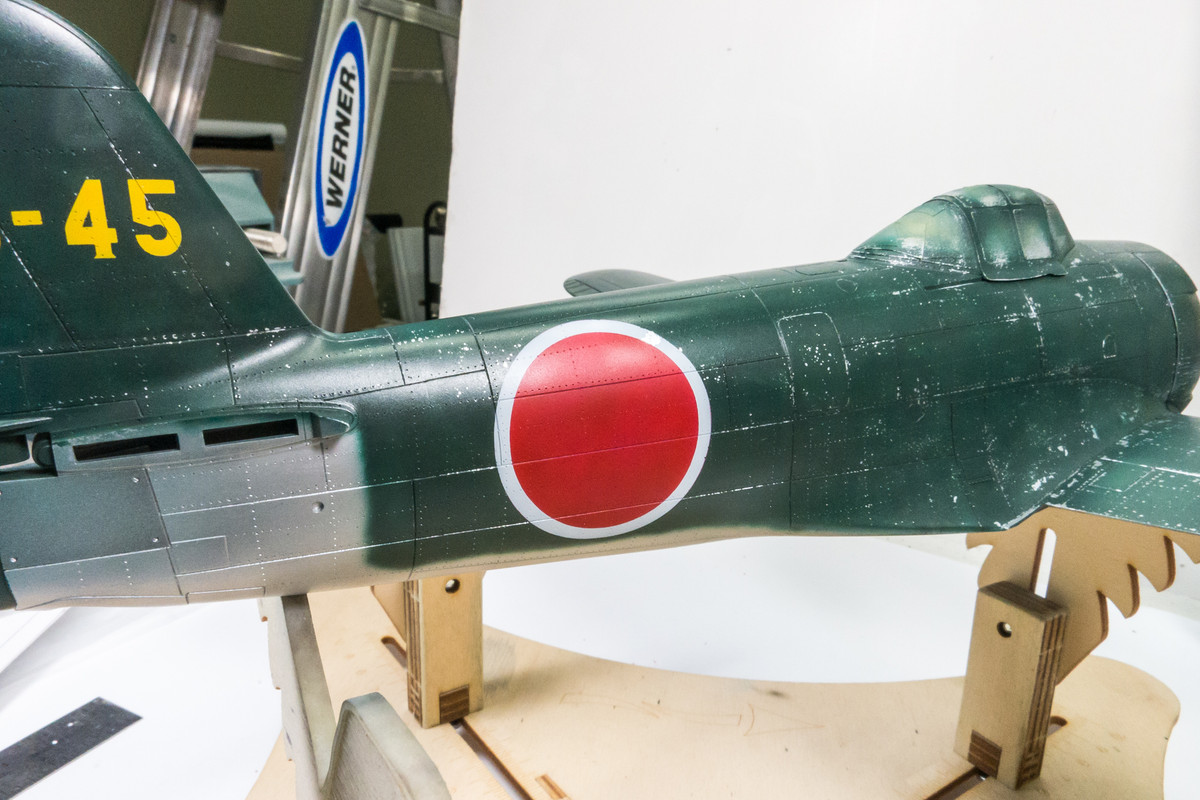
No paint lifting on the port hinomaru.
It's a big relief to get these major markings on without too much paint lift trauma. Still to come are the white fuselage stripes. I haven't quite decided how those will be done... masks or tape?
I got a little bit of paint lifting on the starboard side but nothing too alarming.
No lifting on the port side!
There was a bit of overspray since the raised details on the rudder prevented the masks from sitting flush in certain areas. The starboard side "4" was the worst offender and since I had to fix the paint lift, I used the positive "4" mask to fix both areas. The chip fix area stands out right now because it is flat but should disappear once a clear coat is applied.
The upper wing hinomarus are next. They are done just like the bottom.
No paint lifting on either side... what a relief!
With the cowling and stabilizers attached, it is starting to look like a Shiden Kai.
Next come the fuselage hinomarus, which have white borders. First the outline mask is applied and white is sprayed on similar to the other hinomarus but with more white around the circumference of the circle. That is allowed to dry for a couple of hours.
I thought a circle would be much easier to manipulate than a flimsy ring so I used bits of Tamiya tape to affix the ring to the inner circle temporarily.
Once the composite circle mask was placed in position, the tape and center circle are removed, leaving only the outer ring. To prevent any paint leakage between the two mask components, I sprayed the joint with clear. Liquid mask would be another alternative.
The red is then applied.
The finished two-color hinomaru. There was only a small paint lift on the white ring of the starboard hinomaru. I might just leave it alone.
No paint lifting on the port hinomaru.
It's a big relief to get these major markings on without too much paint lift trauma. Still to come are the white fuselage stripes. I haven't quite decided how those will be done... masks or tape?