Four WWII twin engines in 1/72
Posted: Tue Feb 27, 2018 5:07 am
I started lots of kits during last two years and some i totally forget to put in wip 
Heres a single thread for some of them that have similar specifics
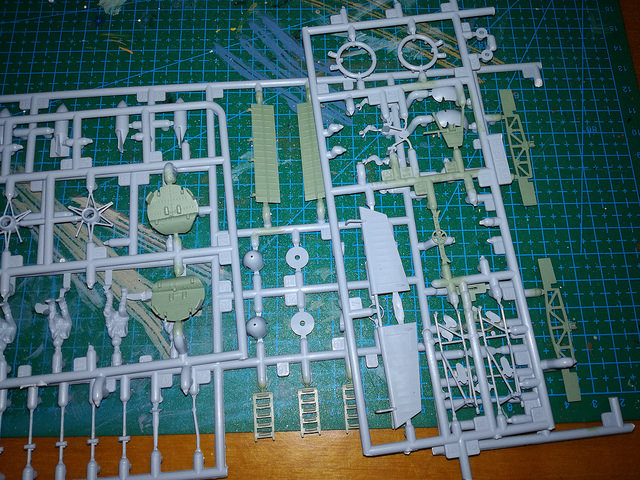
Withouth post all sprues here i add the gallery link for each subject
in order of start
Loocked Hudson Italeri, but MPM sprues inside

https://postimg.cc/gallery/2p3cidouk/
Bristol Blenheim VI airfix new tool (i'll do a normal daytime V version instead of night version of the box)
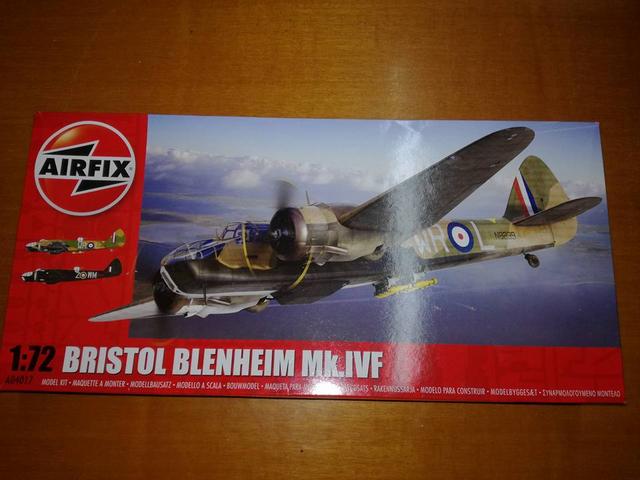
https://postimg.cc/gallery/mds4p98s/
Petlyakov Pe-2 205 UM model
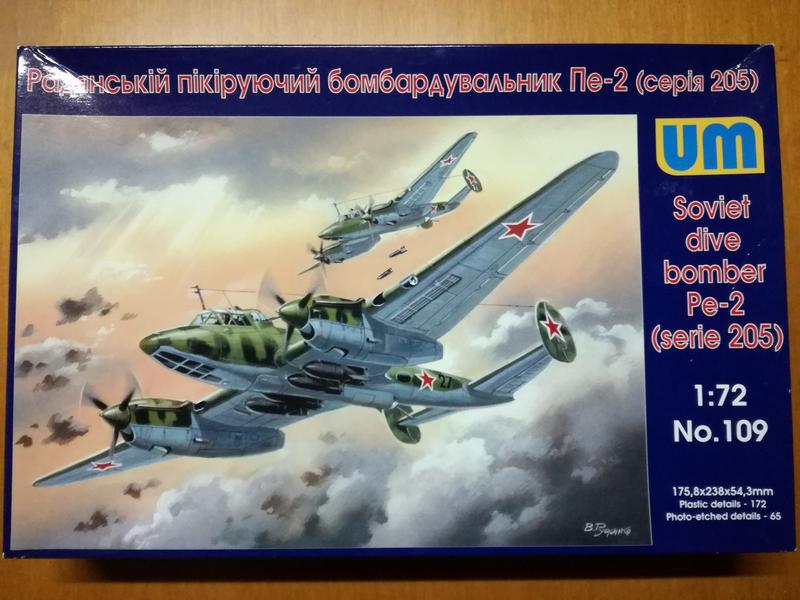
https://postimg.cc/gallery/2q15jys98/
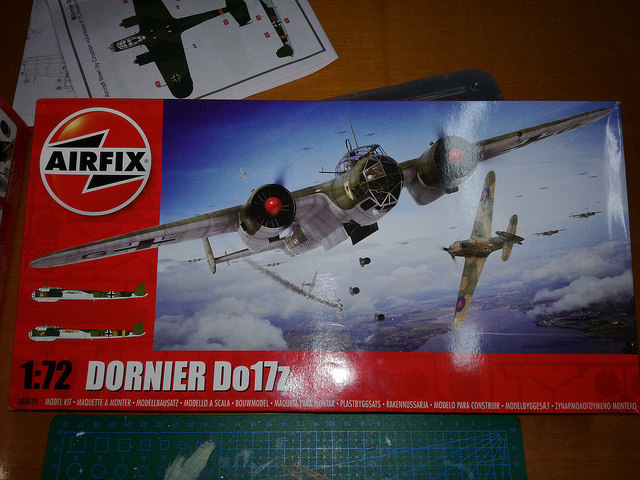
And the last, started fwe days ago
Dornier Do-17Z airfix new tool
https://postimg.cc/gallery/39hlabovg/
All the four kits have a good or excellent level of details, so they will basically OOB
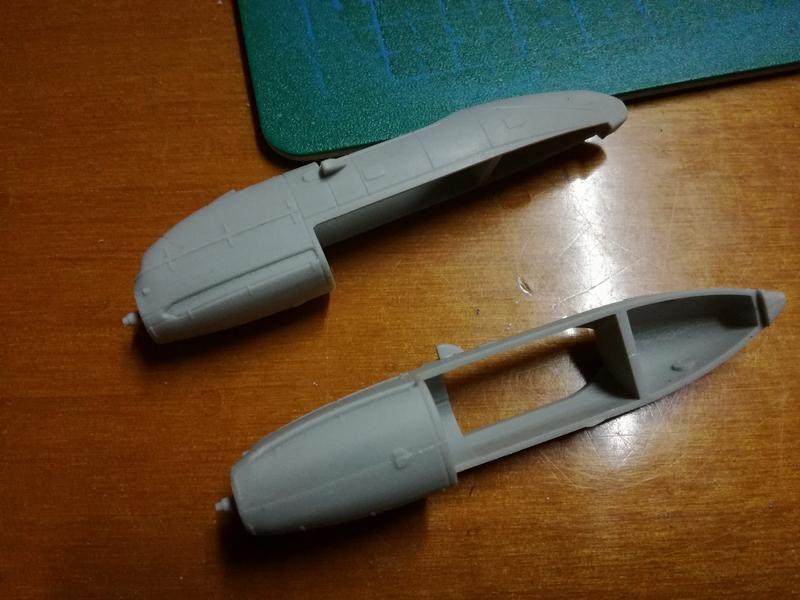
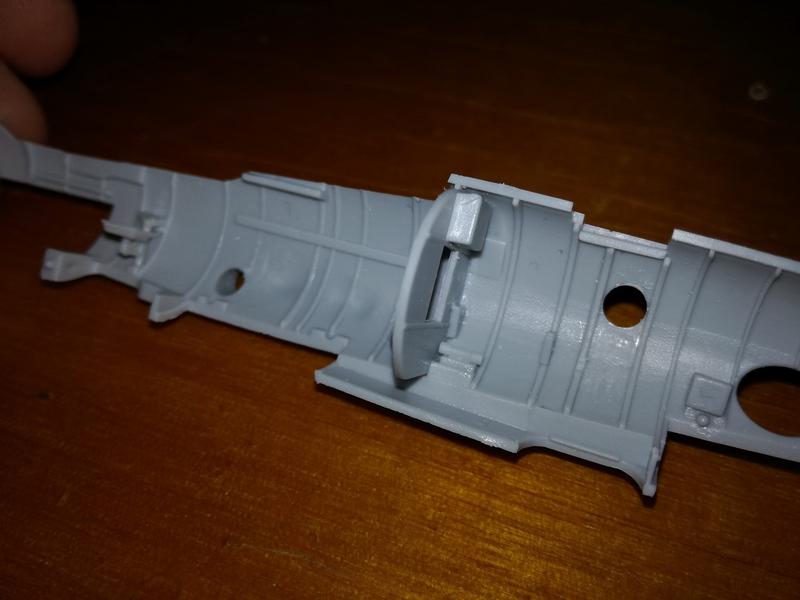
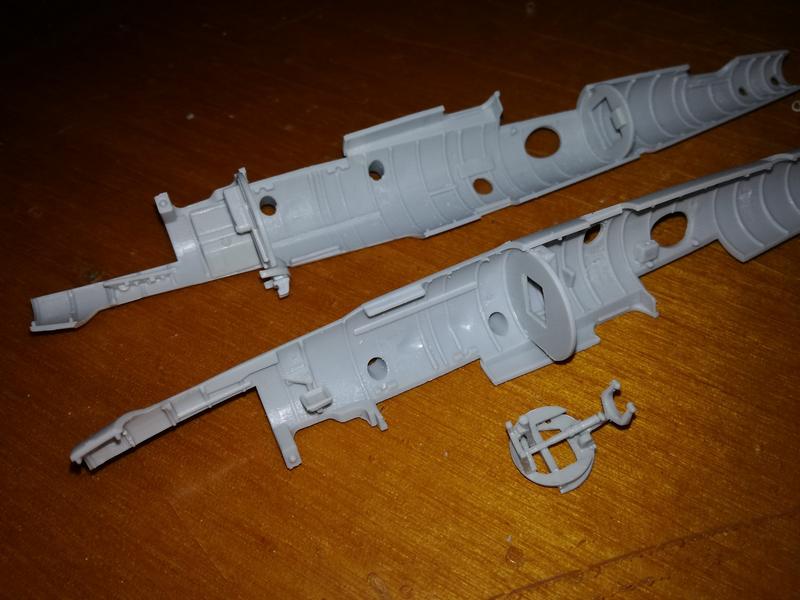
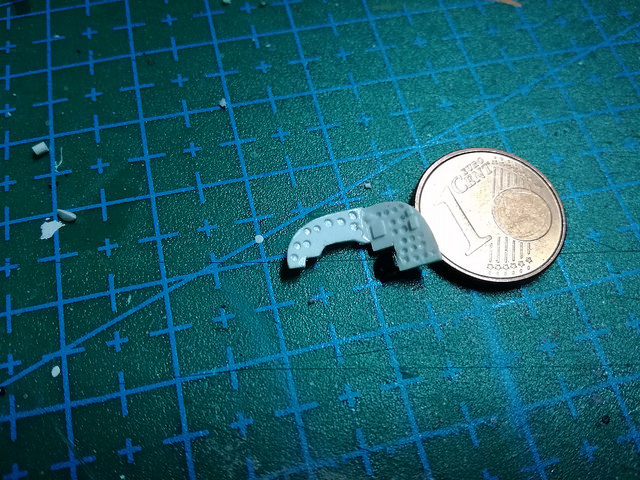
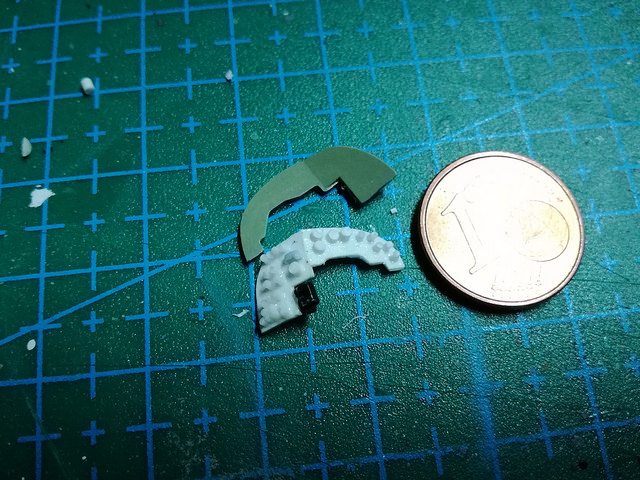
First the Hudson works:
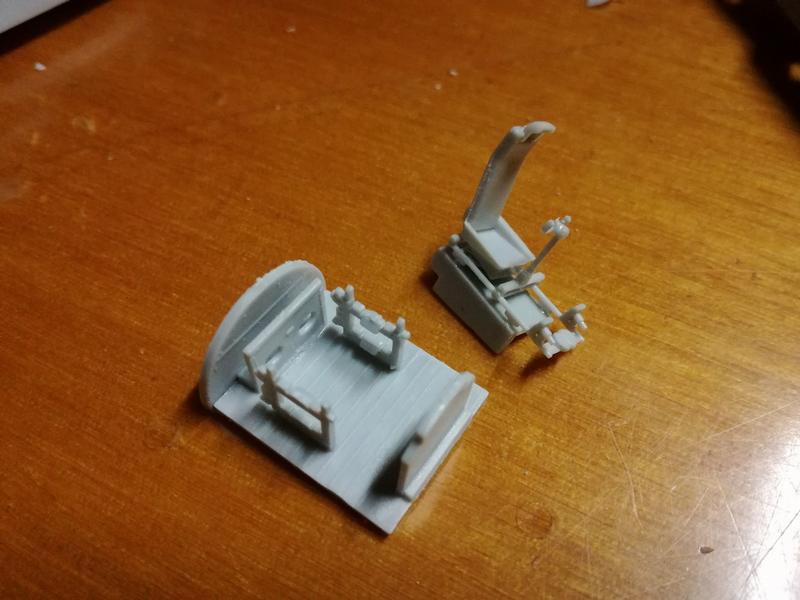
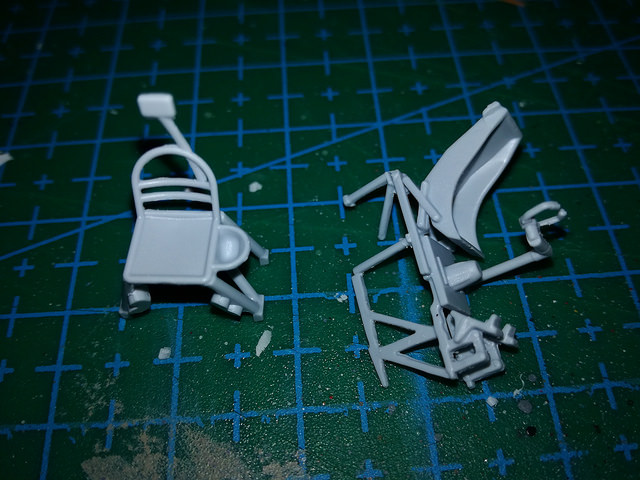
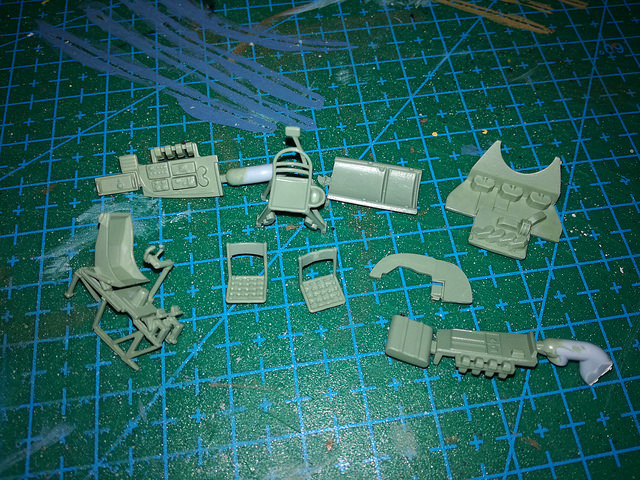
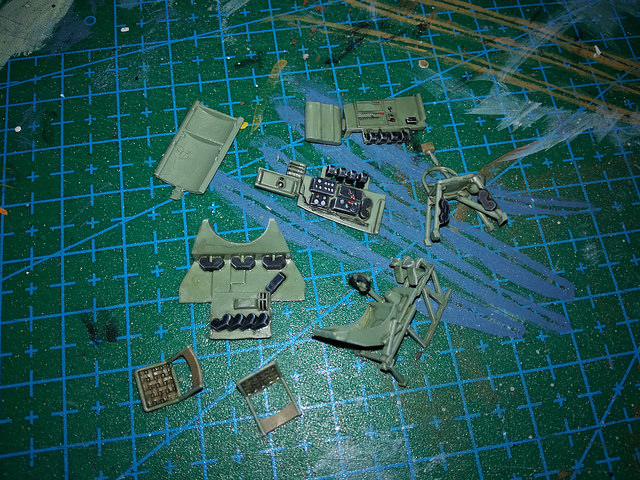
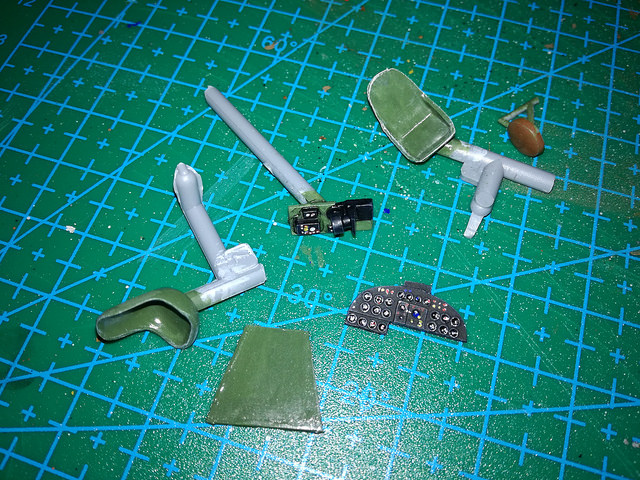
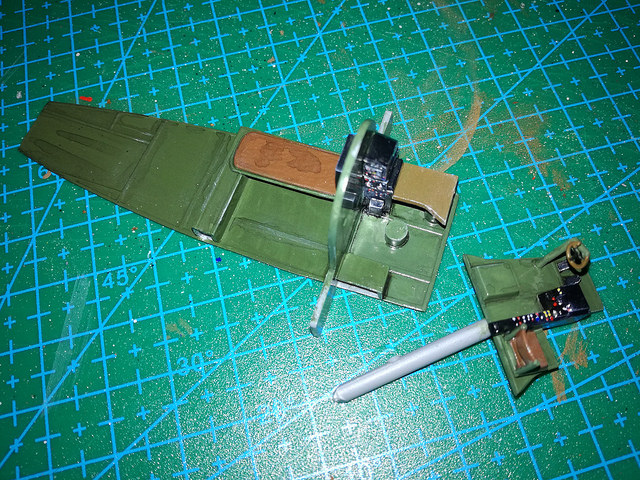
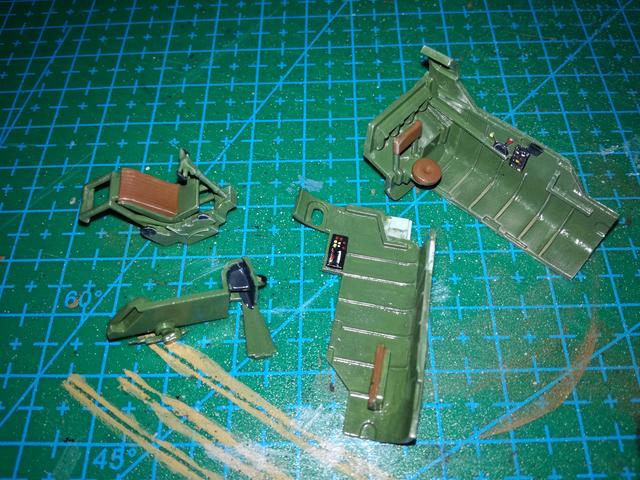
Inner subassemblies, heres only added rudder pedals and engines throttles with stretched sprue

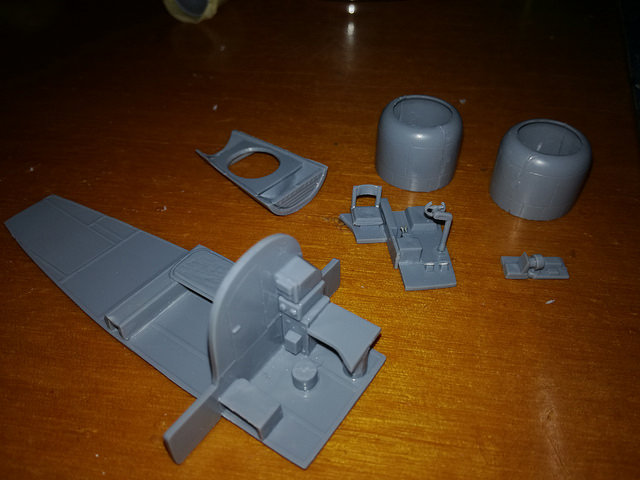
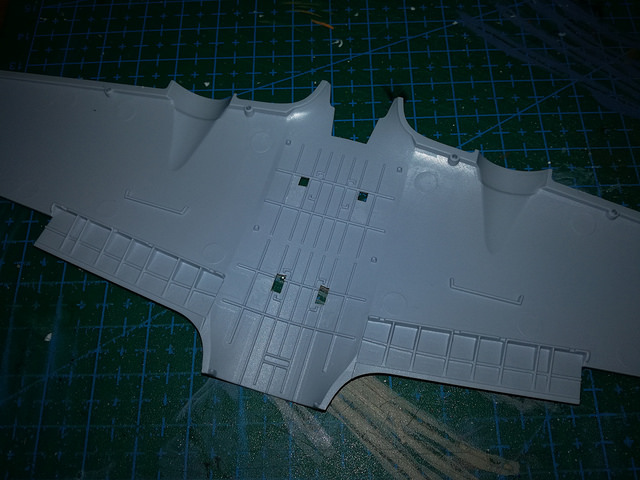
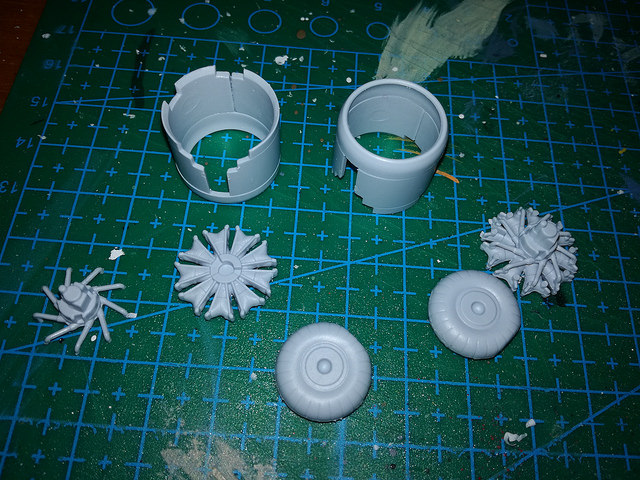
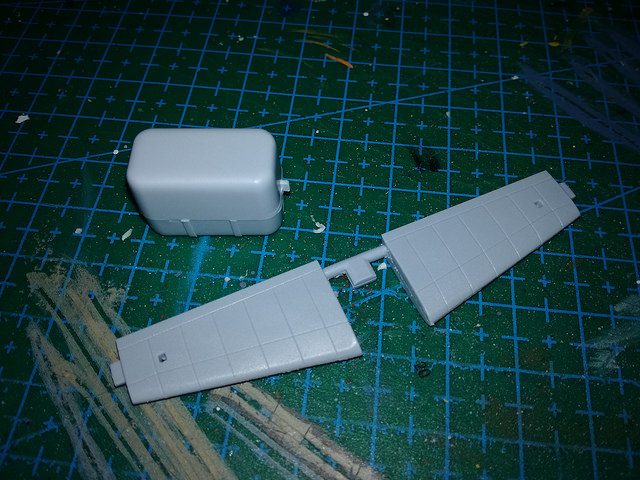
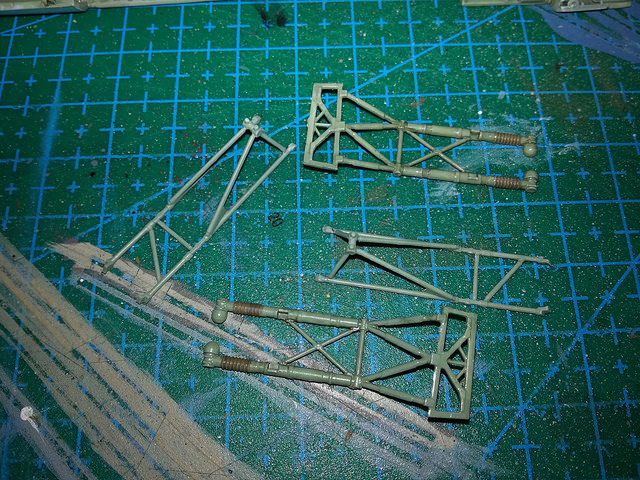
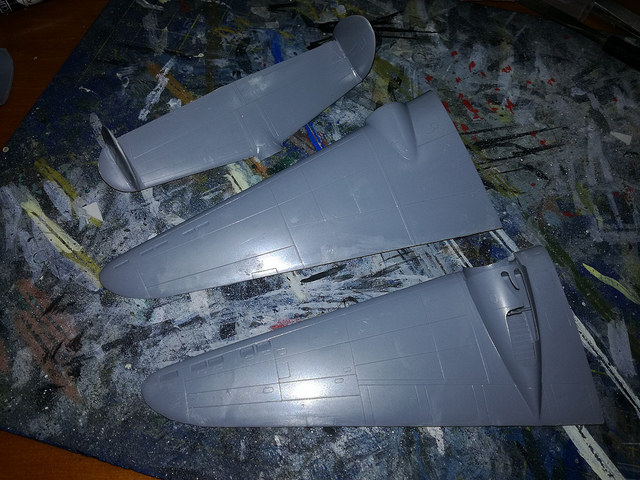
Wings tail pieces
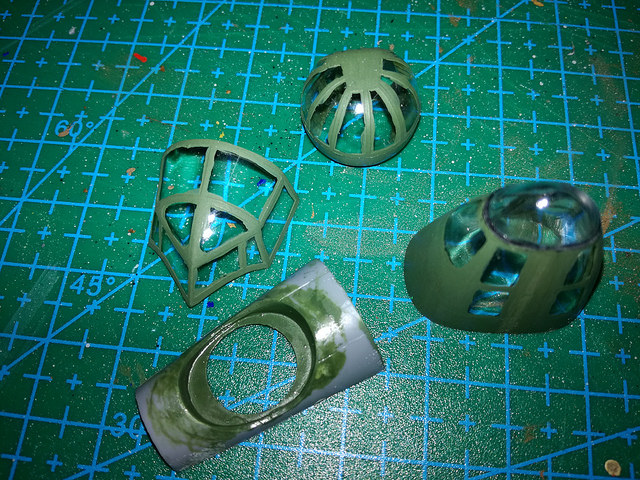
greened the clear parts , probably wrong green (acrilics.. all things goes better if i used my usual 78 humbrol interior green )
)
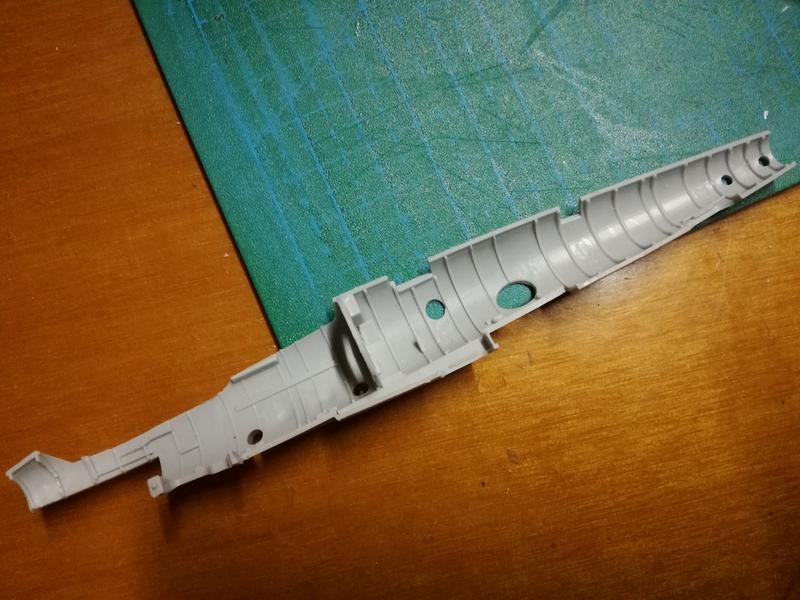
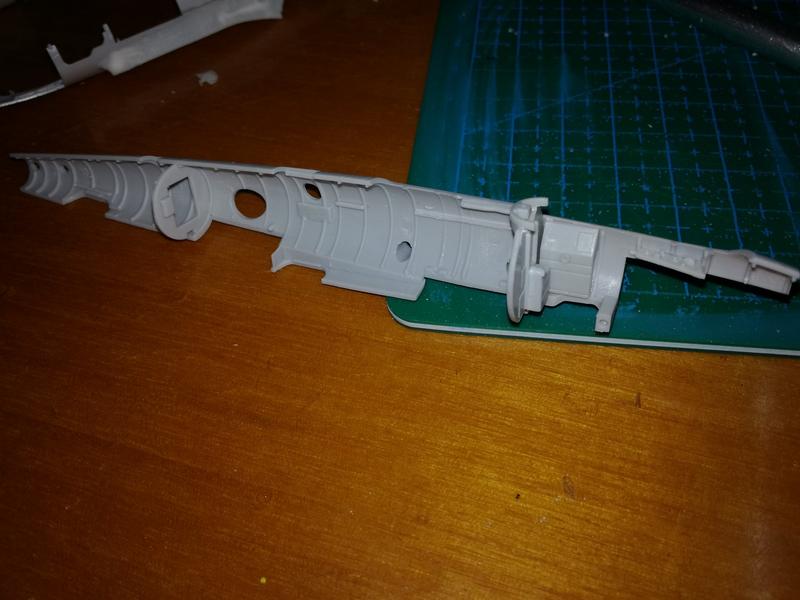
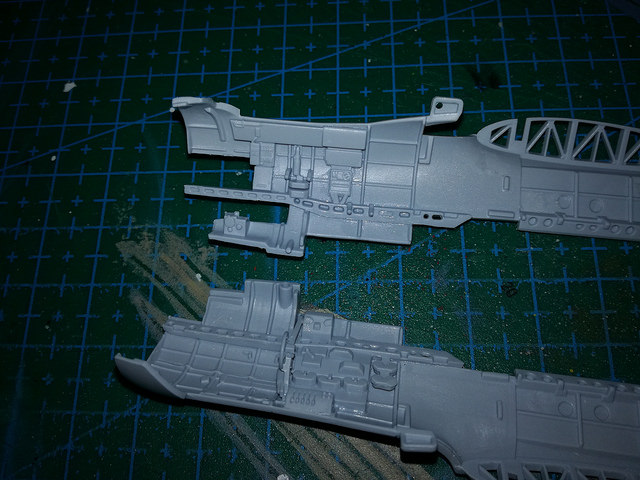
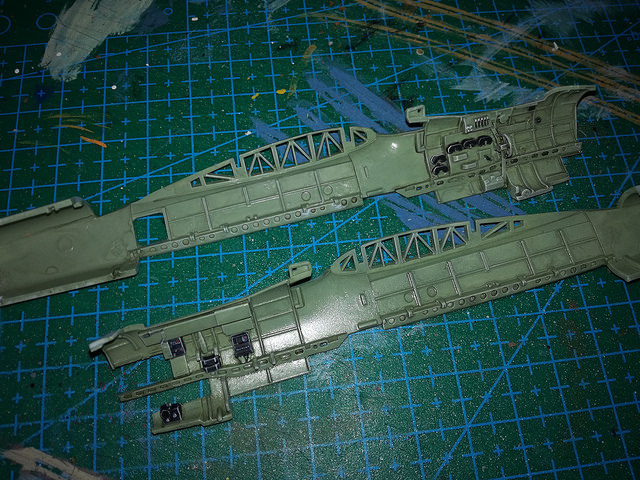
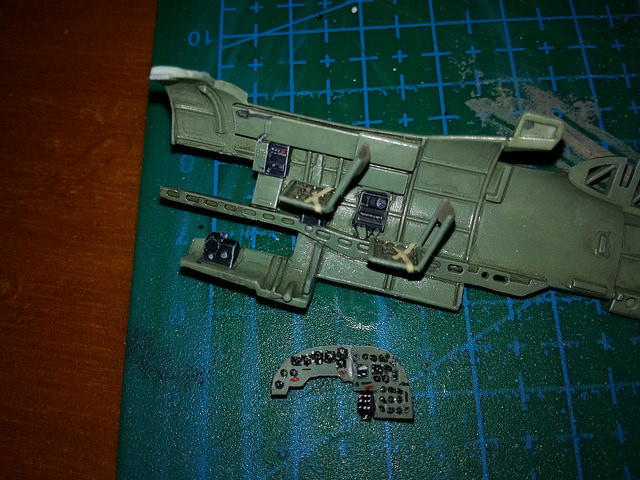
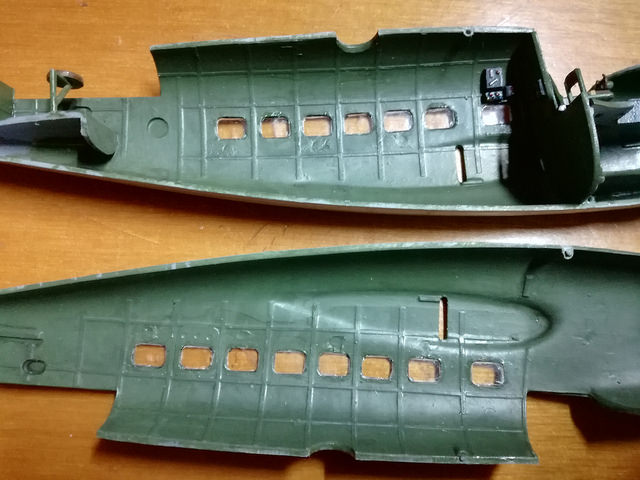
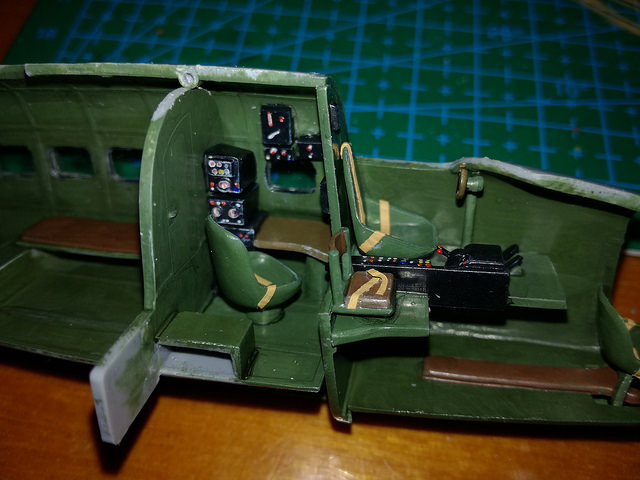
Inner fuselage pieces painted
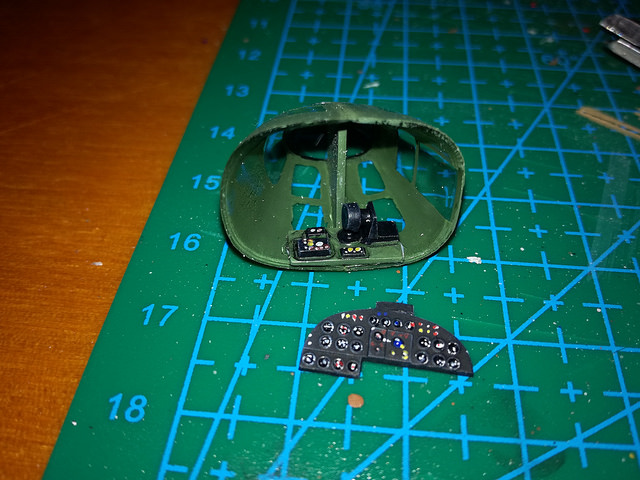

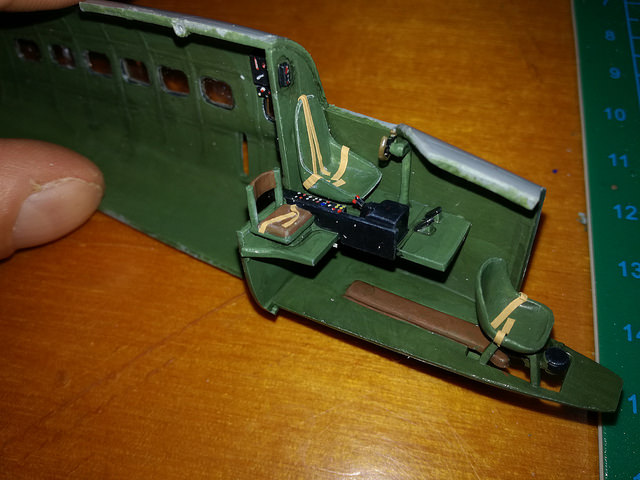
Belts added with masking tape strips
Windows on (this plane is not compatible with linux )
)
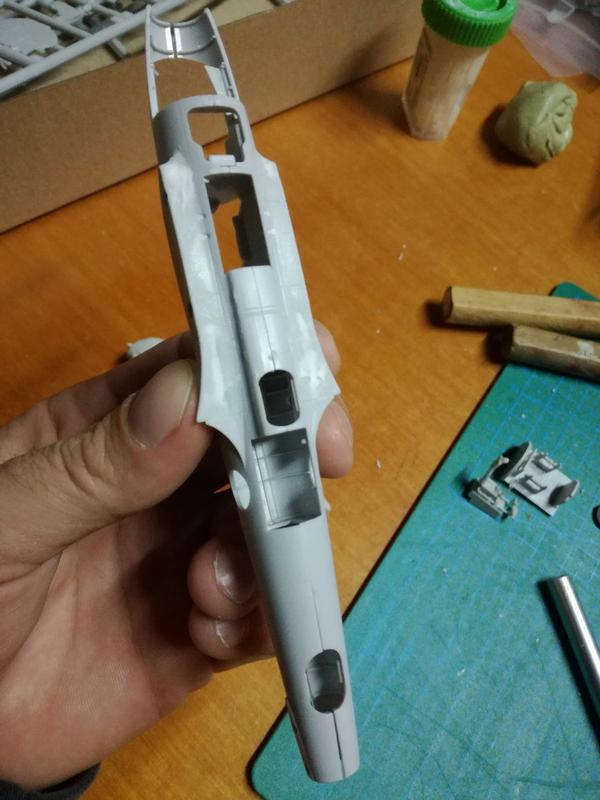
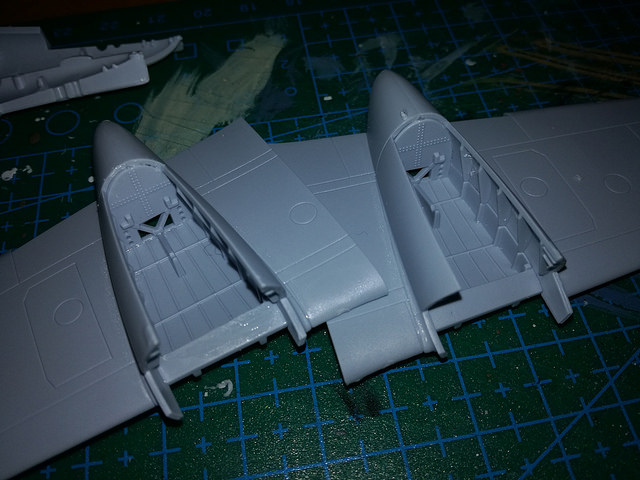
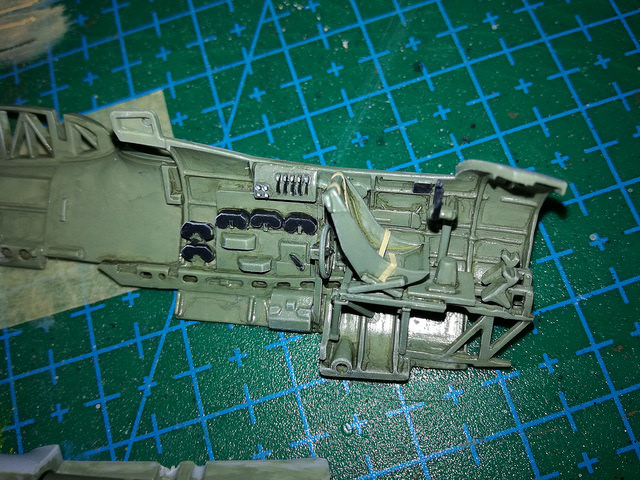
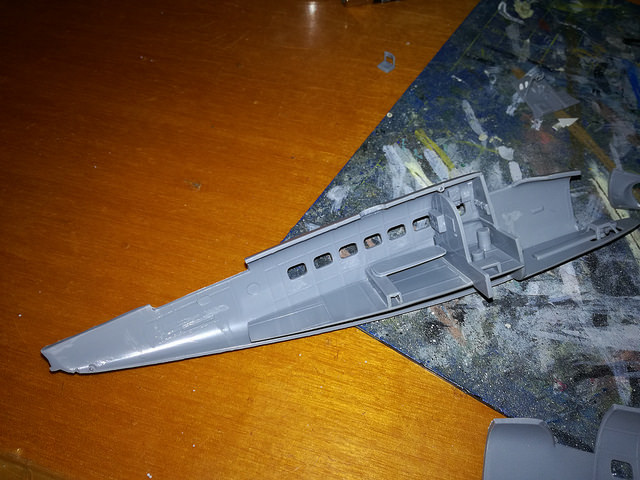
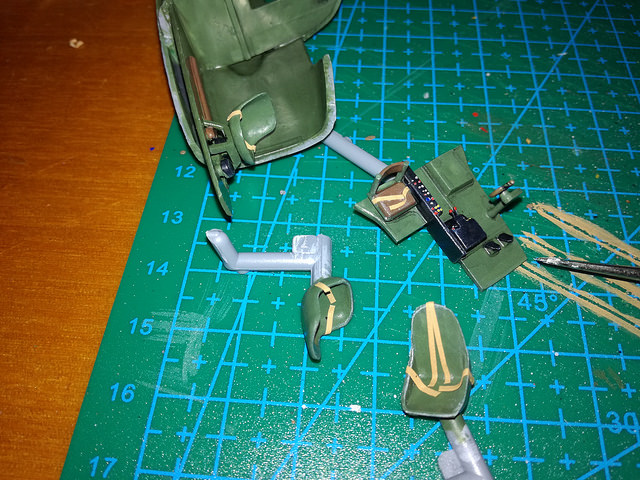
The various subassemblies in place
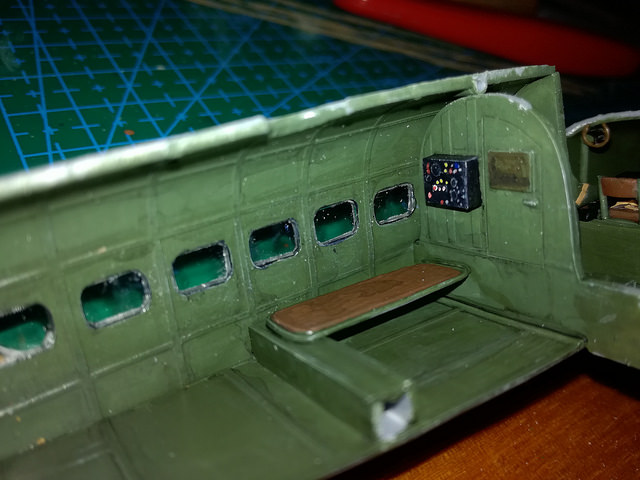
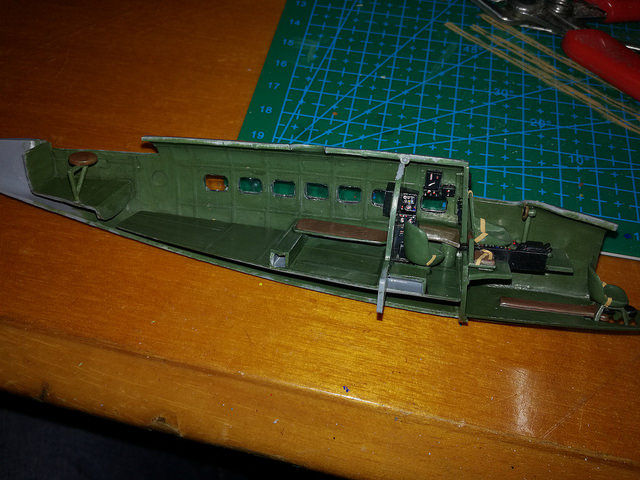
Color retouch to the floor
Not so easy to put on all pieces, it's a mpm not an hasegawa
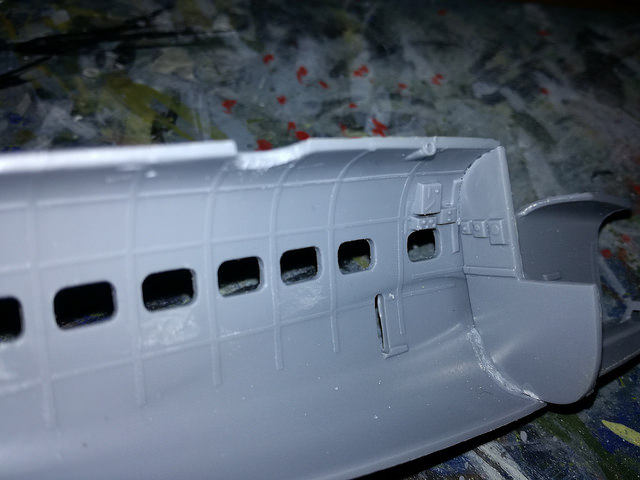
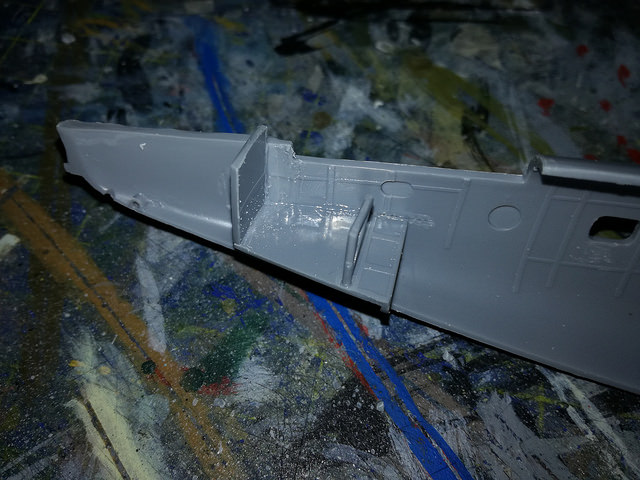
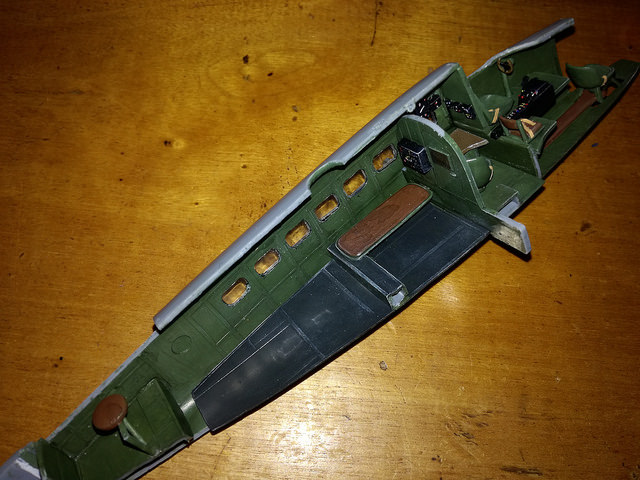
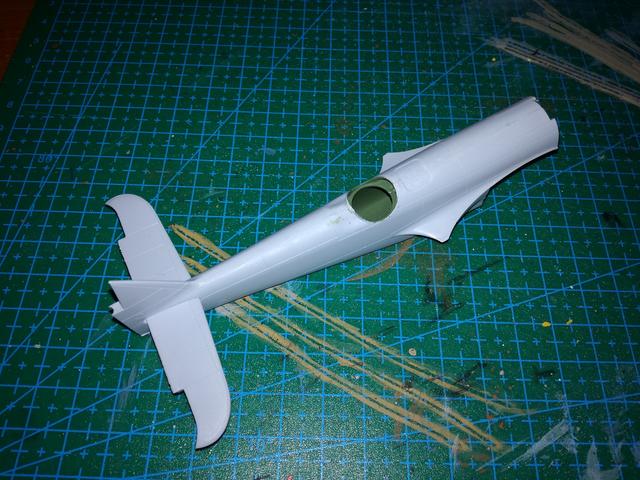
Fuselage glued , notice the white piece on the tail, he keep the right distance in the place to avoid gaps with the horizontal rudders
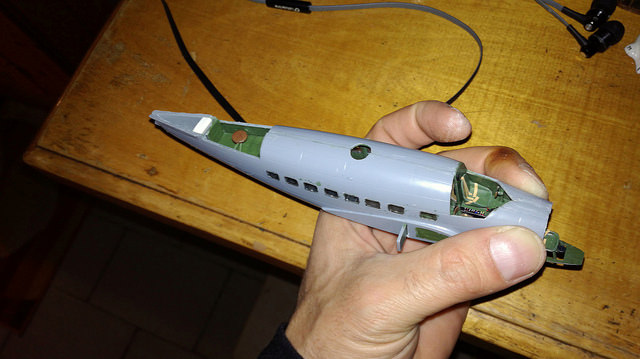
Tail and turret cover on

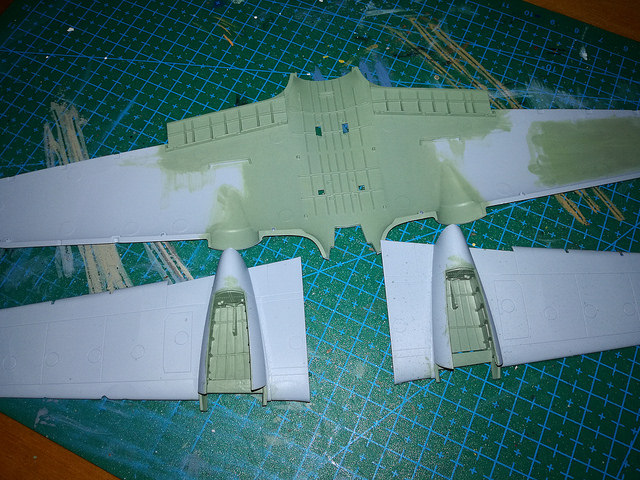
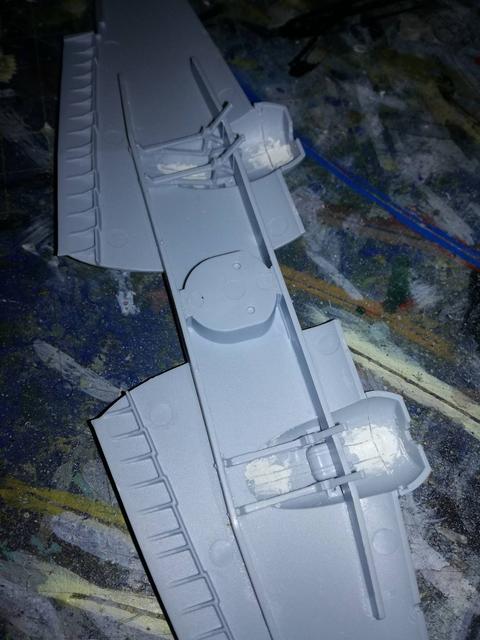
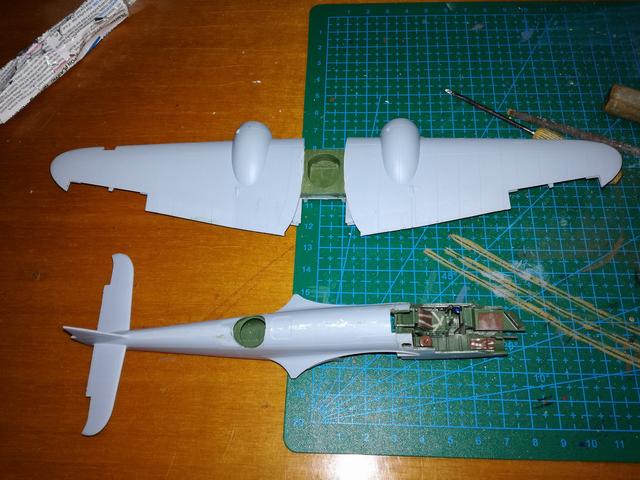
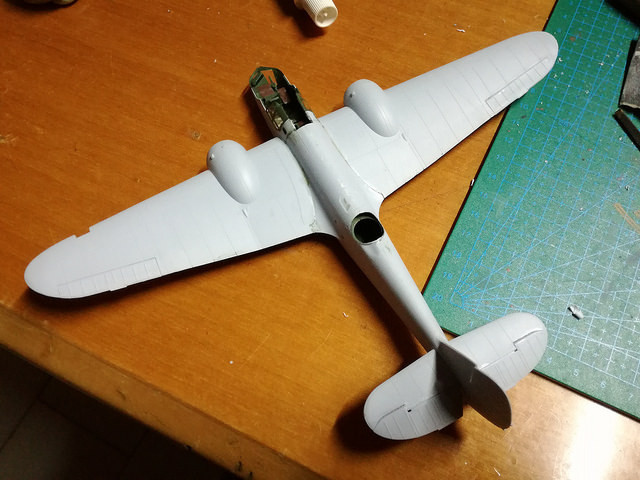
Wings in place. At this point i modified lots of times the wings angle and removed the kit spar that was more a problem than an help for the correct alignment of wings
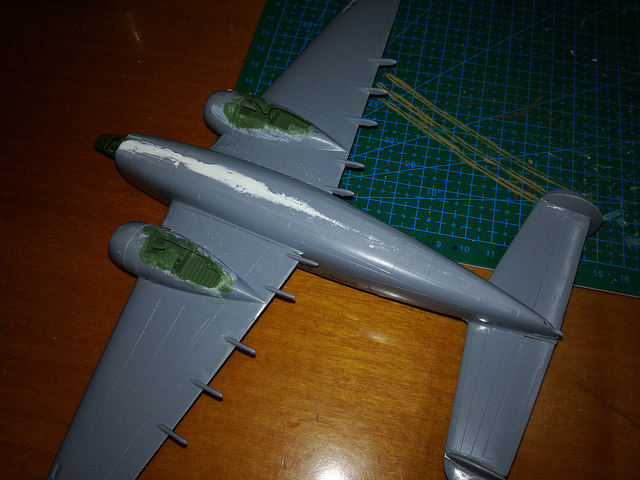
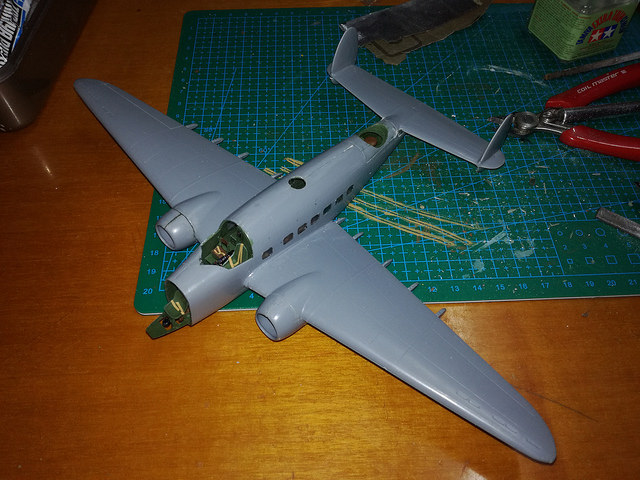
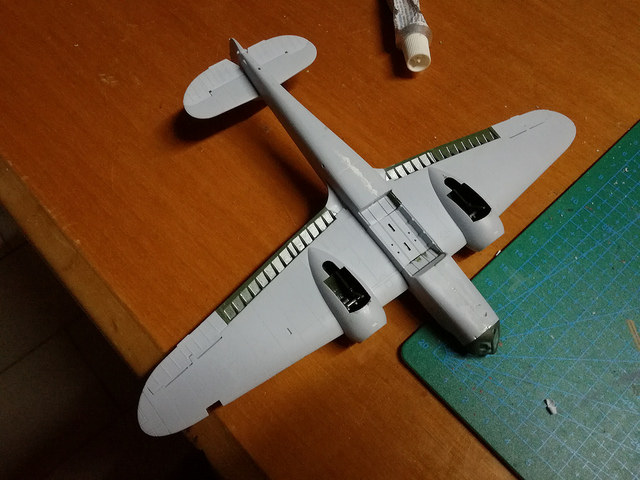
After long sessions of putty, sanding and rescribe of panel lines and actually in the humbrol paint section
Blenheim for second
I lost some wip picture, for a while i build the blenheim with same session of the hudson
Some subassemblies and putty where needed

Same inner paint used for the hudson
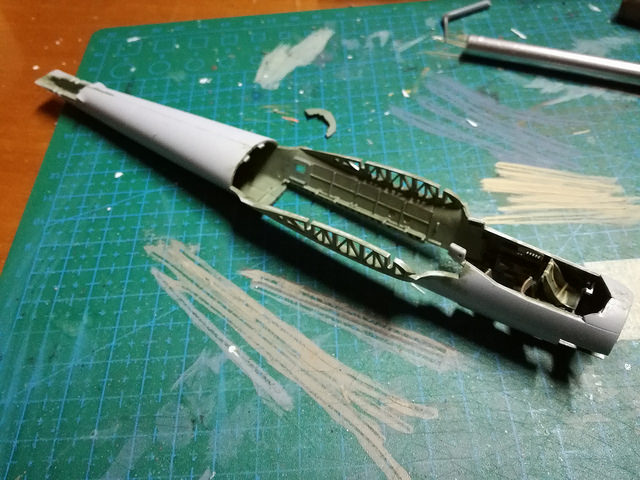
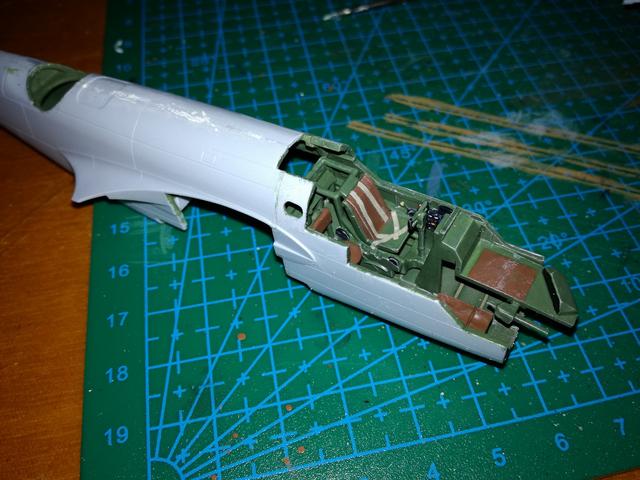
The cockpit in place

Fuselage and wings goes good between them
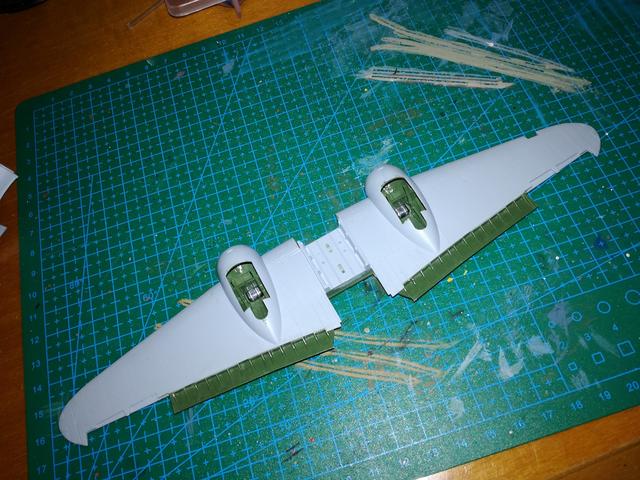
I tried to not follow instructions and glued the nose to the fuselage before fuselage and wings assembly as instructions said but no good idea was
At the end all goes toghether in some way (with a little help of stanley heavy cutter )
In the humbrol sector i decided to remove inner color from flaps housing and a first layer of sky humbrol 23 was done

That's all for now, at the next
Heres a single thread for some of them that have similar specifics
Withouth post all sprues here i add the gallery link for each subject
in order of start
Loocked Hudson Italeri, but MPM sprues inside
https://postimg.cc/gallery/2p3cidouk/
Bristol Blenheim VI airfix new tool (i'll do a normal daytime V version instead of night version of the box)
https://postimg.cc/gallery/mds4p98s/
Petlyakov Pe-2 205 UM model
https://postimg.cc/gallery/2q15jys98/
And the last, started fwe days ago
Dornier Do-17Z airfix new tool
https://postimg.cc/gallery/39hlabovg/
All the four kits have a good or excellent level of details, so they will basically OOB
First the Hudson works:
Inner subassemblies, heres only added rudder pedals and engines throttles with stretched sprue
Wings tail pieces
greened the clear parts , probably wrong green (acrilics.. all things goes better if i used my usual 78 humbrol interior green
Inner fuselage pieces painted
Belts added with masking tape strips
Windows on (this plane is not compatible with linux
The various subassemblies in place
Color retouch to the floor
Not so easy to put on all pieces, it's a mpm not an hasegawa
Fuselage glued , notice the white piece on the tail, he keep the right distance in the place to avoid gaps with the horizontal rudders
Tail and turret cover on
Wings in place. At this point i modified lots of times the wings angle and removed the kit spar that was more a problem than an help for the correct alignment of wings
After long sessions of putty, sanding and rescribe of panel lines and actually in the humbrol paint section
Blenheim for second
I lost some wip picture, for a while i build the blenheim with same session of the hudson
Some subassemblies and putty where needed
Same inner paint used for the hudson
The cockpit in place
Fuselage and wings goes good between them
I tried to not follow instructions and glued the nose to the fuselage before fuselage and wings assembly as instructions said but no good idea was
At the end all goes toghether in some way (with a little help of stanley heavy cutter )
In the humbrol sector i decided to remove inner color from flaps housing and a first layer of sky humbrol 23 was done
That's all for now, at the next