The Meng/Dspiae station came with a stick-on rubber pad to keep it from sliding around. Before the station, I used a small post-it as a glue depository.
I was able to do a little bit of work on the Ta152H. While playing around with the wings, I noticed the ceiling of the wheel wells featured this rivet detail.
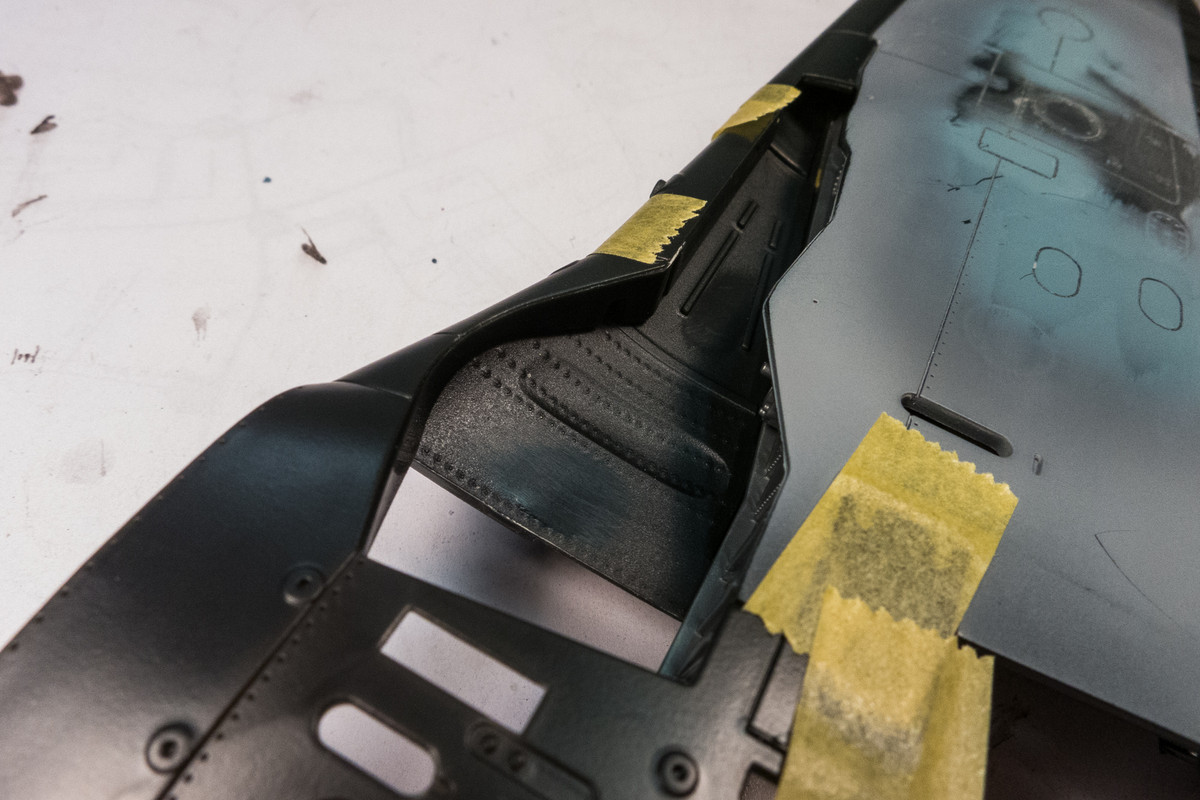
The detail is soft and vague so I thought I'd give this product a shot...
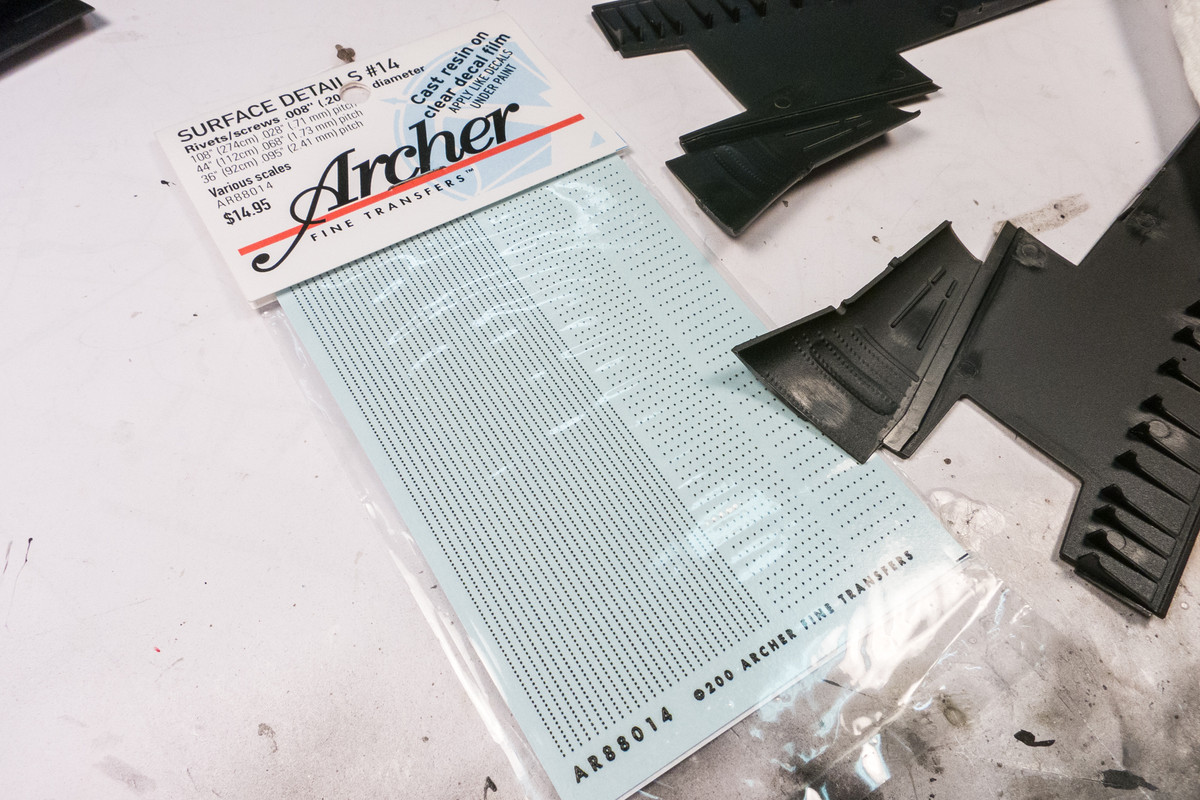
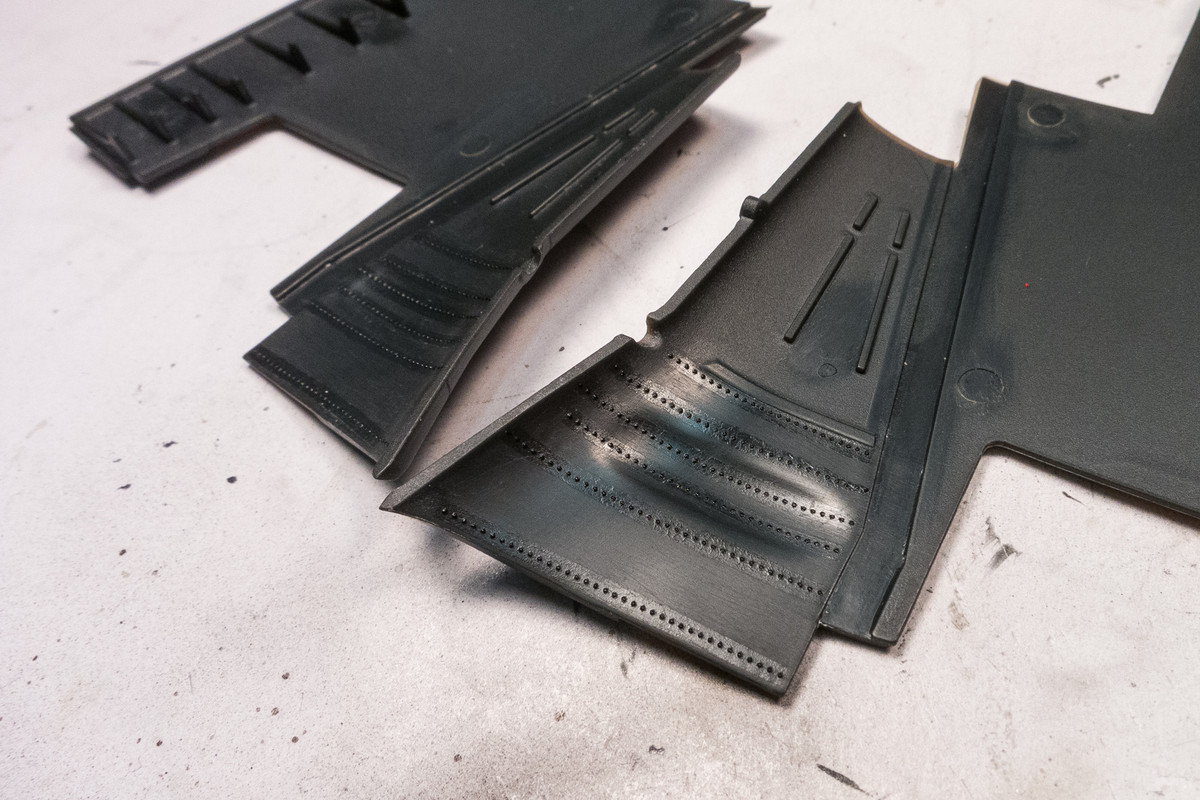
They are applied like decals but instead of flat markings, they are tiny resin bumps. First, the raised detail in the wheel wells is removed.
The Archer's rivets are applied in custom cut strips. I used Microsol to bond the thin carrier film to the plastic.
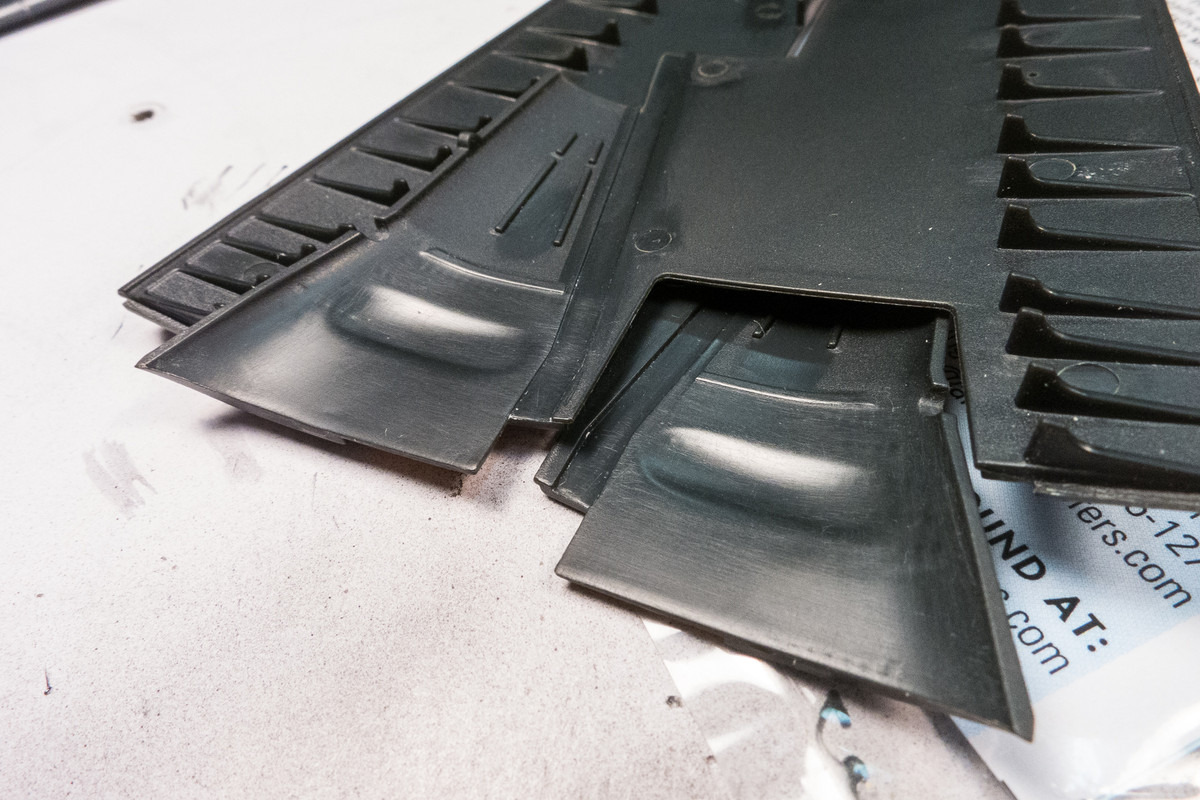
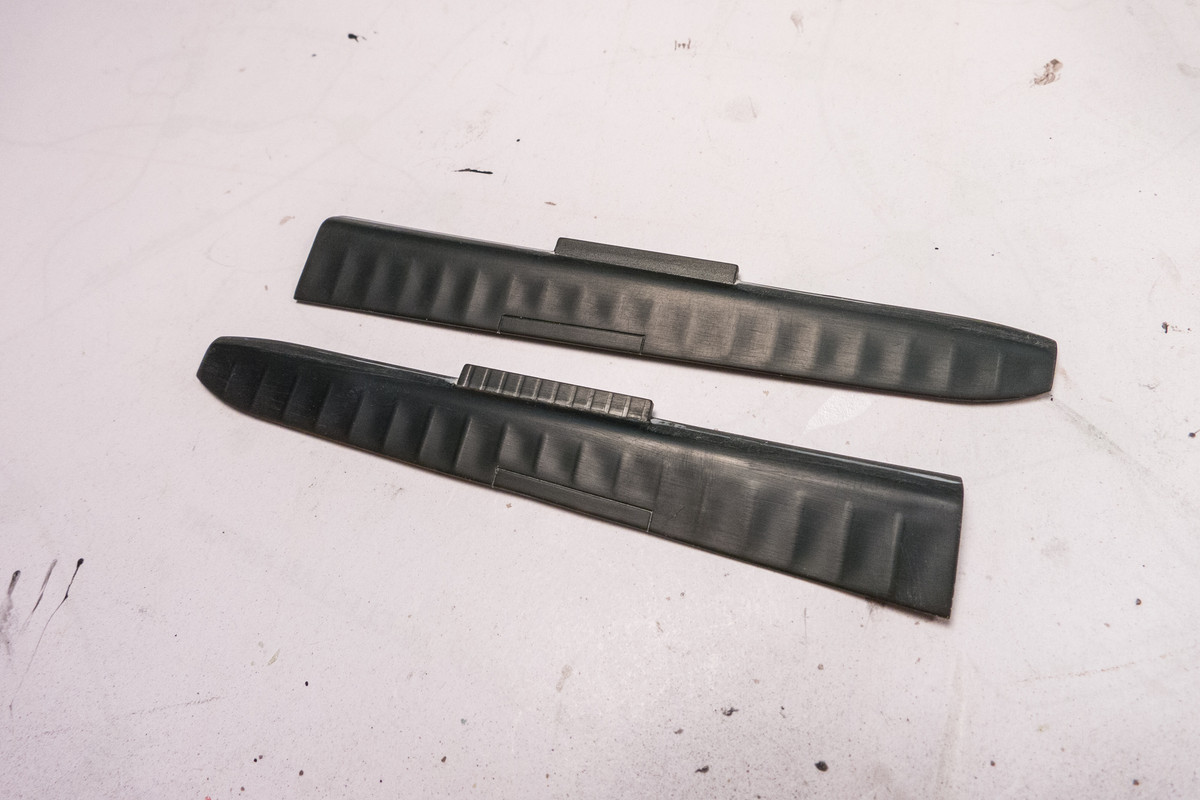
The ailerons have the opposite problem. Raised detail that's a little too defined and sharp.
I've toned down the ribs by sanding.
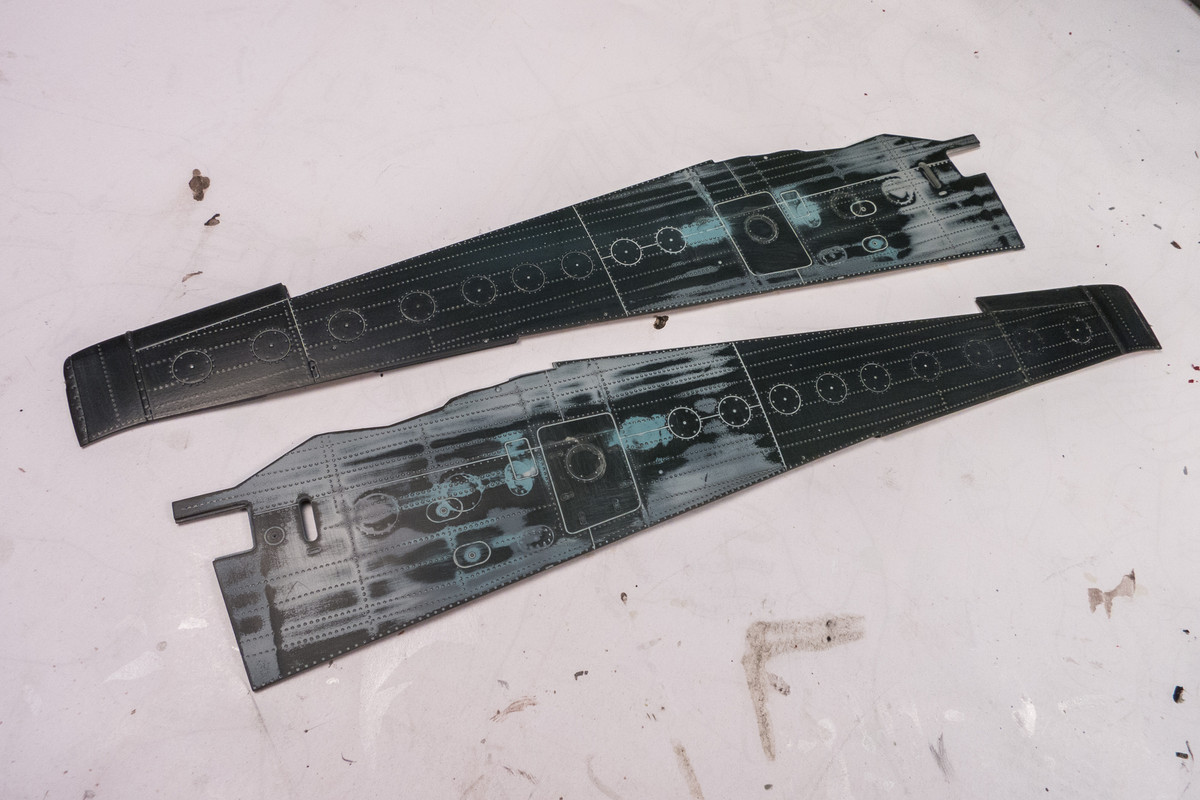
I've glued the frontal insert piece into the wing uppers so that I can address the seams and riveting before glued the wing halves together.
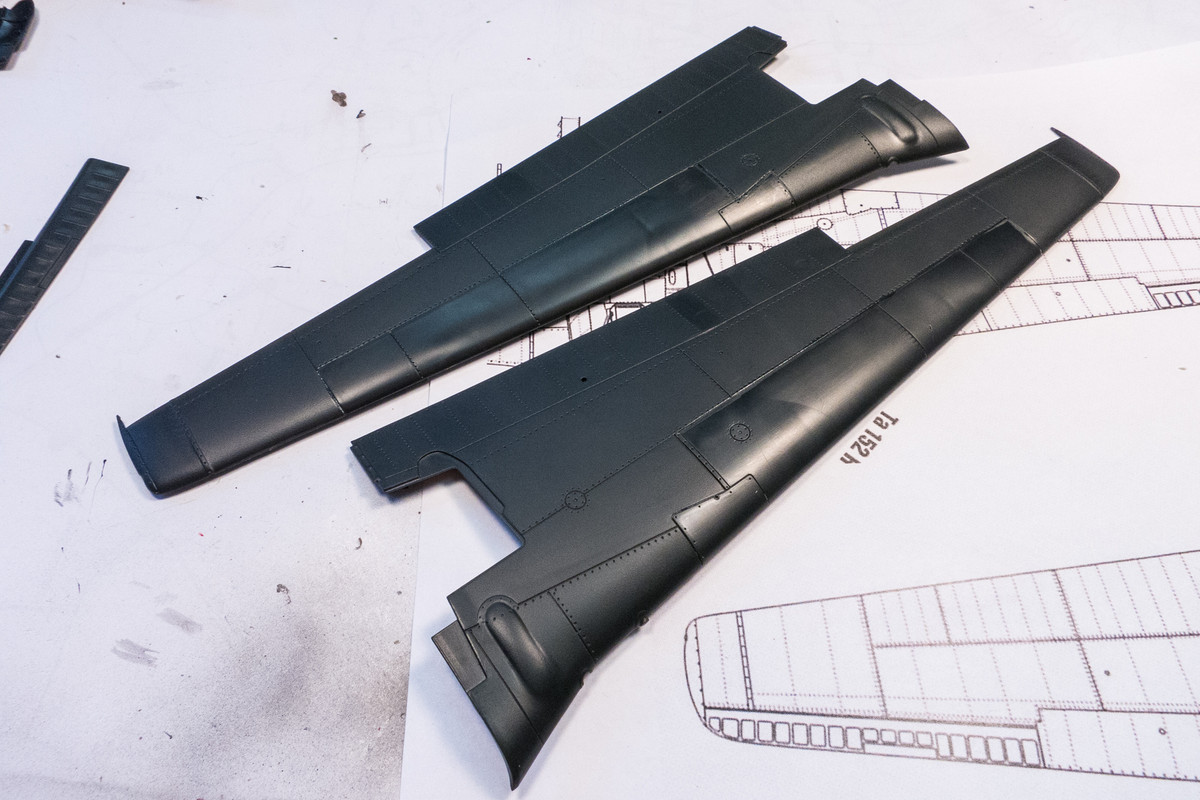
Finally, I've completed the riveting on the wing bottoms.
1/32 Zoukei-Mura Ta152H-0 White 7
Re: 1/32 Zoukei-Mura Ta152H-1 White 7
John aka JKim
-----------<><
-----------<><
- mustang1989
- Moderator
- Posts: 4903
- Joined: Tue Mar 18, 2014 8:35 pm
Re: 1/32 Zoukei-Mura Ta152H-1 White 7
I've got a Zoukei Mura Ta152 ( but mines a 1/48 version) and have always thought a lot of ZM's kits. At first I didn't think they needed a whole lot of work but you're showing otherwise. Looks like there a few improvements that do need to be done to these kits. In any case this is coming along well.
- speedgraflex
- Moderator
- Posts: 9758
- Joined: Fri Feb 10, 2017 11:08 pm
- Location: Santa Monica, California
Re: 1/32 Zoukei-Mura Ta152H-1 White 7
Archer transfers are cool! Great usage here! Thank you for the last photo in the series. That is beautiful detailing work. Fabuloso!
Bruce / SPEEDGRAFLEX
Re: 1/32 Zoukei-Mura Ta152H-1 White 7
I'm running into the problem of having all of the sanding dust plugging up my rivet holes. I'll probably have to run the rivet tool over much of the aircraft during the painting stage. Whatta pain!
John aka JKim
-----------<><
-----------<><
- Medicman71
- Elite Member
- Posts: 9729
- Joined: Mon Apr 07, 2014 9:32 am
- Location: Houston, Tx
Re: 1/32 Zoukei-Mura Ta152H-1 White 7
I've thought about getting the Archer's Rivets. Just haven't come across a built where I needed them.
Mike
Sponsored by Boeing, Lockheed Martin, Northrop Grumman, Saab, BAE, and Dassault
- Stikpusher
- Moderator
- Posts: 18880
- Joined: Sat Apr 05, 2014 8:37 pm
- Location: Ceti Alpha 5
Re: 1/32 Zoukei-Mura Ta152H-1 White 7
Anything built by Douglas or Grumman before 1945...
"Surely I have made my meaning plain? I intend to avenge myself upon you, Admiral. I have deprived your ship of power, and when I swing 'round, I intend to deprive you of your life."
FLSM
FLSM
- speedgraflex
- Moderator
- Posts: 9758
- Joined: Fri Feb 10, 2017 11:08 pm
- Location: Santa Monica, California
Re: 1/32 Zoukei-Mura Ta152H-1 White 7
Too funny, Carlos! Lol. Yes. Rivets!
John, have you tried compressed air to clean away dust, perhaps?
Bruce / SPEEDGRAFLEX
- Handiabled
- Master Member
- Posts: 600
- Joined: Sat Mar 15, 2014 7:13 am
Re: 1/32 Zoukei-Mura Ta152H-1 White 7
I have used the Archer Piano Hinge set in the past on a 1/32 RF 4C, and they add are worth every penny. The slightly raised detail gives the surface a dimension that isn't achievable with recessed detail. This is looking wonderful so far! I applaud your extra efforts!
Re: 1/32 Zoukei-Mura Ta152H-1 White 7
Those rivet decals look very useful and your lower wing riveting looks great!
Stuart Templeton 'I may not be good but I'm slow...'
My blog: https://stuartsscalemodels.blogspot.com/
Re: 1/32 Zoukei-Mura Ta152H-1 White 7
Thanks guys! From rivets to brass... first attempt at tackling the photoetch flaps.
This set is sold by Zoukei-Mura but is obviously an Eduard product. No English on the instructions but we shouldn't need them right?
Gonna start with the upper flaps because these look much simpler to fold than the lower, movable flaps.
I used the Small Shop hold and fold to fold up the two end wall sections.
I then folded the middle section up "manually" using tweezers.
The end with the delicately attached spars is then folded up 90 degrees.
Before folding this section completely down, the spars are carefully rotated 90 degrees so that they are perpendicular to the flap surfaces.
When folded down completely, the spars can now be secured into place with glue. Looks good right?
I wish it stayed that way. After securing the majority of the spars down by running thin CA glue along the joints. I went back and used debonder to clean up the glue residue from the spars that didn't get secured properly. The debonder seems to work not just on contact but on proximity to fumes and seemed to weaken the bonds of the other spars because they kept popping up. Glue one down... another one would pop up. It turned into an arcade game session...
After re-gluing all of the spars down at least once and breaking two off in the process, half of them are still not glued down. Maybe my batch of CA glue has gone bad? Before I did something I would regret, I pushed myself away from the work station and called it a night.
John aka JKim
-----------<><
-----------<><