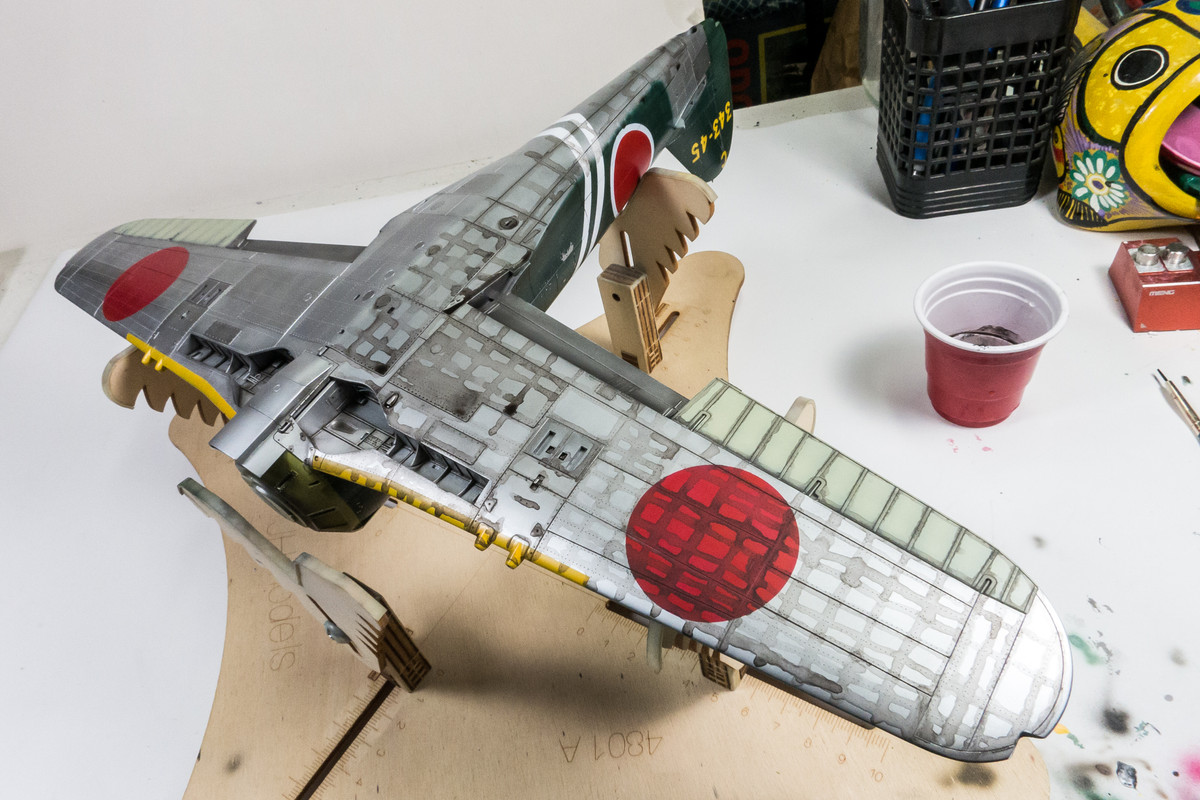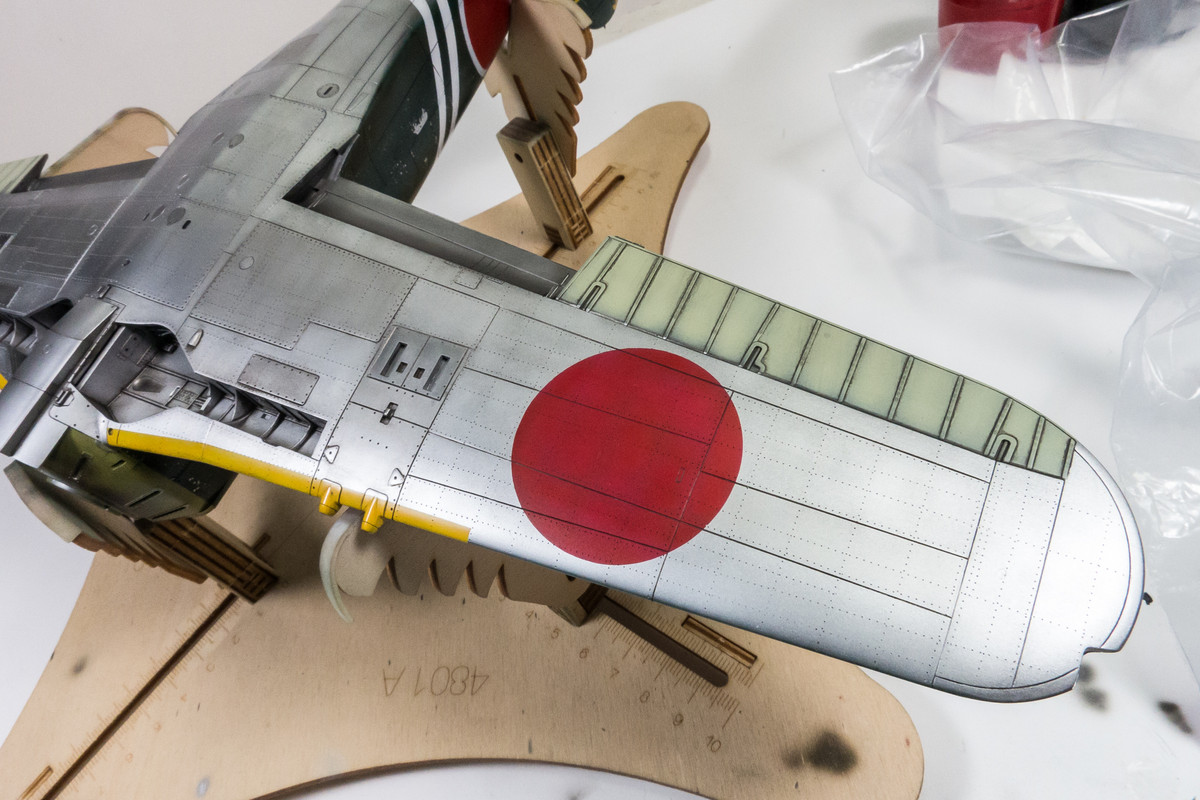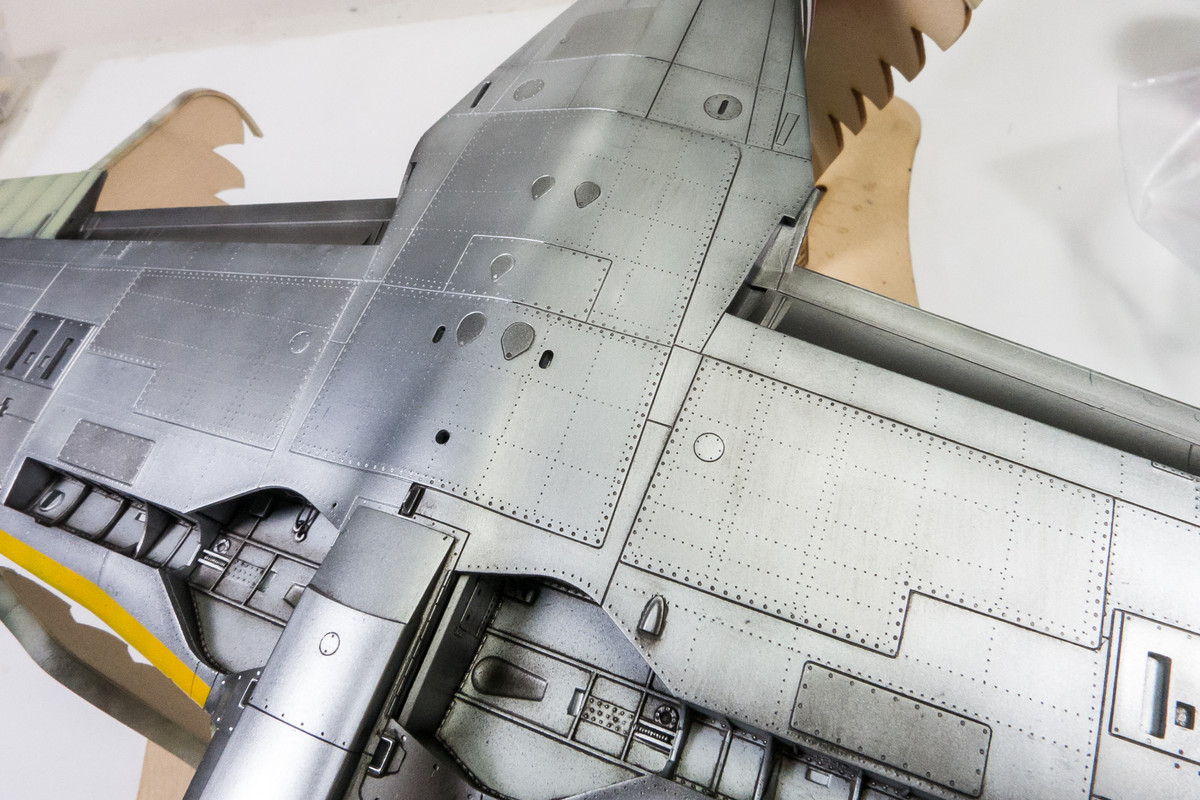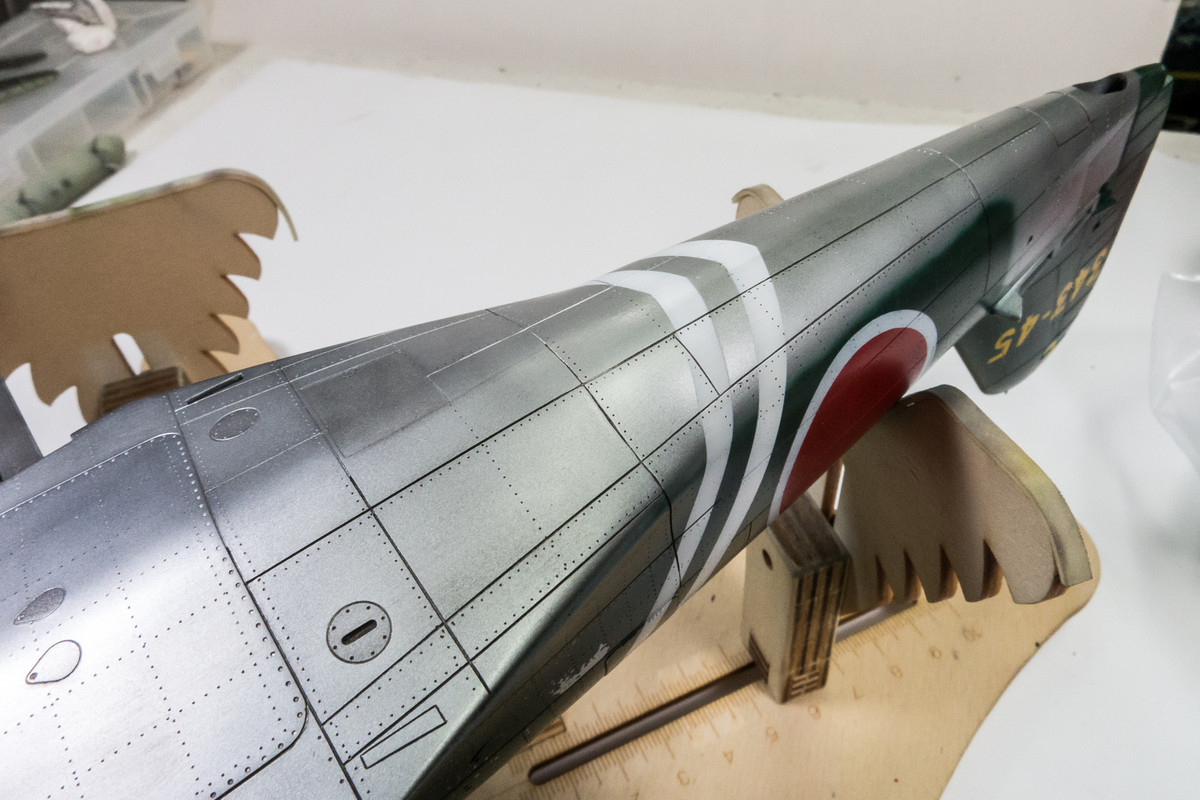
1/32 Hasegawa N1K2-J Shiden Kai

Post your work in progress of your aircraft builds in here.
User avatar
jkim
Elite Member
Posts: 3947
Joined: Mon Apr 10, 2017 4:03 pm

Re: 1/32 Hasegawa N1K2-J Shiden Kai

Post by jkim »

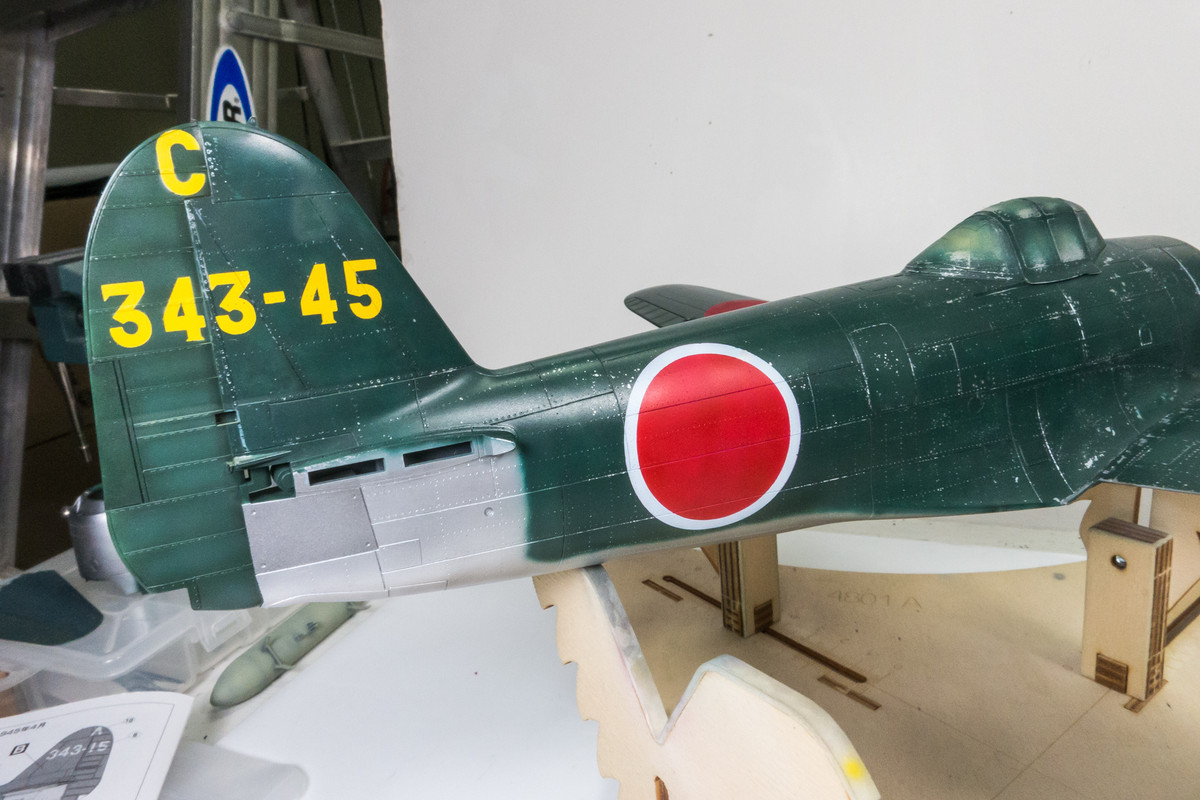
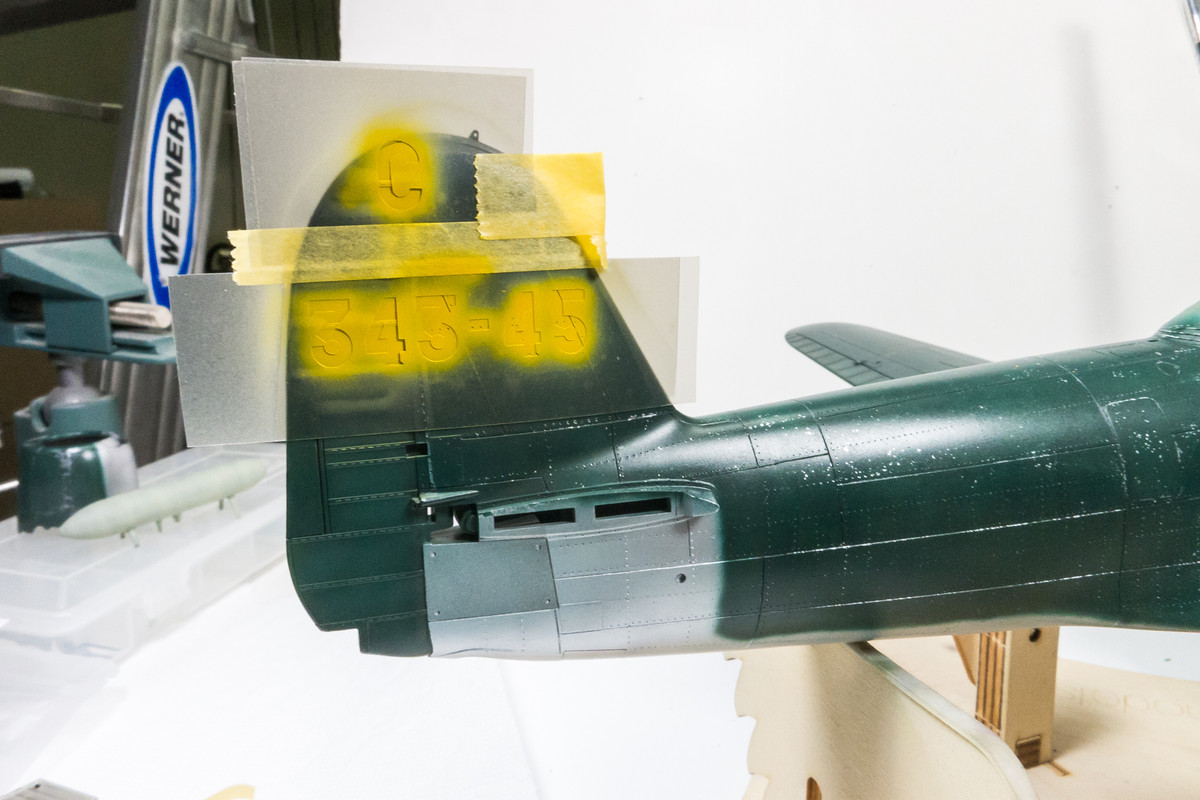
Thanks guys! After letting the green paint sit a full day after the chipping exercise AND with a clear coat over it as an insurance policy, it is time to do rest of the mask markings. First I tackled the yellow tail codes. I used a coat of white to serve as a base for the yellow which was Tamiya Yellow plus a dab of Tamiya Red.
Image

I got a little bit of paint lifting on the starboard side but nothing too alarming.
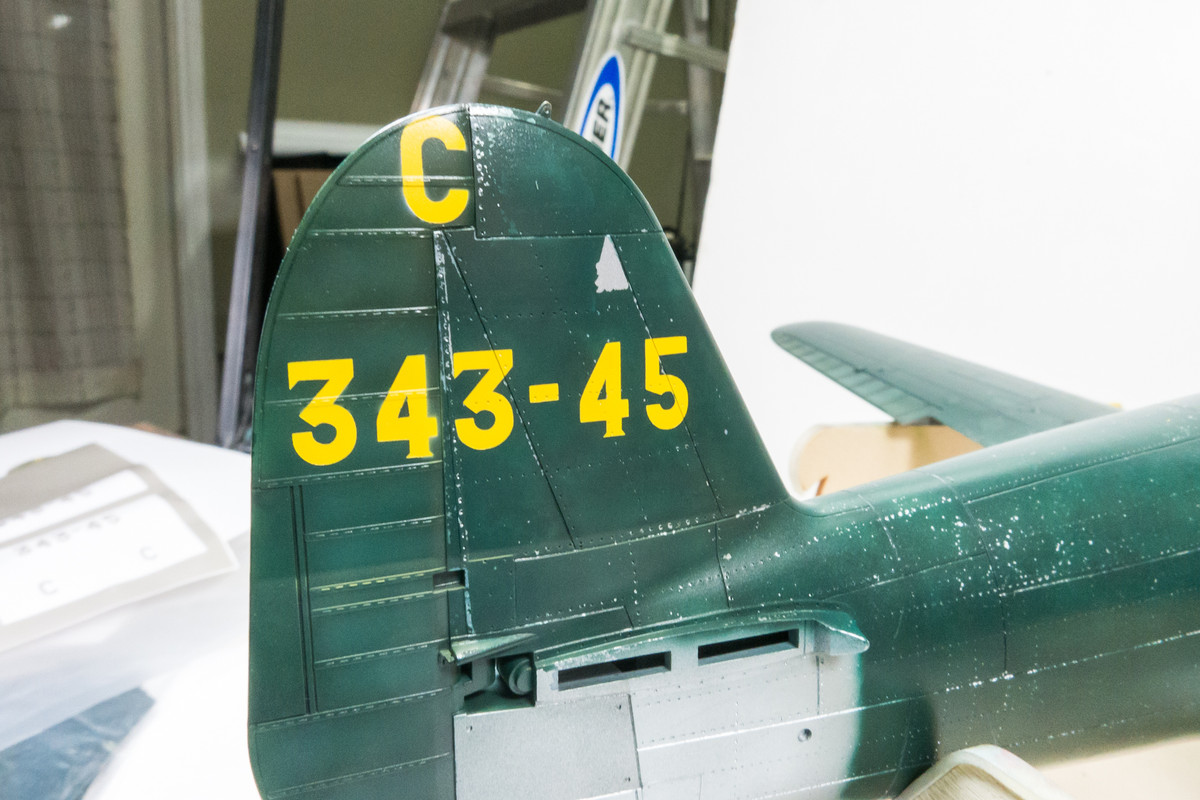
Image

No lifting on the port side!
Image

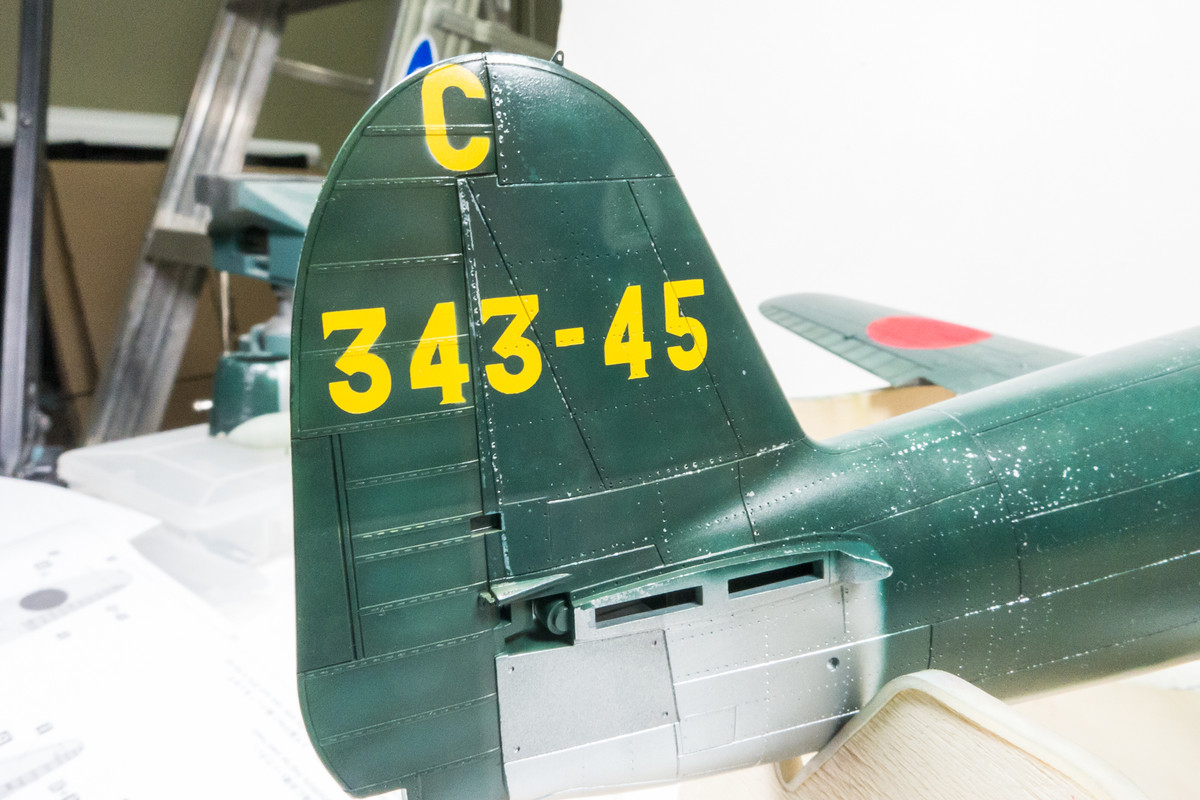
There was a bit of overspray since the raised details on the rudder prevented the masks from sitting flush in certain areas. The starboard side "4" was the worst offender and since I had to fix the paint lift, I used the positive "4" mask to fix both areas. The chip fix area stands out right now because it is flat but should disappear once a clear coat is applied.
Image

The upper wing hinomarus are next. They are done just like the bottom.
Image
Image
Image

No paint lifting on either side... what a relief!
Image
Image

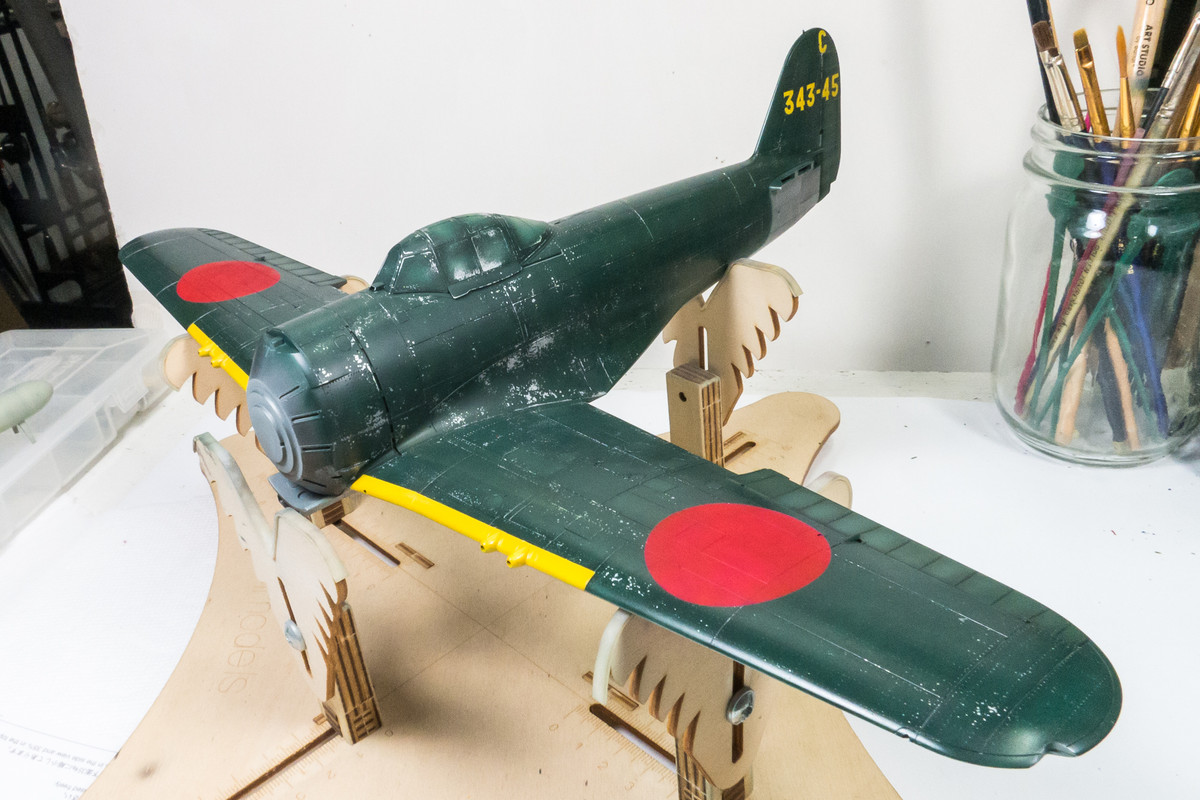
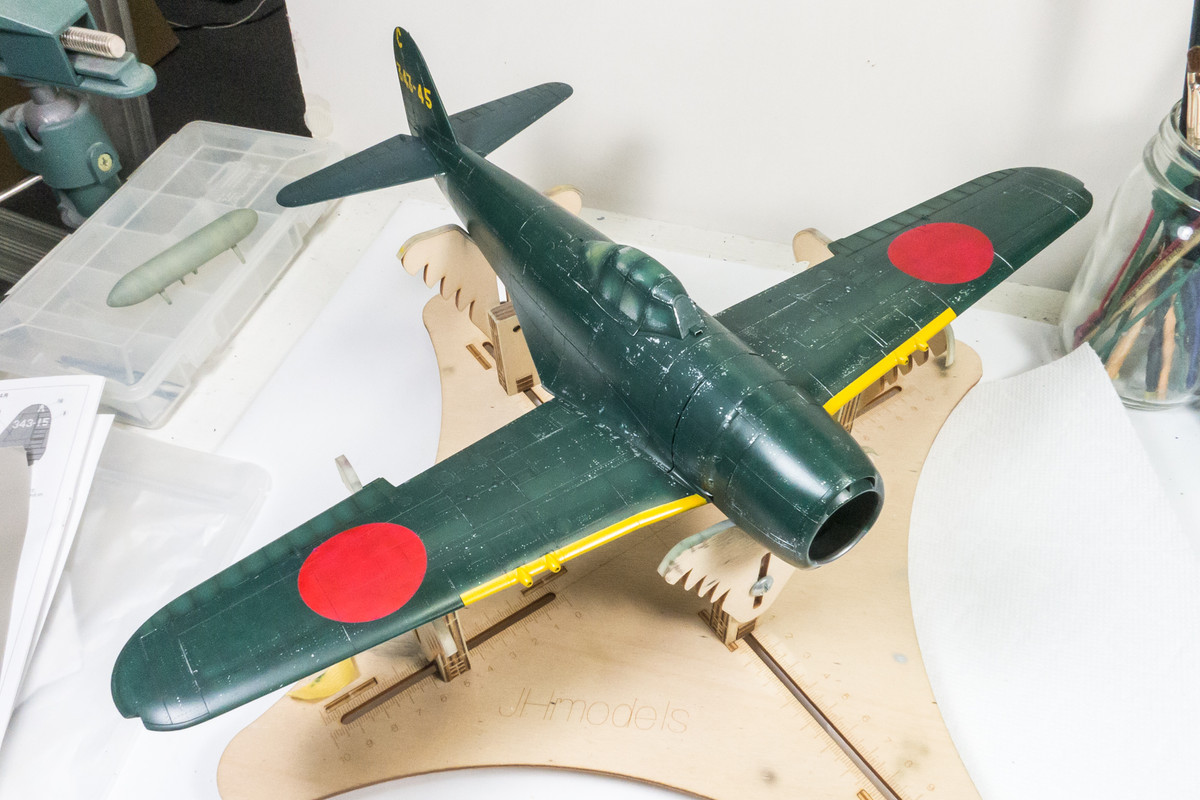
With the cowling and stabilizers attached, it is starting to look like a Shiden Kai.
Image
Image
Image

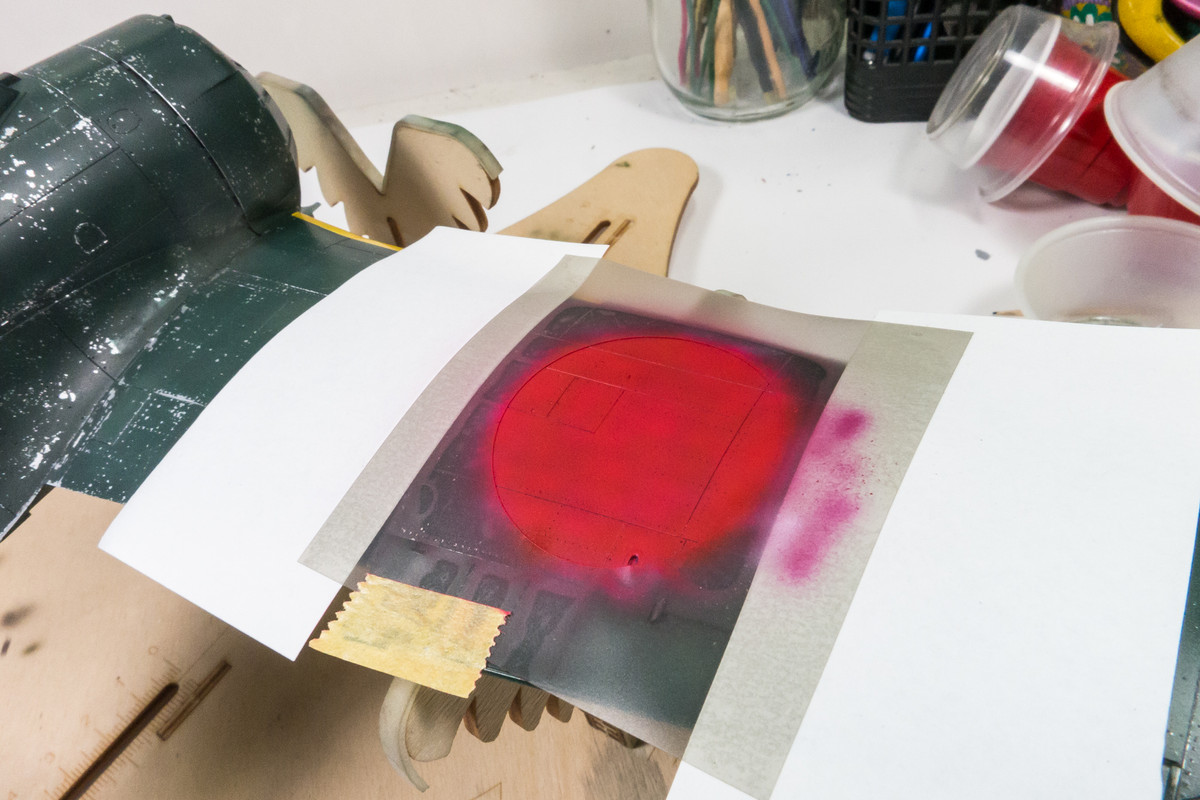
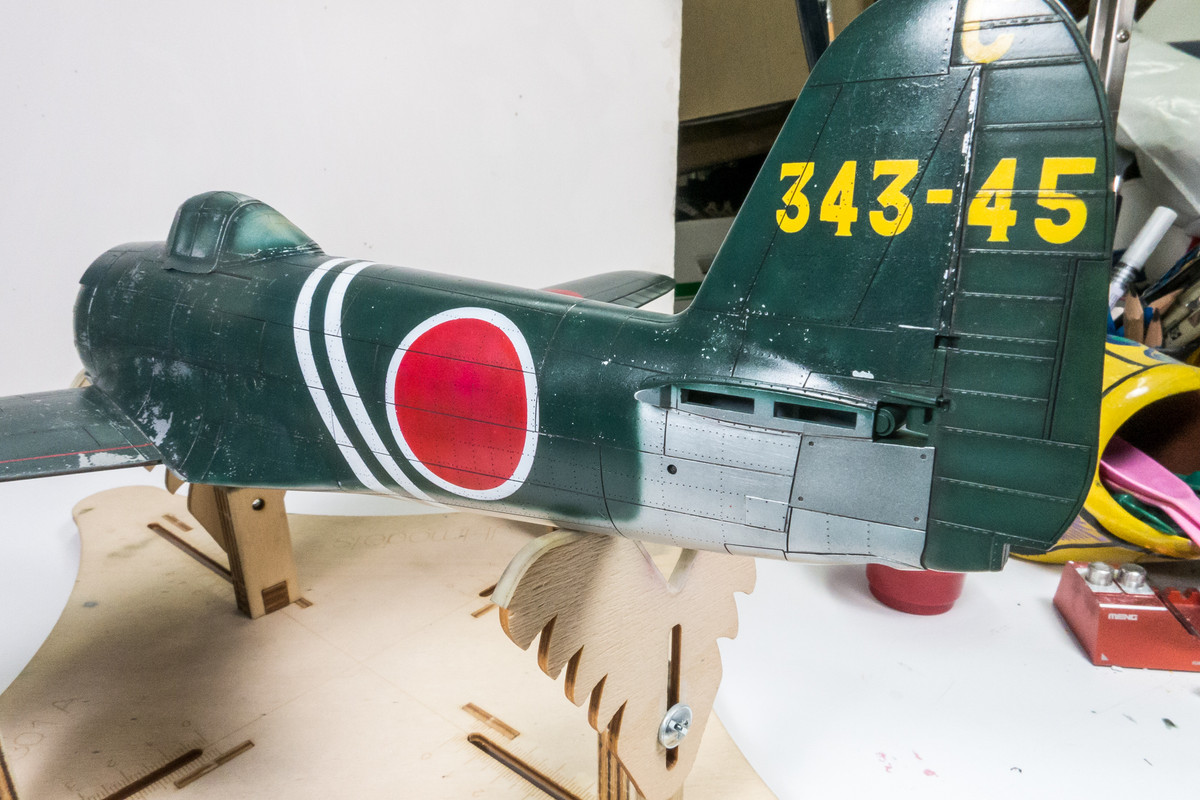
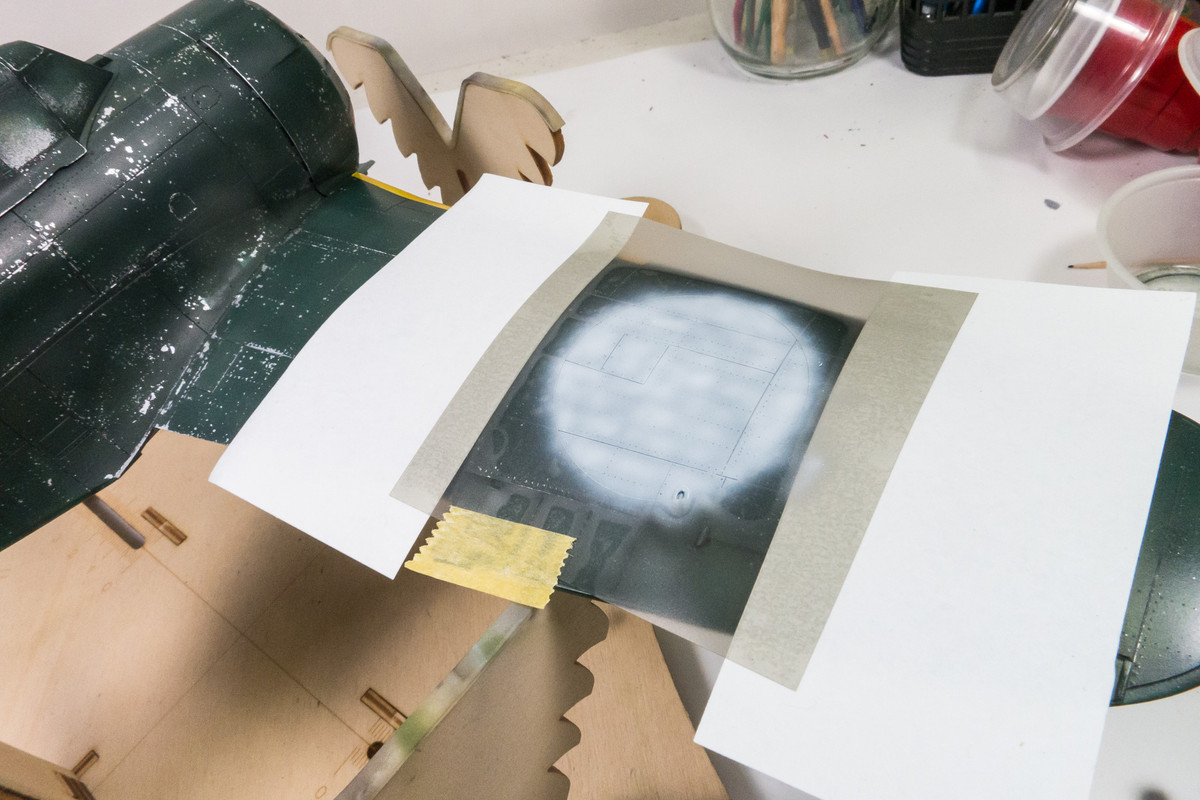
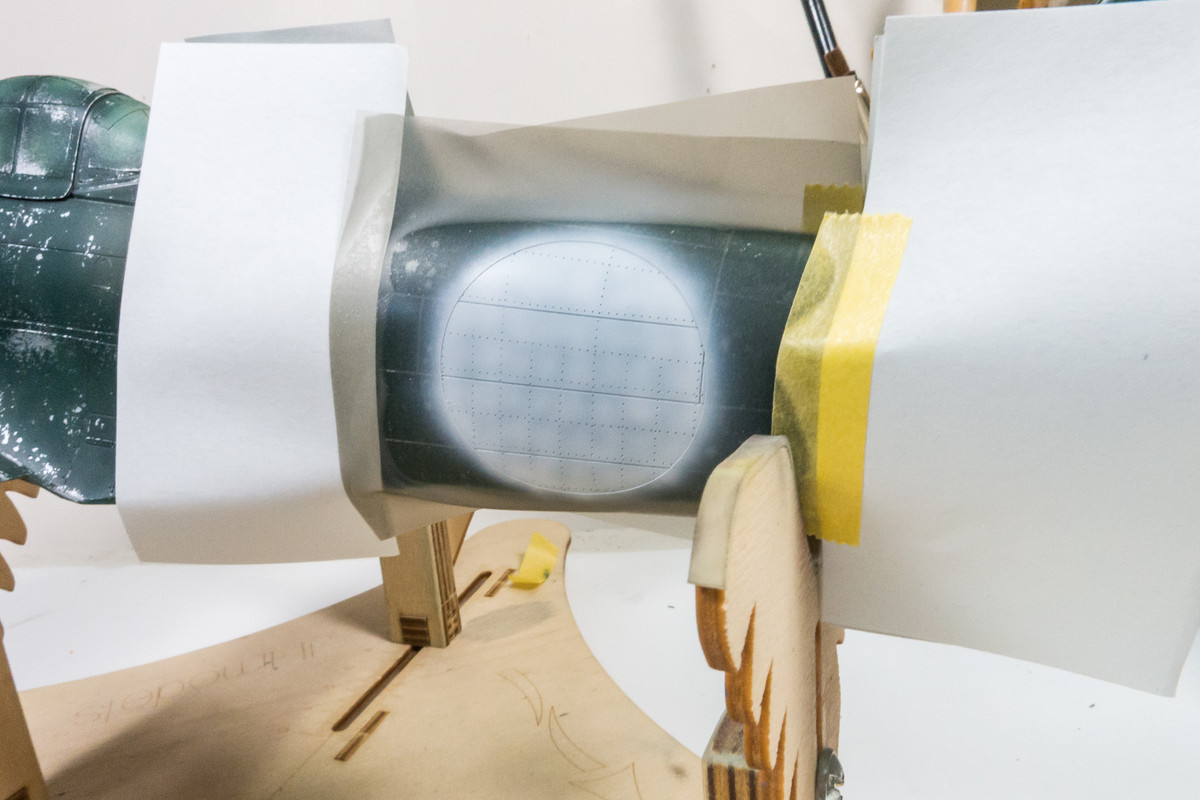
Next come the fuselage hinomarus, which have white borders. First the outline mask is applied and white is sprayed on similar to the other hinomarus but with more white around the circumference of the circle. That is allowed to dry for a couple of hours.
Image

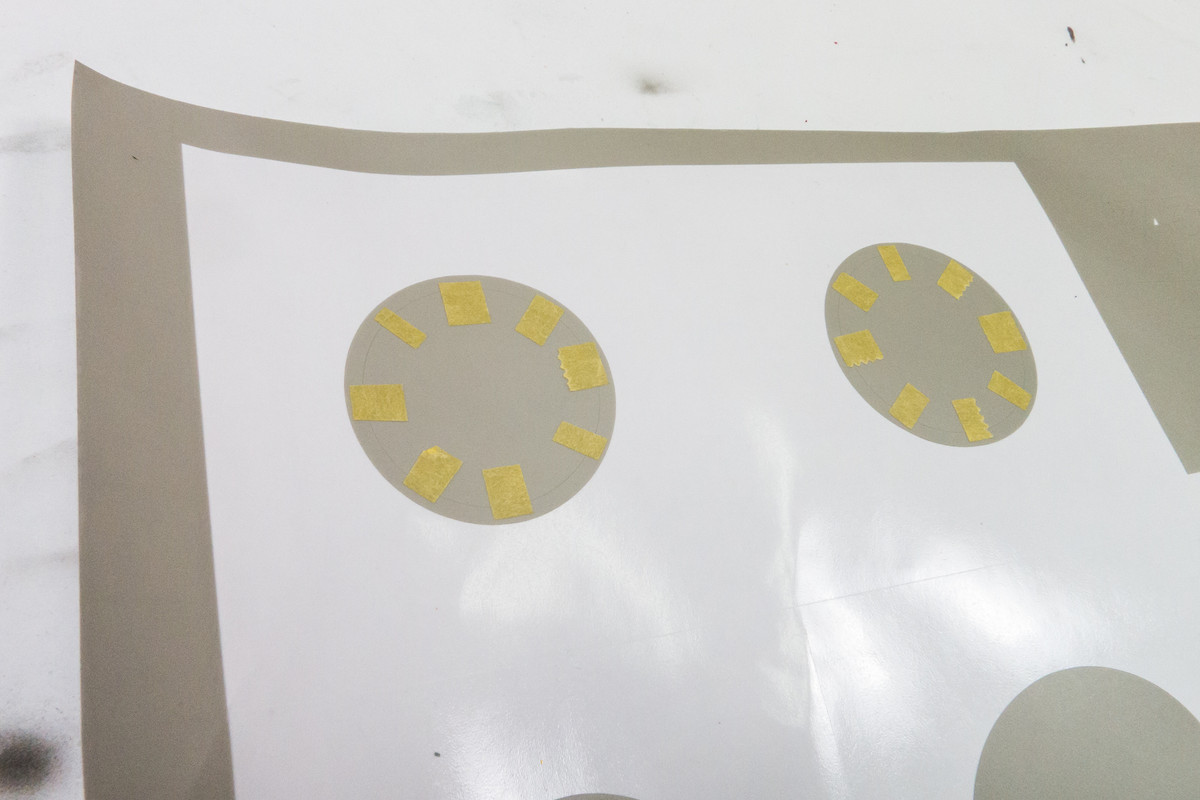
I thought a circle would be much easier to manipulate than a flimsy ring so I used bits of Tamiya tape to affix the ring to the inner circle temporarily.
Image

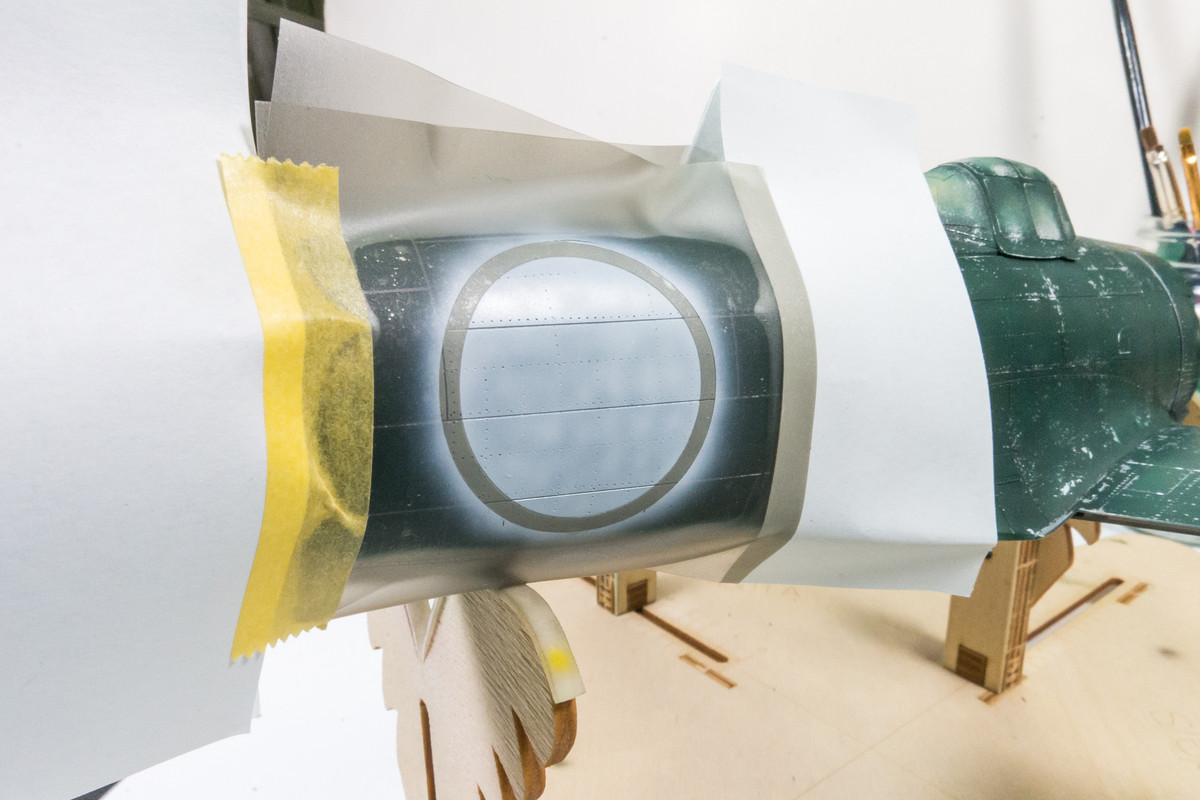
Once the composite circle mask was placed in position, the tape and center circle are removed, leaving only the outer ring. To prevent any paint leakage between the two mask components, I sprayed the joint with clear. Liquid mask would be another alternative.
Image

The red is then applied.
Image

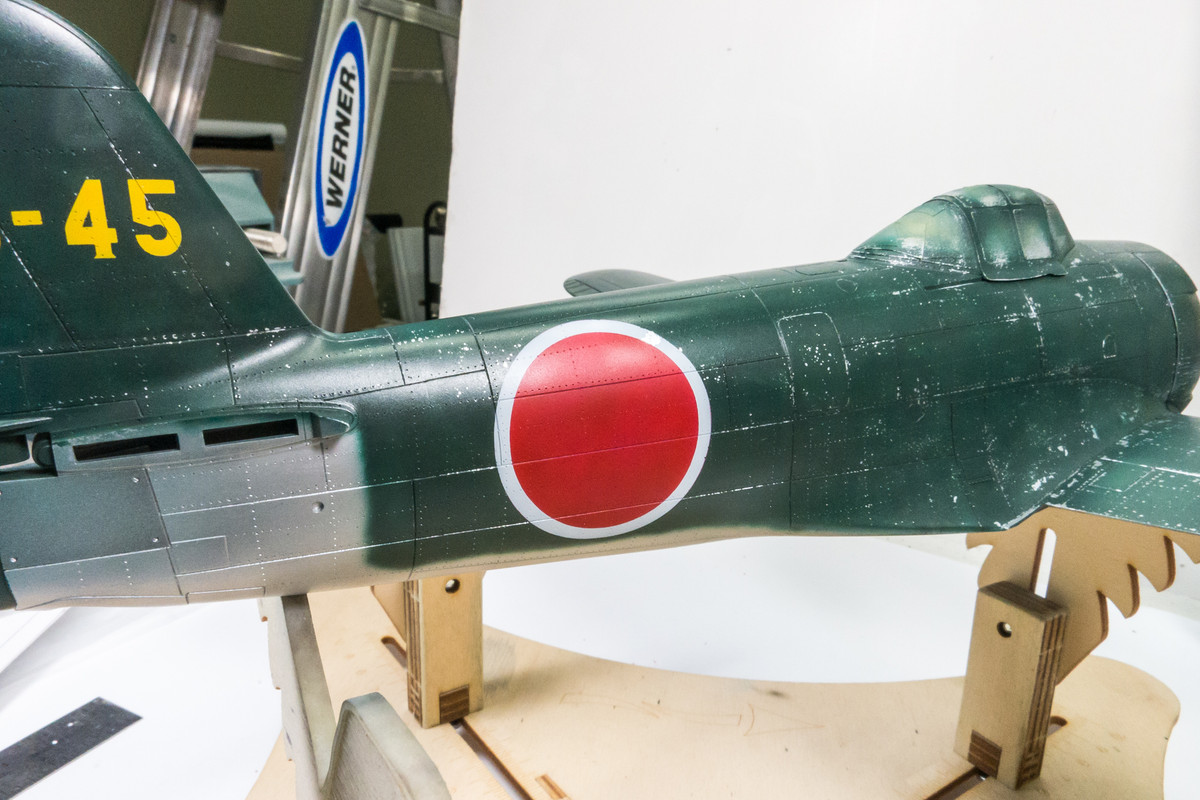
The finished two-color hinomaru. There was only a small paint lift on the white ring of the starboard hinomaru. I might just leave it alone.
Image

No paint lifting on the port hinomaru.
Image

It's a big relief to get these major markings on without too much paint lift trauma. Still to come are the white fuselage stripes. I haven't quite decided how those will be done... masks or tape?
Image
Image
Image
Image
John aka JKim
-----------<><
Image
User avatar
Floki
Elite Member
Posts: 3548
Joined: Wed Dec 12, 2018 2:23 am
Location: Muncie, Indiana

Re: 1/32 Hasegawa N1K2-J Shiden Kai

Post by Floki »

looking really good John. Glad to see you had no more paint lift.
March as one, Don't look back
Odin's sons... Attack!
Unleash hell! Do not repent! Warfare grants us no lament
Let your weapons slash and tear This is no place for fear
Hold the lines! Move as one! In unity our victory's won
Our shields will form a mighty wall
United we shall never fall
User avatar
Stuart
Elite Member
Posts: 9653
Joined: Sun Apr 06, 2014 1:06 pm
Location: North Wales
Contact:

Re: 1/32 Hasegawa N1K2-J Shiden Kai

Post by Stuart »

Just caught up with this John, that's a fantastic looking paint job - very pleased to hear you've got it down and all the markings on without too much trauma!
Stuart Templeton 'I may not be good but I'm slow...'

My blog: https://stuartsscalemodels.blogspot.com/
User avatar
Duke Maddog
Elite Member
Posts: 7100
Joined: Tue Jun 03, 2014 11:22 am
Location: Rowland Heights, CA

Re: 1/32 Hasegawa N1K2-J Shiden Kai

Post by Duke Maddog »

Wow, I was also holding my breath just reading this. Beautiful work John! Way to go!
The Duke
Virtuoso of Miniatures

"Do you know what the chain of command is? It's the chain I get and beat you with 'till you understand who's in ruttin' command!"
-Jayne Cobb, Firefly Episode 2 "The Train Job"

We are modelers - the same in spirit, in hunger to insanely buy newly released kits, hustlers in hiding our stash from our better halves and experts in using garbage as replacements for after-market parts.
User avatar
jkim
Elite Member
Posts: 3947
Joined: Mon Apr 10, 2017 4:03 pm

Re: 1/32 Hasegawa N1K2-J Shiden Kai

Post by jkim »

Thanks guys! Painting continues on the Shiden Kai. More bumps in the road but I'm used to them by now and have learned to roll with these punches.

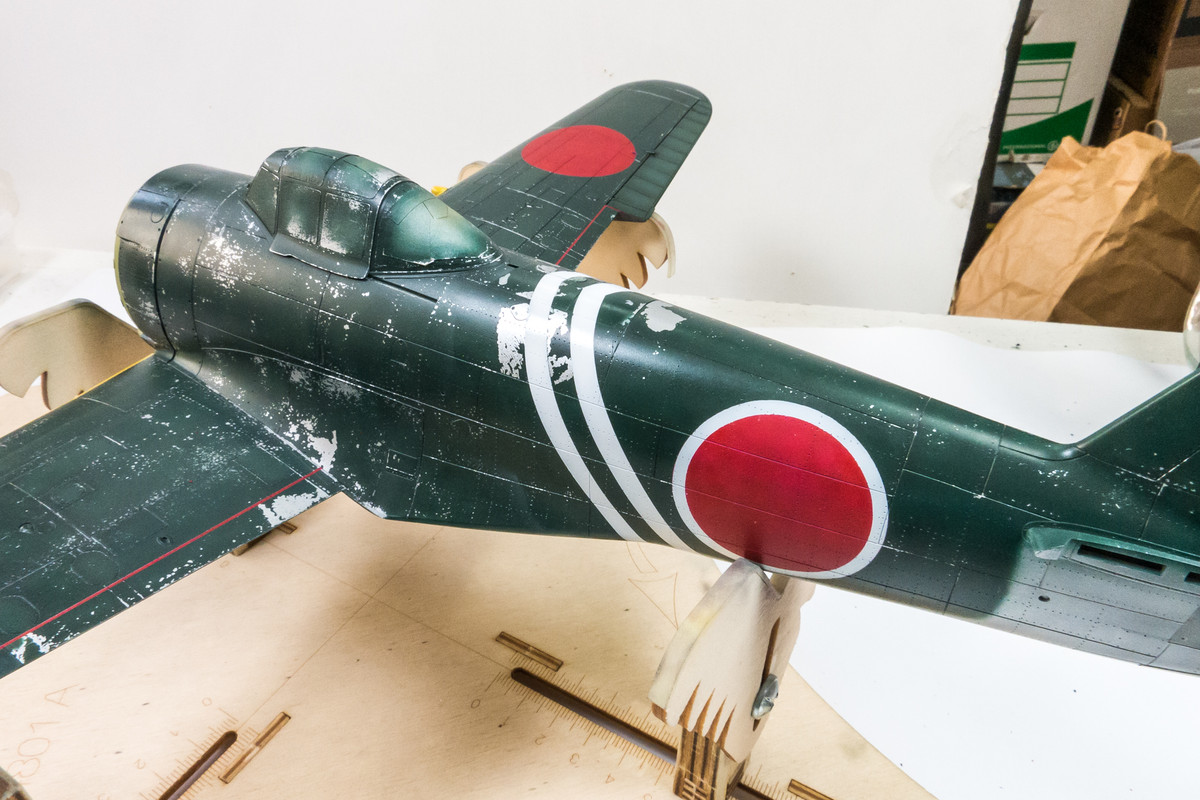
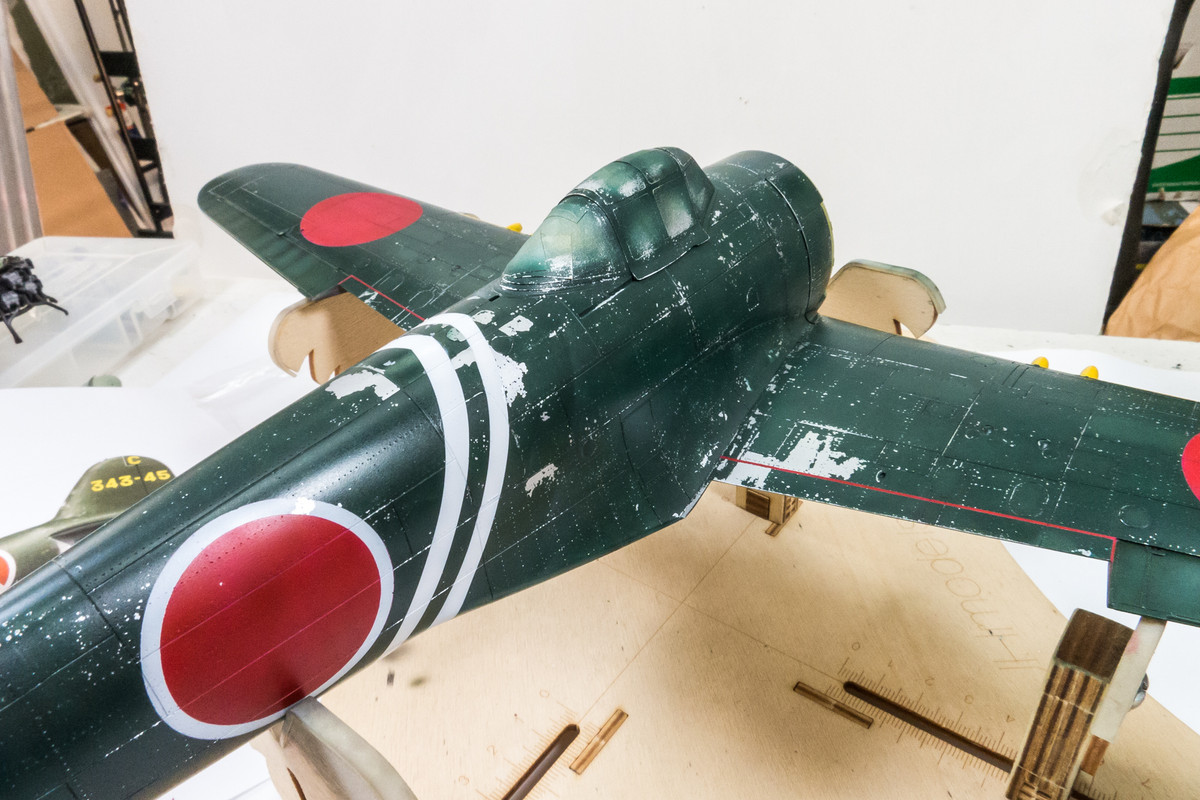
I used flexible white Tamiya tape to mask off the fuselage stripes. Lots more paint lifting occurred. Again, the lift patterns are pretty interesting and almost usable. If I was going to do a really heavily chipped Japanese scheme, I would've incorporated these mishaps into the build... maybe even purposefully caused them. But for my bird, I've decided that they are just too much.
Image
Image

I've not found a good way to preserve any of the paint lift areas so it is all or nothing. I carefully masked the white stripe areas and repaired the paint lift sections. You will note some paint lift on the wings which resulted from the masking and painting of the red NO WALK line. They are quite heavy but since they are constrained to what I consider to be the highest wear area, I've decided to keep them.
Image
Image

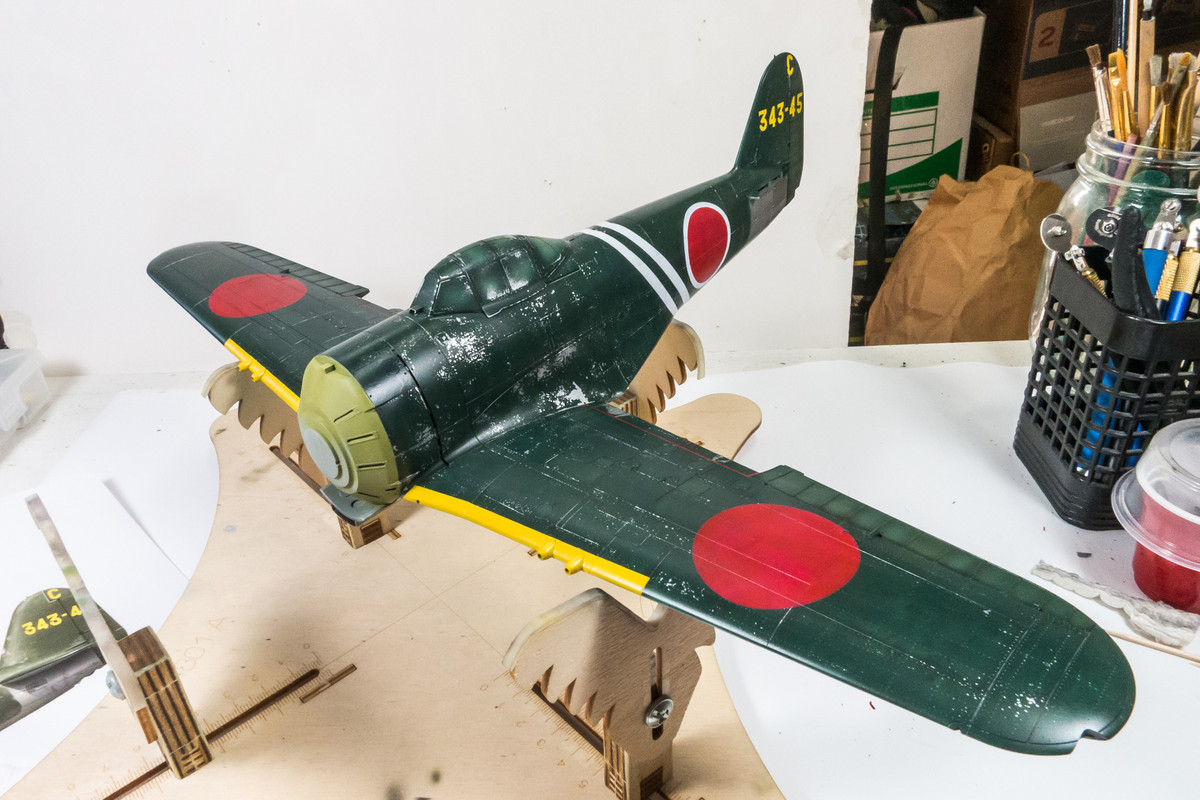
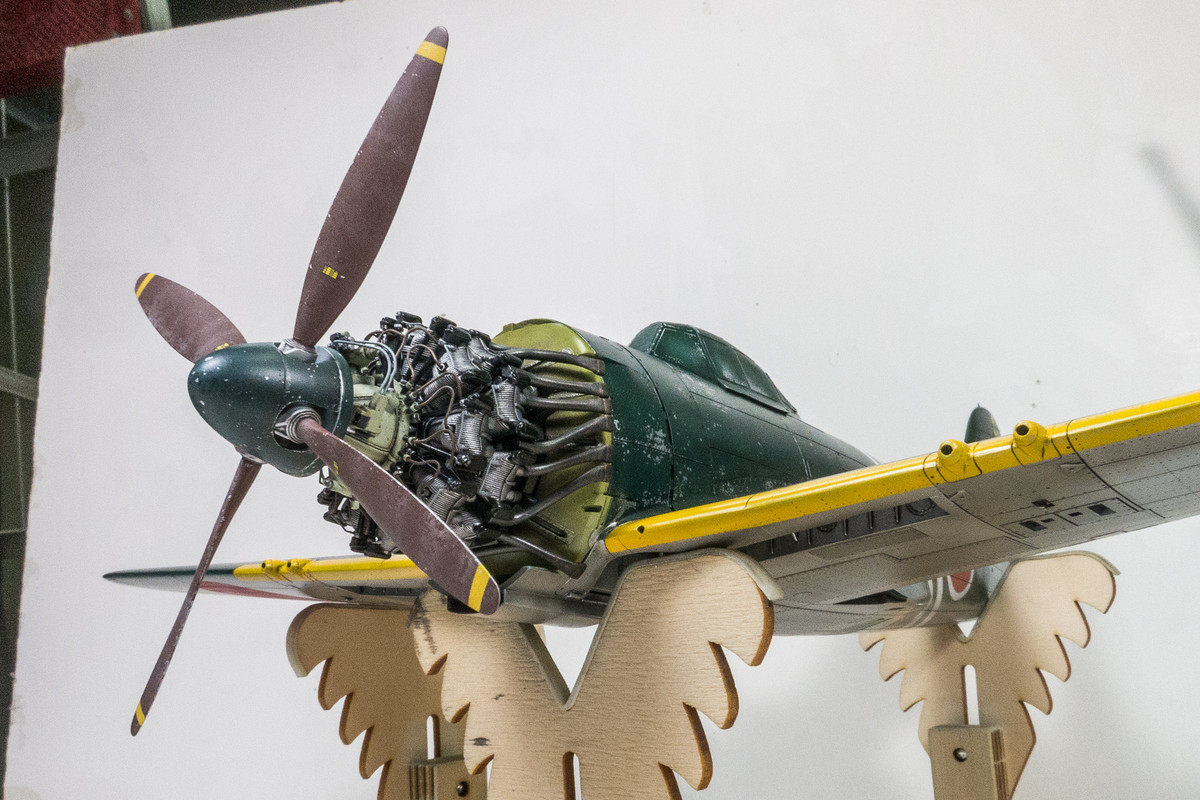
I elected to paint the engine mount area in the interior green color as offered in the kit instructions. I still need to do a pastel wash and post-shading so this area will get more dirty as we go on.
Image
Image

This is what it will look like with the engine mounted. I am leaning towards leaving the engine cowling unglued. The prop is removable via polycap so there will be an option to pose the aircraft with the cowling off.
Image
Image

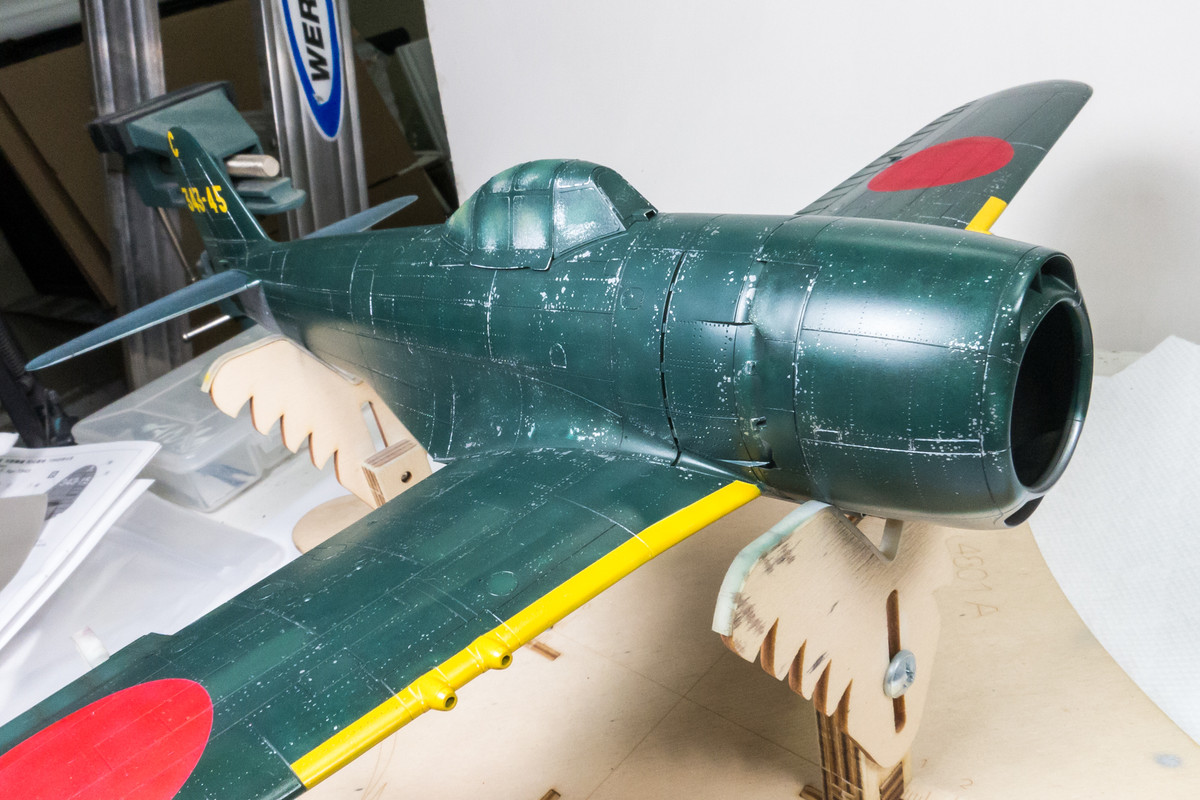
Some shots with the cowling in place...
Image
Image
Image
Image
Image
Image
John aka JKim
-----------<><
Image
User avatar
Stuart
Elite Member
Posts: 9653
Joined: Sun Apr 06, 2014 1:06 pm
Location: North Wales
Contact:

Re: 1/32 Hasegawa N1K2-J Shiden Kai

Post by Stuart »

THAT is a fantastic looking build :bow: I'll say this for the Japanese in WWII, they made some beautiful aircraft!

( :hmm: Really fancy building something WWII now...)
Stuart Templeton 'I may not be good but I'm slow...'

My blog: https://stuartsscalemodels.blogspot.com/
User avatar
jeaton01
Elite Member
Posts: 2082
Joined: Thu Apr 23, 2020 9:20 am
Location: Northern California
Contact:

Re: 1/32 Hasegawa N1K2-J Shiden Kai

Post by jeaton01 »

Somebody has to say it..It's a Gorgeous George!
My modelling website, with build logs.

http://goldeneramodel.com/mymodels/mymodels.html
User avatar
Floki
Elite Member
Posts: 3548
Joined: Wed Dec 12, 2018 2:23 am
Location: Muncie, Indiana

Re: 1/32 Hasegawa N1K2-J Shiden Kai

Post by Floki »

I agree a she is looking very beautiful! That's great news that the cowl fits so good and the prop can be removed. It would be a shame to hide all the hard work you put into the engine.
March as one, Don't look back
Odin's sons... Attack!
Unleash hell! Do not repent! Warfare grants us no lament
Let your weapons slash and tear This is no place for fear
Hold the lines! Move as one! In unity our victory's won
Our shields will form a mighty wall
United we shall never fall
User avatar
jkim
Elite Member
Posts: 3947
Joined: Mon Apr 10, 2017 4:03 pm

Re: 1/32 Hasegawa N1K2-J Shiden Kai

Post by jkim »

Thanks gents! I'm glad you guys think she looks beautiful even though that chipping is making my eyes sore right now. And that gloss coat is making photography difficult with my lighting setup. Although I'm not completely happy at this stage, I gotta trust in the plan and that subsequent steps will eventually tie the different elements together.

The next step is to apply a pastel wash to the model. I mix my own washes using pastel chalks, water and a dab of dishwashing soap to help suspend the chalk in the liquid. Very simple and can be used on any type of paint finish. I'm using a dark brown overall. The wash will have the greatest impact on lighter colors so I start on the bottom.
Image
Image

You can see the effect as I've stopped halfway to show the difference between wash and no wash. The main purpose, besides highlighting details, is to turn holes (rivets) and grooves (panel lines) into dots and lines. I believe that the "flattening" of these 3-D features help make the model look less like a model.
Image
Image

Since the topside green is so dark, the panel wash will have less effect. So I've concentrated on the lighter areas (stripes, hinomaru and tail codes) and major panel lines and have gone through the trouble of getting every rivet.
Image
Image
Image

I'm going to seal the panel wash with another clear coat and then do the decals, which are primarily small stencils.
Image
Image
John aka JKim
-----------<><
Image
User avatar
jkim
Elite Member
Posts: 3947
Joined: Mon Apr 10, 2017 4:03 pm

Re: 1/32 Hasegawa N1K2-J Shiden Kai

Post by jkim »

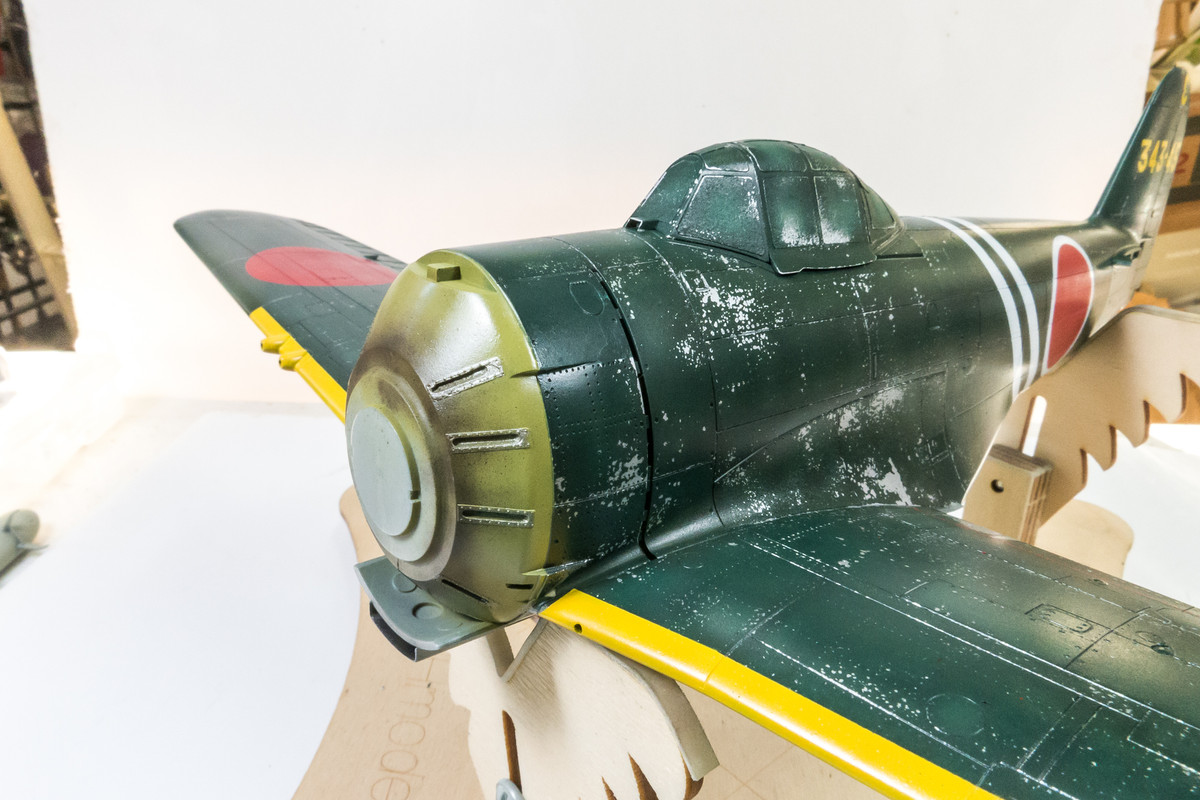
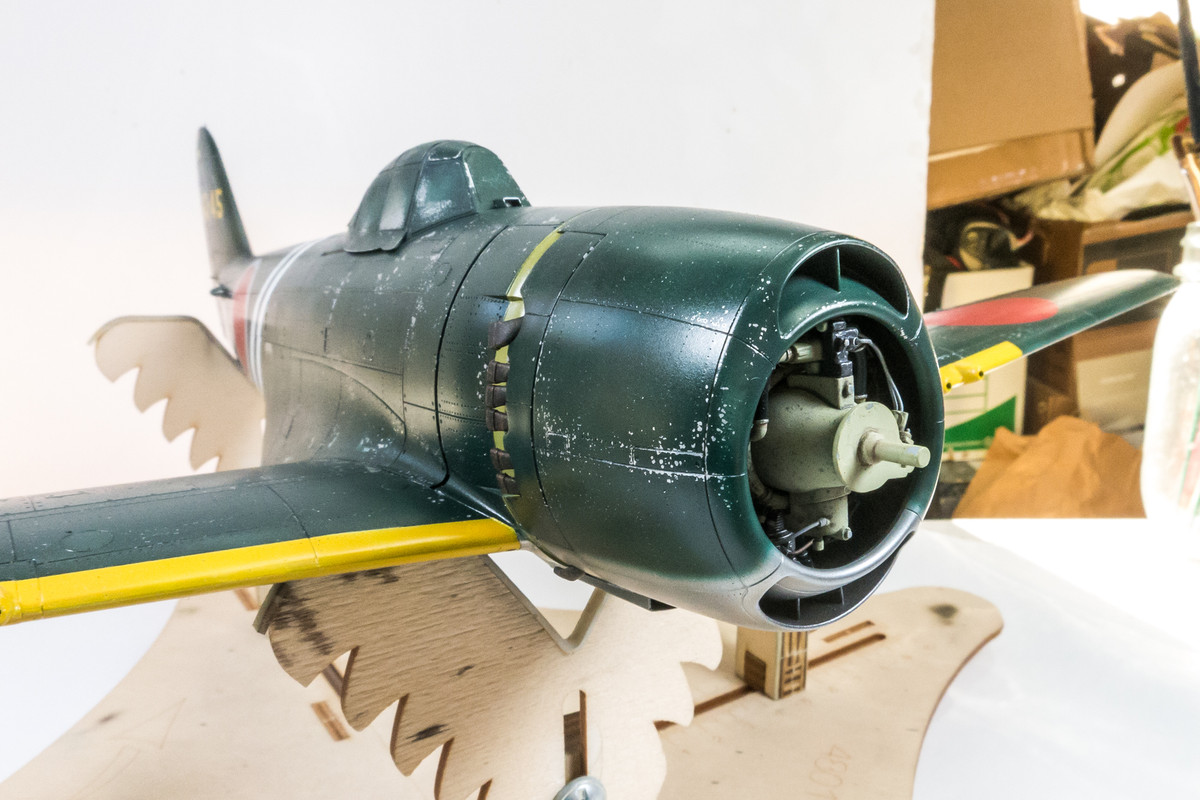
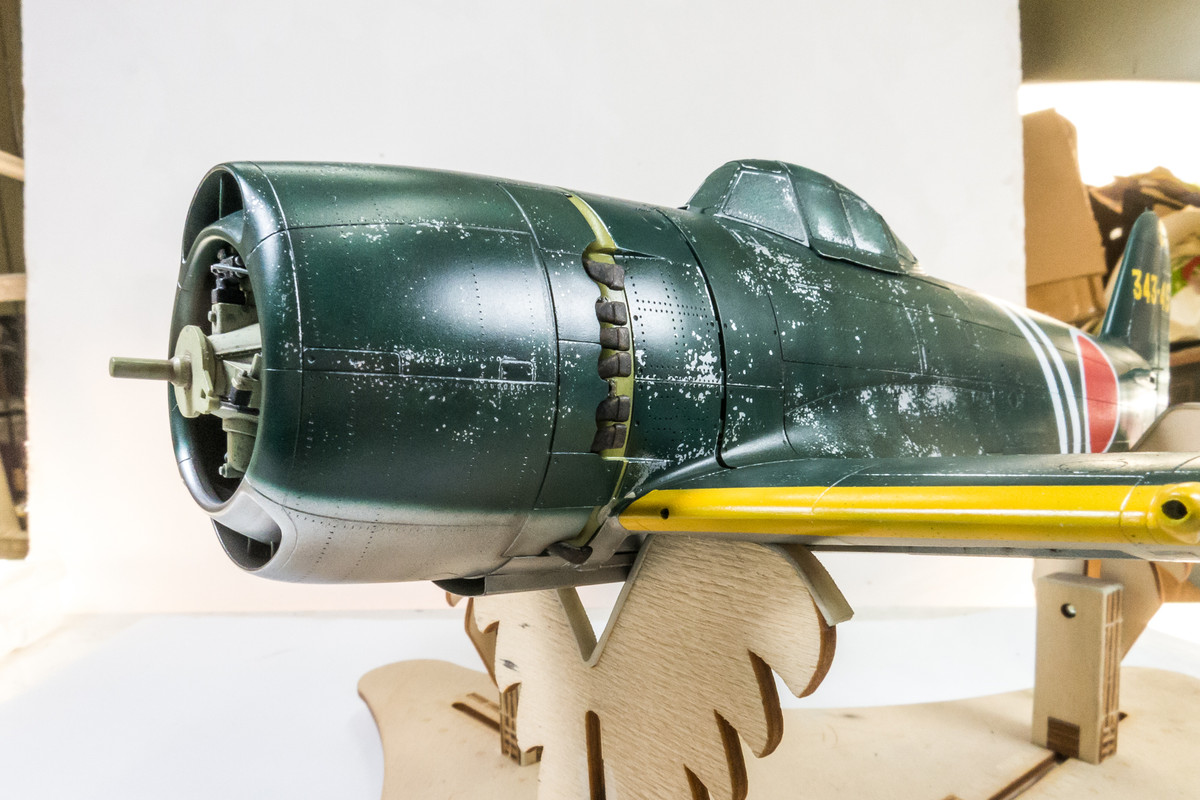
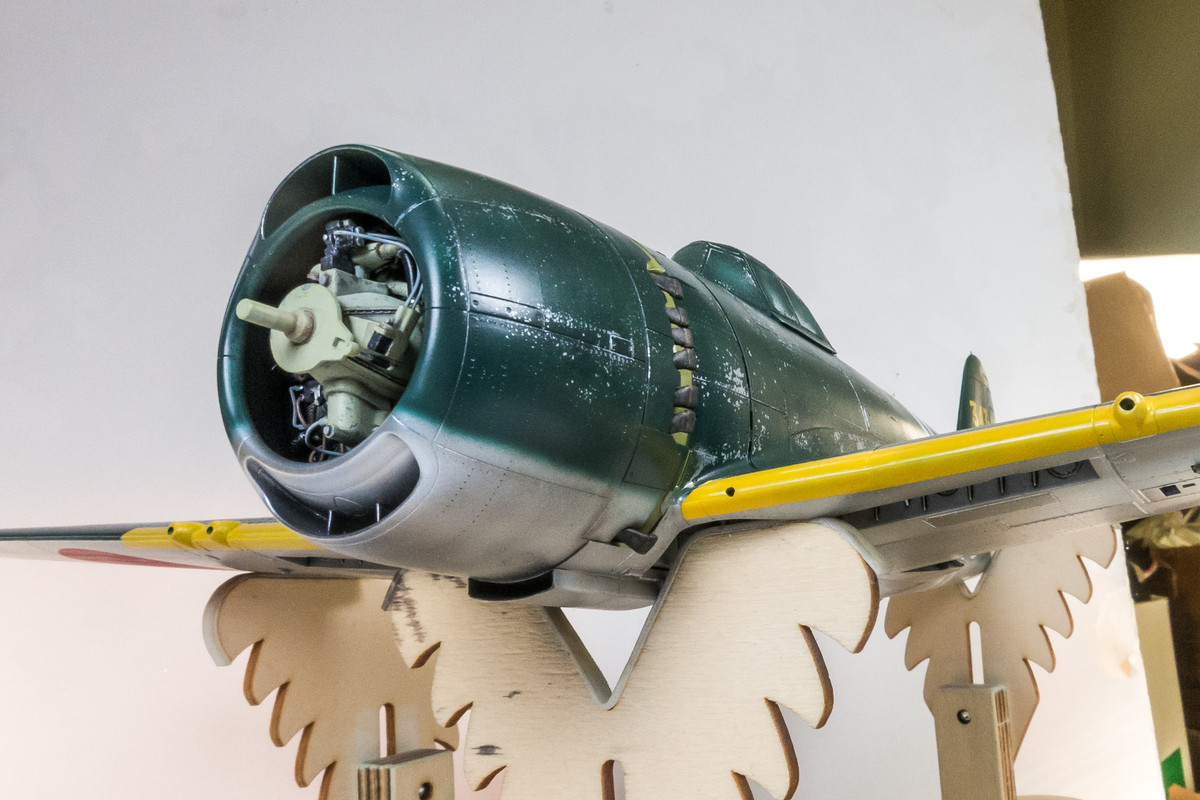
A sneak peak at the prop mounted. I'll have option of posing the model like this.
Image

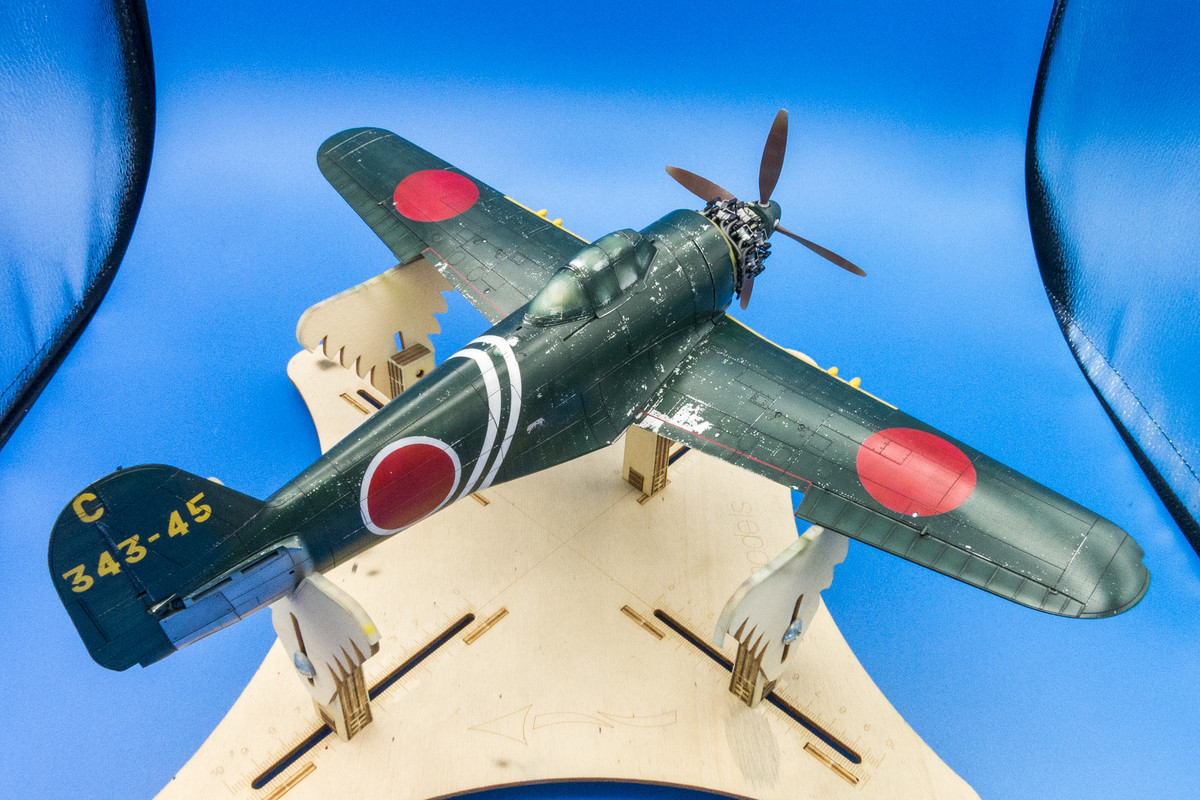
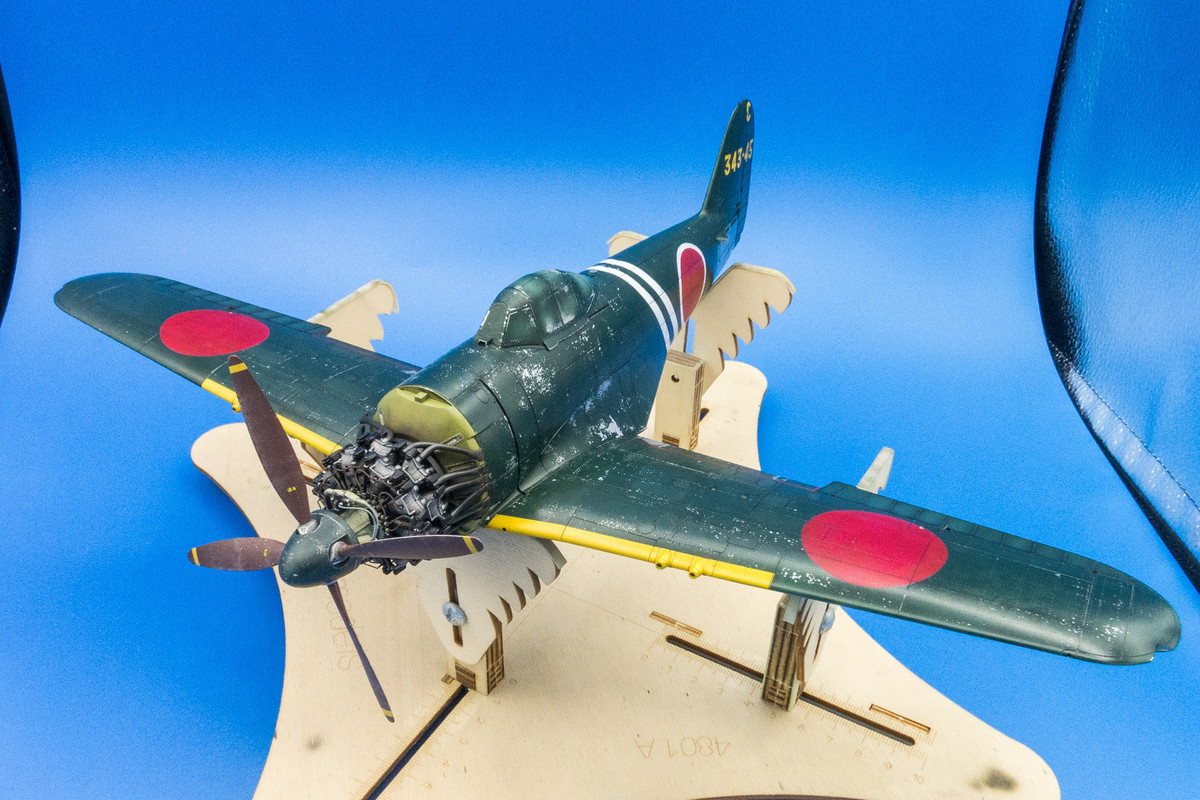
Some more shots in the light box prior to decal application...
Image
Image
Image
John aka JKim
-----------<><
Image
Post Reply

Return to “Aircraft Work in Progress”