1/32 Hasegawa N1K2-J Shiden Kai
Posted: Fri Jun 19, 2020 5:35 pm
I was going to slot this build in after the Bf109G-14 and Fw 190D-13. But with the completion of the Ta152H-0, I really wanted to take a break from Luftwaffe subject and try something new. So I'm going to slide the D-13 to the right and work on this one alongside the G-14. This will be my first large scale Japanese fighter build.
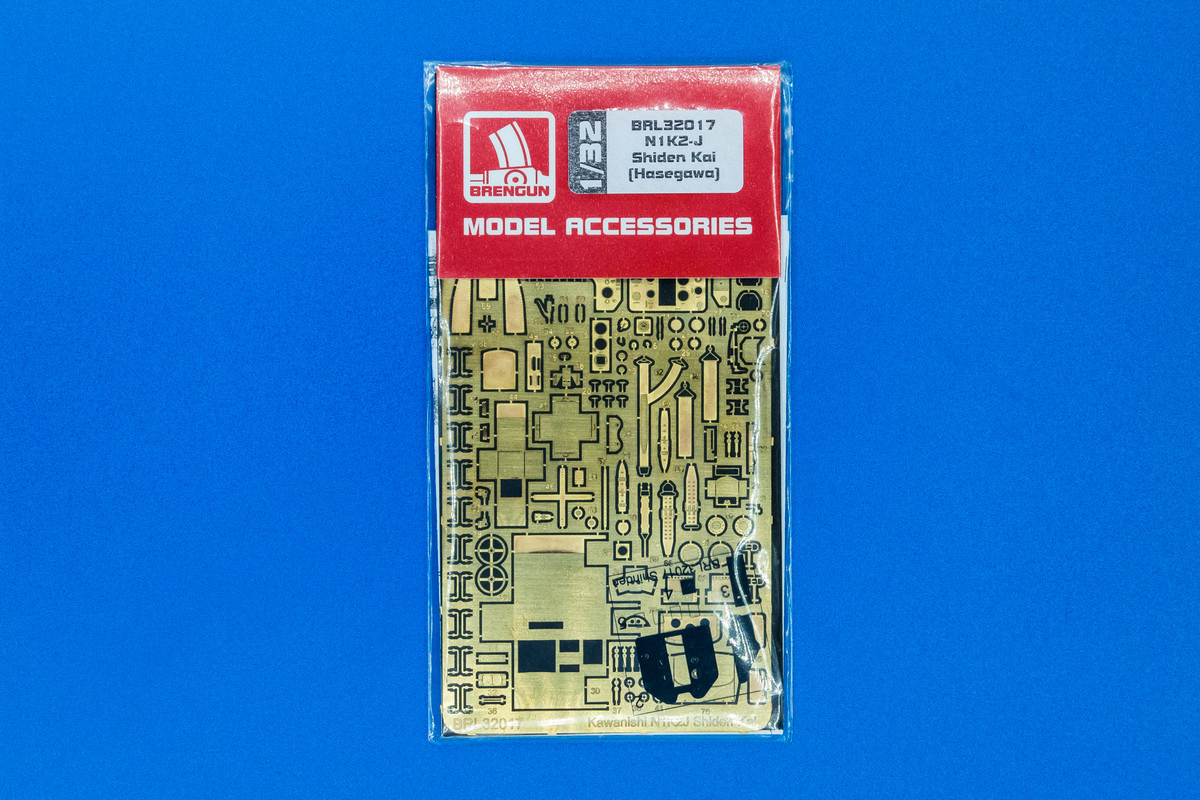
And unlike most of my other builds, this one will be relatively light in terms of aftermarket add-ons. For the simple fact that there just isn't much out there for the Shiden Kai. This is the kit I'll be working on...

It comes in a larger than expected top-opening box. The box is bigger than the other Hasegawa kits that I've built including the Bf109s and Fw190Ds. The primary reason is that this fighter was a BIG BEEFY aircraft. It was developed by Kawanishi as a replacement for the venerable Zero. Just as the F6F Hellcat was specifically designed to combat the Zero, the N1K was aimed directly at the Hellcat. Based off of the Kyofu floatplane, the N1K1 Shiden showed promise but there were serious issues with the long, spindly landing gear legs that were needed because of the mid-wing design. The N1K2 Shiden Kai addressed that issue with a more conventional low wing configuration and a effective new fighter was born.
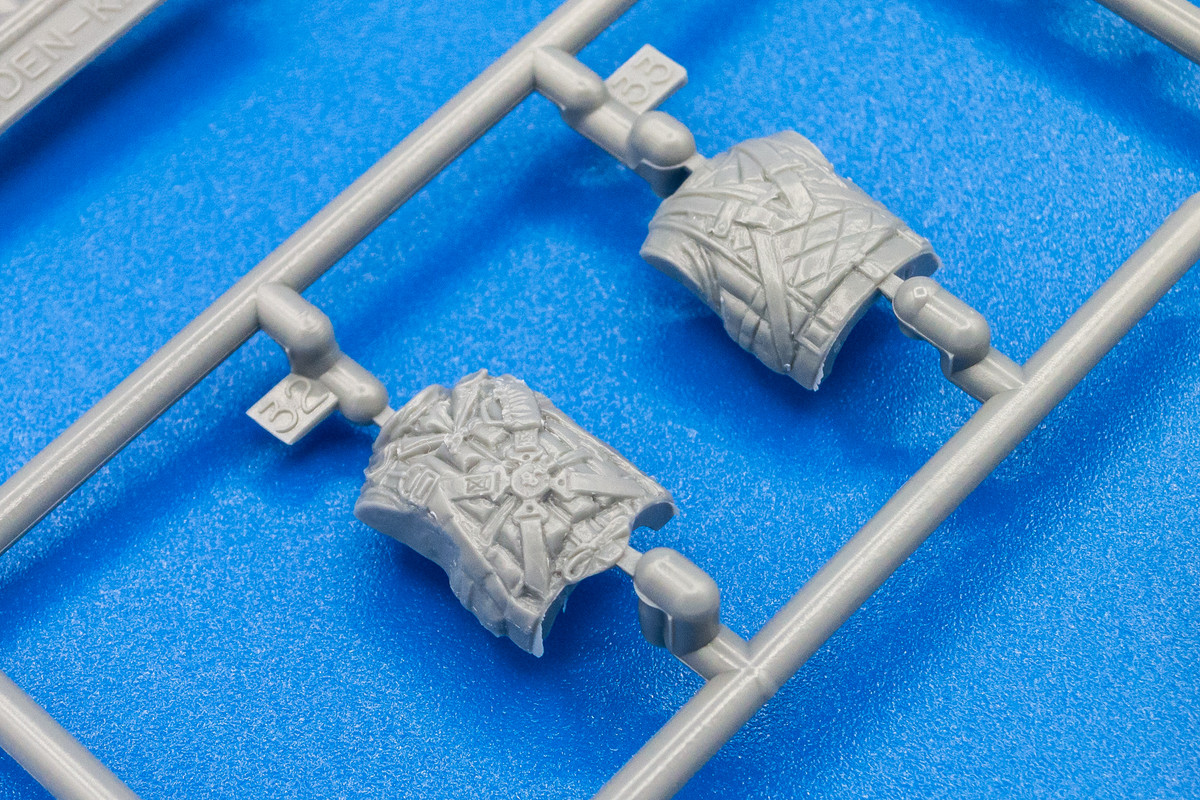
The majority of the typical Hasegawa grey parts are packed into a single plastic bag. I prefer separate bags for each sprue to protect the parts but I didn't notice anything broken.
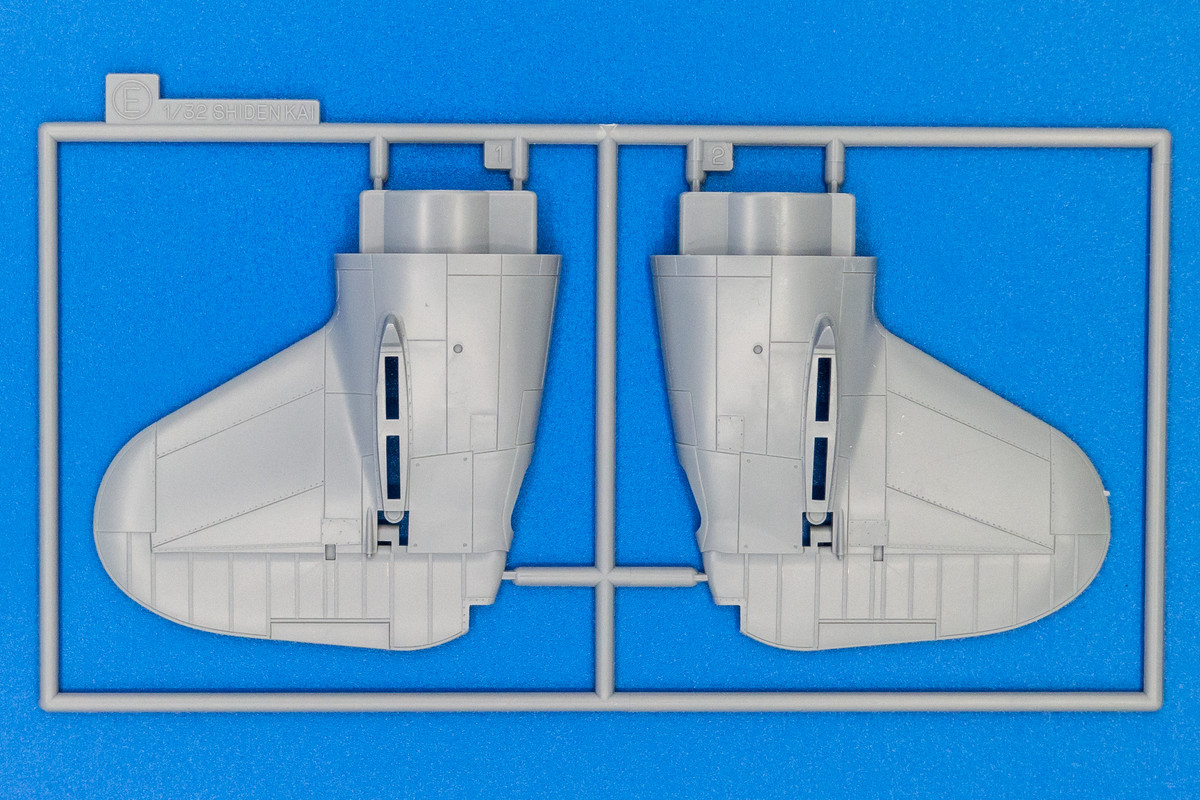
The fuselage is noticeably deep and wide... reminds me of the P-47. Molding is typical of Hasegawa, very fine with very little flash.
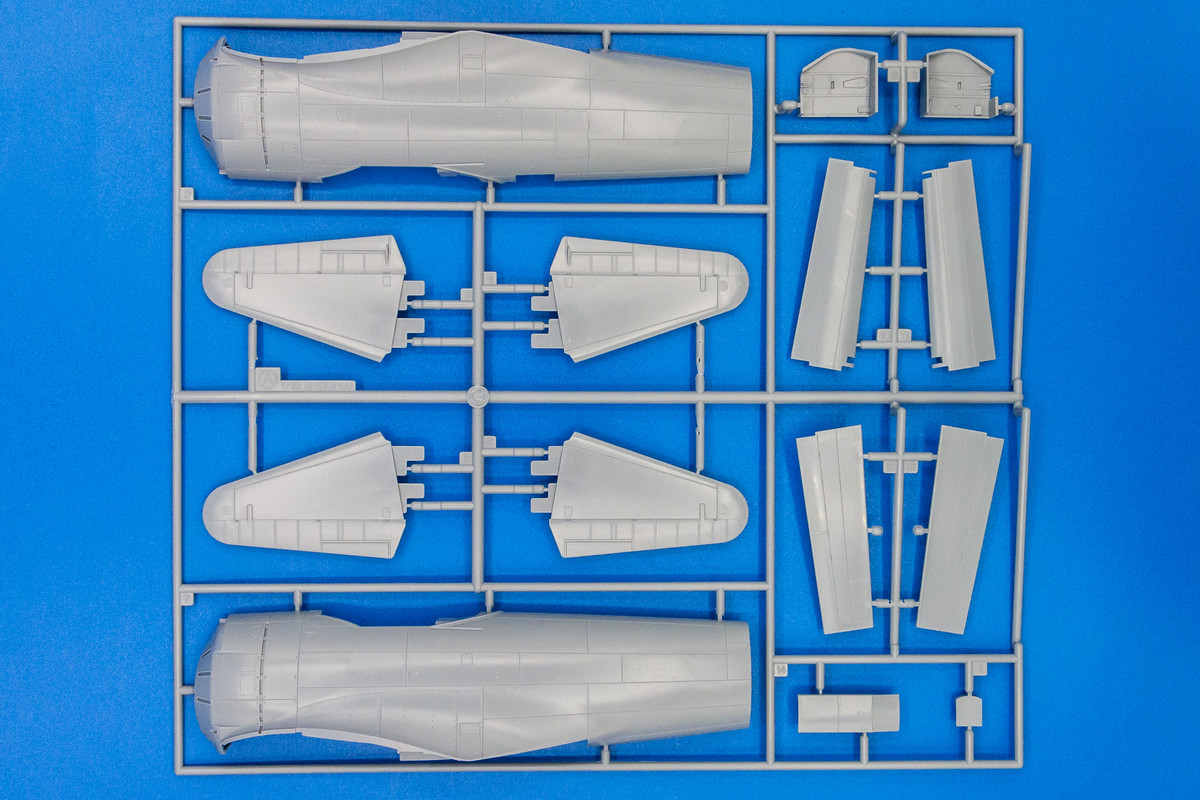
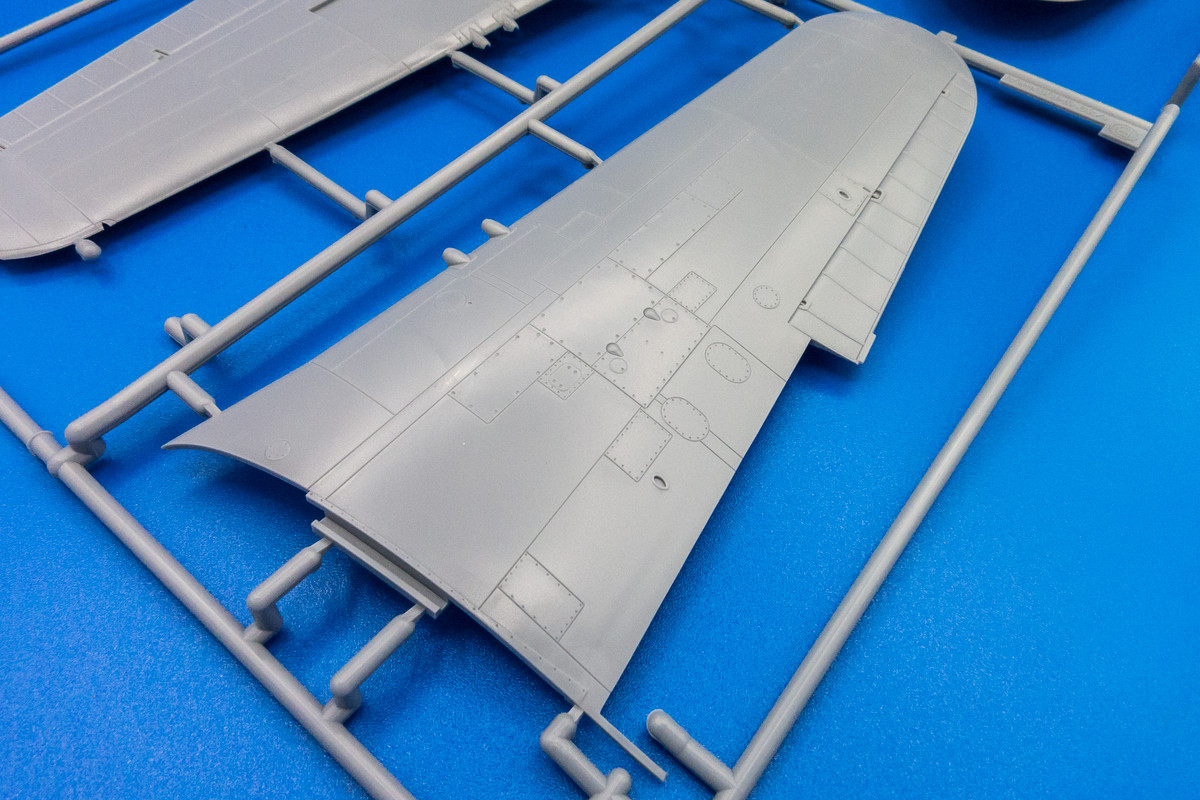
Panel detail is primarily recessed with a few raised features where appropriate. Rivets are restricted to a certain areas and are not universally represented. I like this approach. It gives the option to the modeler and I find that manually applied rivets using a tool such as RB Productions Rivet-R are much more scale appropriate than can be achieved with the injection molding process.
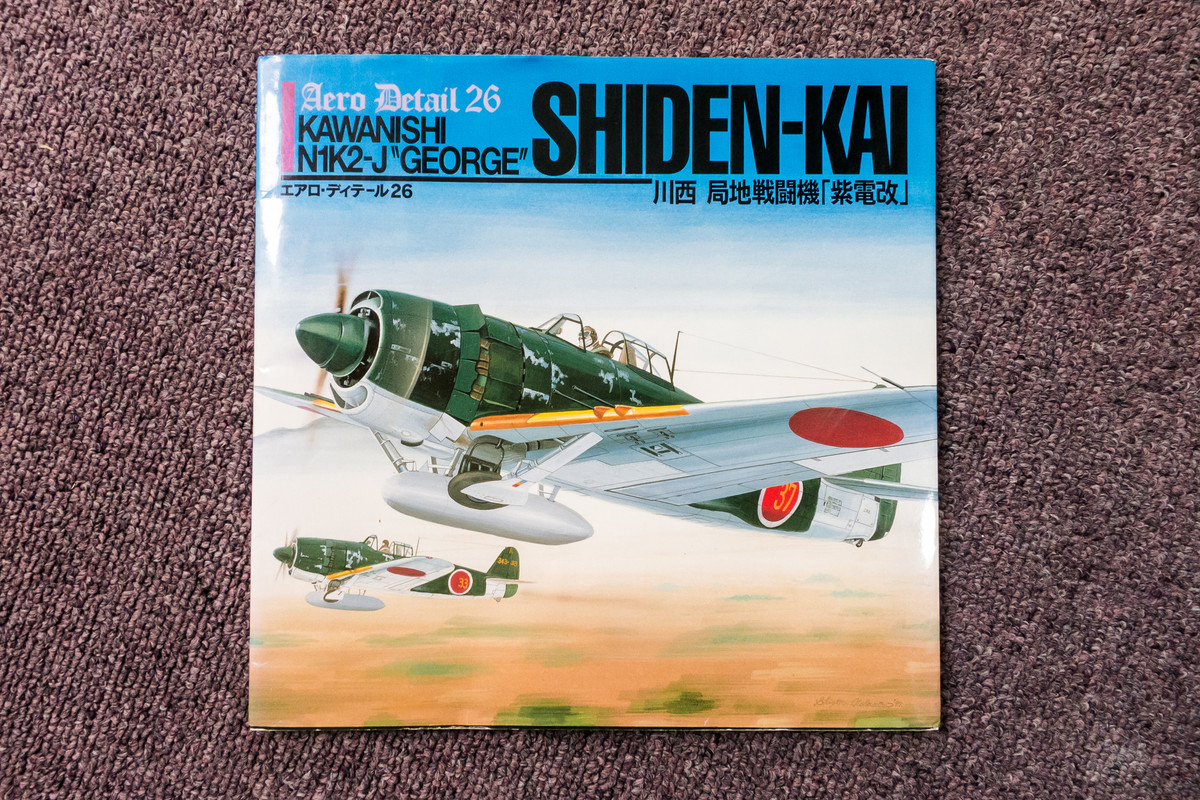
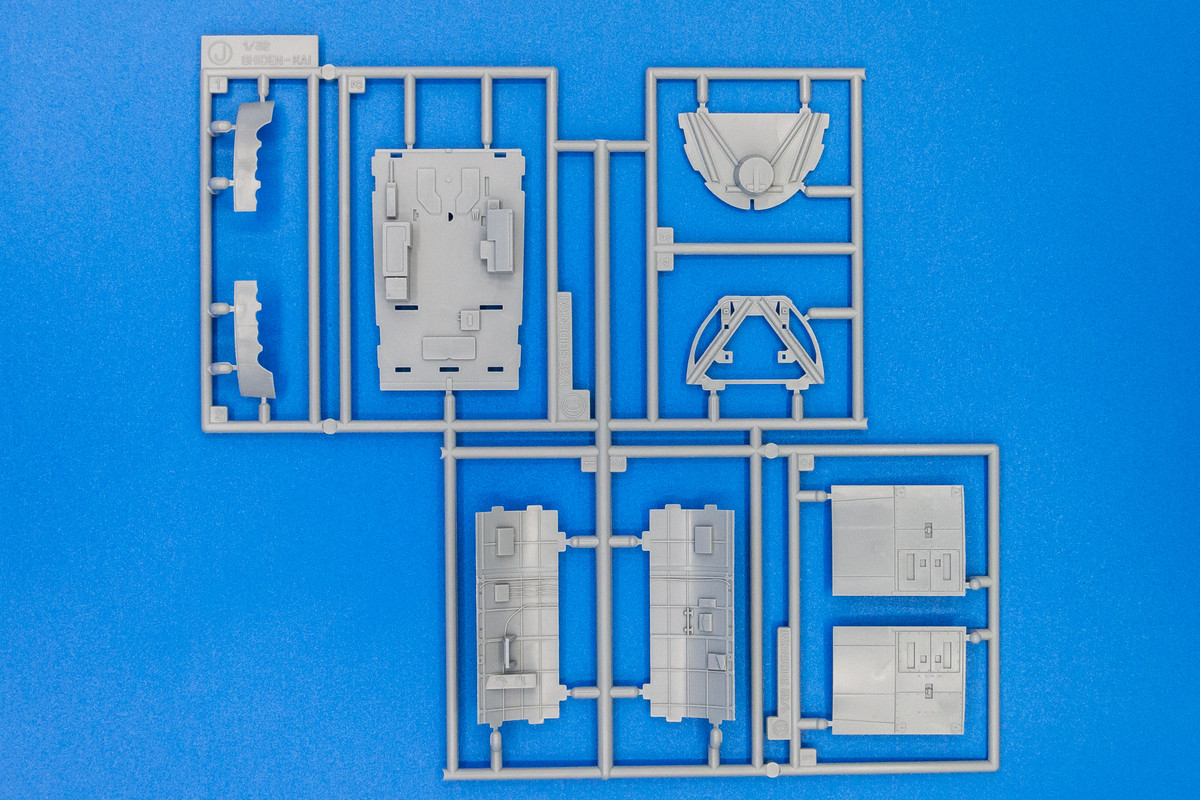
The wheel wells are inserts that are appropriately deep but not too heavily detailed. I'll have to check my references to see if any additions are warranted.
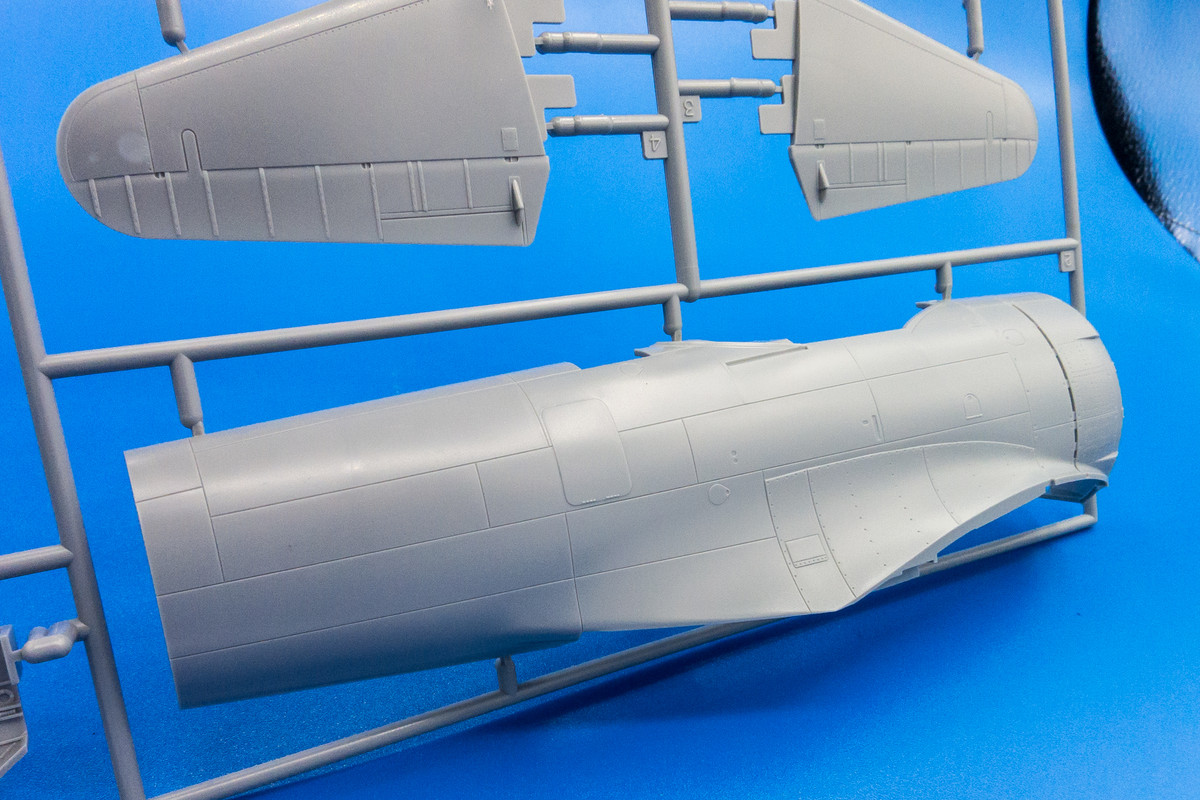
This sprue is large because the wings are huge. They accommodate twin 20mm cannon on each side, which offered devastating firepower.
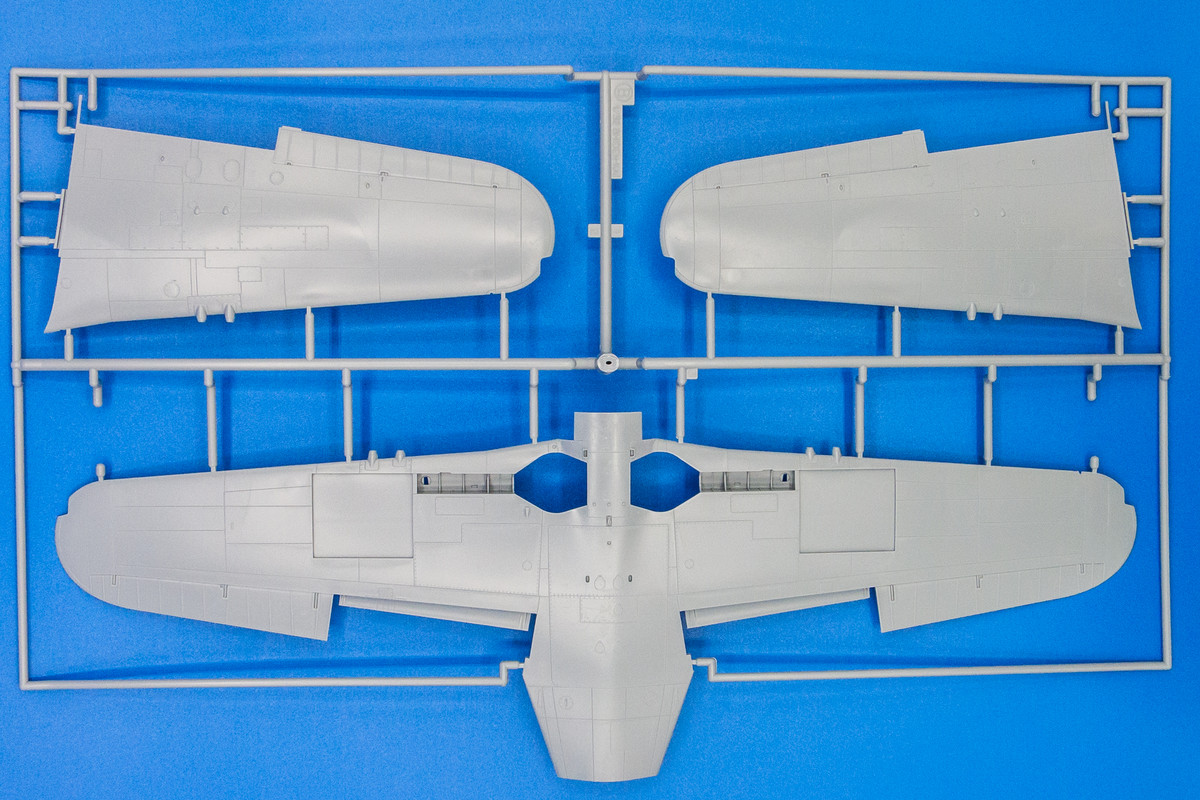
The detail is beautifully molded. Check out the thin piece of wing on the trailing edge at the wing root... the proverbial "accident waiting to happen".
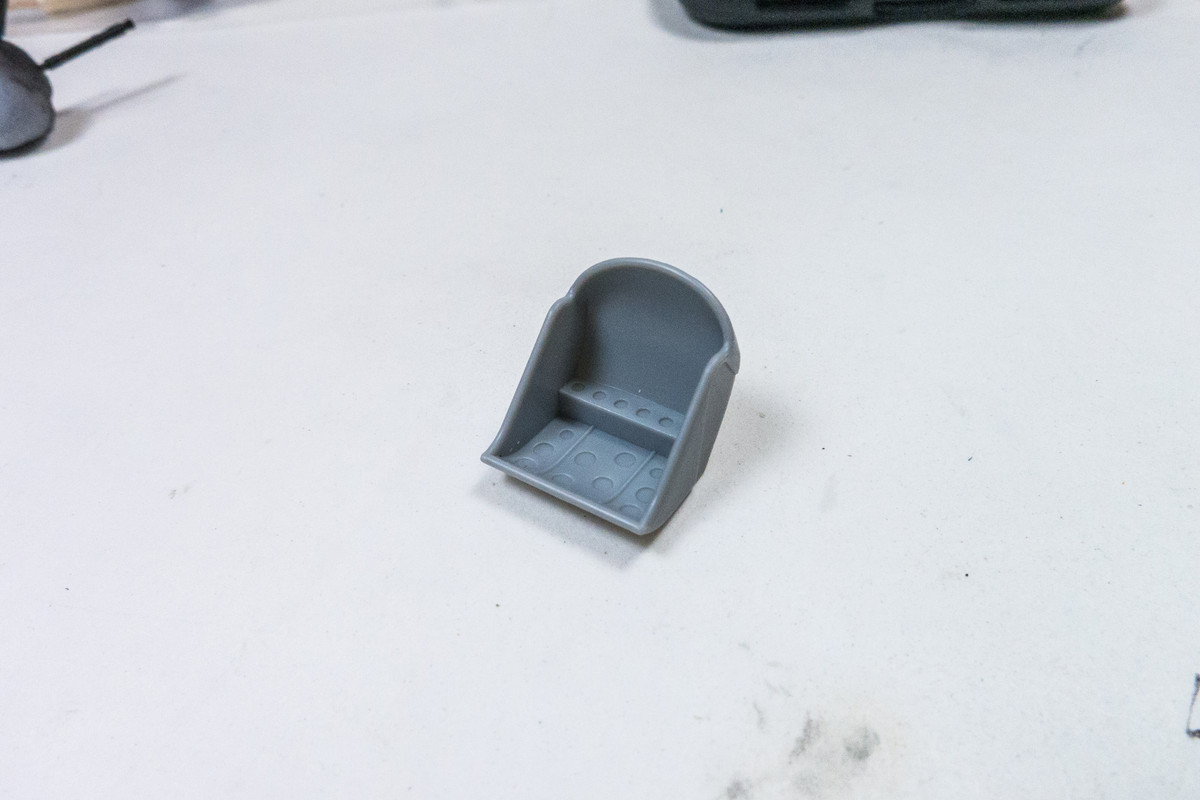
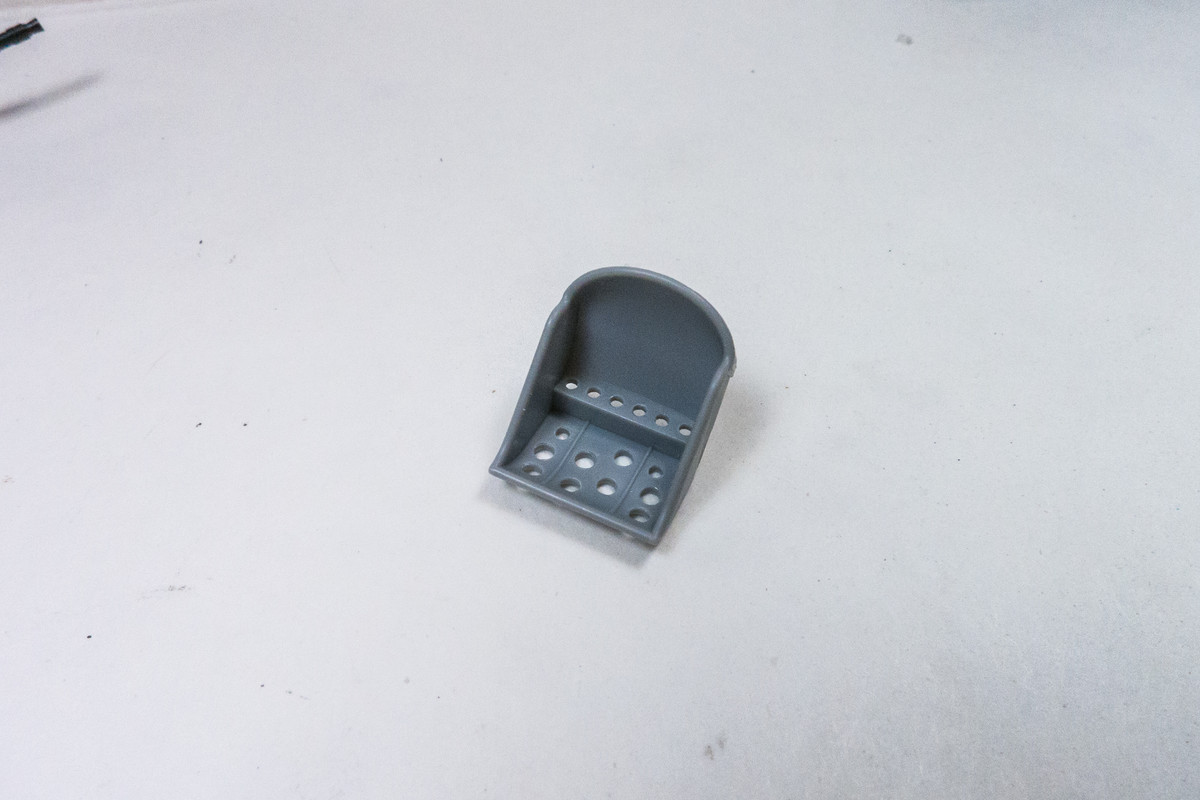
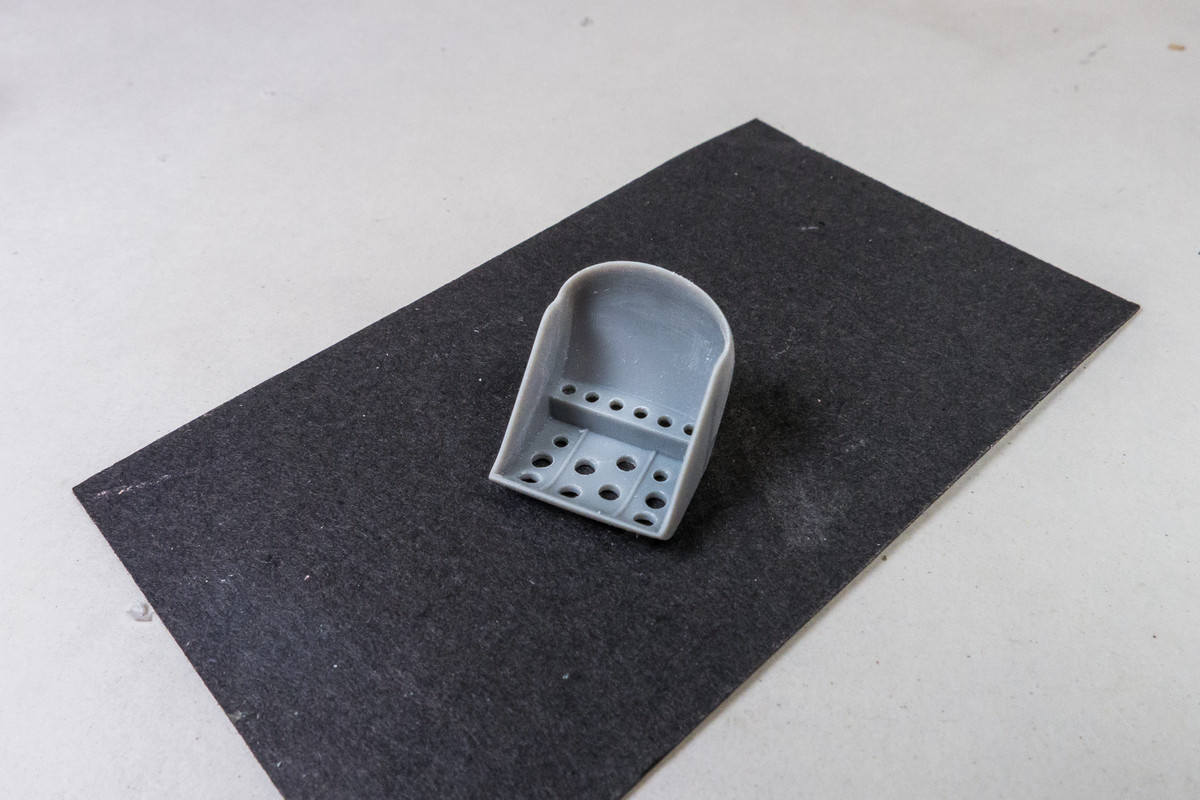
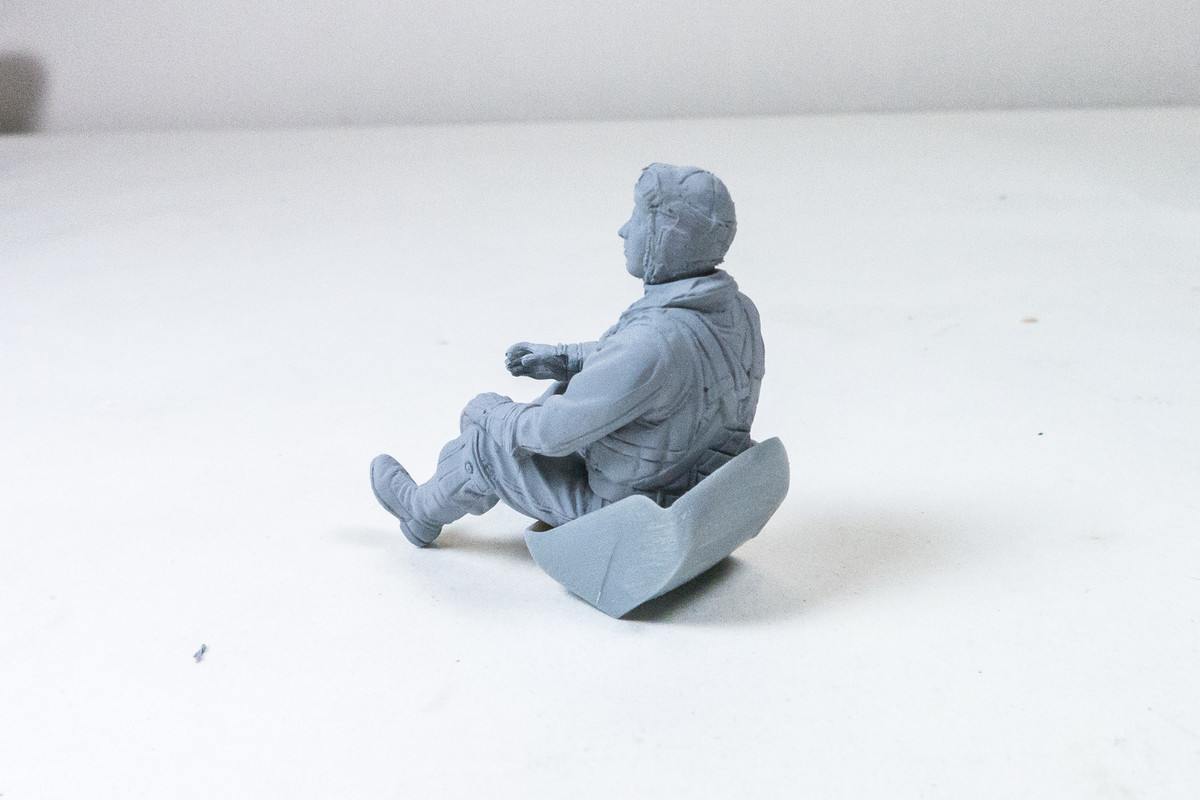
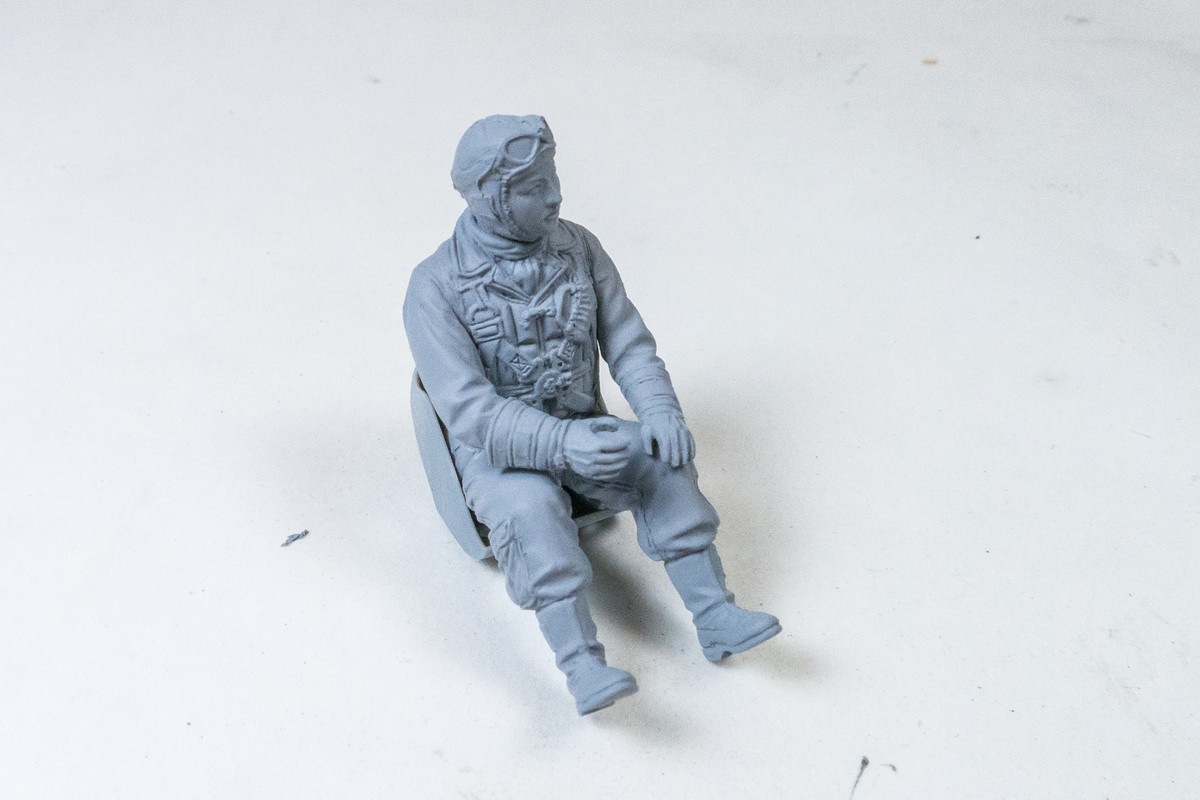
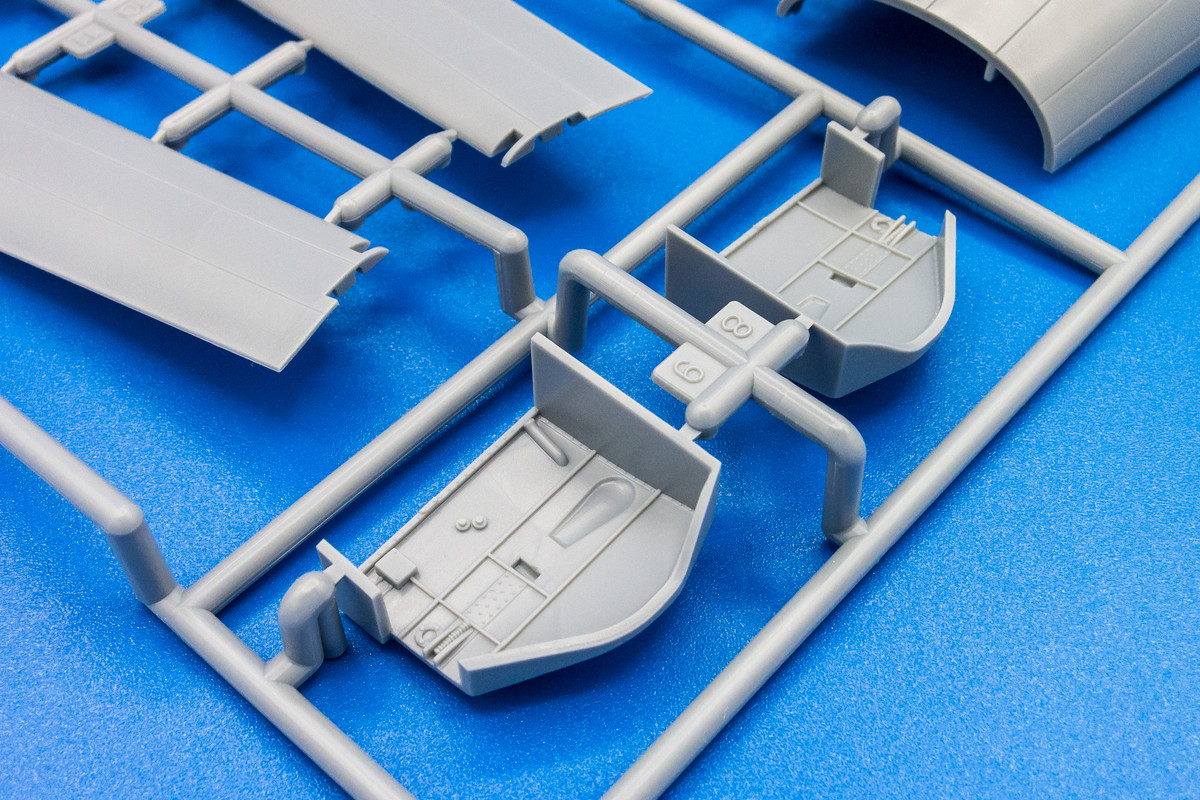
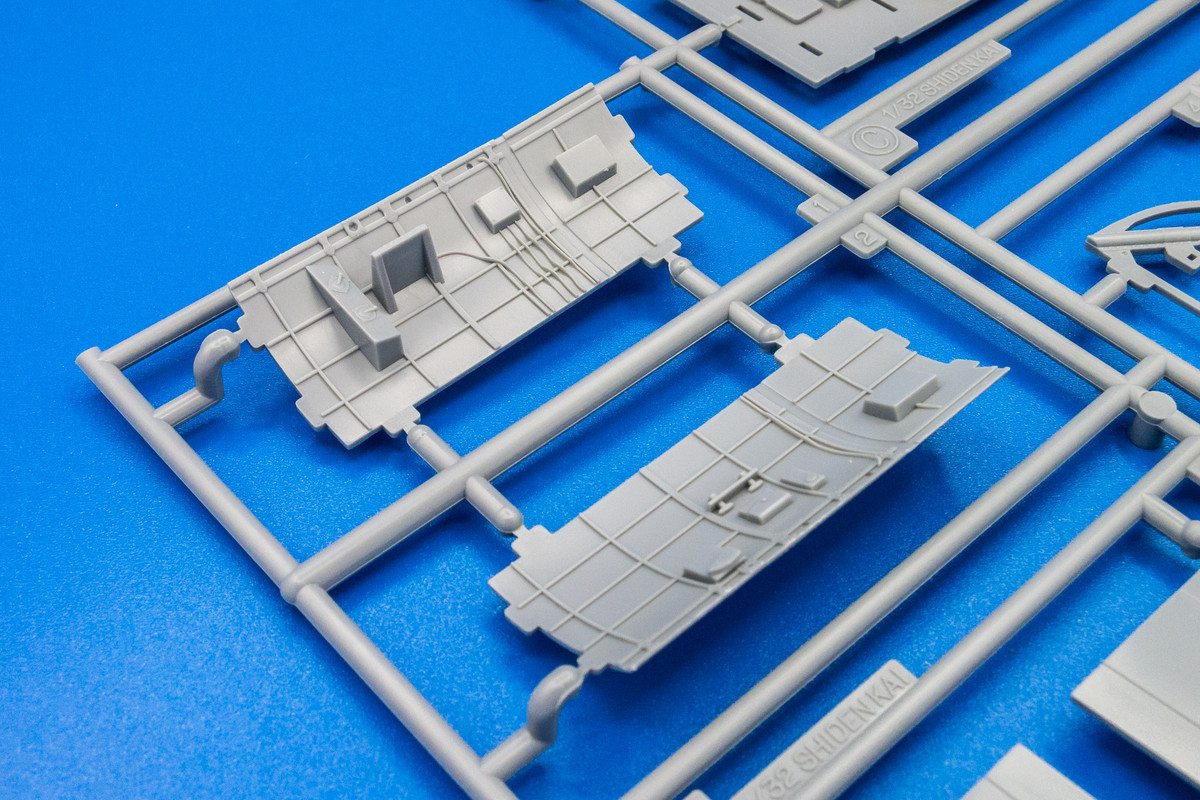
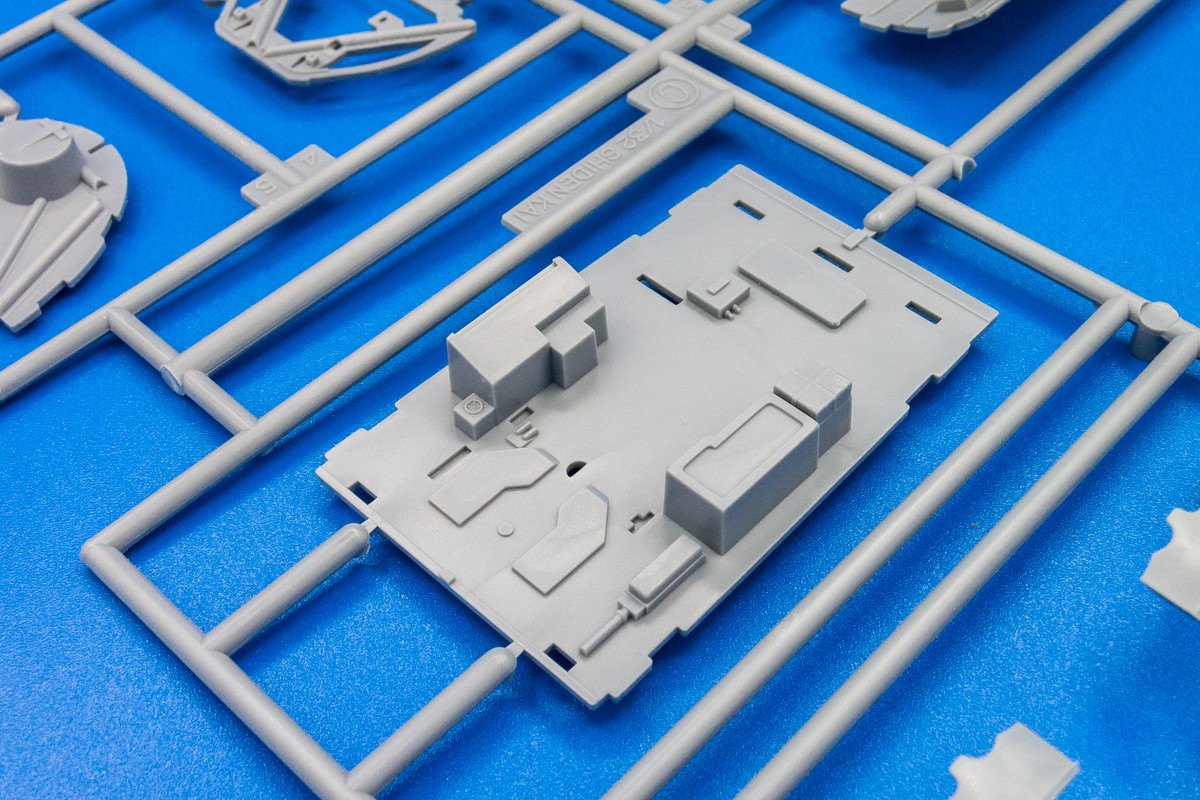
The cockpit is a tub configuration comprised primarily of the floor and two sidewalls. I like this modular approach to the cockpit as it simplifies the painting process instead of having details molded into the fuselage interior.
The molding is of the highest quality but the main cockpit components are not heavily detailed. Again, I'll refer to my references to see if any additional details can be added. The cockpit is pretty big and spacious, judging by the width of the floor panel but the sidewalls curve narrower at the canopy opening and the view into the interior from the outside might be very restricted.
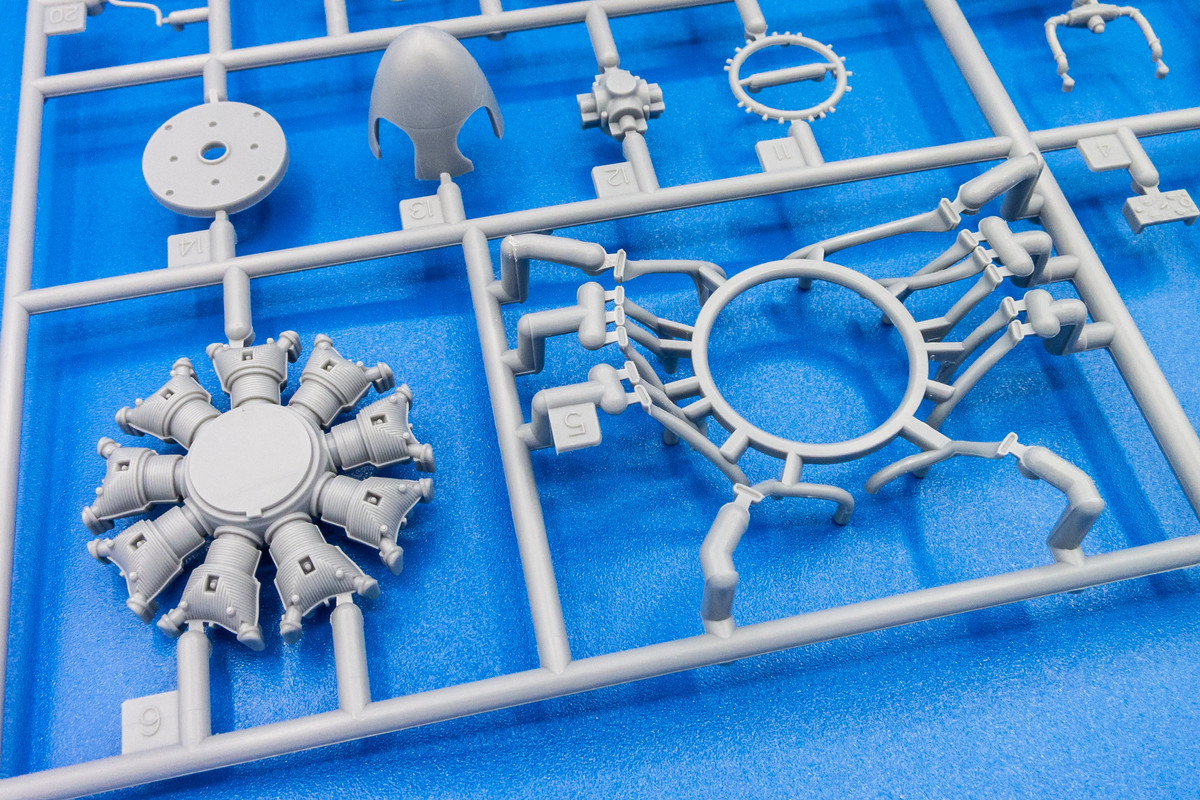
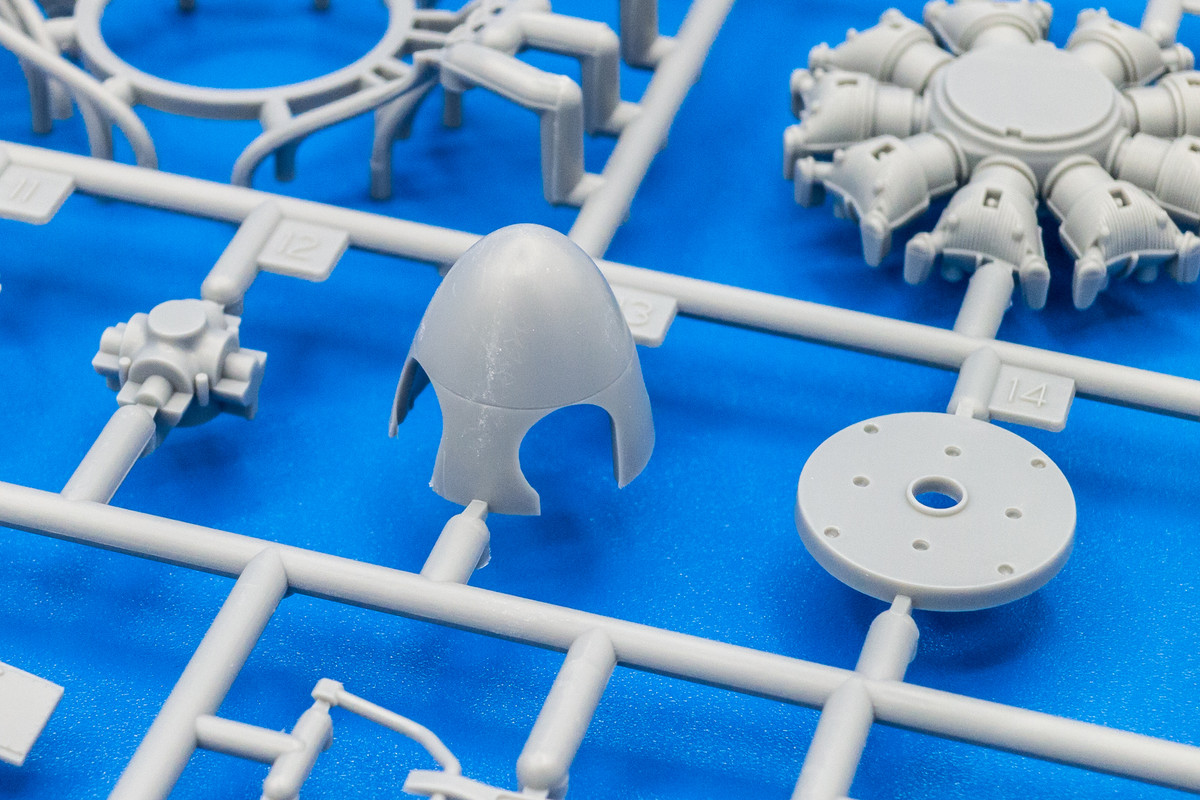
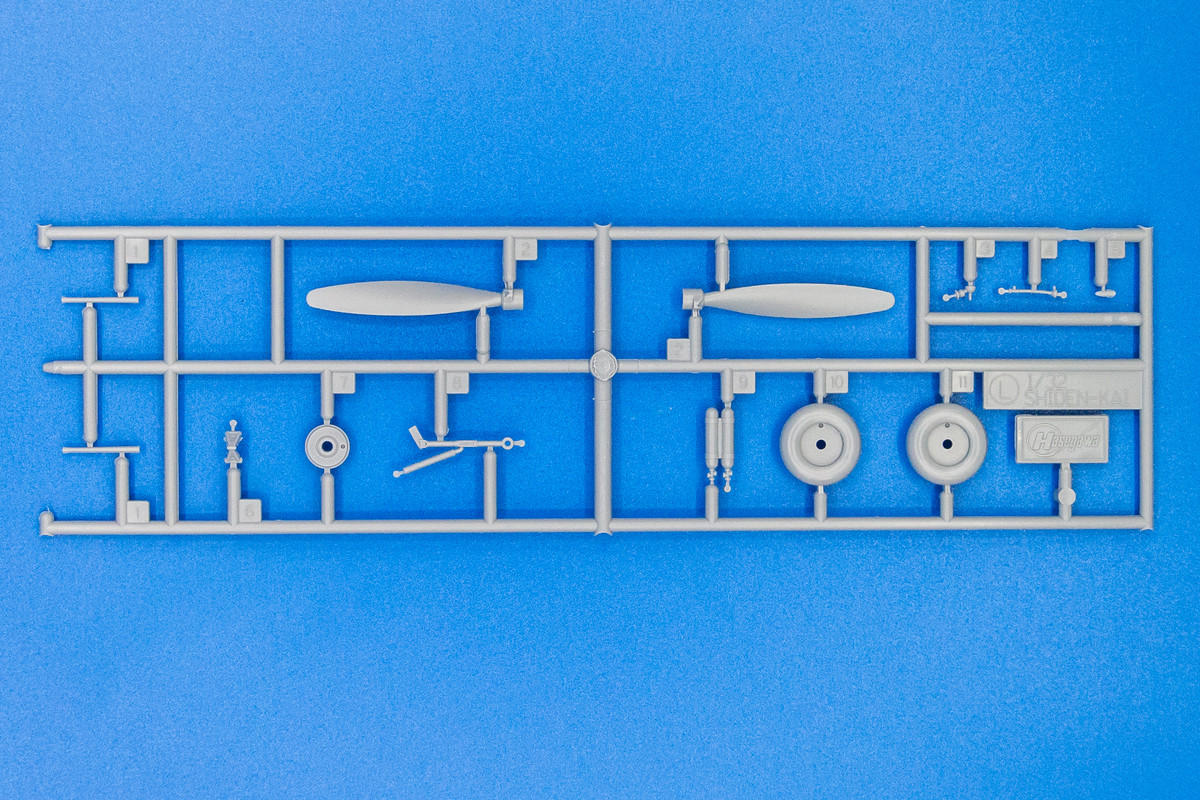
The engine seems to be represented quite well. I'm looking forward to working on the 2,000 HP Nakajima Homare engine because it is a radial and I've been working on inline engines that are hidden from view. The aerodynamic spinner will hide some of the engine but you should still be able to peek into the cowl opening and see the powerplant.
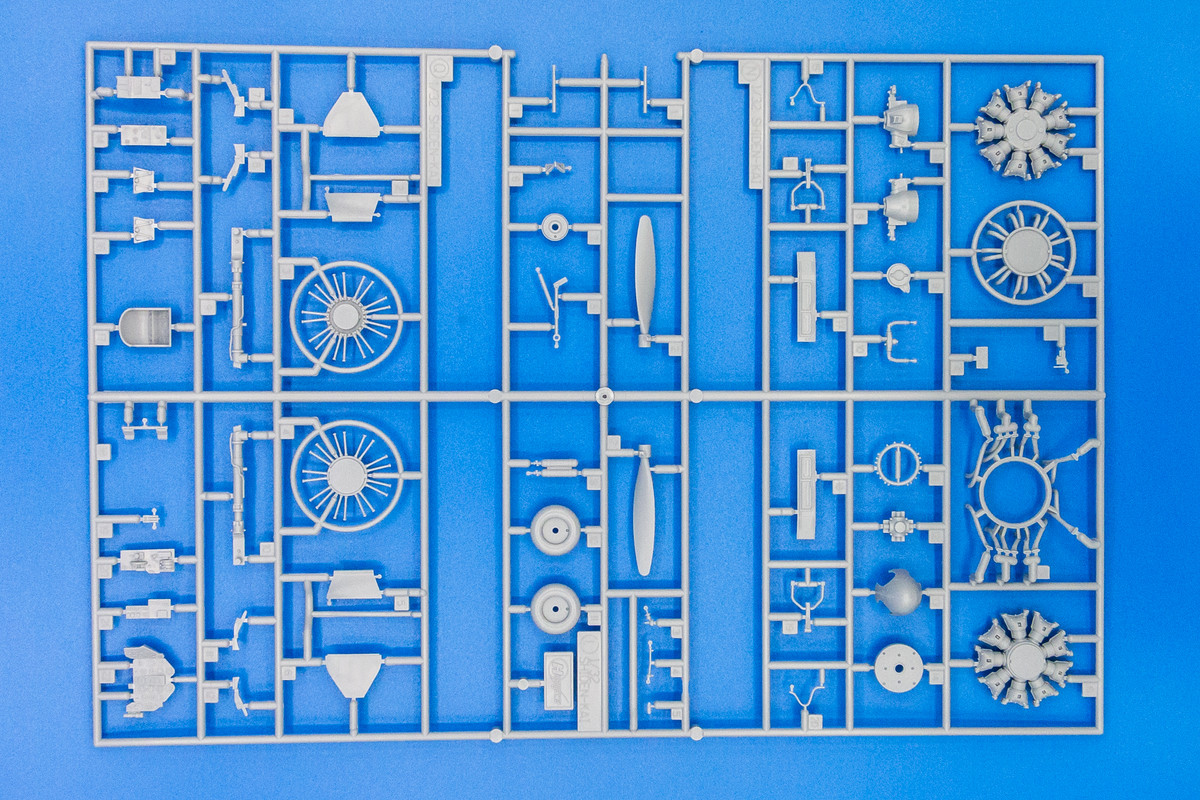
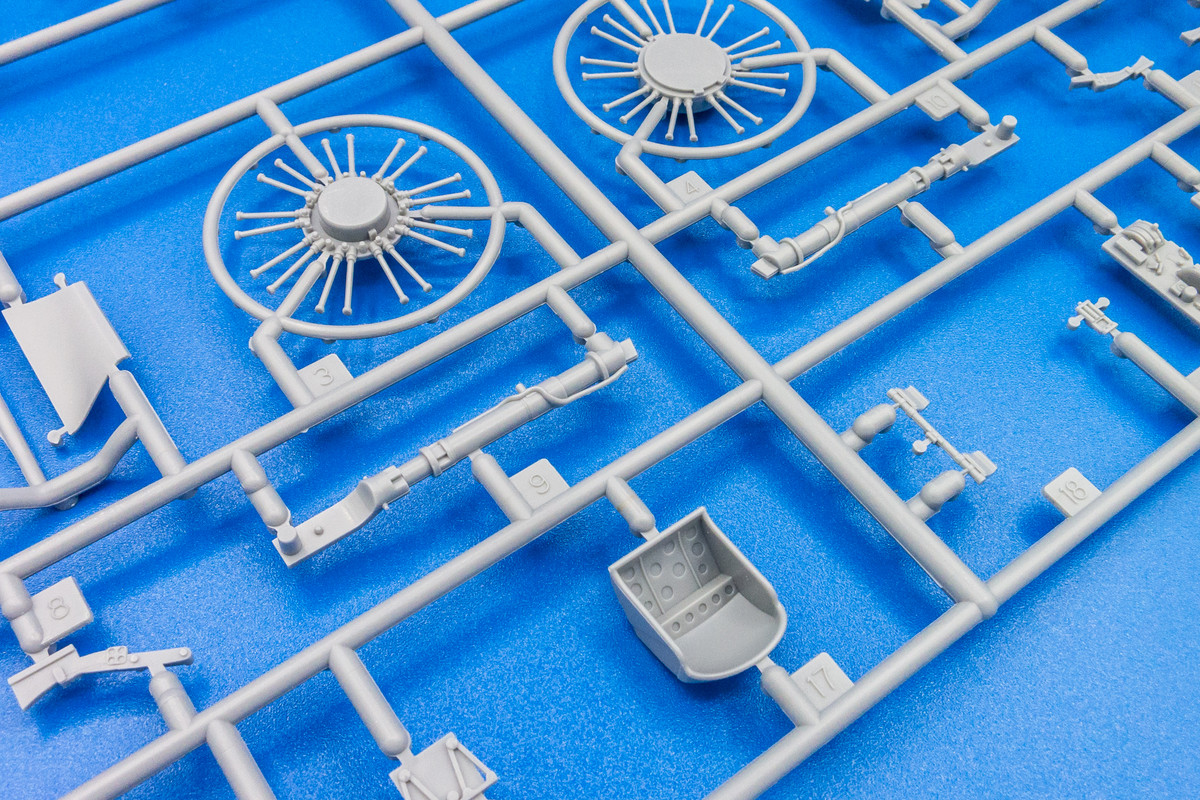
I think Hasegawa reserves its best work for Japanese subjects. The exhaust pipes, which are no bigger than what you'd find on a Bf109 or Fw190D-9, feature hollowed openings, which I don't typically see on Luftwaffe kits by Hasegawa.
The landing gear legs feature molded on hydraulic lines, which appear to be round in cross-section... again, an enhancement that I've not seen on other Hasegawa kits.
The single bag approach scratched up the spinner but the damage looks to be superficial only.
Similar to the 109 and 190D series of kits from Hasegawa, the N1K2-J features a separate tail. This allows Hasegawa to release another version of the N1K2-J that featured a smaller tail without creating a brand new set of molds.
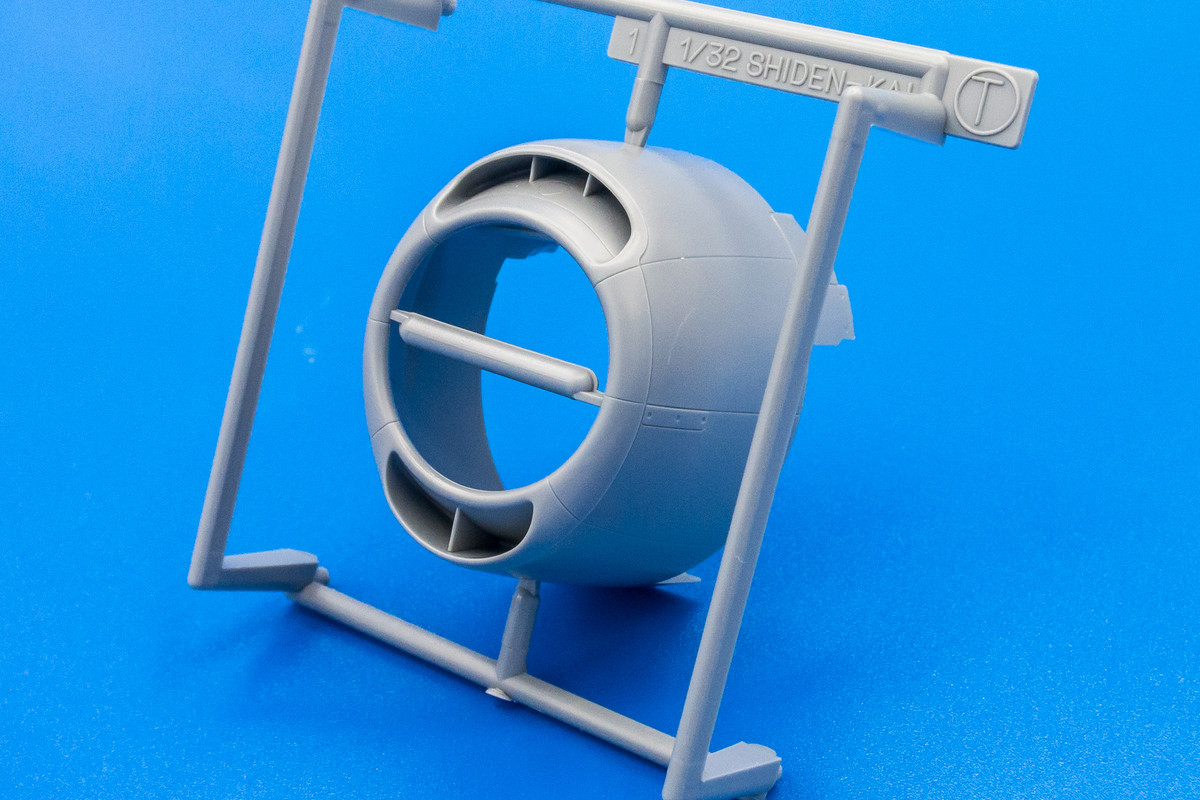
The engine cowling is impressive molded in a single piece. Hasegawa protected this unique feature by packing it in its own bag.
There is a curious "leftover" sprue that seems to catch all of the parts that Hasegawa couldn't fit on the main sprues. Hasegawa took advantage of slide molding again to hollow out the cannon barrels.
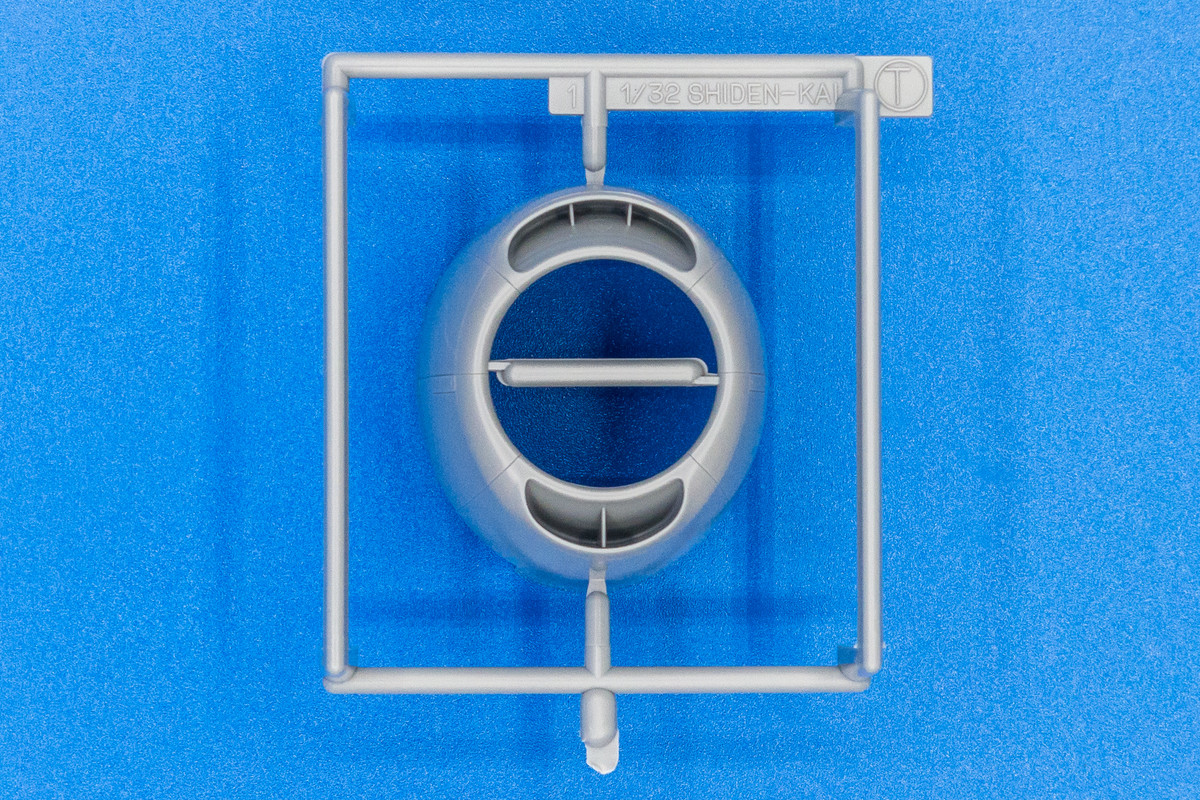
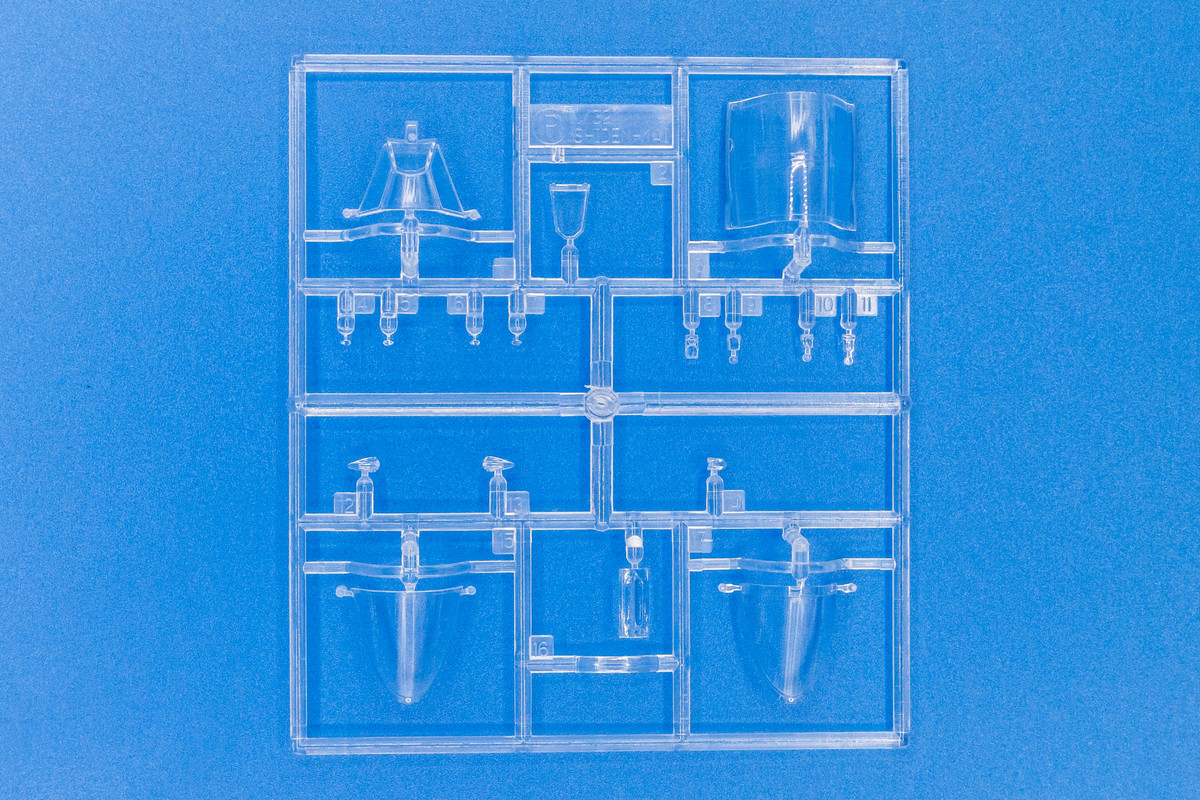
The clear parts wrap up the sprue tour of the N1K2-J kit. Similar to Tamiya's F4U Corsair kit, Hasegawa offers two rear canopy versions to accommodate open or closed canopy positions. This is a nice touch that takes into account the not-to-scale thickness of the clear parts.

And unlike most of my other builds, this one will be relatively light in terms of aftermarket add-ons. For the simple fact that there just isn't much out there for the Shiden Kai. This is the kit I'll be working on...
It comes in a larger than expected top-opening box. The box is bigger than the other Hasegawa kits that I've built including the Bf109s and Fw190Ds. The primary reason is that this fighter was a BIG BEEFY aircraft. It was developed by Kawanishi as a replacement for the venerable Zero. Just as the F6F Hellcat was specifically designed to combat the Zero, the N1K was aimed directly at the Hellcat. Based off of the Kyofu floatplane, the N1K1 Shiden showed promise but there were serious issues with the long, spindly landing gear legs that were needed because of the mid-wing design. The N1K2 Shiden Kai addressed that issue with a more conventional low wing configuration and a effective new fighter was born.
The majority of the typical Hasegawa grey parts are packed into a single plastic bag. I prefer separate bags for each sprue to protect the parts but I didn't notice anything broken.
The fuselage is noticeably deep and wide... reminds me of the P-47. Molding is typical of Hasegawa, very fine with very little flash.
Panel detail is primarily recessed with a few raised features where appropriate. Rivets are restricted to a certain areas and are not universally represented. I like this approach. It gives the option to the modeler and I find that manually applied rivets using a tool such as RB Productions Rivet-R are much more scale appropriate than can be achieved with the injection molding process.
The wheel wells are inserts that are appropriately deep but not too heavily detailed. I'll have to check my references to see if any additions are warranted.
This sprue is large because the wings are huge. They accommodate twin 20mm cannon on each side, which offered devastating firepower.
The detail is beautifully molded. Check out the thin piece of wing on the trailing edge at the wing root... the proverbial "accident waiting to happen".
The cockpit is a tub configuration comprised primarily of the floor and two sidewalls. I like this modular approach to the cockpit as it simplifies the painting process instead of having details molded into the fuselage interior.
The molding is of the highest quality but the main cockpit components are not heavily detailed. Again, I'll refer to my references to see if any additional details can be added. The cockpit is pretty big and spacious, judging by the width of the floor panel but the sidewalls curve narrower at the canopy opening and the view into the interior from the outside might be very restricted.
The engine seems to be represented quite well. I'm looking forward to working on the 2,000 HP Nakajima Homare engine because it is a radial and I've been working on inline engines that are hidden from view. The aerodynamic spinner will hide some of the engine but you should still be able to peek into the cowl opening and see the powerplant.
I think Hasegawa reserves its best work for Japanese subjects. The exhaust pipes, which are no bigger than what you'd find on a Bf109 or Fw190D-9, feature hollowed openings, which I don't typically see on Luftwaffe kits by Hasegawa.
The landing gear legs feature molded on hydraulic lines, which appear to be round in cross-section... again, an enhancement that I've not seen on other Hasegawa kits.
The single bag approach scratched up the spinner but the damage looks to be superficial only.
Similar to the 109 and 190D series of kits from Hasegawa, the N1K2-J features a separate tail. This allows Hasegawa to release another version of the N1K2-J that featured a smaller tail without creating a brand new set of molds.
The engine cowling is impressive molded in a single piece. Hasegawa protected this unique feature by packing it in its own bag.
There is a curious "leftover" sprue that seems to catch all of the parts that Hasegawa couldn't fit on the main sprues. Hasegawa took advantage of slide molding again to hollow out the cannon barrels.
The clear parts wrap up the sprue tour of the N1K2-J kit. Similar to Tamiya's F4U Corsair kit, Hasegawa offers two rear canopy versions to accommodate open or closed canopy positions. This is a nice touch that takes into account the not-to-scale thickness of the clear parts.