Page 3 of 27
Re: 1/32 Hasegawa N1K2-J Shiden Kai
Posted: Tue Jun 23, 2020 10:57 pm
by jkim
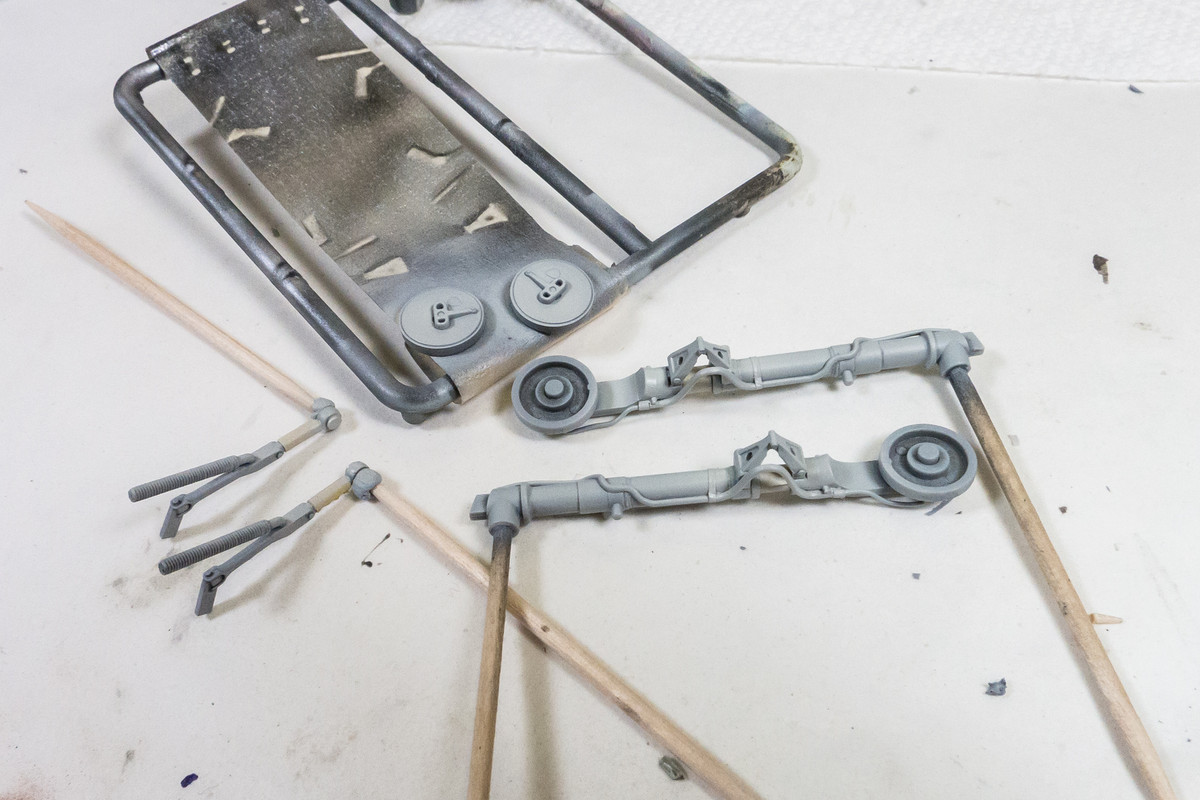
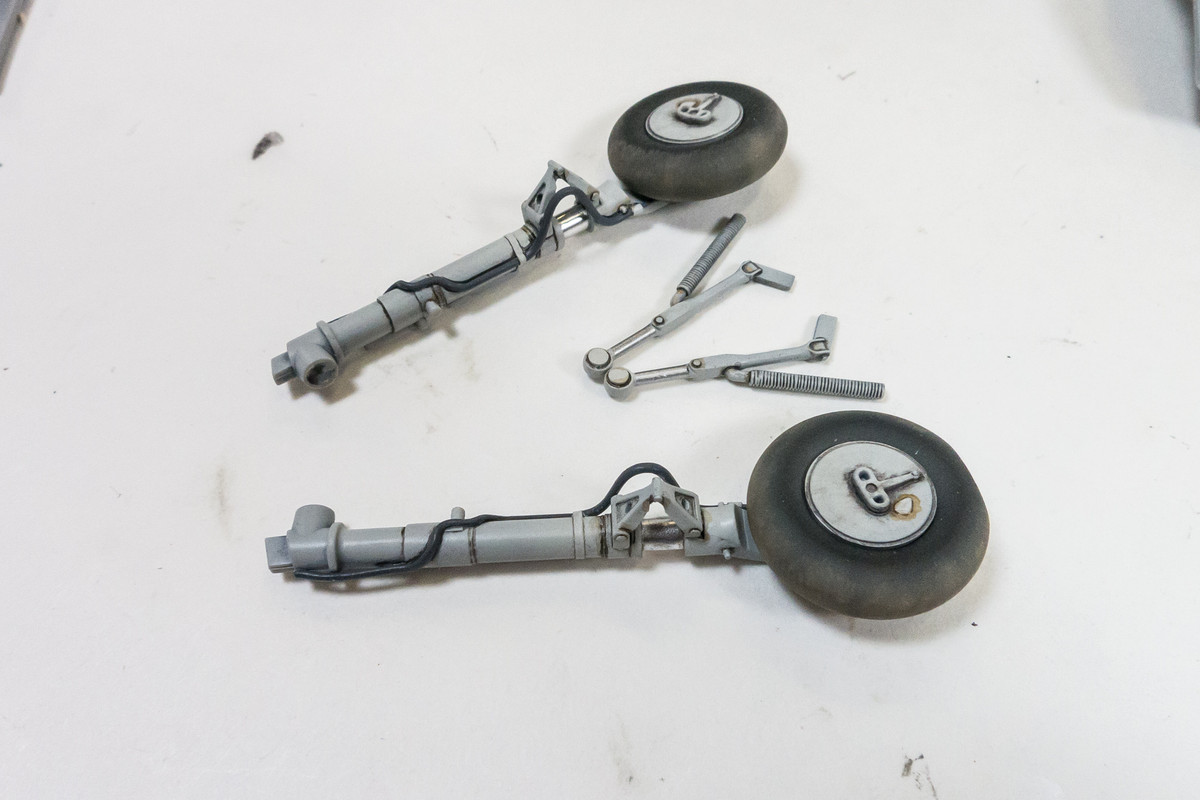
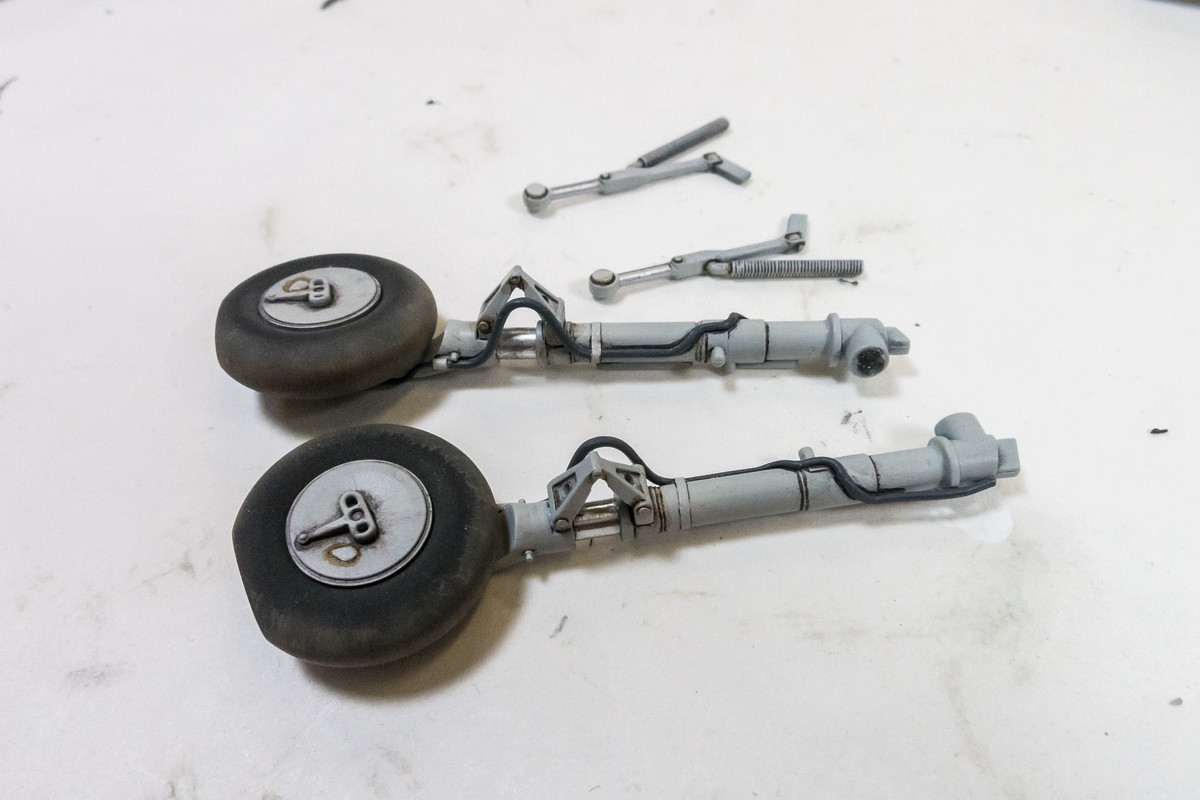
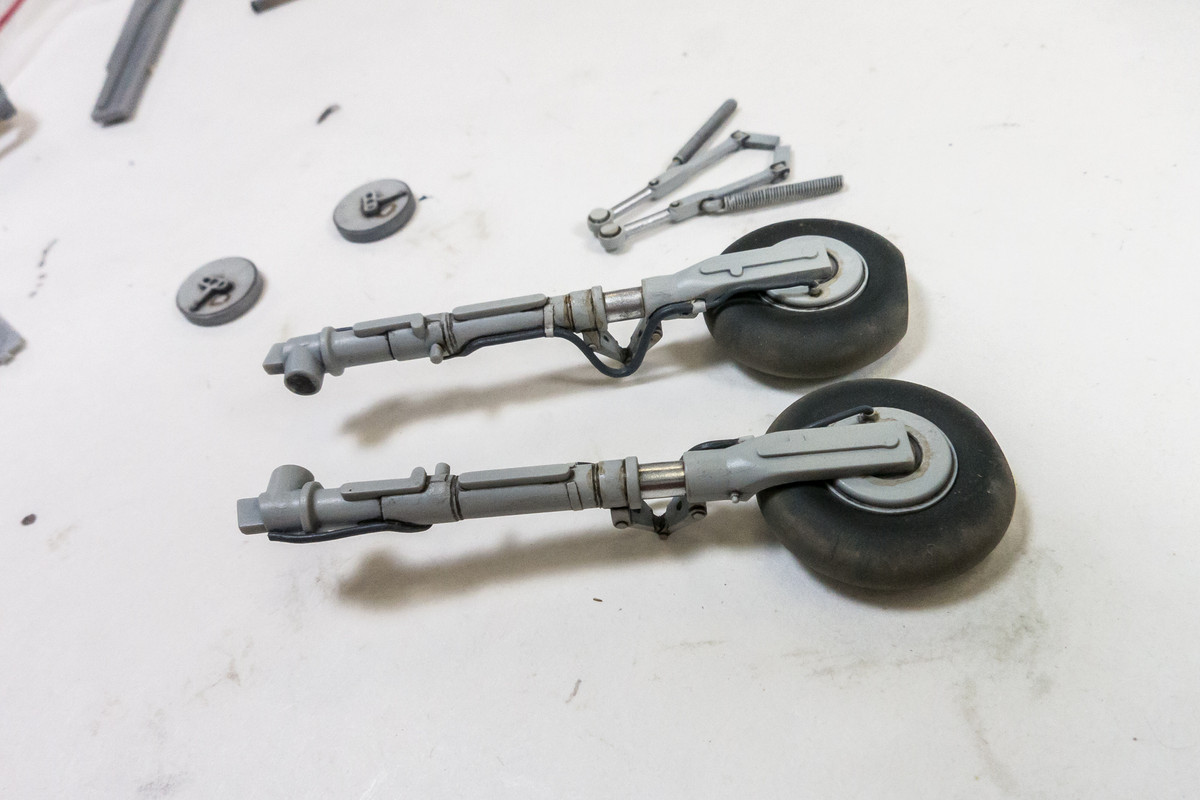
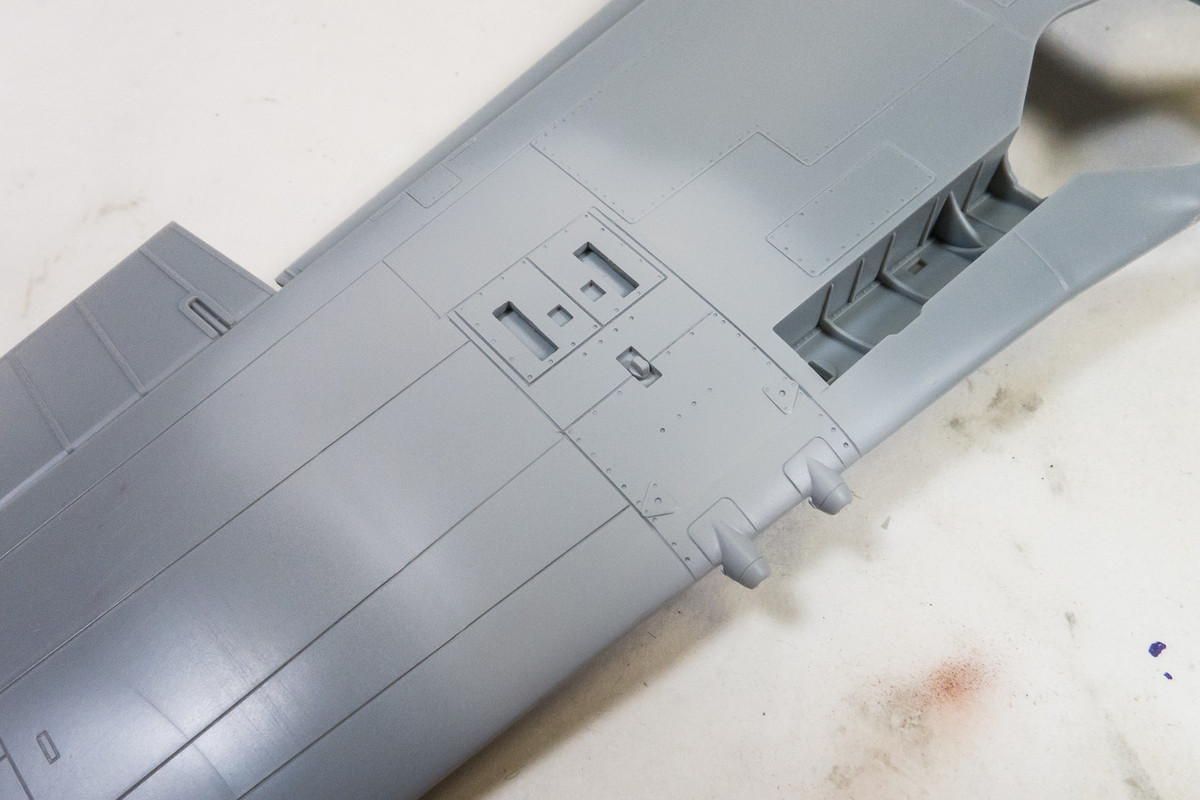
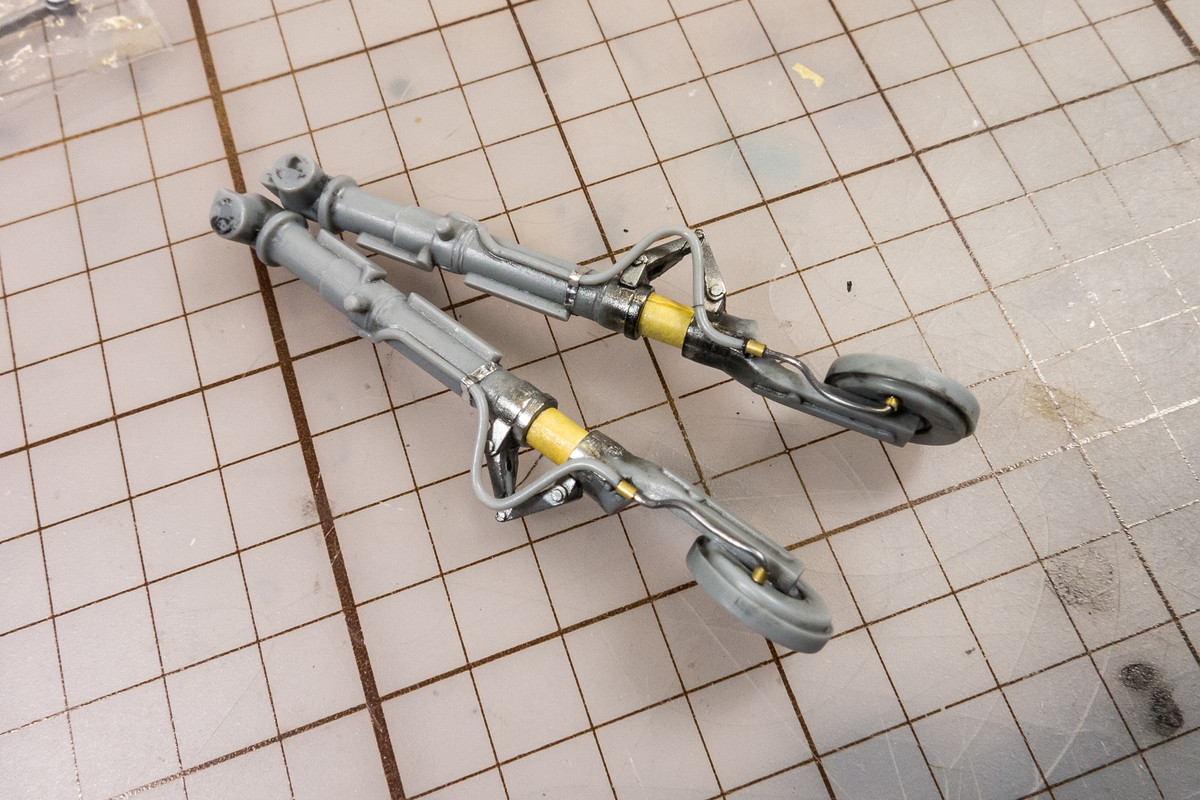
Hasegawa not only molds brake lines onto the landing gear legs, they provide a separate piece for the brake line half loop at the scissors link. But curiously, it stops short of the wheel. Based on my references, the brake line goes all the way to rear wheel cover and Hasegawa, if they are gonna go through the trouble of representing the brake line, should've completed the connection.
Using lead wire and short sections of brass tubing, I've extended the brake line in a much simplified fashion. But at least it's not just hanging out there, open-ended. I've also created a strap using foil tape to cover the joint between the two brake lines.

Re: 1/32 Hasegawa N1K2-J Shiden Kai
Posted: Wed Jun 24, 2020 8:47 am
by BlackSheep214
Incredible work! I don’t think I could do that in 1/48 scale. Maybe in 1/32 scale if I feel like paying attention to detail. Wow....
Re: 1/32 Hasegawa N1K2-J Shiden Kai
Posted: Wed Jun 24, 2020 10:01 am
by speedgraflex
Good morning! That’s some really outstanding work on the landing gear! I’m afraid I don’t have an answer to your question posed earlier. You already have the best references, and this may simply be a small mystery.... I’ll continue to look for period photos, though! All the best! I was trying to think of any Japanese modelers I know to ask, but most are sci-fi builders. Hmm.
Re: 1/32 Hasegawa N1K2-J Shiden Kai
Posted: Wed Jun 24, 2020 2:25 pm
by jkim
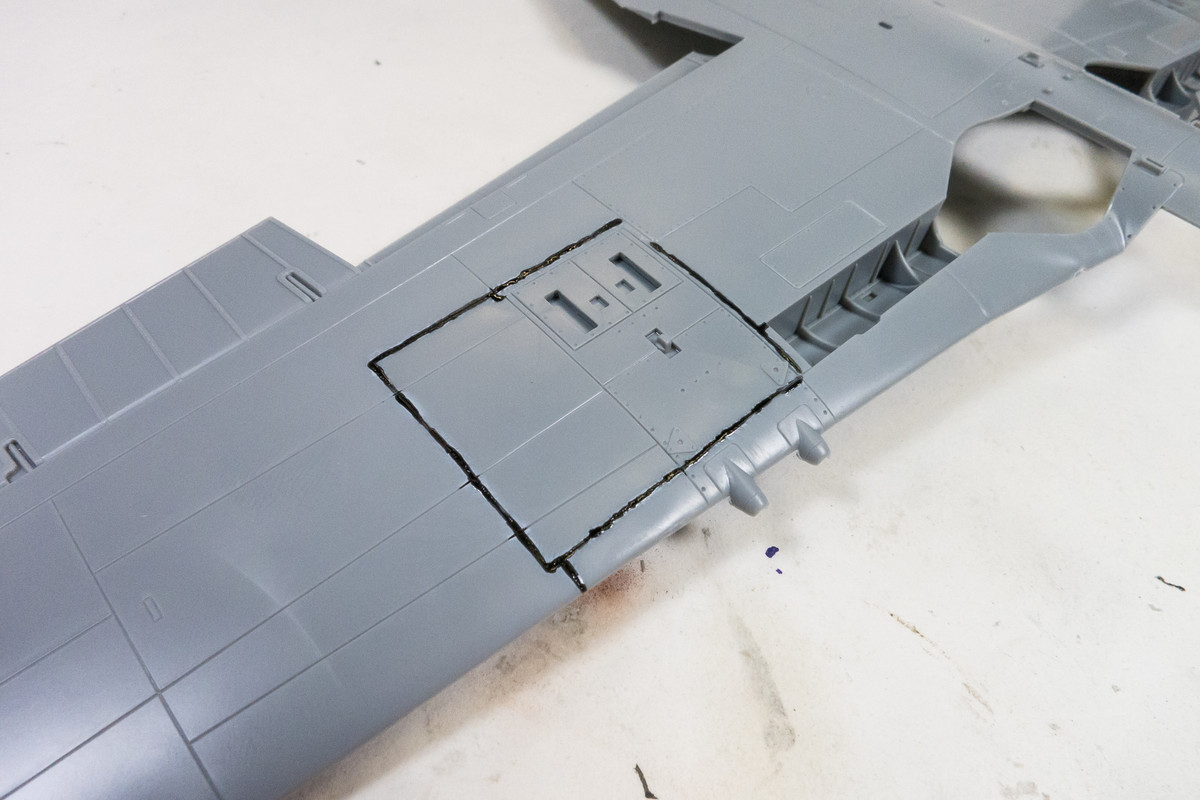
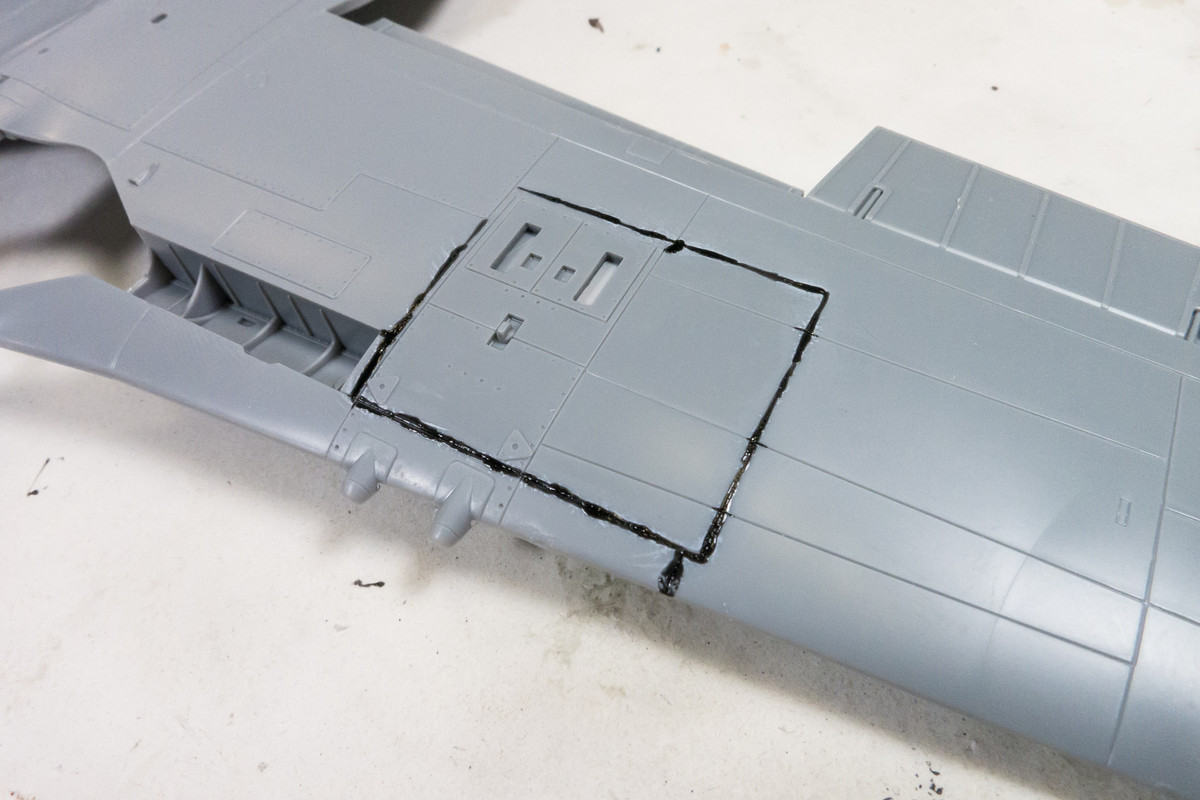
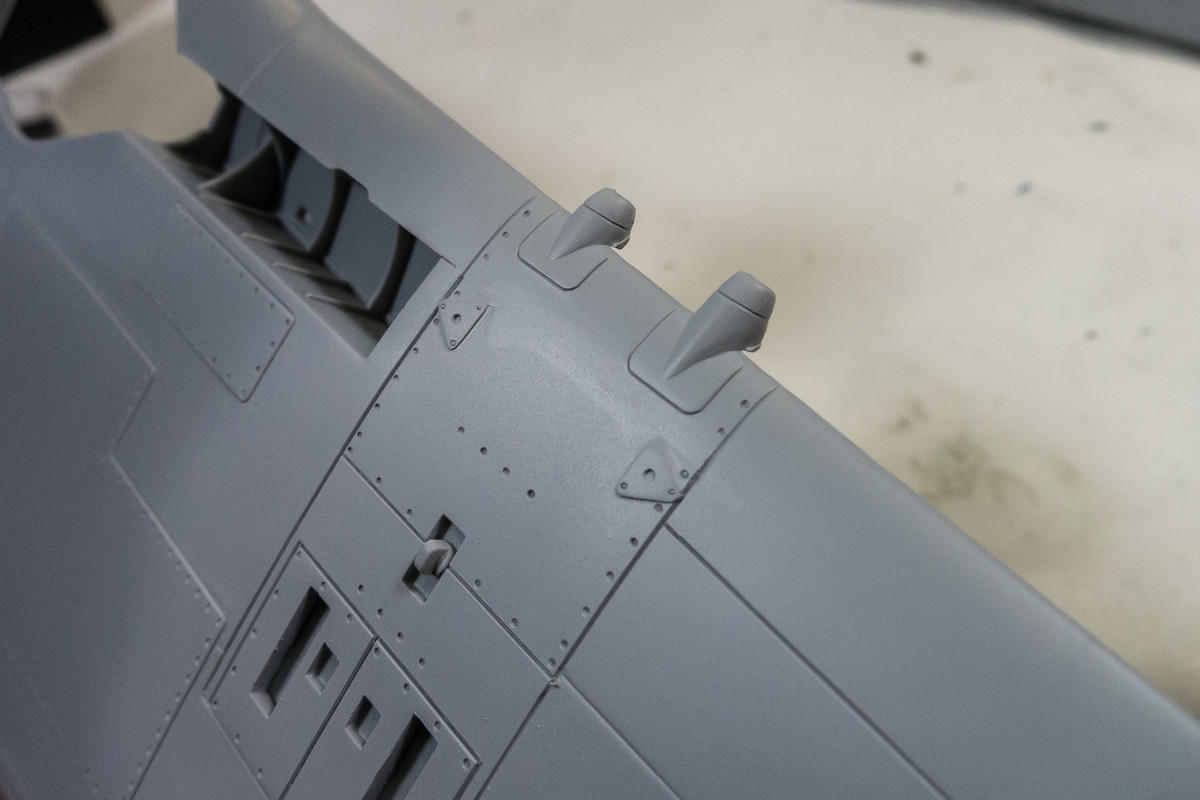
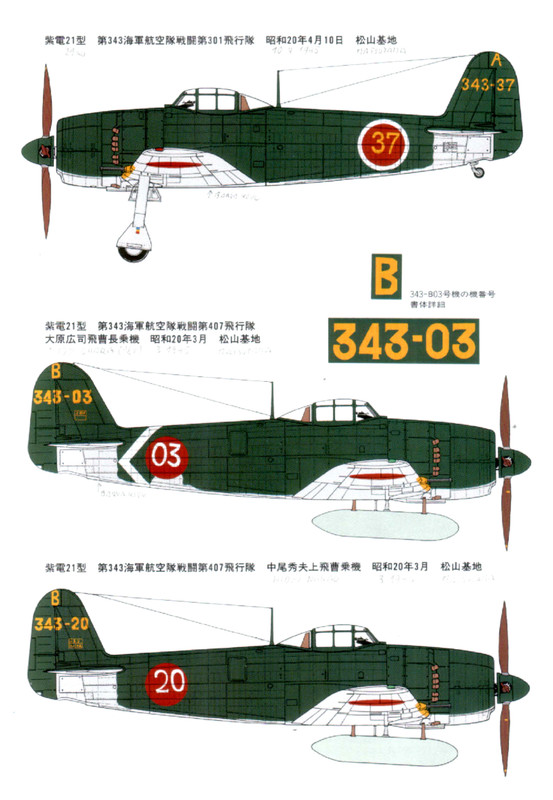
This is the closest I've gotten to in terms of documentation of the starboard side access panel. These are just drawings so there is not much confirmation there. But... the bottom two drawings, which are from the Bunrin Do publication, depict the starboard side of what appears to be a N1K2-J (middle) and a N1K2-Ja (bottom), as identified by the different sized tails. The hatch in question is shown in both drawings.
Re: 1/32 Hasegawa N1K2-J Shiden Kai
Posted: Wed Jun 24, 2020 4:04 pm
by speedgraflex
Re: 1/32 Hasegawa N1K2-J Shiden Kai
Posted: Wed Jun 24, 2020 4:22 pm
by jkim
Nice! The chap in the second pic is looking right into the hatch in question!
Re: 1/32 Hasegawa N1K2-J Shiden Kai
Posted: Wed Jun 24, 2020 6:42 pm
by speedgraflex
The second photo is from the Air Force site. I think. I’ll find the link just in case you need any of their photos.
https://www.nationalmuseum.af.mil/Visit ... ai-george/
Re: 1/32 Hasegawa N1K2-J Shiden Kai
Posted: Thu Jun 25, 2020 8:44 pm
by jkim
Re: 1/32 Hasegawa N1K2-J Shiden Kai
Posted: Fri Jun 26, 2020 12:49 am
by speedgraflex
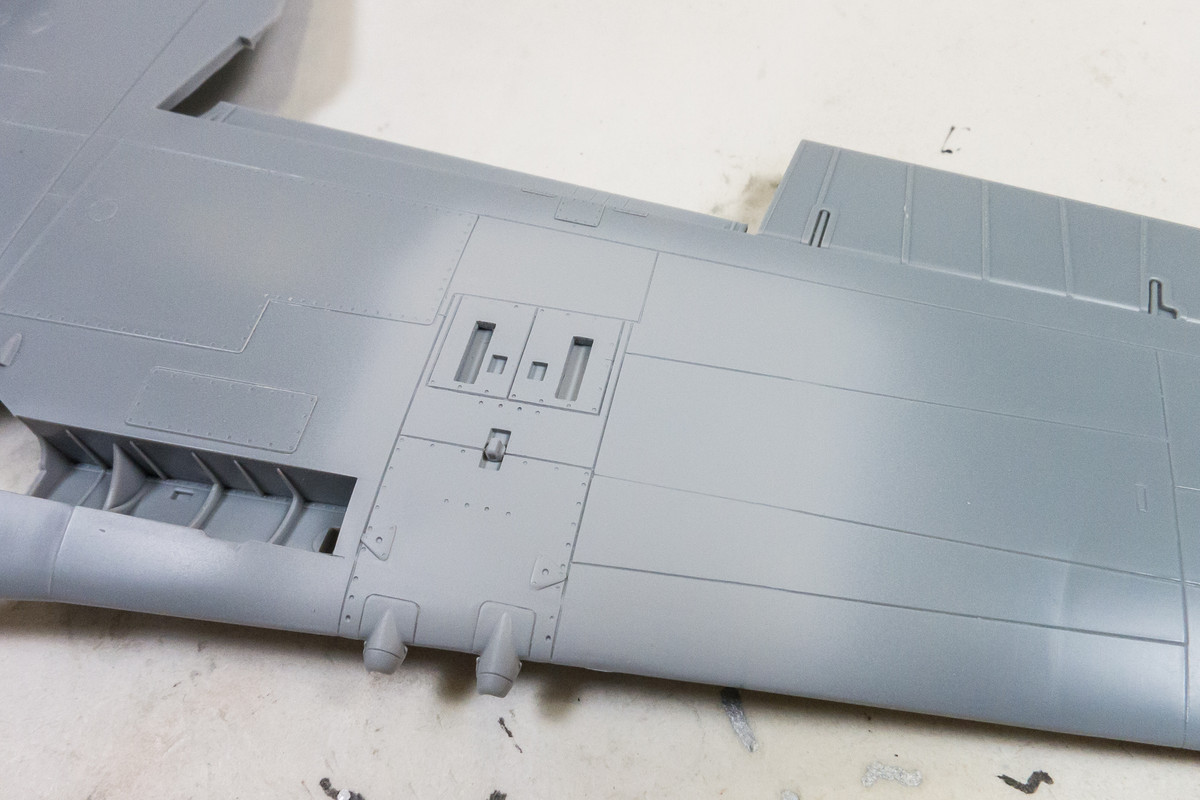
John! Beautiful work. The panel line fills are extraordinary! It’s all about refinement!
Re: 1/32 Hasegawa N1K2-J Shiden Kai
Posted: Fri Jun 26, 2020 6:37 pm
by jkim
Thanks Bruce!
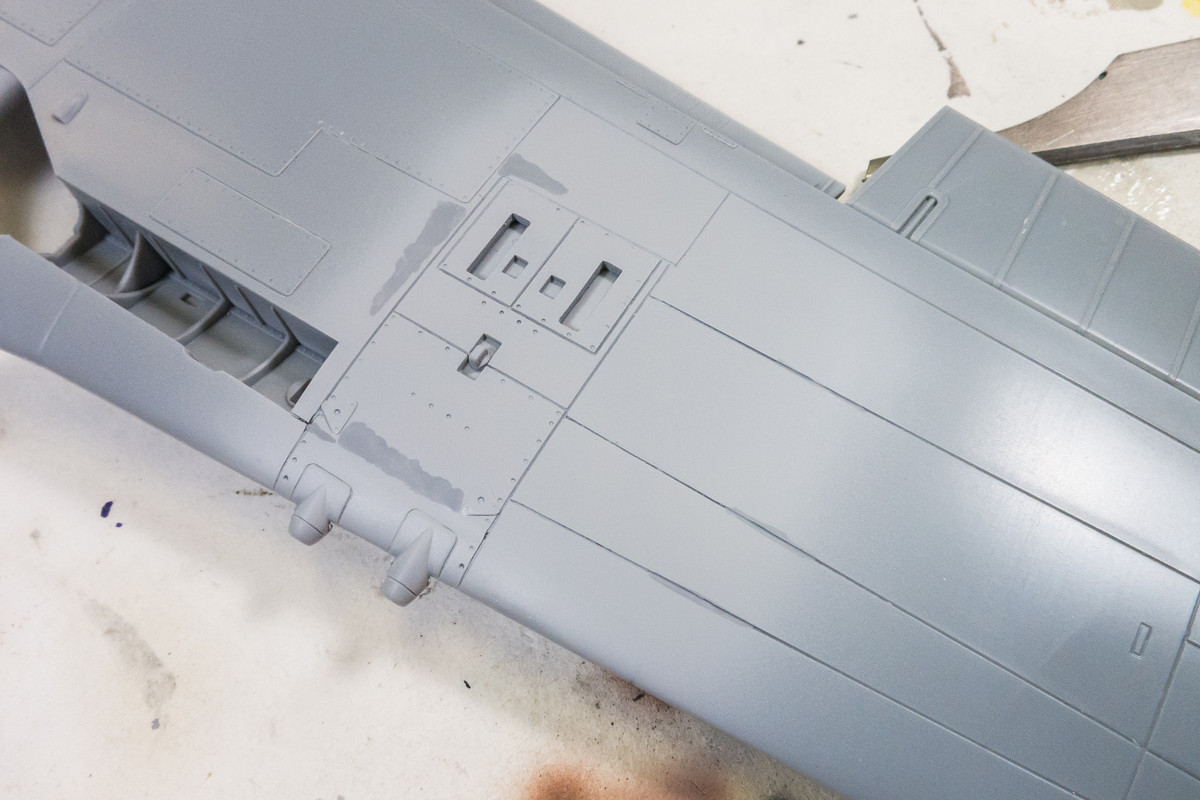
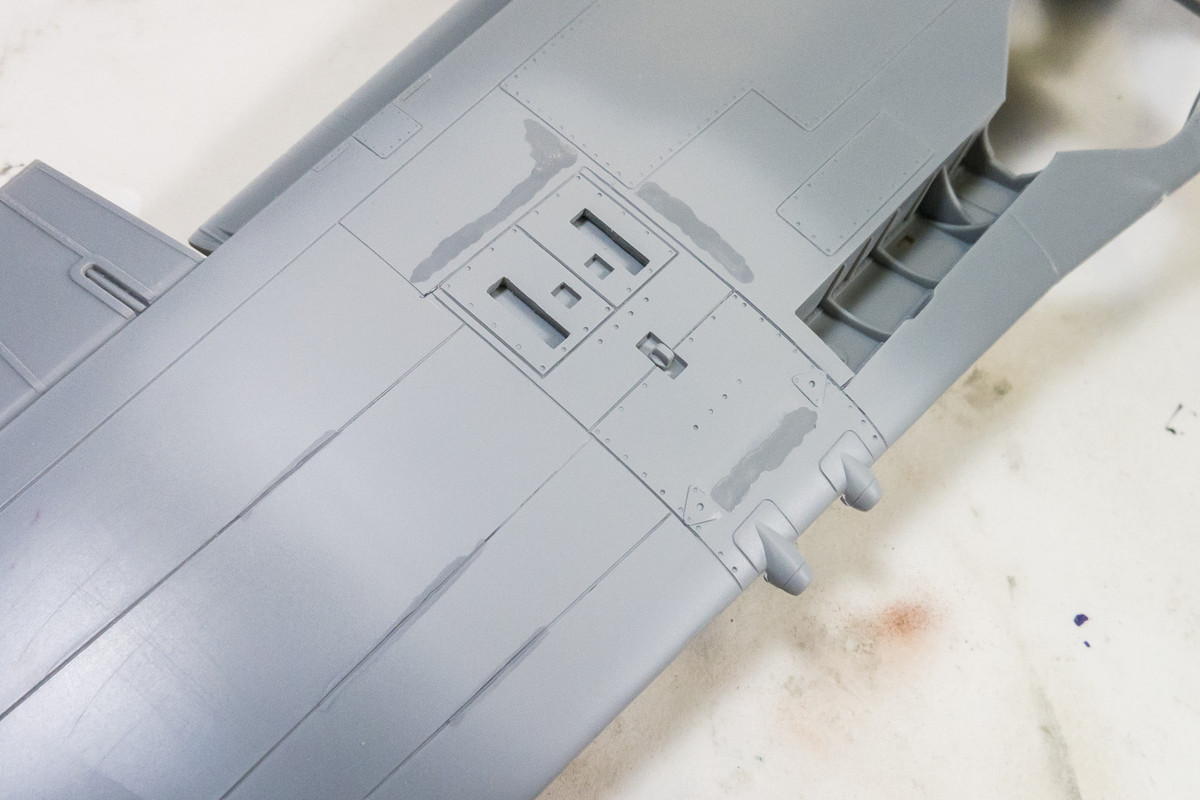
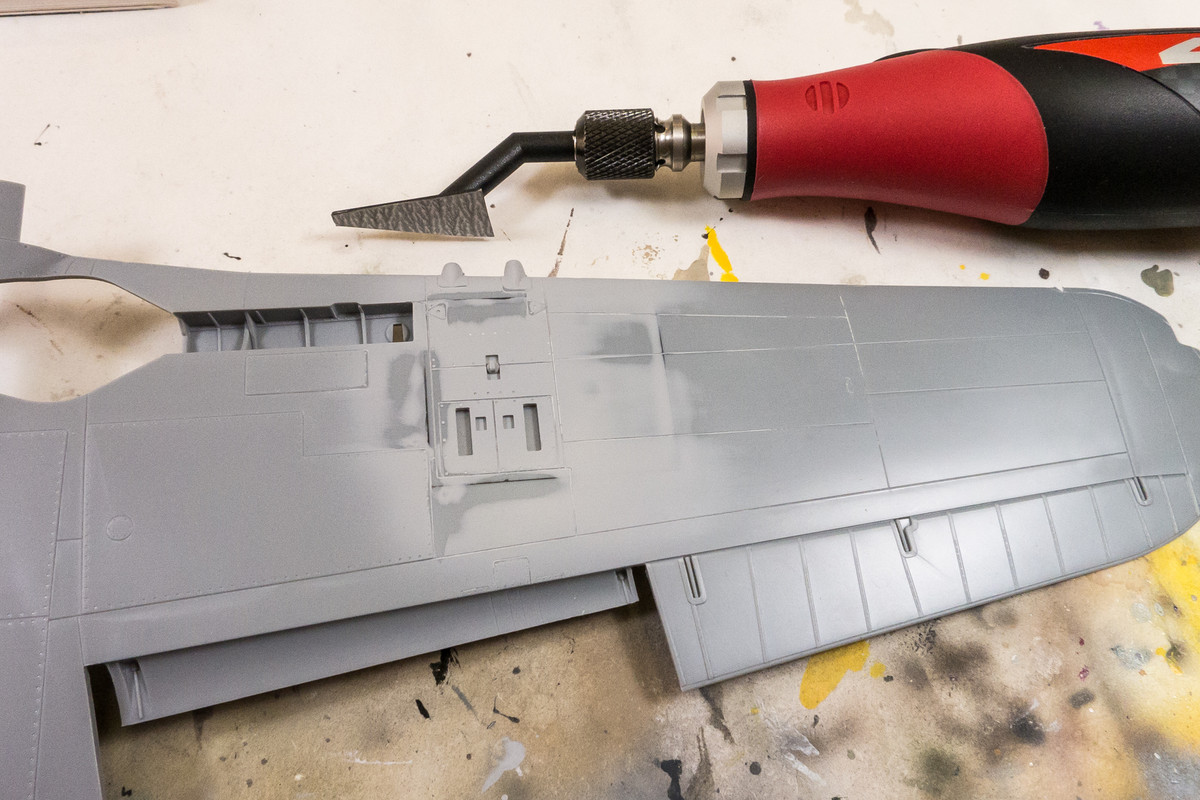
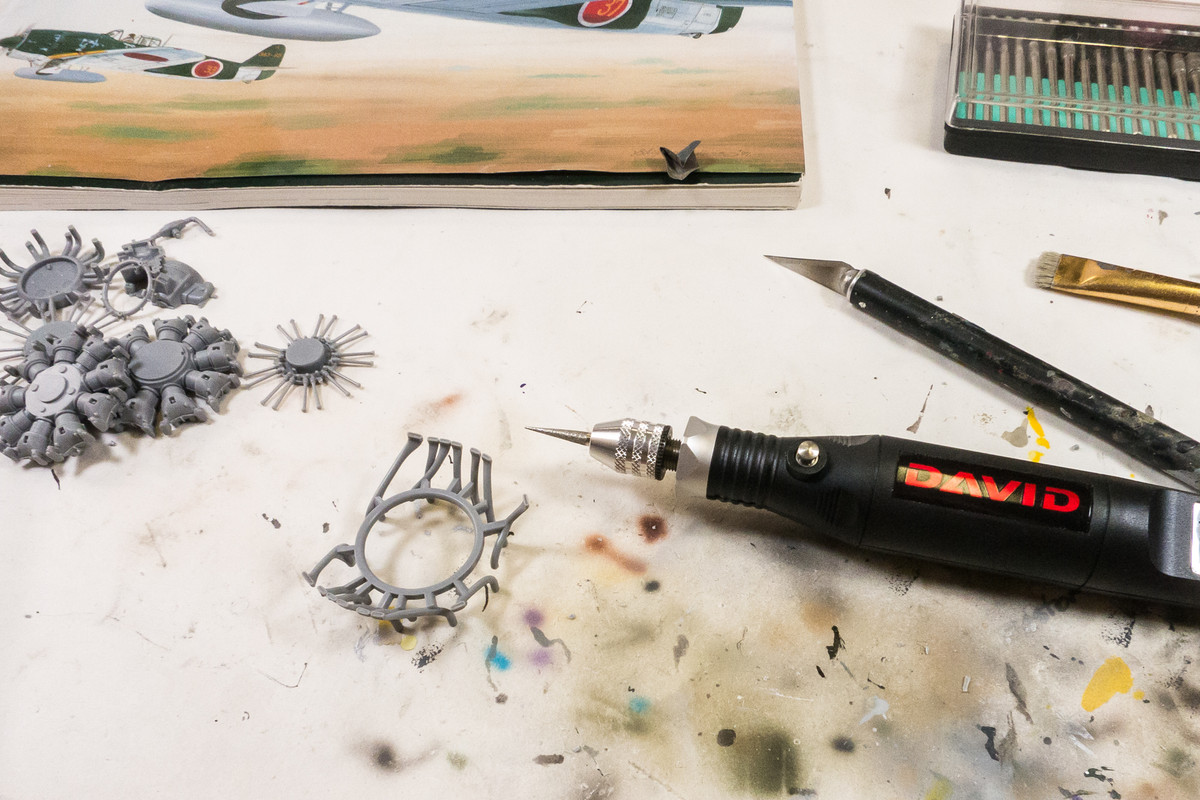
The insert panel joints were further refined using the D400 sander. I changed the sanding paper to 600 grit. I'm not going to apply another primer coat at this stage since there is still riveting to do and I don't want to build up too many paint layers.
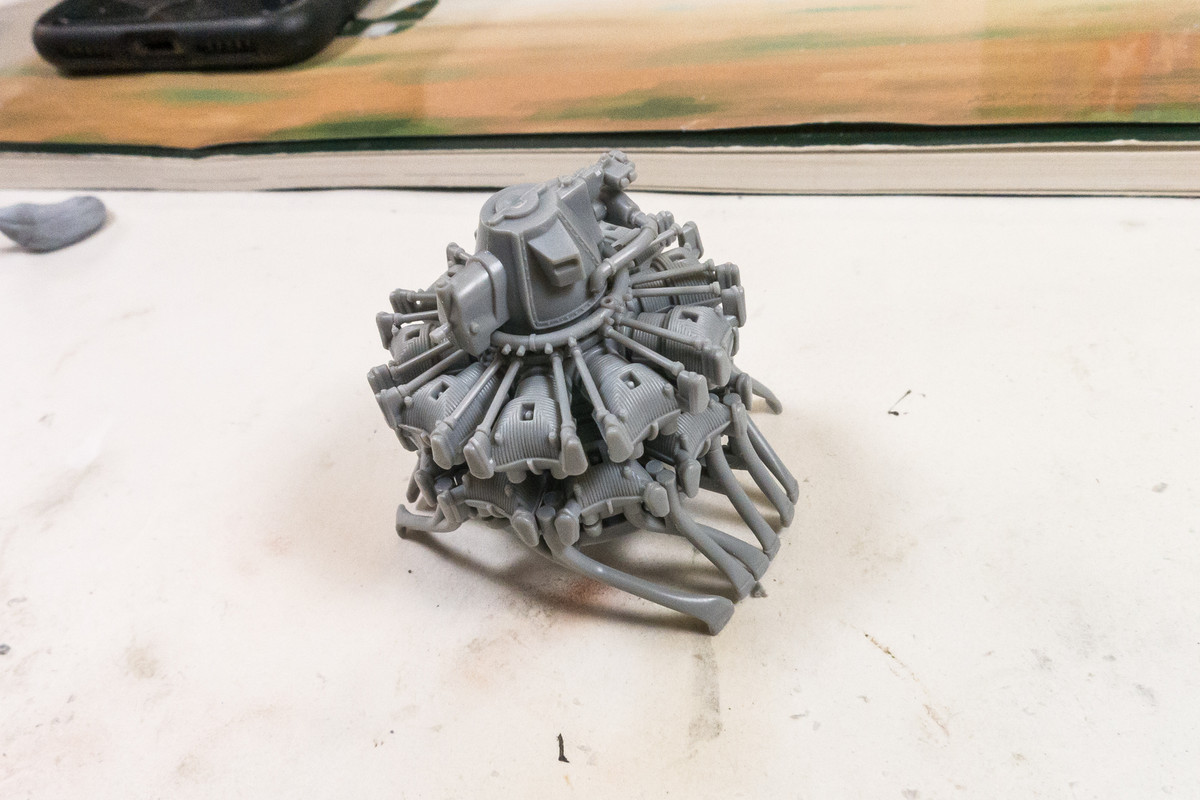
I decided to take a look at the engine to decide what kind of work I'll be doing here. It's a fairly complete representation except the cylinder banks are hollow on the rearward facing side.
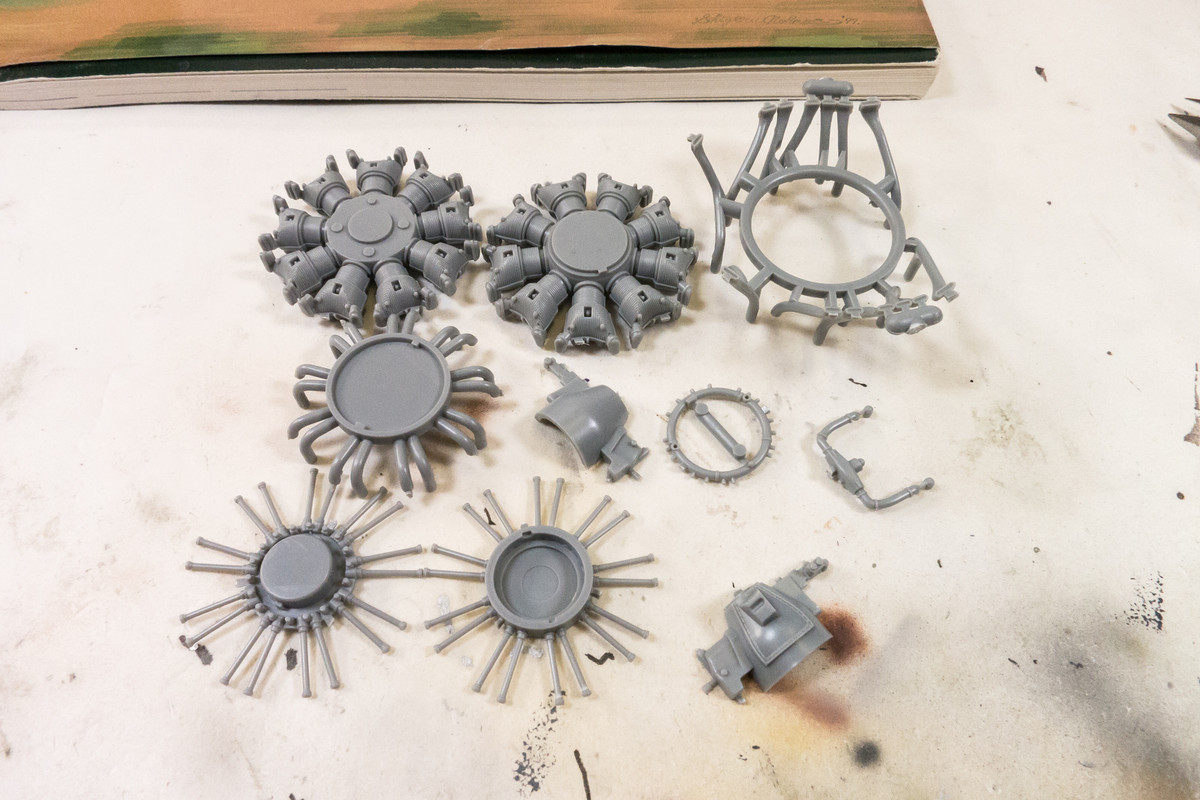
The exhaust ends are not exactly "hollow" but recessed as dimples.
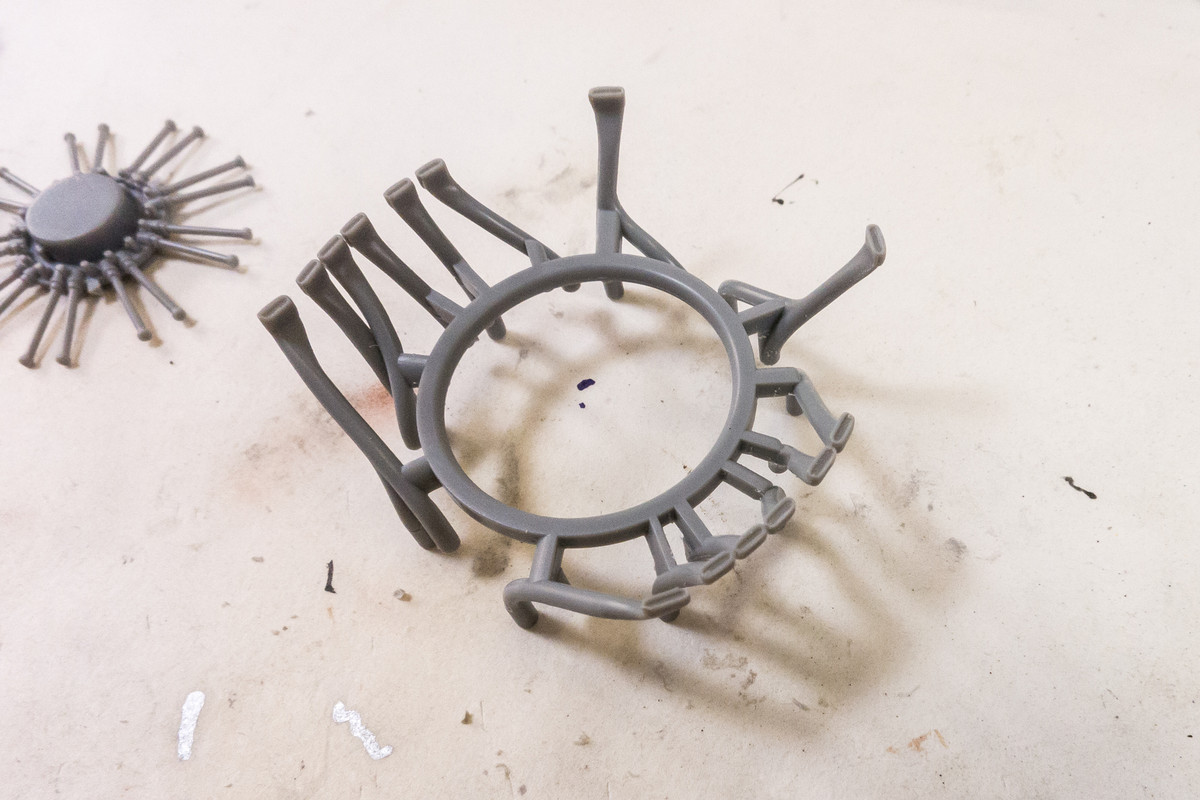
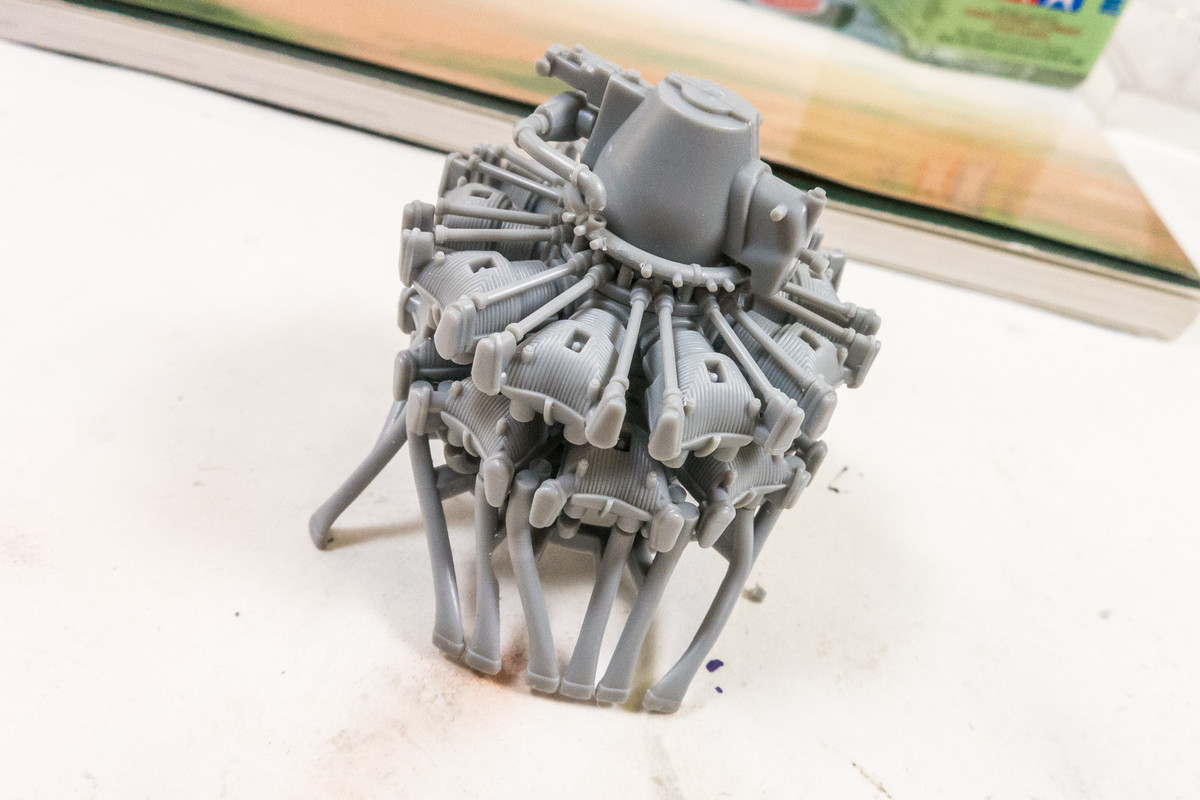
I used the D300 router to deepen the recesses a little bit.
I spied a cutting head that came with the D300 and thought it might be useful to deepen the exhaust openings. I tested it out on a piece of plastic and decided not to risk damaging the exhausts. This tool isn't really made for the side-to-side motion necessary to hollow out elliptical openings.

Doesn't look much better but the exhaust openings ARE deeper. Tipped with black paint, they should look the part.
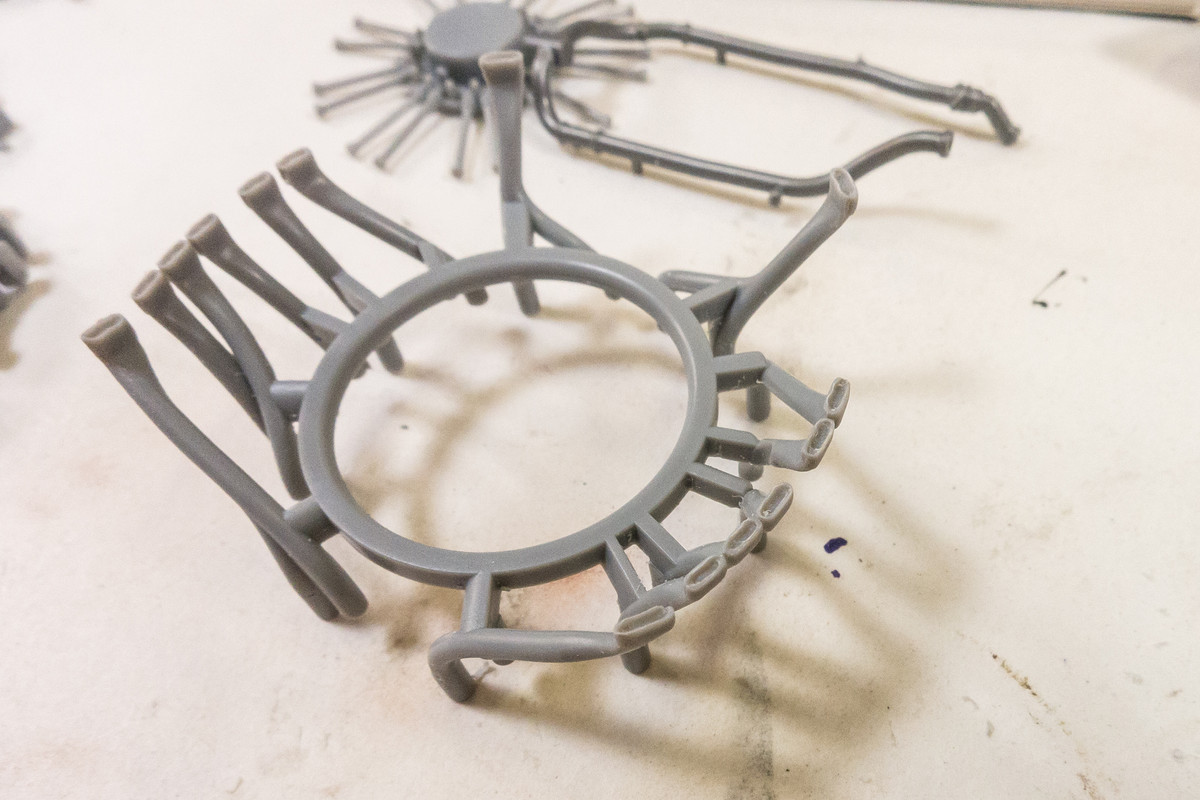
Here are the unmodified engine components stuck together using Blue Tack. The stubs on the wiring harness are very small but I think I can use a micro drill bit to hollow out them out to accept wires.