Page 5 of 27
Re: 1/32 Hasegawa N1K2-J Shiden Kai
Posted: Sun Jun 28, 2020 8:57 pm
by jkim
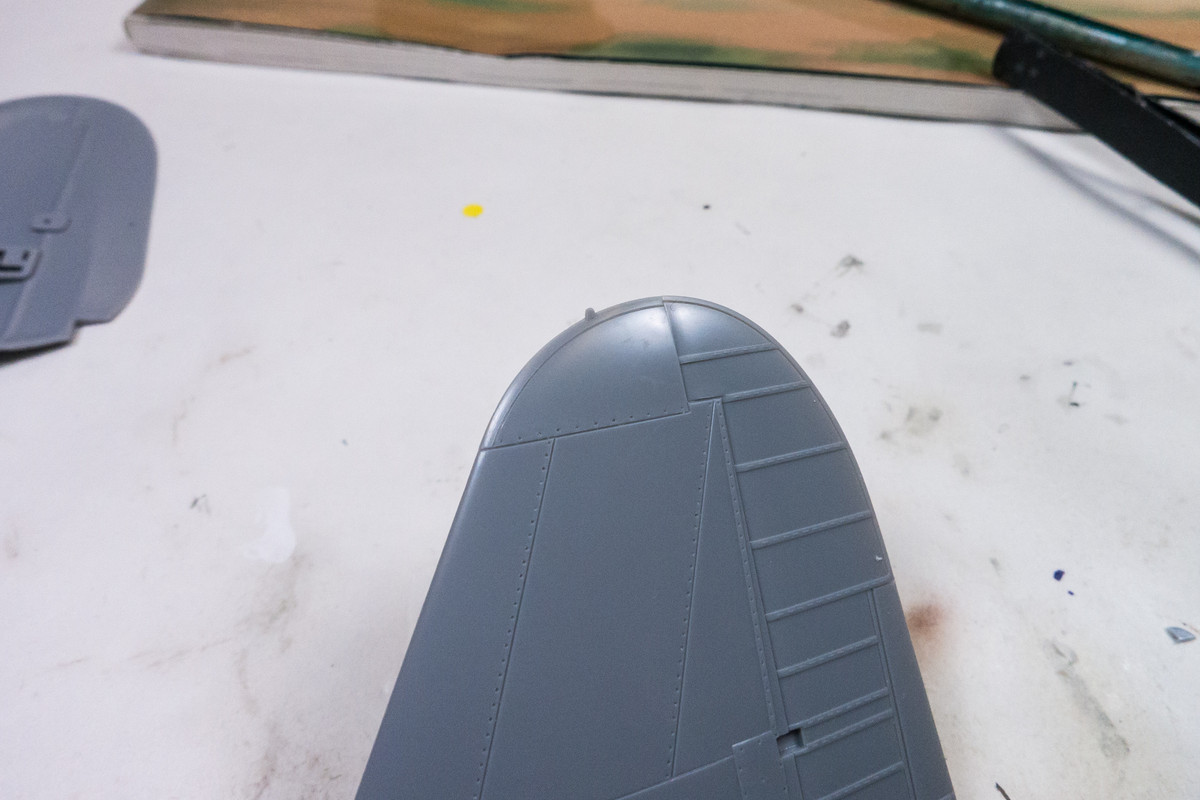
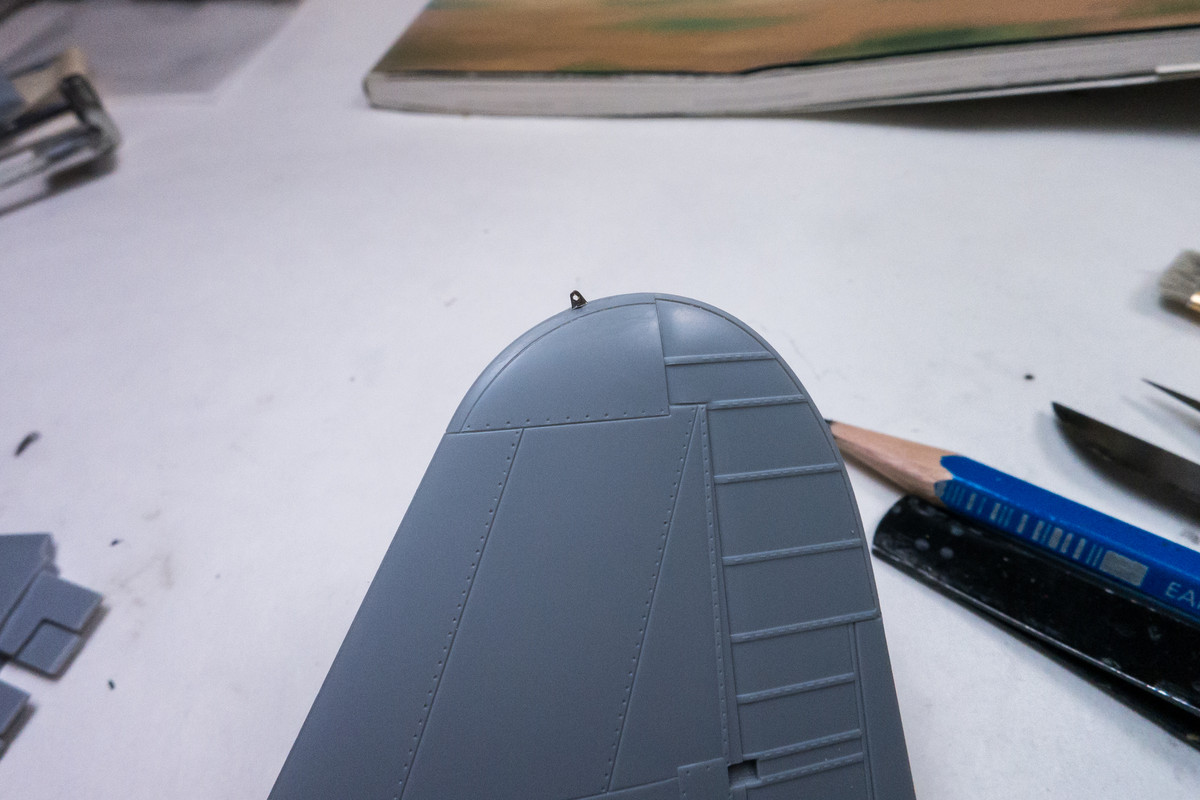
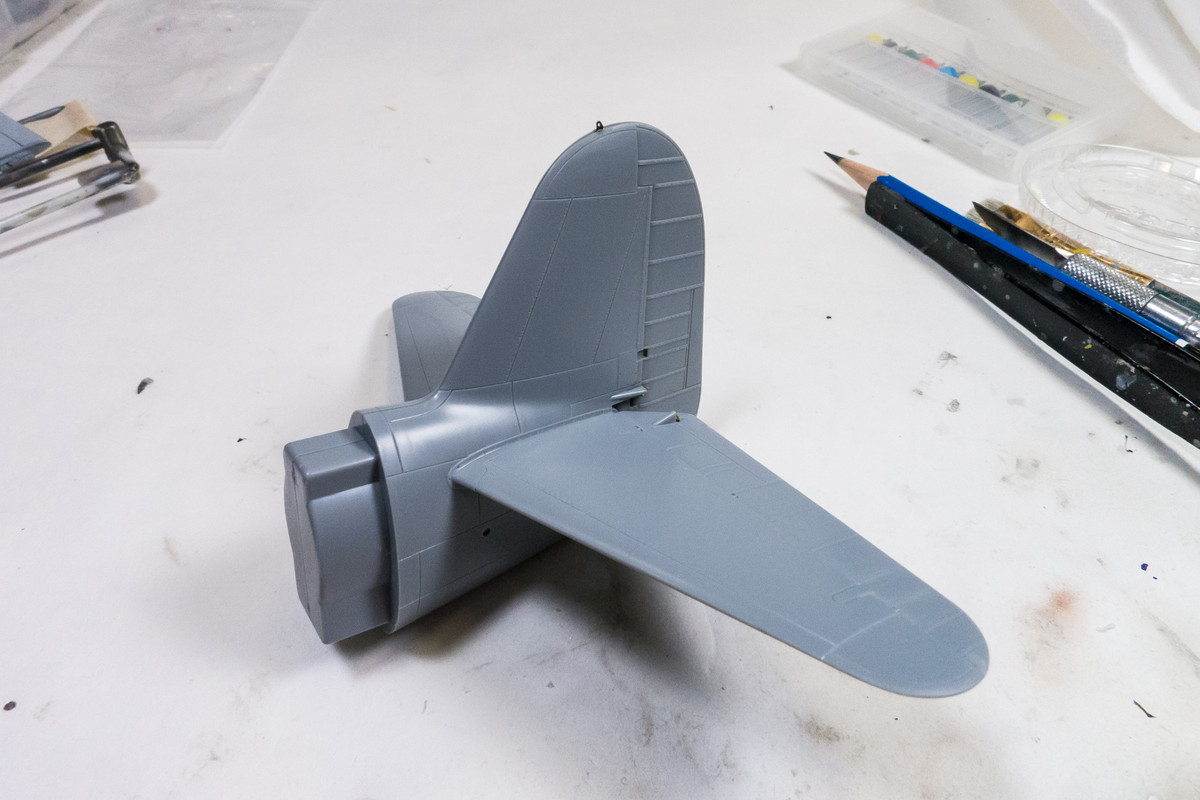
Thanks guys! While I'm on the tail assembly, I thought I'd add a couple more enhancements. The antenna mast is just a pip of plastic molded onto one side of the tail fin. It's too small to drill a hole into so I wanted something more definitive to accommodate the future aerial wire.
Using a spare piece of photoetch, I gouged out a furrow on the inside of the tail fin so that the PE piece would not inhibit the two halves from mating together flush and glued the piece in.
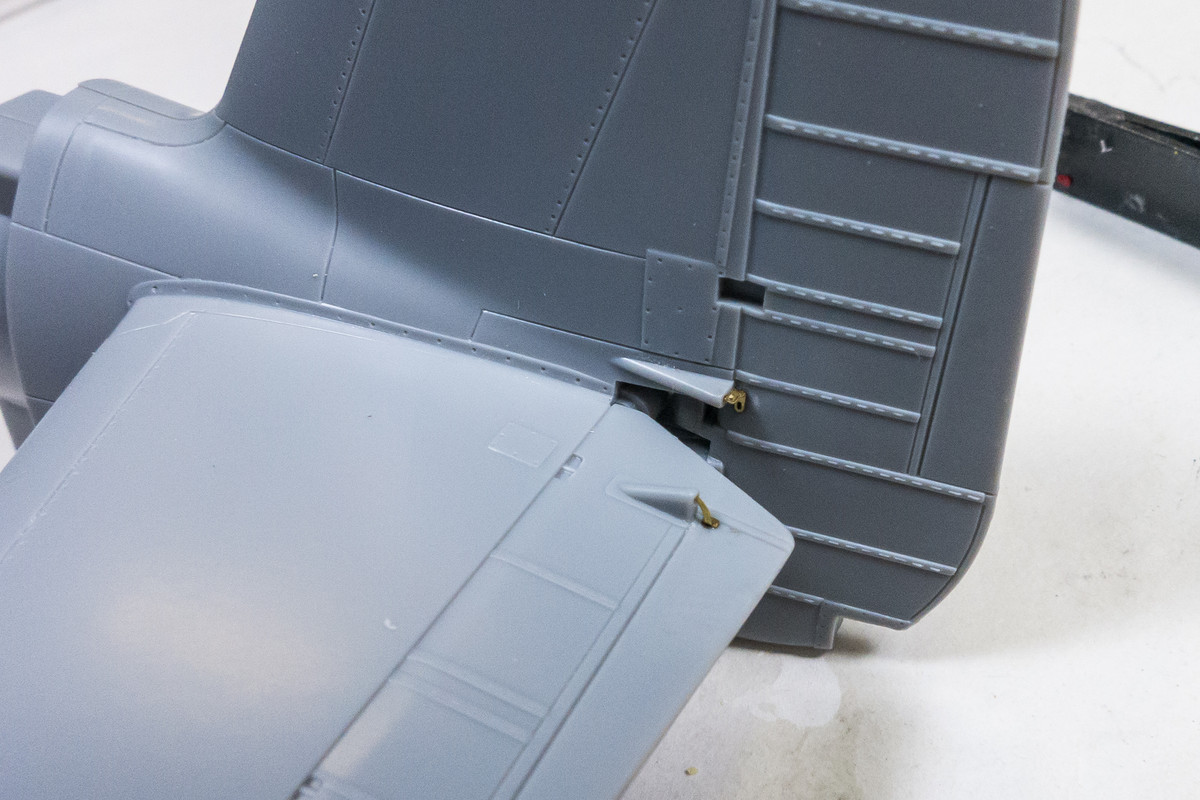
Similar to the actuators on the horizontal stabilizers, there was an opportunity to refine the actuators on the vertical fin.
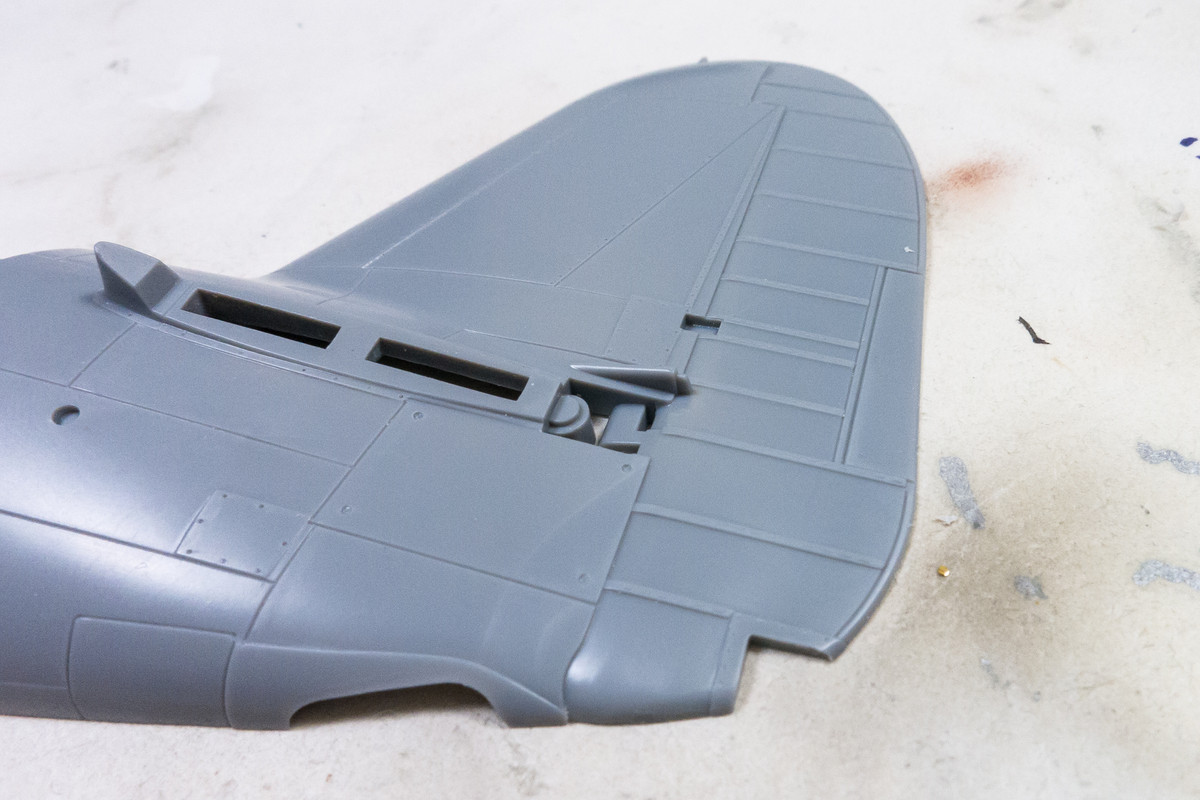
Not a 100% accurate but it adds a little refinement to this area. I've glued the small brass bits into place, hoping they are secure and will not get bumped off during the long construction process.
The tail assembly, not yet glued together...
Re: 1/32 Hasegawa N1K2-J Shiden Kai
Posted: Sun Jun 28, 2020 11:43 pm
by jkim
Another detail I've added to the Shiden Kai. The kit gives you boarding ladders for each side of the aircraft. Like the Fw 190D-9, the boarding ladder is retractable. The kit shows the ladder in the retracted position, laying flush with the bottom of the wing. If you want to mount the boarding ladder, the kit requires you to open up the appropriate hole. I am going to have the port ladder extended. But instead of just drilling the hole, I thought it's more realistic to open the space that the ladder would occupy.
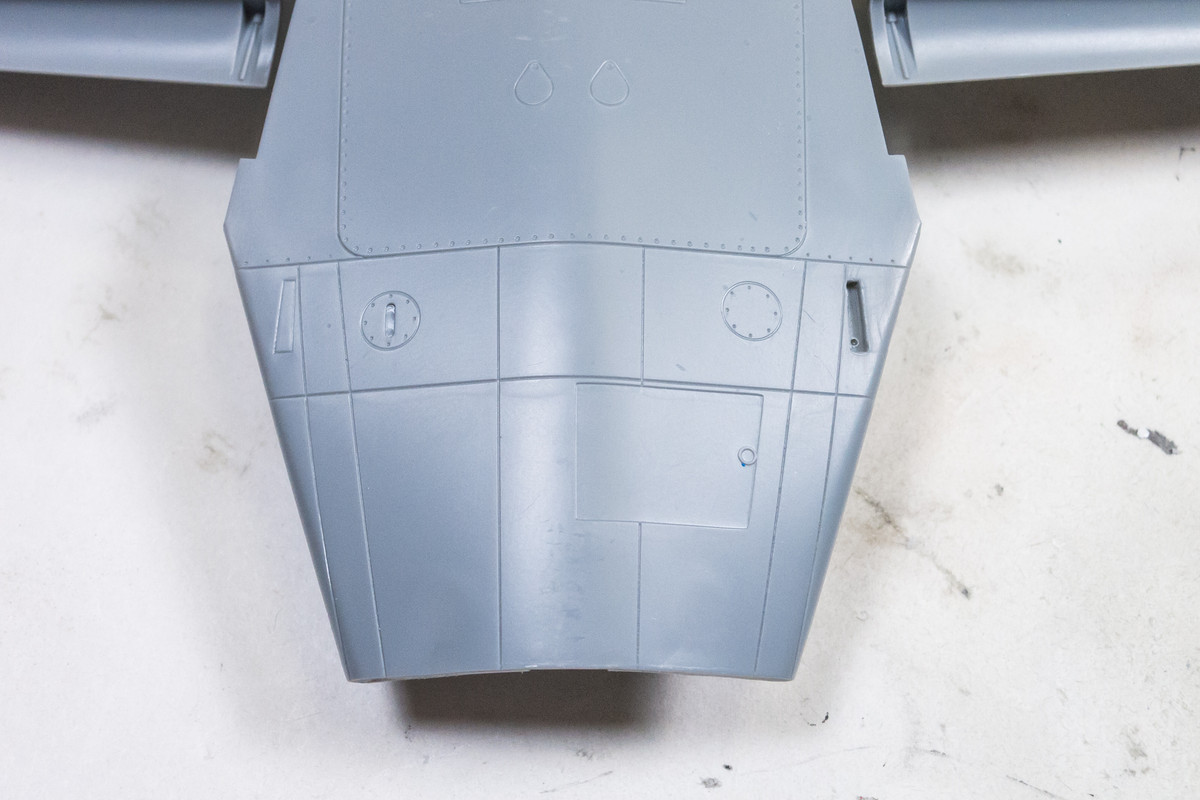
A piece of sheet styrene was used to block off the opening and a small hole was drilled into that to accept the ladder. I dry fit the fuselage to make sure the piece of styrene wasn't interfering with the fit.
Another small detail that hopefully adds to the overall model.
Re: 1/32 Hasegawa N1K2-J Shiden Kai
Posted: Mon Jun 29, 2020 7:41 am
by Floki
Another very nice extra detail.
Re: 1/32 Hasegawa N1K2-J Shiden Kai
Posted: Mon Jun 29, 2020 10:36 am
by BlackSheep214
Re: 1/32 Hasegawa N1K2-J Shiden Kai
Posted: Mon Jun 29, 2020 10:58 am
by Medicman71
Very nice! And that repair is awesome!
Re: 1/32 Hasegawa N1K2-J Shiden Kai
Posted: Mon Jun 29, 2020 1:05 pm
by BlackSheep214
Don't lose that ladder.


Re: 1/32 Hasegawa N1K2-J Shiden Kai
Posted: Mon Jun 29, 2020 1:33 pm
by Stikpusher
Oh you’re bad...
Re: 1/32 Hasegawa N1K2-J Shiden Kai
Posted: Mon Jun 29, 2020 2:36 pm
by jkim
Go ahead and tease me about the ladder! I can take it. It's locked in a baggy for now. And... I've got a spare on the sprue since Hasegawa provides one for each side. So there!

Re: 1/32 Hasegawa N1K2-J Shiden Kai
Posted: Mon Jun 29, 2020 3:19 pm
by BlackSheep214
Re: 1/32 Hasegawa N1K2-J Shiden Kai
Posted: Mon Jun 29, 2020 8:06 pm
by jkim
I have a collection of small ziplock baggies that I use. Usually, the aftermarket companies use them to package their products so there is always an incoming supply of these. I like these baggies because they lie flat and I can just toss them into the box when I'm rotating between builds.
Taking a closer look at two interior parts that I feel are important: the throttle quadrant and the gunsight. These have been snipped from the sprue and the mold seams carefully removed. I've partially reamed out the optic element of the gunsight with the tip of a small drill bit so that I can put a drop of clear UV epoxy in it at the end.
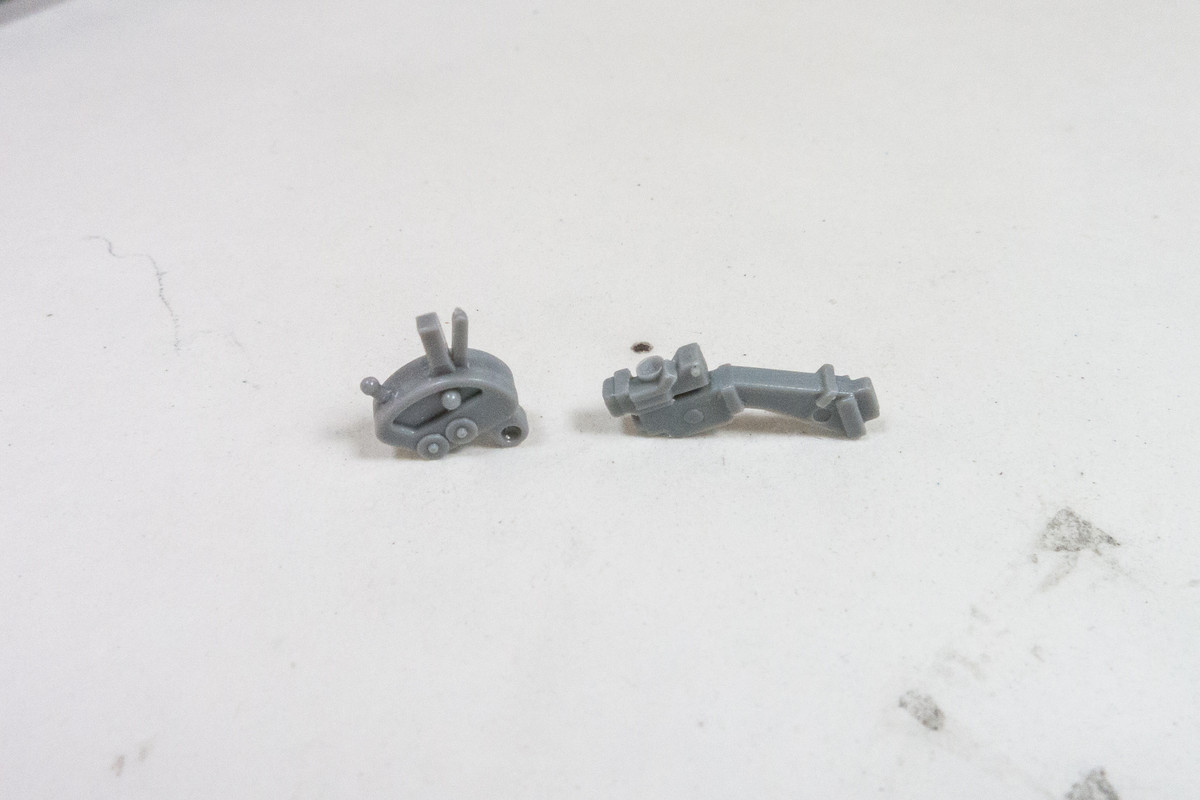
The Brengun detail set has some upgrades for both of these components. I can't promise that I'll be using all of these phototech pieces. Sometimes they look better on paper than real life.
And sometimes the parts are just too small and fiddle to bother with (at least for me). For example, I'm pretty dubious about folding those tiny holders for the gunsight glass film... seriously?
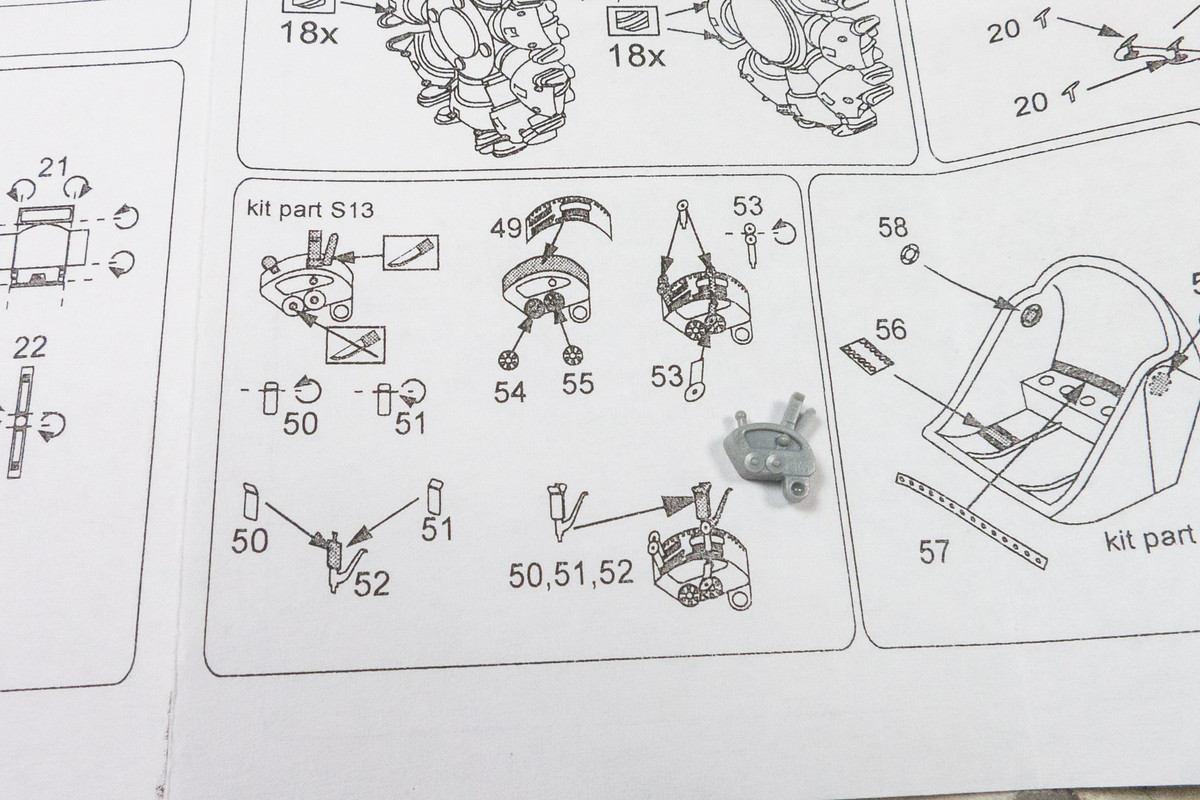
I've noticed that Brengun includes a great deal of exterior enhancements as well. Notice the wheel hub details to the right of the gunsight section. I've already painted the wheel hubs without realizing that there were these enhancements. I'll have to take a closer look at the instruction sheet to take inventory of all of the possible improvements.