Thanks for checking in!
jeaton01 wrote:Looks great! Not happening on my workbench! As my grandson says, "It's too hard, Grandpa", when he can't handle a modeling task.
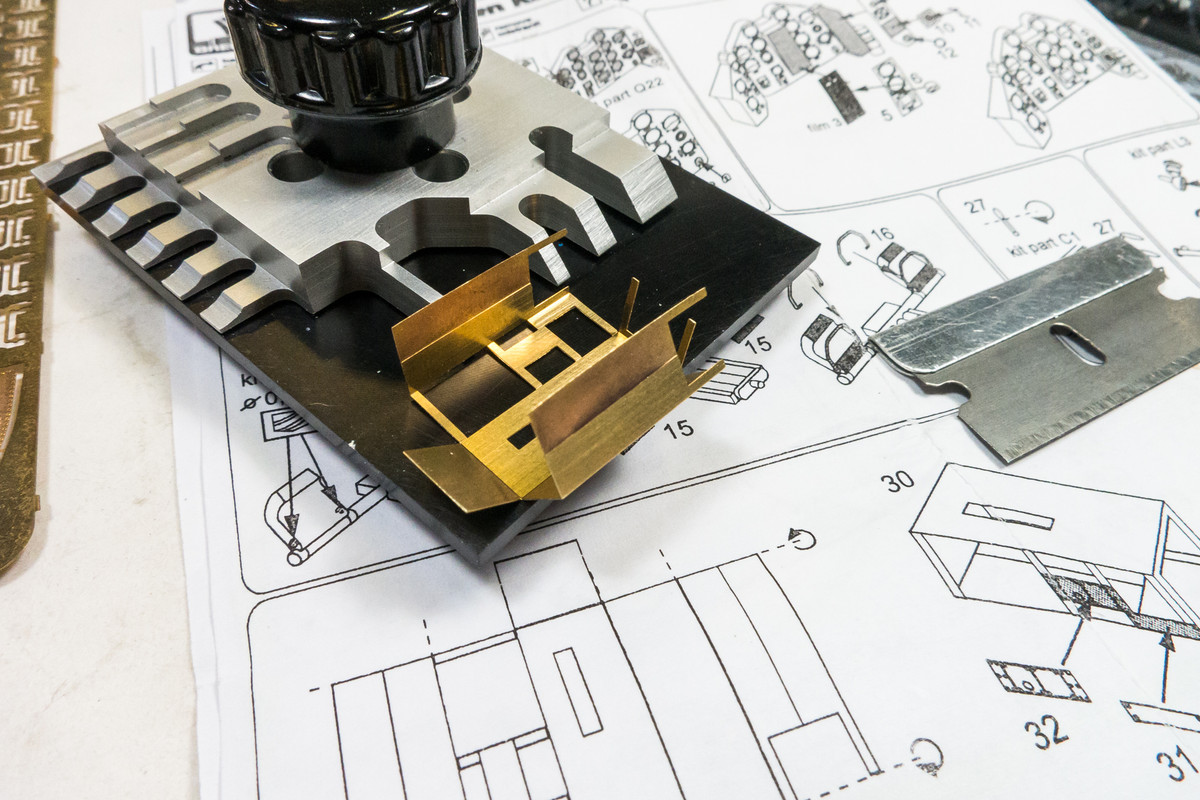
It's just a progression. I used to hate fiddling with PE but some experience (good and bad) and collecting the right tools and glue over time has helped make using PE more manageable. I can't remember who recommended it here but I've using VMS Flexy 5K CA glue and it has made things easier for me. It's not as thin (watery) as some CA glues and doesn't set up as fast but it has very good capillary action when you need it. A good debonder like Great Planes Pro CA Debonder takes care of any excess CA mess that gets created. And a simple folding tool to help make some exact bends when you need to.
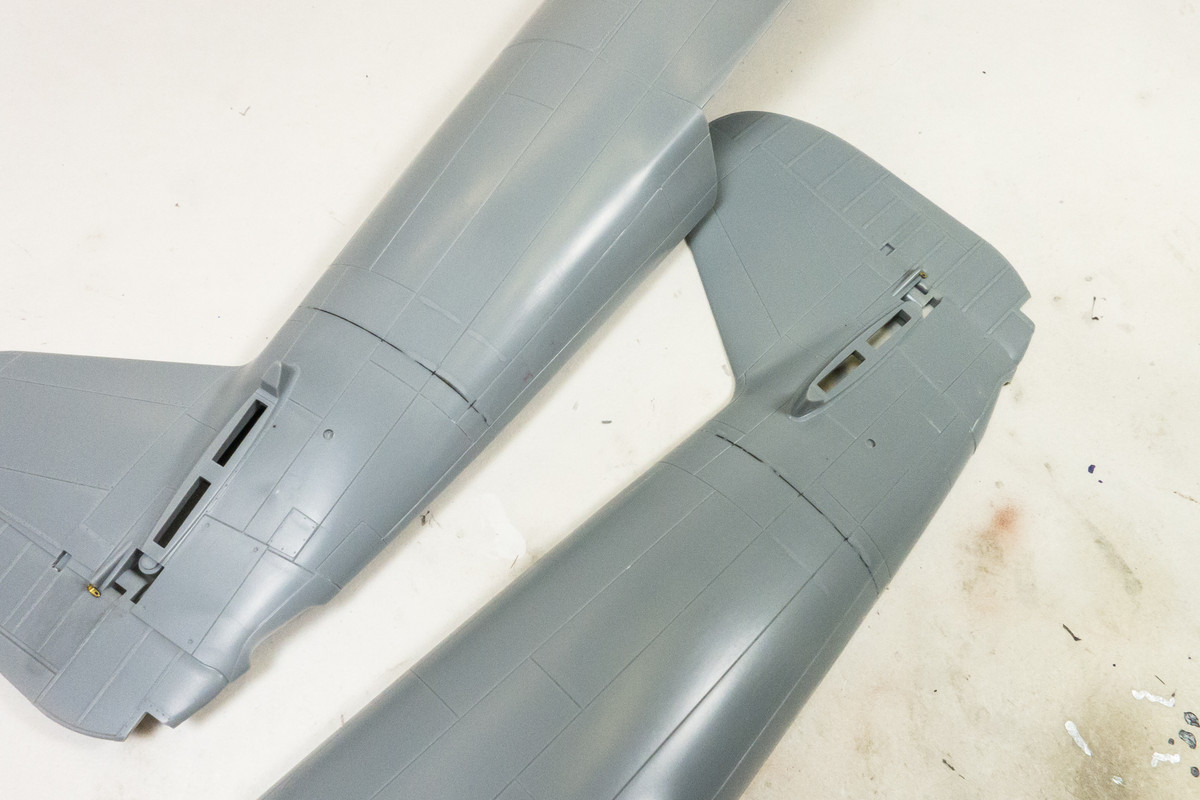
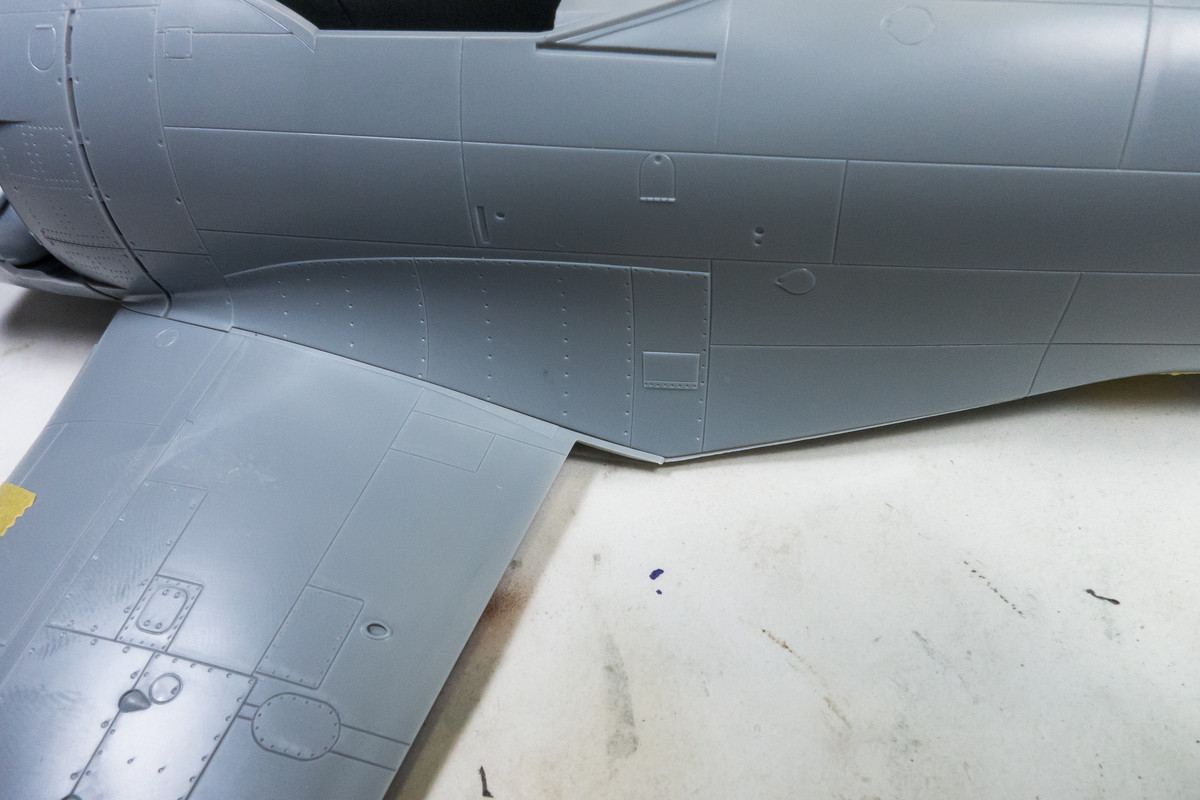
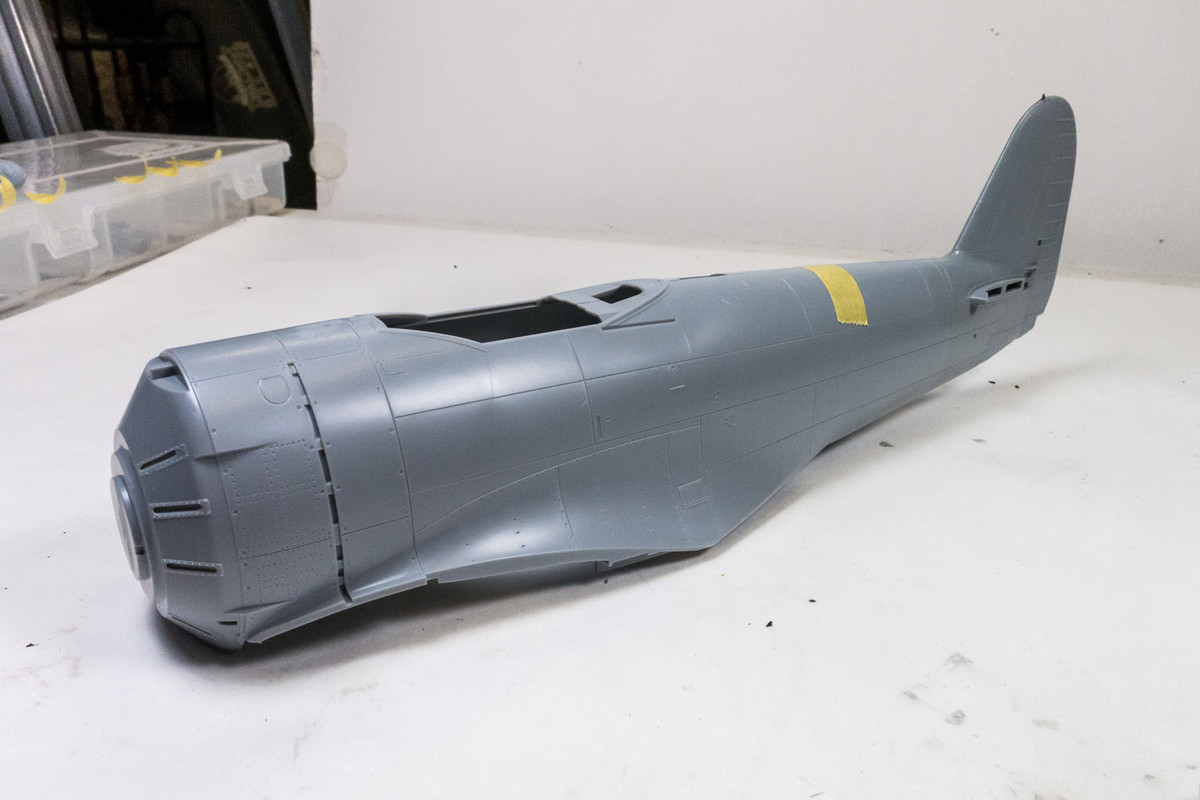
I've decided to glue the tail to the fuselage first to get a good join. It's much easier to take of this joint as well as possible now and deal with any top and bottom seam issues after the fuselage halves go together.
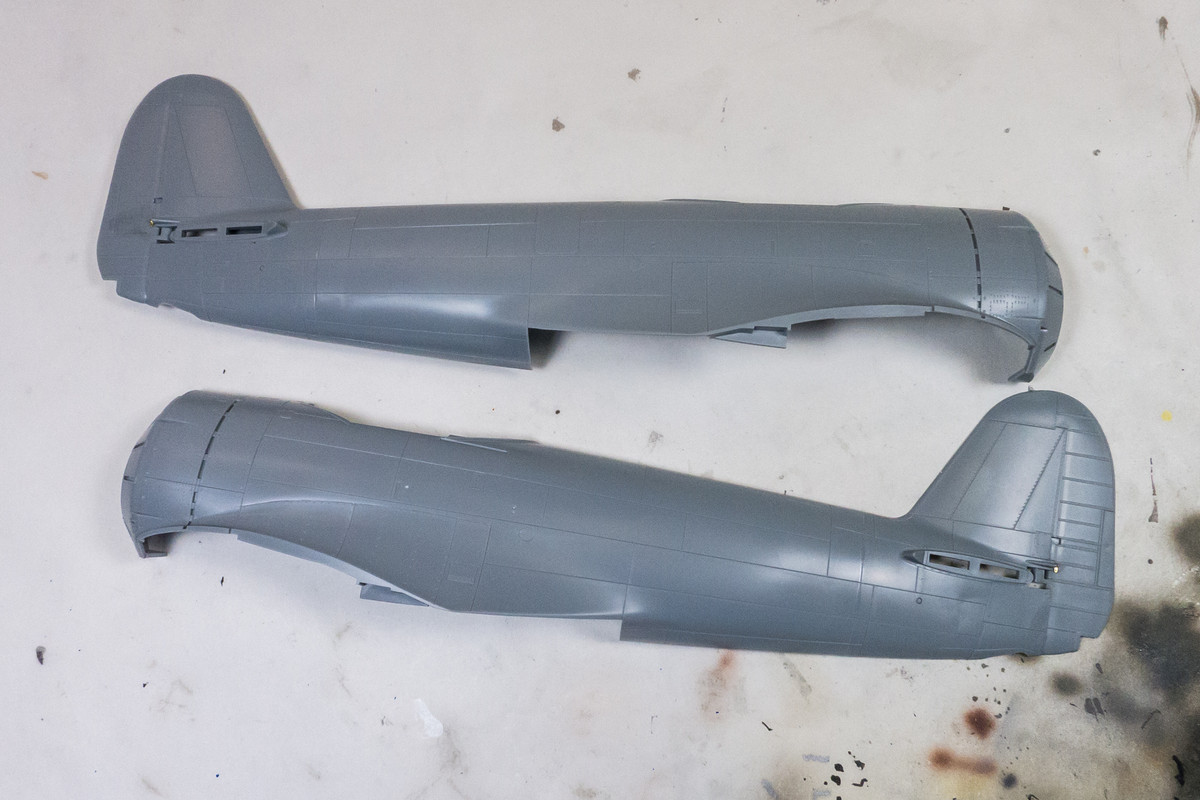
I'm trying to ensure a level joint all around and avoid any steps if possible.
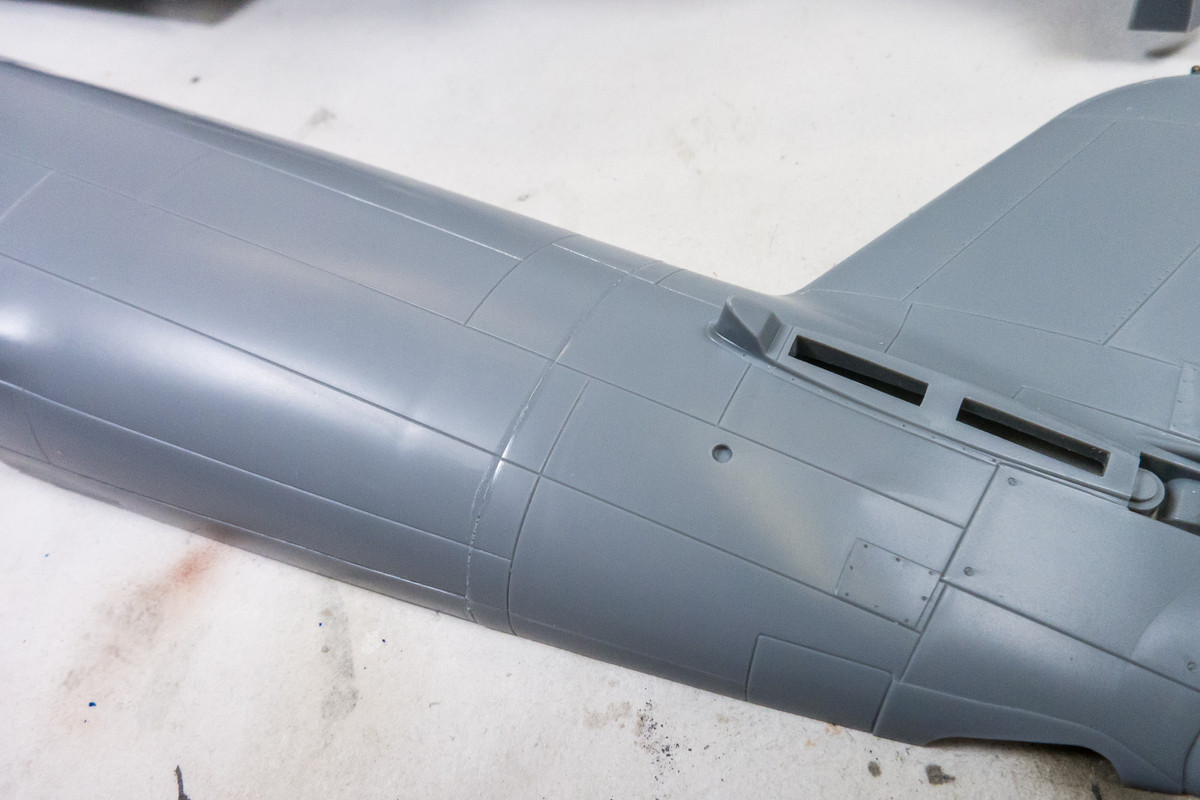
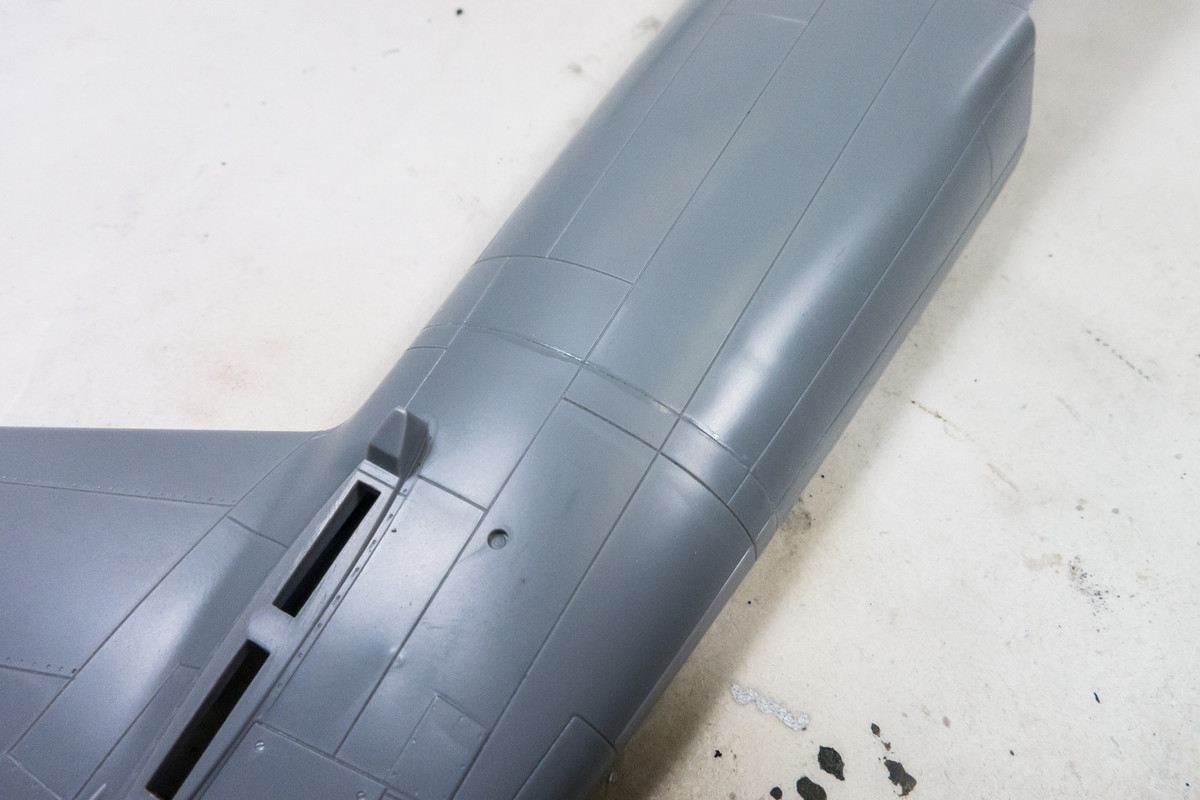
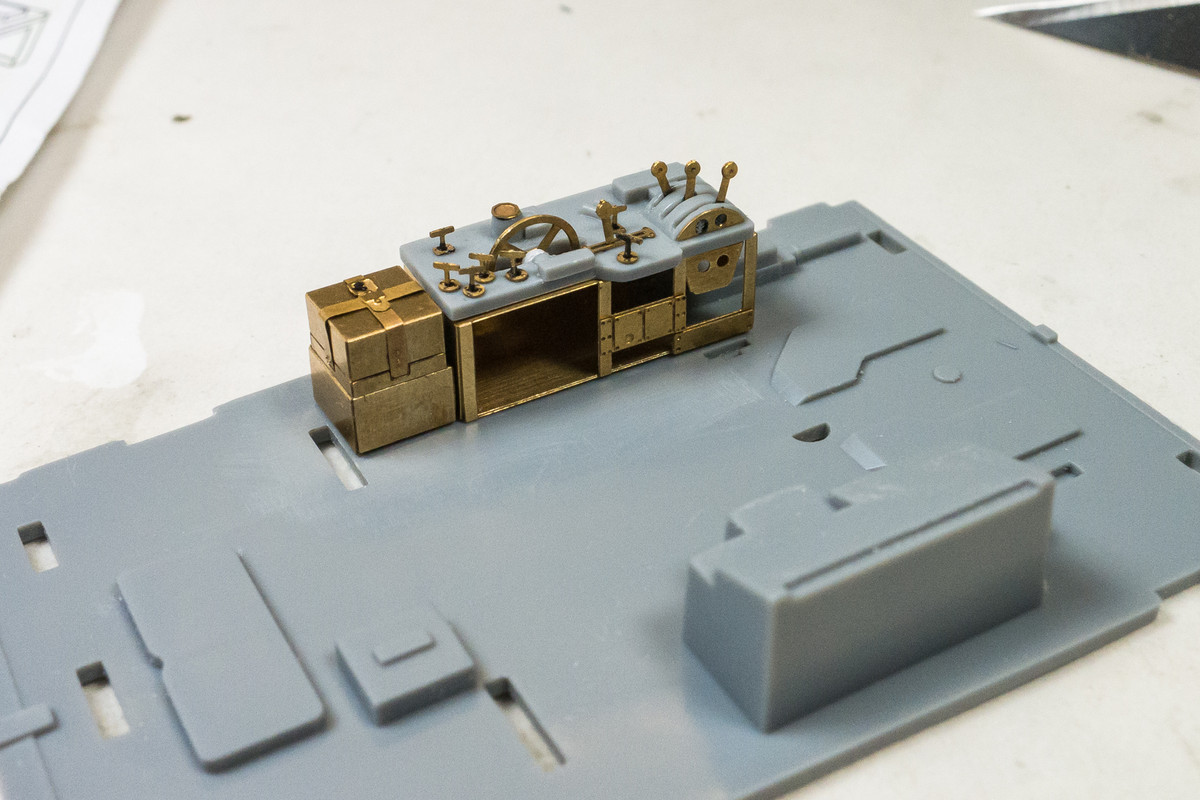
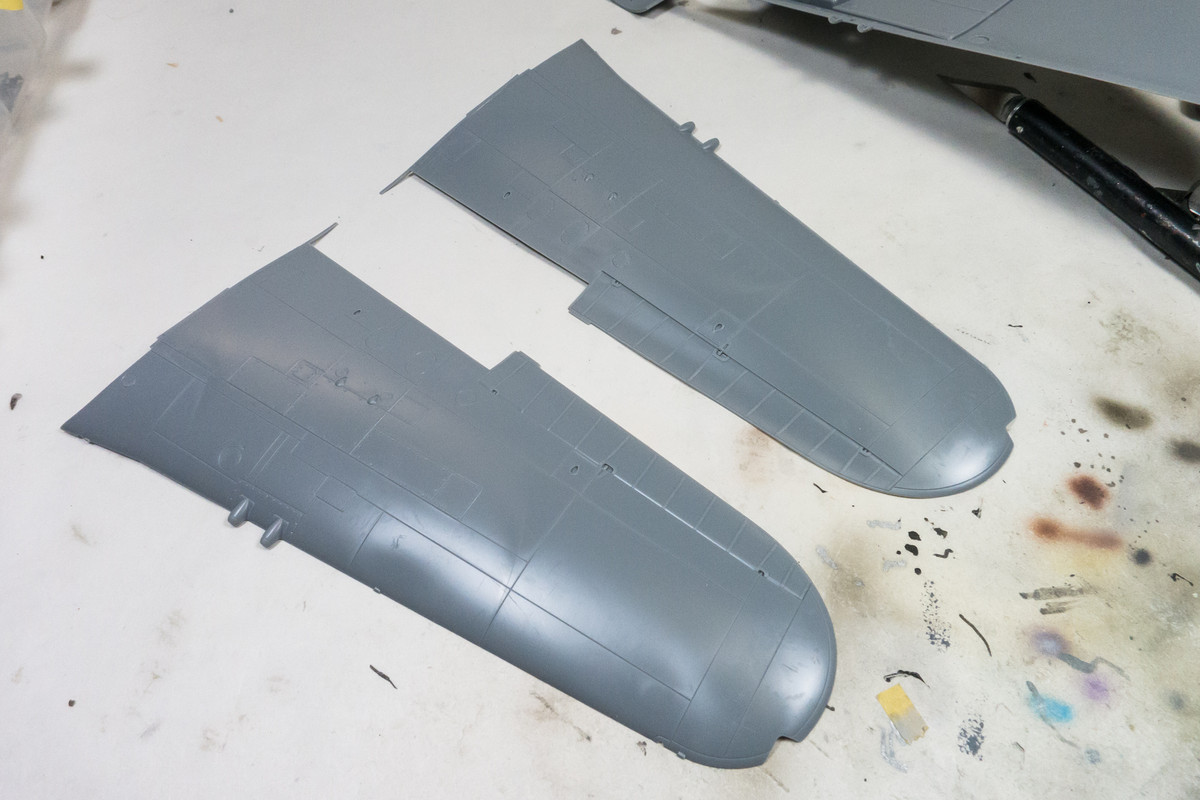
Just a dry fit to make sure all four pieces go together nicely. After this dries, I'll fill in the joint like I did the wing inserts.
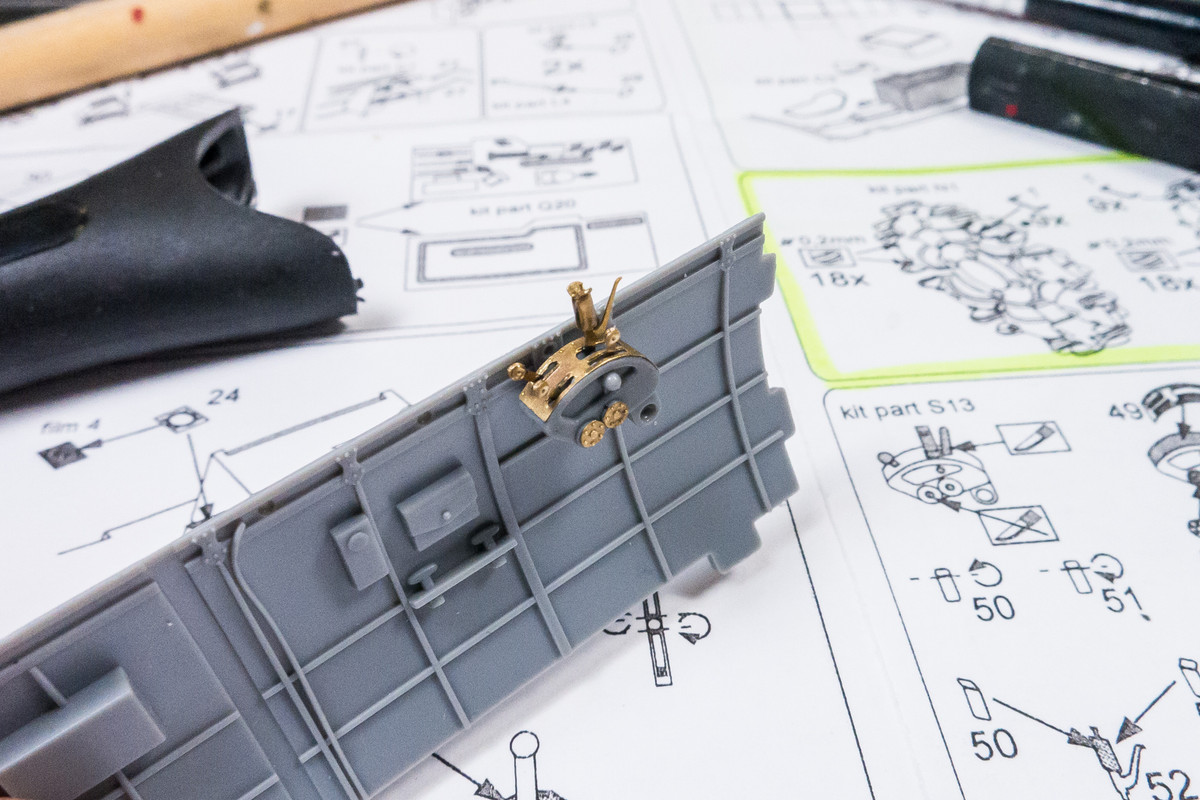
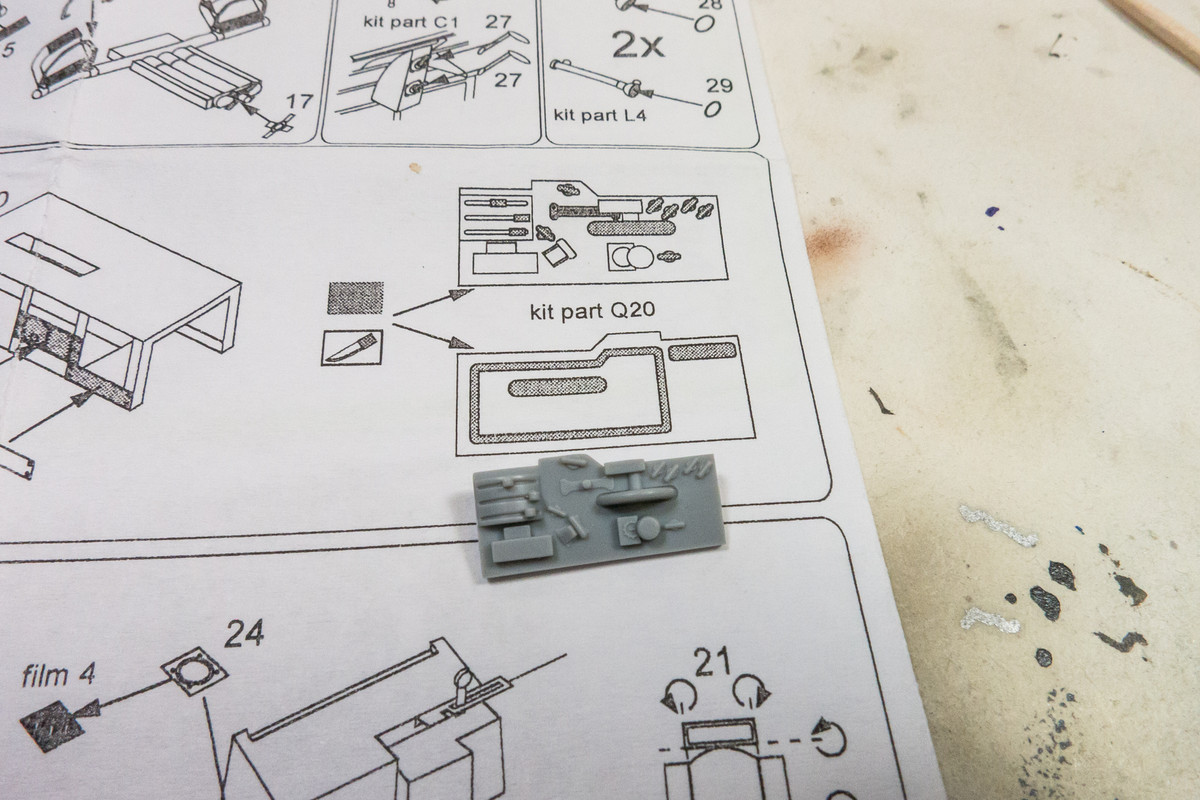
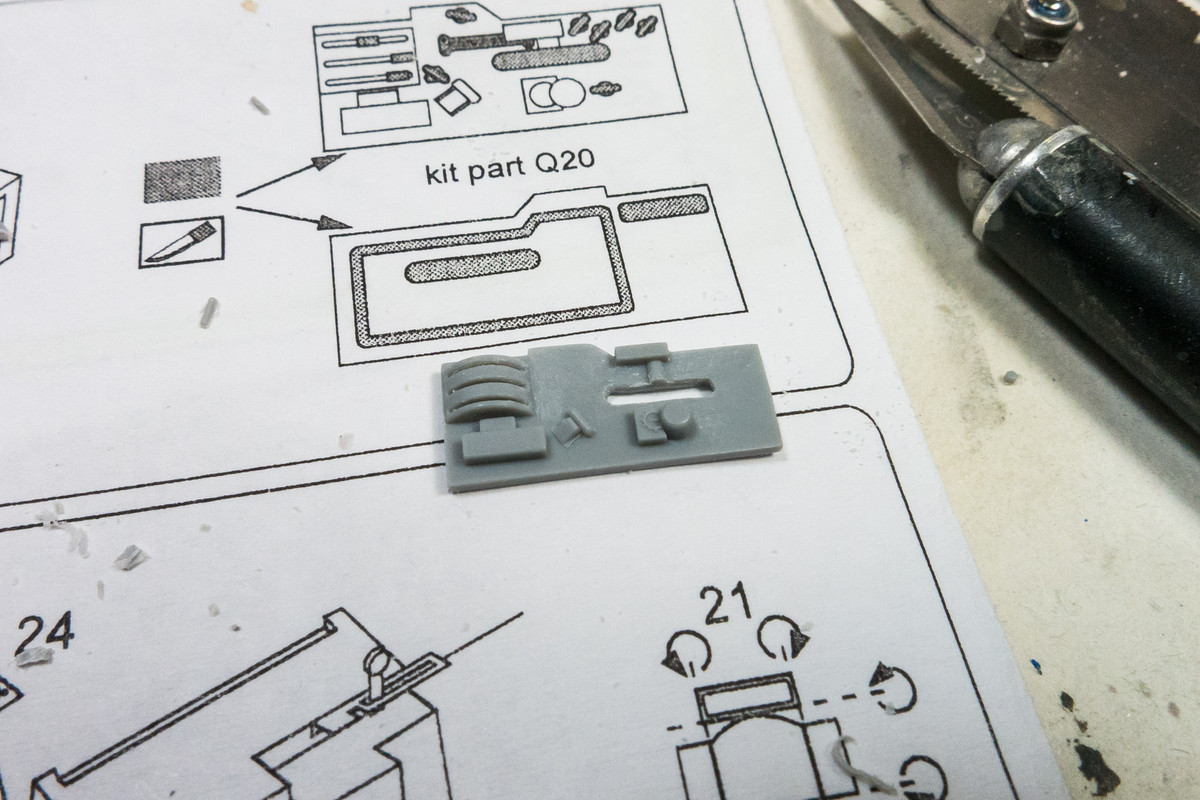
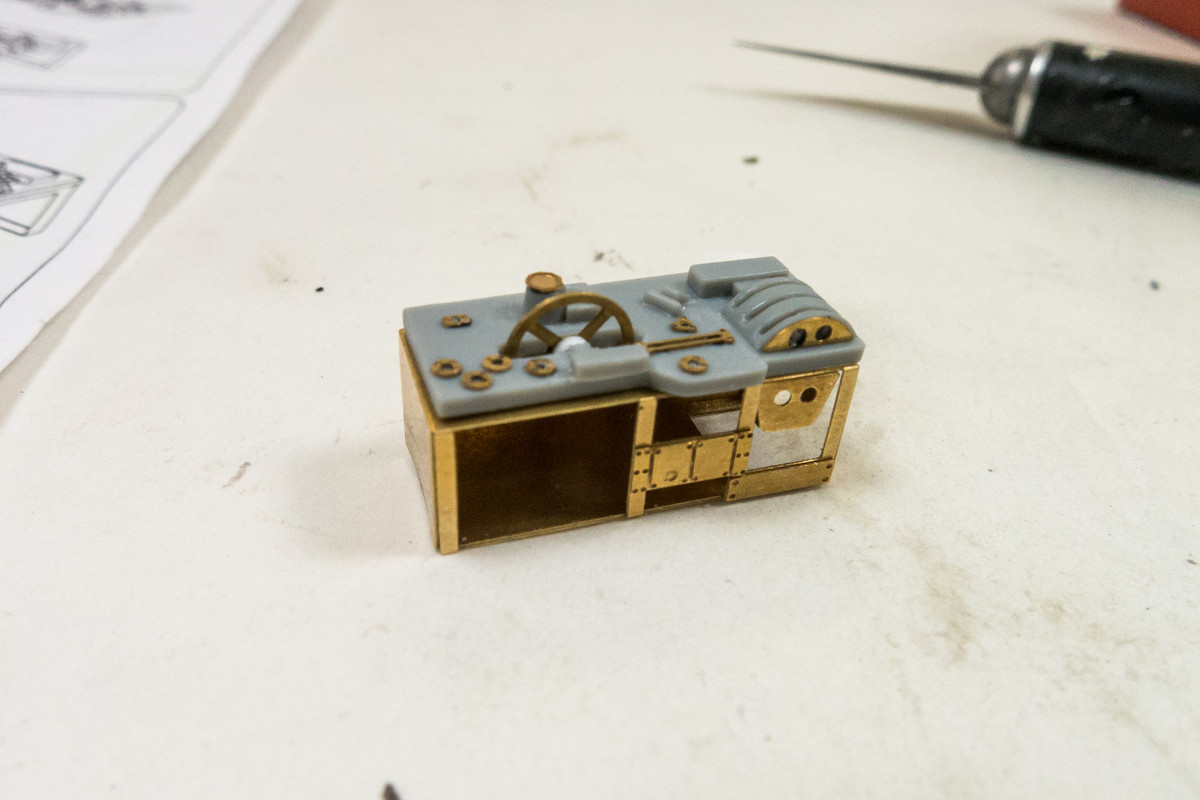
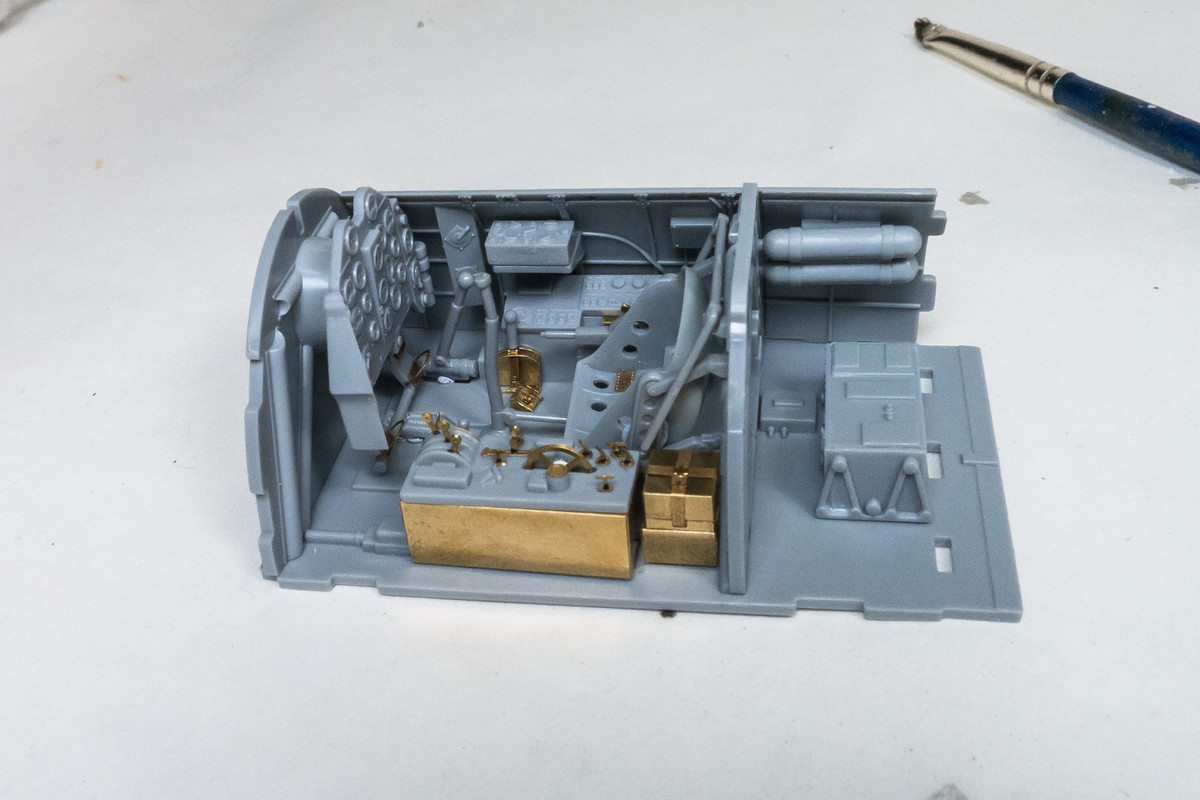
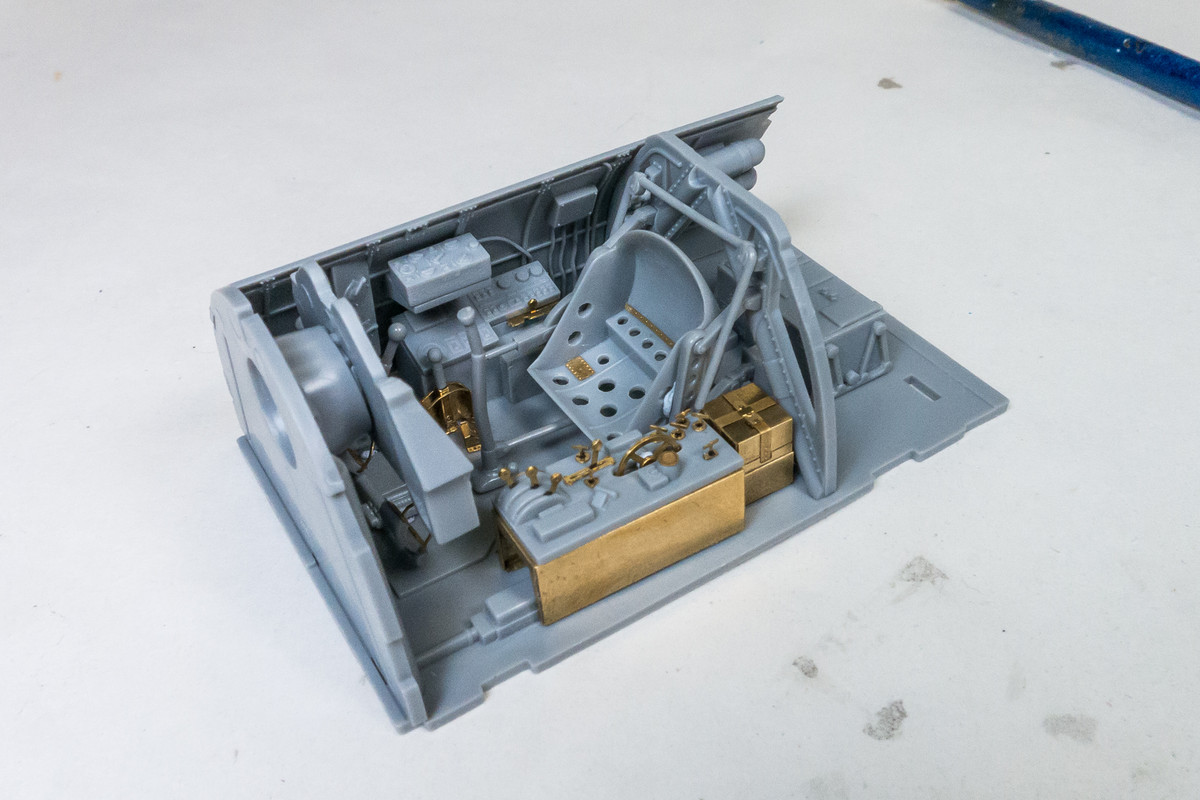
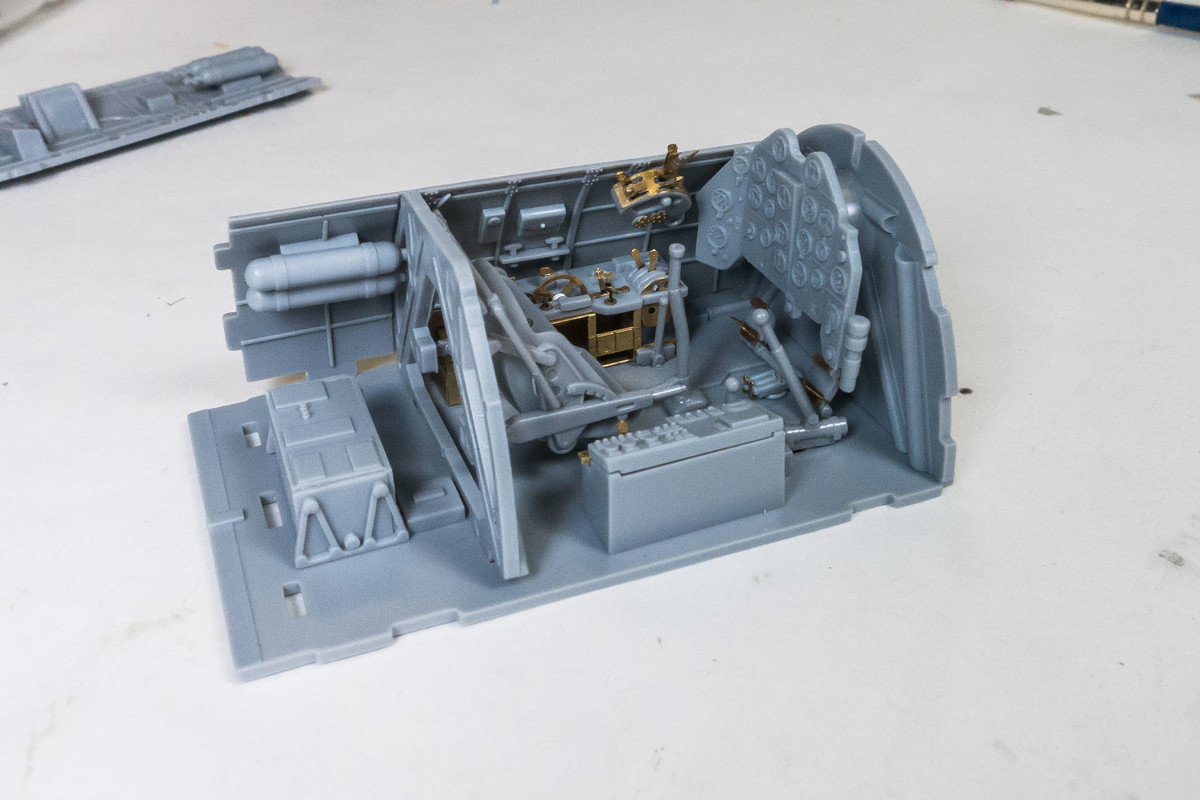
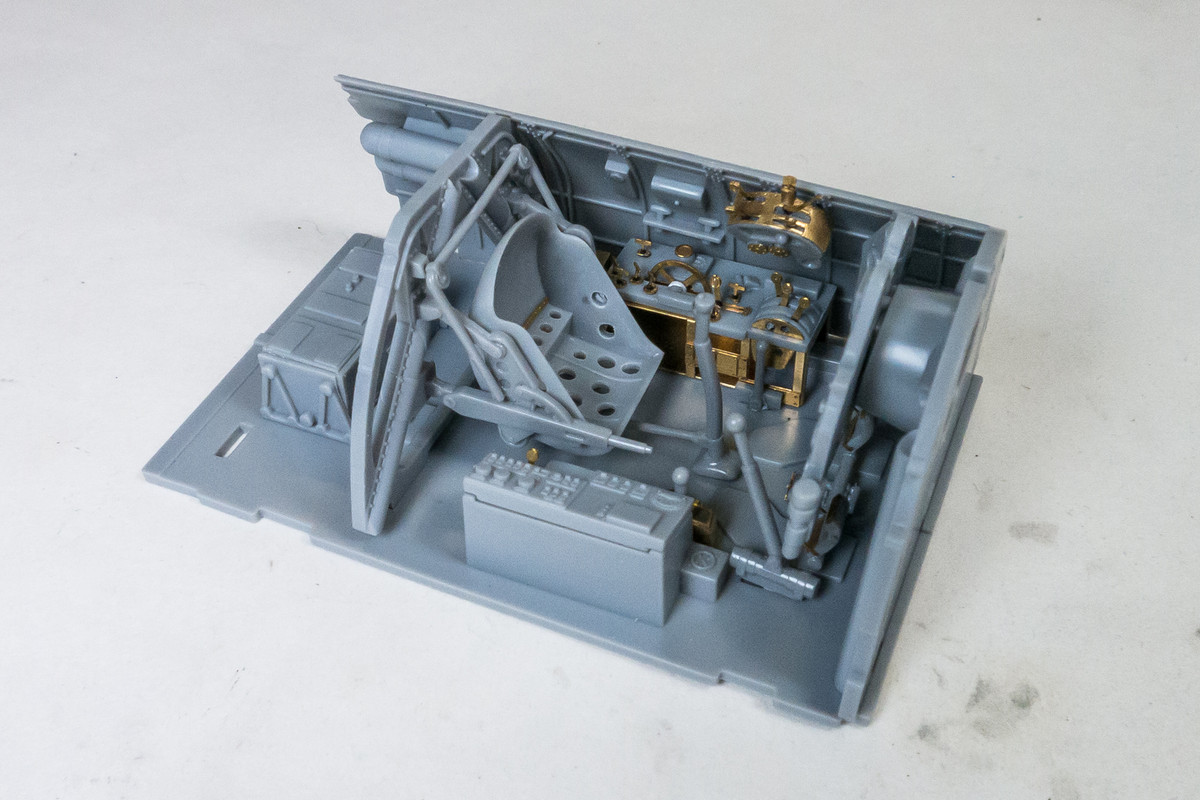
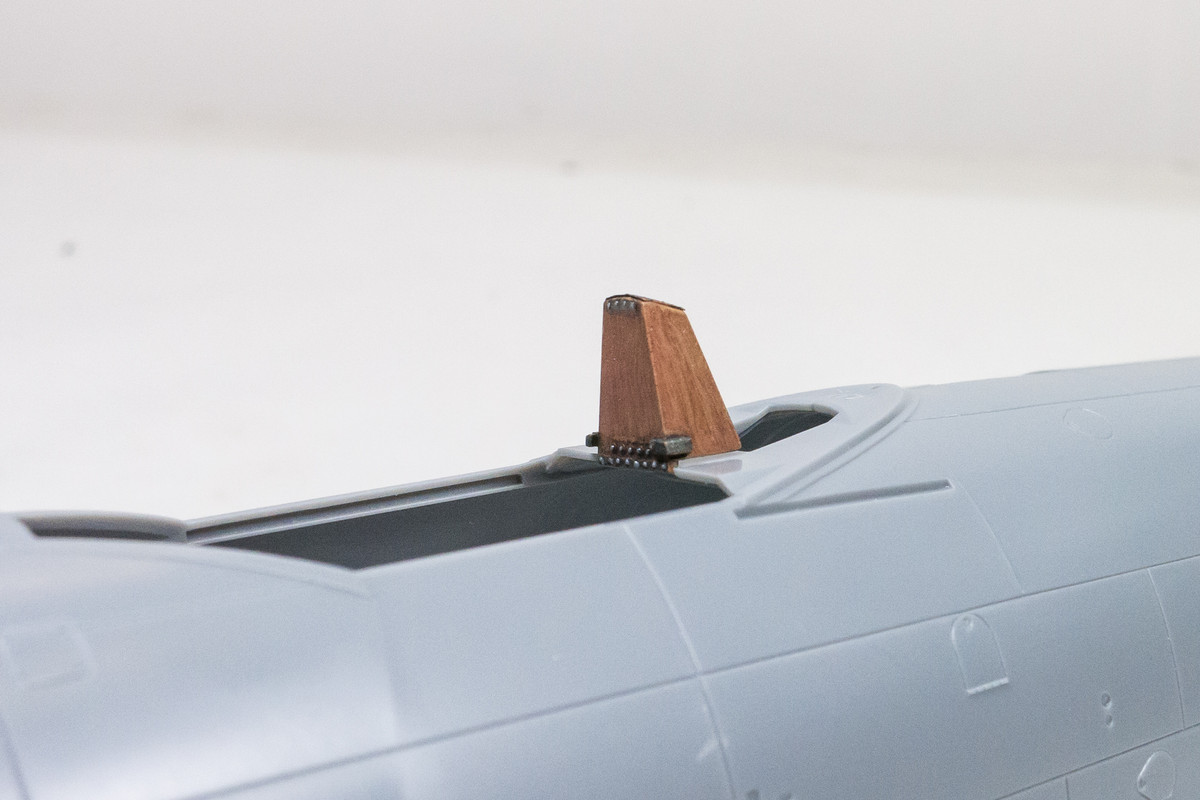
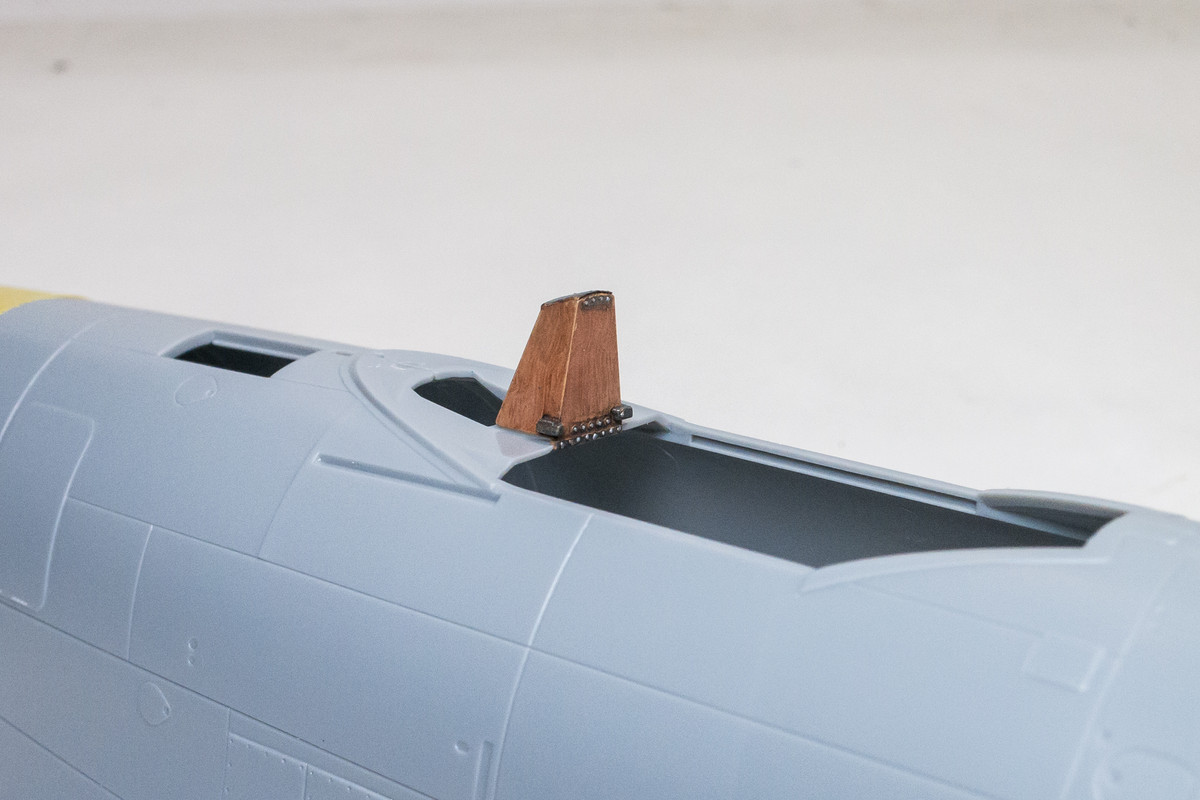
Back to some detail work... picking things that don't require to be painted in cockpit green since I don't have that color yet. The headrest is made of wood so I made a rough stab at simulating wood using oil paints.
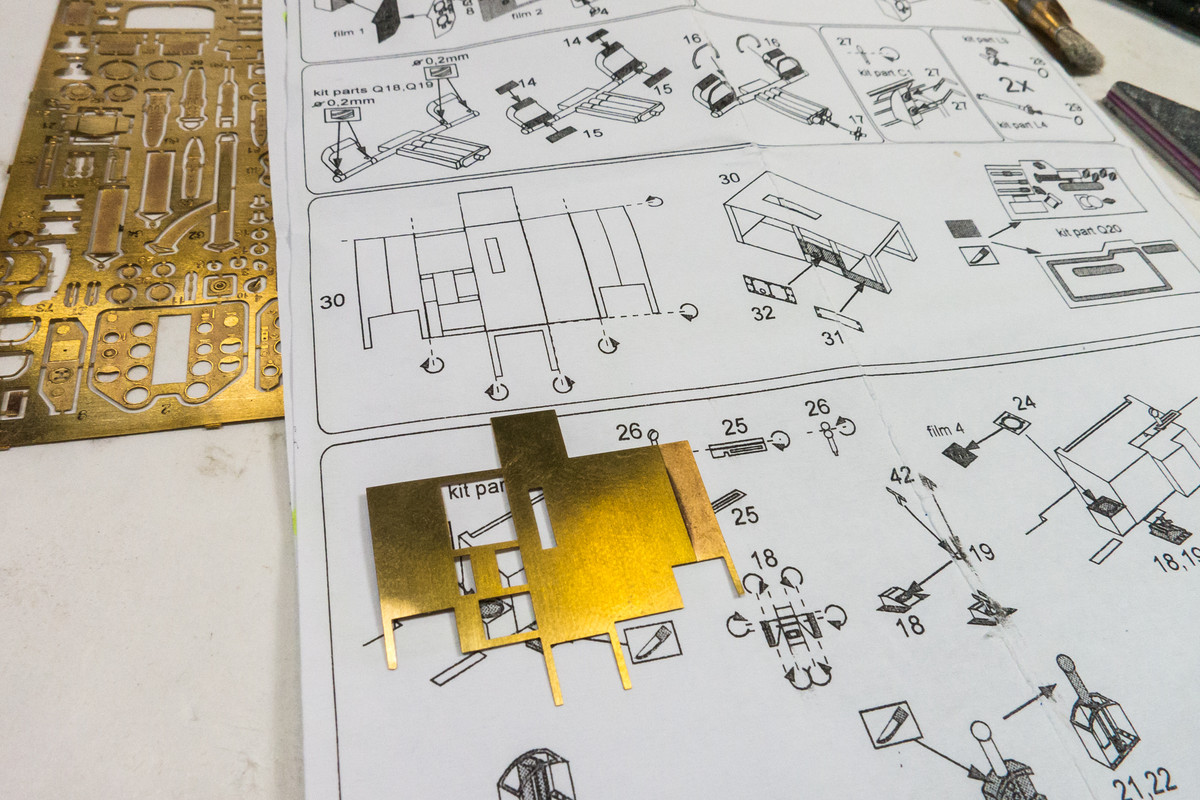
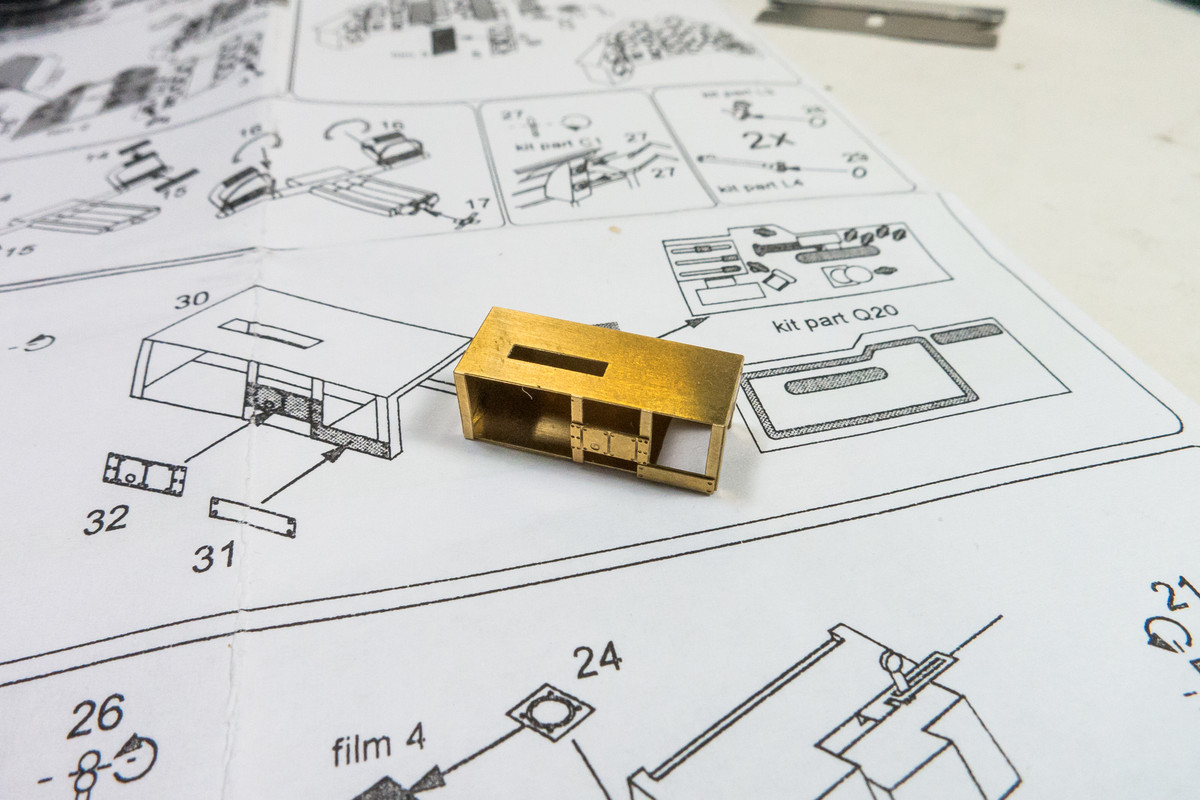
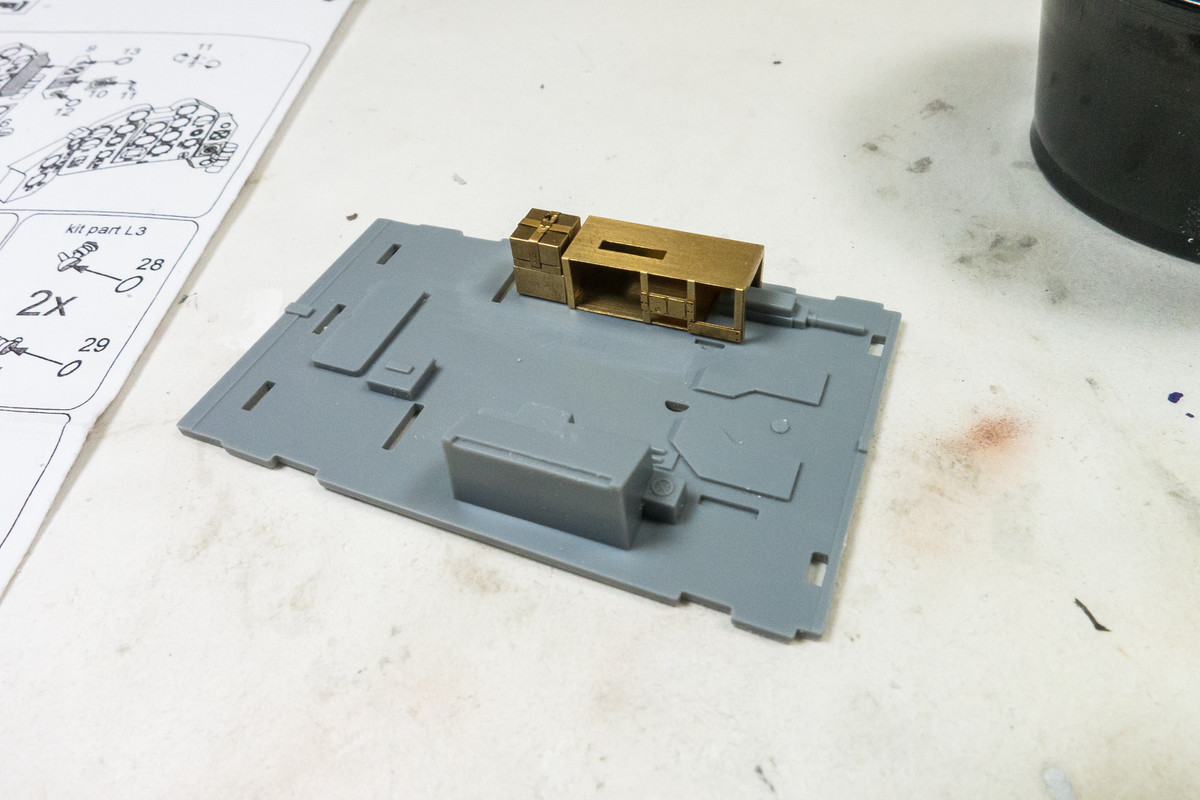
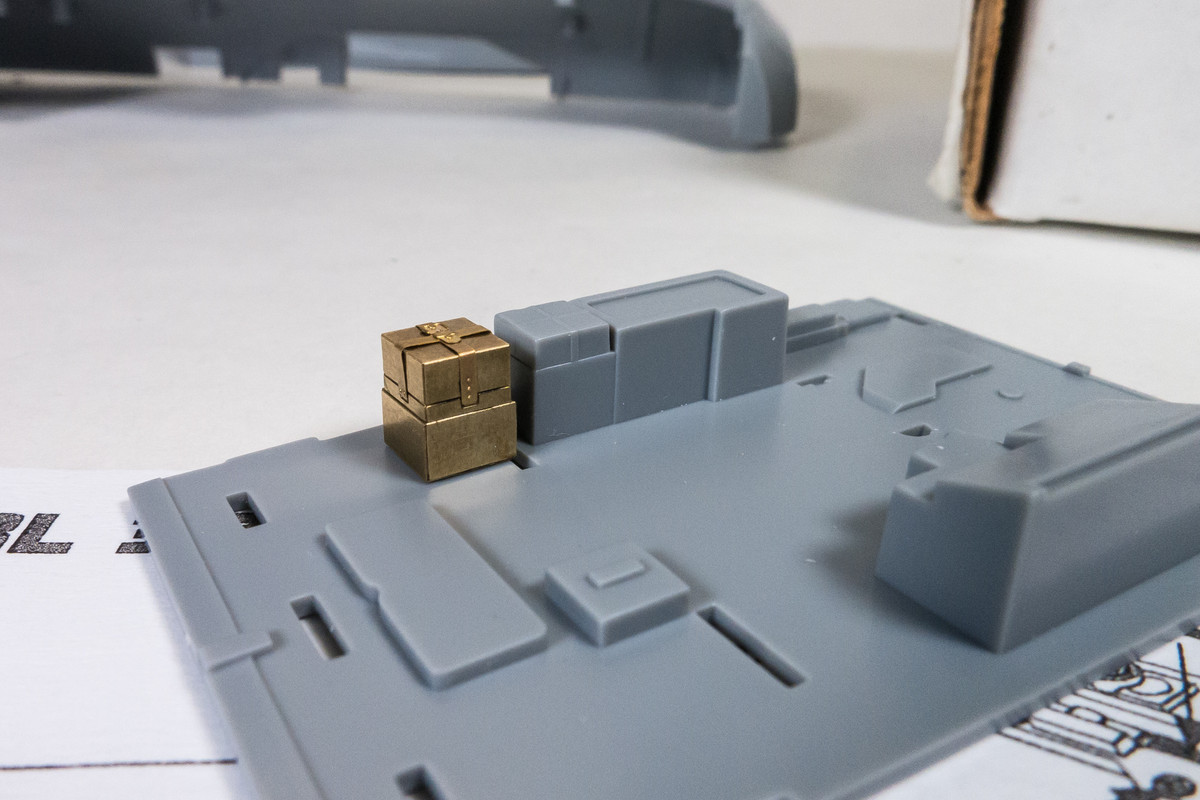
My first attempt at one of the box shapes for the cockpit. This one is made up of four parts but the folds are pretty simple.
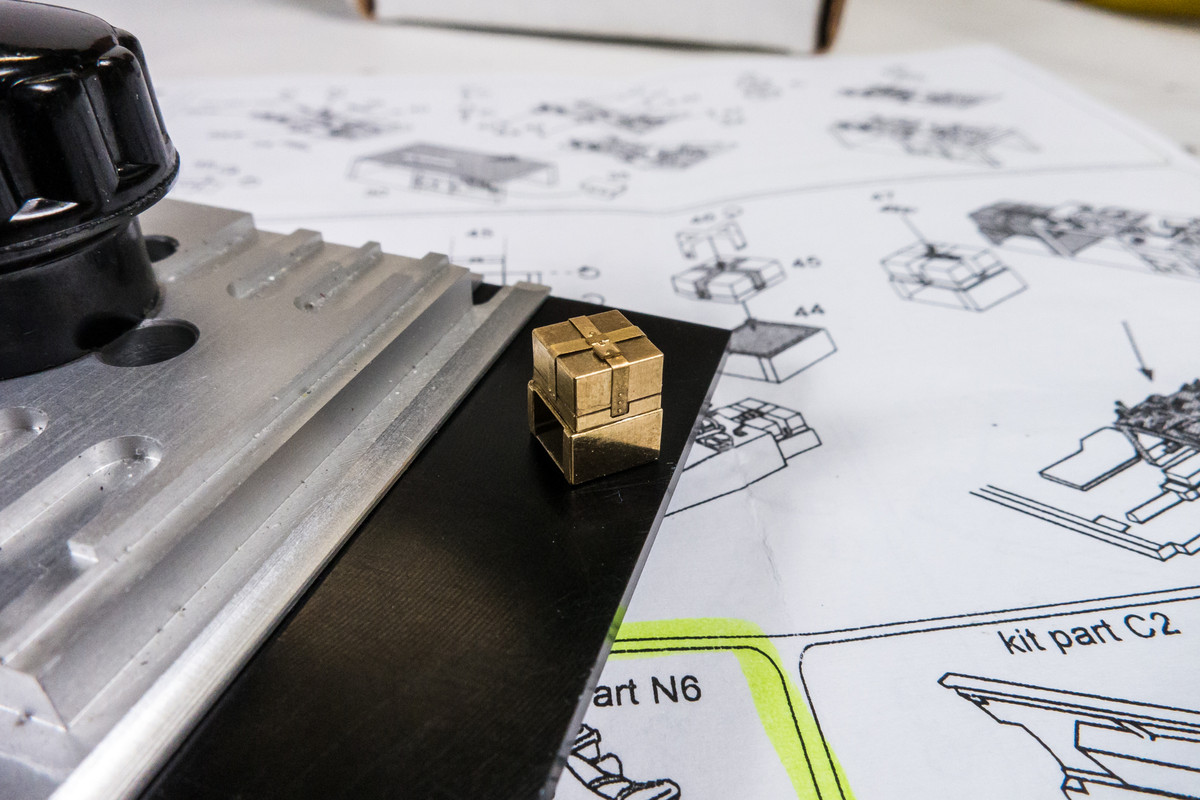
Here's the box next to the molded box it is supposed to replace. The bigger structure next to it forms the biggest and most complicated of the PE parts and I'm saving that for later.
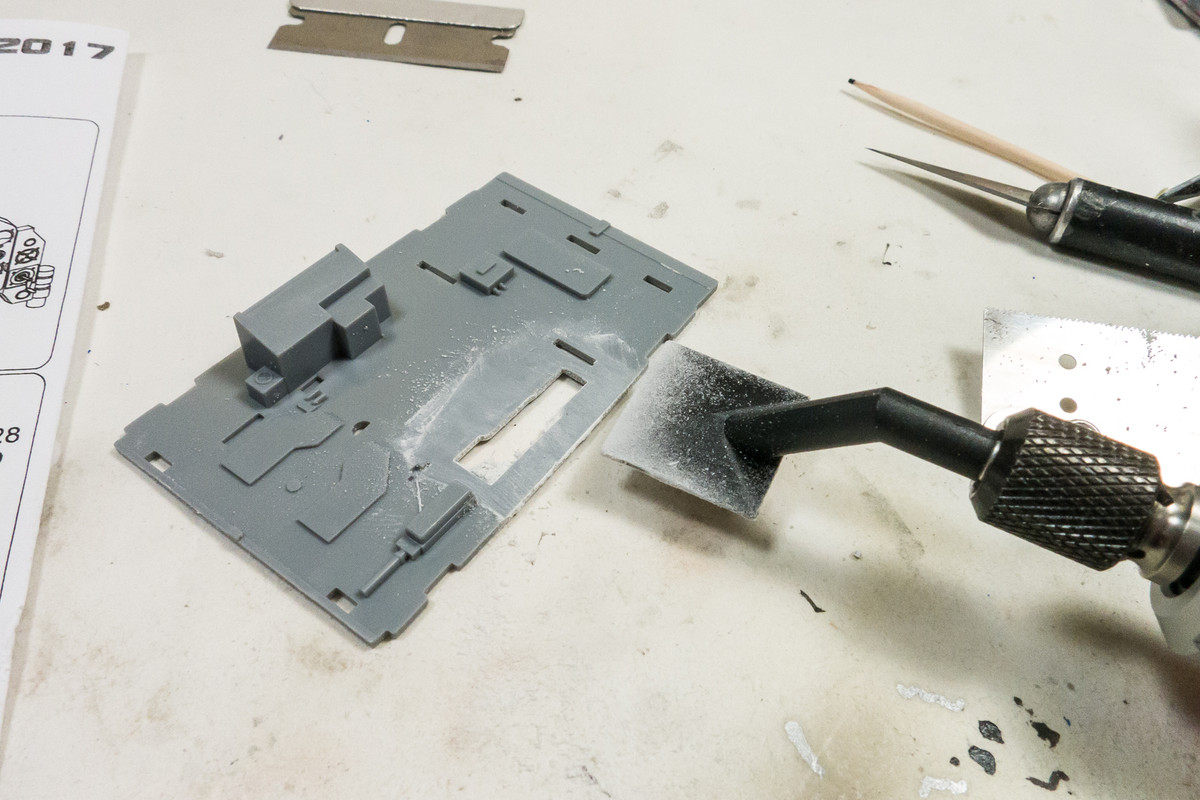
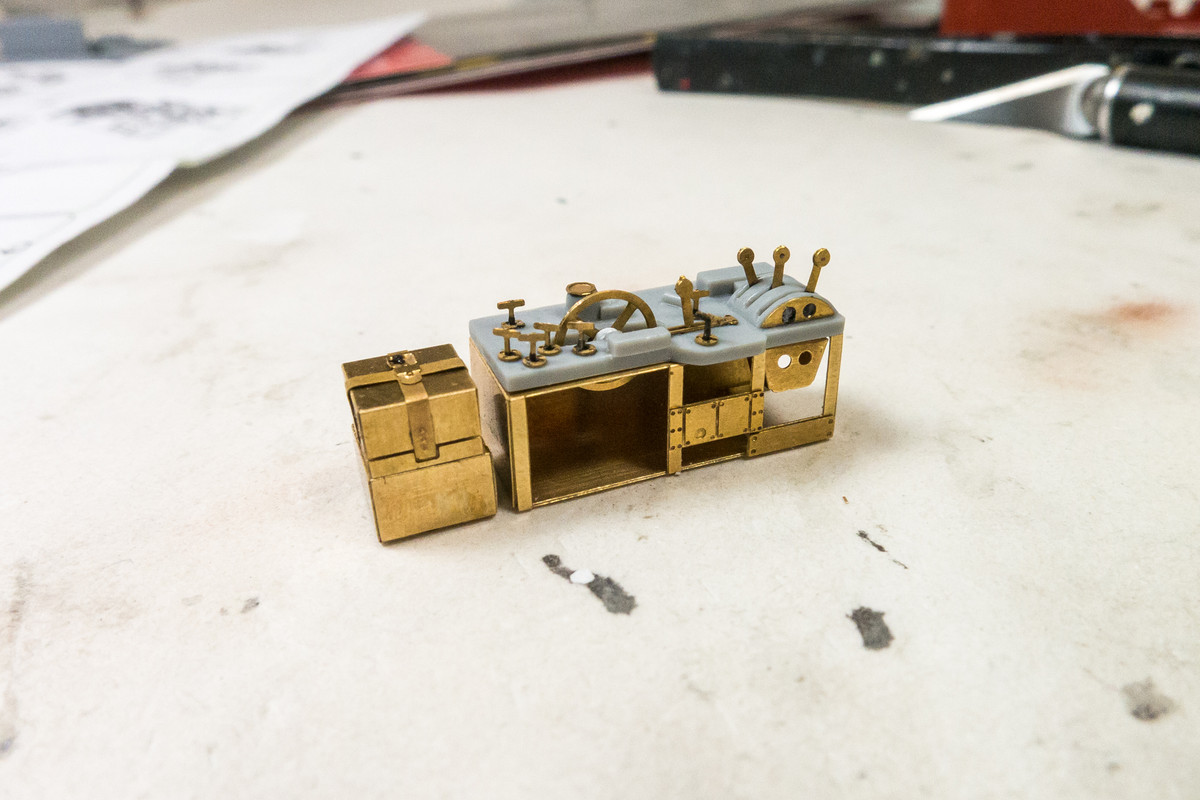
Next I tackle the throttle quadrant. First the molded levers are removed.
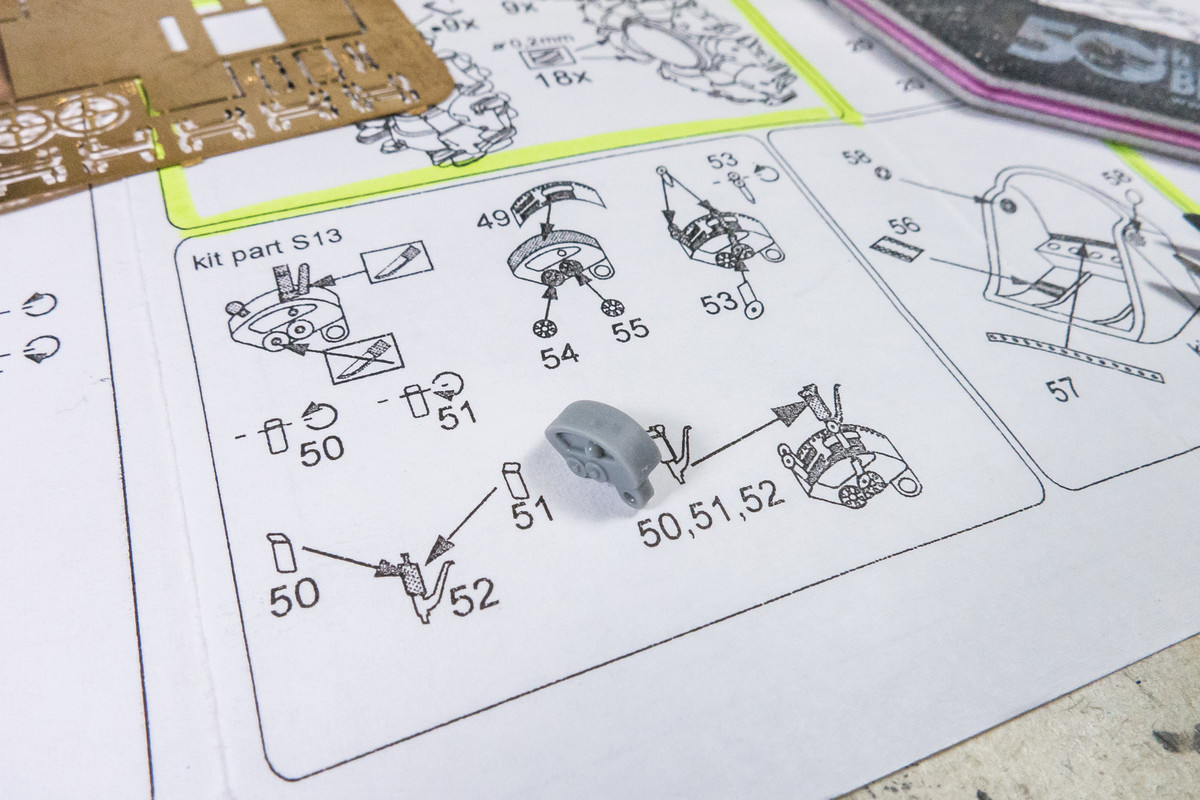
There is a PE piece with slots cut into it that covers the curved face of the throttle quadrant. Holding that PE part in place with my fingers, I shoot the face with black paint.

This creates a guide that I use to cut grooves into the throttle face that will correspond to the slots on the PE part.
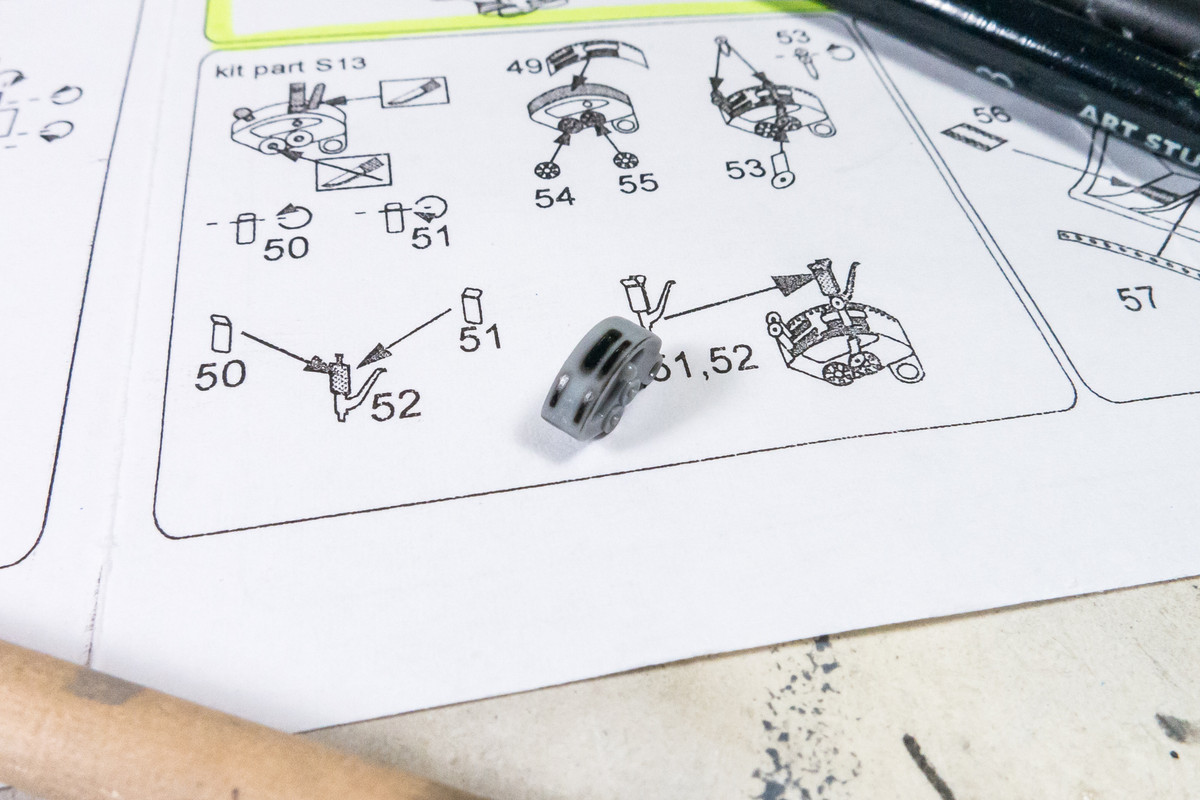
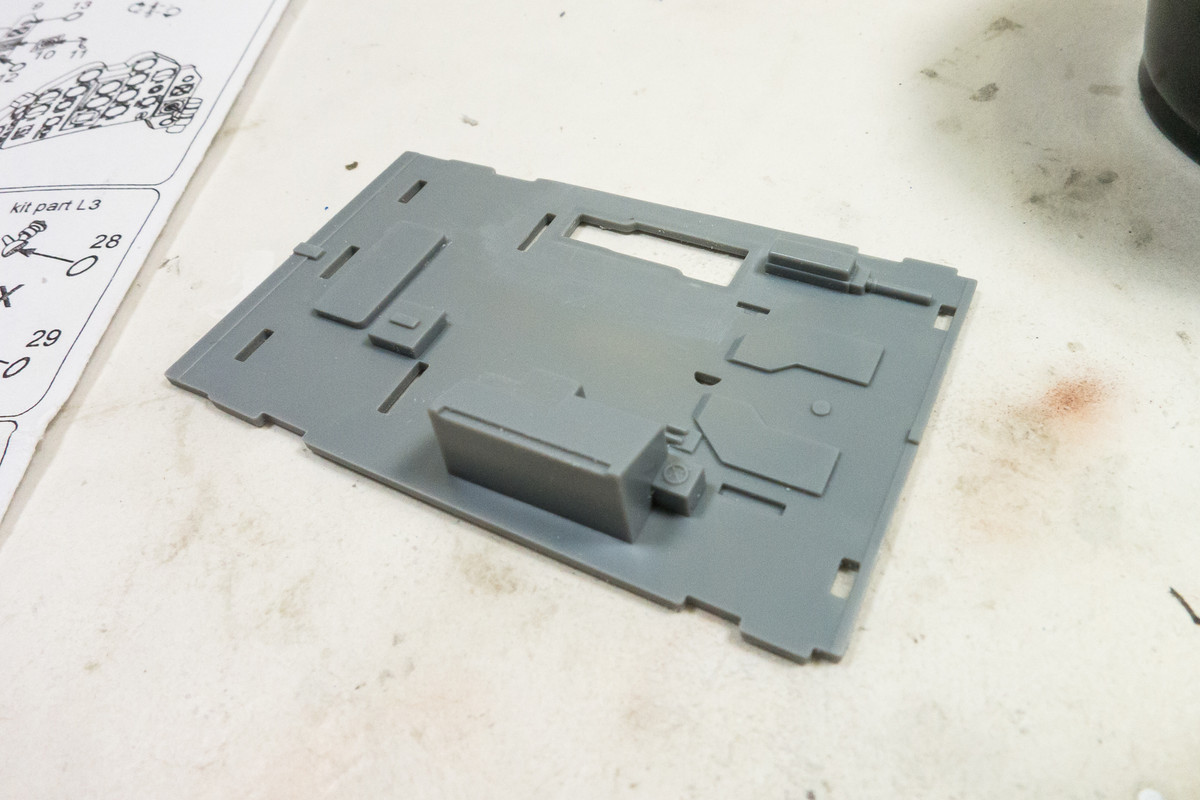
So now the throttle body has some appropriately deep slots for the levers and throttle.
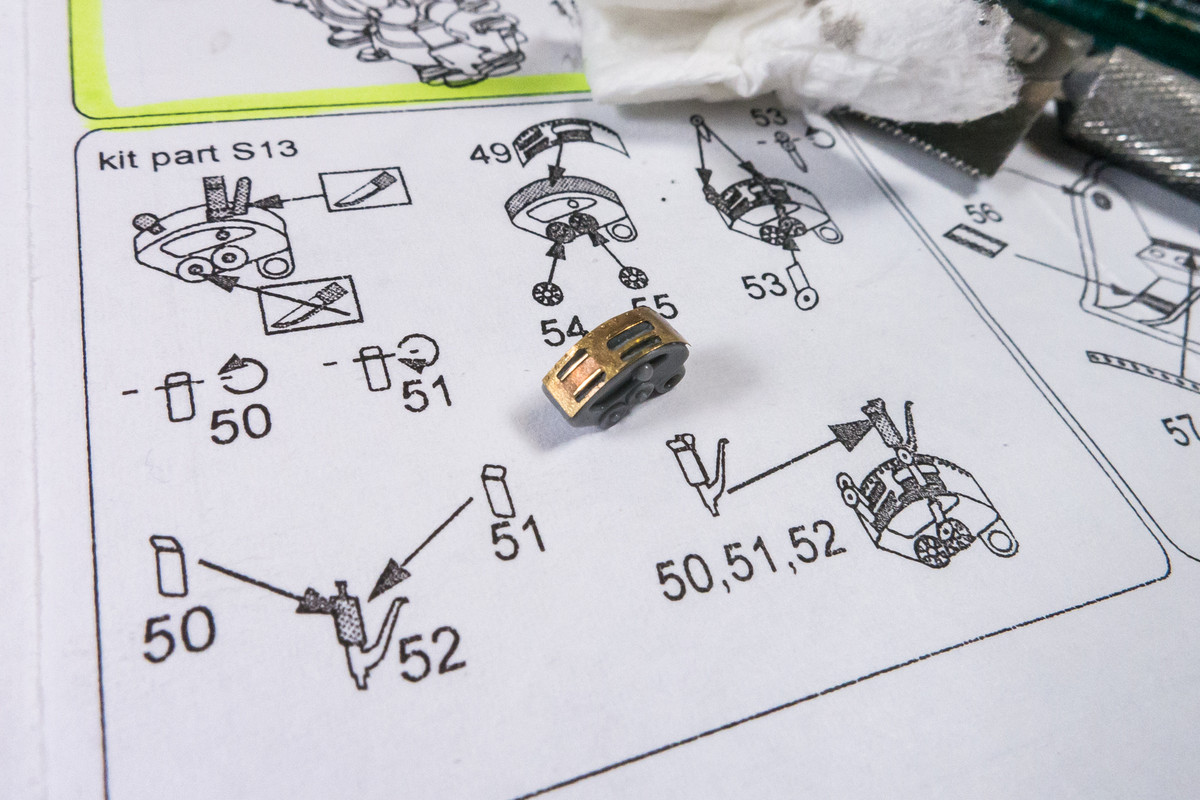
The various PE levers are glued into place. The throttle lever is an interesting pistol-grip shape. You can't see it but I've built up the handles of the levers and throttle with UV epoxy to give them a more rounded cross-section.
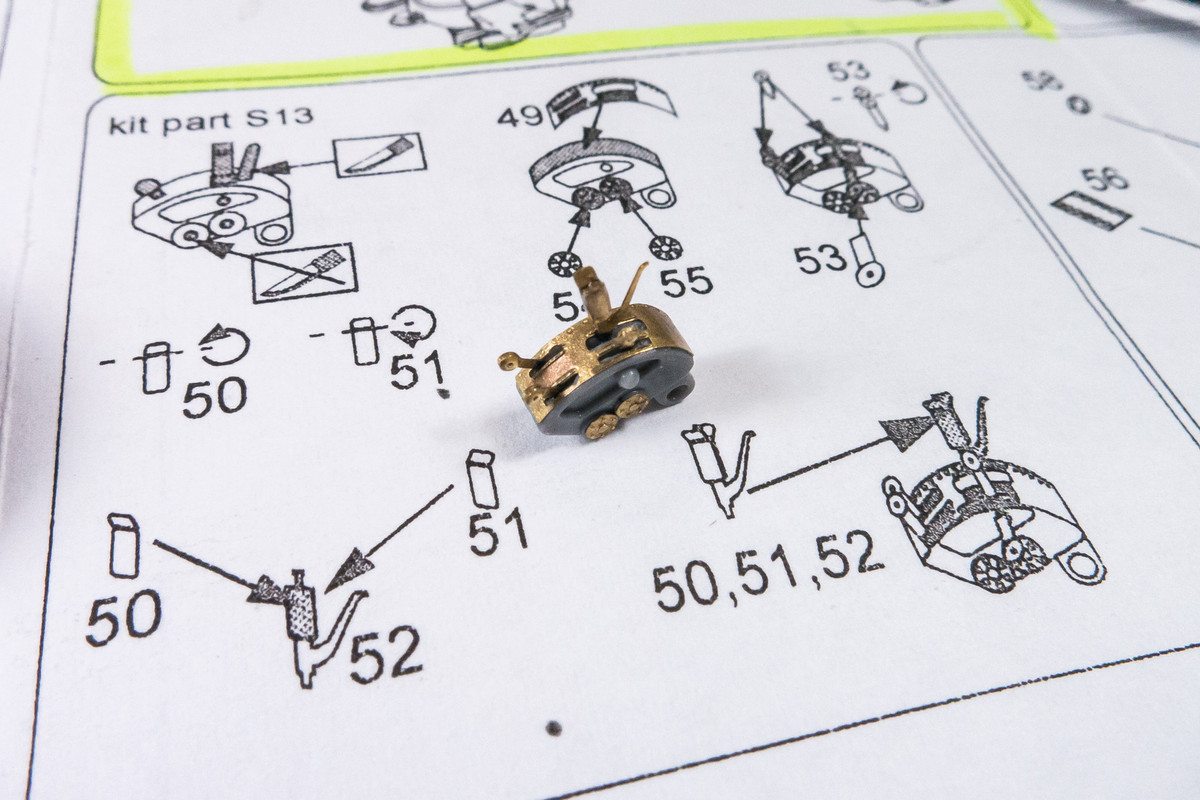
The throttle quadrant is placed high on the port sidewall and will be fairly visible. So these enhancement are well worthwhile.