1//32 Hasegawa Ki-61-1 Tei Hien

Post your work in progress of your aircraft builds in here.
User avatar
jkim
Elite Member
Posts: 3930
Joined: Mon Apr 10, 2017 4:03 pm

Re: 1//32 Hasegawa Ki-61-1 Tei Hien

Post by jkim »

The model has been given a clear gloss coat and I put on the decals as well. The decals were few in number and tiny in size and not worth photographing. The next step is to give the model a pastel wash. I make my own washes with pastel chalk, water and a dab of liquid soap to help suspend the chalk particles. I used a single color, dark brown for both top and bottom.

Here is the lower wing before the wash...
Image

During the wash...
Image

After the wash is wiped away...
Image
Image
Image

The upper wing before the wash...
Image
Image
Image

More views of the model after the wash...
Image
Image
Image
Image
John aka JKim
-----------<><
Image
User avatar
Stikpusher
Moderator
Posts: 18880
Joined: Sat Apr 05, 2014 8:37 pm
Location: Ceti Alpha 5

Re: 1//32 Hasegawa Ki-61-1 Tei Hien

Post by Stikpusher »

All of that detailing is coming together beautifully.
"Surely I have made my meaning plain? I intend to avenge myself upon you, Admiral. I have deprived your ship of power, and when I swing 'round, I intend to deprive you of your life."

FLSM
User avatar
tempestjohnny
Elite Member
Posts: 3347
Joined: Sat Oct 15, 2016 4:51 am
Location: Naples. FL

Re: 1//32 Hasegawa Ki-61-1 Tei Hien

Post by tempestjohnny »

Great idea with the wash.
User avatar
jkim
Elite Member
Posts: 3930
Joined: Mon Apr 10, 2017 4:03 pm

Re: 1//32 Hasegawa Ki-61-1 Tei Hien

Post by jkim »

Took a short break from the Hien build to visit my daughters in San Francisco and then played around with this Bandai model...
Image

Like other Bandai kits, it was a snap-together kit molded in the appropriate colors but I took the extra step of painting all of the parts individually. Instead of using the supplied stickers for the green accents, I used the sticker sheet to create custom masks and painted the green parts silver and overlaid them with a clear green to get the metallic green effect.

Anyways... back to the Hien... after the wash, I put on a flat coat. Straight Model Master Acryl Clear Flat on the top.
Image
Image
Image

A 50:50 mix of MM Flat and Alclad Aqua Gloss on the bottom. The wheel wells and the fabric-covered ailerons got the straight flat.
Image
Image
Image
John aka JKim
-----------<><
Image
User avatar
BlackSheep214
Elite Member
Posts: 10422
Joined: Sun Apr 06, 2014 8:47 pm

Re: 1//32 Hasegawa Ki-61-1 Tei Hien

Post by BlackSheep214 »

I have been silent watching you do your magic on your builds because i have no words. I'm in awe.
“Who controls the skies, controls the fate of this Earth”

Author unknown- 352nd Fighter Group, Blue-Nosed Bastards of Bodney

“Send one plane it’s a sortie; send two planes it’s a flight; send four planes it’s a test of airpower. - Richard Kohn
User avatar
Stikpusher
Moderator
Posts: 18880
Joined: Sat Apr 05, 2014 8:37 pm
Location: Ceti Alpha 5

Re: 1//32 Hasegawa Ki-61-1 Tei Hien

Post by Stikpusher »

John, that Gundam looks like pure fun. I always liked the blend of sci fi and samurai in the Gundam suits. And your Tony looks super close to the finish line now. Not much more to do with this one.
"Surely I have made my meaning plain? I intend to avenge myself upon you, Admiral. I have deprived your ship of power, and when I swing 'round, I intend to deprive you of your life."

FLSM
User avatar
jkim
Elite Member
Posts: 3930
Joined: Mon Apr 10, 2017 4:03 pm

Re: 1//32 Hasegawa Ki-61-1 Tei Hien

Post by jkim »

Thanks guys! Appreciate the feedback! And actually... not that it makes a huge difference but that toy character pre-dates Gundam. It is one of a series of giant robot comics/animation that were created in the 70's by Go Nagai.

My first weathering step is to use a very highly diluted mix of brown and black and run it along the panel lines and joints. I also use it to create subtle streaking corresponding to airflow across the surfaces. It should be really subtle. If it is too heavy, I rub it away with Micromesh. The Micromeshing itself leaves interesting staining patterns too so I guess it contributes to the weathering process by way of partial subtraction.

Image
Image
John aka JKim
-----------<><
Image
User avatar
Medicman71
Elite Member
Posts: 9729
Joined: Mon Apr 07, 2014 9:32 am
Location: Houston, Tx

Re: 1//32 Hasegawa Ki-61-1 Tei Hien

Post by Medicman71 »

Very cool! And the Gundam is cool!
Mike

Sponsored by Boeing, Lockheed Martin, Northrop Grumman, Saab, BAE, and Dassault
User avatar
jkim
Elite Member
Posts: 3930
Joined: Mon Apr 10, 2017 4:03 pm

Re: 1//32 Hasegawa Ki-61-1 Tei Hien

Post by jkim »

Trying to push this one over the finish line but other things keep getting in the way!

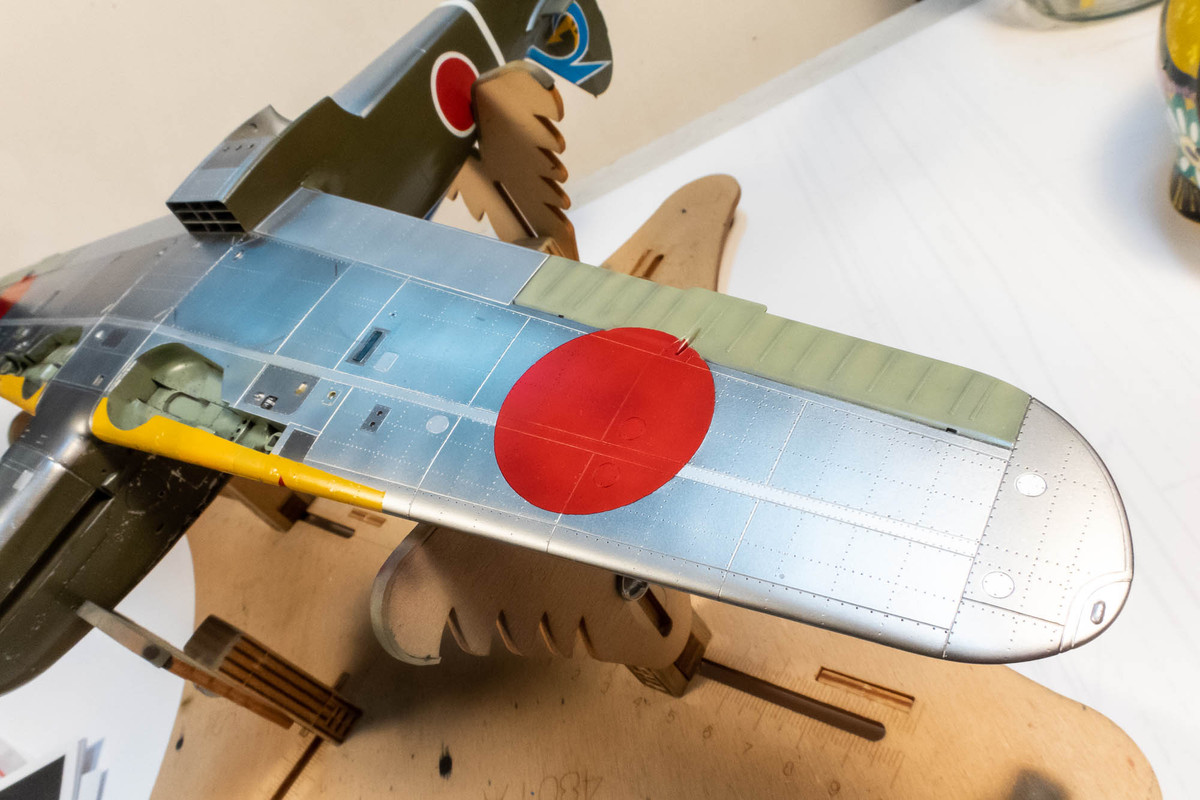
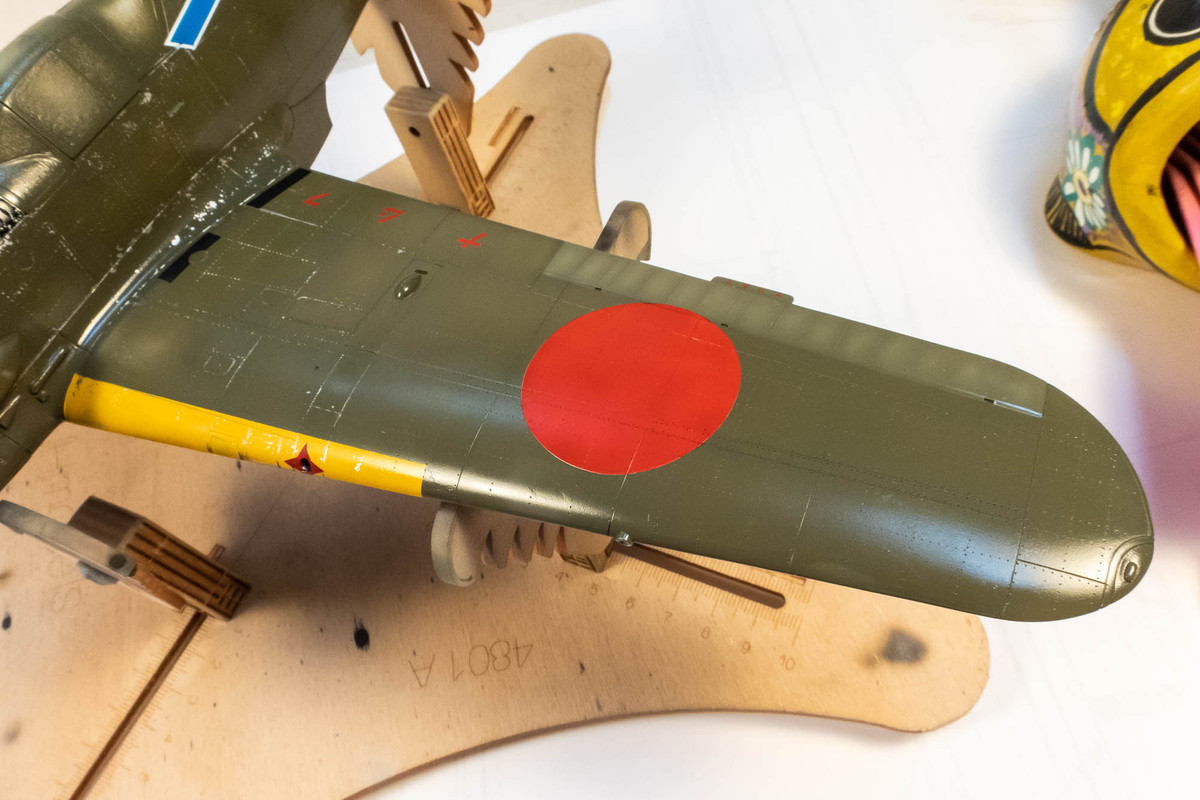
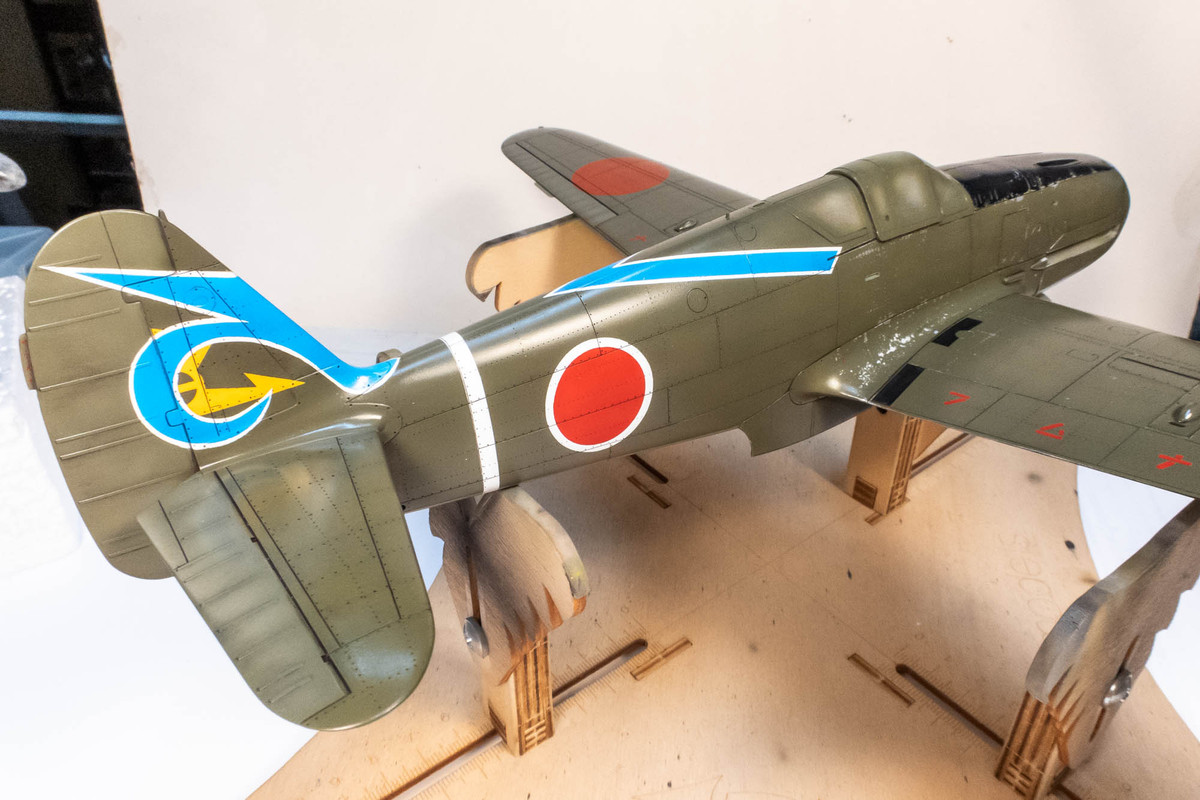
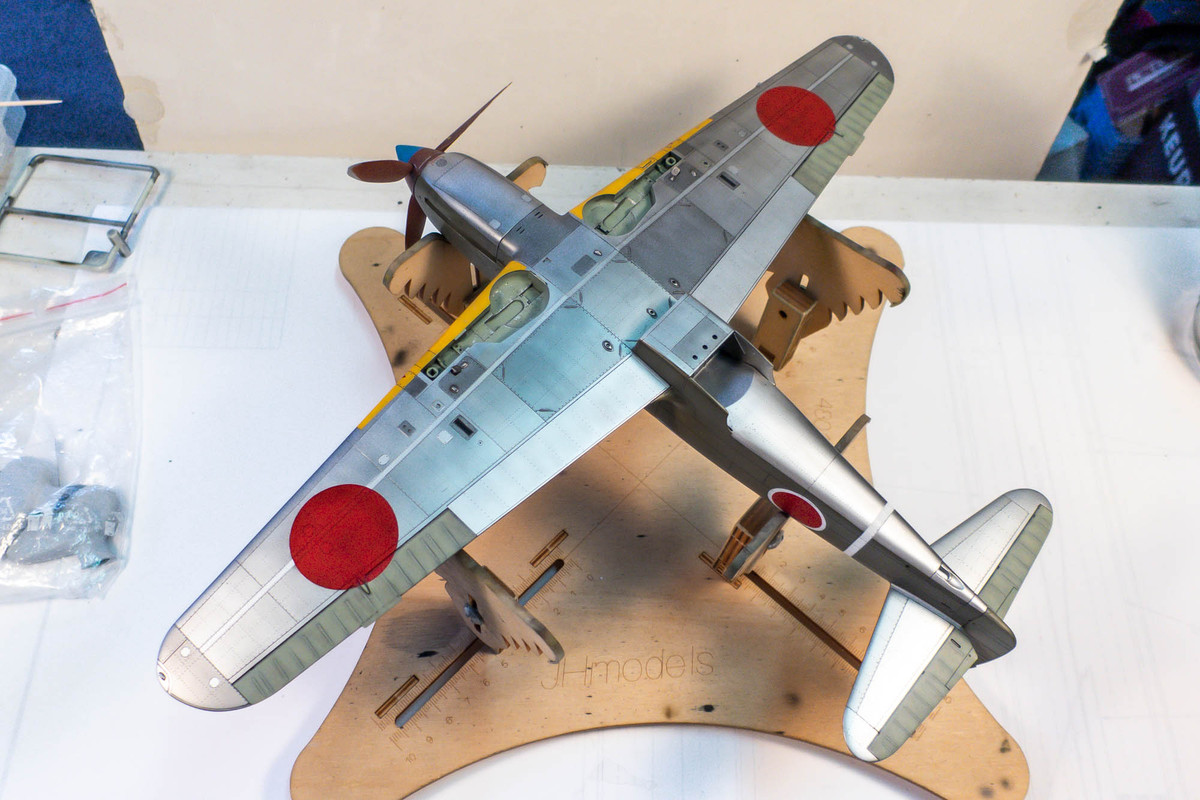
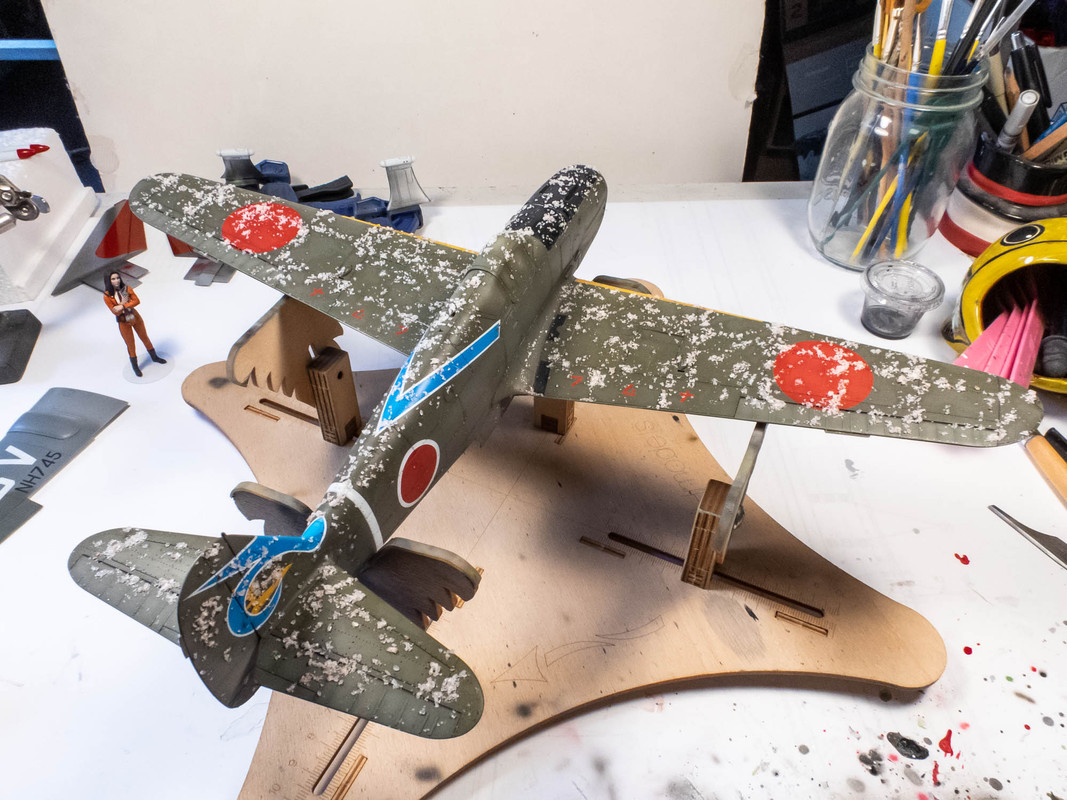
After doing a bit of post-shading on the top, I had to confront one of the bigger finishing hurdles... salt weathering. I don't think this technique is appropriate for every build but I think a worn Hien would benefit from it. Here is the model after the salt application.
Image

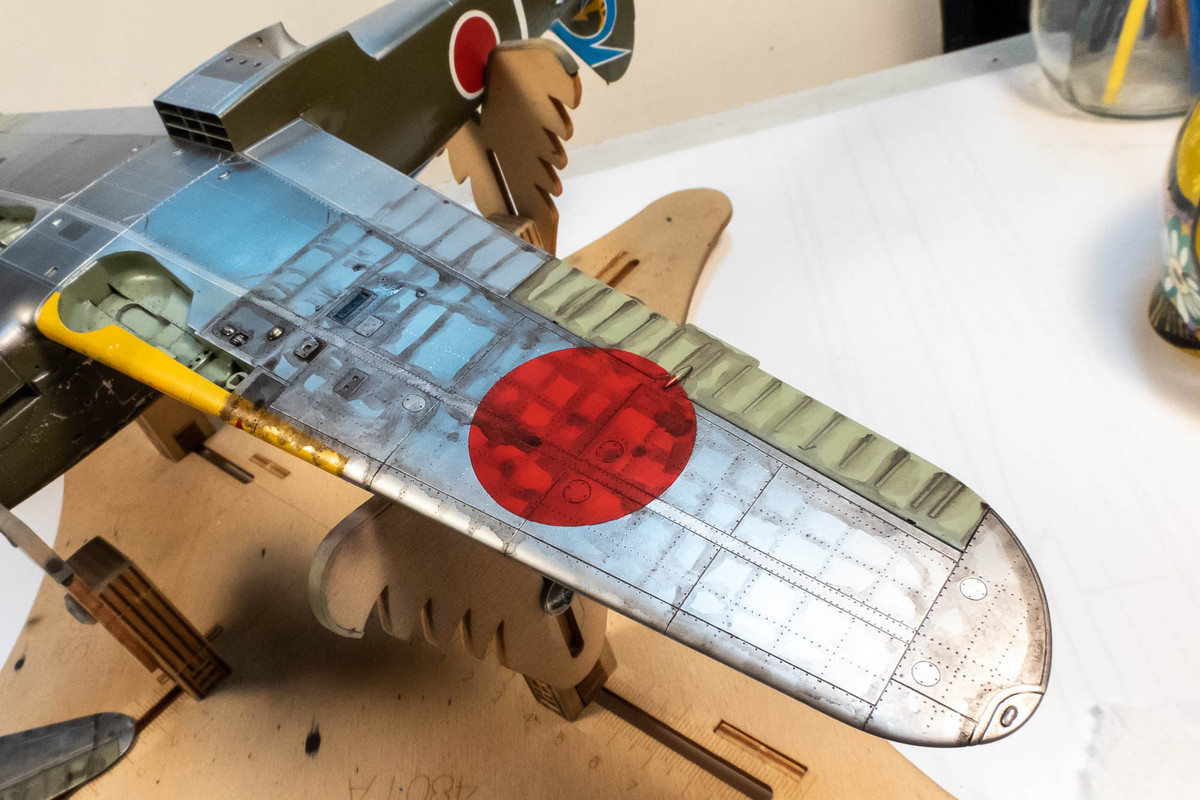
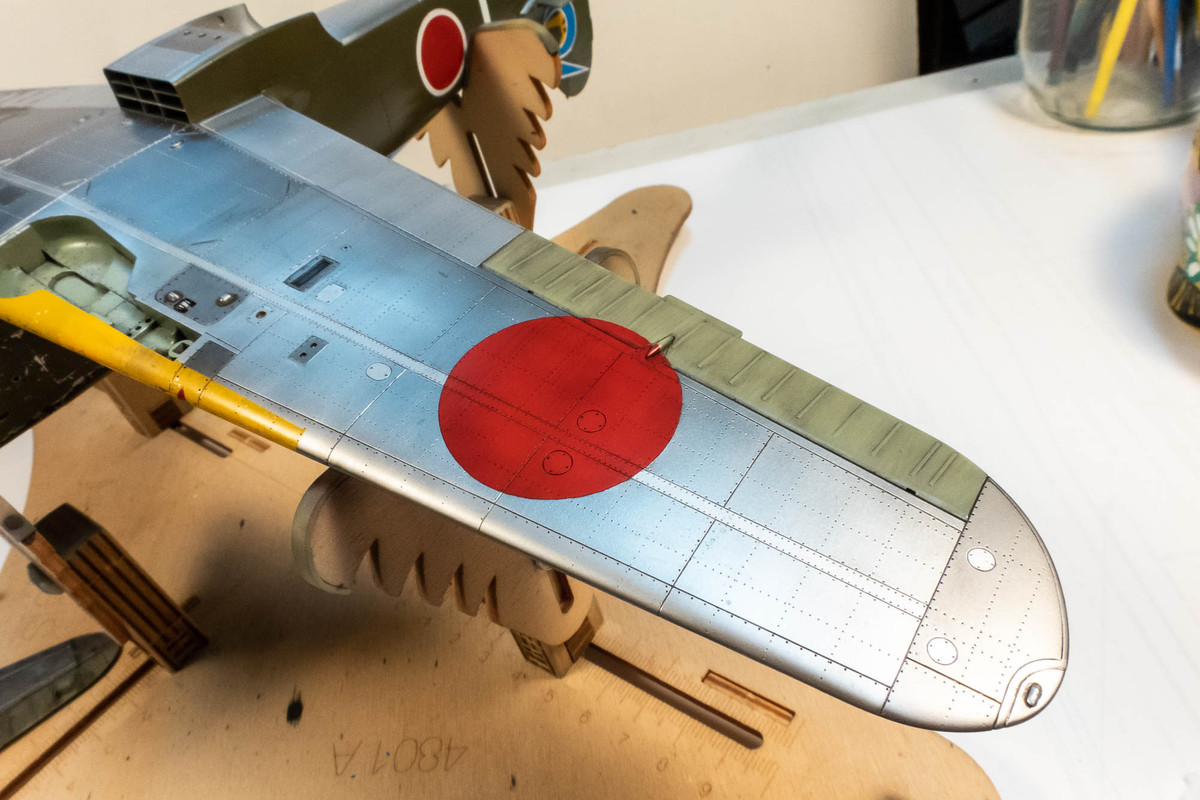
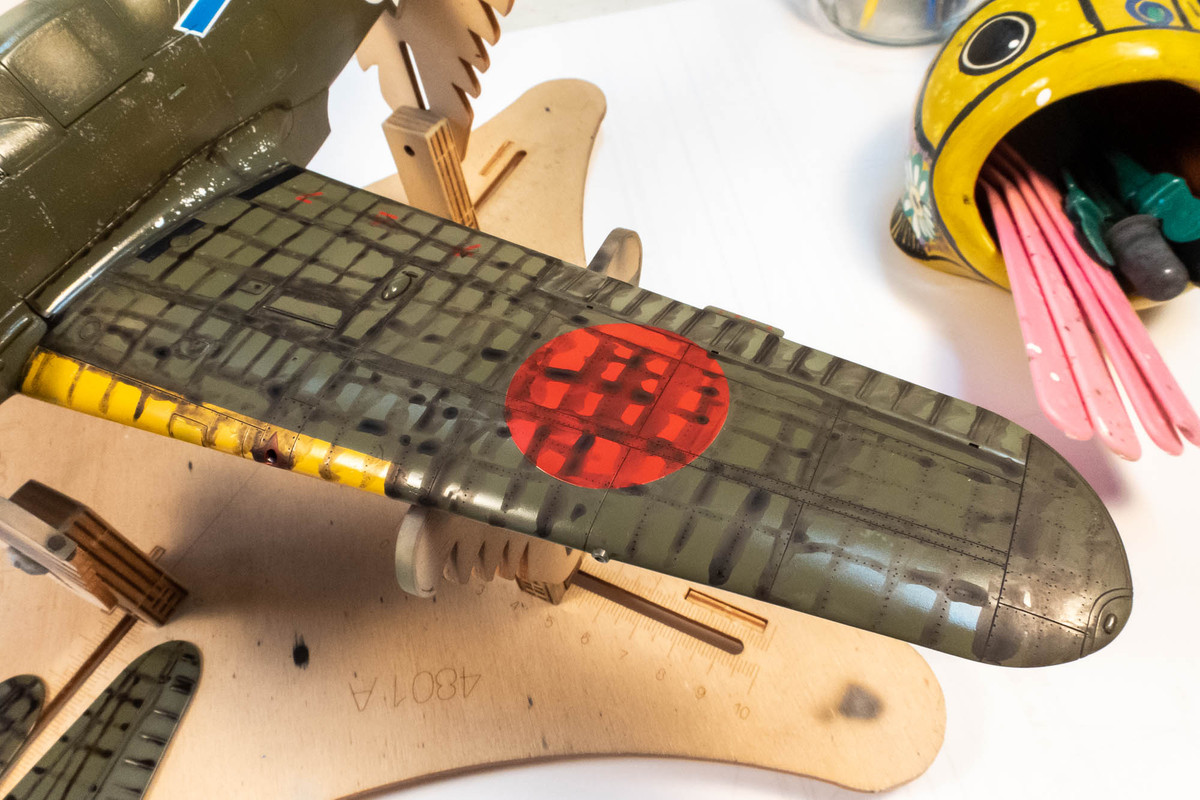
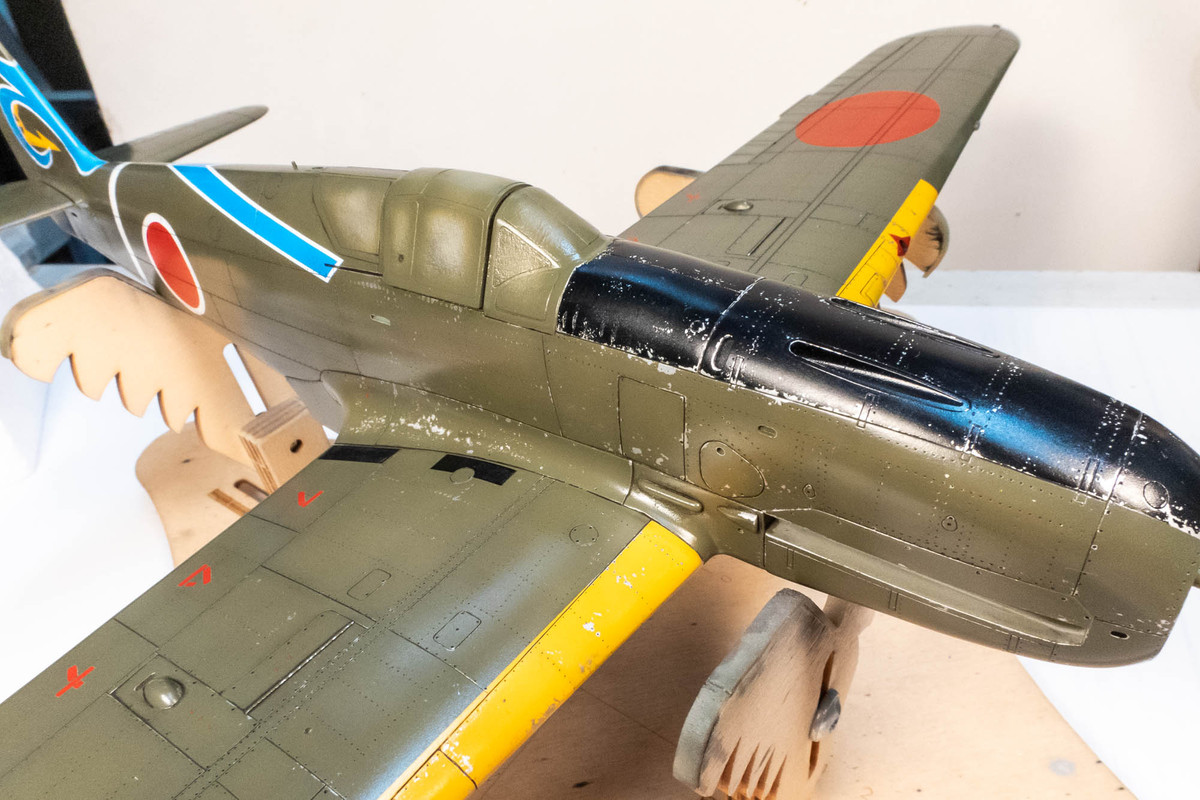
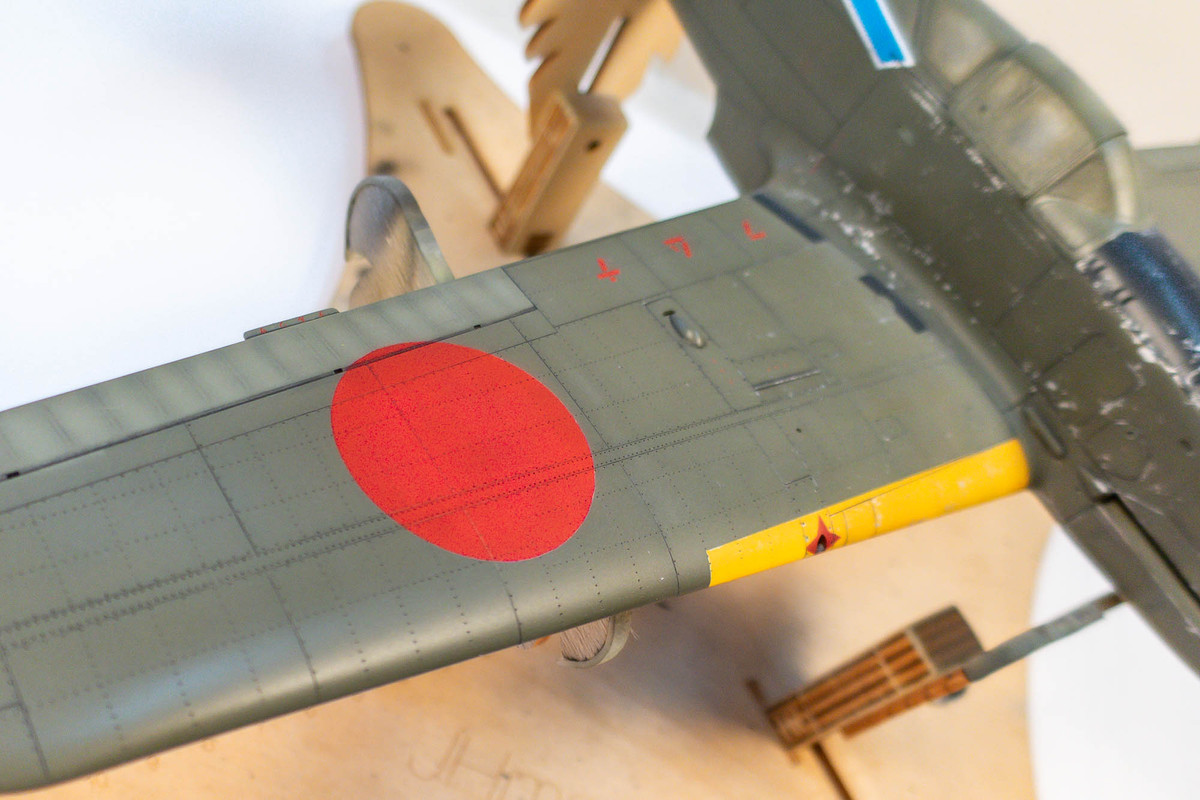
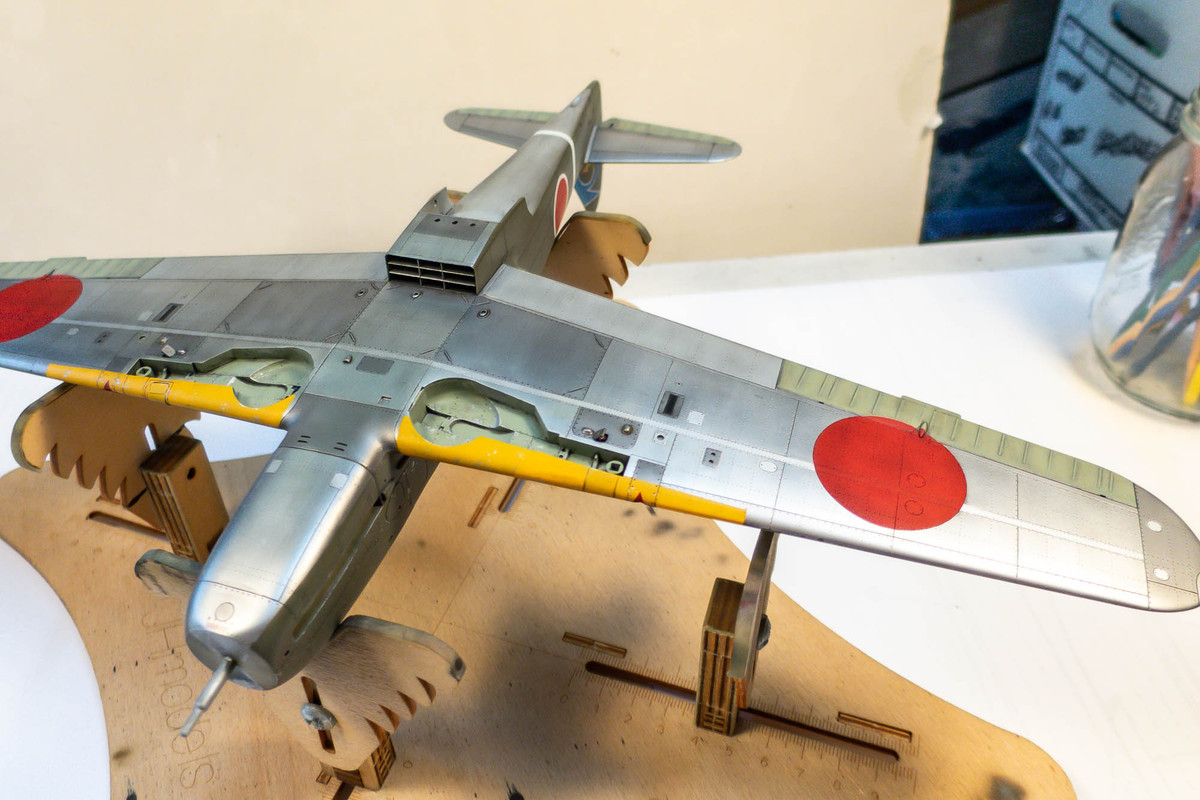
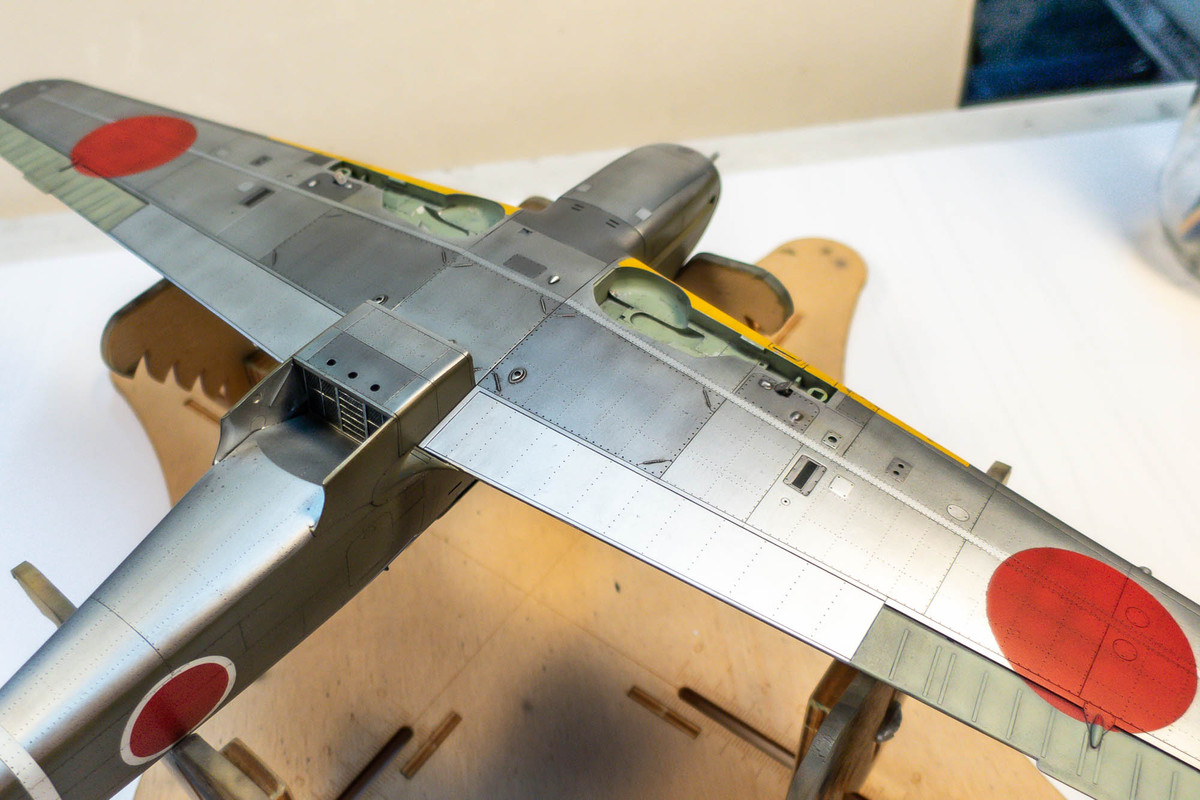
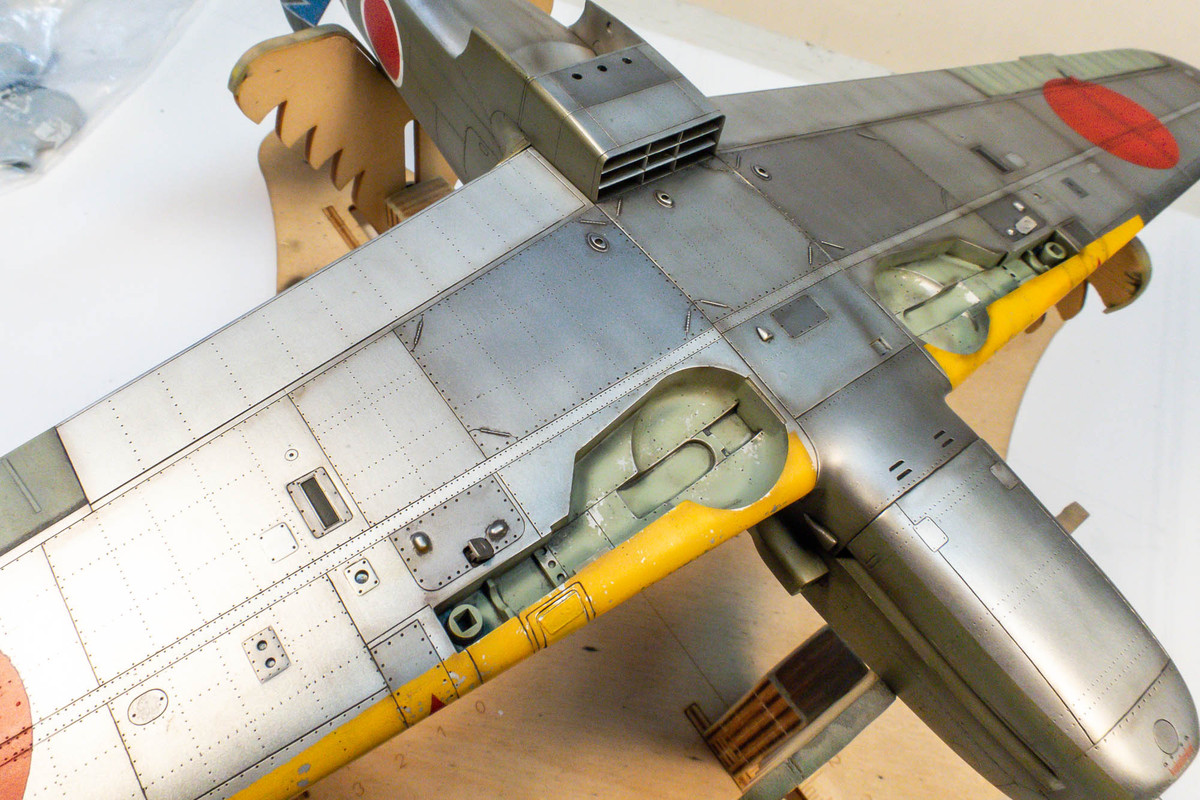
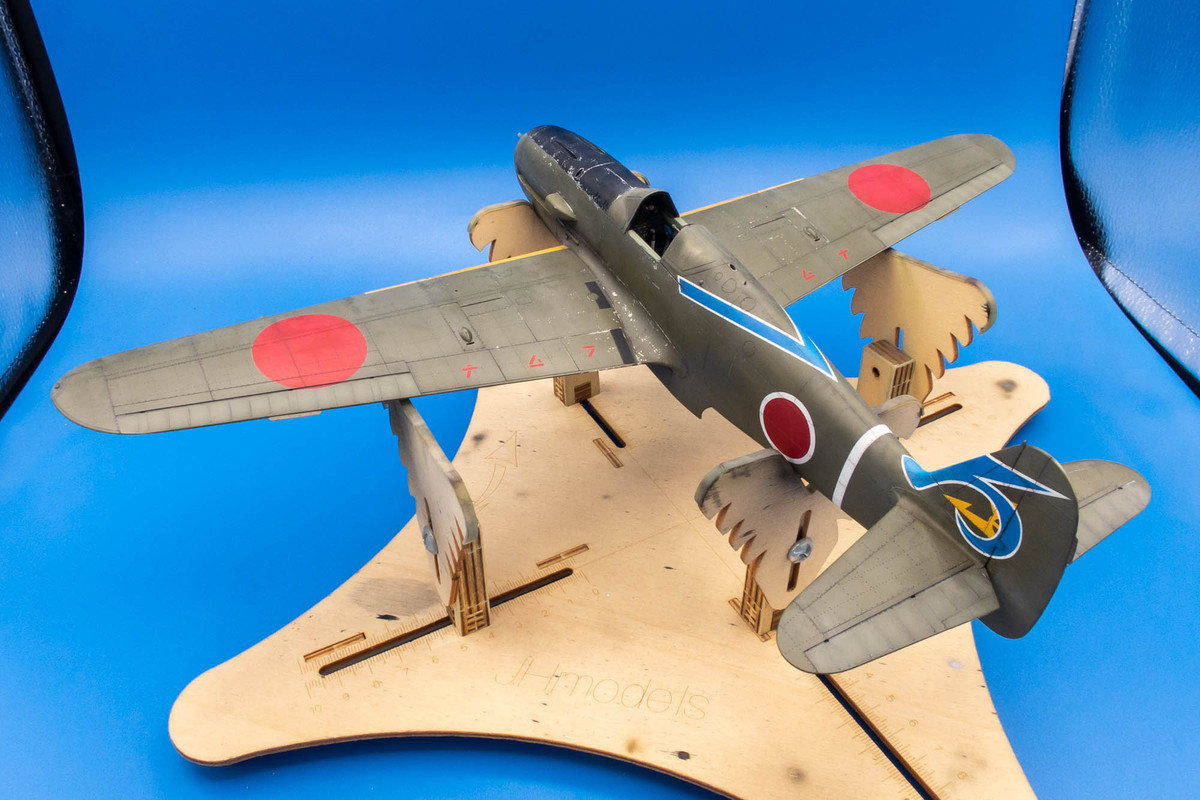
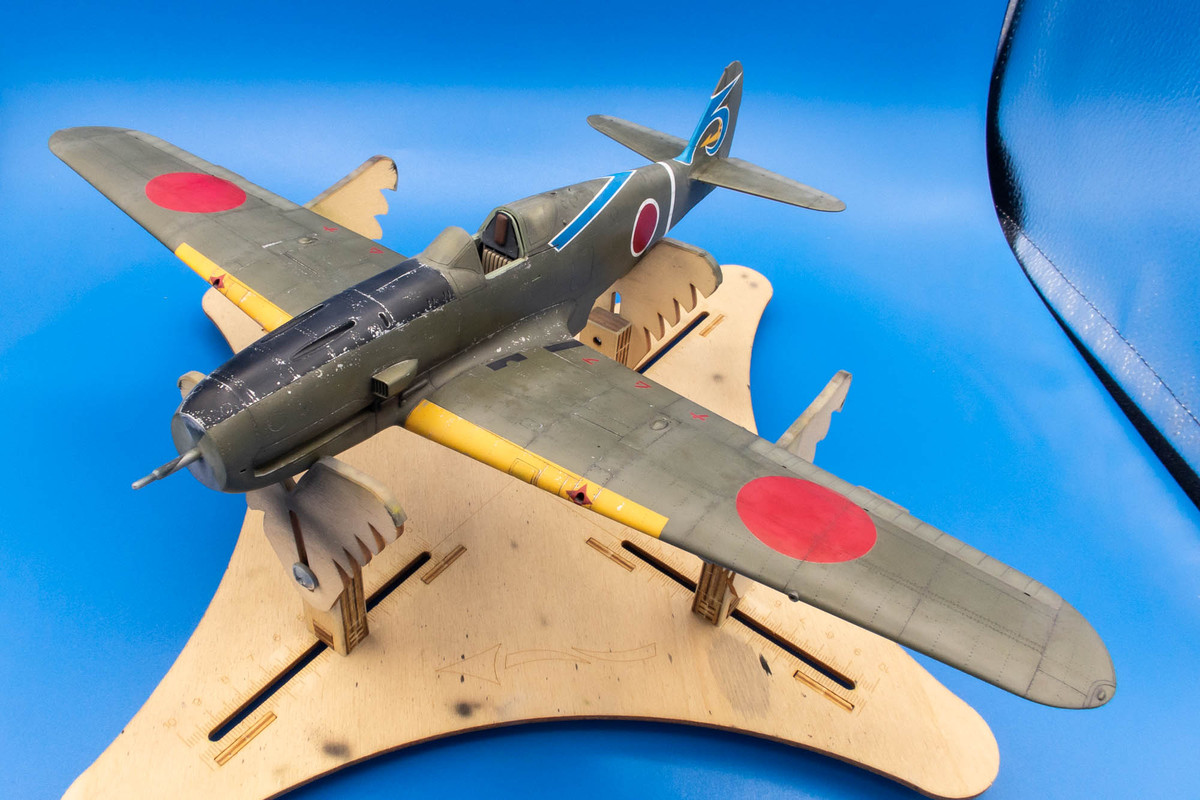
After the salt is completely dry, I sprayed a VERY diluted lighter color (Tamiya Deck Tan XF-55) over the salt. After the salt is removed, you should have some random stains on the surface of the model. This is what the model looks like after the salt weathering step.
Image
Image
Image


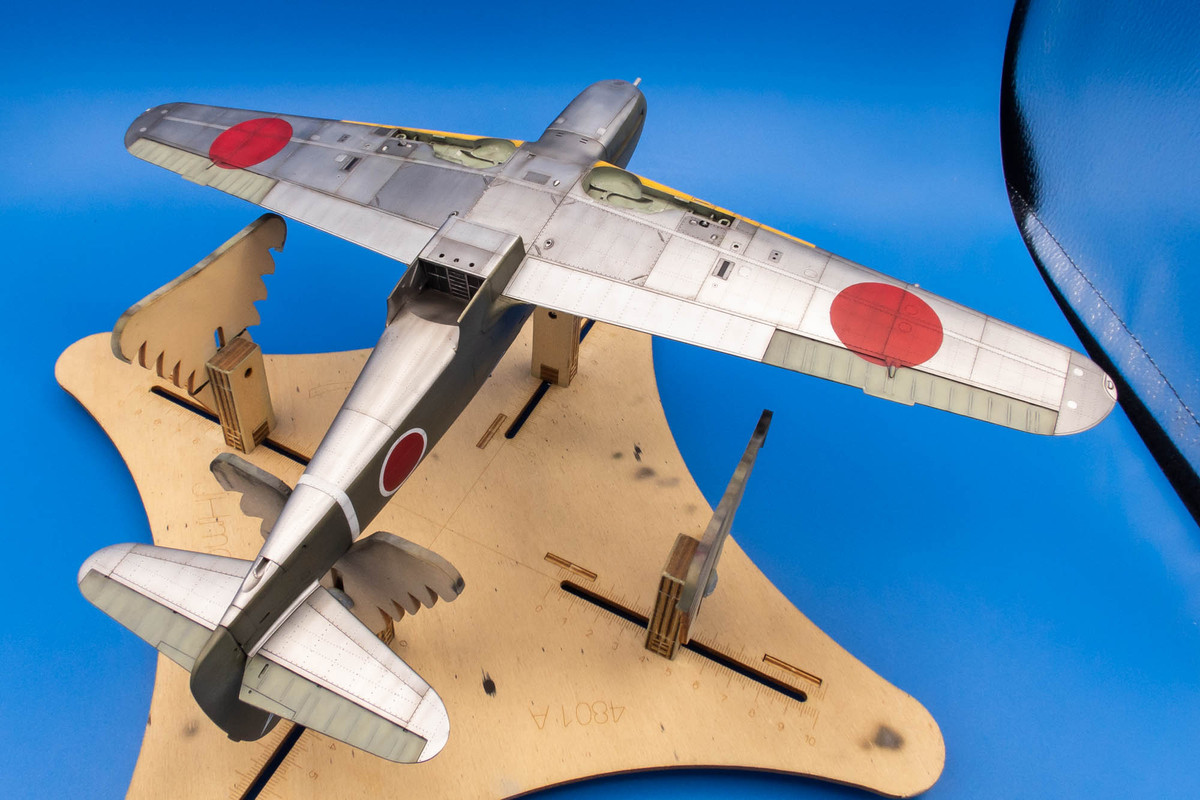
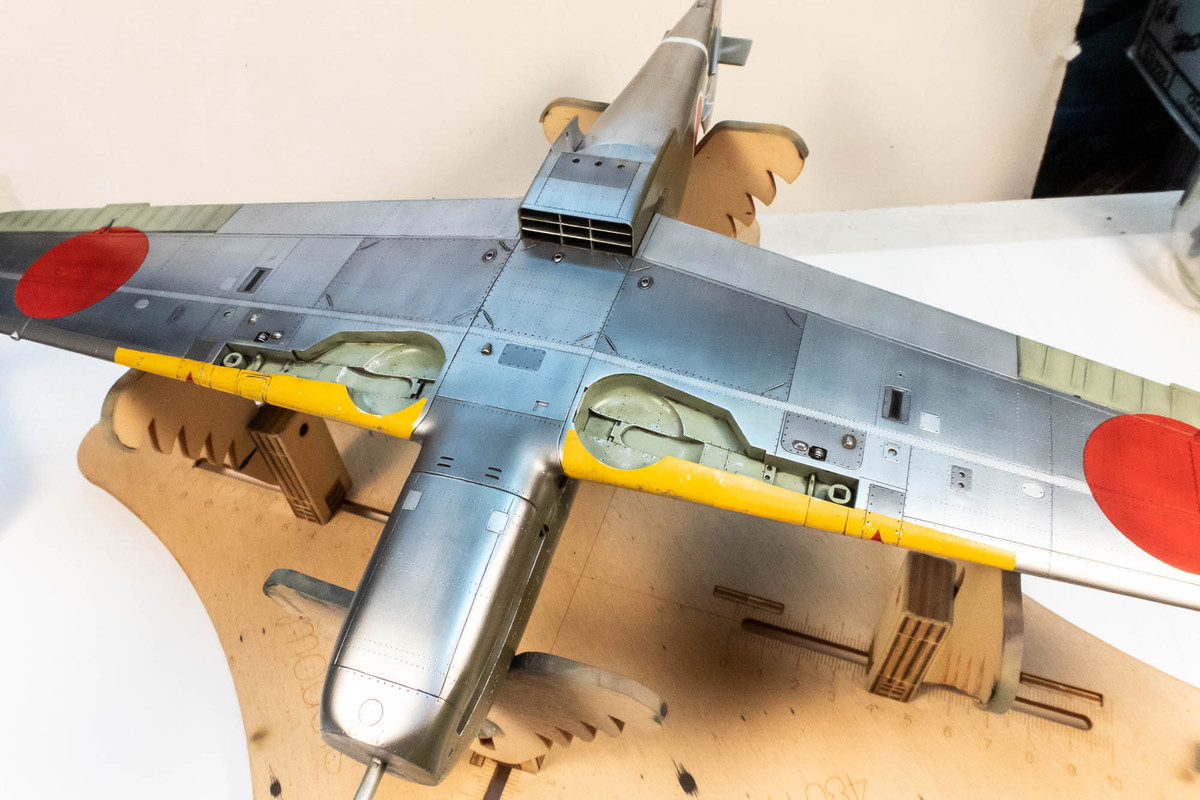
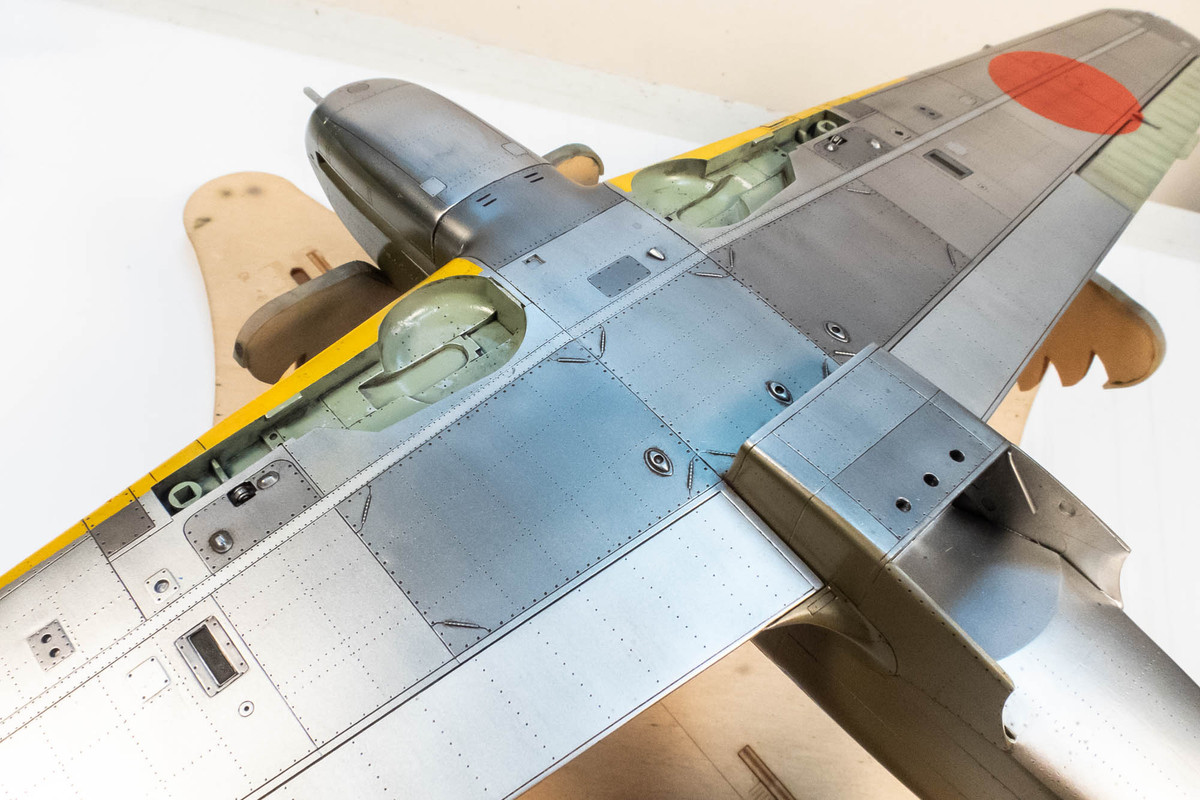
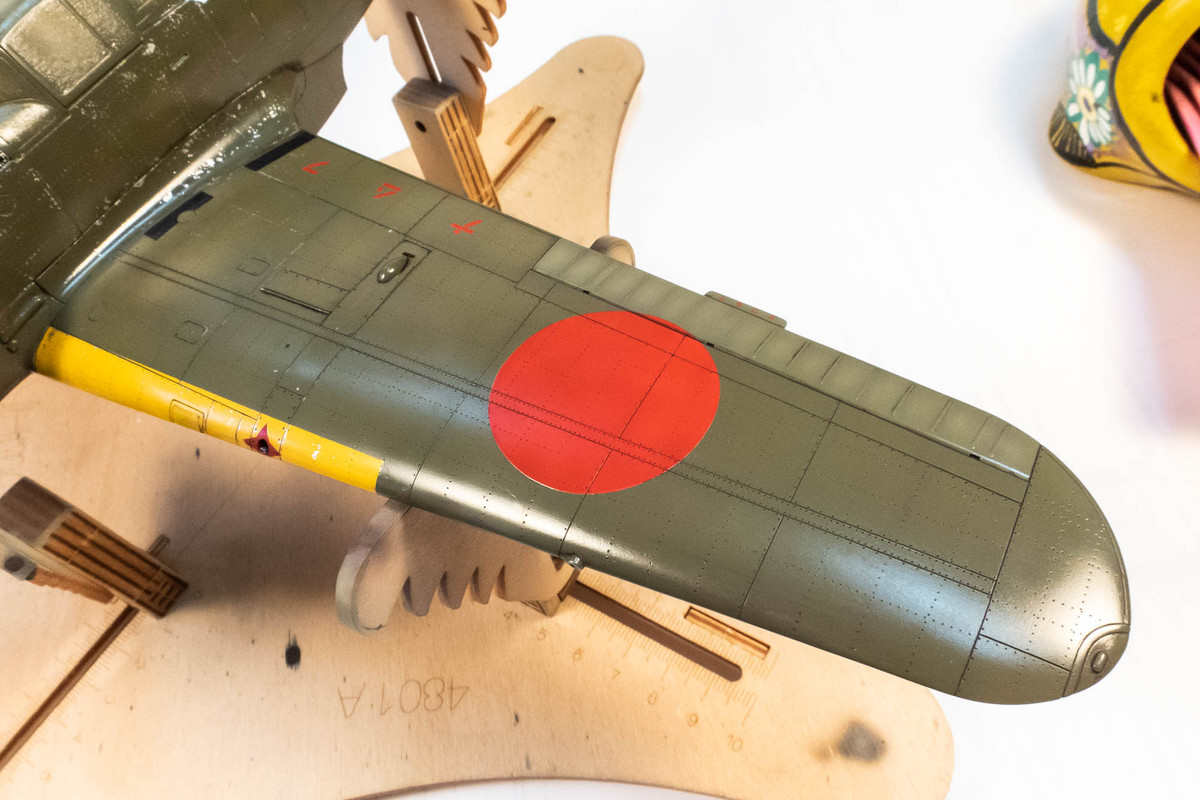
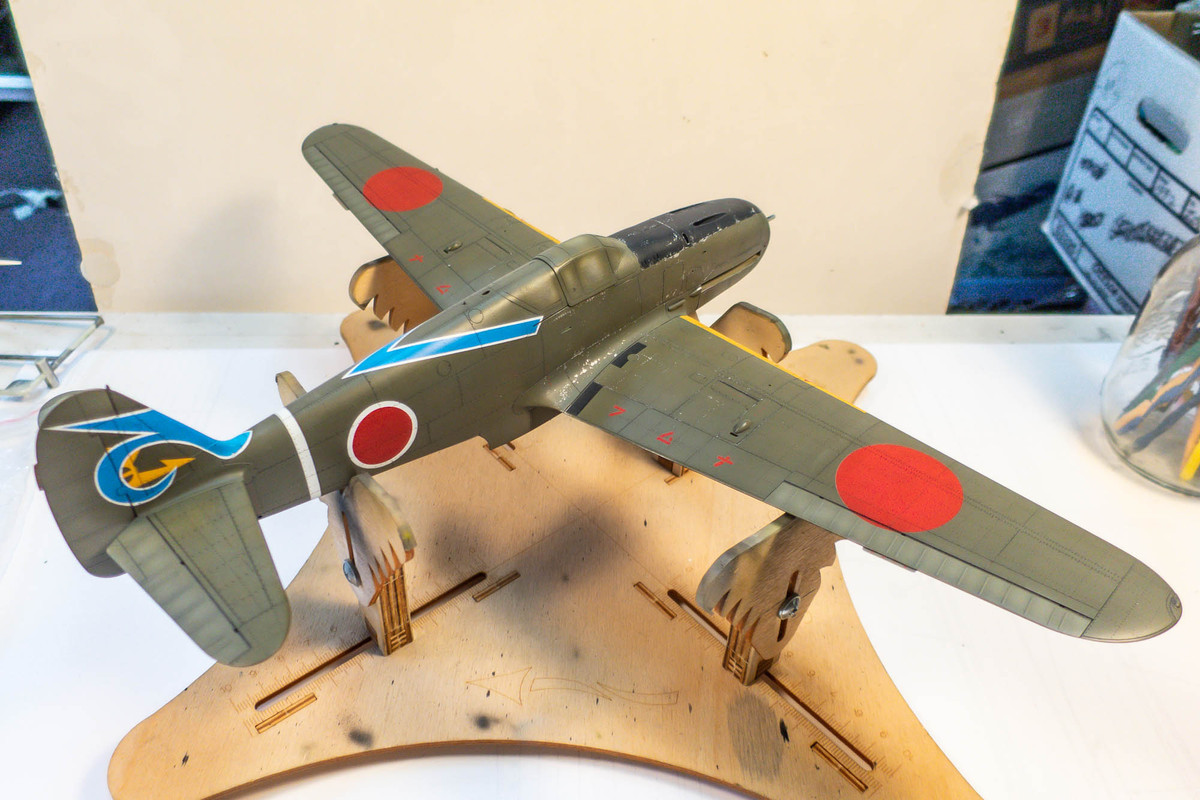
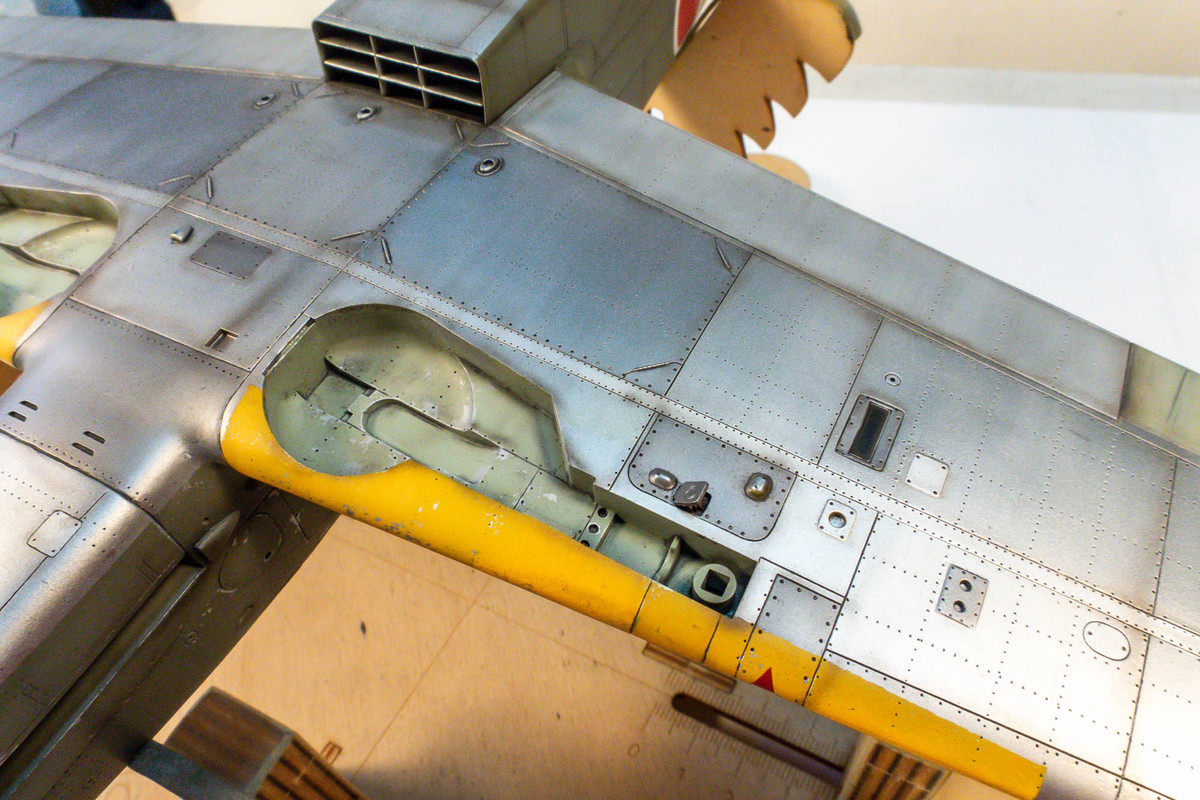
And another look at the bottom after the first post-shading pass.
Image
John aka JKim
-----------<><
Image
User avatar
Medicman71
Elite Member
Posts: 9729
Joined: Mon Apr 07, 2014 9:32 am
Location: Houston, Tx

Re: 1//32 Hasegawa Ki-61-1 Tei Hien

Post by Medicman71 »

Really nice!! :shoutout:
Mike

Sponsored by Boeing, Lockheed Martin, Northrop Grumman, Saab, BAE, and Dassault
Post Reply

Return to “Aircraft Work in Progress”