

1//32 Hasegawa Ki-61-1 Tei Hien
-
tempestjohnny
- Elite Member
- Posts: 3347
- Joined: Sat Oct 15, 2016 4:51 am
- Location: Naples. FL
Re: 1//32 Hasegawa Ki-61-1 Tei Hien
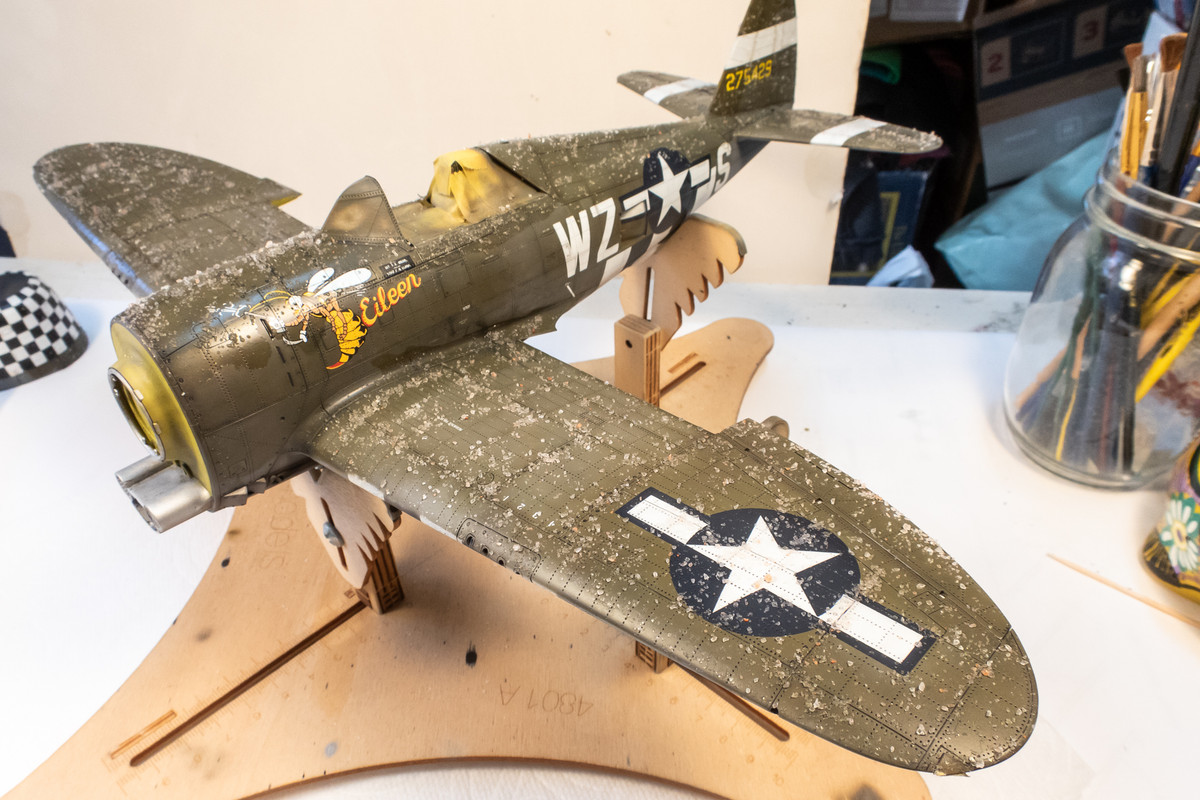
Really like the blotchy appearance of the salt technique
-
Gary Brantley

- Addicted Member
- Posts: 1748
- Joined: Tue Apr 08, 2014 9:40 pm
- Location: Cameron, Texas
Re: 1//32 Hasegawa Ki-61-1 Tei Hien
Regarding the salt weathering, the model's surface is slightly dampened before applying the salt? Is that correct? John, could you please expound upon the process for us? It seems like a great technique to have in one's "toolbox". 

Re: 1//32 Hasegawa Ki-61-1 Tei Hien
Thanks guys! I've been distracted trying to complete another project...
Now that it is complete, I can go back to my regularly scheduled programming.
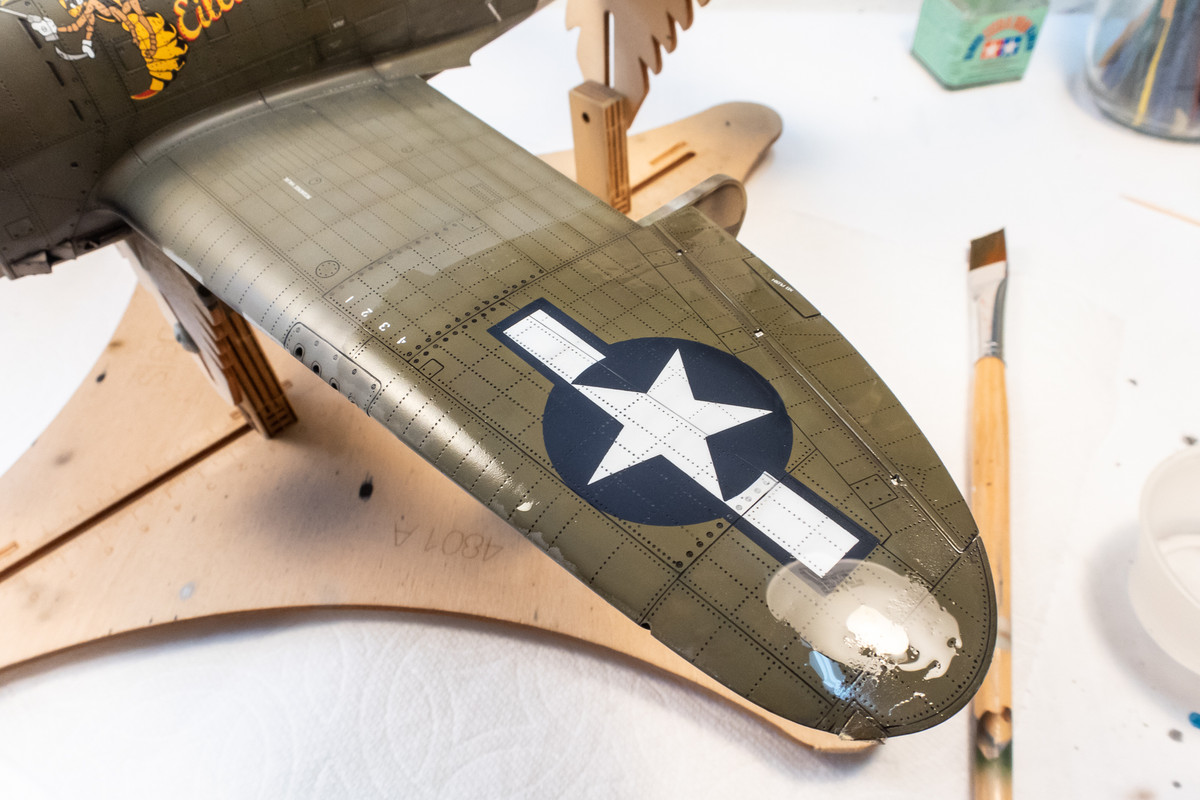
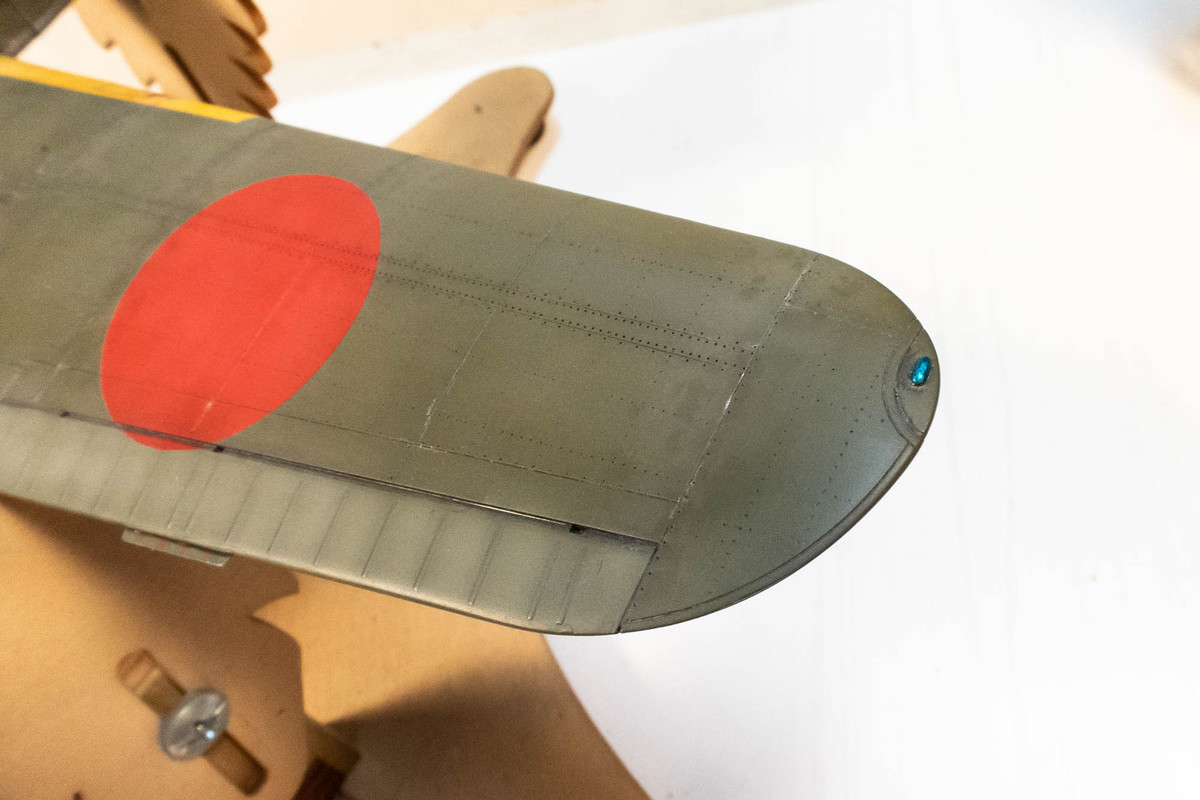
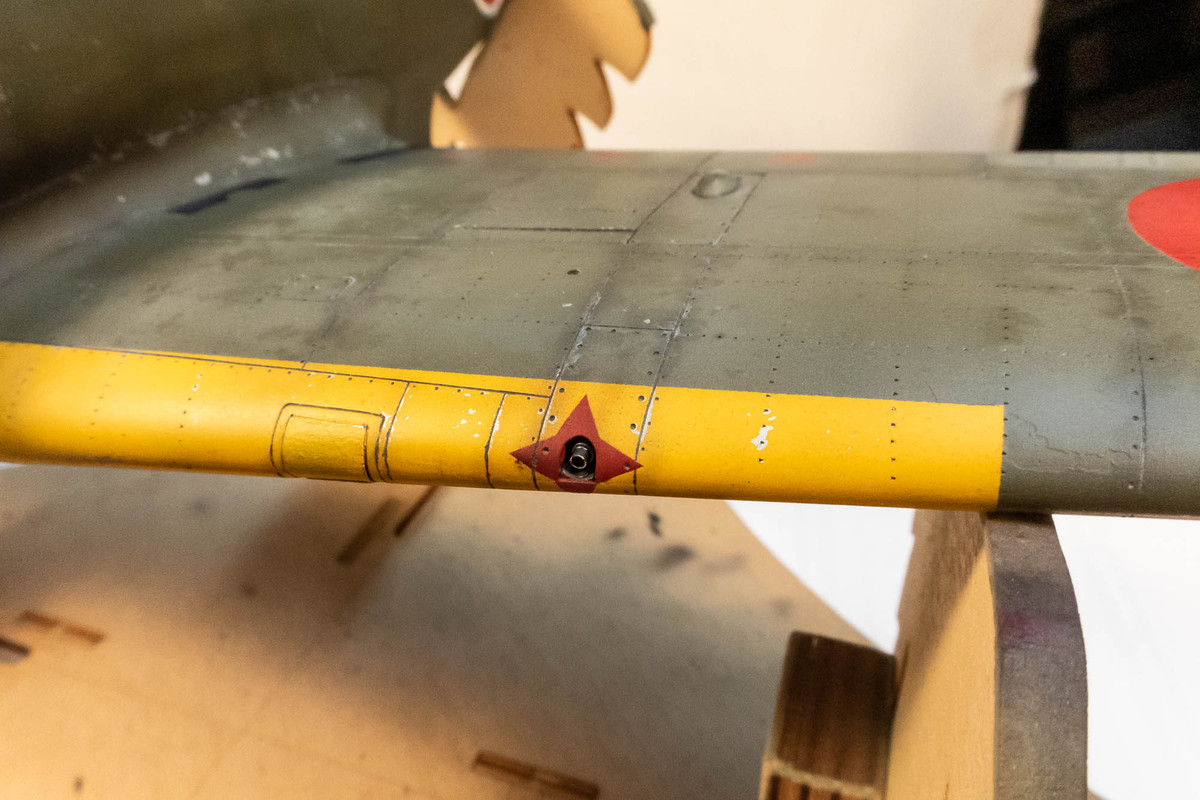
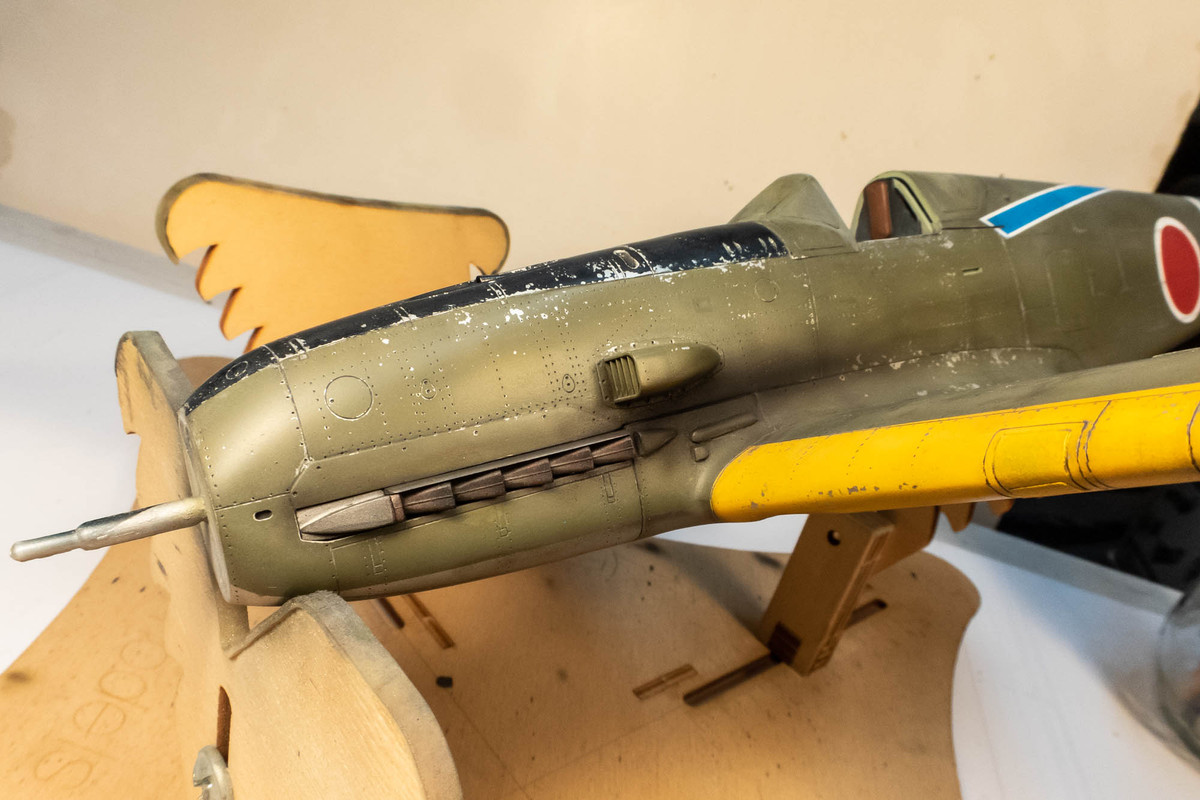
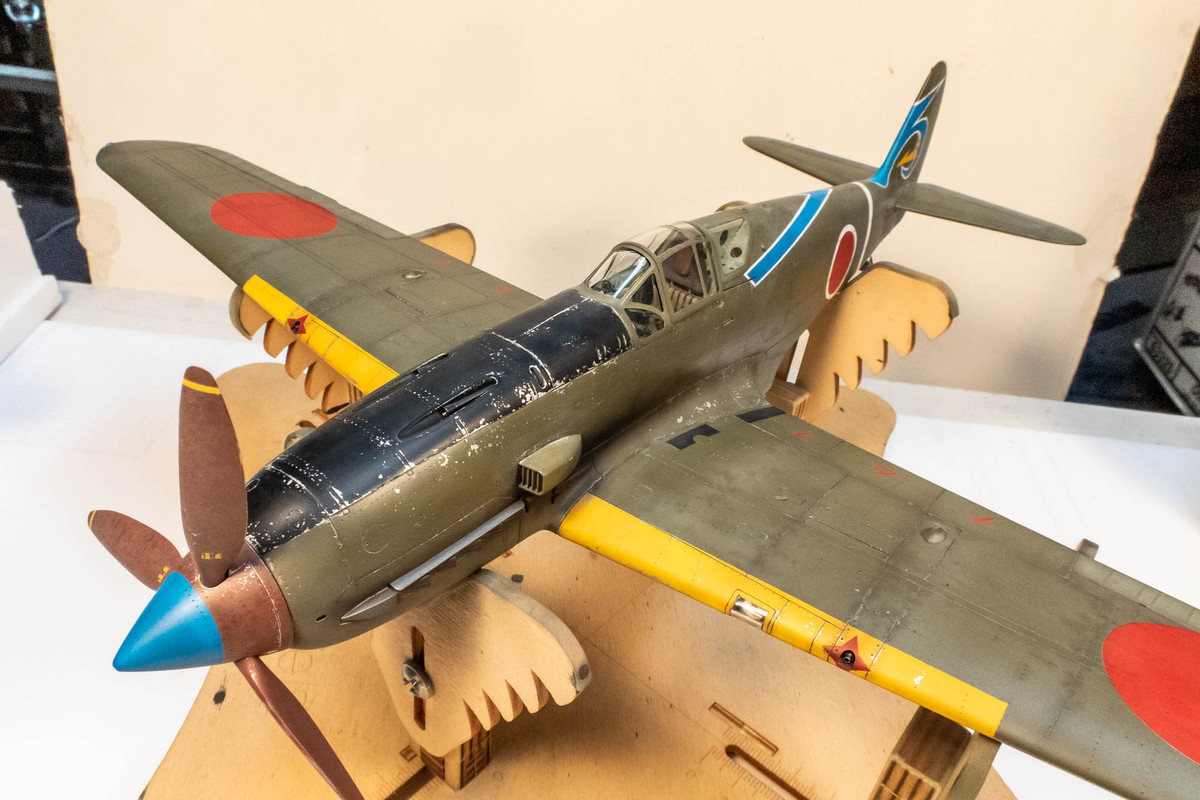
Back to the Hien build... the landing lights are solid resin pieces that came with the Wolf Pack conversion. I painted the lights silver and then clear blue (or red) over that.
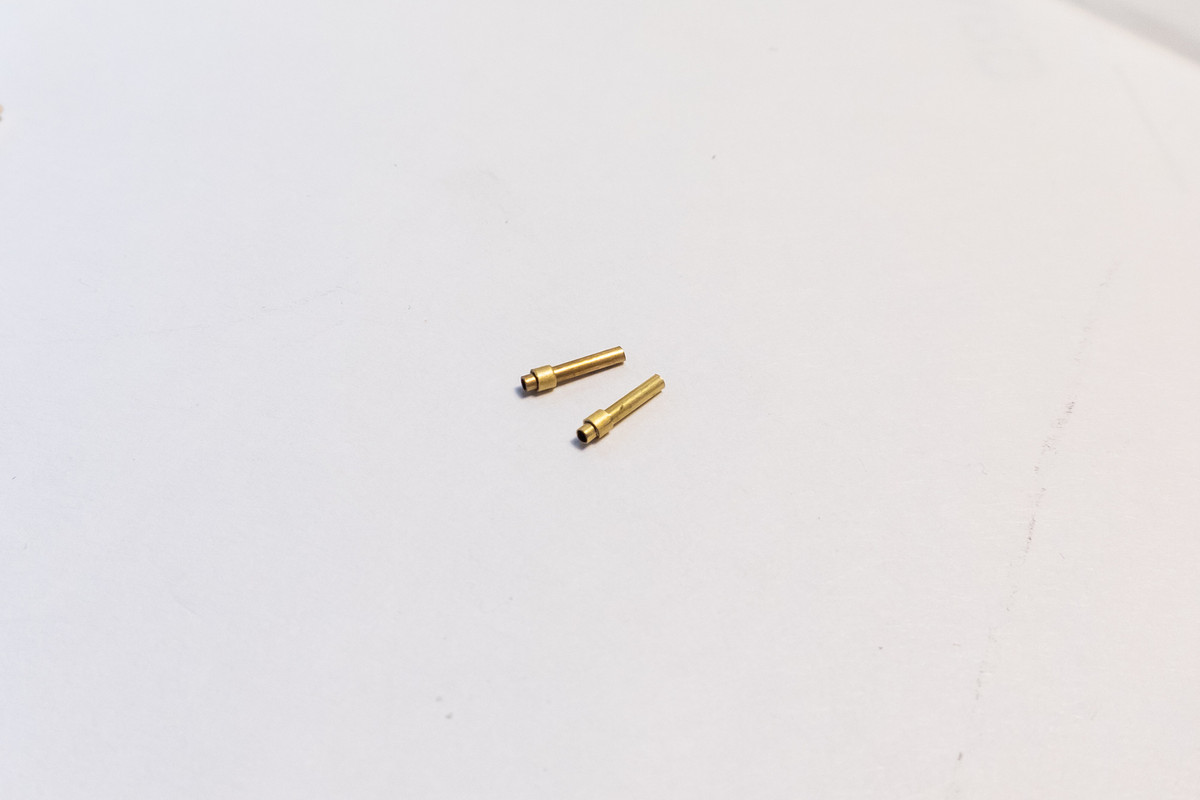
The Ho-103 machine gun barrels for the wings, which I fashioned from sections of brass tubing, have been painted and glued into place.
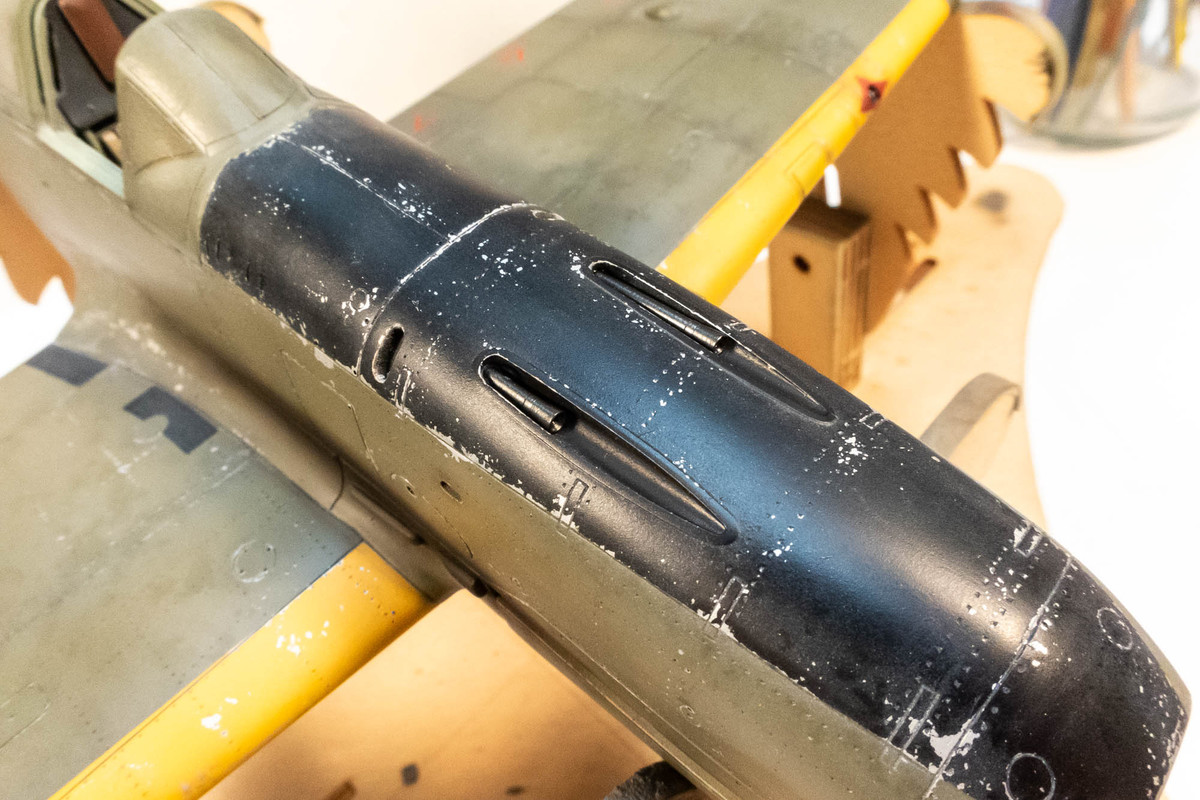
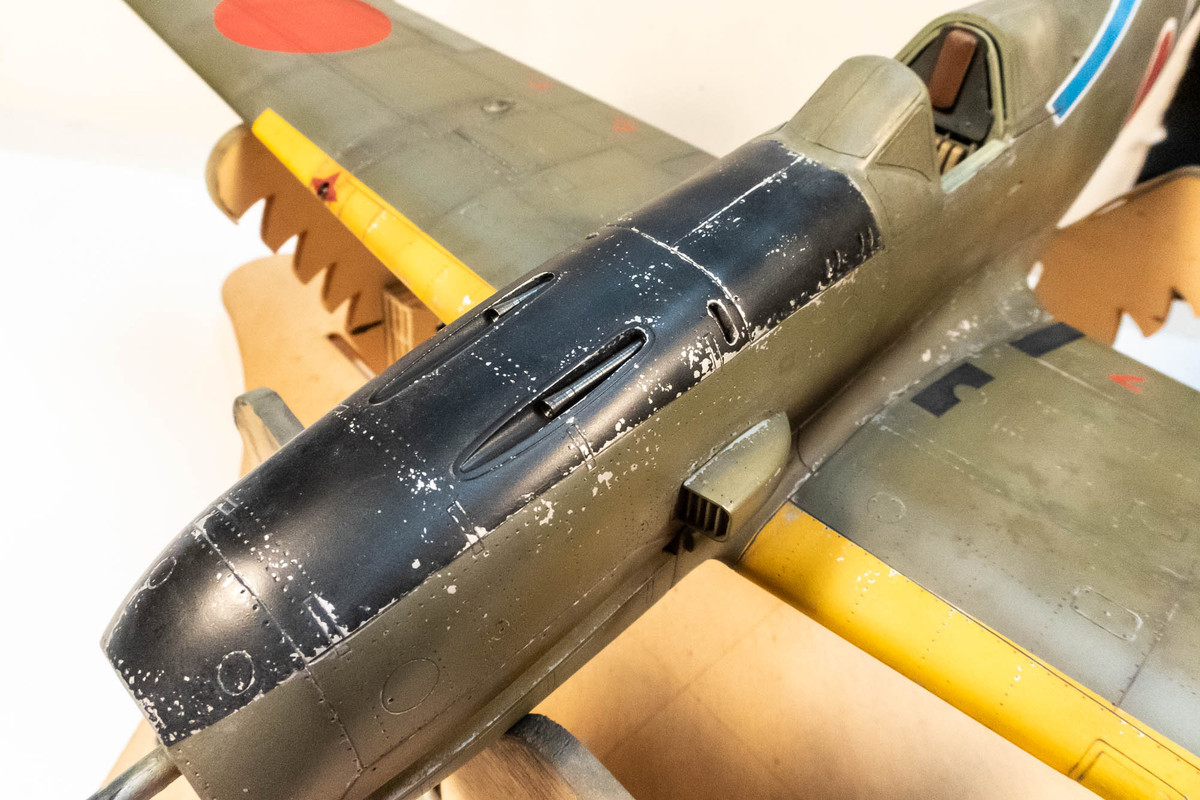
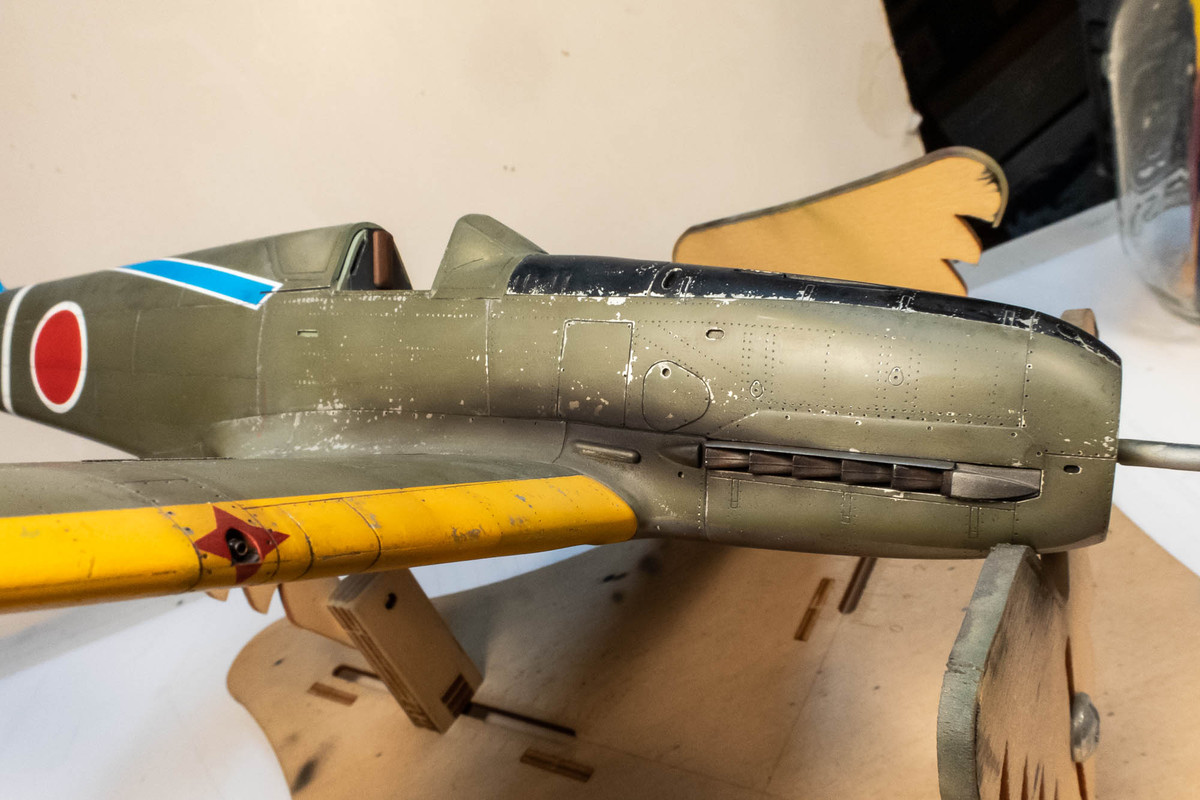
The Ho-5 20mm cannon barrels are metal and came with the Wolf Pack conversion. These were painted and glued into the cowling.
The resin exhausts and the baffle plates riding above have been glued into place. Previously, the exhaust stains were built up during the post-shading process.
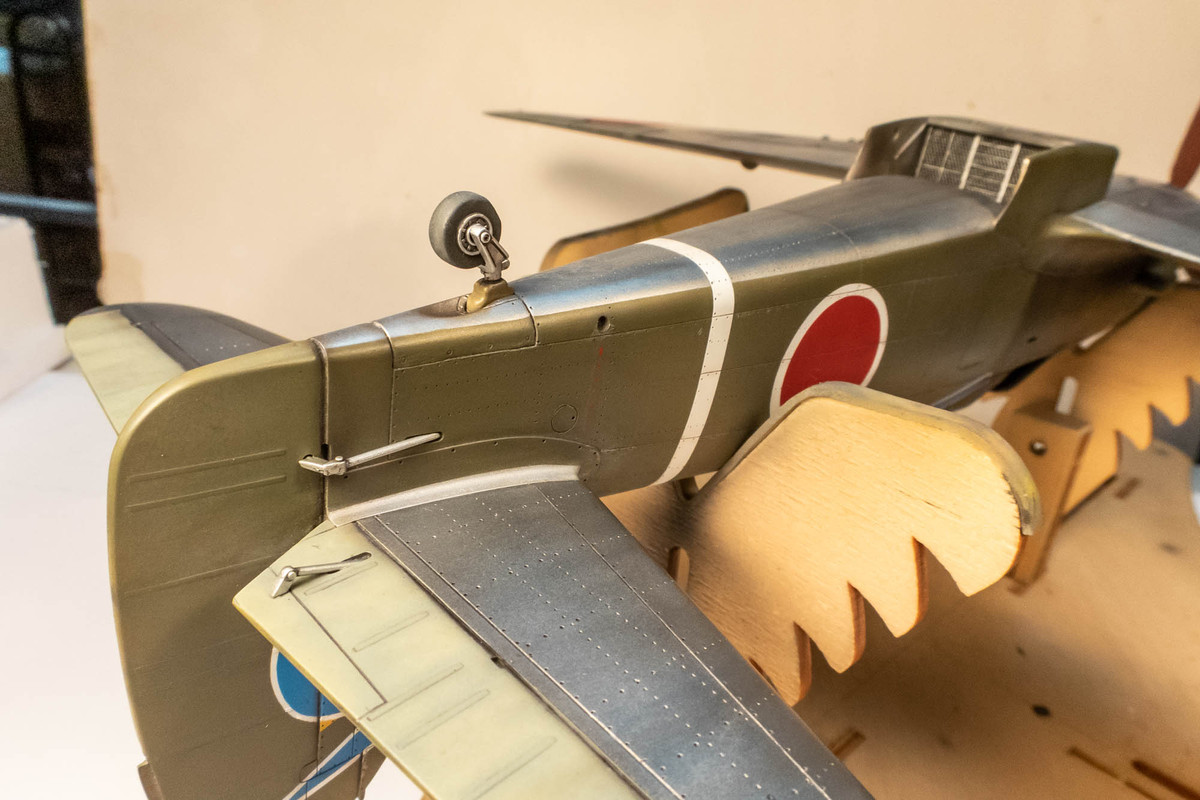
The tail wheel and the small actuators for the tail control surfaces are glued in.
I think all of the spray work has been done so I can finally pull of the canopy masks.
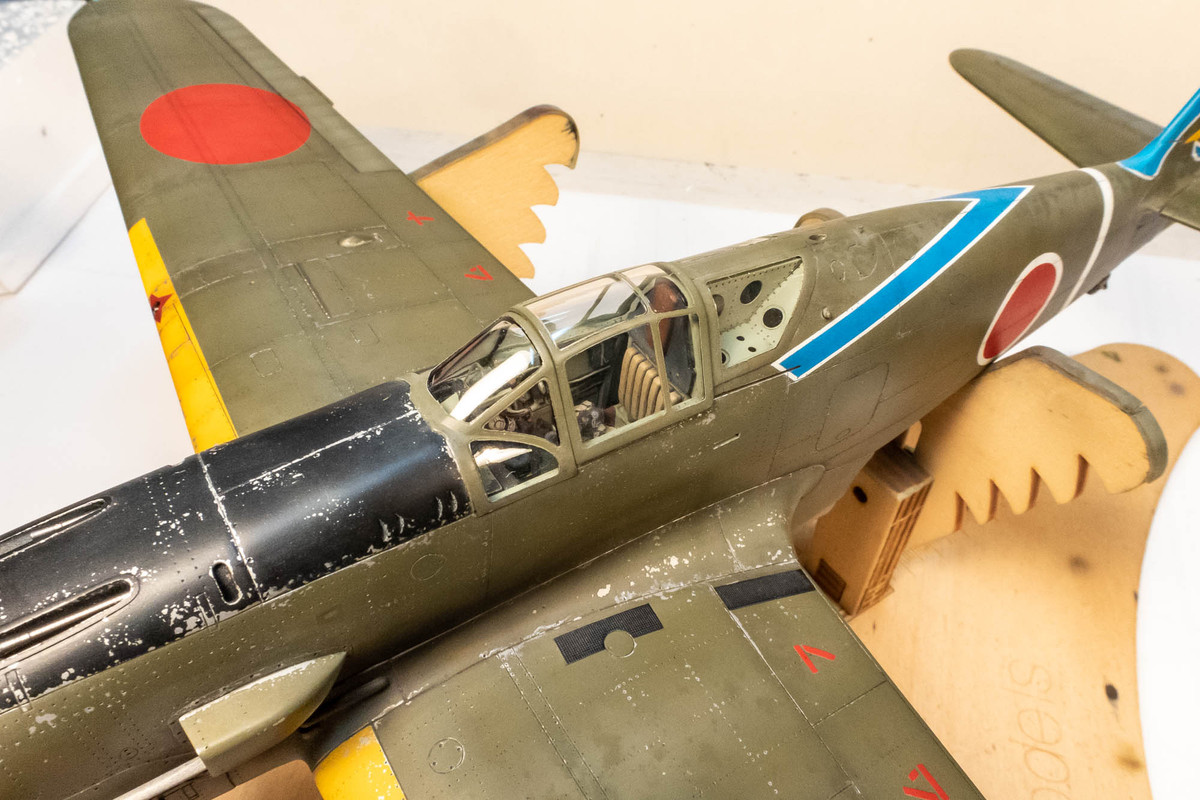
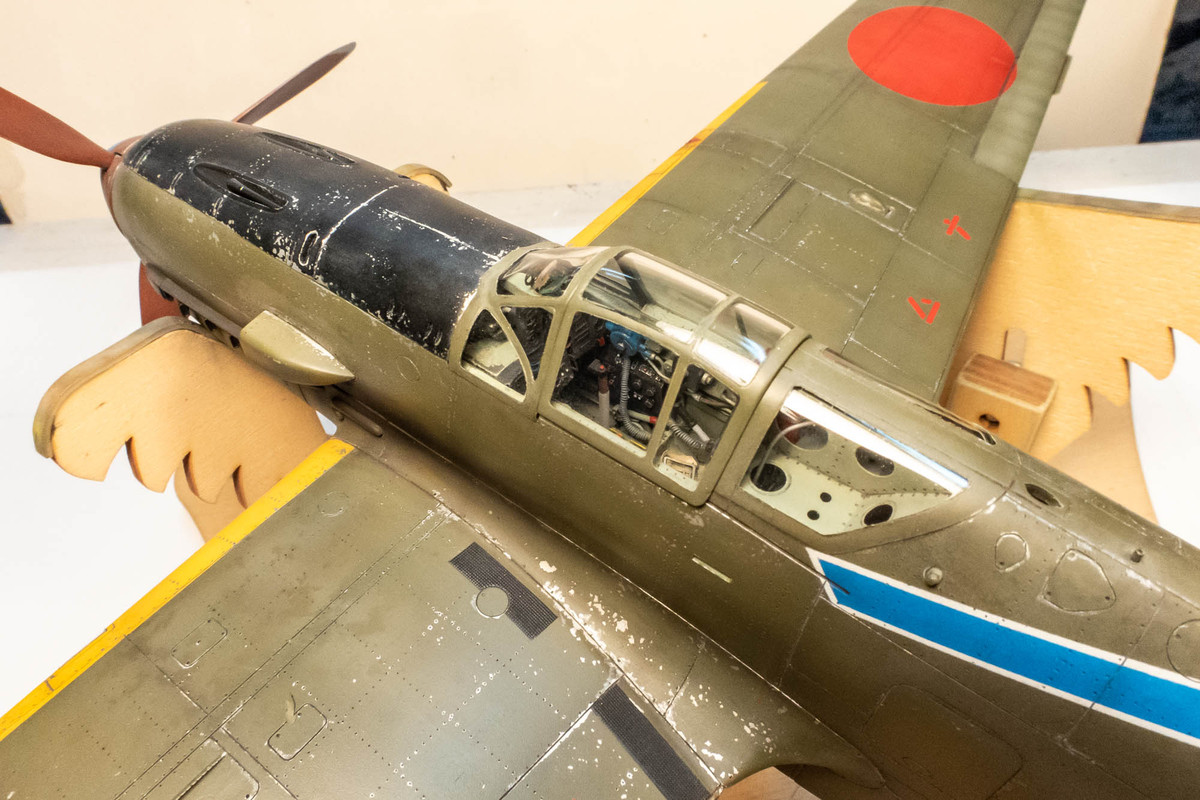
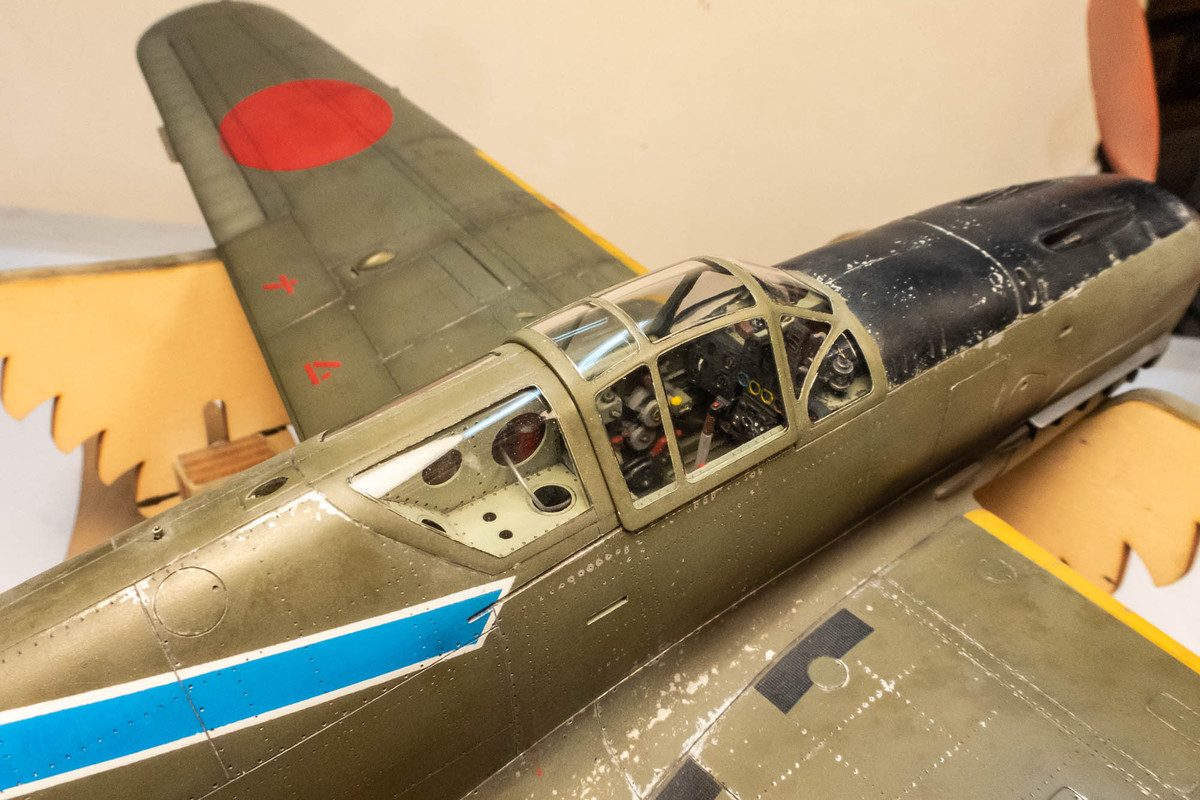
I have two version of the sliding canopy section, one closed and one open, so I can alternatively show the canopy in the open position.
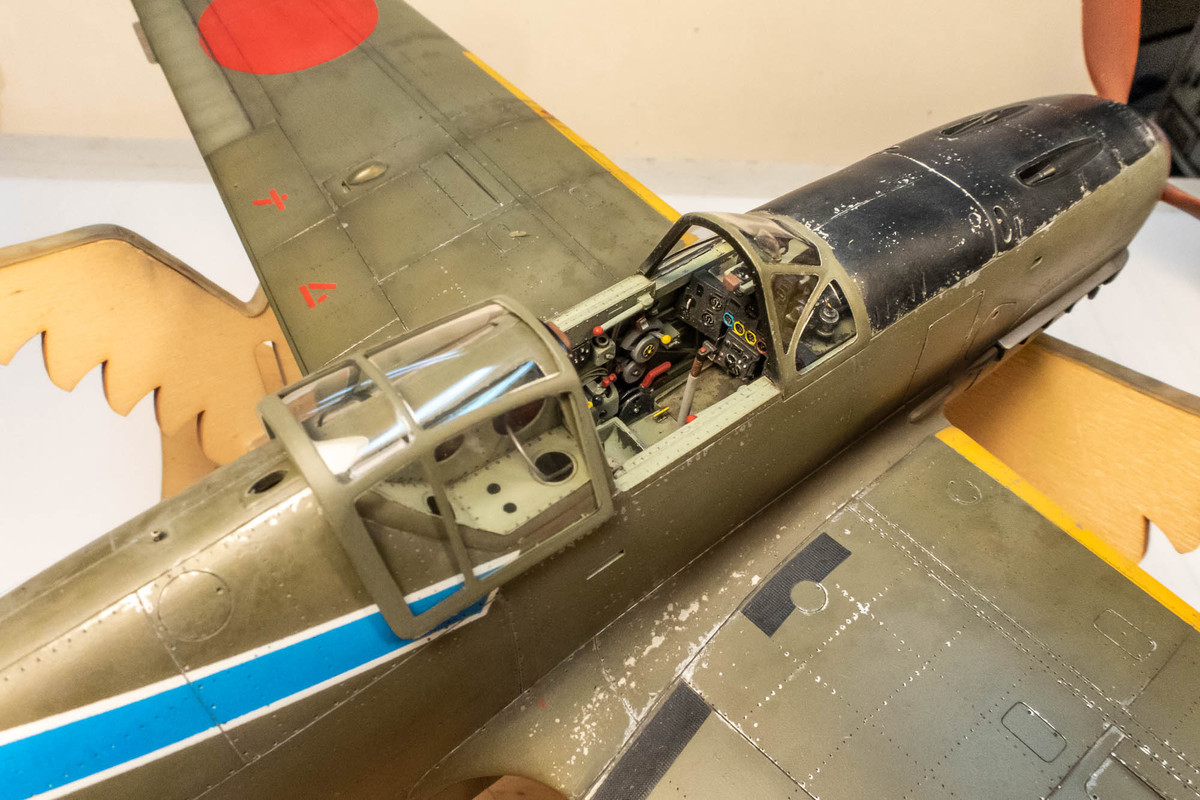
You can see the oxygen mask I made lying on the seat.
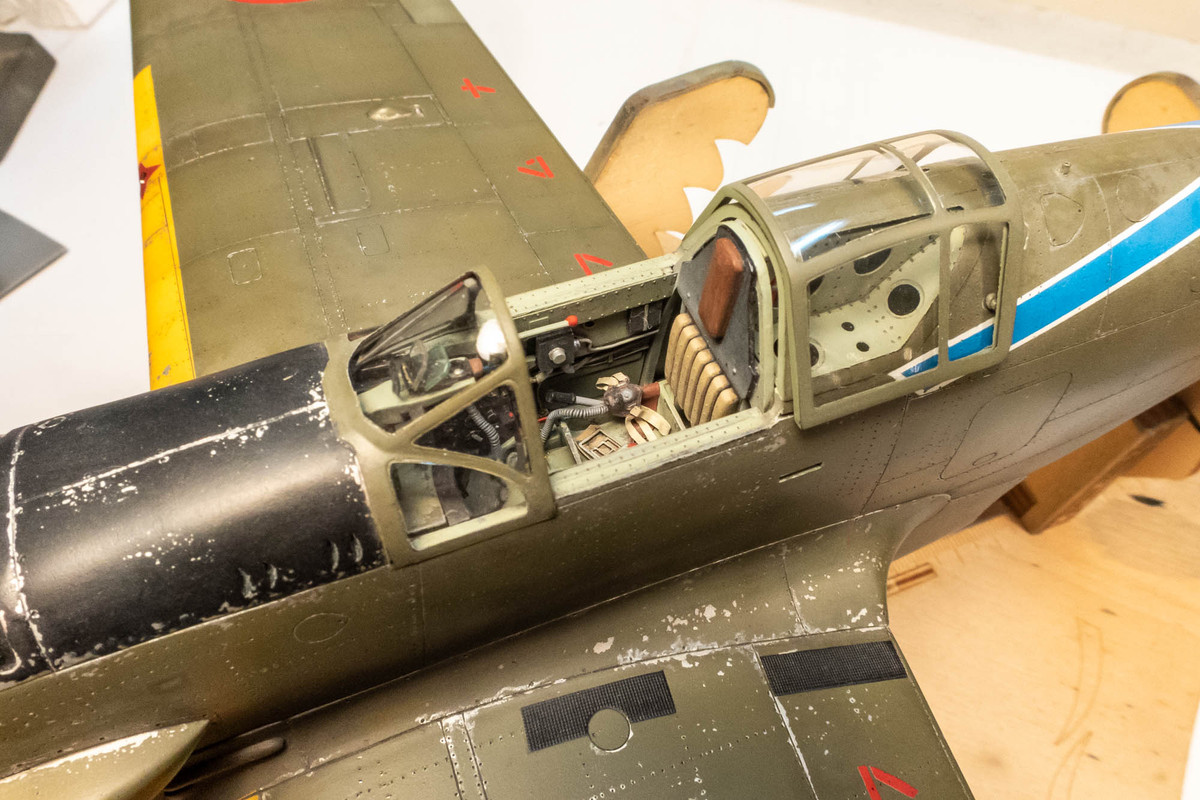
Just a few more bits to go and this one will be finished...
Now that it is complete, I can go back to my regularly scheduled programming.
Yes, that is correct. I neglected to show all of the steps but you need to wet the surface of the model with water before you add the salt. As the water dries, it temporarily fuses the salt crystals in place, giving you a random, blotchy mask pattern.Gary Brantley wrote: ↑Tue Aug 15, 2023 7:40 am Regarding the salt weathering, the model's surface is slightly dampened before applying the salt? Is that correct? John, could you please expound upon the process for us? It seems like a great technique to have in one's "toolbox".
Back to the Hien build... the landing lights are solid resin pieces that came with the Wolf Pack conversion. I painted the lights silver and then clear blue (or red) over that.
The Ho-103 machine gun barrels for the wings, which I fashioned from sections of brass tubing, have been painted and glued into place.
The Ho-5 20mm cannon barrels are metal and came with the Wolf Pack conversion. These were painted and glued into the cowling.
The resin exhausts and the baffle plates riding above have been glued into place. Previously, the exhaust stains were built up during the post-shading process.
The tail wheel and the small actuators for the tail control surfaces are glued in.
I think all of the spray work has been done so I can finally pull of the canopy masks.
I have two version of the sliding canopy section, one closed and one open, so I can alternatively show the canopy in the open position.
You can see the oxygen mask I made lying on the seat.
Just a few more bits to go and this one will be finished...
John aka JKim
-----------<><

-----------<><
-
Gary Brantley
- Addicted Member
- Posts: 1748
- Joined: Tue Apr 08, 2014 9:40 pm
- Location: Cameron, Texas
Re: 1//32 Hasegawa Ki-61-1 Tei Hien
Man, that bird looks great, John! 
And, thanks for the added explanation re: salt weathering!
And, thanks for the added explanation re: salt weathering!
-
Stikpusher

- Moderator
- Posts: 18880
- Joined: Sat Apr 05, 2014 8:37 pm
- Location: Ceti Alpha 5
Re: 1//32 Hasegawa Ki-61-1 Tei Hien
Looking super John! The open cockpit really shows off all the work you put into the cockpit.
"Surely I have made my meaning plain? I intend to avenge myself upon you, Admiral. I have deprived your ship of power, and when I swing 'round, I intend to deprive you of your life."
FLSM
FLSM
-
tempestjohnny
- Elite Member
- Posts: 3347
- Joined: Sat Oct 15, 2016 4:51 am
- Location: Naples. FL
Re: 1//32 Hasegawa Ki-61-1 Tei Hien
Oh my!!!!!!
-
Brandons_Iron
- Advanced Member
- Posts: 261
- Joined: Tue Jan 21, 2020 11:18 am
- Location: Eastern Idaho
Re: 1//32 Hasegawa Ki-61-1 Tei Hien
I've never used the salt technique before as I have found in less than impressive for the work involved. This kit however shows that it works very well when done right and provides a very convincing look. I will have to give this a go. Great work.
BrandonK
If you can't fix it with duct tape, you're not using enough duct tape.
If you can't fix it with duct tape, you're not using enough duct tape.
Re: 1//32 Hasegawa Ki-61-1 Tei Hien
Thanks for the comments guys! Appreciate it!
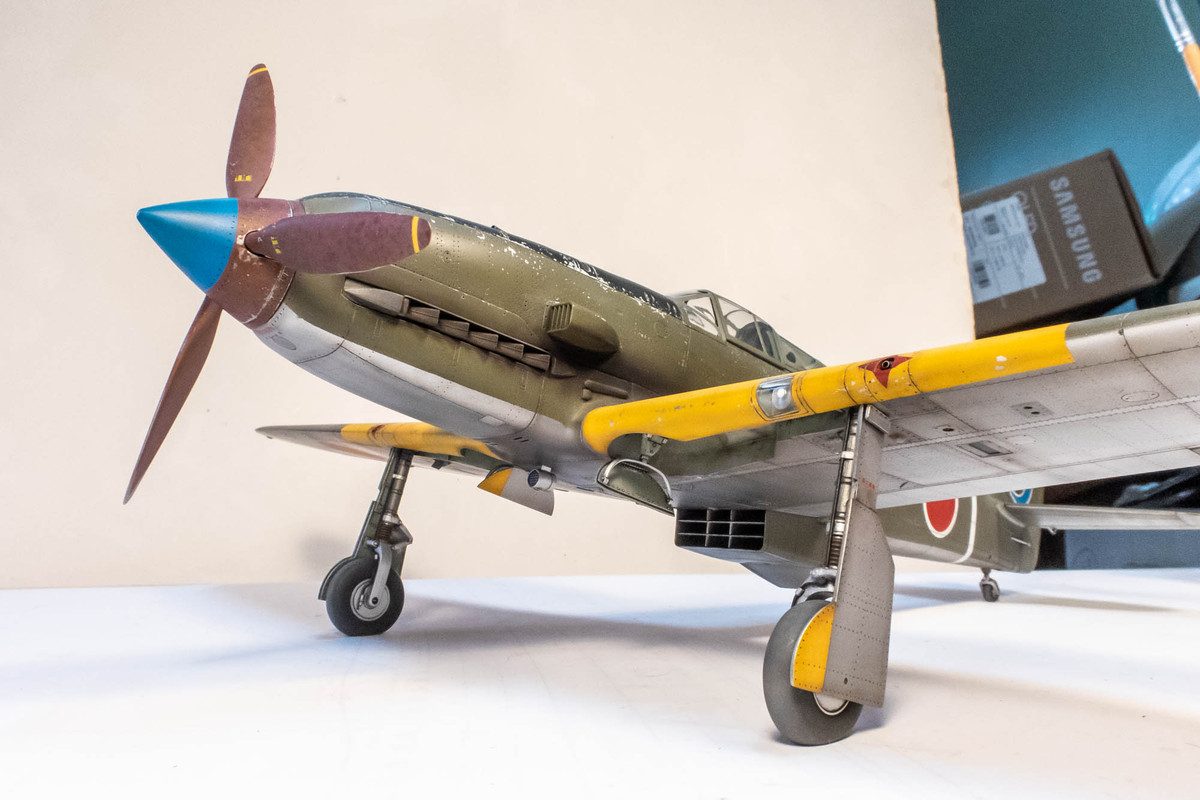
Rolling toward completion, slowly but surely. The landing gear legs have been glued into place.
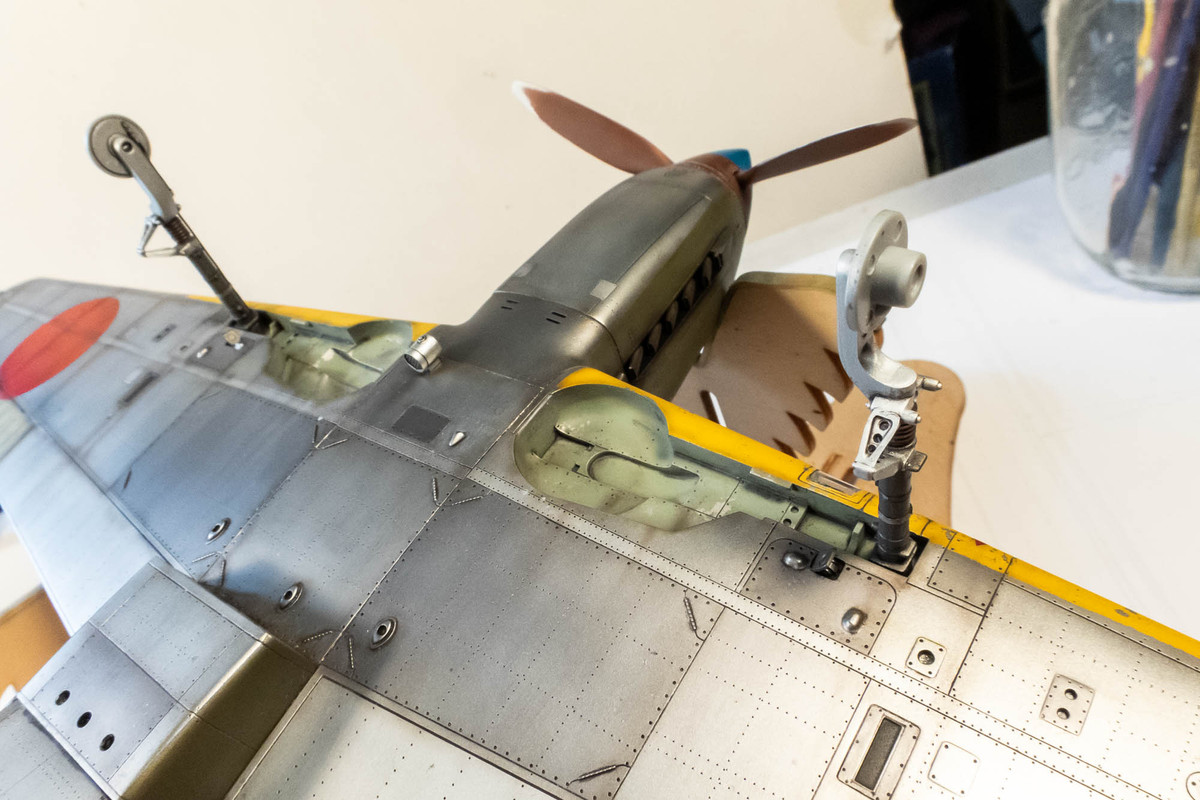

After the glue dries and legs are solidly in place, I attach the wheels with 2-part epoxy (JB Kwik Weld).

The epoxy gives me time to orient the flat spot of the tires onto the ground.
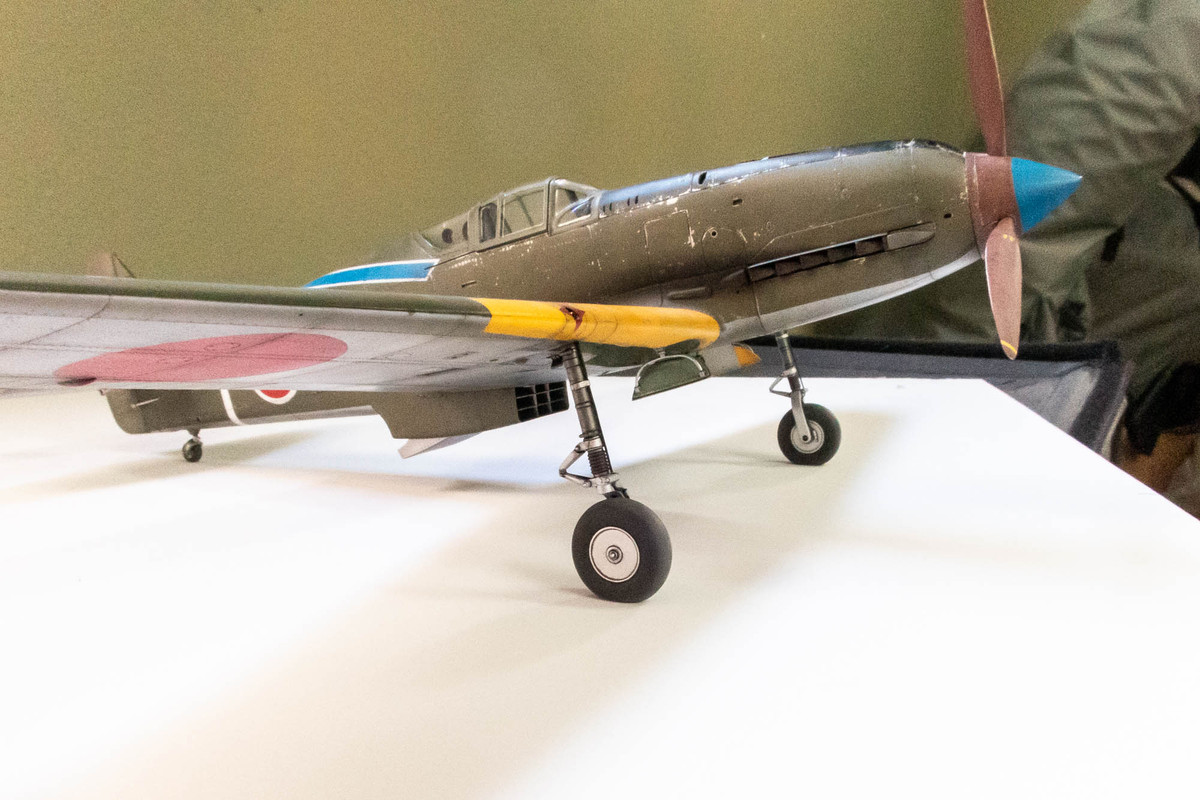
The covers for the landing gear and the inner wheel well doors are glued on next
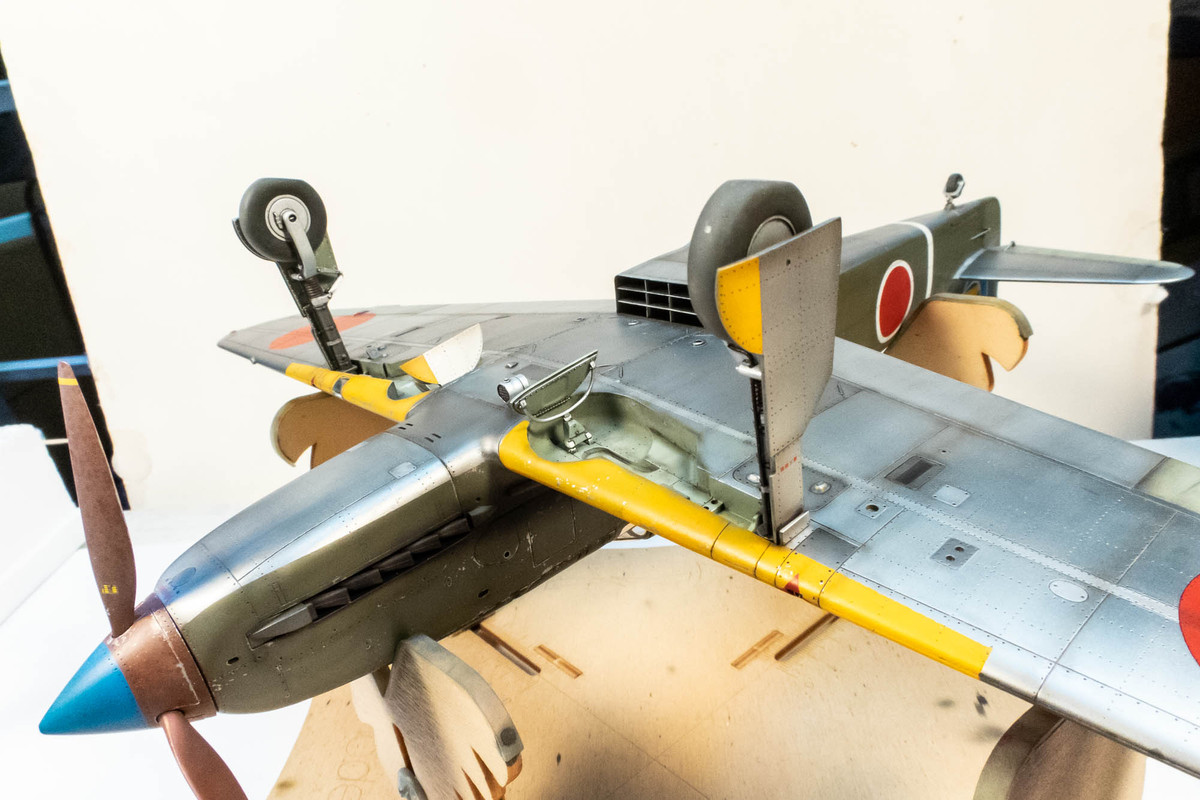
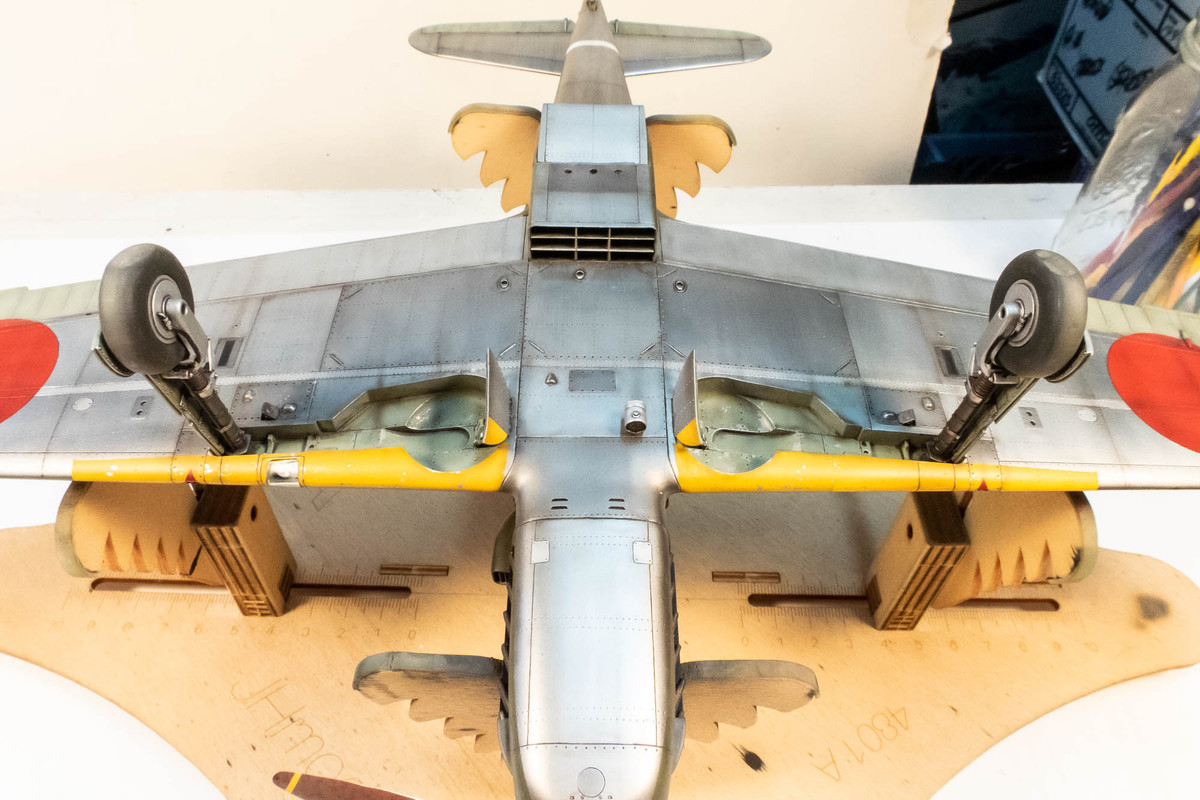
The Hien is on her own legs. Only a few more bits and pieces to add.
I totally agree with you, Brandon. It's a lot of work and it never comes out exactly as expected. I myself question whether it is worth it or not because it's such a hassle to do. But since I didn't do much pre-shading on the top color, I felt that this build could use another layer of weathering so I ended up doing it.Brandons_Iron wrote: ↑Wed Aug 16, 2023 9:11 am I've never used the salt technique before as I have found in less than impressive for the work involved. This kit however shows that it works very well when done right and provides a very convincing look. I will have to give this a go. Great work.
Rolling toward completion, slowly but surely. The landing gear legs have been glued into place.
After the glue dries and legs are solidly in place, I attach the wheels with 2-part epoxy (JB Kwik Weld).
The epoxy gives me time to orient the flat spot of the tires onto the ground.
The covers for the landing gear and the inner wheel well doors are glued on next
The Hien is on her own legs. Only a few more bits and pieces to add.
John aka JKim
-----------<><
-----------<><
-
Stikpusher
- Moderator
- Posts: 18880
- Joined: Sat Apr 05, 2014 8:37 pm
- Location: Ceti Alpha 5
Re: 1//32 Hasegawa Ki-61-1 Tei Hien
Looking really sweet now!
"Surely I have made my meaning plain? I intend to avenge myself upon you, Admiral. I have deprived your ship of power, and when I swing 'round, I intend to deprive you of your life."
FLSM
FLSM