It's been a pretty good couple weeks and so we have enough for a new tour. This one will be a bit shorter but there is still lots to see. So, make your way to the trams and all aboard!
In our first stop in the Hangar, we have a number of projects moving forward, including another troublesome model like the Concorde, but that is further in. First we have progress on this Israeli S-199. We completed the wing assembly which consisted of ten parts and dry ft that sub-assembly to the fuselage:
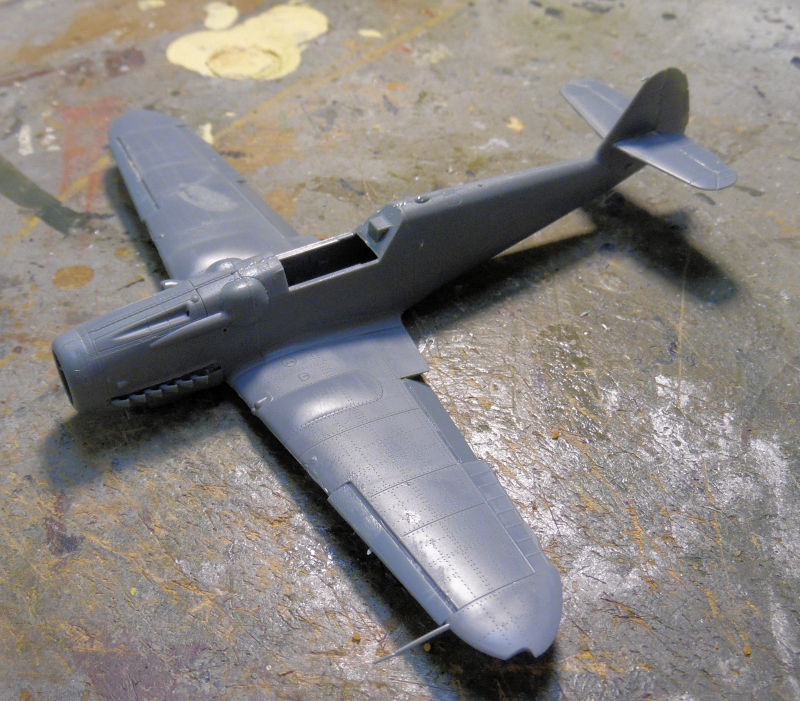
Since it fit so well, we added the cockpit from underneath; after adding the instrument panel first, and then cemented everything in place. The canopy was added here too:
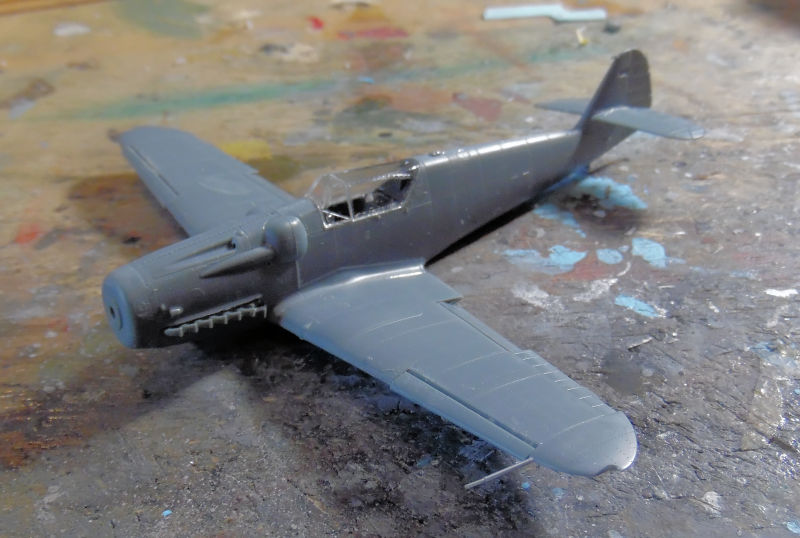
Since masking the canopy was so difficult, even on the plane, it was removed and paper towel was used to mask the interior so that the base color could be applied. It was then glossed for decals after the paint had dried:
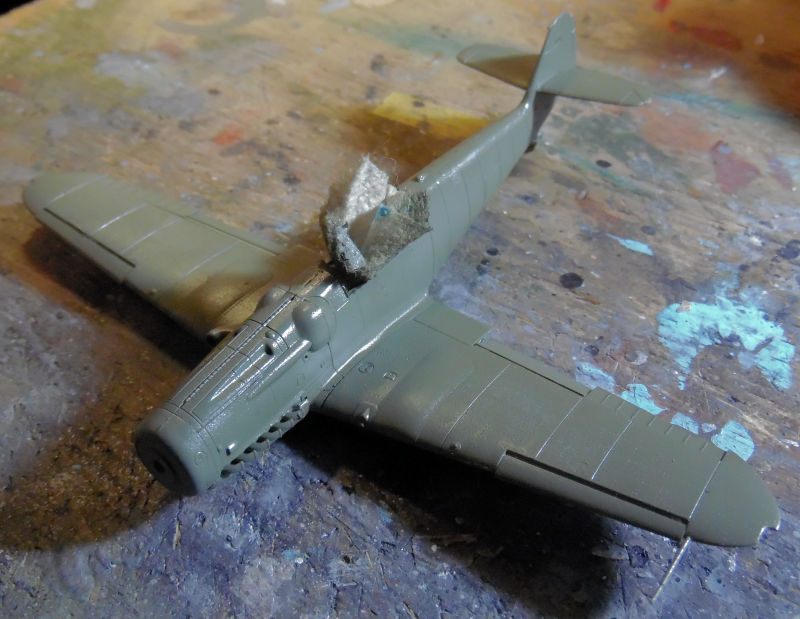
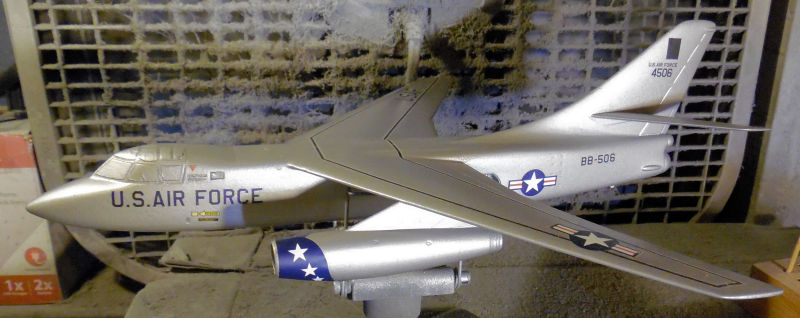
Finally here in the last bay we have the troublesome B-66 Destroyer. After multiple spraying, sanding, stripping, spraying etc. I finally decided to just move on. The silver coat was good enough so it was polished and decals were applied:
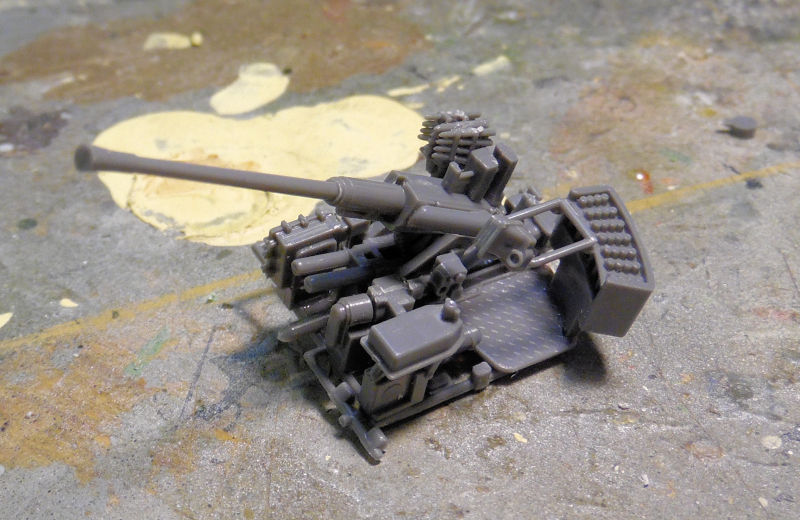
That is it for this short tour of the Hangar, now on to the Shipyards where small progress was done in our workshops building the weapons for the PT-15 MTB. Here is the second of the 20mm guns for this boat; the first had been built before:
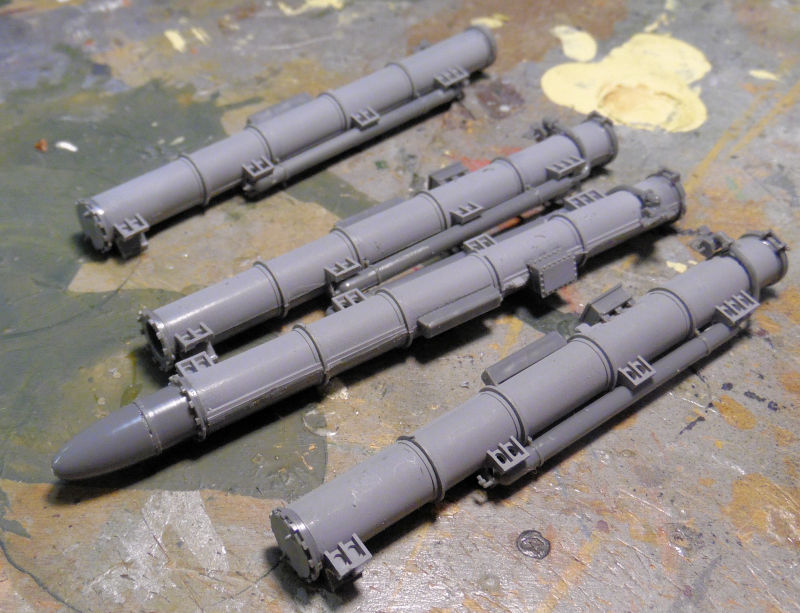
We also completed the torpedo tubes (mostly); one part went missing. I intend to build these with one set of tubes closed and the other set of tubes open and ready to fire:
That is all we have here for now. On to the Motor Pool where we've been working on a number of projects that need to be finished.
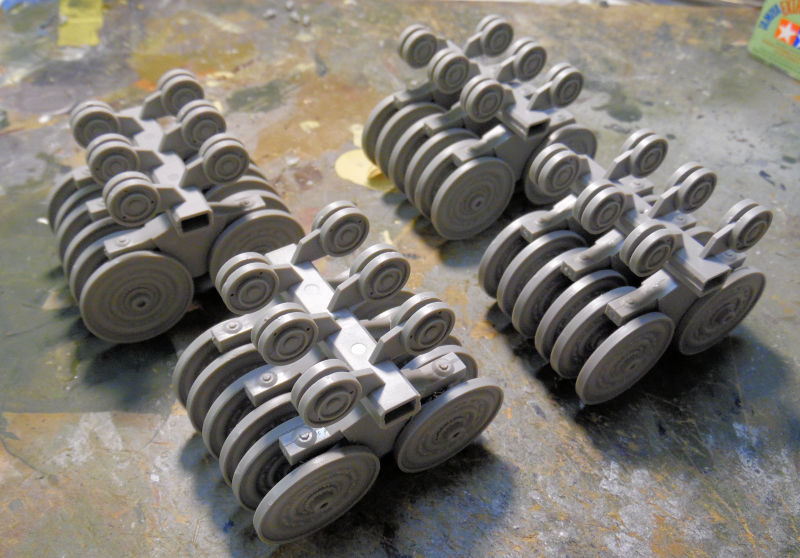
In this first bay of the Motor Pool, we have the British Achilles tank destroyer. This will be the first one of these I ever built. It's a UM kit so another tough fight here. First the running gear was installed:
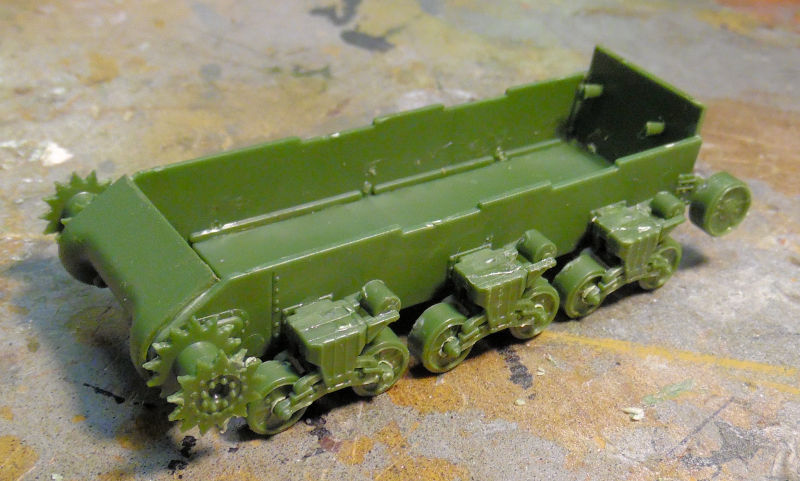
The kit included photo etch strips to bend into shape and cemented to the top of these bogies. Naturally, as with all UM kits of Shermans and Sherman variants, these photo etch parts go AWOL no matter how hard I try to keep them from disappearing! So this time I wasn't waiting to find them; I have too many UM Shermans sitting incomplete because I'm waiting to find these parts! I figured I'd try plastic styrene strip. It was more difficult that I expected but I forged ahead, starting with getting a basic bend done and then cementing them to the bogies:
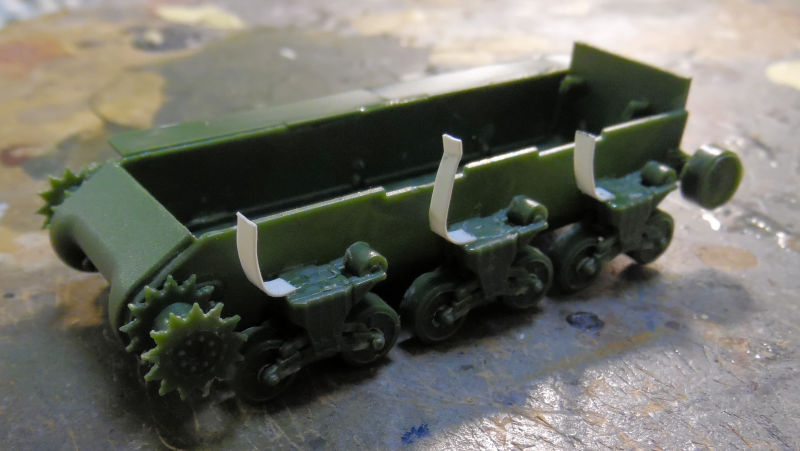
When these were dry, they were bent over and the other ends cemented down. Once they held, I added the upper run of track to push them down:
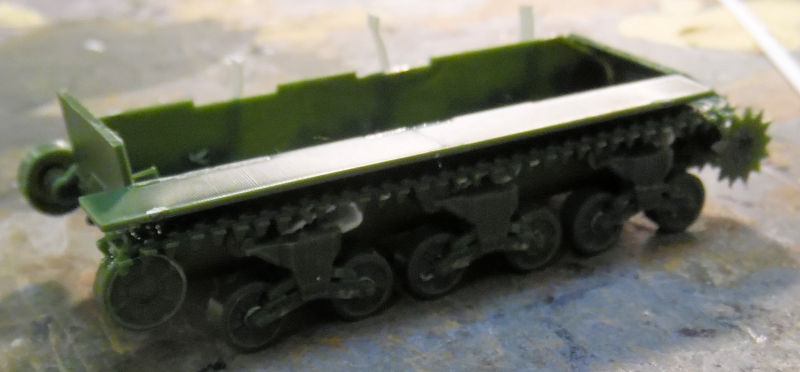
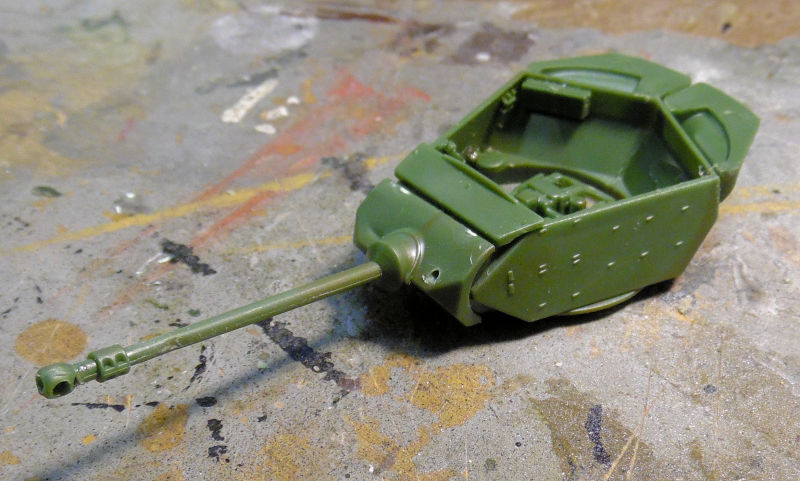
You can see they look very misshapen, not at all like they were supposed to be. But they are ON, and with enough paint and weathering, they will be darn near impossible to see. Hey it was an experiment that partially succeeded, I don't know if I'll try it again, but the opening there is possible. While that sat and simmered, the turret was completed with all but the ready ammunition:
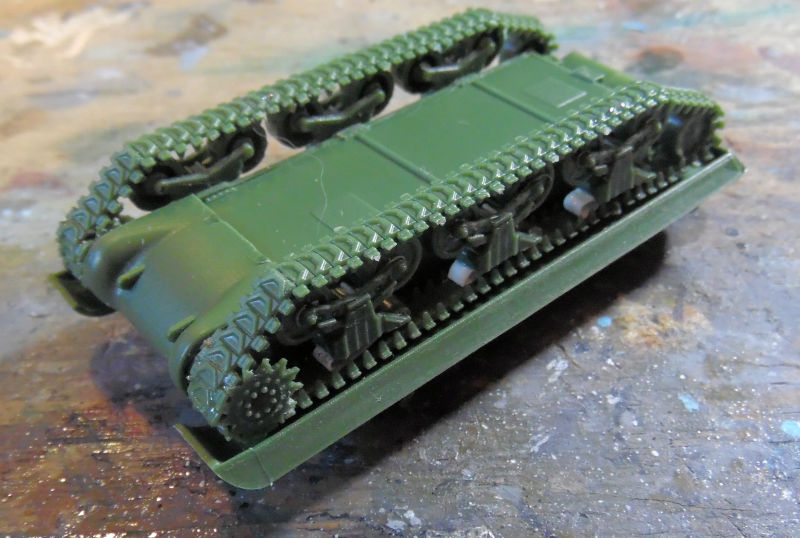
By then, the tracks were dry enough so I completed the track runs for both sides:
All that is really needed now is the oversized bolts to be added to the turret and upper hull and this is ready for paint:

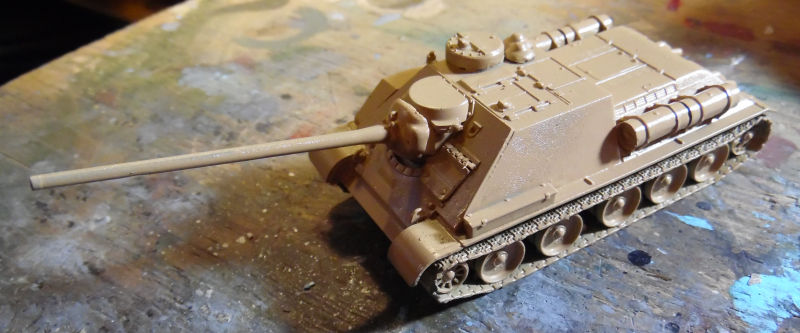
In the next bay we have the Egyptian Su-100 assault gun. This kit provided resin parts to replicate a vehicle used by the Egyptians, so they were added to this. The full run of tracks were added as well:
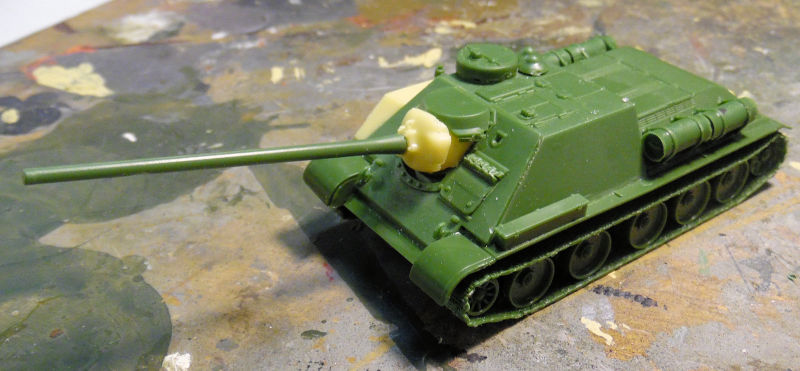
It's amazing; this model is from the same company as the Shermans and yet it goes together so much better than any of their Sherman kits! Anyway, this was got it's tan base coat and later a gloss coat to ready it for decals:
Following this is the Syrian StuG III completed and ready for paint after I added the track runs to this:
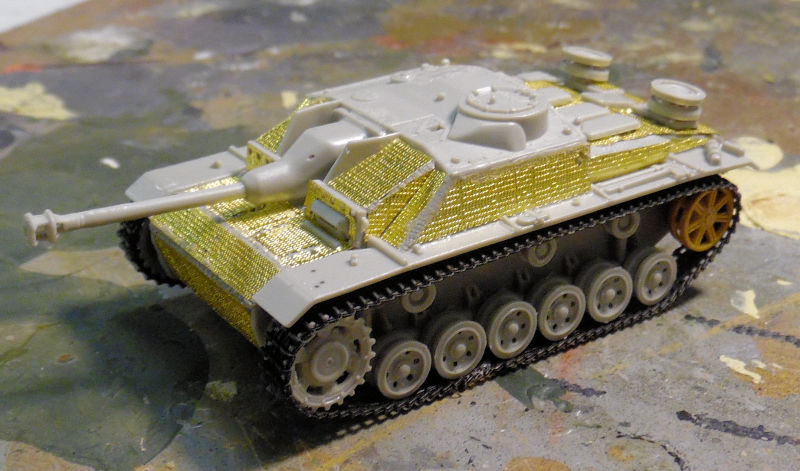
Because of all that photo etch, this was primed with a black primer to hopefully seal all that Zimm so the brass color doesn't shine through and that the base paint holds:
Sinister looking vehicle right? Where's that Haunted Tank?!!
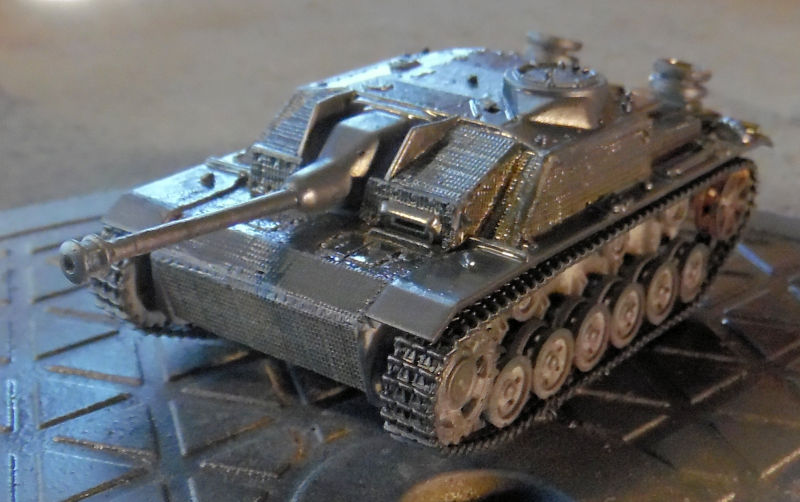
Base paint went on well and looks great so far I think. Then the gloss was applied for the decals:
Now I wish I knew how to build the spacial monut they made for the Italian SAFAT machine gun that they mounted on this. All the pics are too far away, fuzzy or both to get a clear view, and any search attempts to find it went every which way but where I wanted it to go.
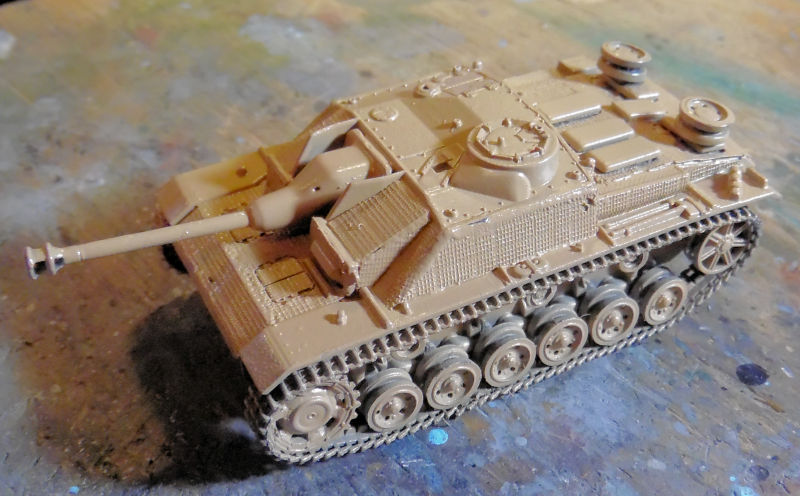
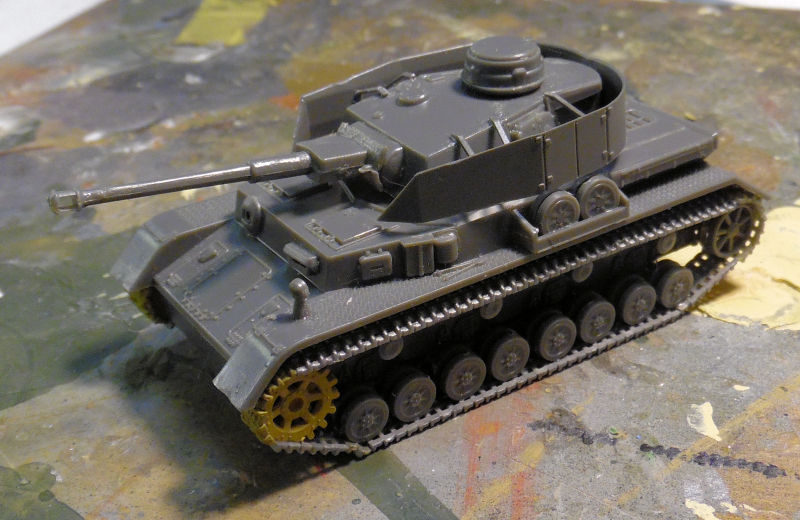
That leads us to the last Syrian tank, the PzIV in the next bay. As you can see, about half of the tracks had been installed while I went looking for the same type to complete these track runs:

I wanted to replace those Godawful vynil tracks that came in this kit. Searching for the same type of track that was already on it resulted in enough to finish these track runs. The turret shurtzen went on as well:
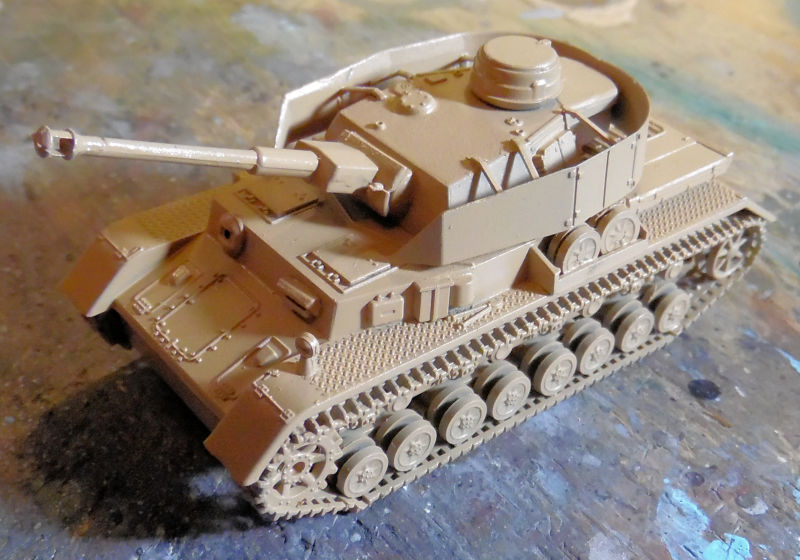
Finally a base of tan was appplied and later the gloss for decals:
Last but not least, the Ratte had been creeping along as Rattes do, I now have four of 16 bogies completed:
And that completes our short tour for today. Thank you all for looking in, comments are welcome!