Bandai Special Forces TIE...My Kit From Hell

Here is the place to show off the progress of your sci-fi builds.
Post Reply
User avatar
Scruffy
Advanced Member
Posts: 248
Joined: Wed Apr 09, 2014 12:49 am

Bandai Special Forces TIE...My Kit From Hell

Post by Scruffy »

Just to show not every kit goes as planned.....
I decided to drag this thing back onto the bench Saturday morning..........my kit from hell :twisted:

Image

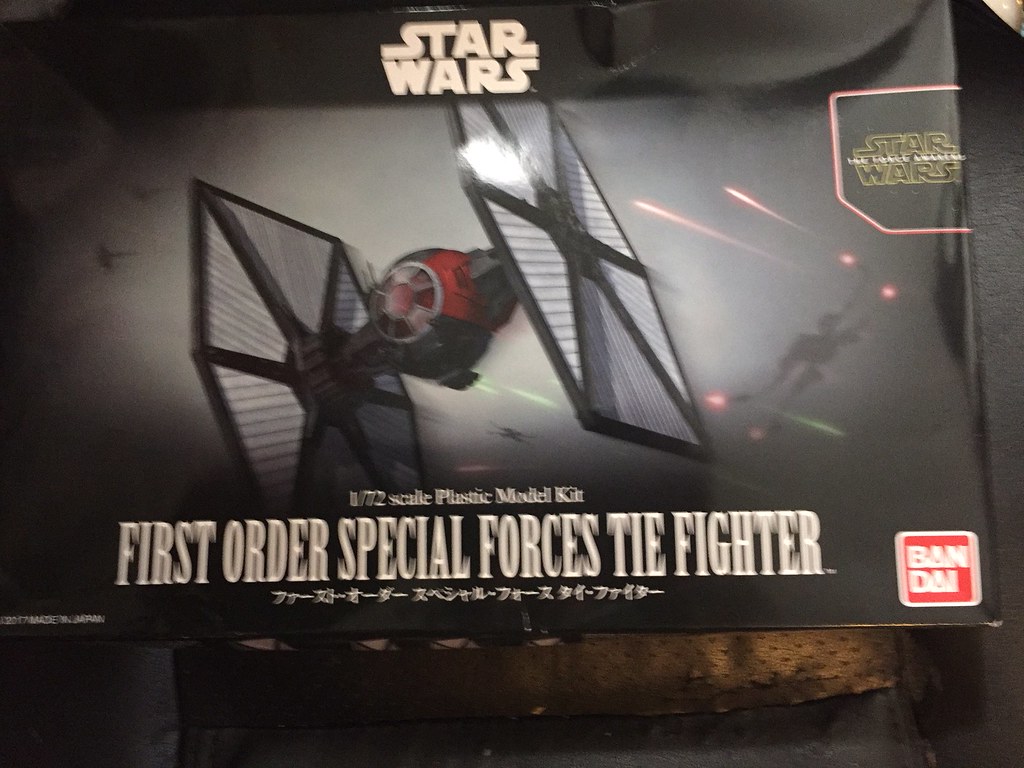
As with all Bandai's Star Wars kits it is very nice, but nothing seemed to go as planed :???:
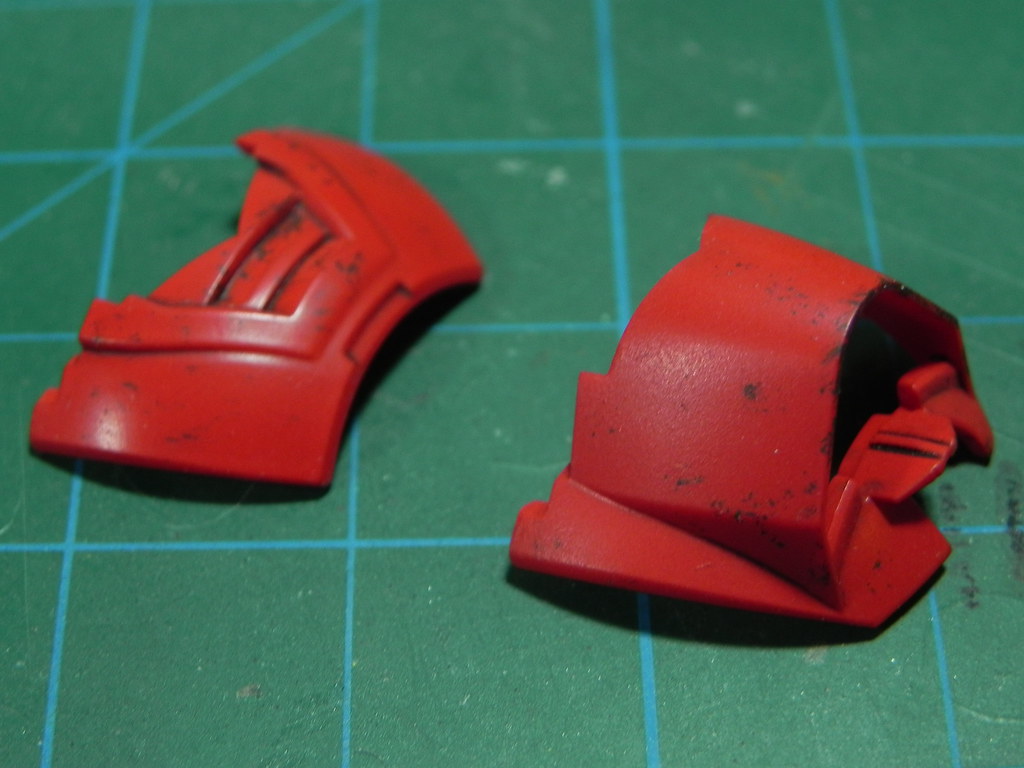
The wings have been painted twice and stripped of paint once, before being painted a 3rd time in a way that I was happy with. I decided I would experiment with the black / white method to paint the black areas, which didn't turn out the way I wanted, maybe because I was painting a lighter black shade over a black shadow. Anyway, I did get some color variation on some of the panels. The red panels on the side were painted 2 or 3 times. I wanted to show a bit of wear and chipping on them, so undercoated with a primer red color, then hairspray, and then Tamyia red. One I dropped as soon as I sprayed it, and the paint got dinged up, so stripped and repainted. Then when I tried to distress the panels to add the chips and scratches I was not happy with the results, so stripped and repainted in straight Tamyia red. I got some AK True Metal (the wax baseased metallic colors that come in tubes) to play with so I decided to use those to try to highlight the details on the frames that surround the wings. I tried the gunmetal color, but it seemed too "silver" and bright, and I wasn't happy with how that turned out.......hummmm seems like a them is developing here. To top it off, I had a long weekend over Easter and planned to just finish this thing up, but..........I ended up in the hospital very early Good Friday morning with an intestinal infection....rather painful and quite unpleasant .....and not feeling like sitting at the bench, so I just stuck this back on the shelf. I was awake earlier than usual and figured I would just grit my teeth and get it done and be done with it. Along the way I would use it as a test piece for some paint and stuff I have for up coming builds.....cuz at this point, well, why not :roll:
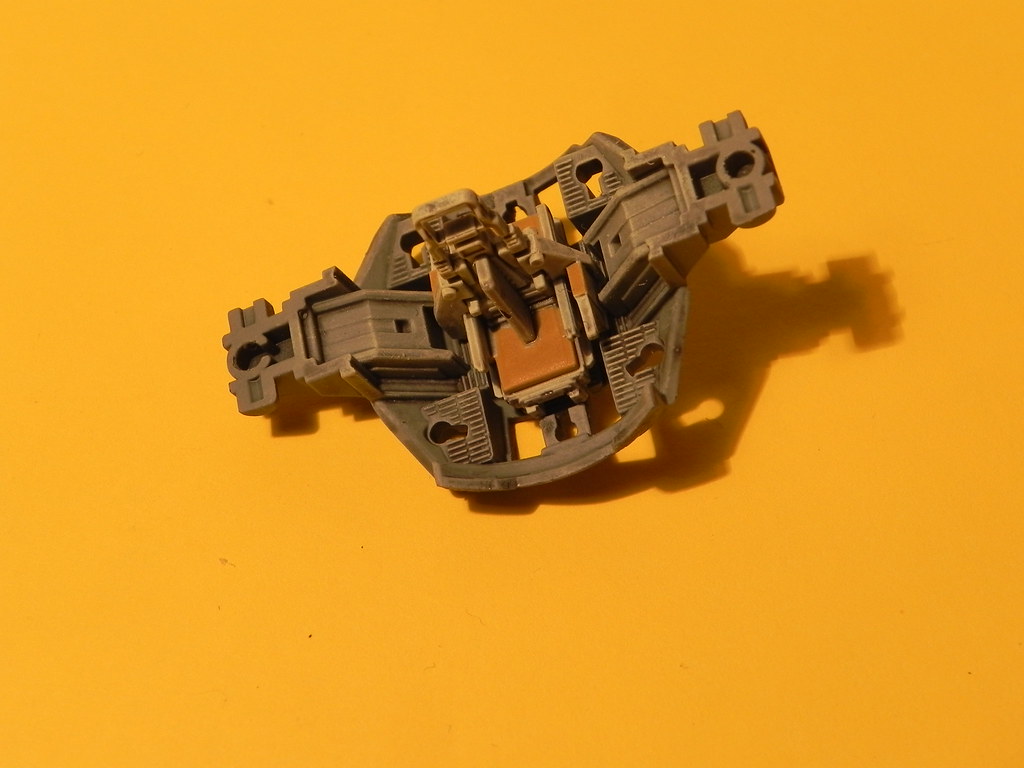
This is where I got to before it was shelved...


The crew capsule base painted up

Image

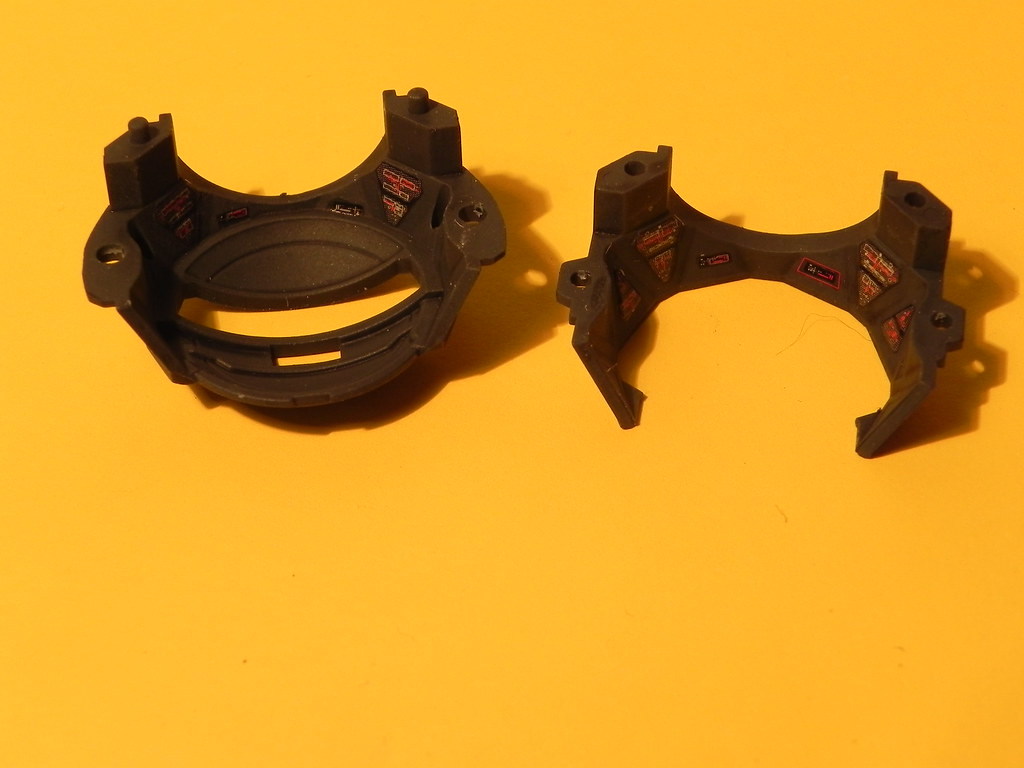
The inner walls of the crew capsule with the kit supplied decal instrument panels

Image

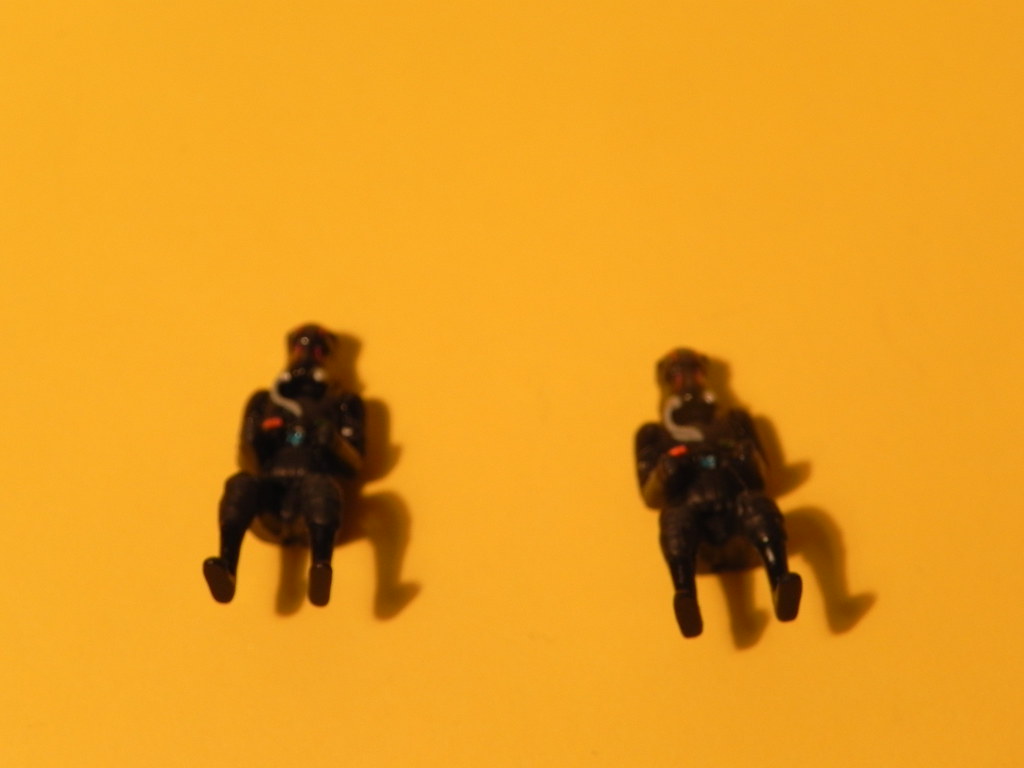
Ben & Jerry all painted up and the kit decal red helmet stripes and shoulder patch decals applied

Image

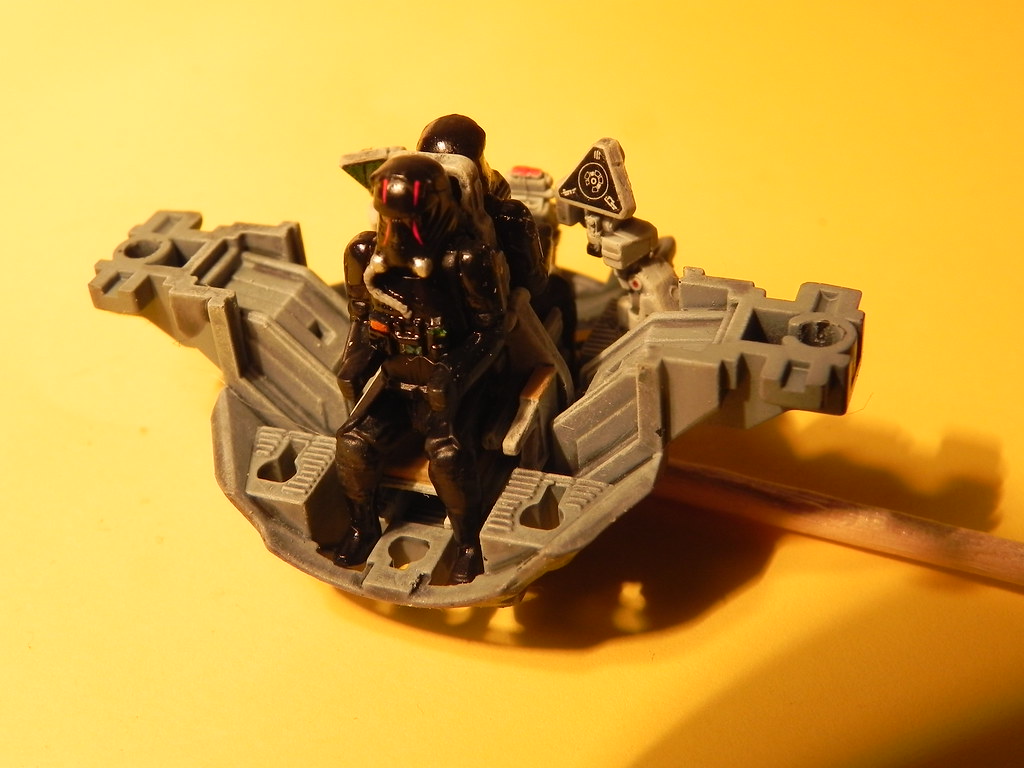
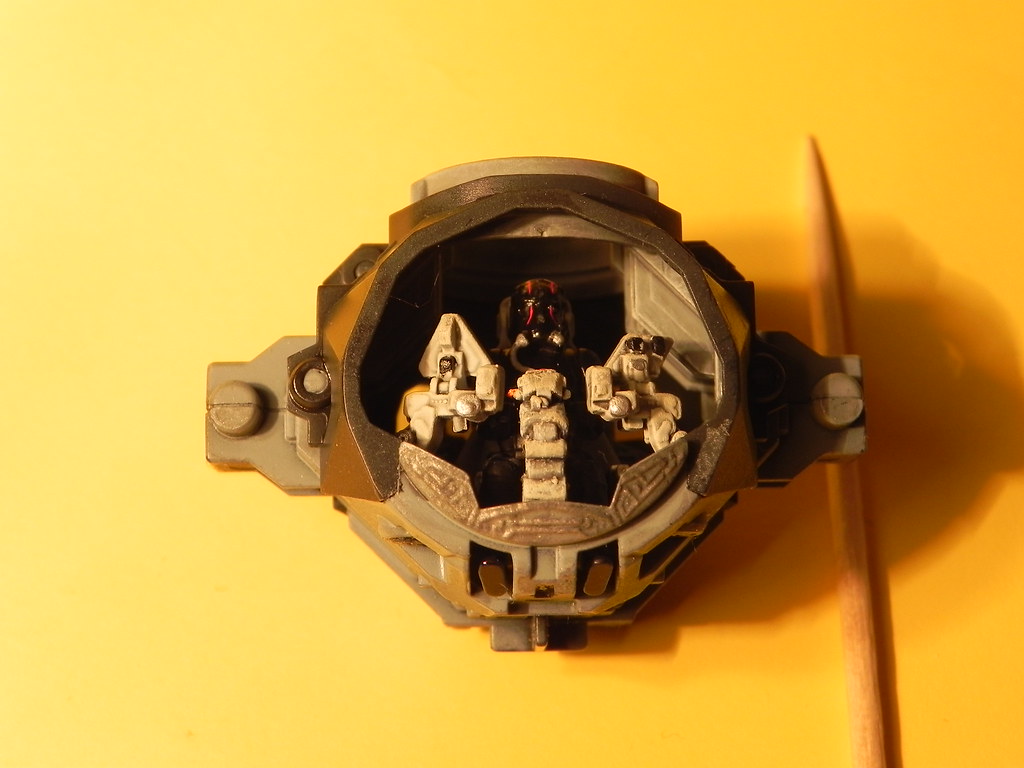
And the crew in place with the controls and instrument panels. I also picked out some details on the back if the instrument columns with black and silver.

Image

And with the crew capsule all assembled, pretty much obscuring all the detail that went into it :evil:

Image

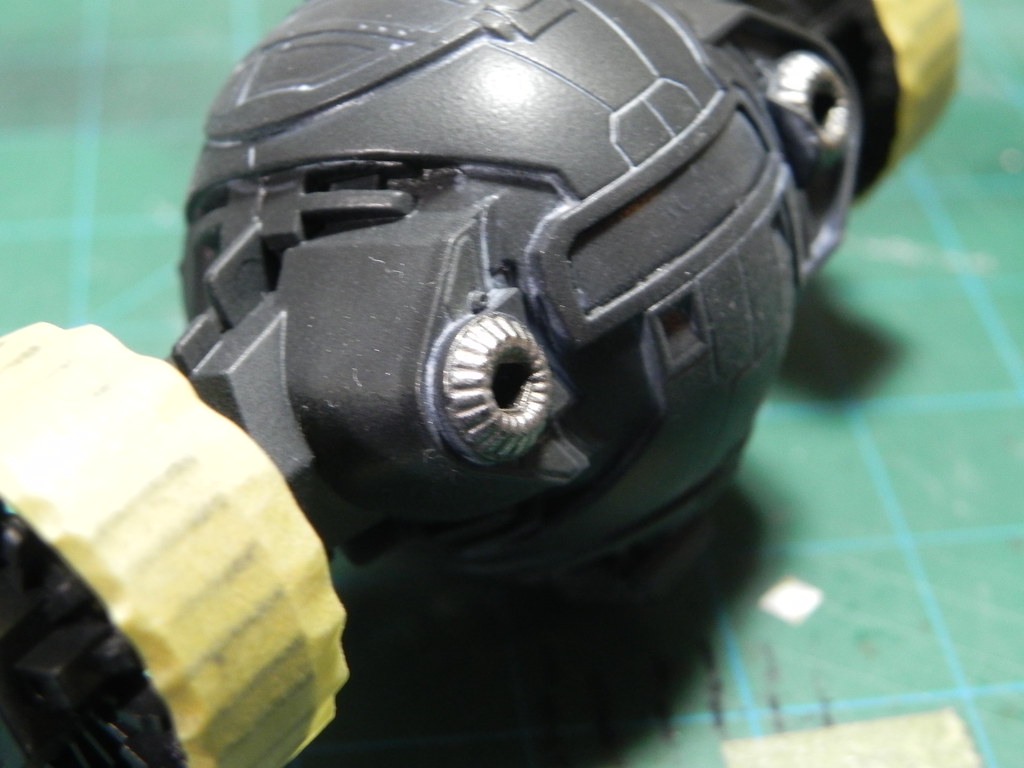
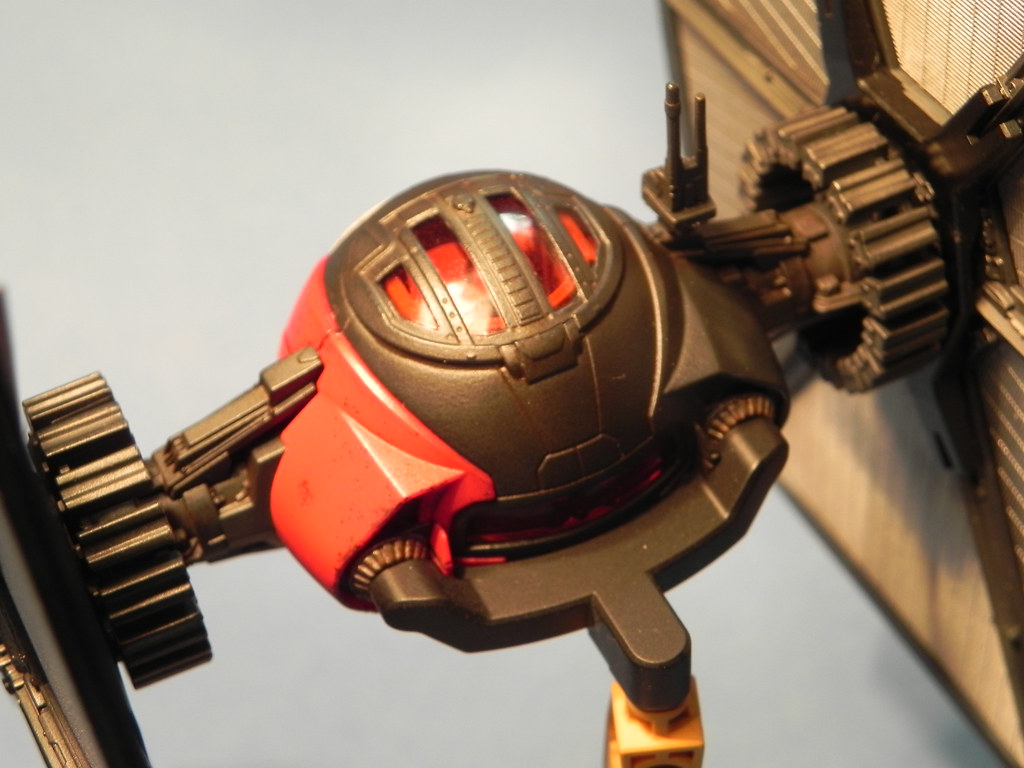
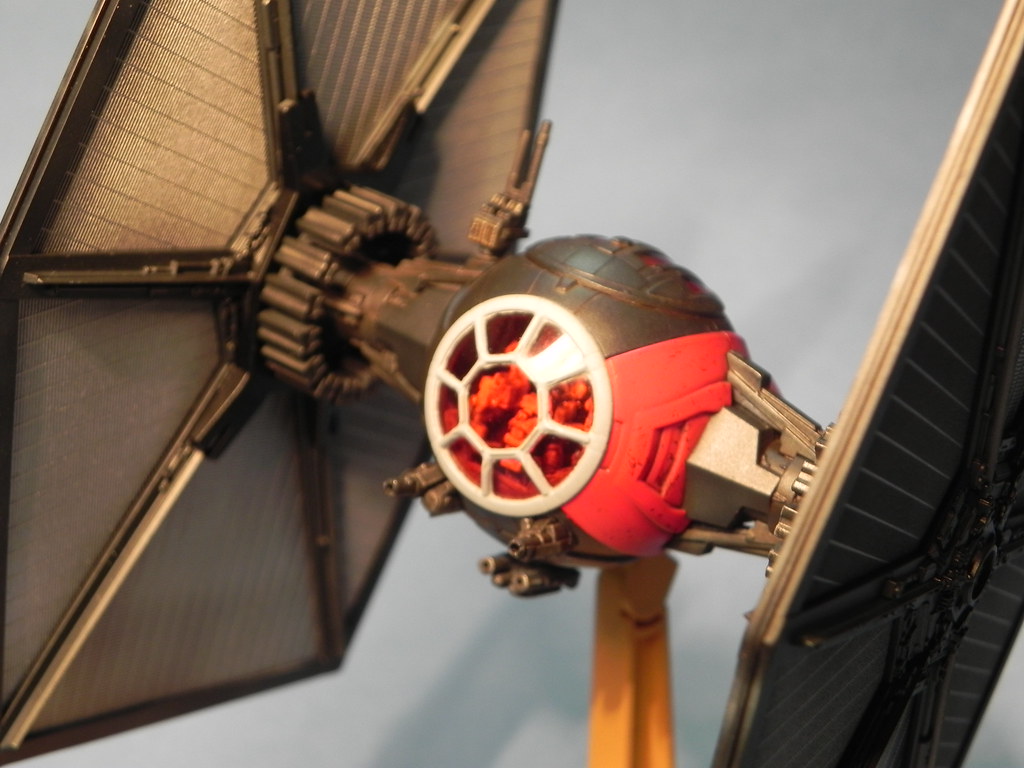
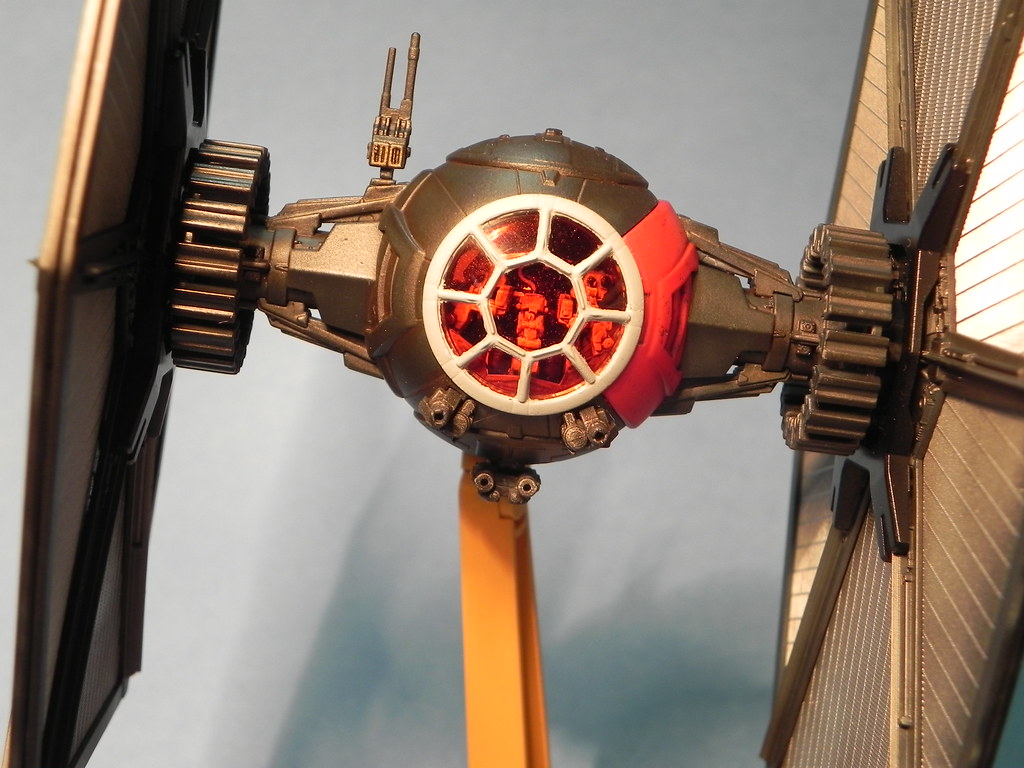
So, yesterday I painted the glass nose bubble in grey, when it dried it was WAYYYYYYYY off in color, so found a different grey and repainted. Attached the red side panel, and despite several test fittings and adjustments to achieve an almost perfect fit, the fit was less than perfect and had to be filled, repainted and wash applied (and my wife wondered why I bought another can of lacquer thinner when we were at WalMart......cuz I have to paint everything 3 frigging times on this kit). Stripped the True Metal off the wing frame; I was smart enough to stop when I wasn't happy with the first one. Flat coated the central body / crew pod, it didn't dry flat......so flat coat with a different flat.... :DH: :DH: :DH:
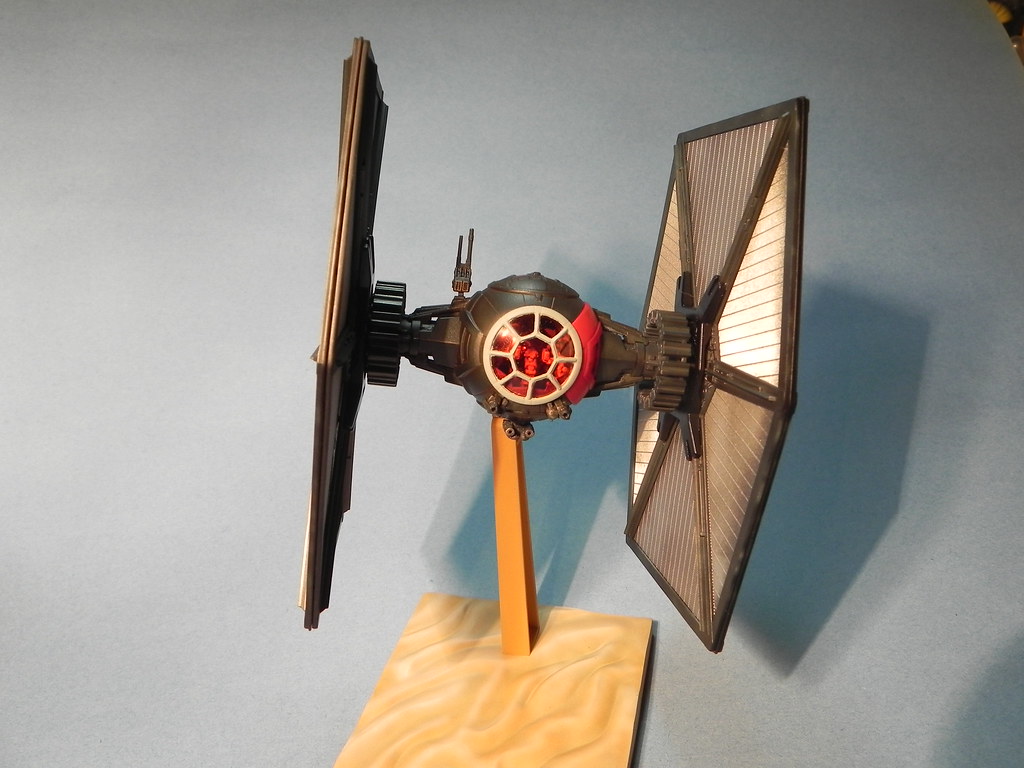
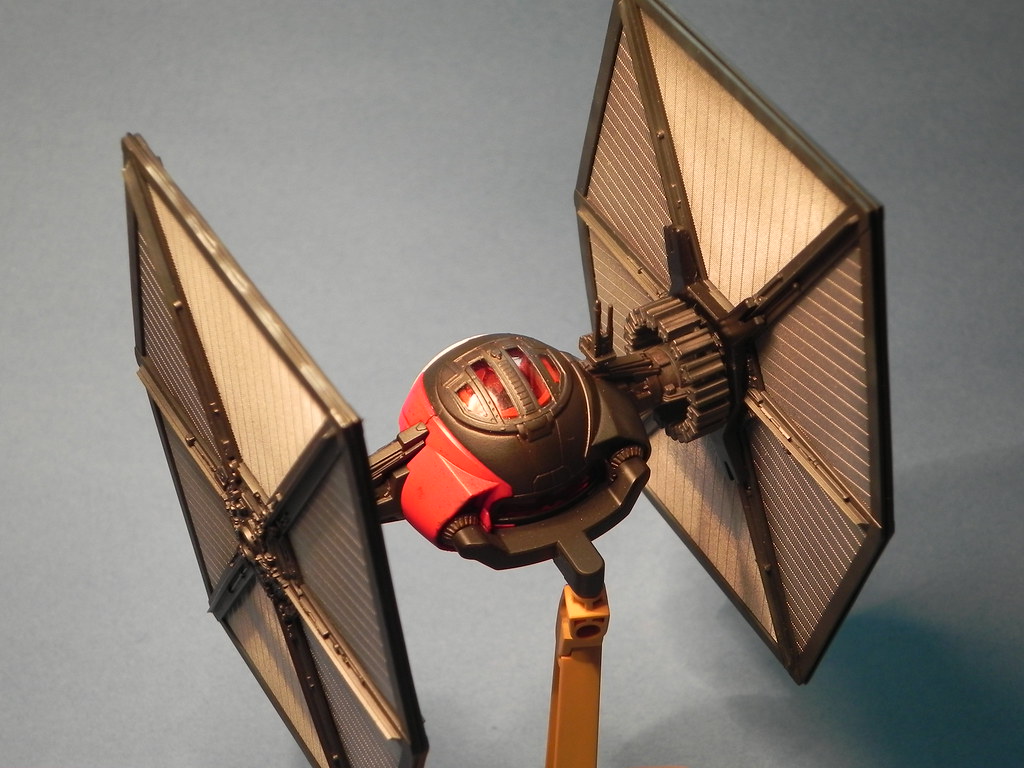
I so want to be finished with this :poo: !!!!!!!!
User avatar
speedgraflex
Moderator
Posts: 9749
Joined: Fri Feb 10, 2017 11:08 pm
Location: Santa Monica, California

Re: Bandai Special Forces TIE...My Kit From Hell

Post by speedgraflex »

Good morning, I read your post three times, absorbing all of the energies within—I feel what you are trying to achieve here but I certainly understand to have to redo sections again and again is the most difficult (wrong word, something stronger) experience.

You will get through this. One change I made was to my end goal—often I set an end goal of a completed kit. It is better for me to set a goal of what experiments and effects would be best for me to study then have at it.

I am not suggesting that is happening here, and I will follow along with my full support as you create your project... on your terms.
Bruce / SPEEDGRAFLEX
User avatar
Scruffy
Advanced Member
Posts: 248
Joined: Wed Apr 09, 2014 12:49 am

Re: Bandai Special Forces TIE...My Kit From Hell

Post by Scruffy »

Thanks Bruce, I get what you're saying. I had a plan in my minds eye of what I was going for, and decided to try a coUple different techniques to get there. Thing is / was I didn't get "there". But persistence (desperation) won out, and I think I now have a result that I can live with.....maybe not my best work, but better than where I left it. :yeahright: :lol:
User avatar
speedgraflex
Moderator
Posts: 9749
Joined: Fri Feb 10, 2017 11:08 pm
Location: Santa Monica, California

Re: Bandai Special Forces TIE...My Kit From Hell

Post by speedgraflex »

You will get through this. Sounds as though you are already seeing the light at the end of the tunnel. All the best!
Bruce / SPEEDGRAFLEX
User avatar
Scruffy
Advanced Member
Posts: 248
Joined: Wed Apr 09, 2014 12:49 am

Re: Bandai Special Forces TIE...My Kit From Hell

Post by Scruffy »

So, this is where I picked up from on the crew capsule, not as rich black as I wanted, and I got and tried some pre-mix wash for black aircraft. Looks like $hit, too much contrast.......

Image


The repainted red panels with some chipping

Image

The exhaust ports colored with the True Metal. This is nice stuff, all the tones do not show up in the photo, but I used layers of gunmetal, steel, old bronze and copper and got a nice multi hued, discolored effect.

Image

The last thing to do was fix the capsule color, I had two options, apply a black filter, which would be harder to keep away from areas I didn't want it, though the more conventional method, or apply a some dark pigment in areas I did want it. I went with the pigment, burnished in with a Q-Tip and sealed with a satin clear coat. the panel lines were redone with a very dark brown wash.
The base was sprayed with three shades of Lifecolor paints, these spray differently than other acrylics so I wanted to try to get that right before I used them on a build. Pretty happy with how the base turned out on the first try, so with that its done! maybe not the best but decent enough.

Image

Image

Image

Image

Image

Image

All the glass area were sprayed with Tamyia clear red to replicate the red glow that seems to emanate from within.
User avatar
speedgraflex
Moderator
Posts: 9749
Joined: Fri Feb 10, 2017 11:08 pm
Location: Santa Monica, California

Re: Bandai Special Forces TIE...My Kit From Hell

Post by speedgraflex »

Looks great for a kit from hell... seriously, great job... and the take away with multiple stage finishes lead to some new ideas! It’s still The New Order’s TIE but the finish is subtly and not so subtly different, more defined. I really like that the way the red paneling and the red illumination through the panels create the feeling of the Empire: oppression through bloodshed... and at the same time like Poe: I always wanted to fly one of these.
Bruce / SPEEDGRAFLEX
Post Reply

Return to “Work In Progress: Sci-Fi”