Thanks for that photo link! I've seen this page and also a photo dump of the Gosshawk restoration on an aircraft message board that I've been referencing. Lacking wartime documentation, I've had to rely more on the restoration pics... like in the cockpit for example. One thing I won't be referencing is the paint job that Yellow 10 received.
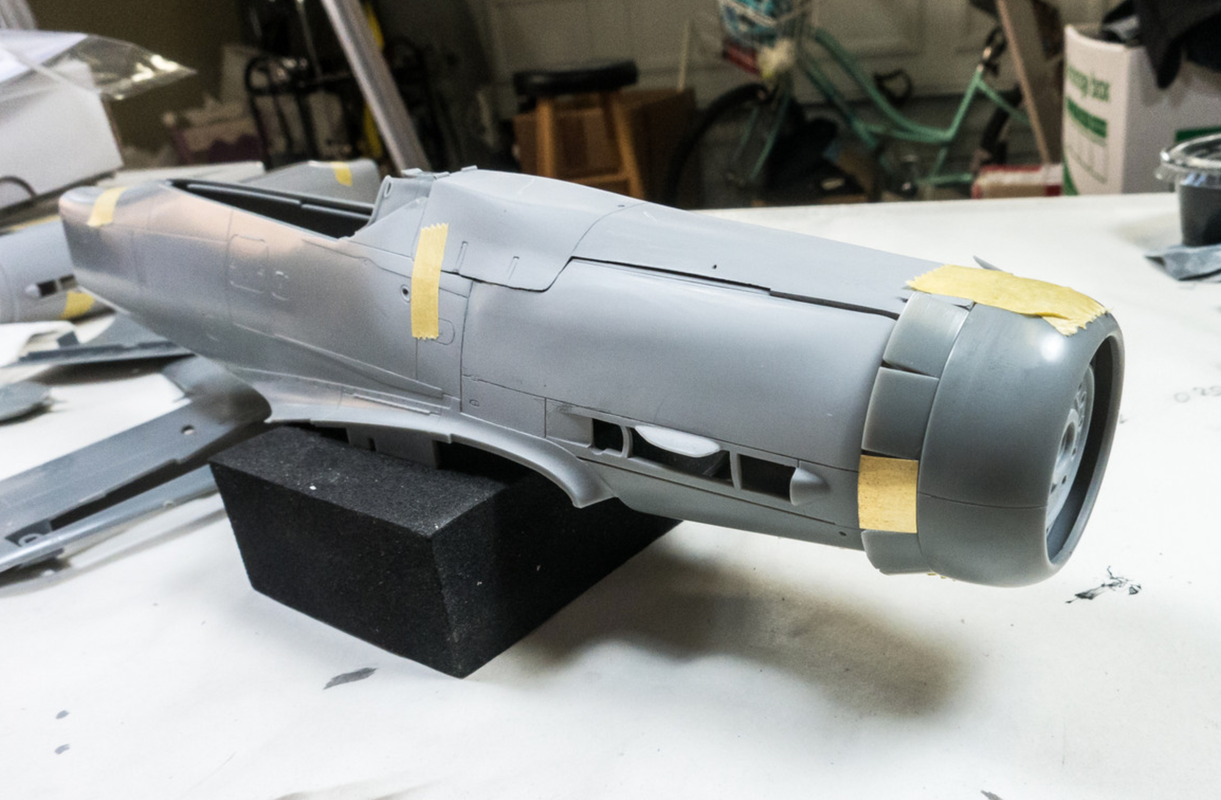
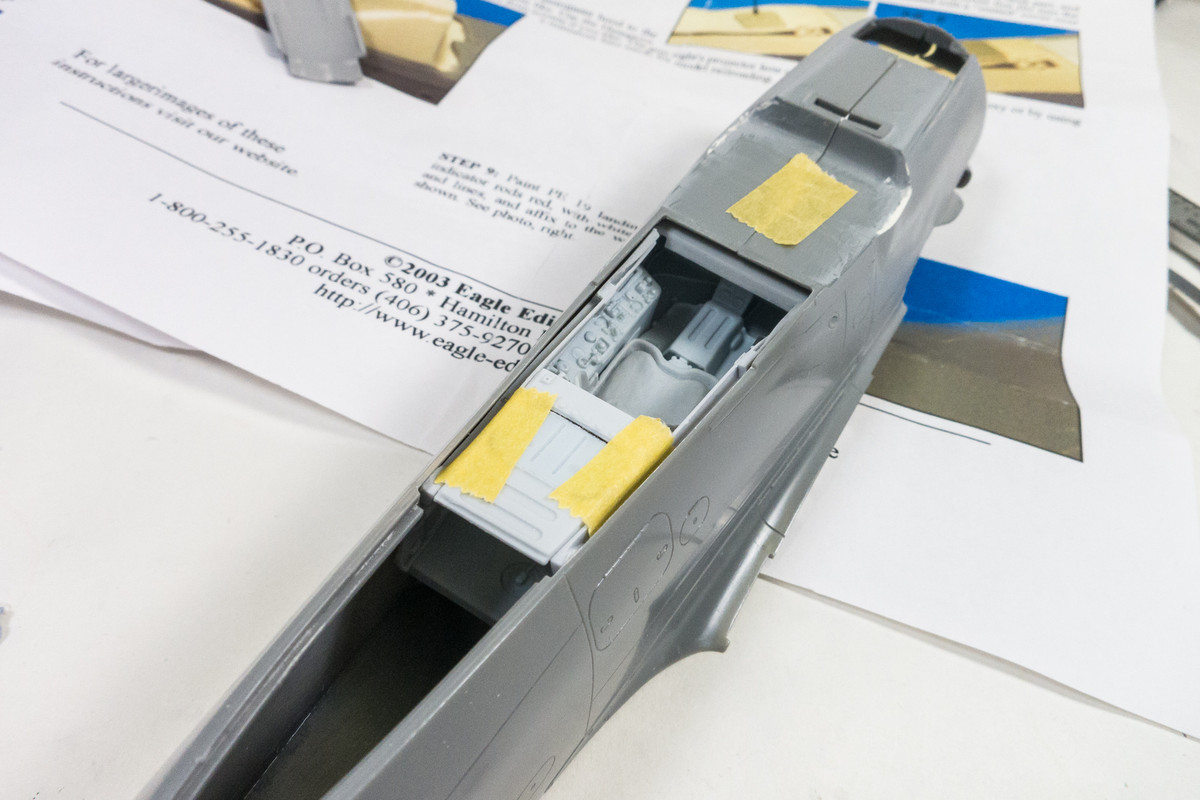
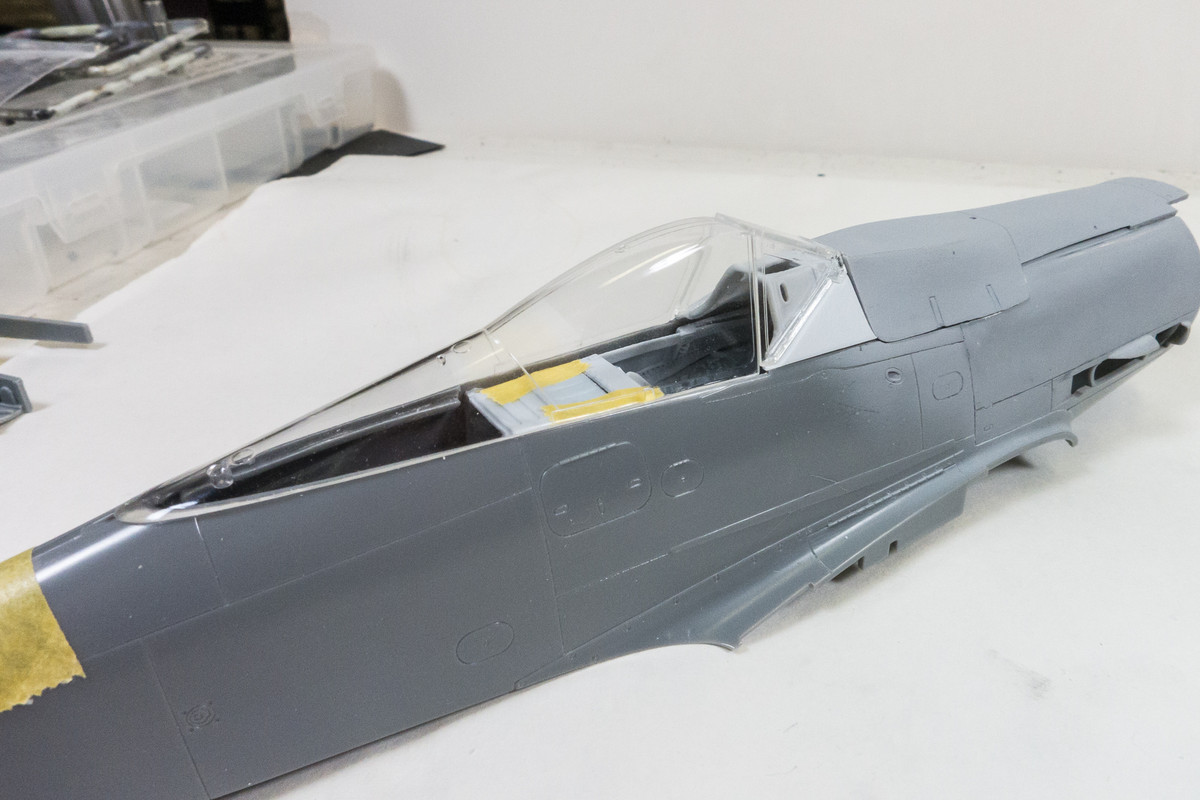
After much more futzing with the fuselage interior and the external edges of the resin cockpit, I've arrived at a place where feel good about the fit. This is not an exact science since there is a lot of give and play with taped components but a good indication of how things will go when glue is eventually applied. The cockpit is taped into the fuselage.

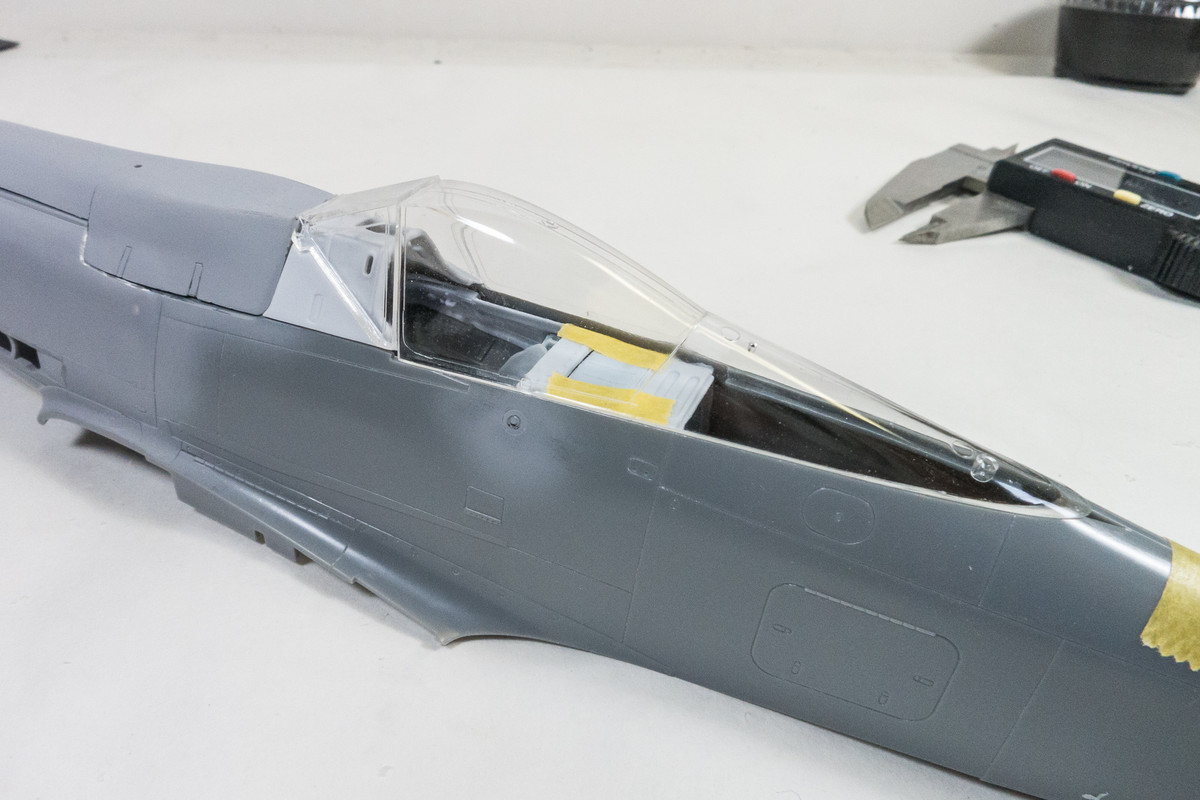
Without unnecessary force and accounting for the taped joints, the cockpit looks to be in proper position.
Forcing the cockpit into position may push the canopy opening too wide so I want to check the position of these components as well. With only gravity holding them in place, the engine cowling, the instrument panel hood, the windscreen and sliding canopy appear to be in good position.
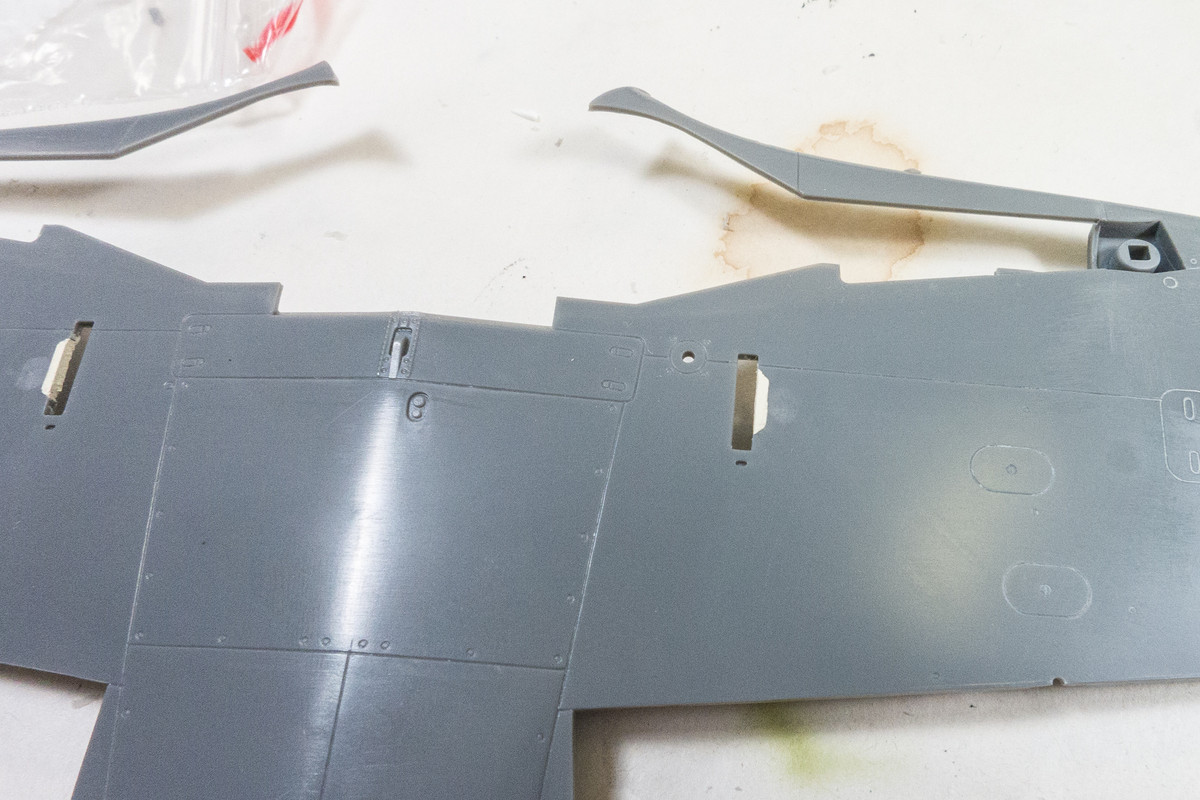
I didn't take photos but I've also conducted a preliminary check of the rear engine plug assembly that is visible from the open wheel wells. Some modifications will be necessary to account for the single ammo chute but I haven't solved that riddle yet.