Cheers folks!
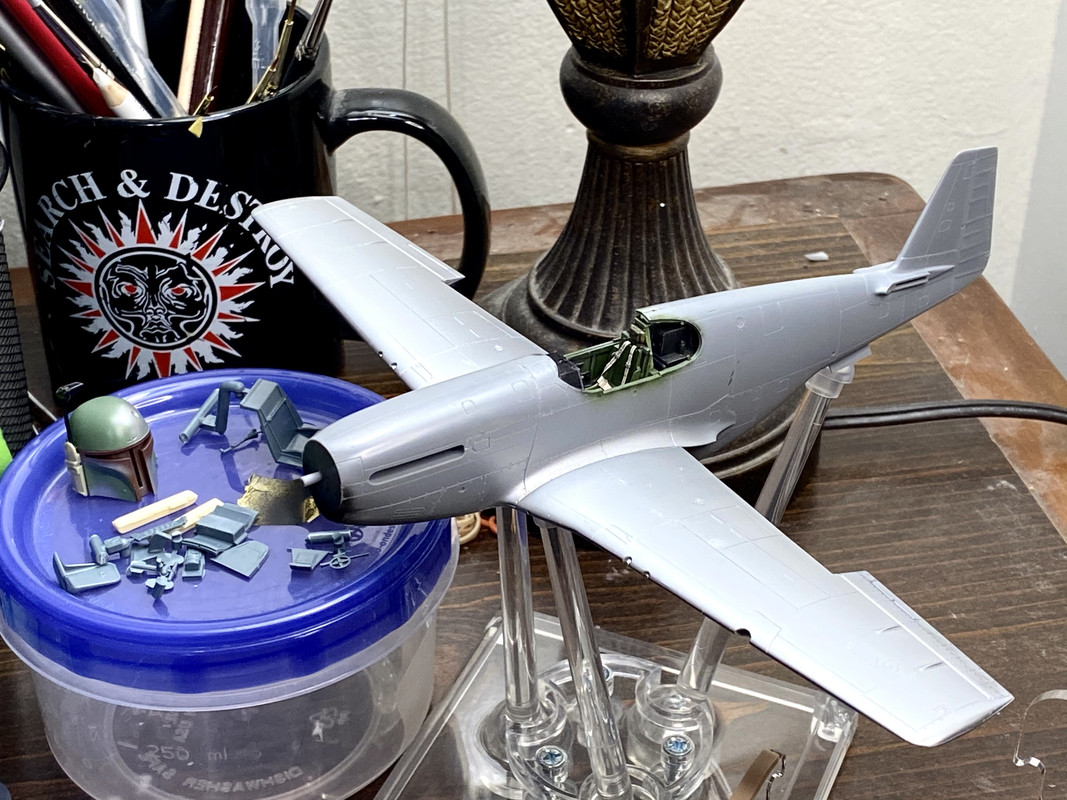
I wanted to take a moment here to share some more shots of Spare Parts and mention something which I’d made a mental note of talking about the other day, and forgot to.
Alclad’s “RAF High Speed Silver”... that’s what I sprayed on the wings as a stand-in for “Aluminum Lacquer.” Now, in the opinion of other modelers, this stuff ranges from being a “Eeh, it’s a pretty good stand-in” to “Nah, I prefer other stuff but it’s still a nice product” and everything in-between. Me personally? I like the way it looks on the wings, and hey- it technically is a lacquer which could be described as having a somewhat aluminum look to it.
But it’s a whole lot more...
It’s also a
primer. Not joking, it says so in the fine print on the bottle. Forgive me for not sharing a photo of the label, but the label on my bottle got ruined when I ham-fistedly knocked the open bottle over and spilled about half its contents on my desk a few days ago. Anyway, you can use this stuff as a primer, if you’re the type of guy who likes to prime with a silver/aluminum color.
Now, here’s what I did, to correct the failed first attempt on these here wings:
1. Wet-sand off as much of the paint as possible with a 600 grit sanding stick.
^^that became the first option on account of I tried to remove it with Mr. Leveling Thinner and q-tips to no good effect- once that stuff’s been cured for a few days it becomes hard as nails, and super mule-headed. It stubbornly refused to submit to the MLT. So I had to sand it.
2. Clean up what remains with MLT on q-tips. Once I’d gotten things sanded well, the MLT could seep in there better and get the job done.
3. Wash thoroughly with warm water and Dawn dish soap.
4. Dry.
5. Wipe with a baby wipe soaked in isopropyl alcohol and wrung out.
6. Polish the entire surface with microfiber pads, 3,200, 3,600, 4,000, 6,000, 8,000, 12,000.
7. Repeat steps 3, 4, and 5
8. Dry again
9. Say a prayer
10. Ignore the maddening urge to re-prime with Mr. Surfacer 1500
11. Shoot the Alclad RAF High Speed Silver at the wings
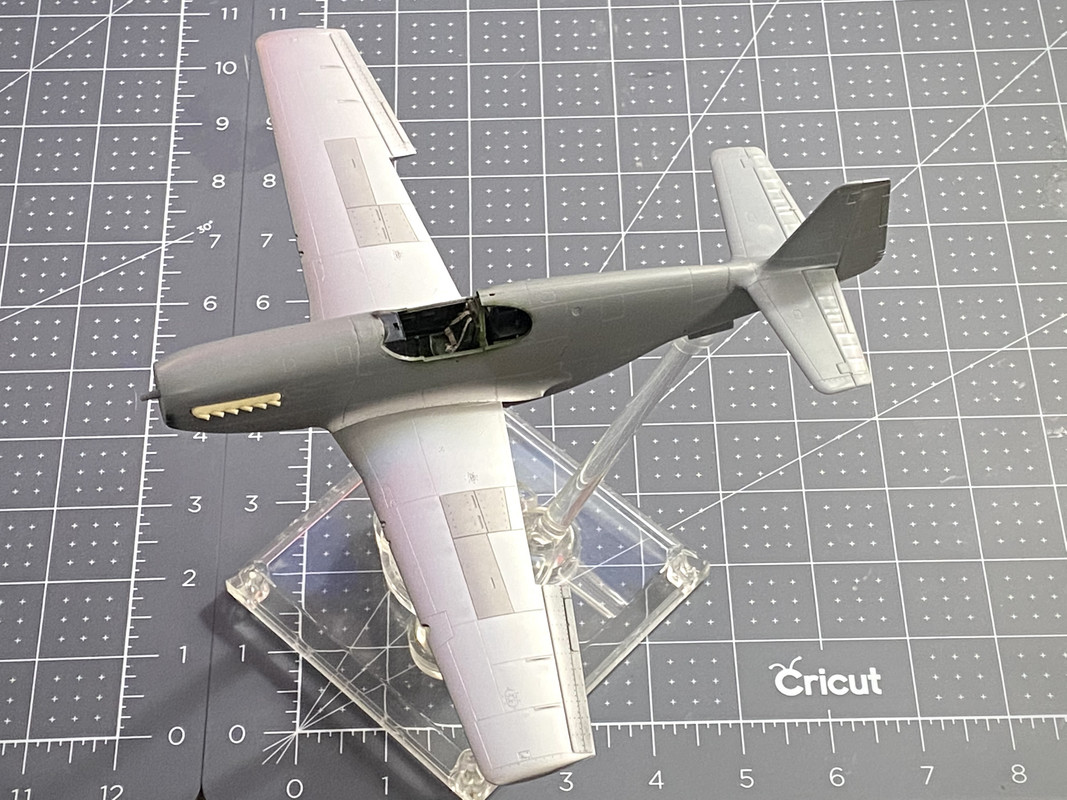
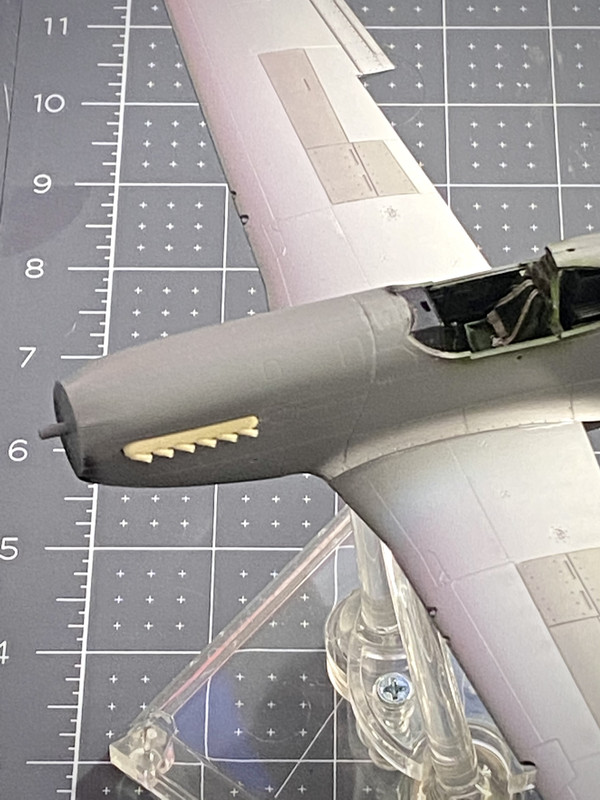
And close-ups of the results:

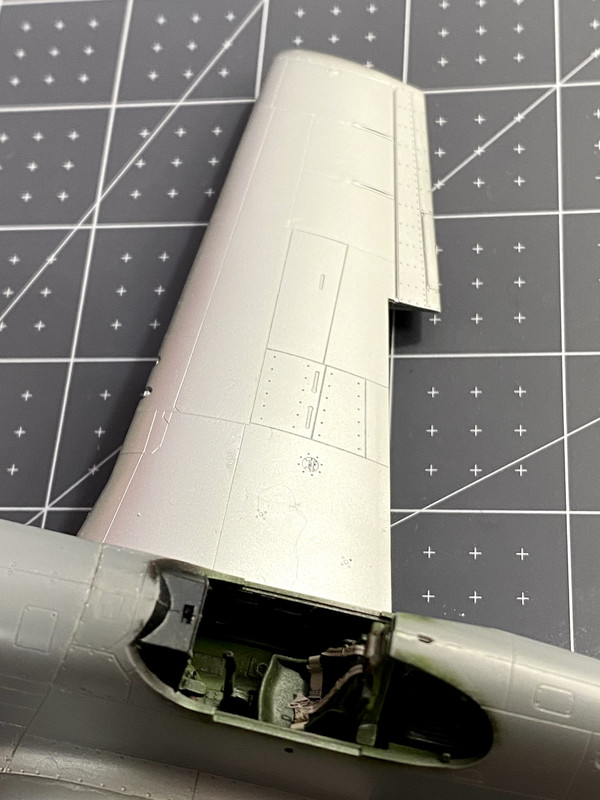

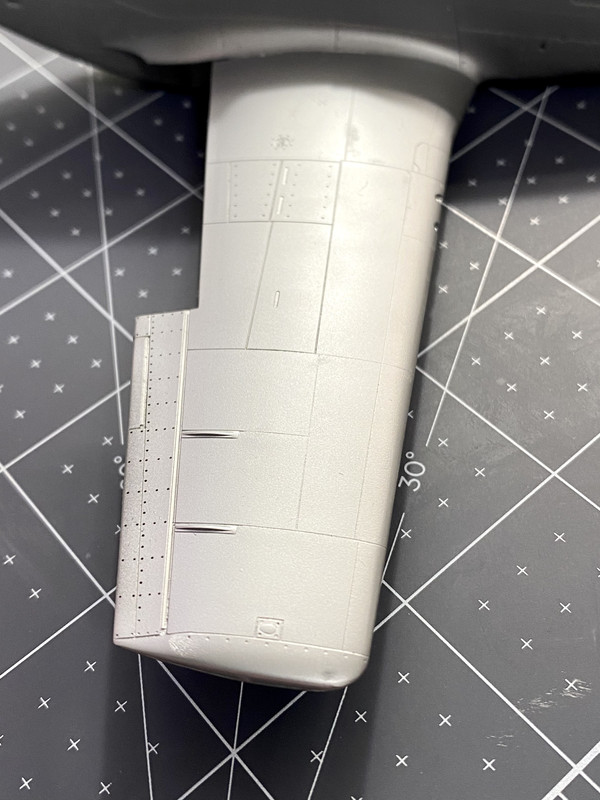
In my opinion this works quite well, the results are great, and I will use this stuff for Donald Duck’s wings as well, omitting the steps where I screw the pooch on the first attempt at painting them and have to strip the paint, wash and polish the wings again, and so forth.
Also, I am no longer disappointed that my panel lines aren’t filled flush. They were pretty darn smooth looking under the Mr. Surfacer 1500 and the “gloss” black. And the MLT I brought in during cleanup must’ve eaten some of it... but honestly, the final product here is very reminiscent of what our friend Mr. John Kim mentioned earlier in the thread, paraphrasing: “I wouldn’t sweat it, as in real life that putty would have worn away a little bit.” The lines aren’t as deep as the ones you see in the gun/ammo panels, and they’re visible at some angles and barely visible at other angles. That’s hella cool and I dig it. I’m going to try to replicate that on Donald Duck.
Okay, I’m gonna spray the rudder and then install the horizontal stab, then get to work on masking the canopy.
Thanks for looking!

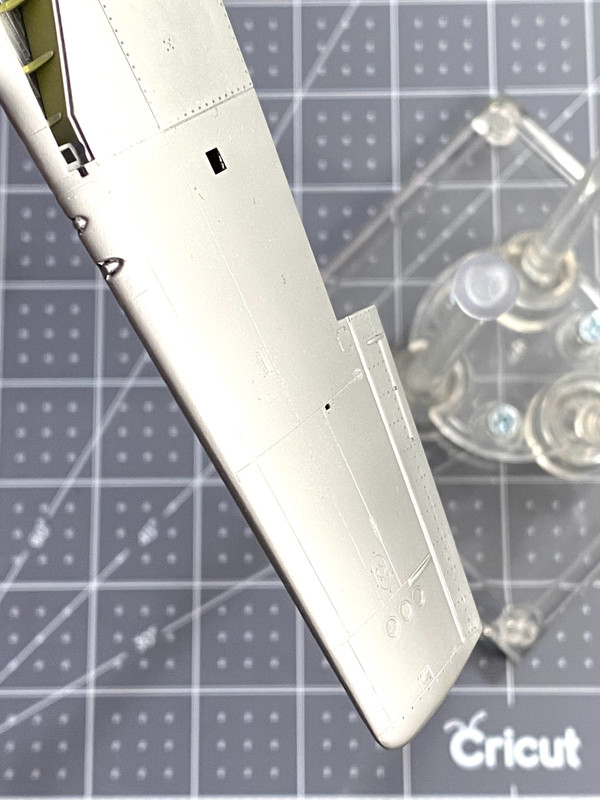
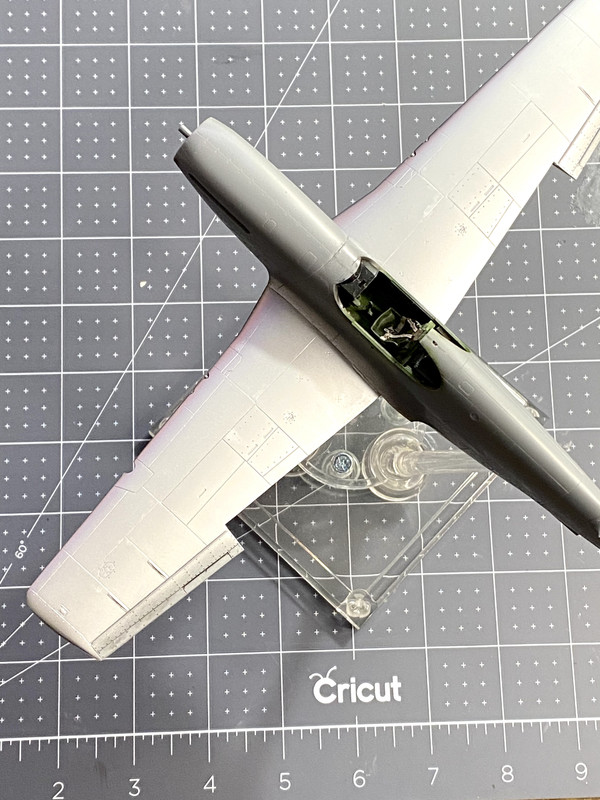



 I am thrilled about this project.