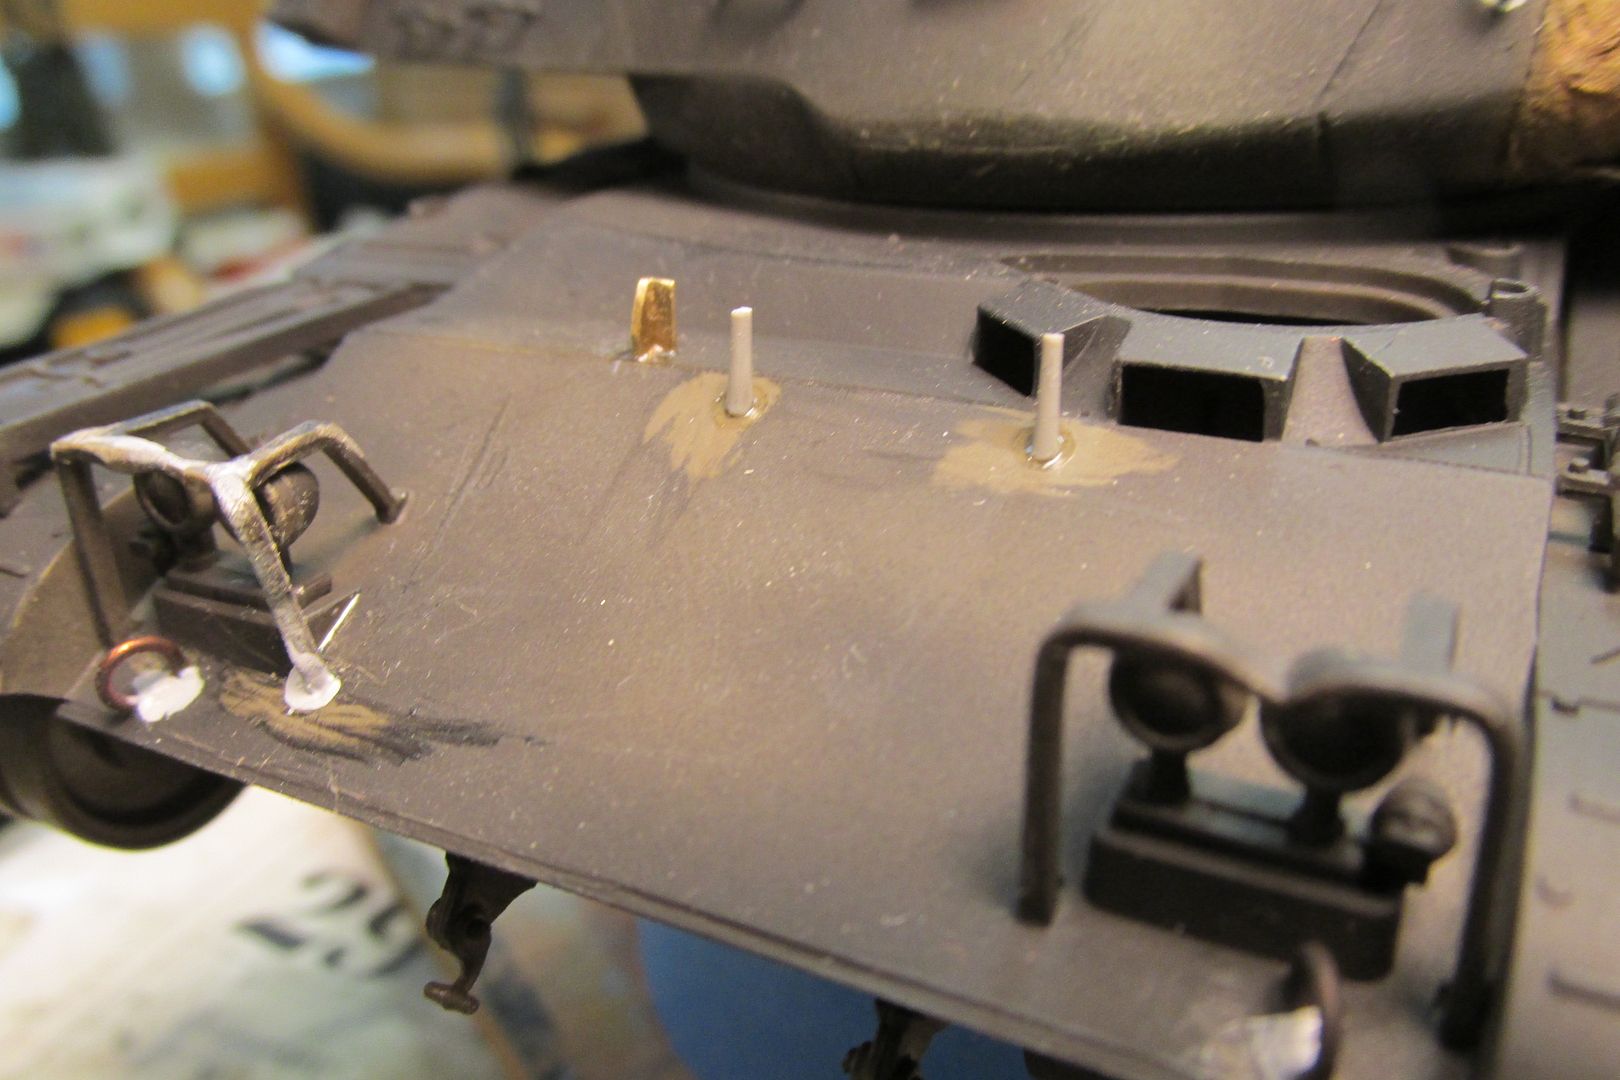
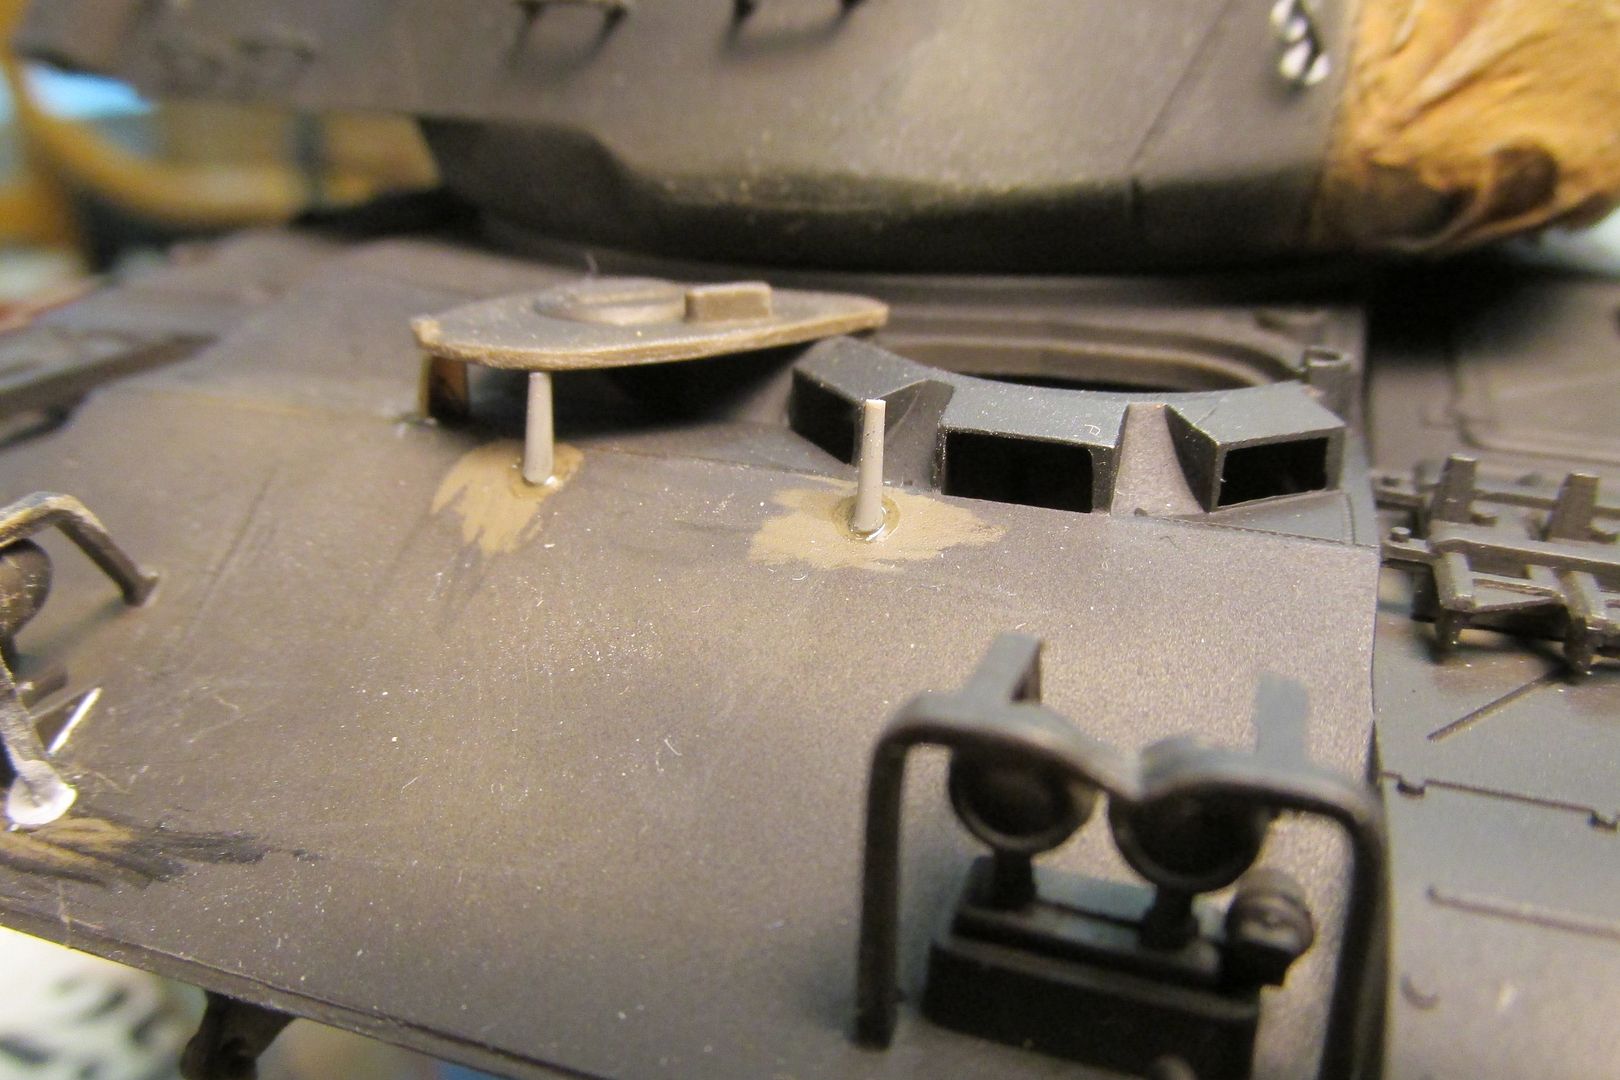
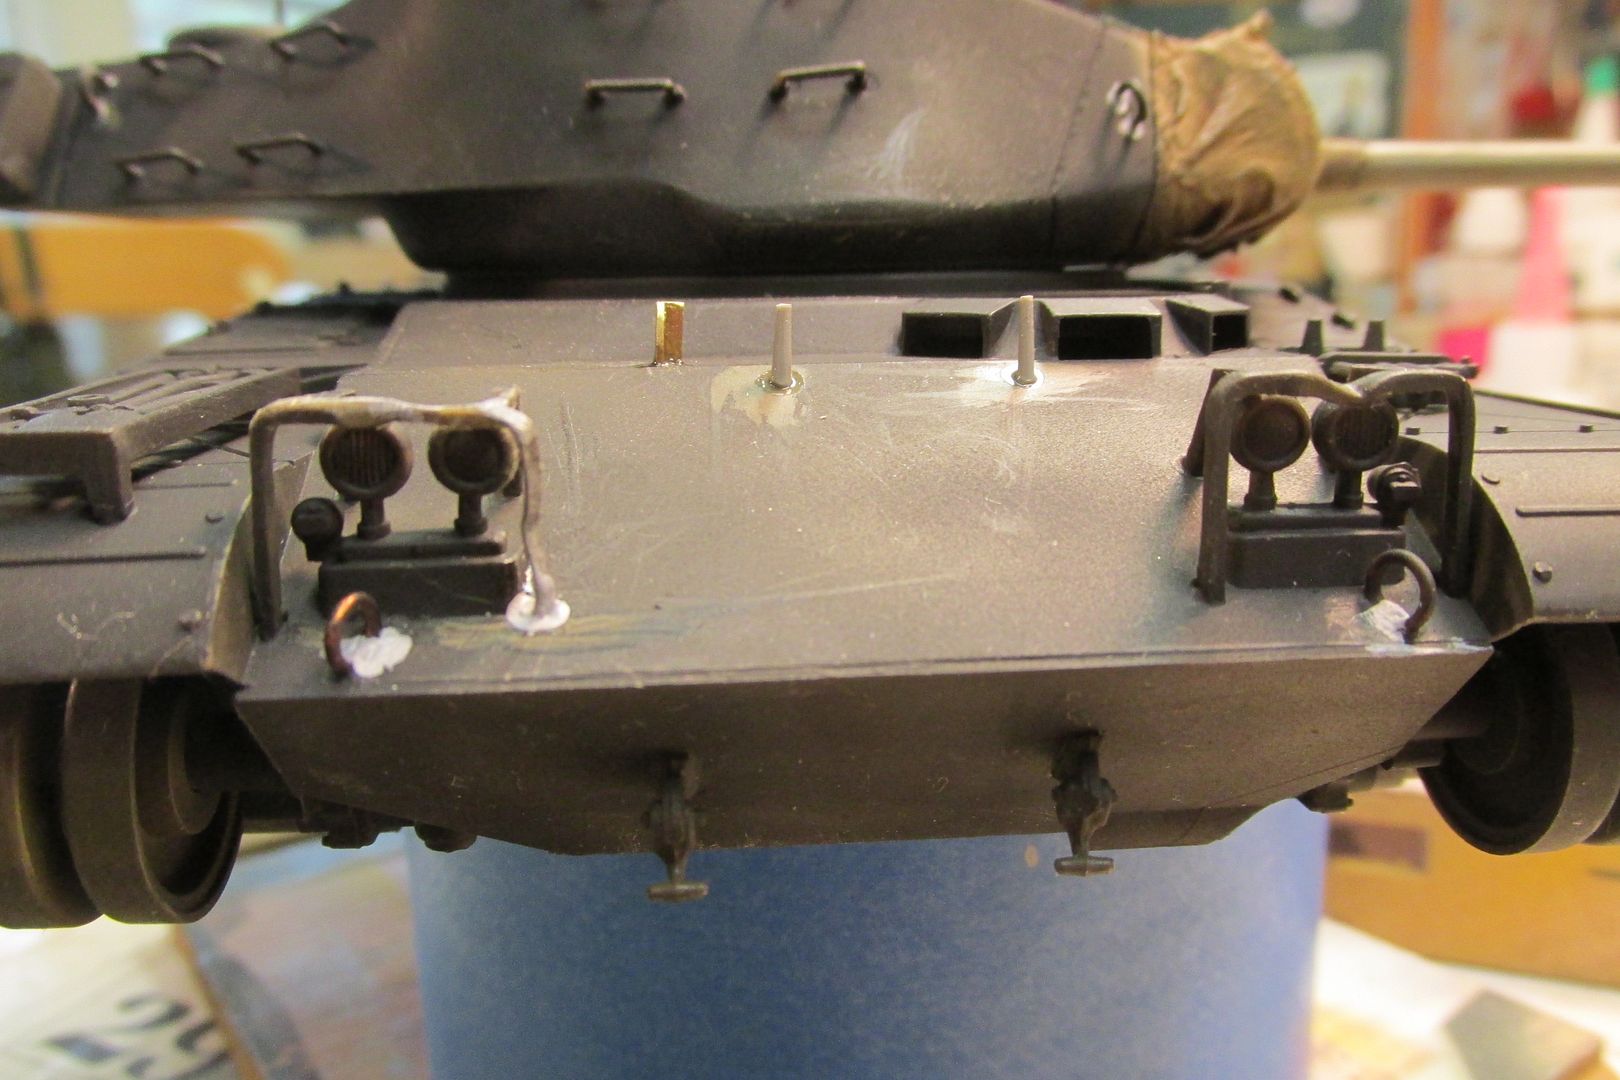
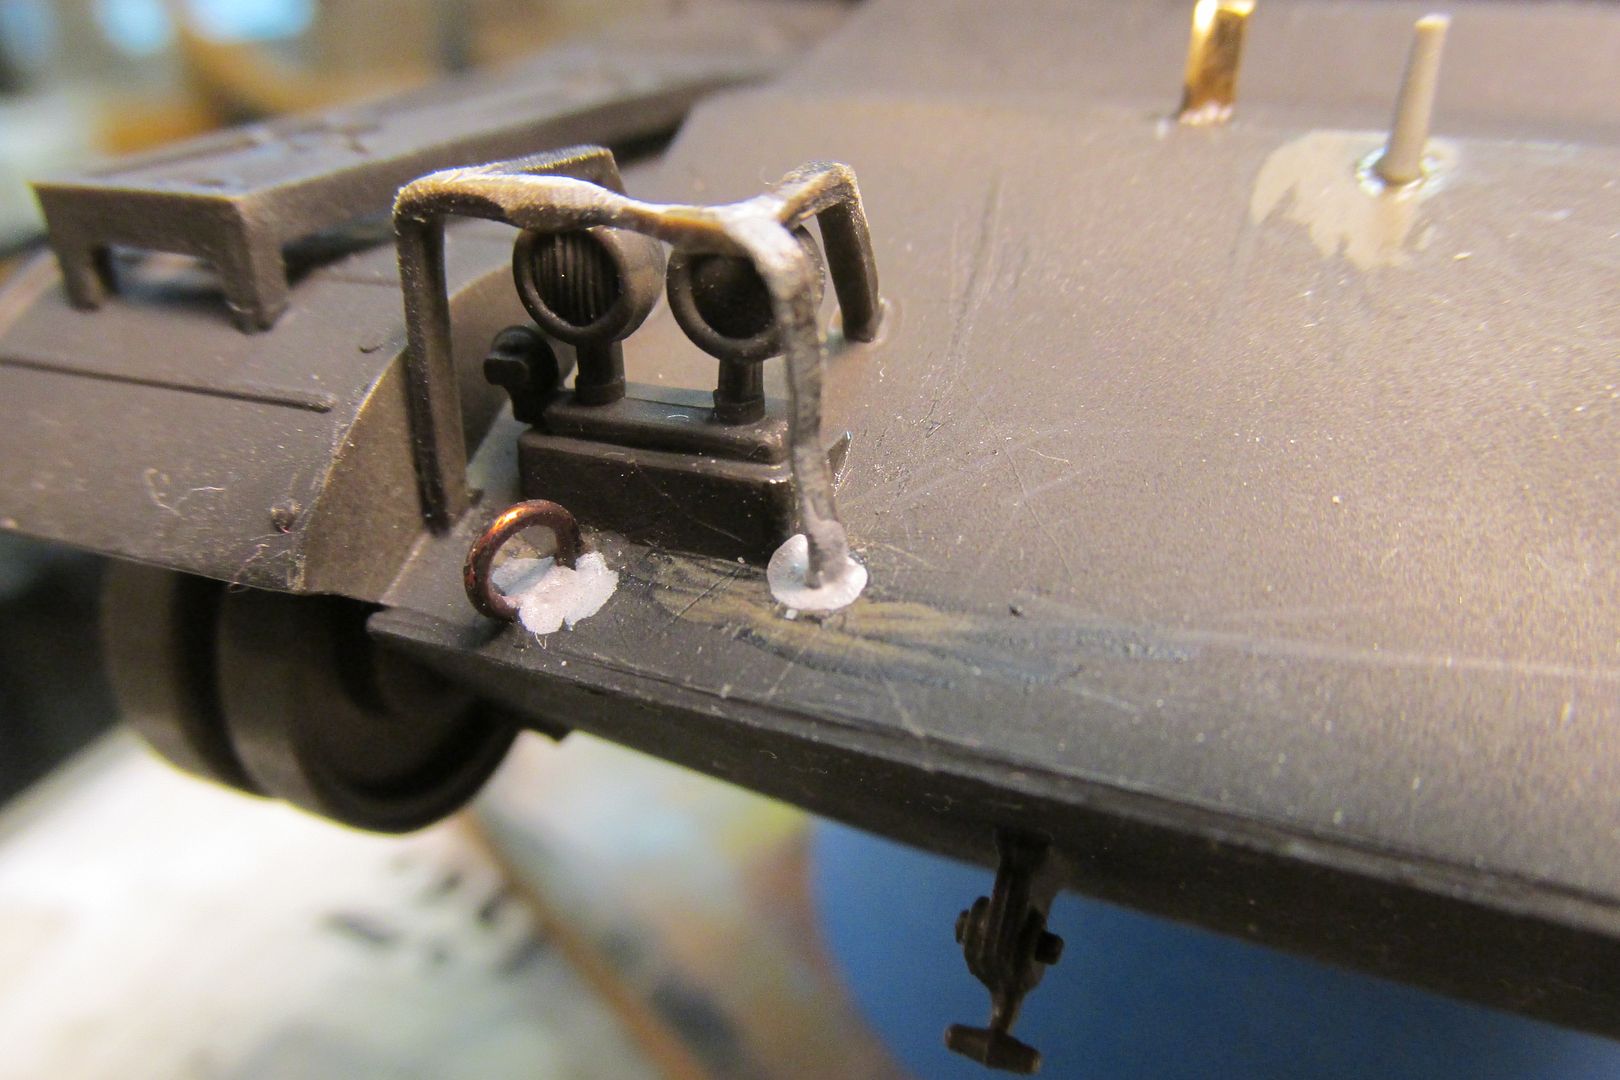
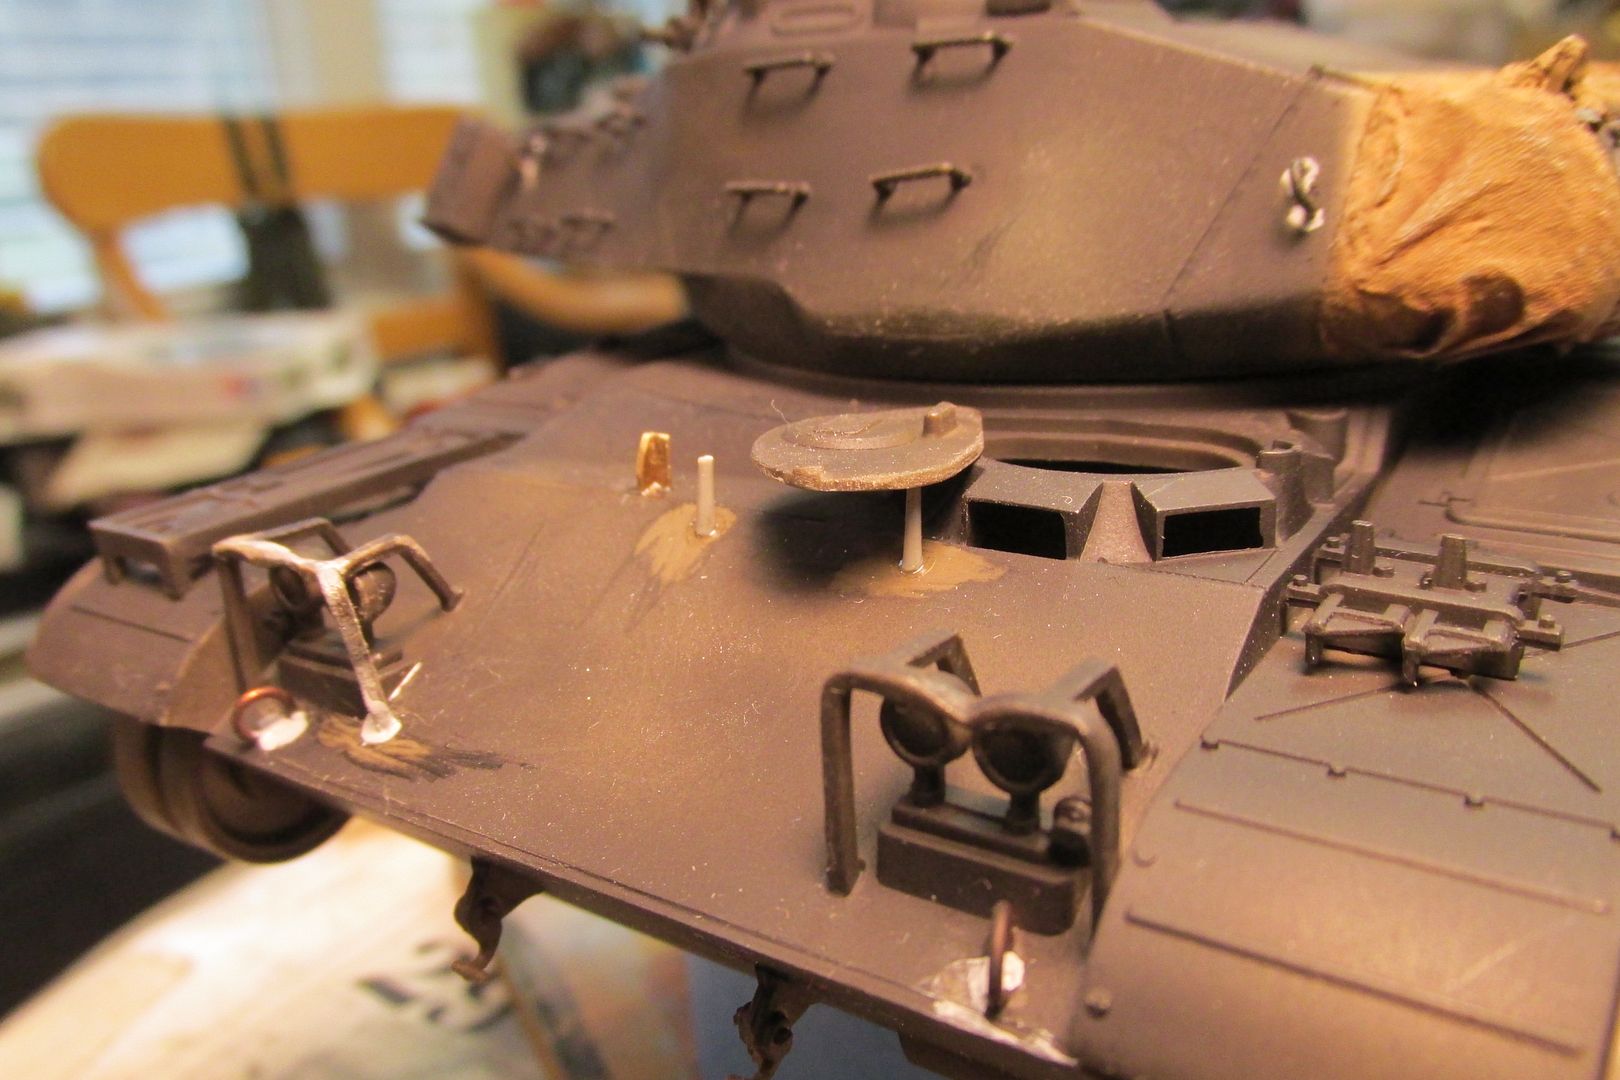
Okay friends, I've just a bit more progress to report. One of the things that are prominent in the pics Carlos posted above are the supports for the opened driver's hatch. My walkaround book has plenty of good photos of them and they do play an important role, so I added some on my model from stretched sprue and brass angle. Obvious too in those pics from above are the bent headlight guards. It's easy to see how they would get some rough treatment and the pics encouraged me to modify the kit parts. Early on in this project, I had considered trashing the kit parts and building my own guards. When I worked in a sheet metal shop, many years ago, I sheared some pieces into very thin strips and have used the frequently over the years for scratch-building.
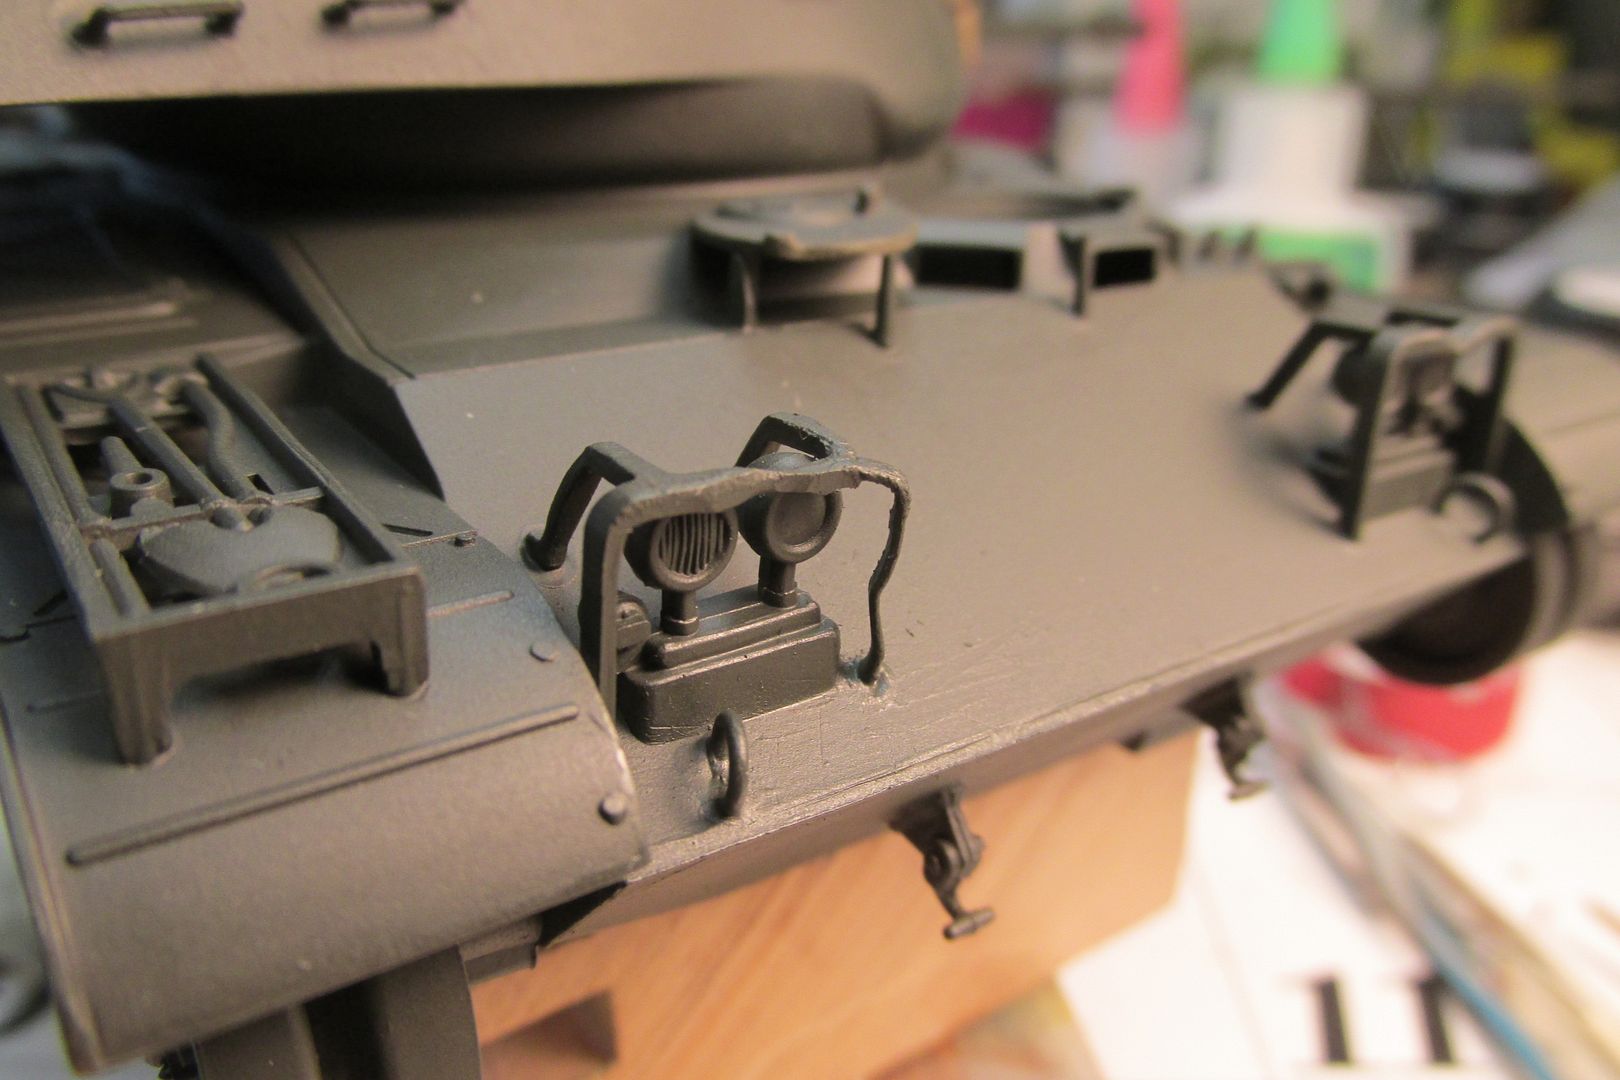
I should've used them to fabricate my own light guards as I considered, but chose the kit parts to save time. Well, I also should've "bent up" the kit parts before gluing them to the hull, but I didn't and it was a challenge (not that successfully met either) to bend them at all. In the end, I used am electric soldering iron, held close, to soften the plastic. Too close on the starboard side as I melted away the inboard upright. I was able to replace that with a bit of the sheetmetal strip mentioned above. It looks much better to me, and more in scale than the plastic parts...shoulda built them from scratch! Next time...
Hatch supports:
Headlight guards:
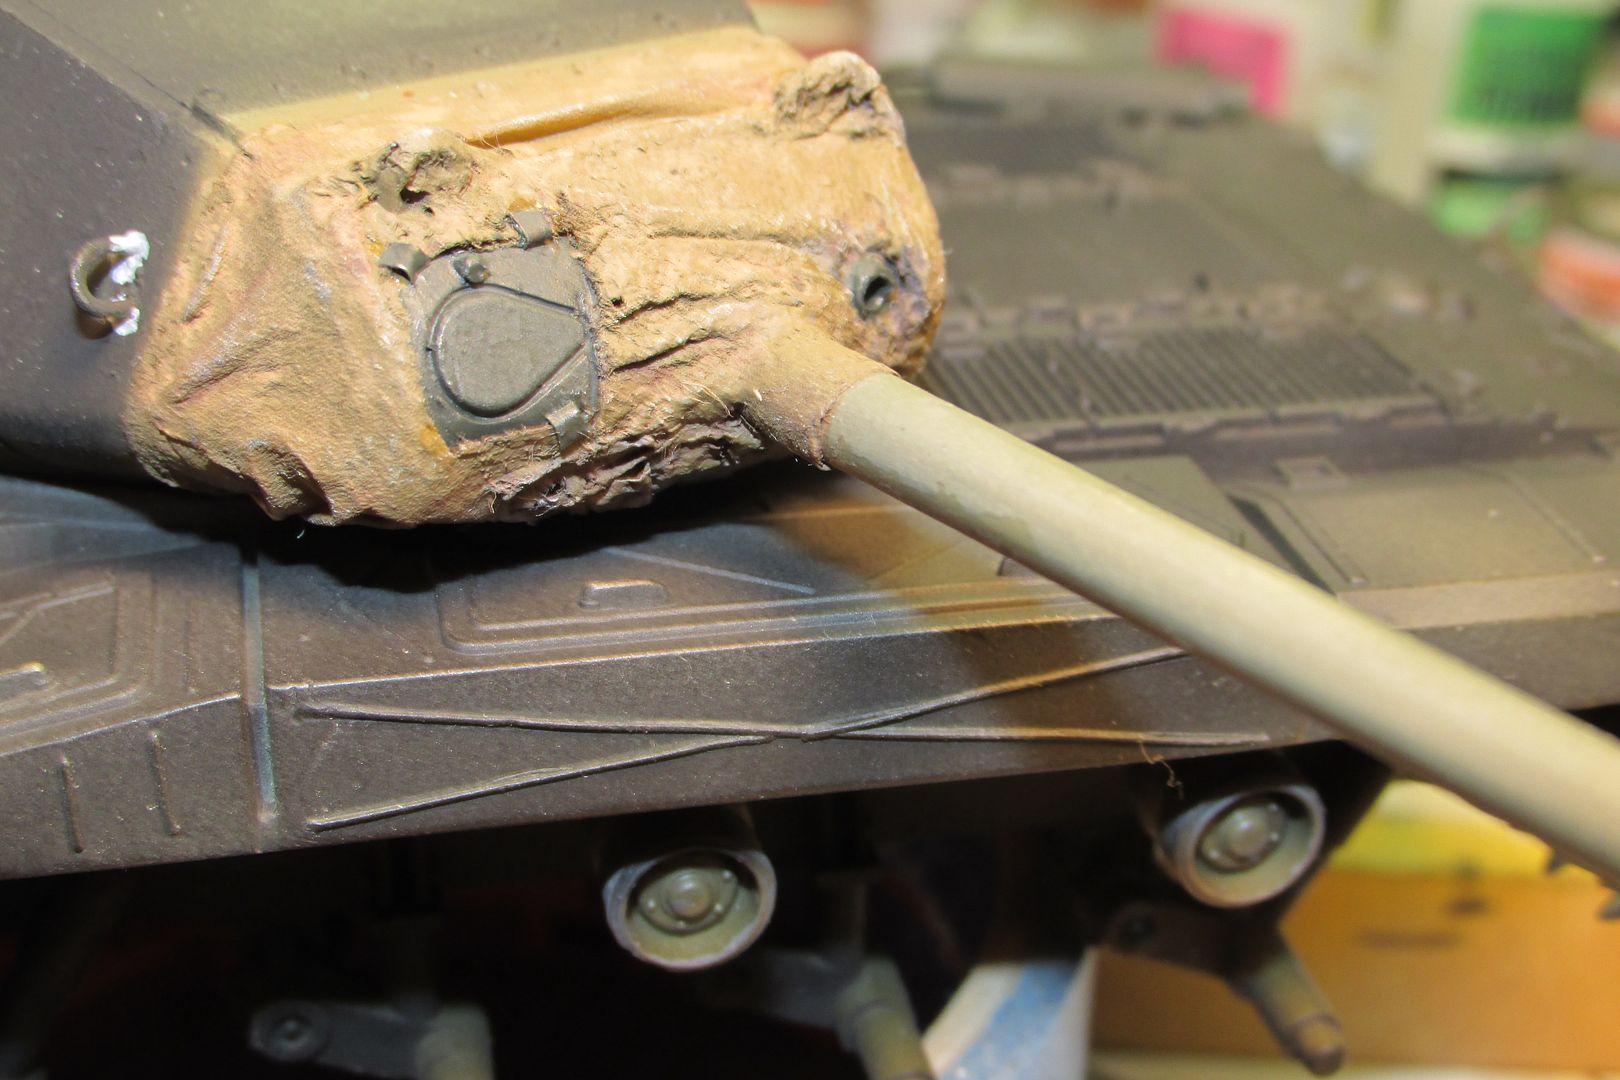
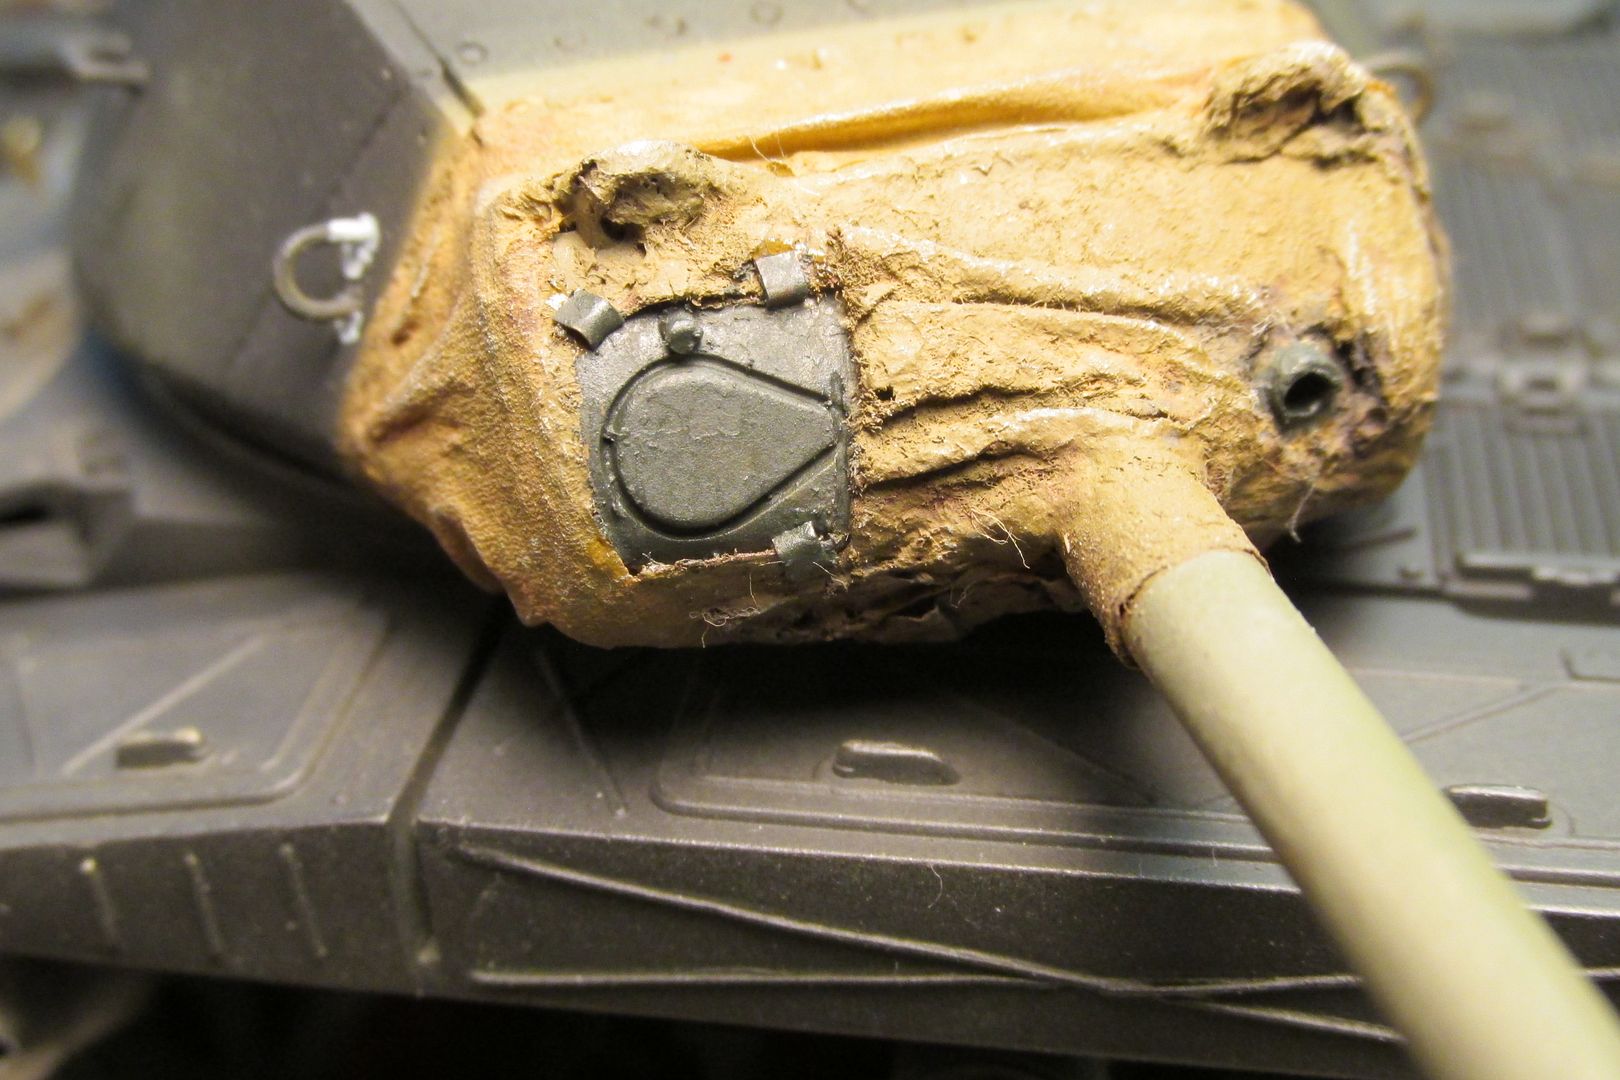
I also tried to replicate the corner hold-downs for the gunner's port opening in the mantlet cover. First, I tried Evergreen sheet, but it seemed too thick; so I popped them off and went with aluminum. Well, they look too thin to me now. Like Goldilocks, I'm looking for "middle ground" here!
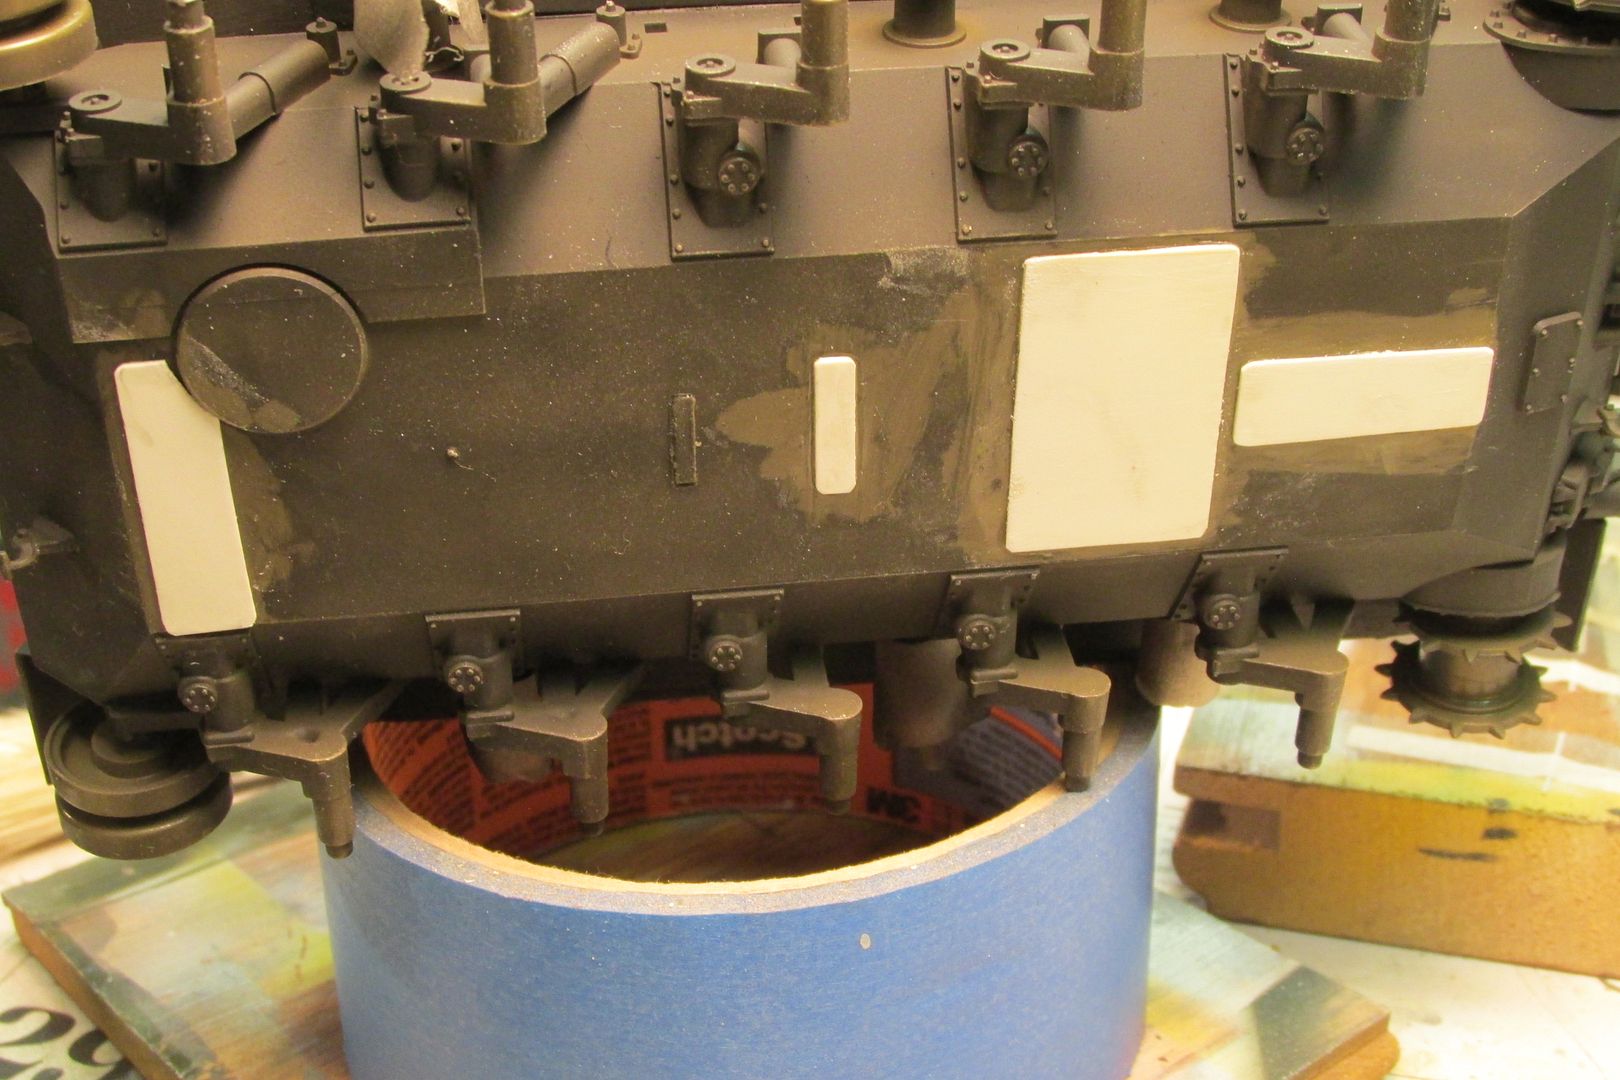
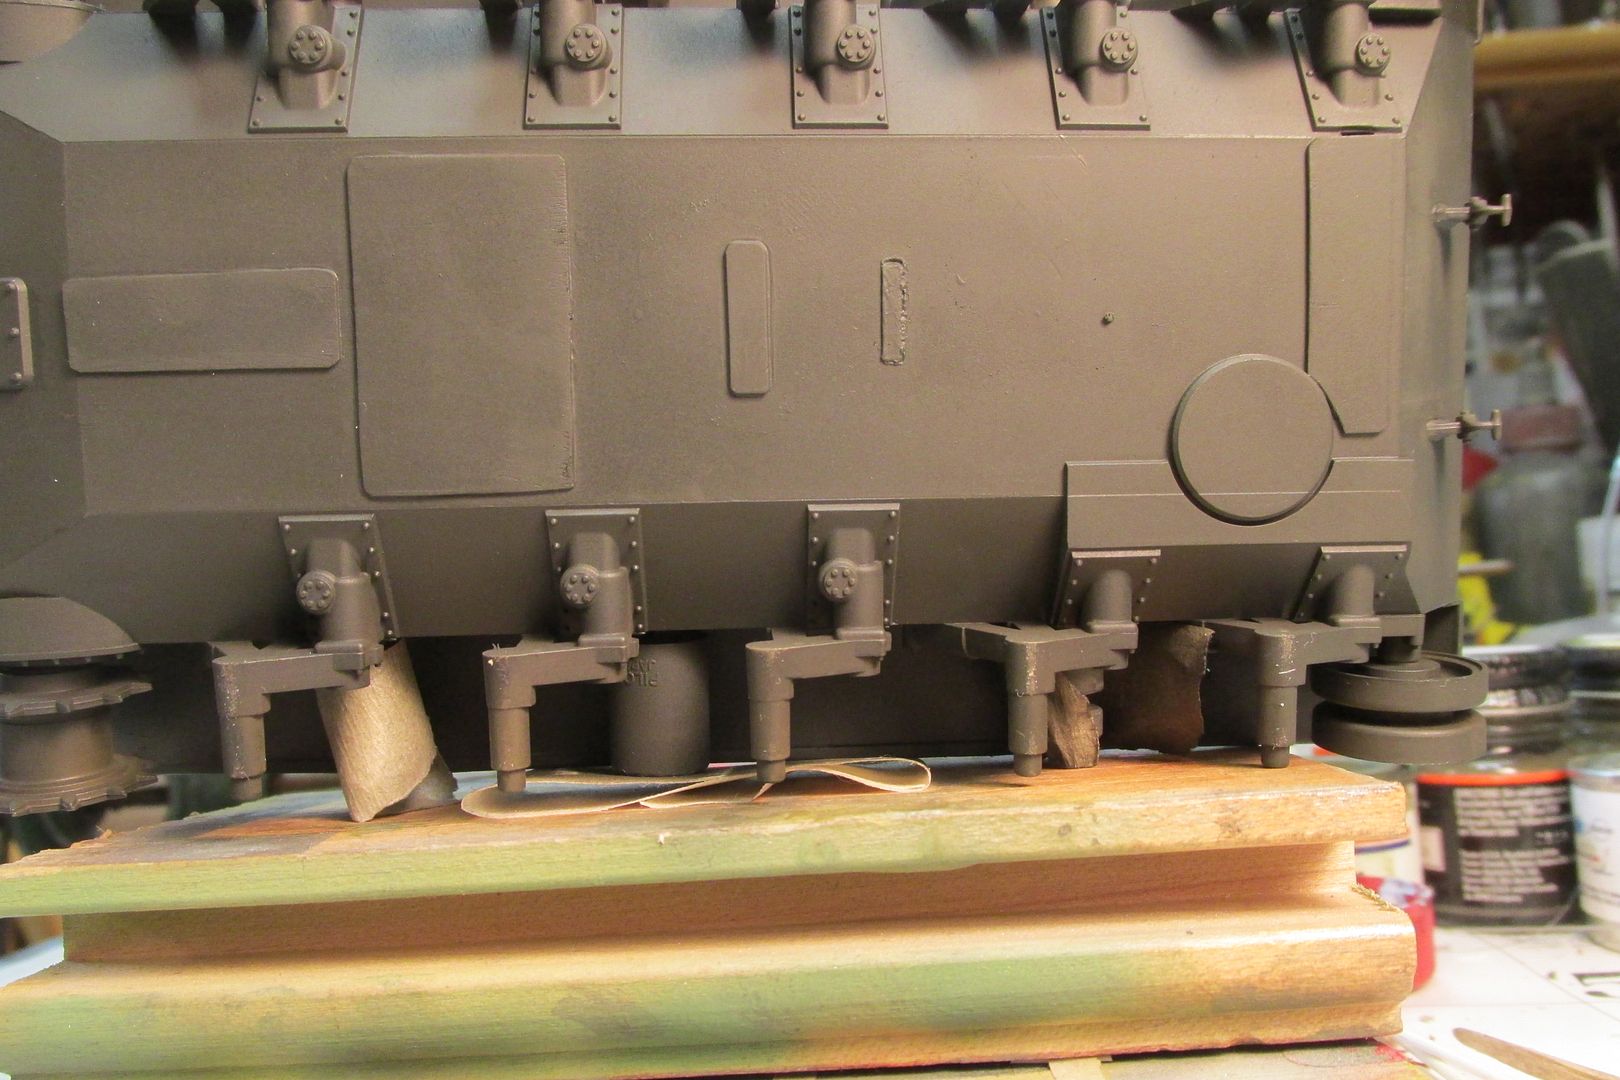
The series of openings in the hull bottom, a vestige of the kit's "motorized" versions, bugged me and let light into the interior. So I blanked them off with Evergreen sheet. It may not be original but it is on the bottom so it won't be seen really.
I'll add some stretched sprue radio aerials at the end but for now, I've used the kit's radio mast bases. I'm thinking about removing the pioneer tools and their bracket after reading that these were seldom seen on ARVN Bulldogs. Still gotta think about that!
And a few pics of the tank wearing the overall Humbrol 66 enamel:
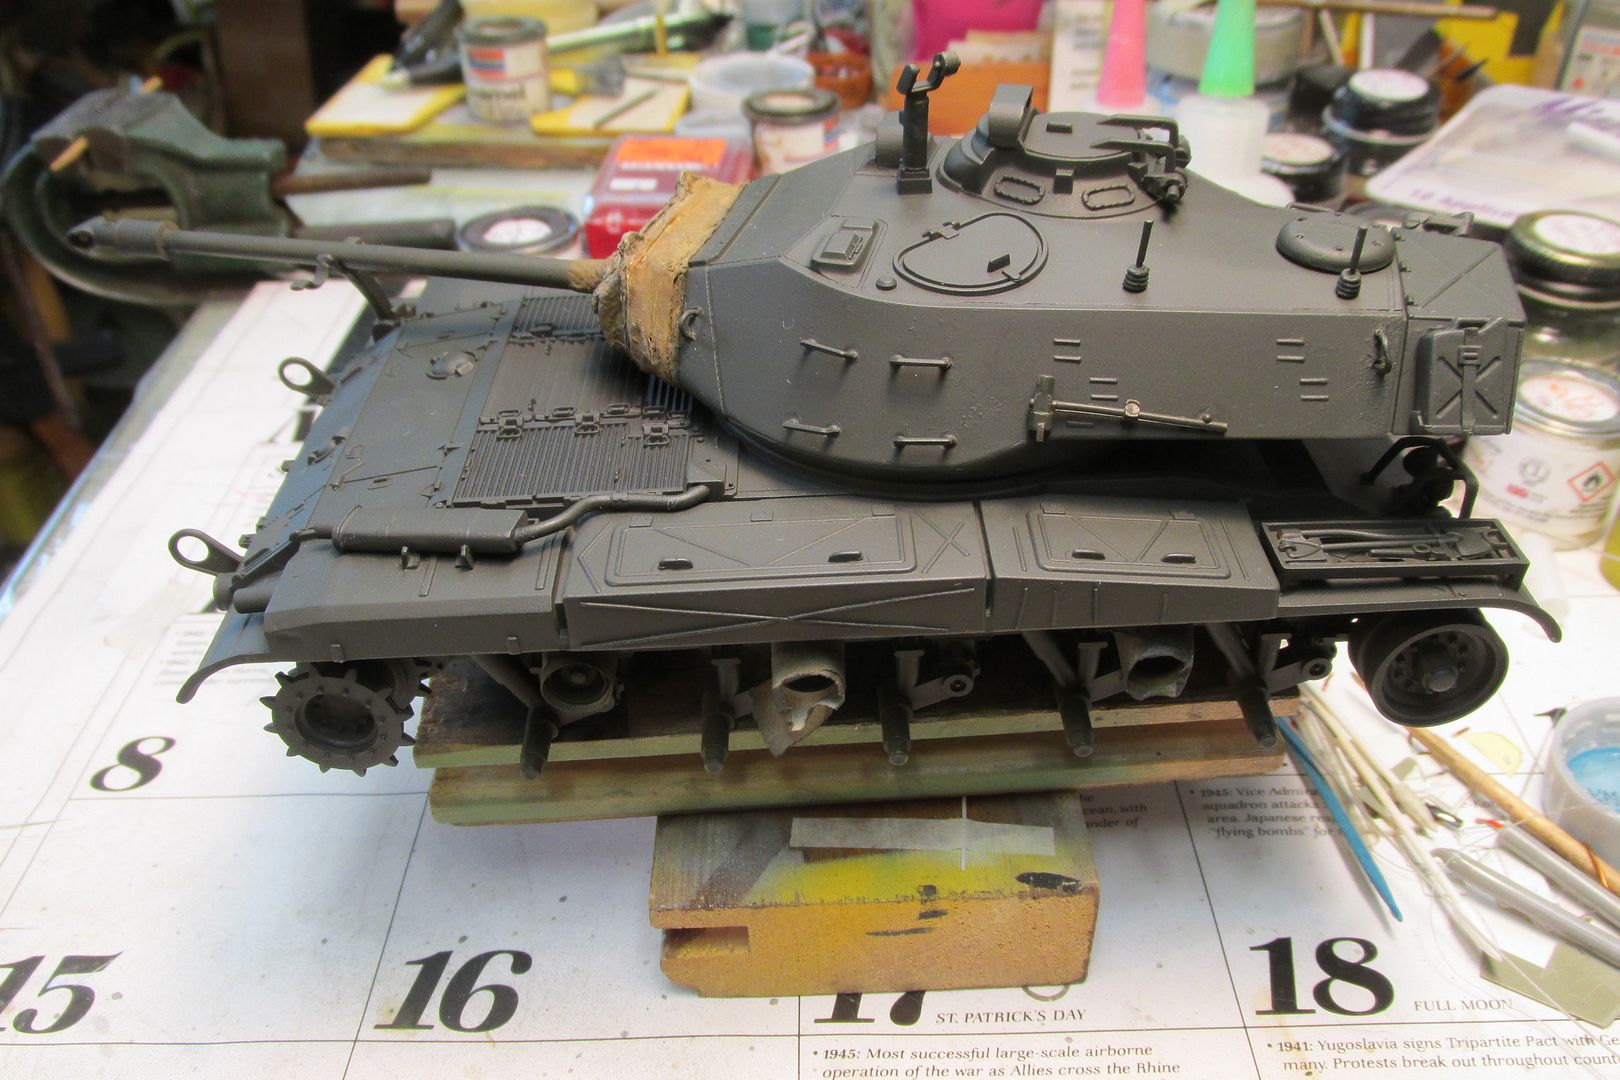
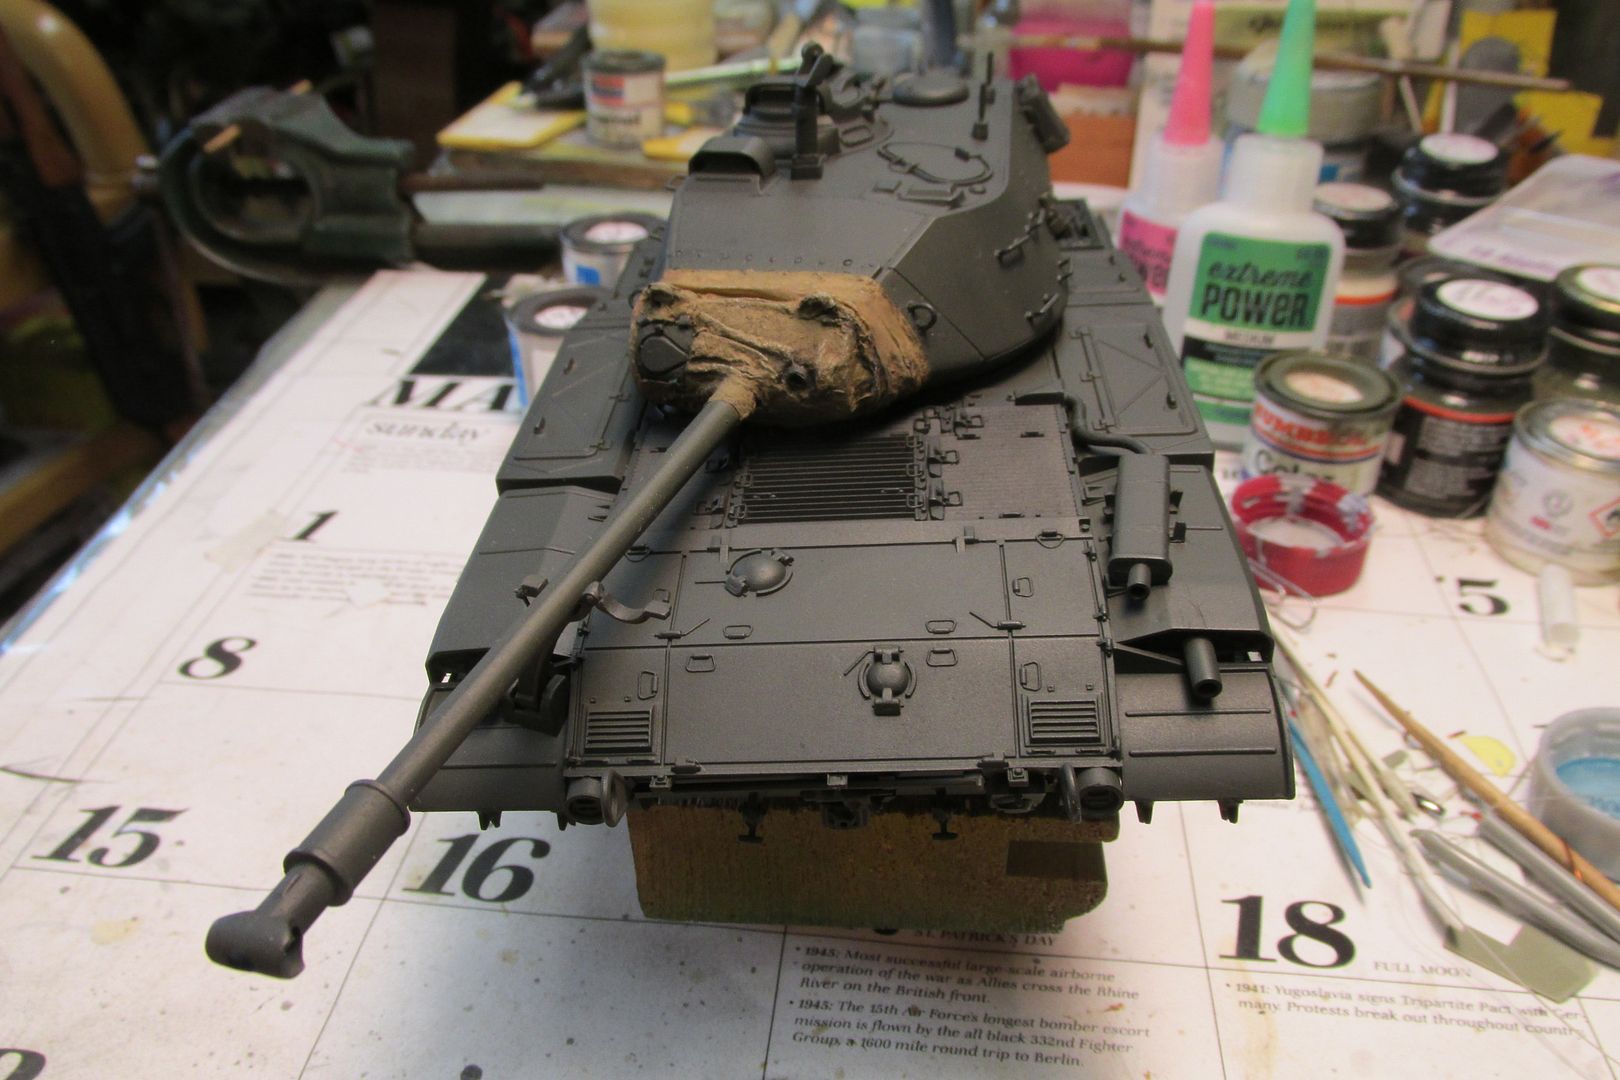
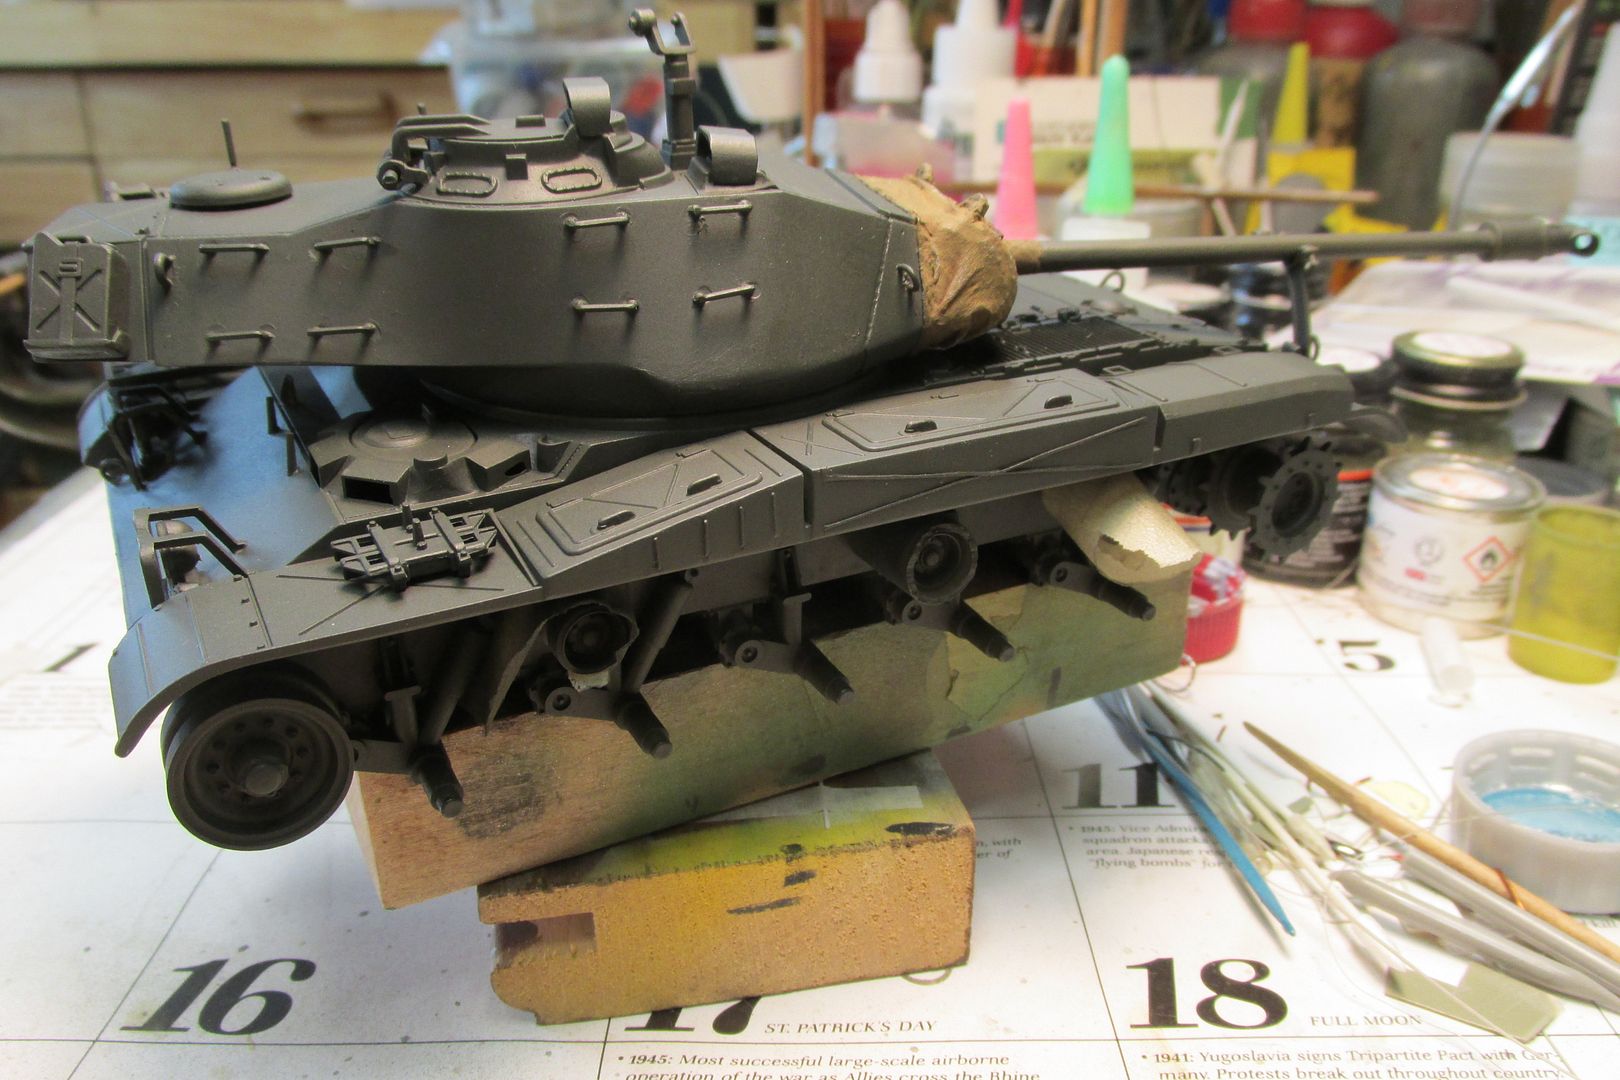
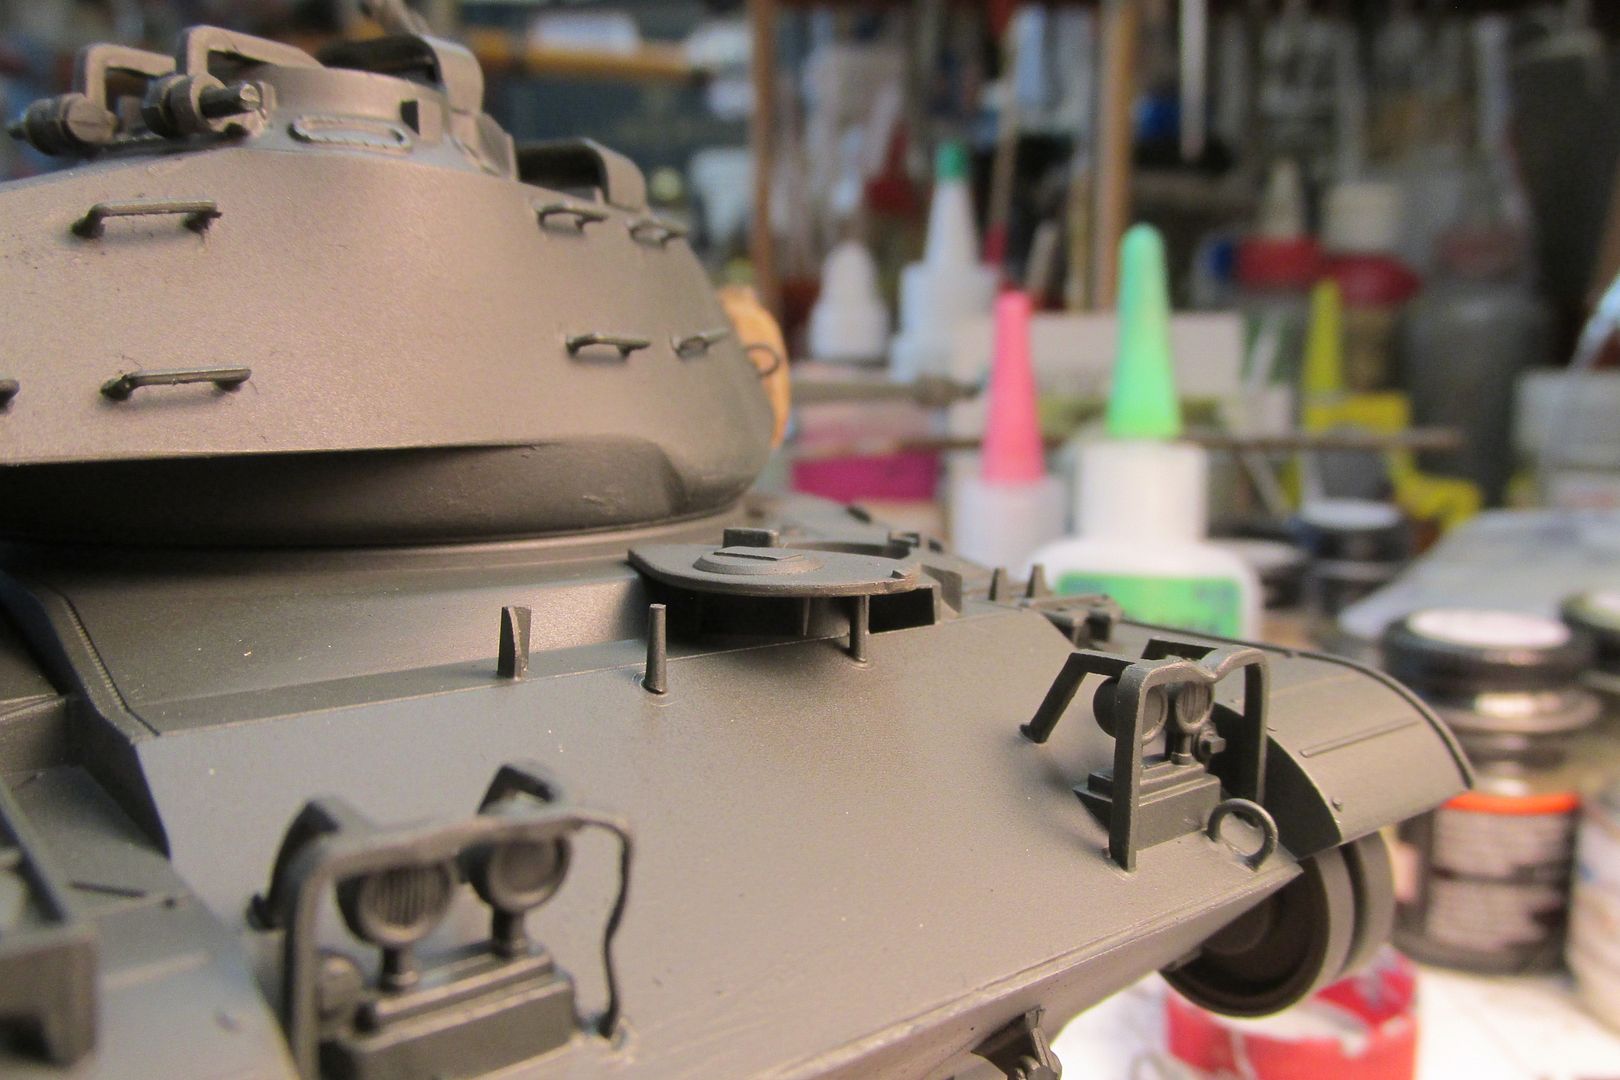
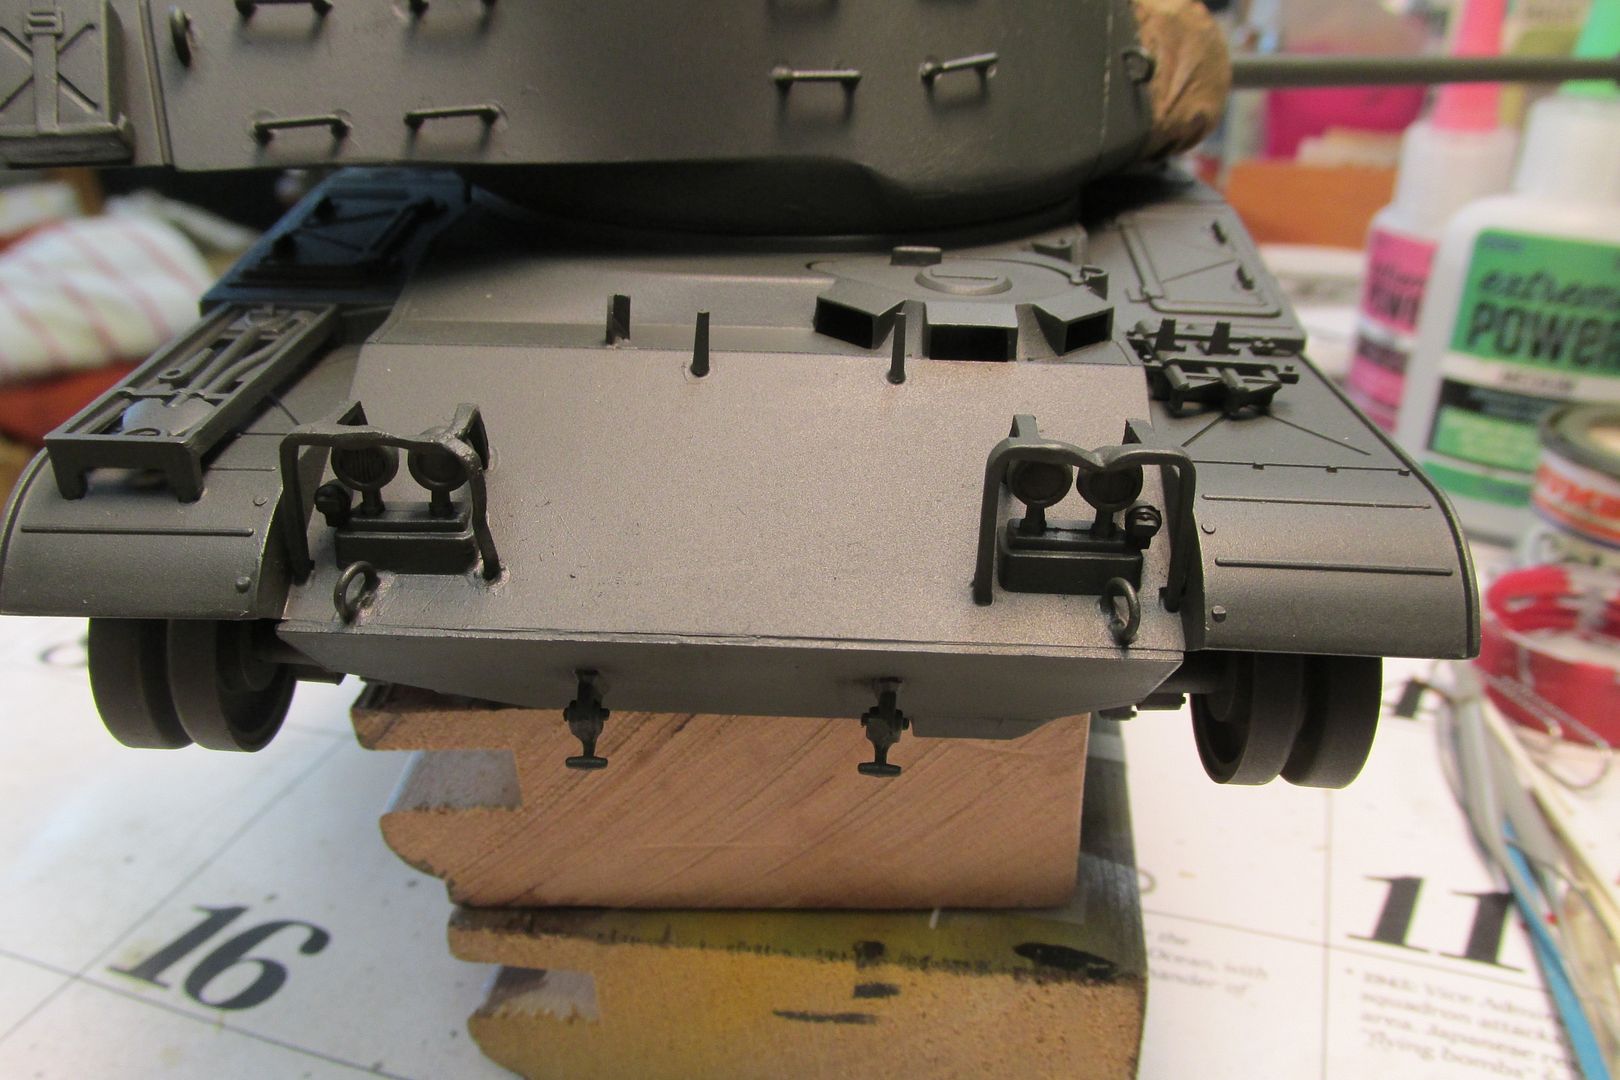
Carlos' suggestion to use Humbrol 66, dark OD, was spot on, and I did spray some over the black preshading, which promptly disappeared under the dark green. Dang. That has happened to me before and I wonder if it's just harder thinning enamel to the point of just barely covering, or if it's an issue with my ability with the Paasche H. Whichever, I think I can "fix" that with Flory washes when the time comes for that step.
Speaking of next steps, I'm pondering just what step to take now. I tried three shades of OD on a piece of car-lot plastic dealer "plates". I'm thinking a bit of the lighter OD over the upper surfaces might be a good start. Good color photos of ARVN M41s are rare, but all show some weather effects, with vertical streaks down the sponson sides evident.
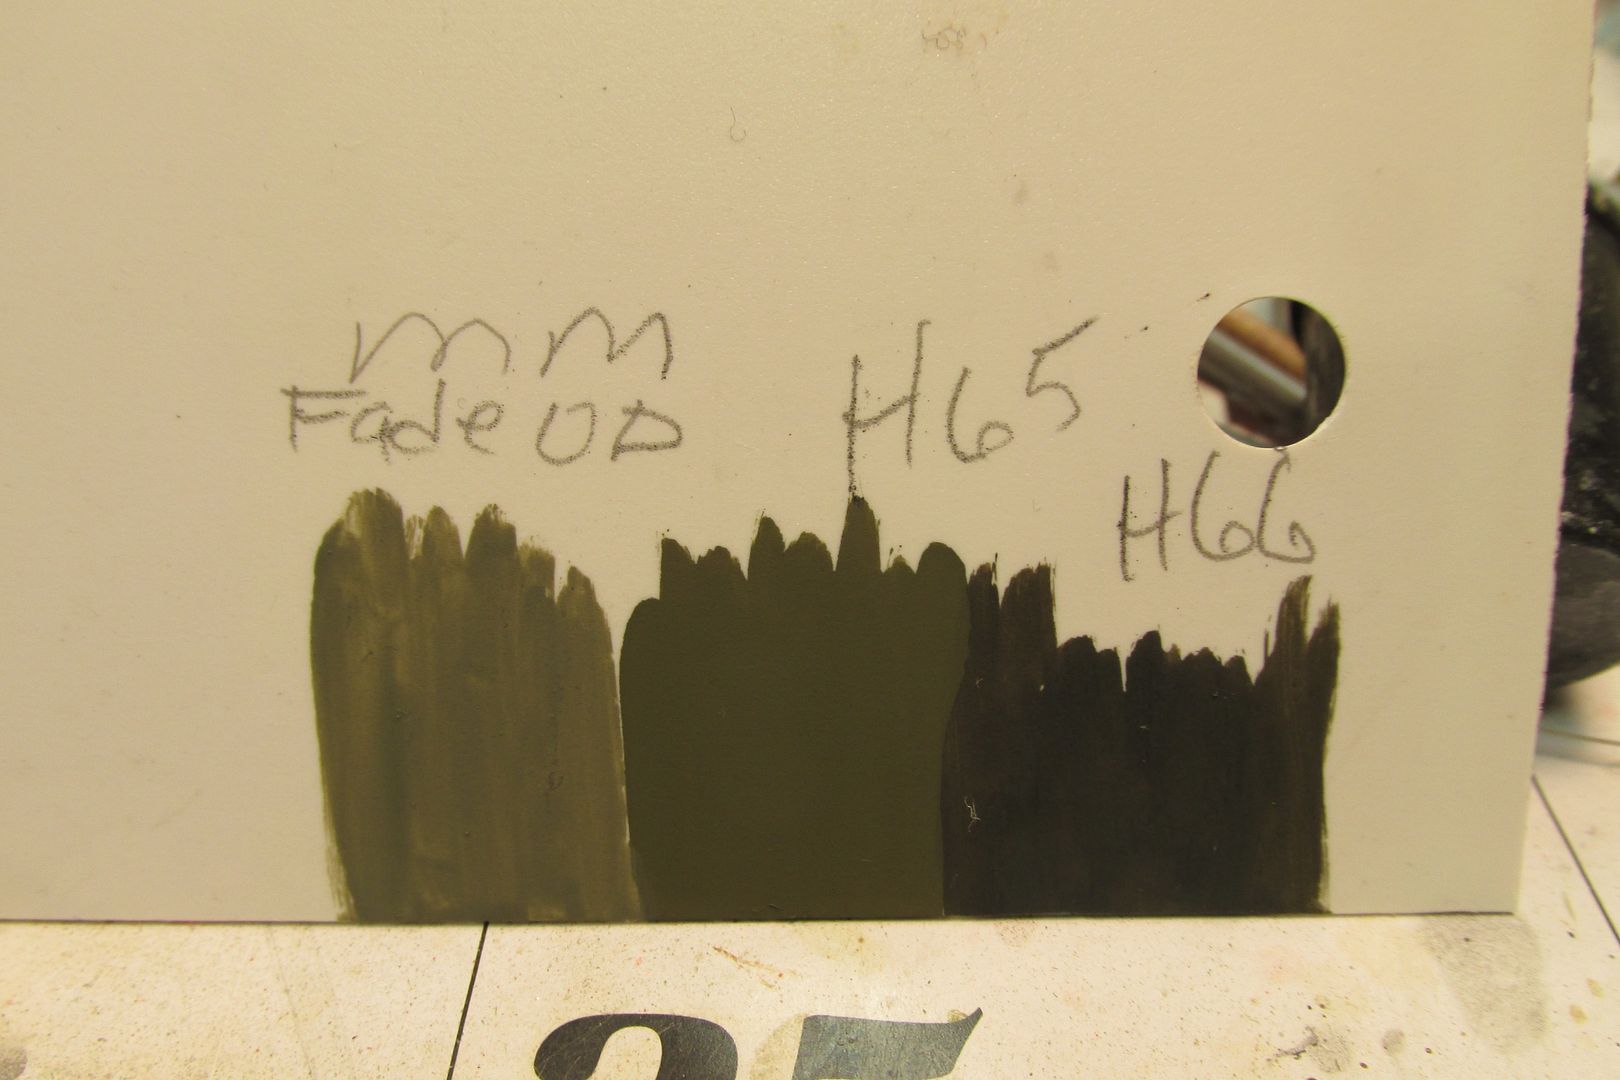
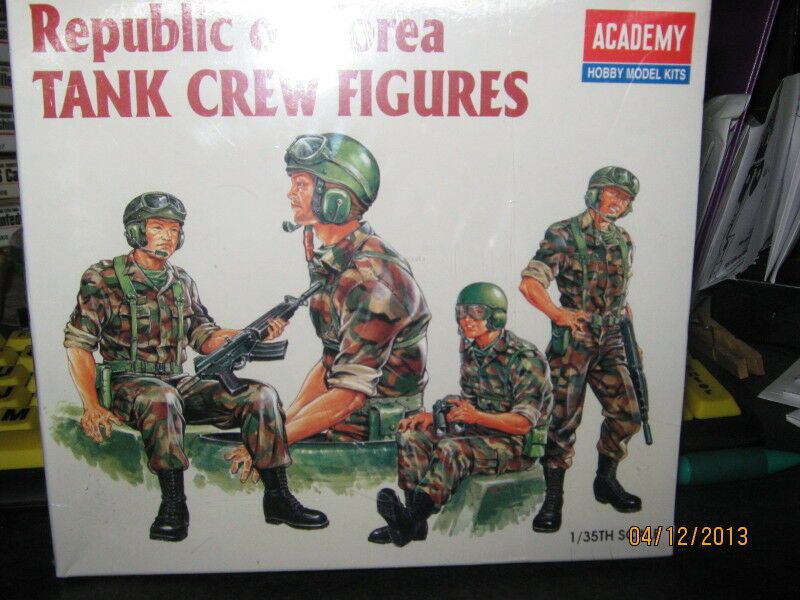
That's about all for now folks. I've ordered some stowage items and also some "mud" and I'm looking forward to the next steps. I'm also looking for some crew figures that are more appropriate for ARVN troops. I have found a set of ROK crewmen; you guys think they can be "drafted" for duty on this Bulldog?





 Whoo whee!! I hope I don't hurt myself!
 As for the tankers, those ROK guys are not quite right to my eye. at the very least the suspenders need to come off with some needle file work, and you’d need new heads. I haven’t seen many photos of ARVN tankers with the old “bone dome” CVC helmet, as they usually wore berets or steel pots instead.
 Yeah, I don't like the ROK figures much either; all my reference pics (including the one you shared) show crew in steel pots, or even bare-headed at times. But I sure hate to use the kit's commander; he's a big, thick dude with absolutely no Asian appearance at all.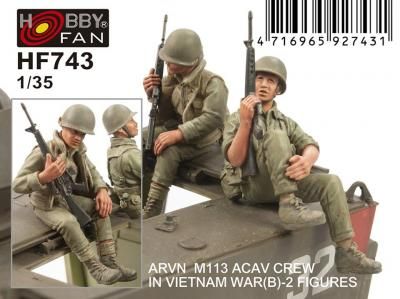
 ) and use the lower half of a kit figure. A real Frankenstein-type commander!