Tamiya M41 Walker Bulldog-Ending at last!

Here is the place to show off the progress of your armor builds
User avatar
Gary Brantley
Addicted Member
Posts: 1746
Joined: Tue Apr 08, 2014 9:40 pm
Location: Cameron, Texas

Re: Tamiya M41 Walker Bulldog

Post by Gary Brantley »

Okay, now where were we?   Finally, I'm back at work on the Bulldog.     My two broken toes have healed, and I'm facing some sort of surgery after the new year begins; either a repair of the torn meniscus and replace some lost cartilage (with some from a cadaver!) or just have a total knee joint replacement.   I'm still trying to decide which path to take as both have pros and cons regarding rehab and recovery.   But, that decision can wait for now with the upcoming holiday season.  I get by by wearing a stretchy, compression fit knee brace for now.   But after all that trauma, I finally "got that feelin'" again, and headed back to my work table.

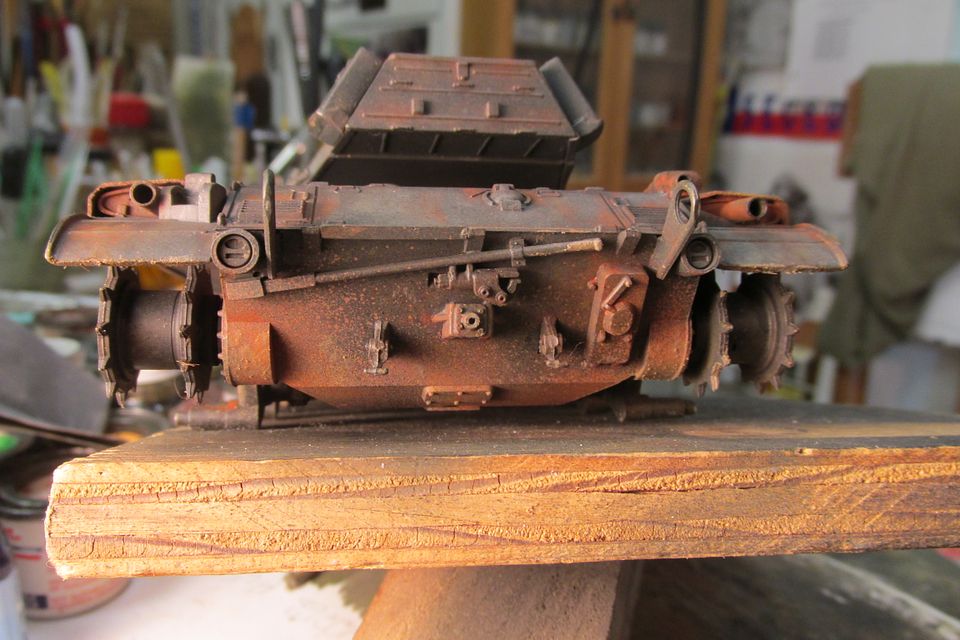
I had chosen some cast resin stowage items to use on the tank and after minimal clean up, I preshaded them in flat black. 

Image

I wanted the dark recesses to come through the finish paint so I resorted to using my Sotar airbrush as I could really dial down the paint flow better than I could with my old Paasche H.    Here's an after shot:

Image

Image

Image

Image

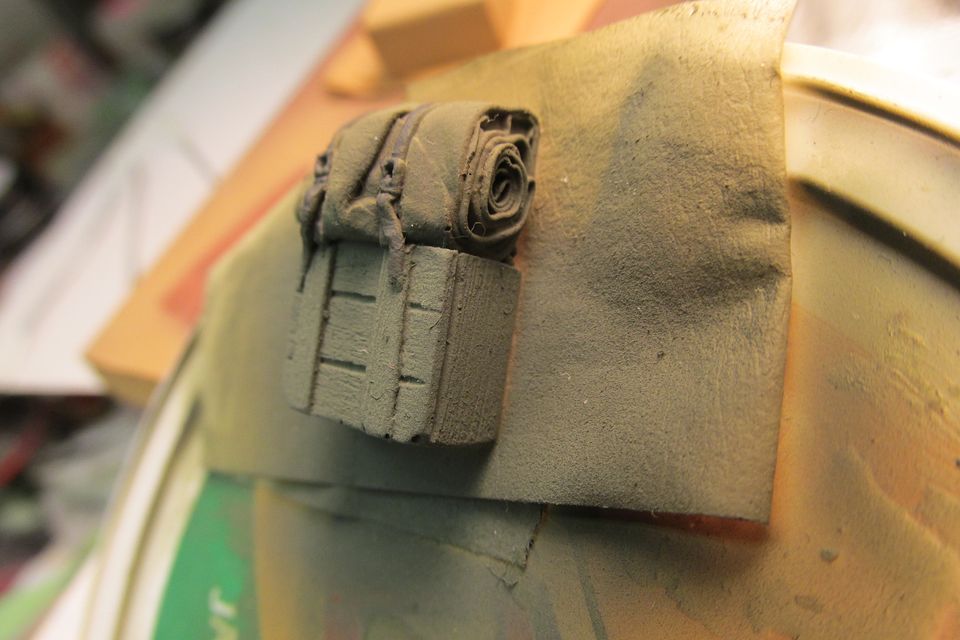
The results weren't entirely satisfactory but still better than prior efforts.  I need much more practice with that Sotar!   

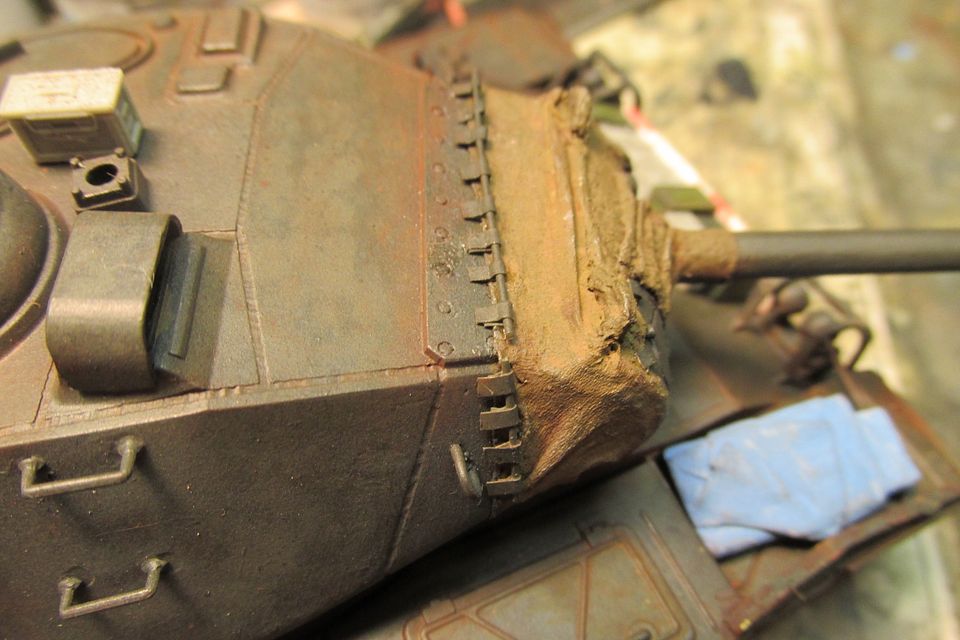
After that step, I tackled the issue of mud.  My primary resource photo shows a tank operating in the Cholon section of Saigon.   And naturally, there doesn't appear to be that much mud at the time.   But, tanks serve in multiple "theaters" and it's likely this tank had previously seen some muddy use.    Many color period photos show APVs slathered in reddish mud during the wet season.   That red mud turned to reddish dust in the dry season and tended to also get everywhere.   So, I wanted to sort of "split the difference" with the weathering.   

I began by adjusting my Paasche H to spray it's coarsest stipple.   Then I cranked up the gas and sprayed the un-thinned enamel, or perhaps should say, I "splattered" the enamel.  The idea worked rather well I thought, and with a bit of practice I was able to direct it with some accuracy.   I used it to establish a pattern of mud splattered around that would serve as a base for the next step.   I added thicker mud to the inner hull sides and some to the running gear, but reasoned that much would've been worn or washed off in urban use.  For that, I dabbed on some various AK mud, and some Vallejo Burnt Sienna pigment was sparingly dusted on with a small brush.

Image

Image

Image

Image

Image

Image

Image

Image

Image

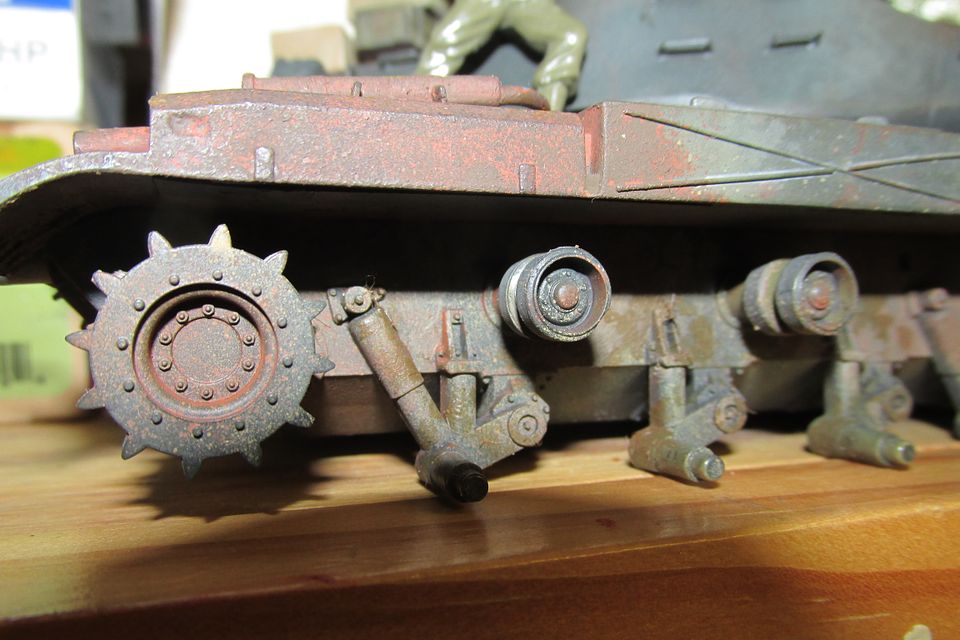
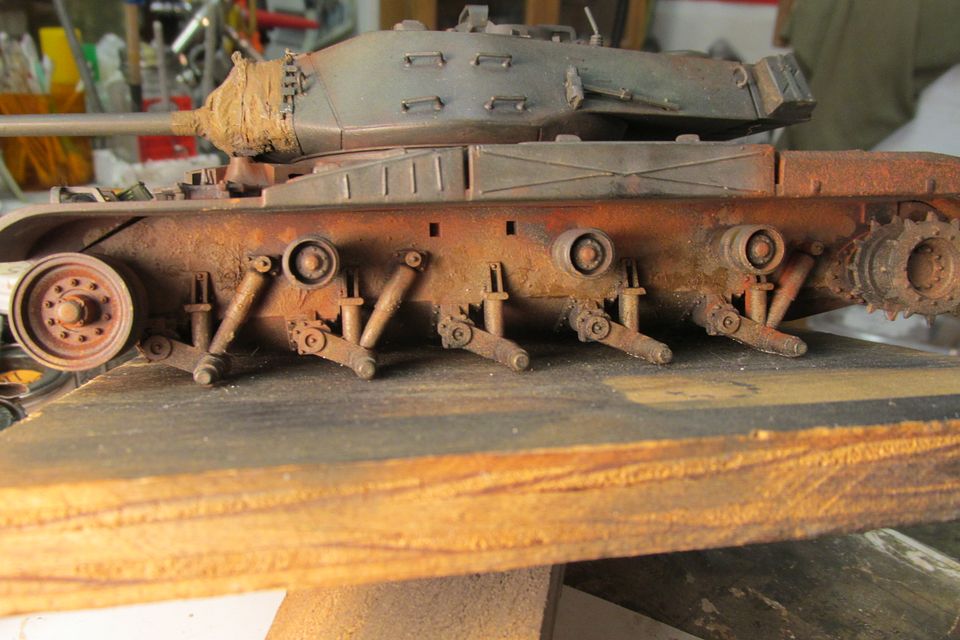
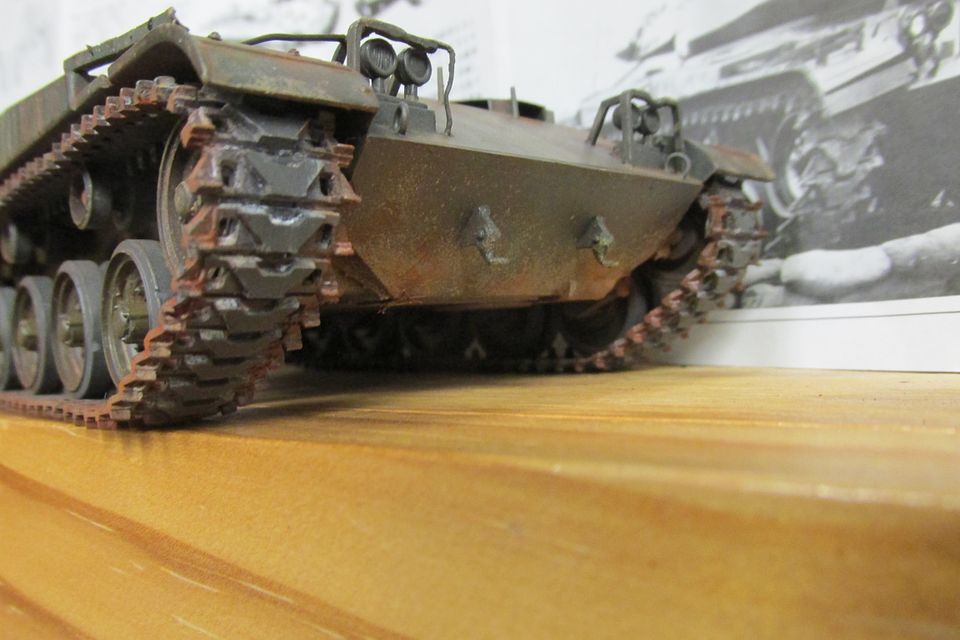
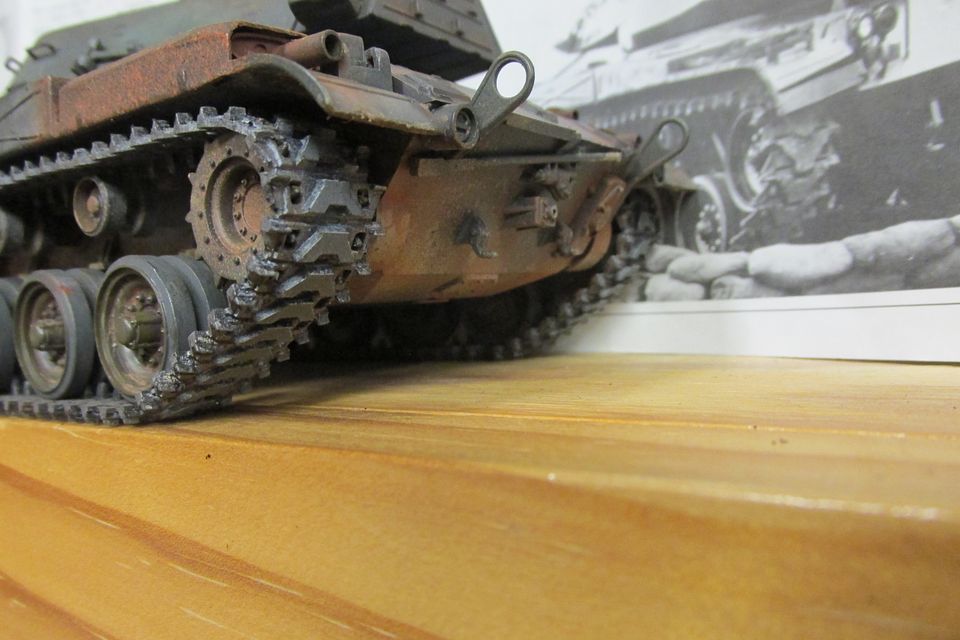
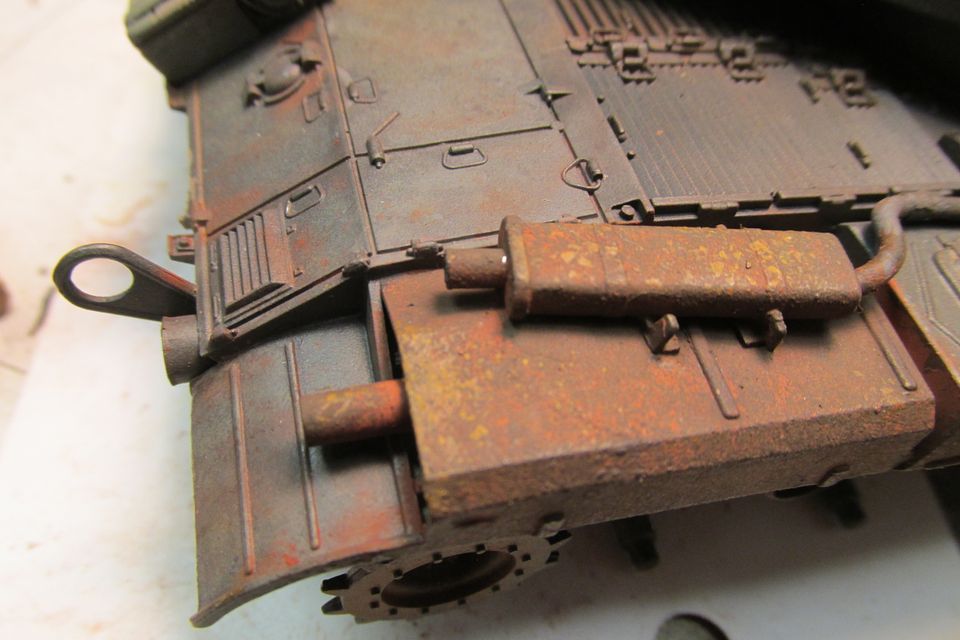
As seen above, I did manage to attach the vinyl tracks too.   That turned into a it of a struggle.  I did discover that it was so much easier to join the ends of the track and then work it onto the running gear.  It has been 20+ years since my last armor build and I guess I forgot that lesson in the interim.    The outer edges of the track had been weathered to a rusty look, but much of that was lost in the handling of the tracks in the attachment step.  So, I went back and added a bit of the Vallejo pigment to replace that rust.

Image

After redo:

Image

Image

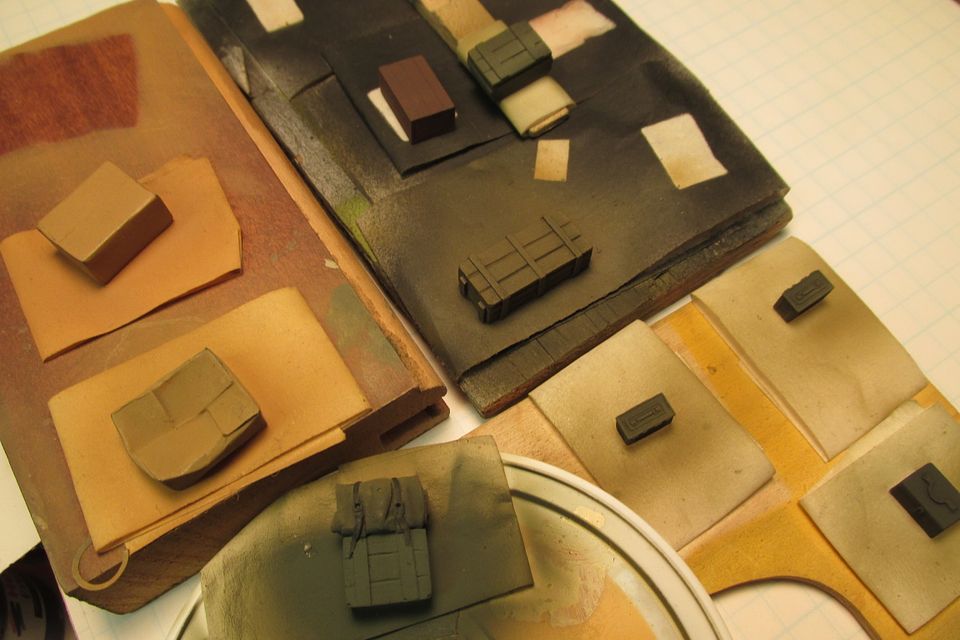
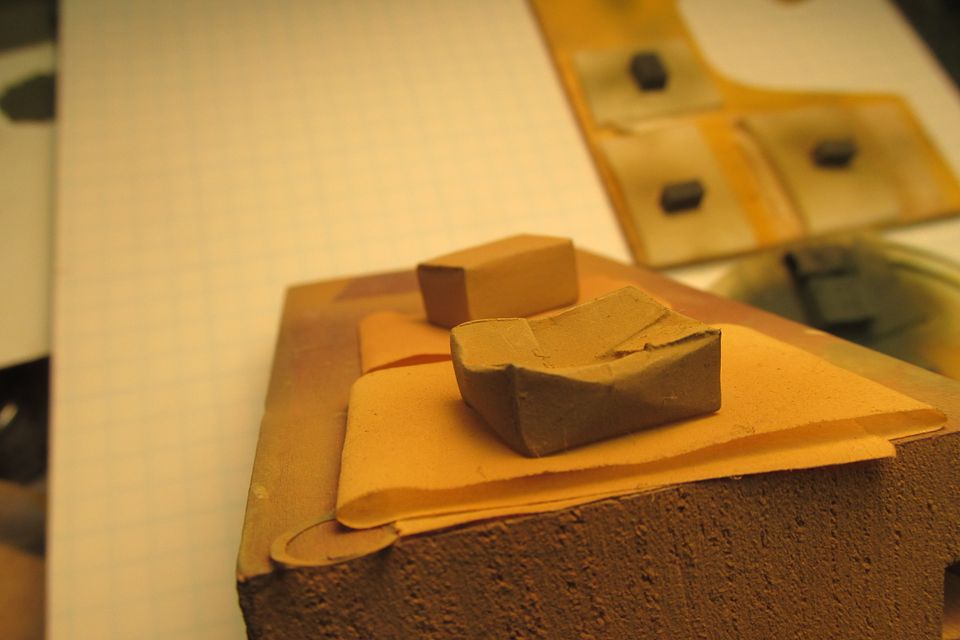
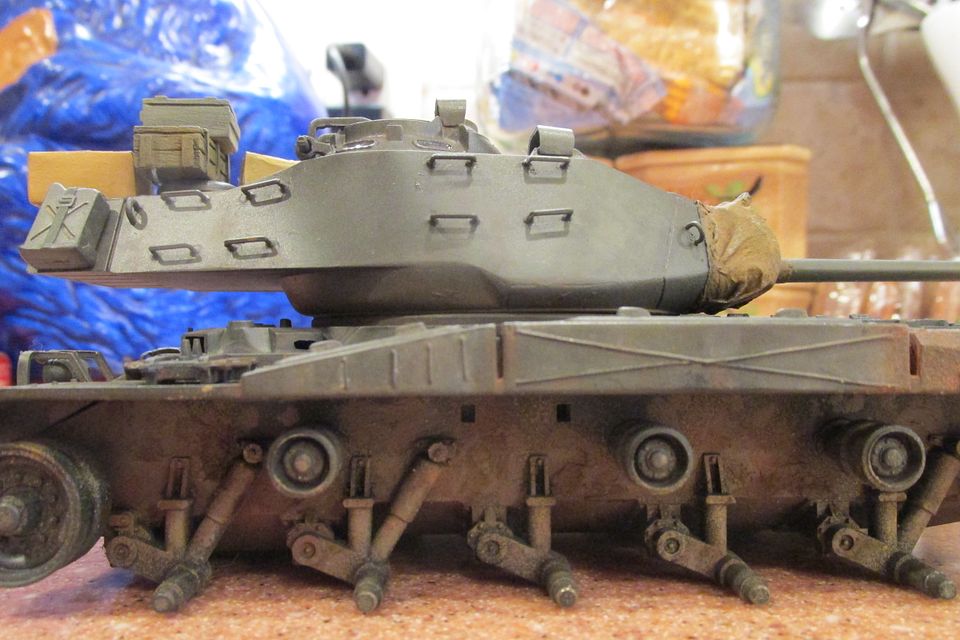
This pic shows where I'm planning to place the stowed objects.

Image

Image

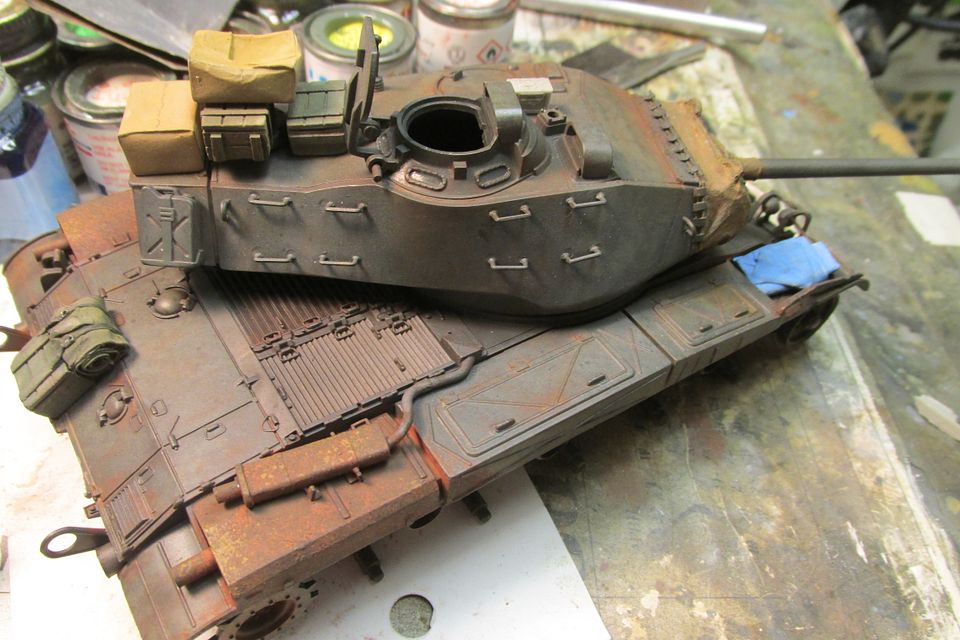
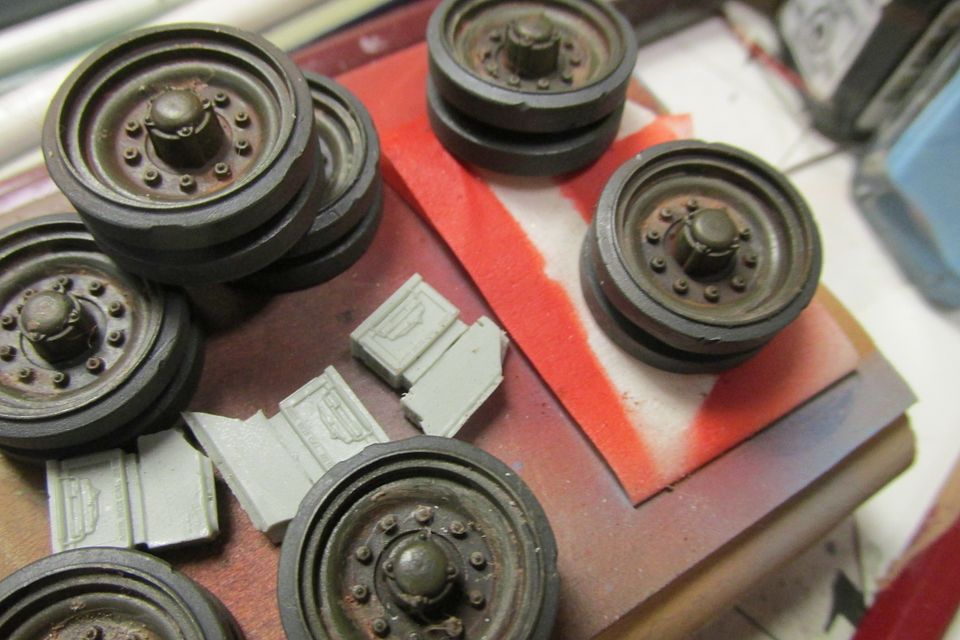
And a look at what I want to place on the glacis.   Obviously, some of the ammo cans need painting.    Note the difference in size between the painted and unpainted cans.

Image

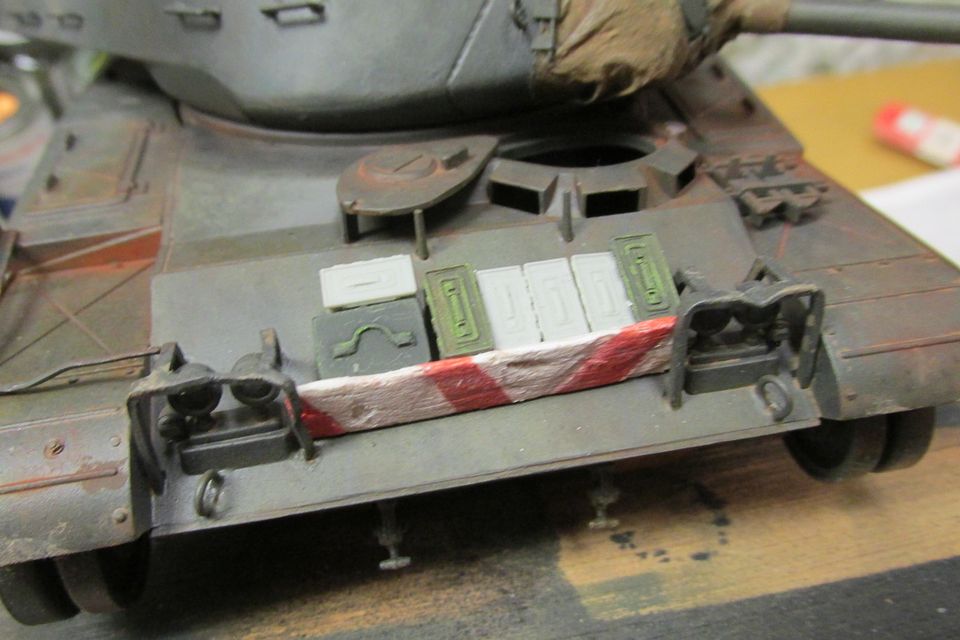
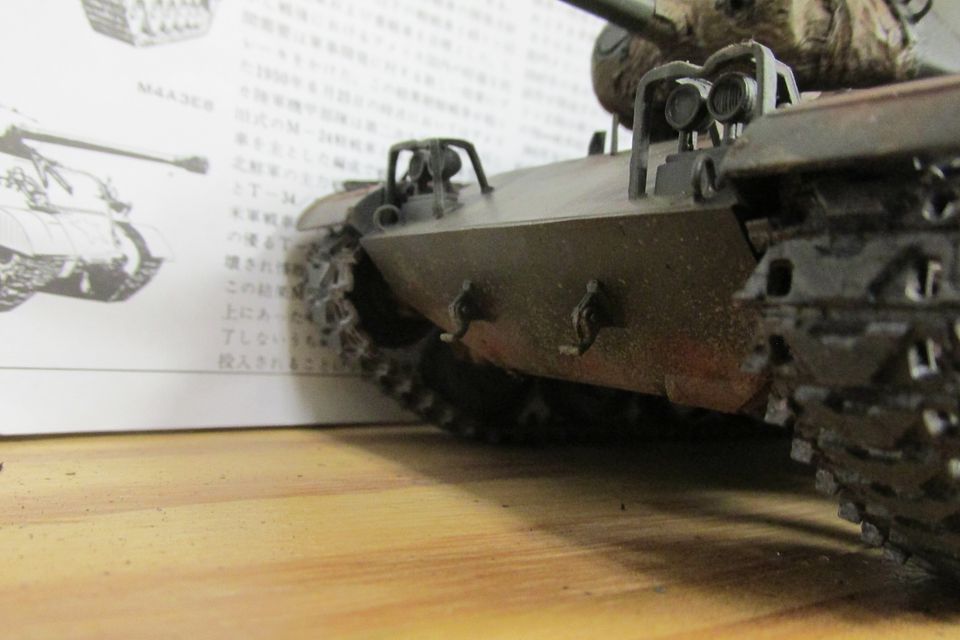
That painted barrier plank, pressed into service here, needs repainting.   I believe the red color was still too fresh to handle and some bled onto the white, rendering a rather pinkish look.  I'll probably just mask off the red and mist on some more flat white.

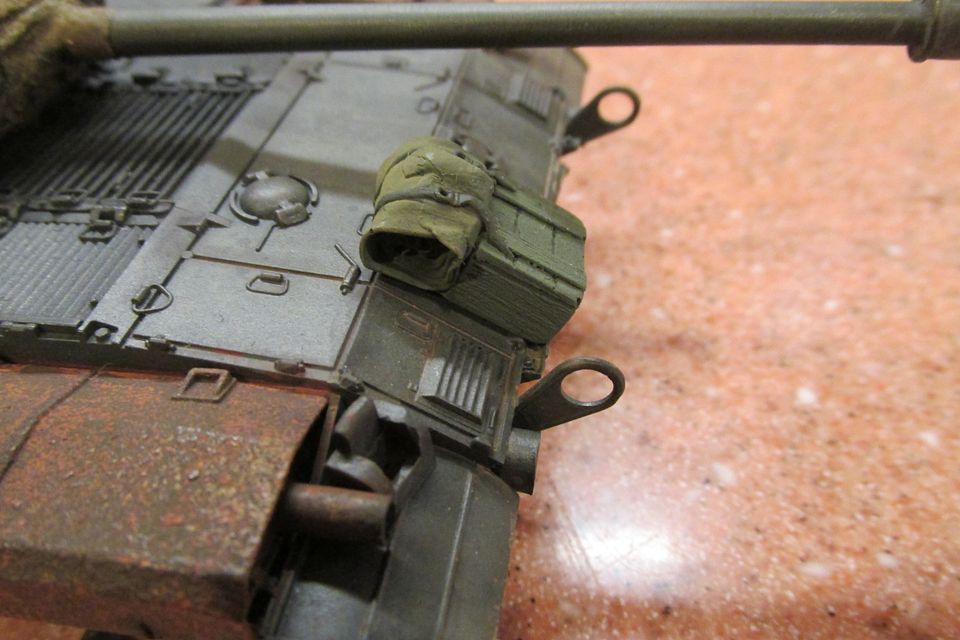
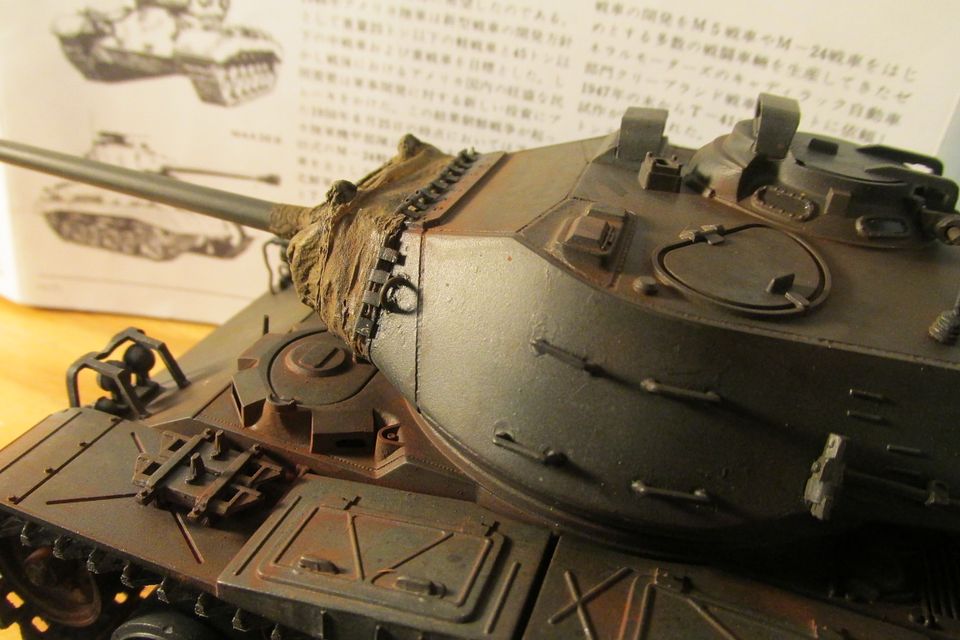
I also attached the scratch-built gun mantle canvas cover tie-down clamps. They went on without too much drama. I still don't know if I'm up to the task of adding the tiny Grandt Line bolt heads to each of the 16 tiny tabs. It may well stay as seen here:

Image

Image

There is still some work to be done.  I haven't started on the commander's M2, or radio aerials, nor have I finished the two crewmen I want to use.  I've been modifying them (U.S. GIs) quite a bit in order to more resemble ARVN troopers.    I also need to fab up some straps and ropes for the stowage tie-down, and make a tissue-paper canvas tarp.  Still, I'm happy to have made some progress here, and with a little luck, may have another update before too much longer.   I need to also create a new base for the tank's outdoor photos.   I want it to look like pavement, with a bit of rubble strewn about.  I've thought of a spot here in Cameron that might do for a backdrop.  

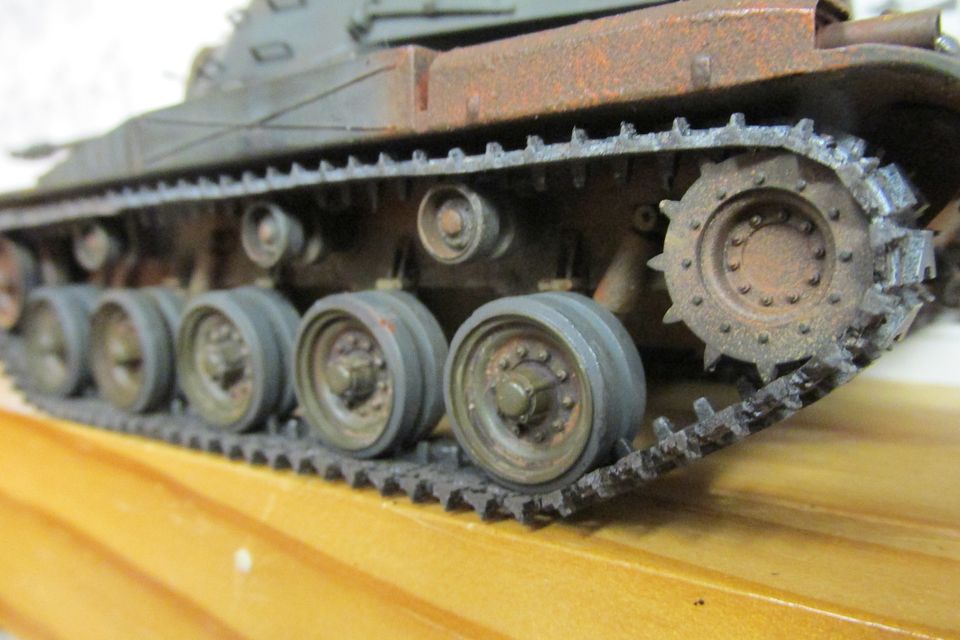
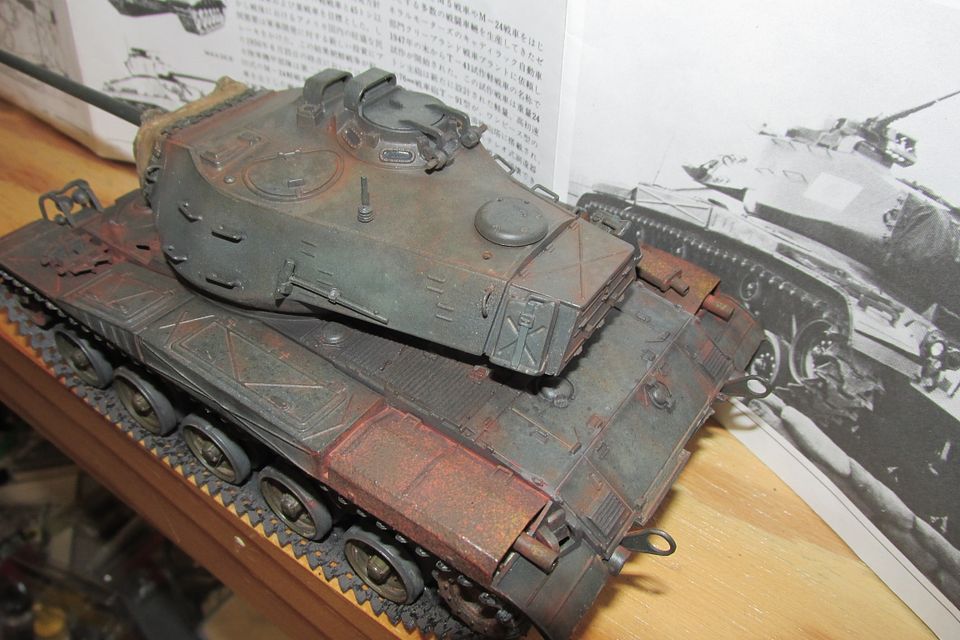
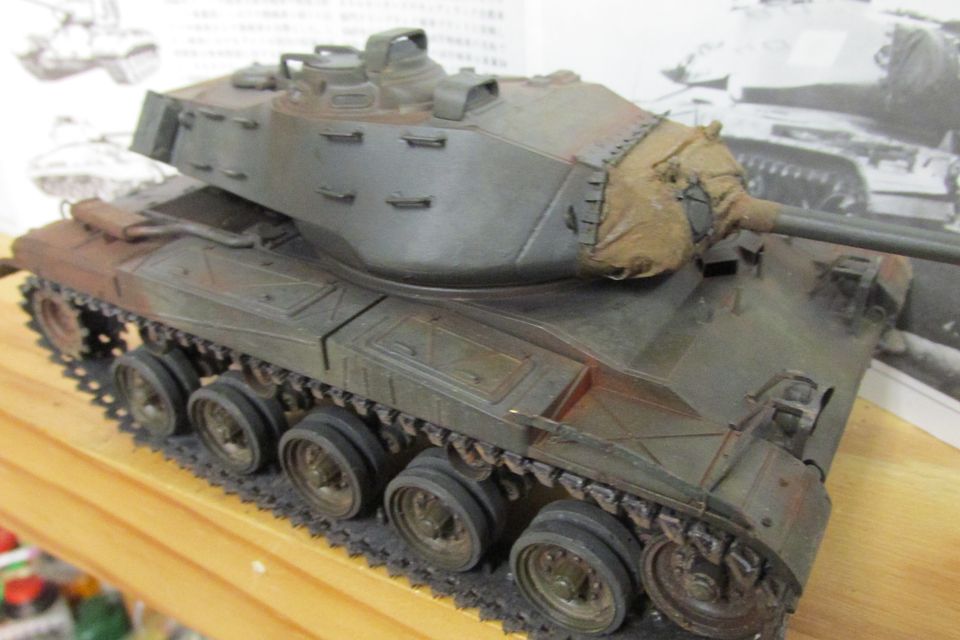
So, here are some overall pics of the tank (minus the track's rust redo) just to give an impression of sort of how the end will look.   Please stay tuned for more progress, and thanks so much for your interest in my Bulldog project!

Image

Image

Image

And that's all folks!  
User avatar
keavdog
Elite Member
Posts: 3538
Joined: Thu Jan 10, 2019 1:14 am
Location: Goodyear, AZ

Re: Tamiya M41 Walker Bulldog

Post by keavdog »

Quite the update Gary! Looking good. My first rust experiment turned out to look like something that had set for 100 years :giggles:
Image
So I appreciate your restraint. Looking good
Thanks,
John
User avatar
BlackSheep214
Elite Member
Posts: 10371
Joined: Sun Apr 06, 2014 8:47 pm

Re: Tamiya M41 Walker Bulldog

Post by BlackSheep214 »

Very nice!
“Who controls the skies, controls the fate of this Earth”

Author unknown- 352nd Fighter Group, Blue-Nosed Bastards of Bodney

“Send one plane it’s a sortie; send two planes it’s a flight; send four planes it’s a test of airpower. - Richard Kohn
User avatar
Stikpusher
Moderator
Posts: 18857
Joined: Sat Apr 05, 2014 8:37 pm
Location: Ceti Alpha 5

Re: Tamiya M41 Walker Bulldog

Post by Stikpusher »

Looking really good Gary. All of the built up crud on the running gear is perfect! :shoutout:
"Surely I have made my meaning plain? I intend to avenge myself upon you, Admiral. I have deprived your ship of power, and when I swing 'round, I intend to deprive you of your life."

FLSM
User avatar
Gary Brantley
Addicted Member
Posts: 1746
Joined: Tue Apr 08, 2014 9:40 pm
Location: Cameron, Texas

Re: Tamiya M41 Walker Bulldog

Post by Gary Brantley »

keavdog wrote: Thu Oct 27, 2022 6:00 pm Quite the update Gary! Looking good. My first rust experiment turned out to look like something that had set for 100 years :giggles:

So I appreciate your restraint. Looking good
Thanks John! I appreciate that, and perhaps that really is a hundred-year-old tractor! That would be my story anyway. :lol:
BlackSheep214 wrote: Thu Oct 27, 2022 7:34 pm Very nice!
Thanks Blacksheep! Much appreciated too! :grin:
Stikpusher wrote: Thu Oct 27, 2022 9:07 pm Looking really good Gary. All of the built up crud on the running gear is perfect! :shoutout:
And thank you so much Carlos! Your help has been so influential during this build, and I sure do appreciate that you've shared so much good info and detail. Much obliged Carlos! :bow:
User avatar
LyleW
Admin
Posts: 13633
Joined: Fri Dec 13, 2013 7:25 am
Location: Mt. Washington KY

Re: Tamiya M41 Walker Bulldog

Post by LyleW »

I really like what you’ve done with this build! When, or if, I grow uo, I wanna be somewhat like you.
To make each build less crappy than the last one. Or, put another way, "Better than the last one, not as good as the next one!"..
User avatar
Gary Brantley
Addicted Member
Posts: 1746
Joined: Tue Apr 08, 2014 9:40 pm
Location: Cameron, Texas

Re: Tamiya M41 Walker Bulldog

Post by Gary Brantley »

:lol: Lyle, you a mess man! :grin: Heartfelt thanks to you fella! I really appreciate that Lyle. :bow:
User avatar
Stikpusher
Moderator
Posts: 18857
Joined: Sat Apr 05, 2014 8:37 pm
Location: Ceti Alpha 5

Re: Tamiya M41 Walker Bulldog

Post by Stikpusher »

Gary, I’m glad to be of assistance to you in any way on this project.
"Surely I have made my meaning plain? I intend to avenge myself upon you, Admiral. I have deprived your ship of power, and when I swing 'round, I intend to deprive you of your life."

FLSM
User avatar
Gary Brantley
Addicted Member
Posts: 1746
Joined: Tue Apr 08, 2014 9:40 pm
Location: Cameron, Texas

Re: Tamiya M41 Walker Bulldog

Post by Gary Brantley »

Thank you so much my friend! :bow: And there may be more questions to come! :grin:
User avatar
Medicman71
Elite Member
Posts: 9698
Joined: Mon Apr 07, 2014 9:32 am
Location: Houston, Tx

Re: Tamiya M41 Walker Bulldog

Post by Medicman71 »

Wow! That really looks great!
Mike

Sponsored by Boeing, Lockheed Martin, Northrop Grumman, Saab, BAE, and Dassault
Post Reply

Return to “Work In Progress: Armor”