Infinity 1/32 Aichi D3A1 - The Constanza Rule

Post your work in progress of your aircraft builds in here.
User avatar
jkim
Elite Member
Posts: 4073
Joined: Mon Apr 10, 2017 4:03 pm

Infinity 1/32 Aichi D3A1 - The Constanza Rule

Post by jkim »

Hey guys! I'm going to spin up a new build. This one is more of an experiment than anything else. I was quite interested when I heard that Infinity Models was going to produce a couple of brand new 1/32 injection-molded subjects. The first was the Aichi D3A1 dive bomber, which would be followed up by a B5N1 torpedo bomber. Watching Tora Tora Tora at the movie theater as a child initiated my interest in World War 2 aircraft so I think this a worthwhile subject for me.

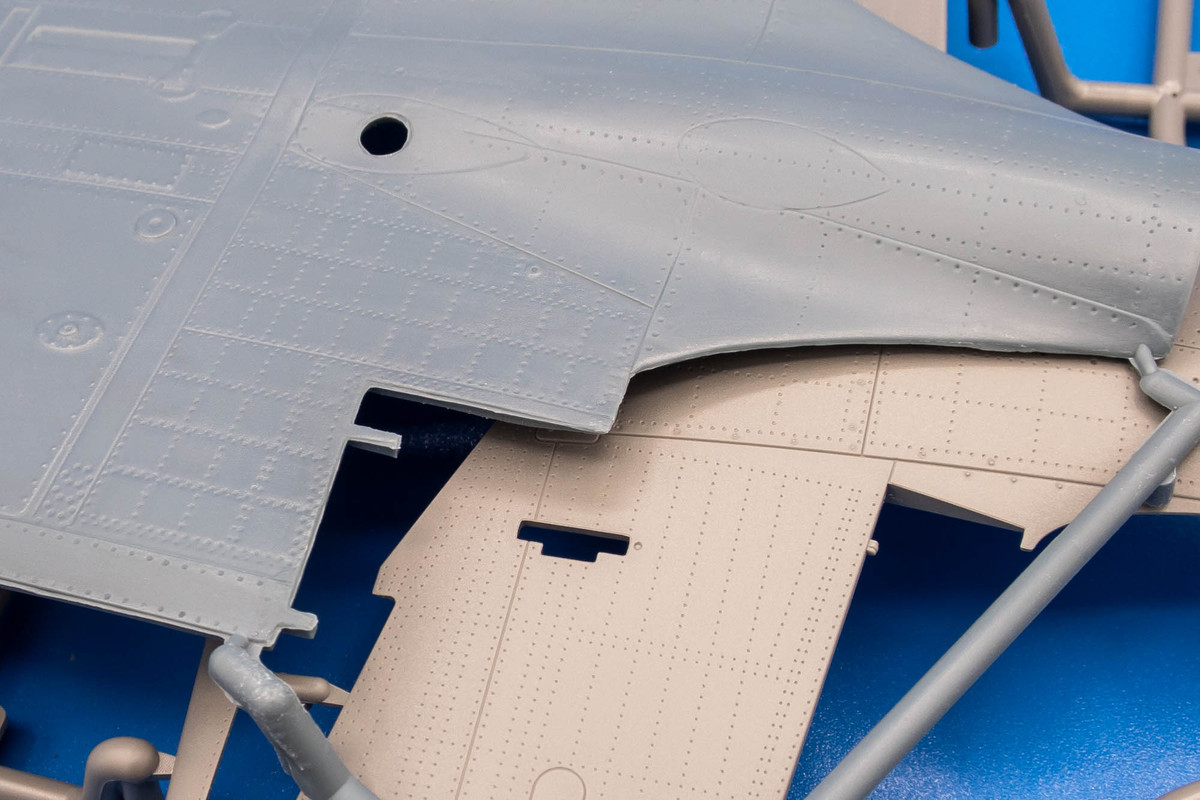
Before I go on a little sprue tour to take a closer look at the kit, I'd like to lay out my basic strategy for this build. It's quite the opposite of what I normally do in a couple of respects. Most significantly, I'm planning to de-rivet or remove all or most of the molded rivets. I personally don't like the oil-canning effect that Infinity has imparted on the kit with the riveting. This is purely a subjective decision and I'm sure builds that incorporate the rivet detail will turn out great too. So no right or wrong here... I just wanted to try something different. And I'm not going to be adding any aftermarket stuff to this build. I looked at some of the add-ons that Infinity has offered separately to enhance the D3A1 and I was curious if one could get a good result without those things. So... that's the basic plan. There's a LOT Of rivets on this kit. I may realize that I've bitten off more than I care to chew and who knows if I run out of steam but I'm going to give it a go.

I ordered this kit from the new Squadron mail order company. Good to see them back in the game.
Image

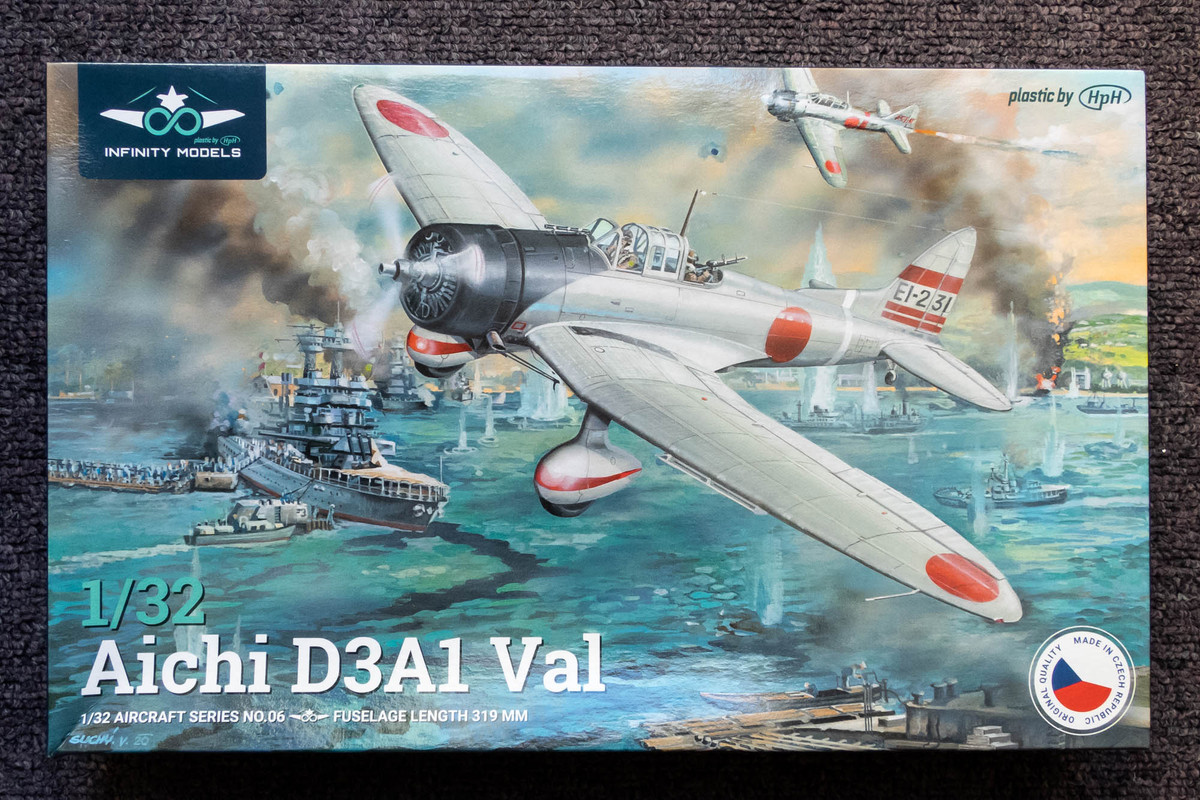
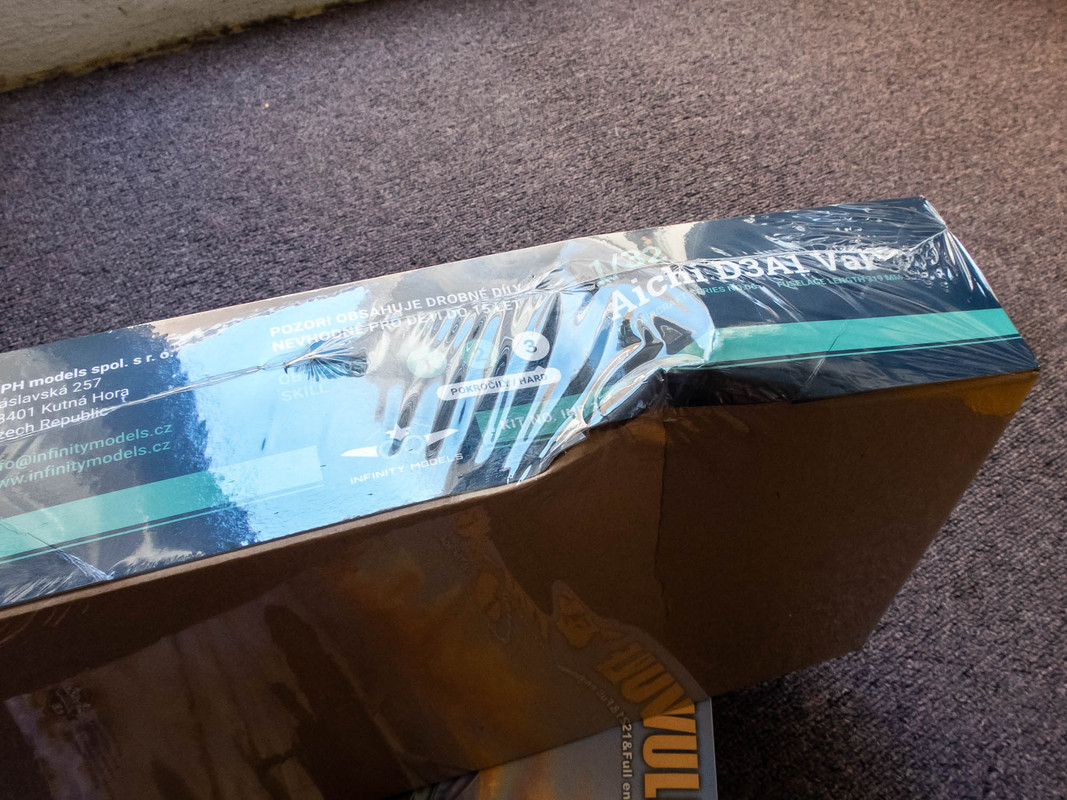
The kit box had a nasty crease in it but I didn't see any damage within.
Image

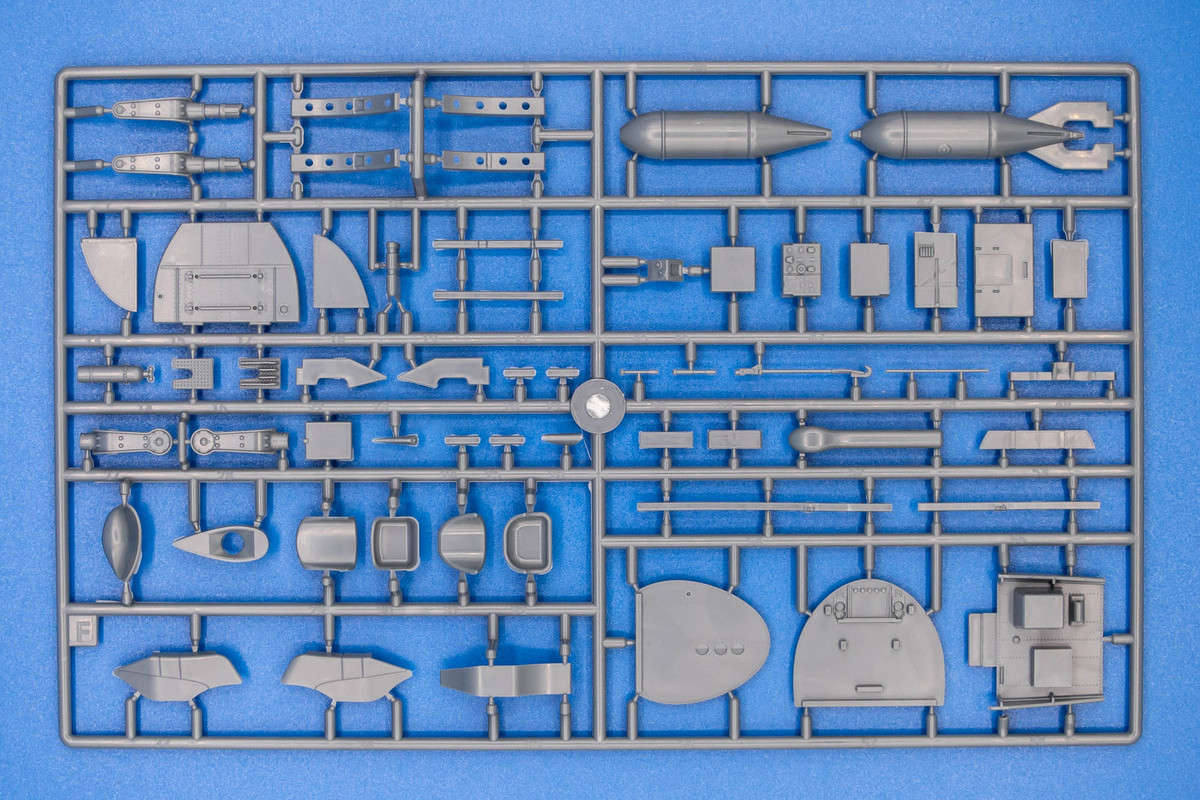
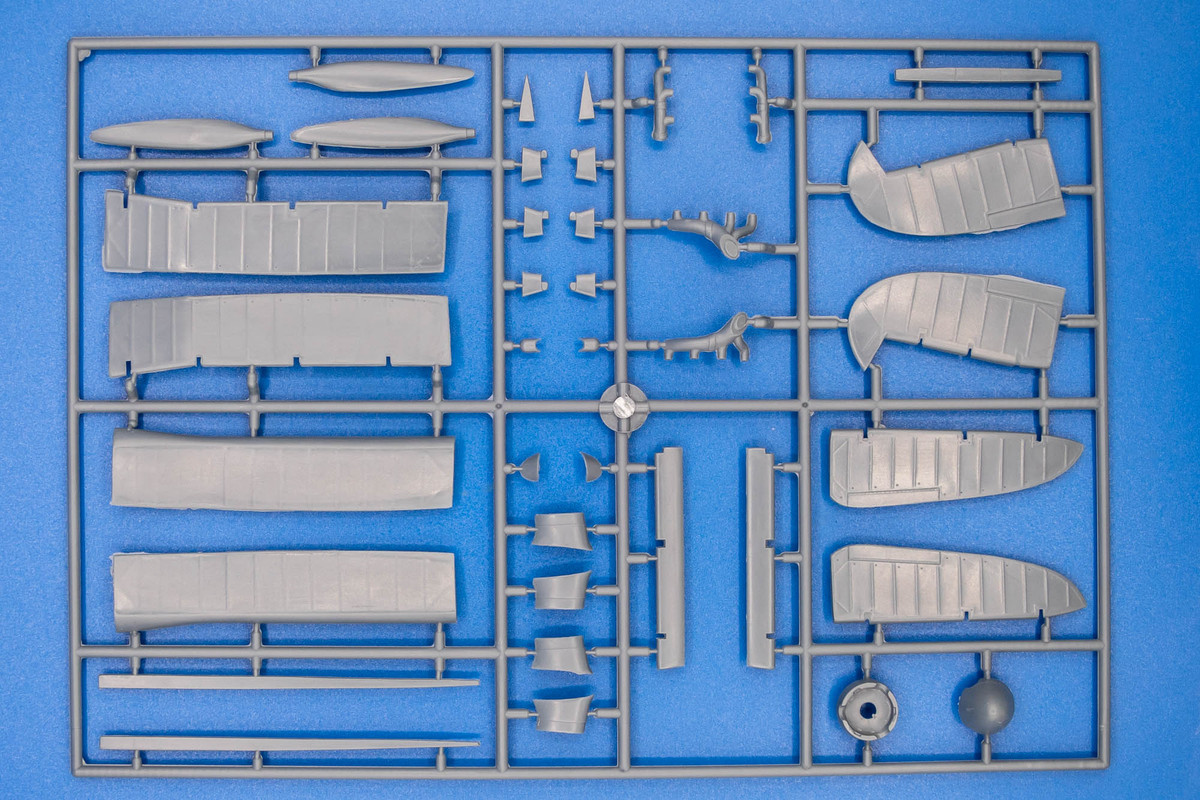
Sprue A holds the two fuselage halves.
Image

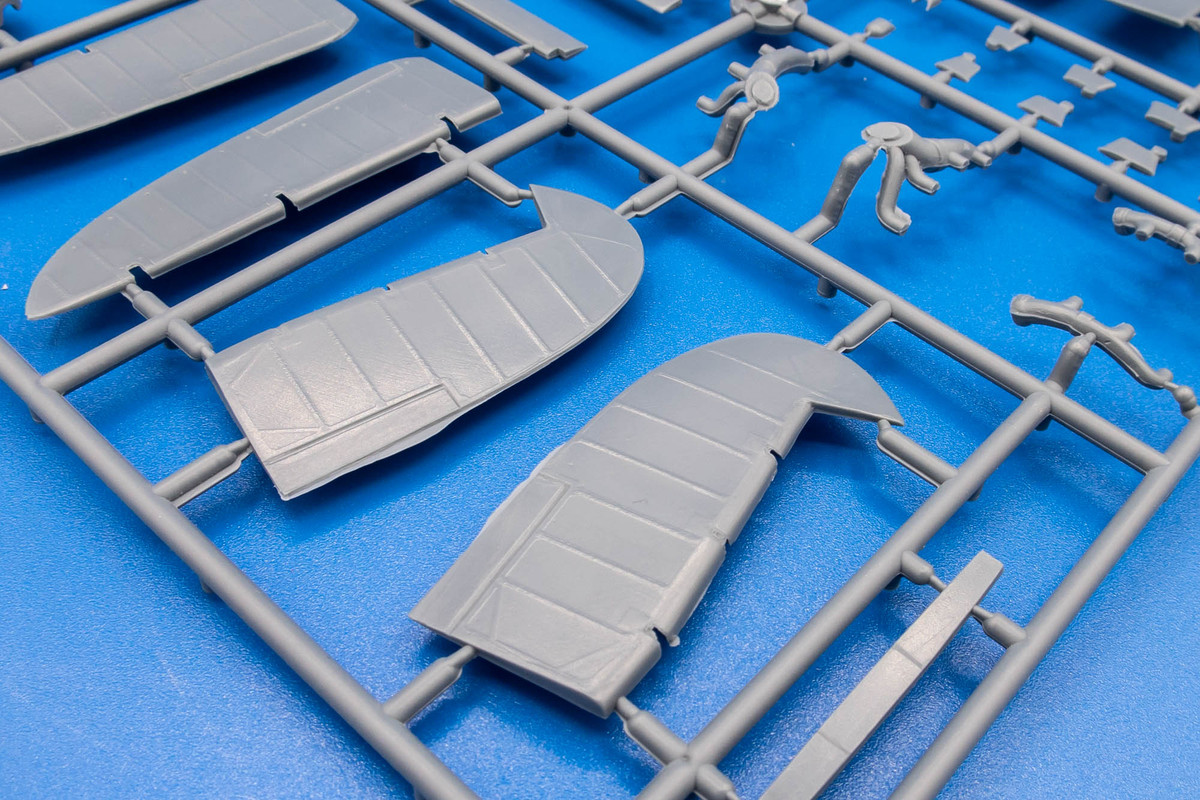
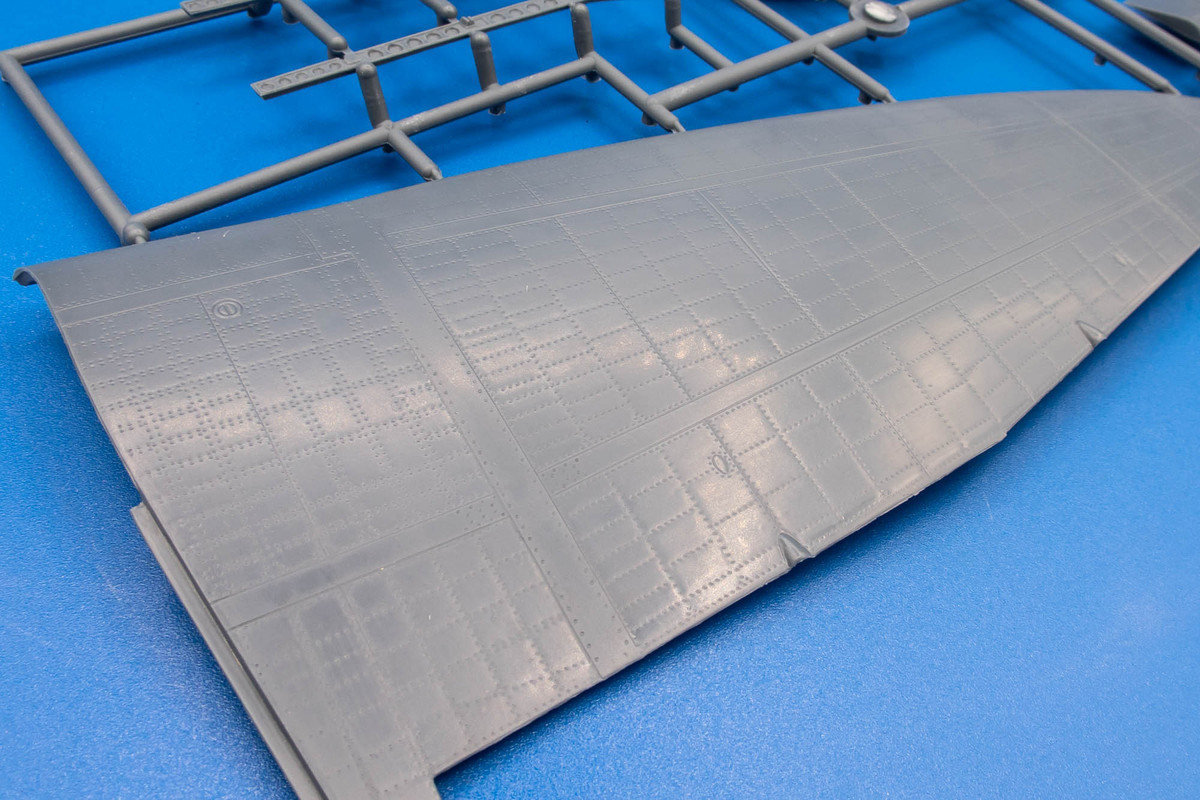
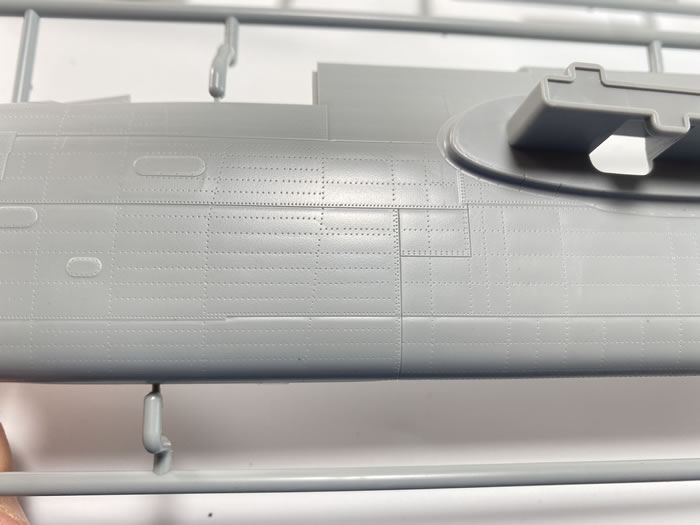
The panels lines are recessed. The rivets are represented as small holes but in addition to the holes, the rows in which the rivets reside are subtly depressed furrows. It's not apparent from all angles but when visible, the pin-cushion effect reminds me of a bed mattress.
Image
Image

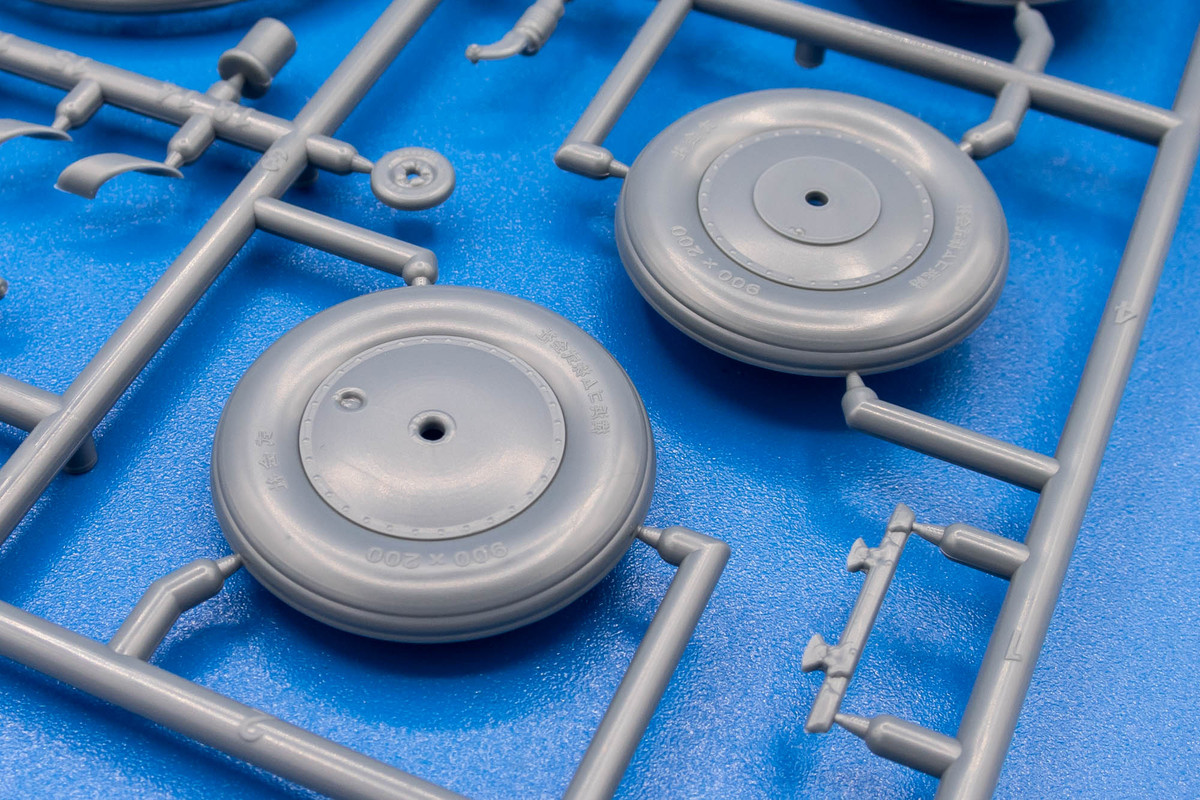
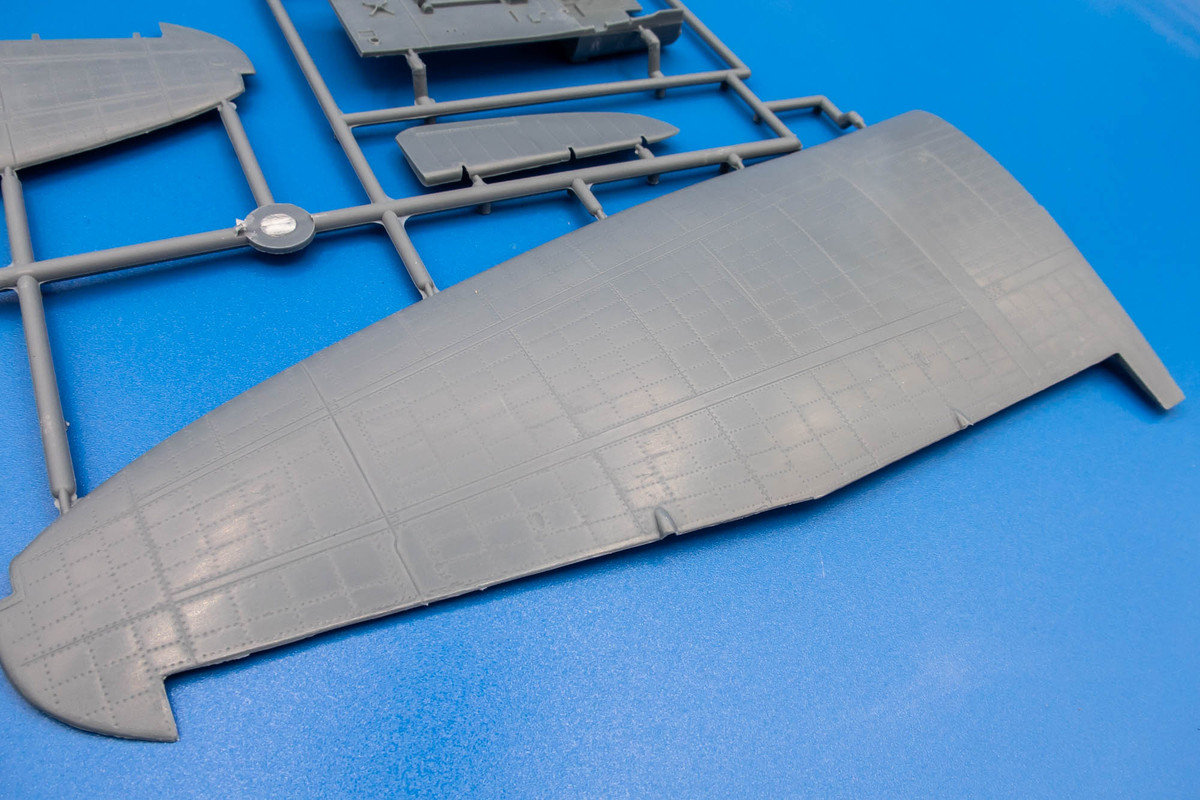
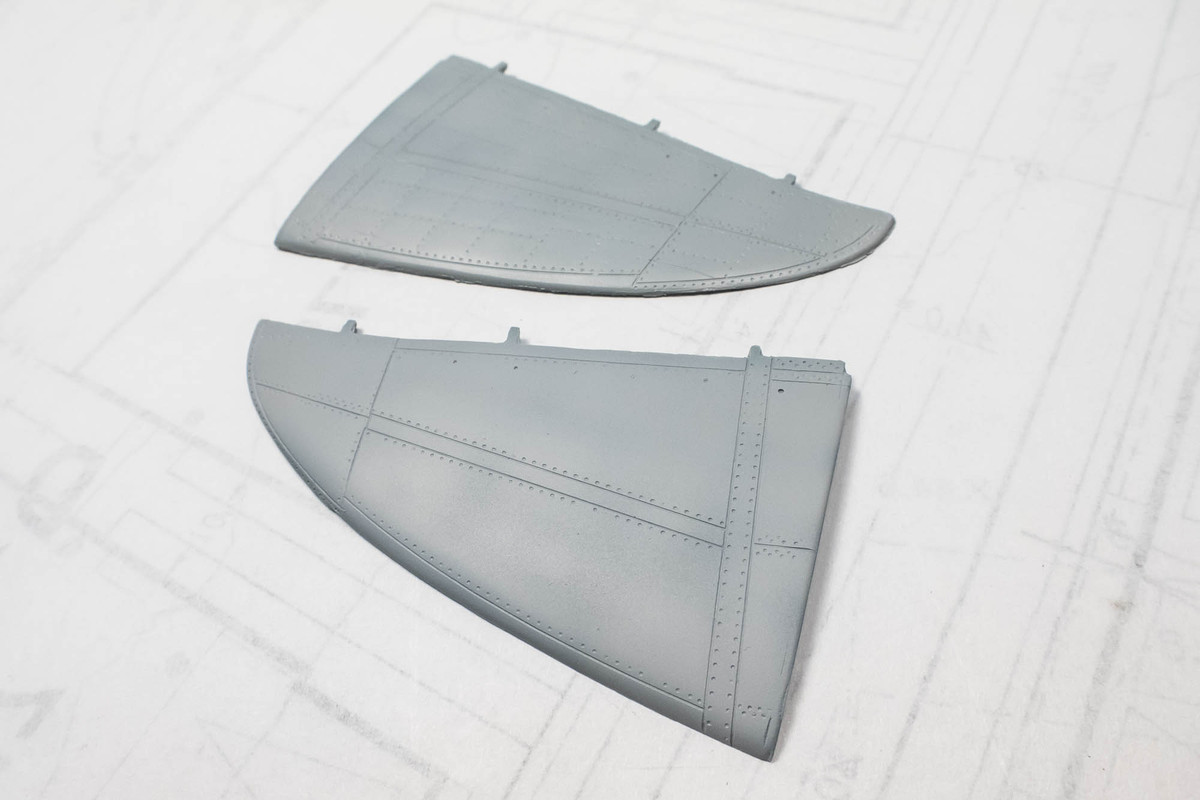
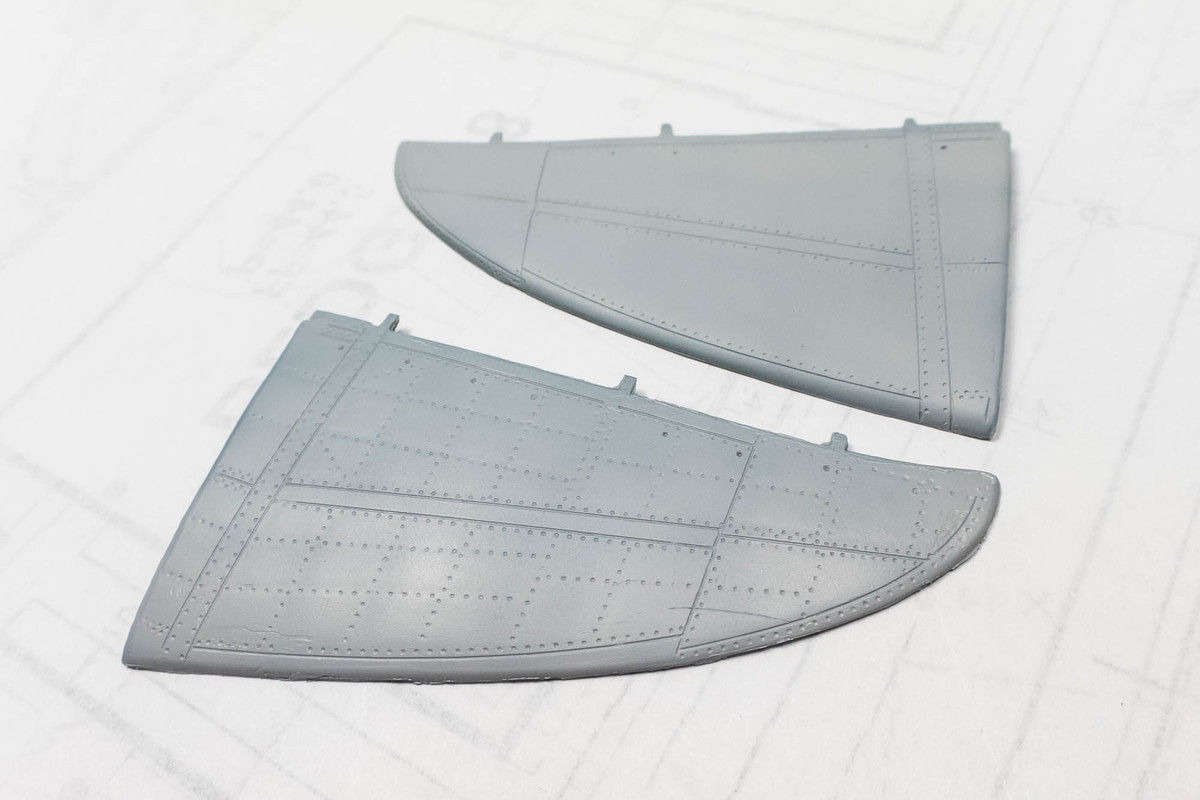
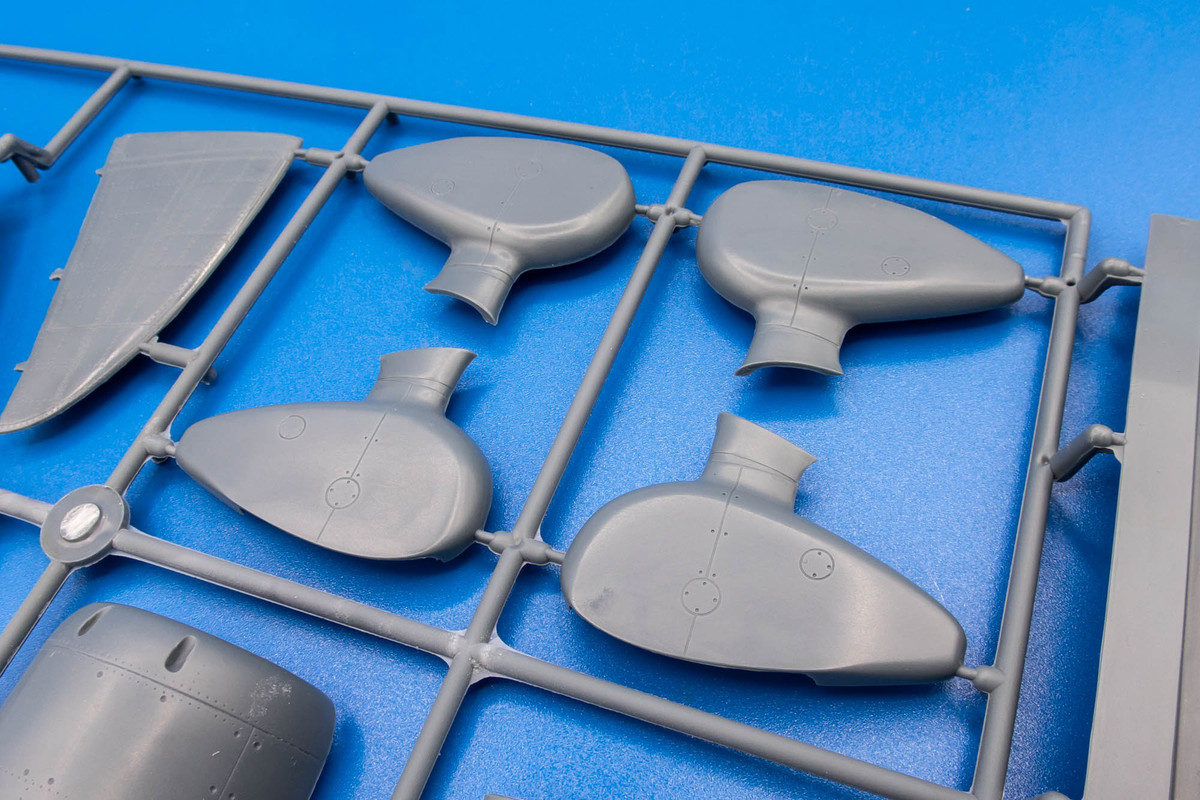
Sprue B holds the center portion of the wing bottom as well as the wheel spats and 2-piece engine cowling. No holes or pegs for the fixed landing gear legs... just a shallow depression.
Image

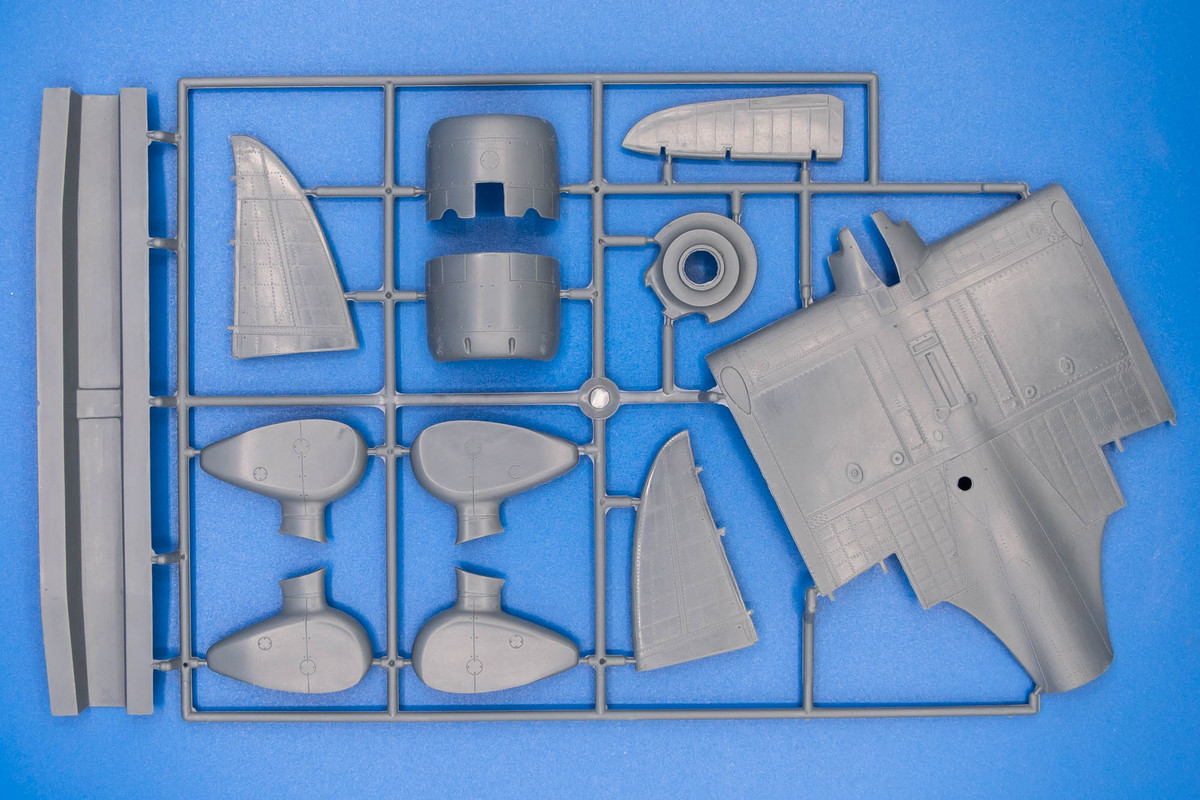
Interestingly, a portion of the wing bottom along the central rear do not appear to have this oil-canning effect, while the sides obviously do.
Image

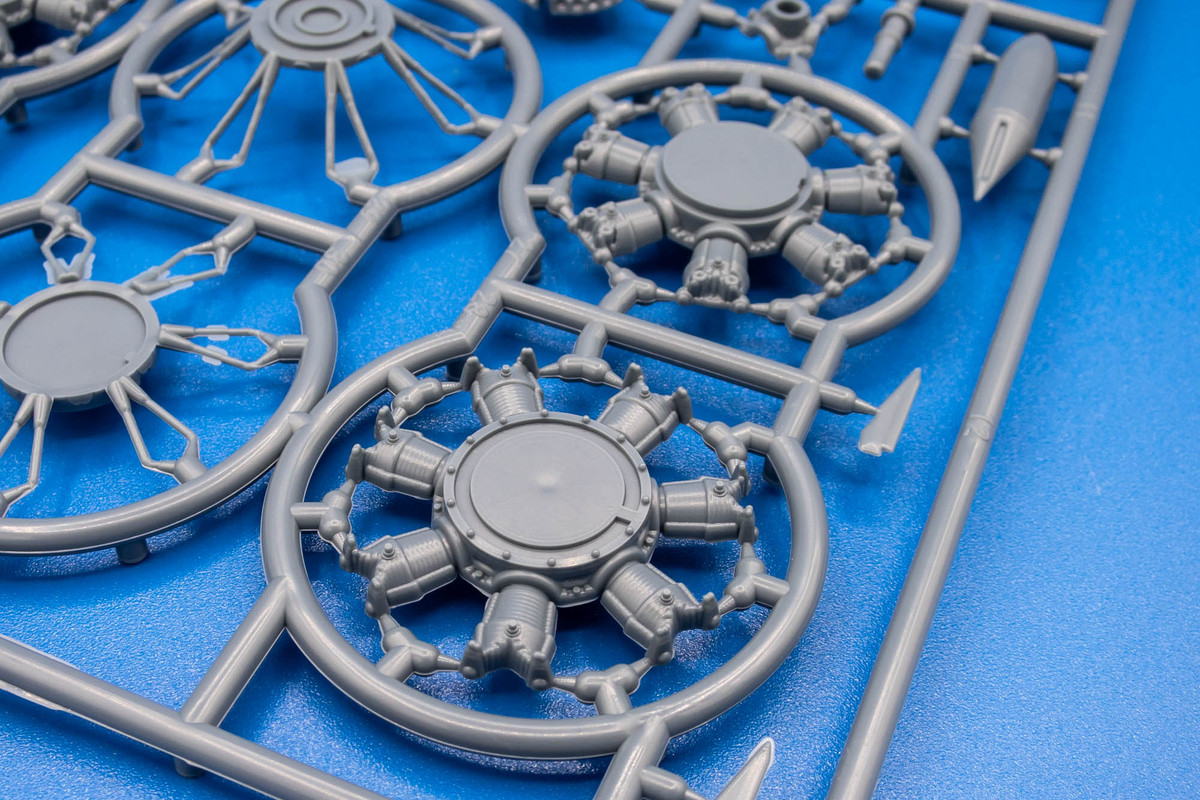
Oil-canning is also not present on the engine cowling or wheel spat parts. I would've personally preferred this approach on the entire model.
Image
Image

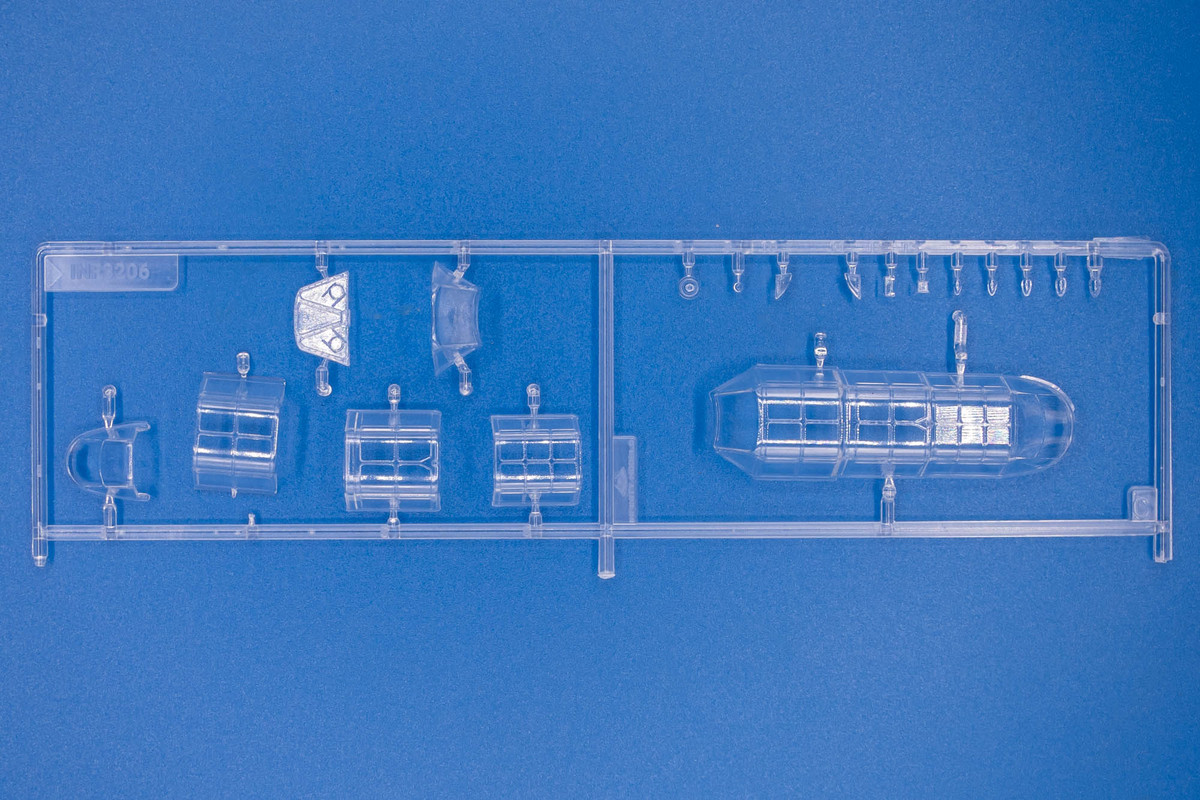
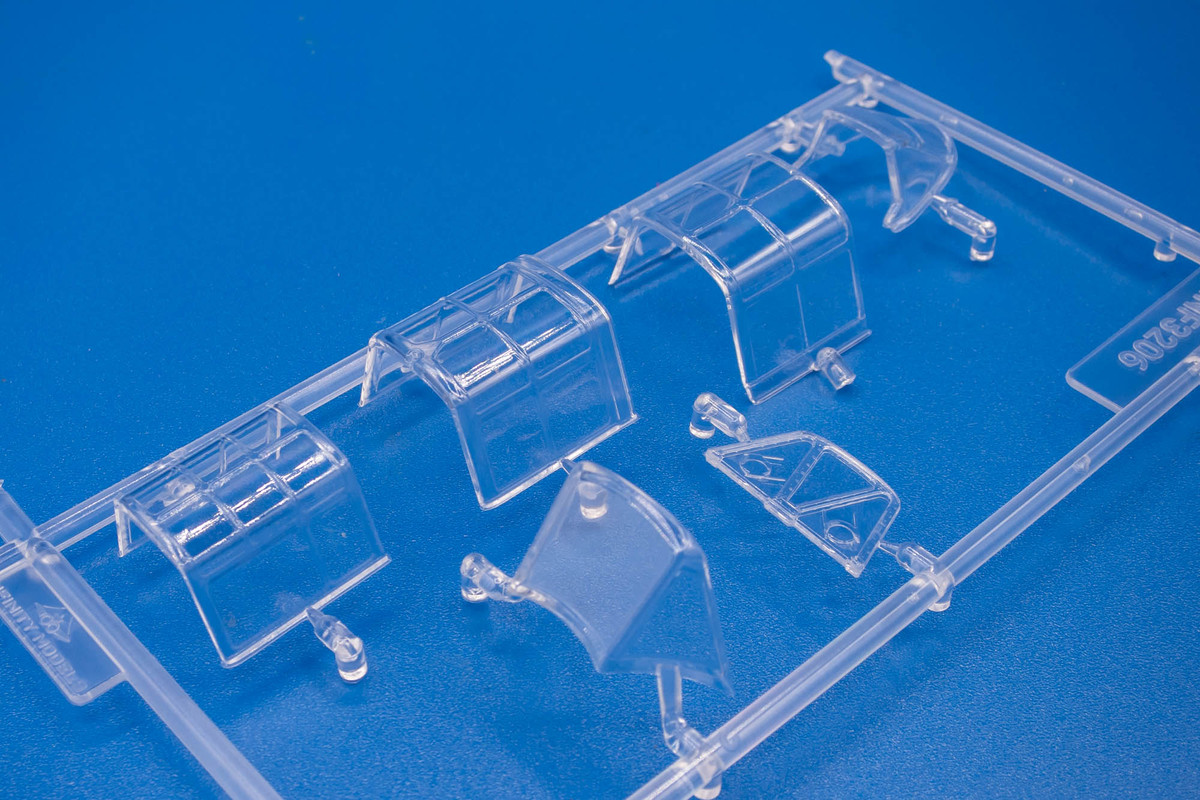
C stands for clear and the two canopy versions (open and closed) are represented here.
Image
Image
Image

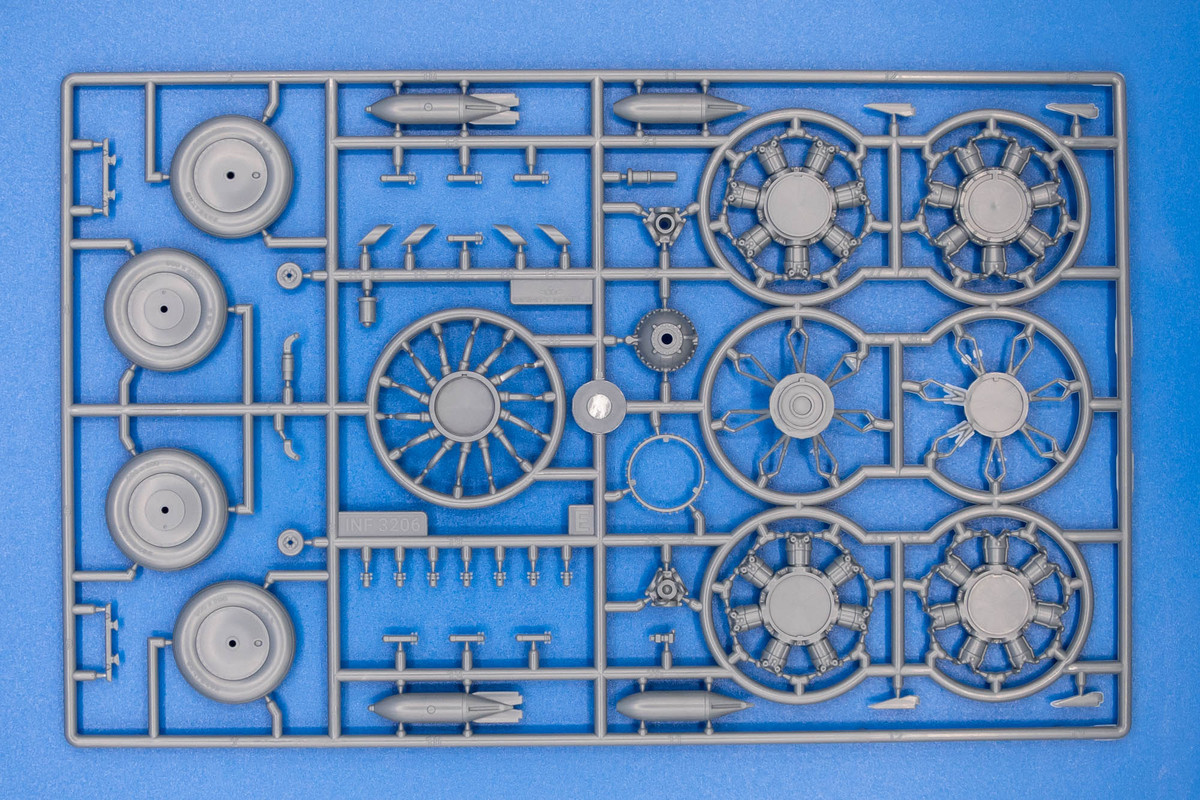
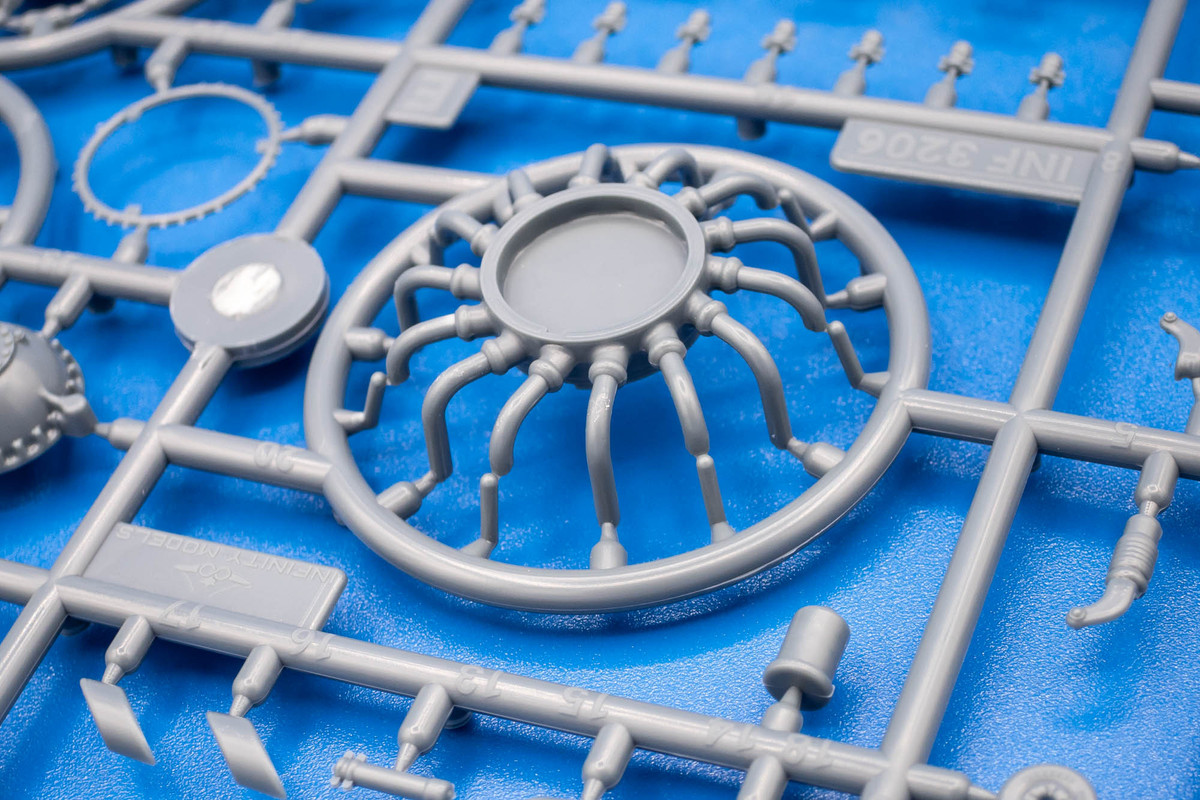
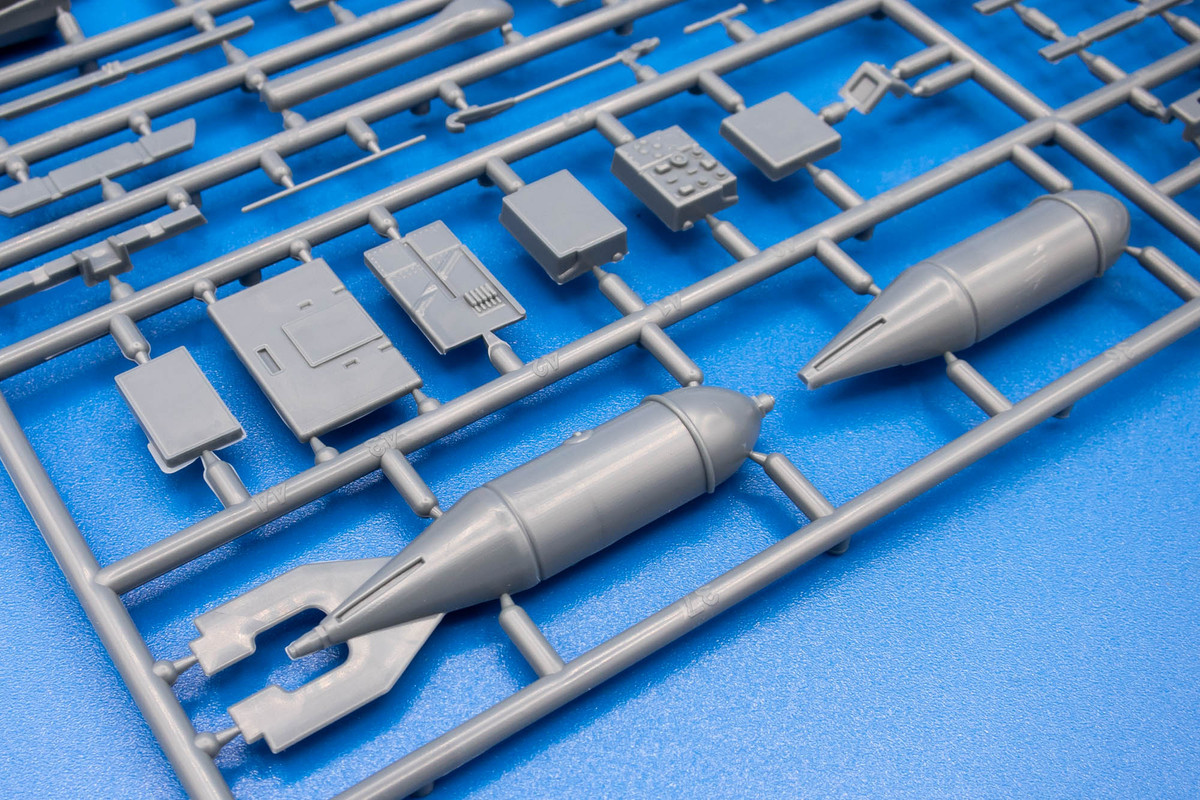
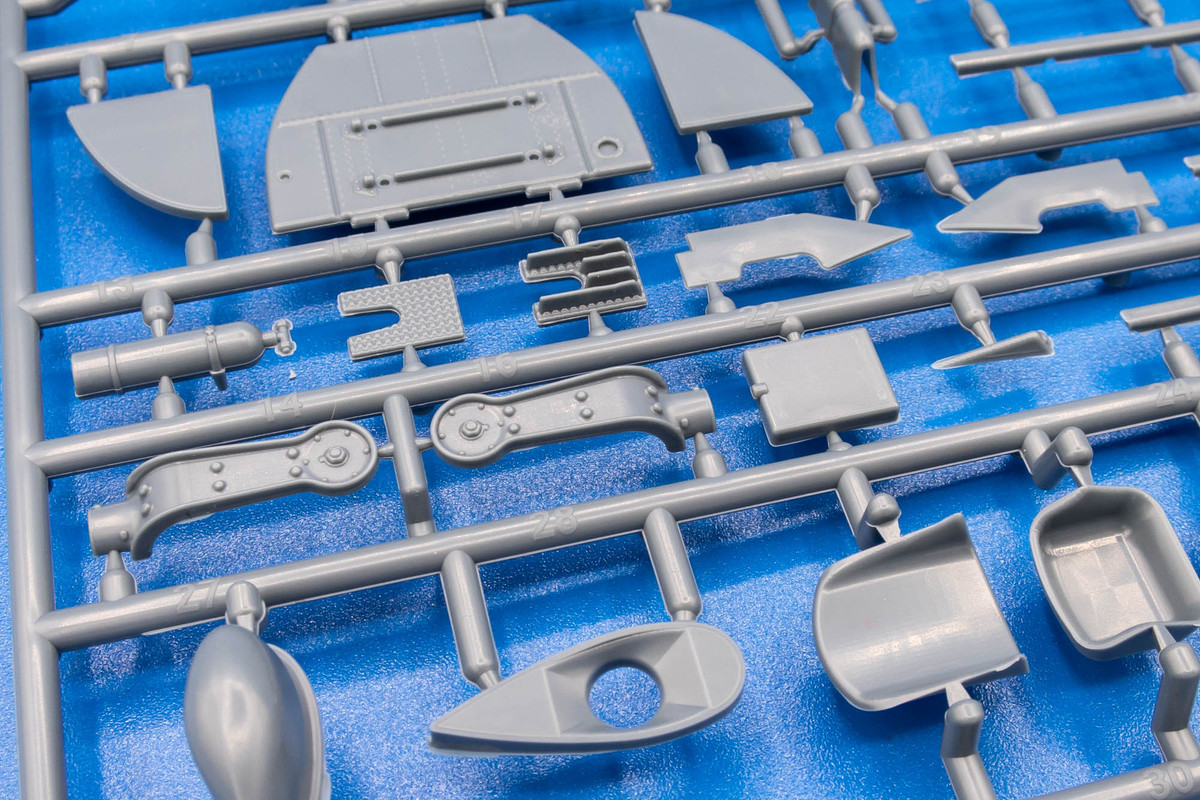
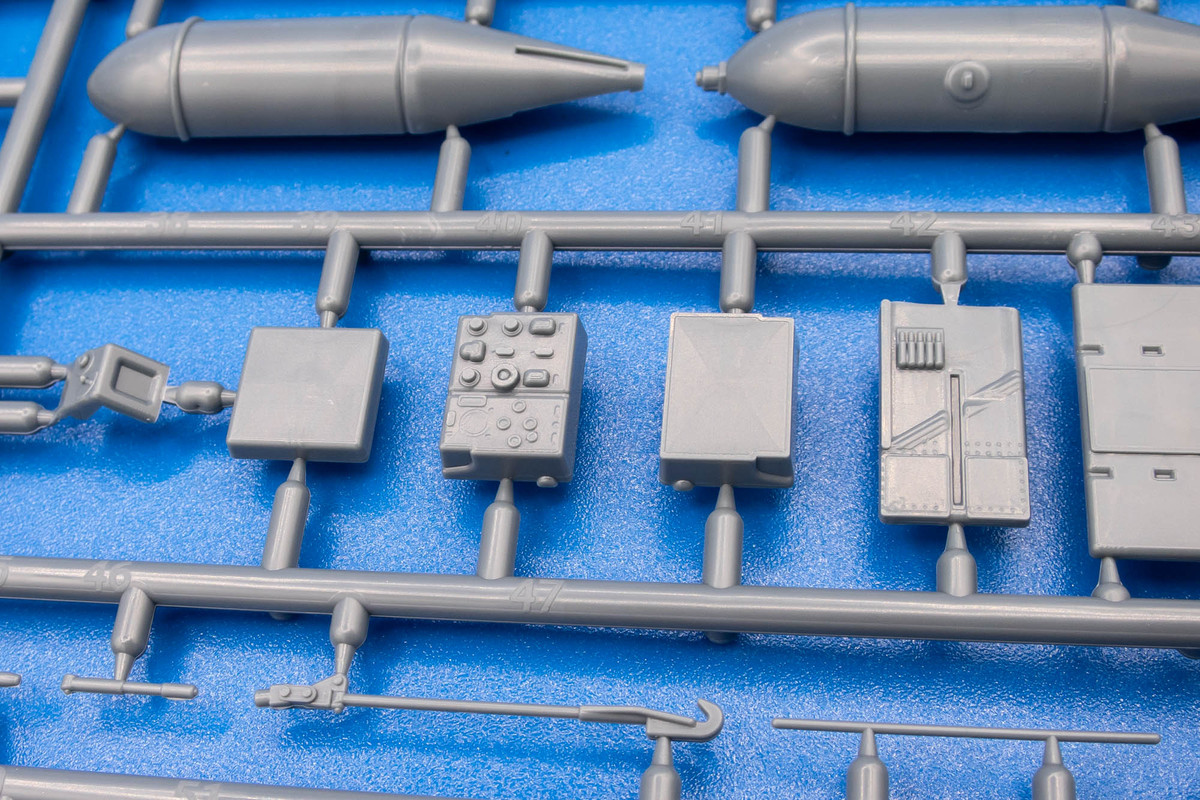
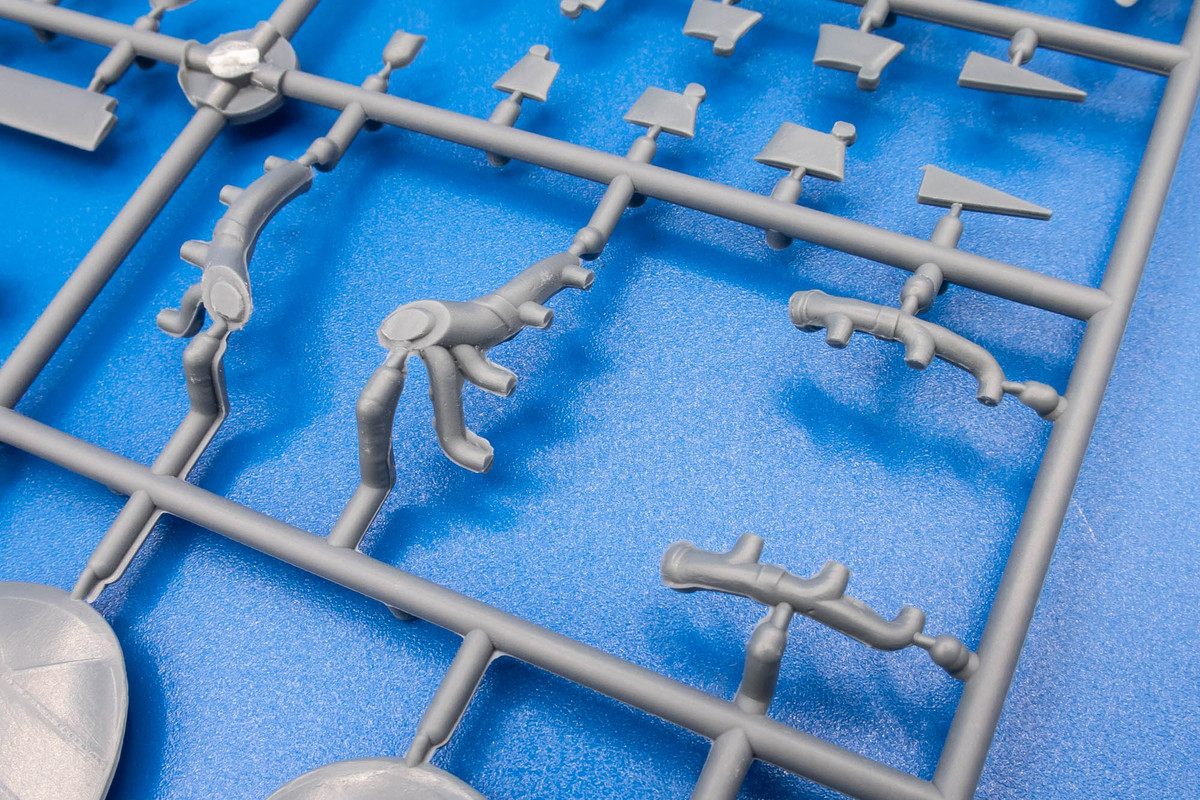
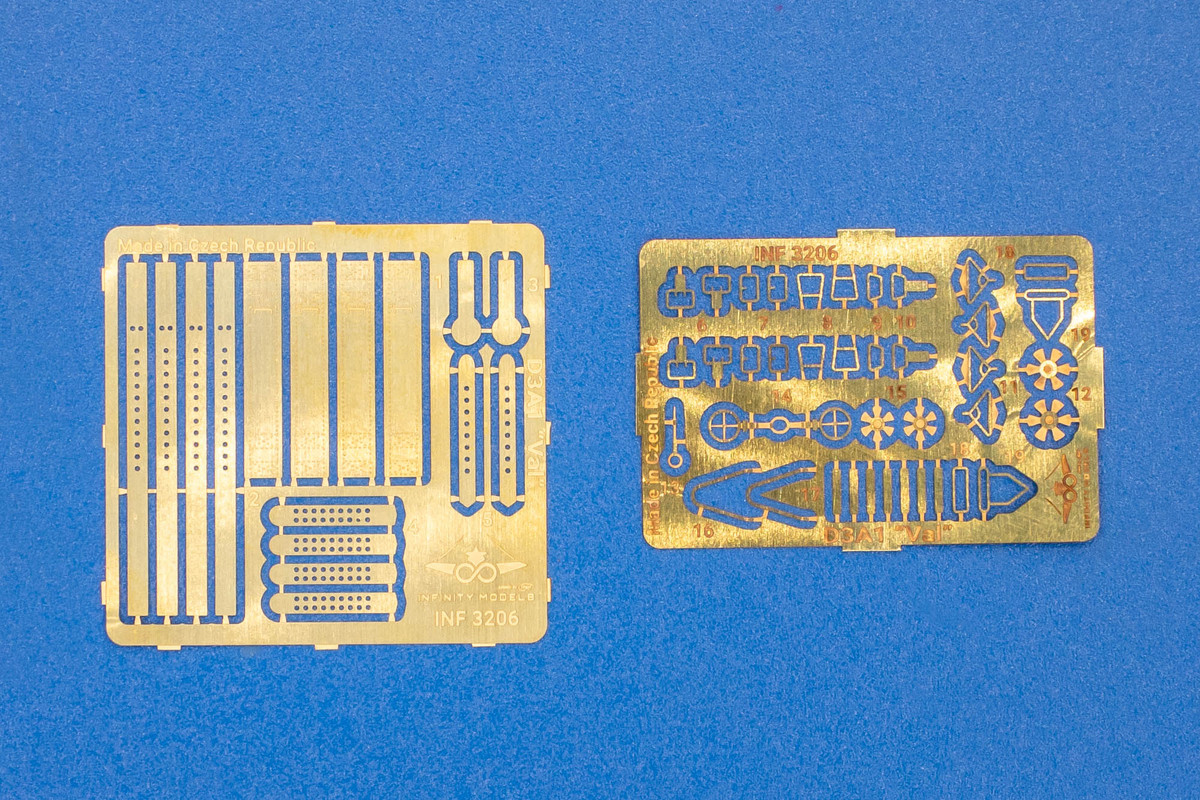
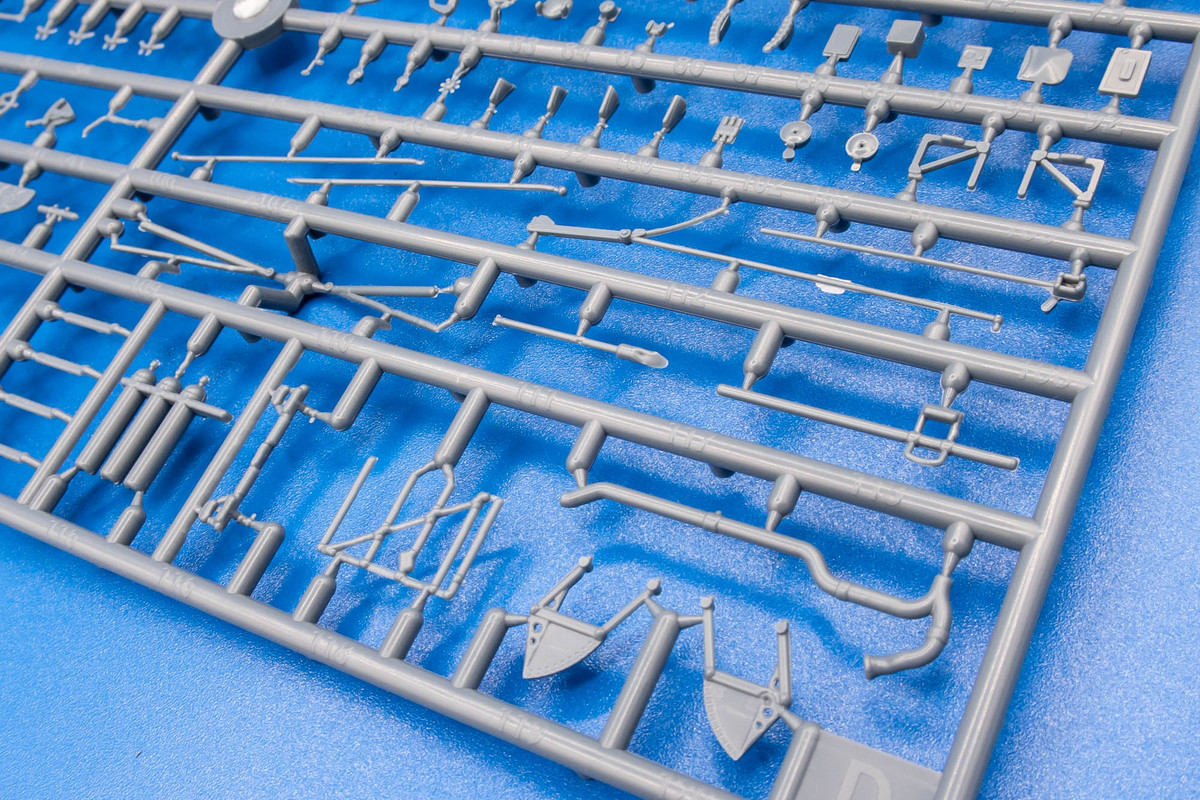
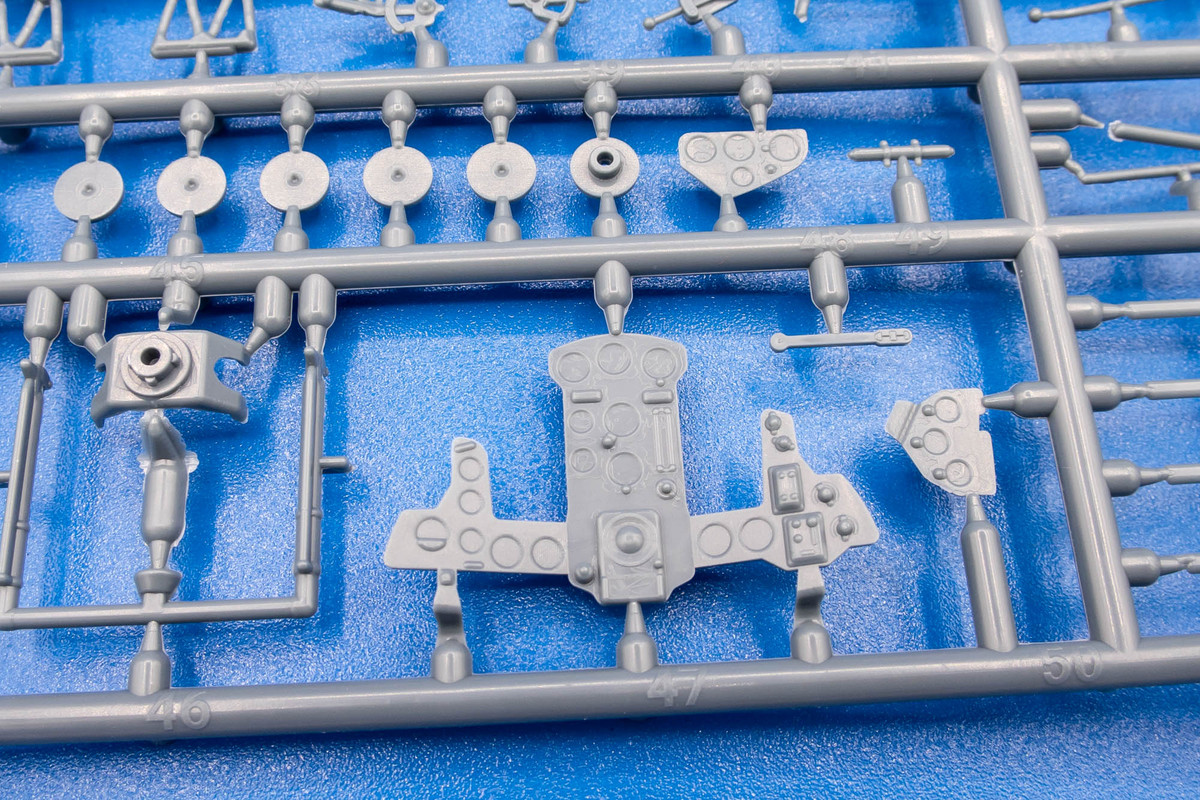
Sprue D contains a mass of little detailed parts. Mostly for the cockpit and the engine, I presume.
Image
Image
Image

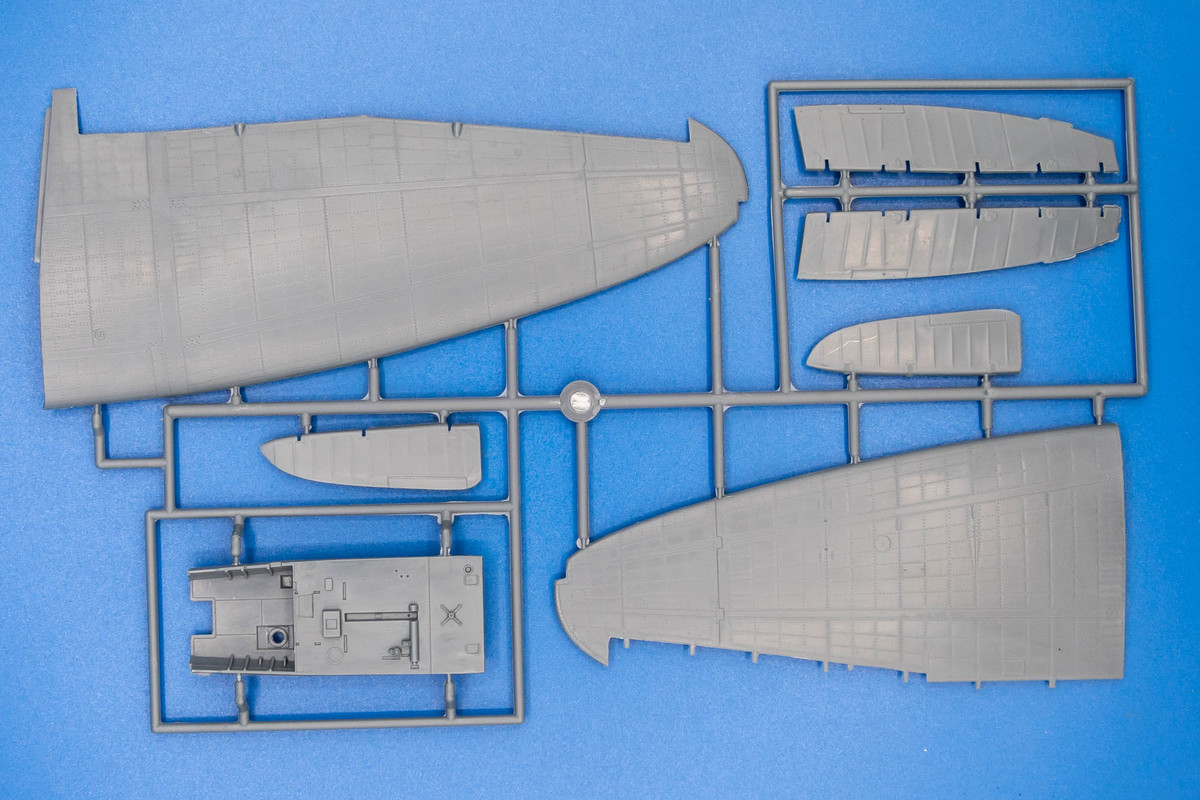
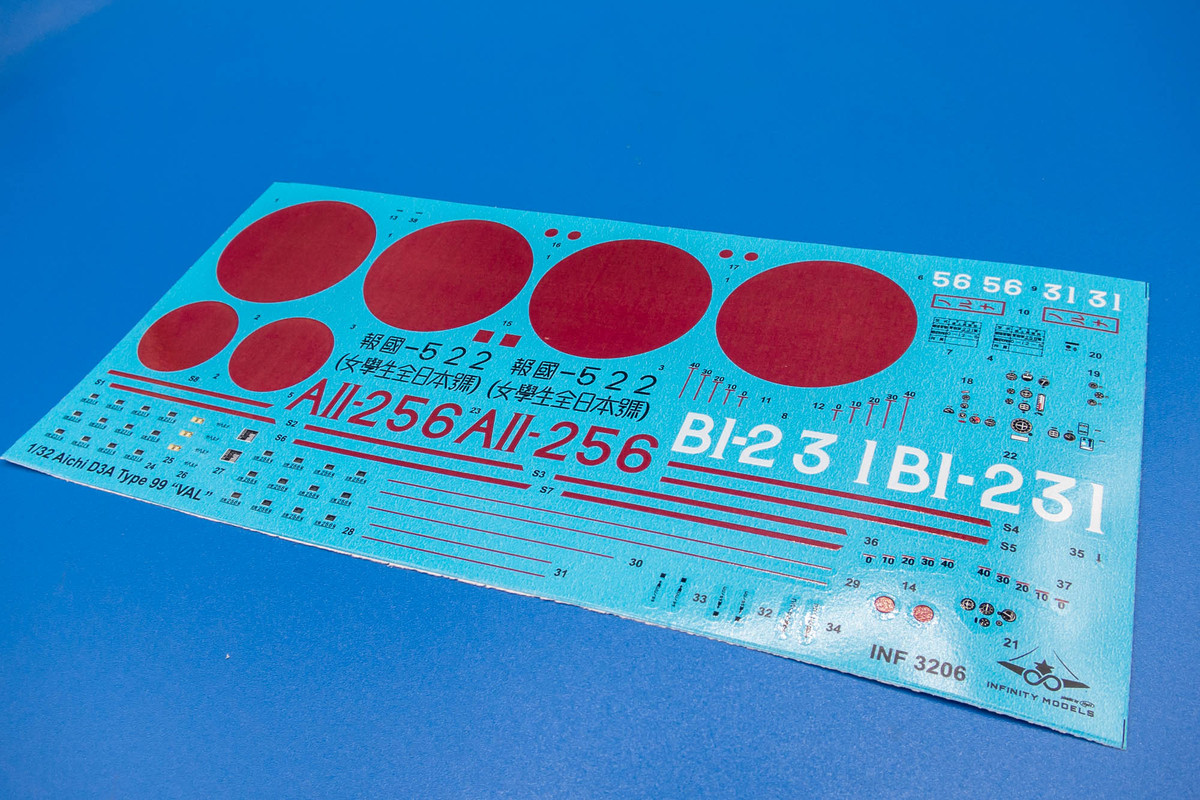
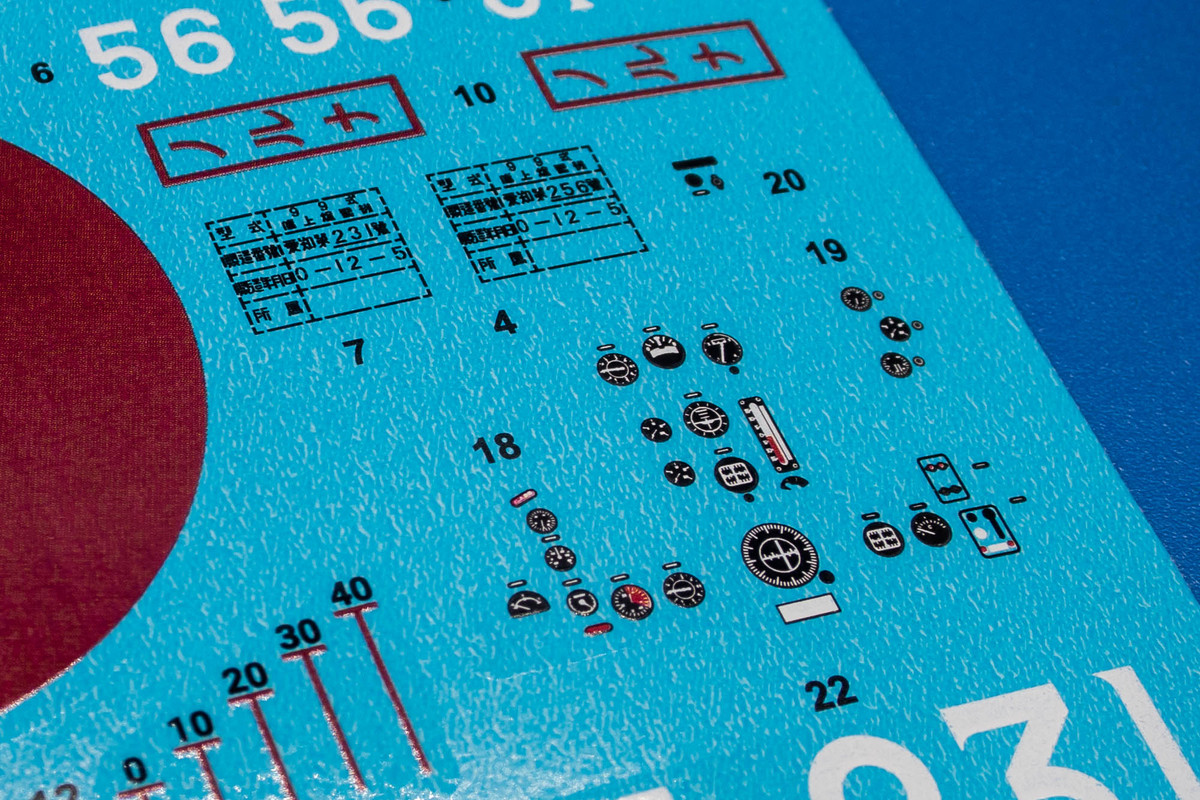
Molding, overall looks nice and very fine. The instrument panel looks decent and decals will be used to populate the instruments.
Image

To be continued...
John aka JKim
-----------<><
Image
User avatar
jkim
Elite Member
Posts: 4073
Joined: Mon Apr 10, 2017 4:03 pm

Re: Infinity 1/32 Aichi D3A1 - The Constanza Rule

Post by jkim »

Moving on with the sprue tour... Sprue E holds the bigger engine parts as well as the wheels.
Image

Again, the molding looks sharp but there is also some flash evident. The wheels are unweighted but they have molded sidewall detail and the hub separation is very definite.
Image
Image
Image

You'll find the main bomb on Sprue F as well some internal structure parts. The bomb fins can easily be replaced with sheet brass without paying extra for the optional resin bomb set.
Image
Image
Image

I'm not super familiar with the D3A but the gunner's radio unit looks like a decent representation.
Image
Image

All of the control surfaces are molded separately and are featured on Sprue G.
Image
Image
Image

The final two sprues, H and I, hold the wing parts.
Image
Image

The oil-canning effect is very evident on the wings.
Image
Image
Image

It's just a matter preference and not all manufacturers are choosing to show this type of effect. Case in point is the new 1/35 scale Fw 190A-6 by Border. Border has chosen to depict the flush riveting as small holes but without the oil-canning.
Image

Infinity provides couple of small PE frets for the seat harnesses and other small details.
Image
Image

Two marking choices are provided on the decal sheet, both from the Pearl Harbor attack.
Image

A close-up of the instrument panel decals show good details and registration. Might be able to get a good result with these.
Image

I'm going to see how feasible this rivet removal process is going to be by starting with the horizontal stabs.
John aka JKim
-----------<><
Image
User avatar
BlackSheep214
Elite Member
Posts: 13067
Joined: Sun Apr 06, 2014 8:47 pm

Re: Infinity 1/32 Aichi D3A1 - The Constanza Rule

Post by BlackSheep214 »

Oh nice…. a Val!!

I’m not familiar with what you mean by “oil canning” :bag:
“Who controls the skies, controls the fate of this Earth”

Author unknown- 352nd Fighter Group, Blue-Nosed Bastards of Bodney

“Send one plane it’s a sortie; send two planes it’s a flight; send four planes it’s a test of airpower. - Richard Kohn
User avatar
Stikpusher
Moderator
Posts: 20927
Joined: Sat Apr 05, 2014 8:37 pm
Location: Ceti Alpha 5

Re: Infinity 1/32 Aichi D3A1 - The Constanza Rule

Post by Stikpusher »

:popcorn:

This should be a good one to watch!
"Surely I have made my meaning plain? I intend to avenge myself upon you, Admiral. I have deprived your ship of power, and when I swing 'round, I intend to deprive you of your life."

FLSM
User avatar
jkim
Elite Member
Posts: 4073
Joined: Mon Apr 10, 2017 4:03 pm

Re: Infinity 1/32 Aichi D3A1 - The Constanza Rule

Post by jkim »

Thanks guys! There's a chance I may quit halfway on this "experiment" but we'll see!
BlackSheep214 wrote: Wed Jun 21, 2023 9:27 pm Oh nice…. a Val!!

I’m not familiar with what you mean by “oil canning” :bag:
Oil-canning refers to the distortion of metal panels on real aircraft. Stressed skin is another term for it. Certain manufacturers are starting to incorporate this effect into their models. A recent example include the Border (formerly Wingnut Wings) Lancaster kit.
Image

Presumably to mimic the effect seen on the restored Lancasters still in existence.
Image

The new HK A-20G kit also has it.
Image
Image

I don't have either of those kits in hand and won't give my opinion on them but I thought Infinity Model's attempt on the D3A1 kit is too heavy-handed. Too regular. There are uniform depressions along each rivet row and to me, it just looks like upholstery or furniture cushions. My opinion only.
Image

I personally don't like the effect and I am going to see what it looks like if I remove the effect.
John aka JKim
-----------<><
Image
User avatar
jeaton01
Elite Member
Posts: 2374
Joined: Thu Apr 23, 2020 9:20 am
Location: Northern California
Contact:

Re: Infinity 1/32 Aichi D3A1 - The Constanza Rule

Post by jeaton01 »

I wouldn't know for sure but the oil canning effect probably was more prevalent on early war Japanese aircraft, where they were so bent on keeping things light and used thin skins on structures. It's really hard to do a built up riveted skin with thin gauge aluminum, just driving the rivets upsets the skin. The smooth surfaces under the wing at the roots is likely heavier aluminum under the fuel tanks where there is often not much supporting structure. I wouldn't expect to see this effect on a Corsair, Mustang, or Bearcat.
My modelling website, with build logs.

http://goldeneramodel.com/mymodels/mymodels.html
User avatar
jkim
Elite Member
Posts: 4073
Joined: Mon Apr 10, 2017 4:03 pm

Re: Infinity 1/32 Aichi D3A1 - The Constanza Rule

Post by jkim »

Initial test of the rivet-removal procedure on the horizontal stabilizer. The rivets are filled with black CA glue and then sanded. I chose to leave the rivet rows closest to the panel lines intact. Just for some additional surface detail and to help prevent me from sanding the panel lines away.
Image
Image

Can't really tell what the difference is until a coat of primer (Mr Primer Surfacer 1000) is sprayed on both parts. This tells me that a coat of paint on the kit parts will reduce the oil-can effect somewhat but not enough for my tastes so I'm going to keep on this track.
Image
Image

I've also made an attempt at printing my own decals. This might be handy for markings that are too fine to mask. Since my Color Laserjet printer cannot print white, I can only do certain types of markings. I picked up a couple of sheets of clear Experts-Choice decal film from Bare Metal Foil. Using a JPEG image of the markings I found on the internet and scaling them to approximate size, I printed them. The decals were sealed with a couple of light coats of Tamiya Lacquer Clear (LP-9)
Image

The decal is cut from the sheet. Reminder to self... use a sharp x-acto as you do not want the cut edges to be wrinkled, which can happen if you use a dull blade.
Image

The decal is then applied normally. I used Micro Set underneath and Micro Sol on top.
Image

The decal conforms nicely after the Micro Sol step.
Image

Decal after a flat coat. There is a bit of raised edge along the clear carrier but I think I can reduce that in the future by cutting the decal more carefully. Overall... I think this will be a useful technique to have in my back pocket.
Image
John aka JKim
-----------<><
Image
User avatar
Gary Brantley
Elite Member
Posts: 2643
Joined: Tue Apr 08, 2014 9:40 pm
Location: Cameron, Texas

Re: Infinity 1/32 Aichi D3A1 - The Constanza Rule

Post by Gary Brantley »

I once employed the "Costanza Rule" as well. When I returned to college in the Spring of 1995, I decided that like good ol' George, I would do everything different in this attempt. I had taken a 20-year "spring break" since my last college experience in the Spring of '75 at UT in Austin. Back then, I had been a terrible student, with no work ethic or discipline at all. I sat on the back row of each class and never participated much. And my GPA soon showed that. :sad:

When I entered Texas A&M University in Spring '95, I resolved to do the opposite; I sat on first row center seat if possible, I was always raising my hand for explanation or clarification and I visited my profs frequently. I read all the assigned work and studied like a madman. You see, I had a lot to prove. Mostly, to myself. I had had 20 years in which to question myself and ask why I hadn't tried harder, and now I was determined to prove I could do it.

When I graduated on December 21, 1998, my GPA was 3.915. I was almost 46 years old. When I had been asked to not return to UT back in 1975 :nono: , my GPA had fallen to 0.8. :shocked: The Costanza Rule (or Method) actually did work in my case, and using it along with some hard-earned maturity and wisdom, resulted in a new career and a better life for my family and me! Here's wishing you similar results with your experience, John!

Oh, and when I was a tinsmith/sheet metal mechanic, we fabricated and installed standing-seam metal roofs. "Oil canning" was the term we used for the "swelling" or puffing out of the metal between the standing seams. We kept our roof panels to a smaller width in order to minimize that effect. So, very much like the effects seen on the aircraft skin. :grin:
User avatar
jkim
Elite Member
Posts: 4073
Joined: Mon Apr 10, 2017 4:03 pm

Re: Infinity 1/32 Aichi D3A1 - The Constanza Rule

Post by jkim »

That's a great story, Gary. Inspirational and a testament to your resolve!

I don't deny that oil-canning occurs on most metal things including aircraft. But it's not done very well in this case and it goes against my minds eye of how a D3A1 should look. Kinda like this photo of a D3A1 that was fished out of the water after the Pearl Harbor attack...

Image
John aka JKim
-----------<><
Image
User avatar
jeaton01
Elite Member
Posts: 2374
Joined: Thu Apr 23, 2020 9:20 am
Location: Northern California
Contact:

Re: Infinity 1/32 Aichi D3A1 - The Constanza Rule

Post by jeaton01 »

Hardly visible in that picture.
My modelling website, with build logs.

http://goldeneramodel.com/mymodels/mymodels.html
Post Reply

Return to “Aircraft Work in Progress”