Eduard 1/48 Hawker Tempest II
-
tempestjohnny

- Elite Member
- Posts: 3804
- Joined: Sat Oct 15, 2016 4:51 am
- Location: Naples. FL
Re: Eduard 1/48 Hawker Tempest II
I must remember this for future reference. Excellent day in the JKim classroom today

Re: Eduard 1/48 Hawker Tempest II
Thanks guys!
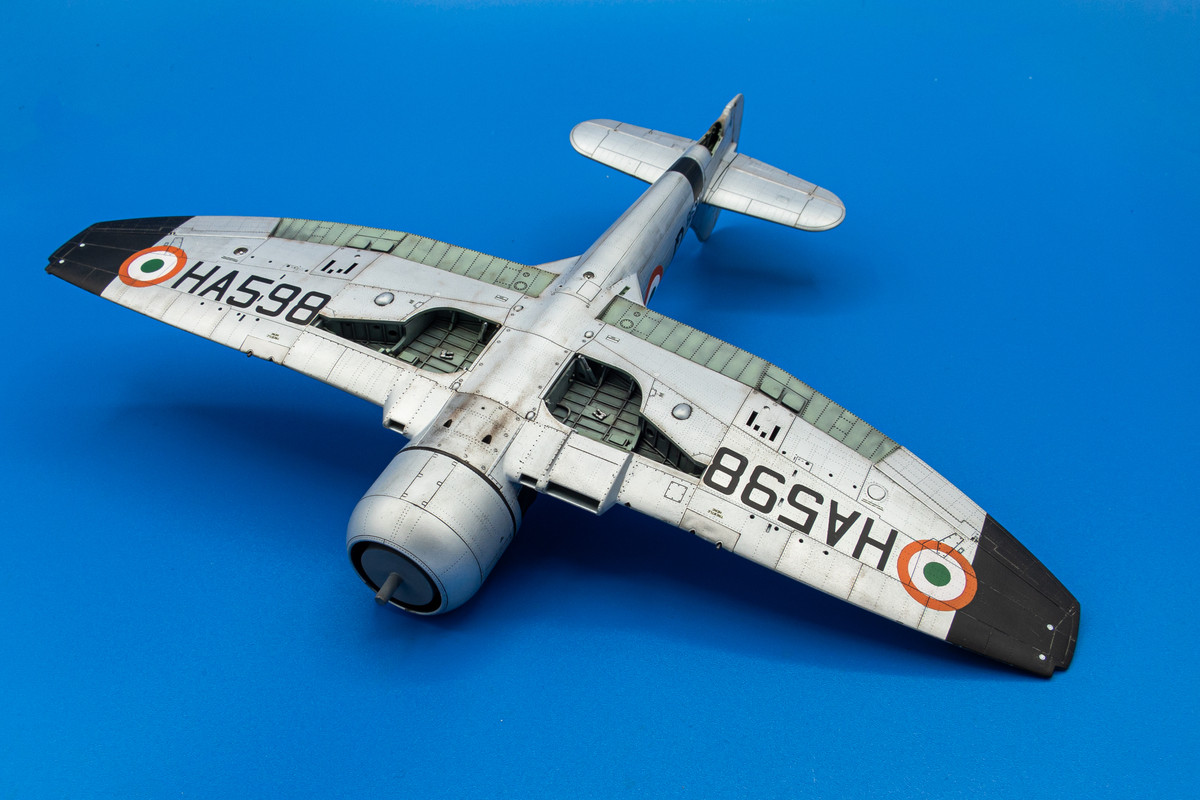
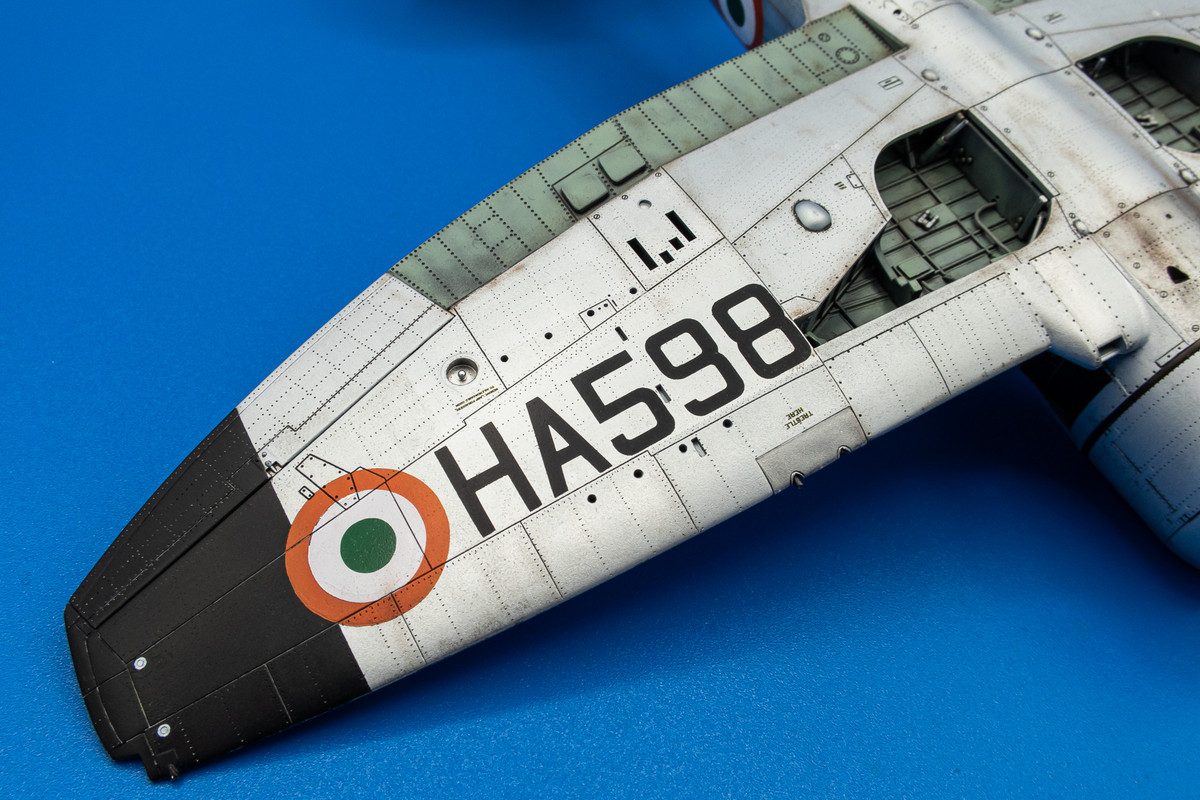
A flat coat has been applied. Actually, a satin finish... 50/50 mix of Model Master Acryl Flat and Alclad Aqua Gloss.
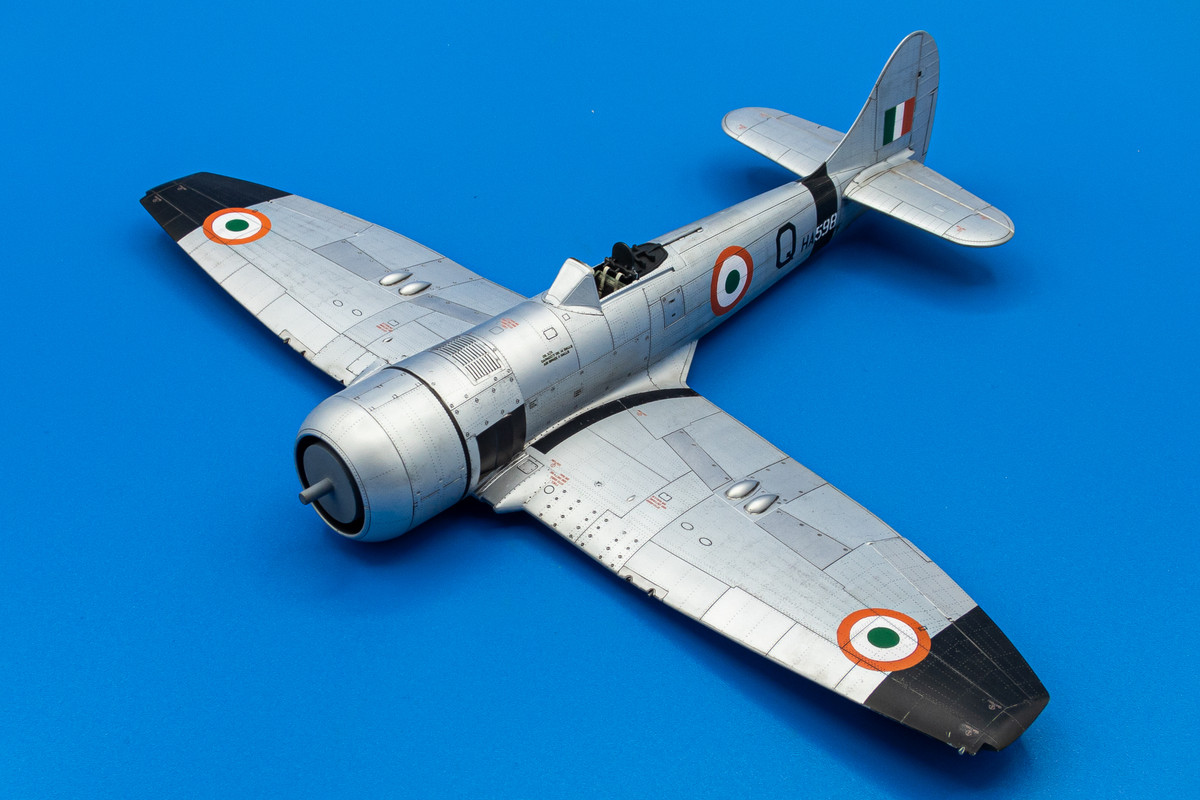

The discoloration on the fuselage is still discernable but knocked down enough where I can pass it off as weathering.
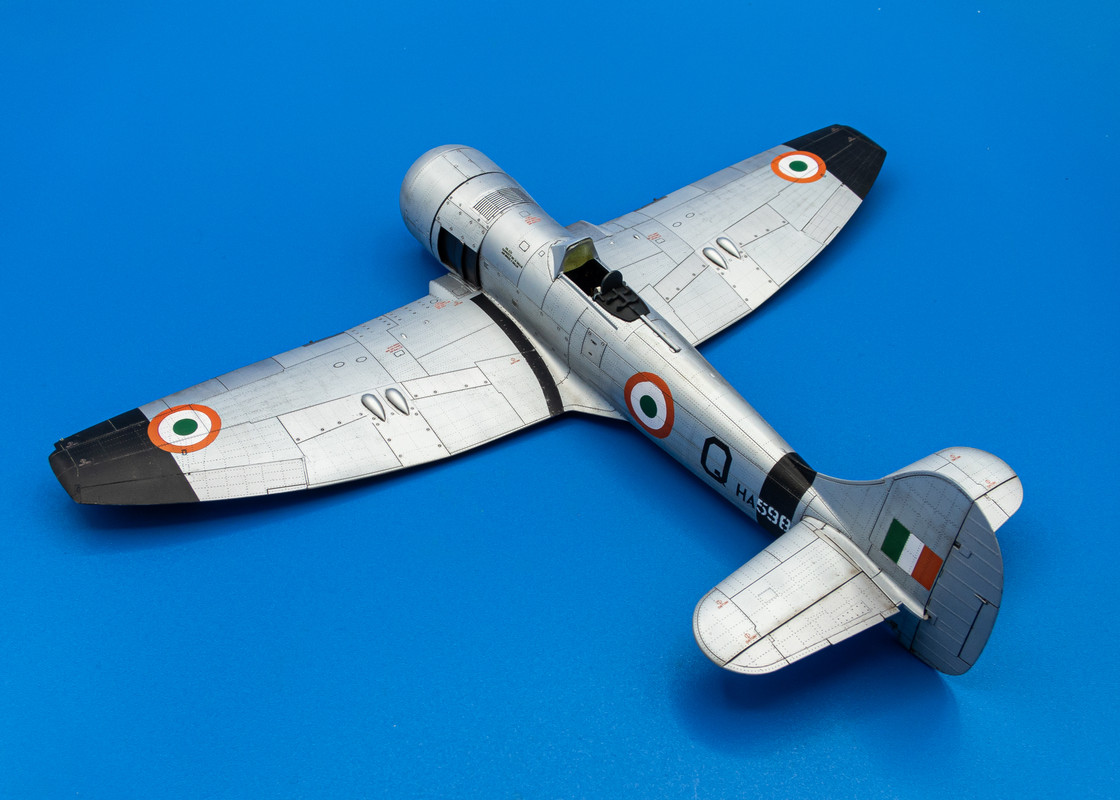
I've started some post-shading on the bottom. A watery mix of black/brown along the panel lines and aft of the exhausts.
A flat coat has been applied. Actually, a satin finish... 50/50 mix of Model Master Acryl Flat and Alclad Aqua Gloss.
The discoloration on the fuselage is still discernable but knocked down enough where I can pass it off as weathering.
I've started some post-shading on the bottom. A watery mix of black/brown along the panel lines and aft of the exhausts.
John aka JKim
-----------<><

-----------<><
Re: Eduard 1/48 Hawker Tempest II
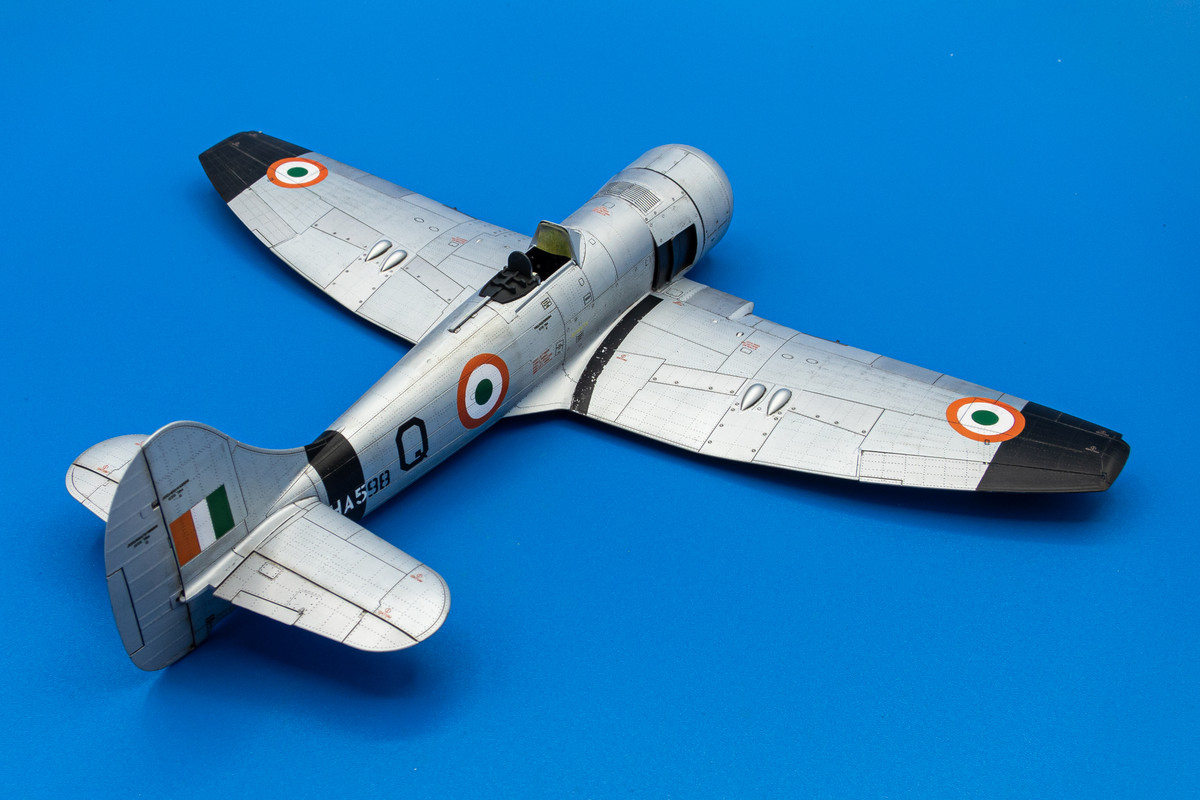
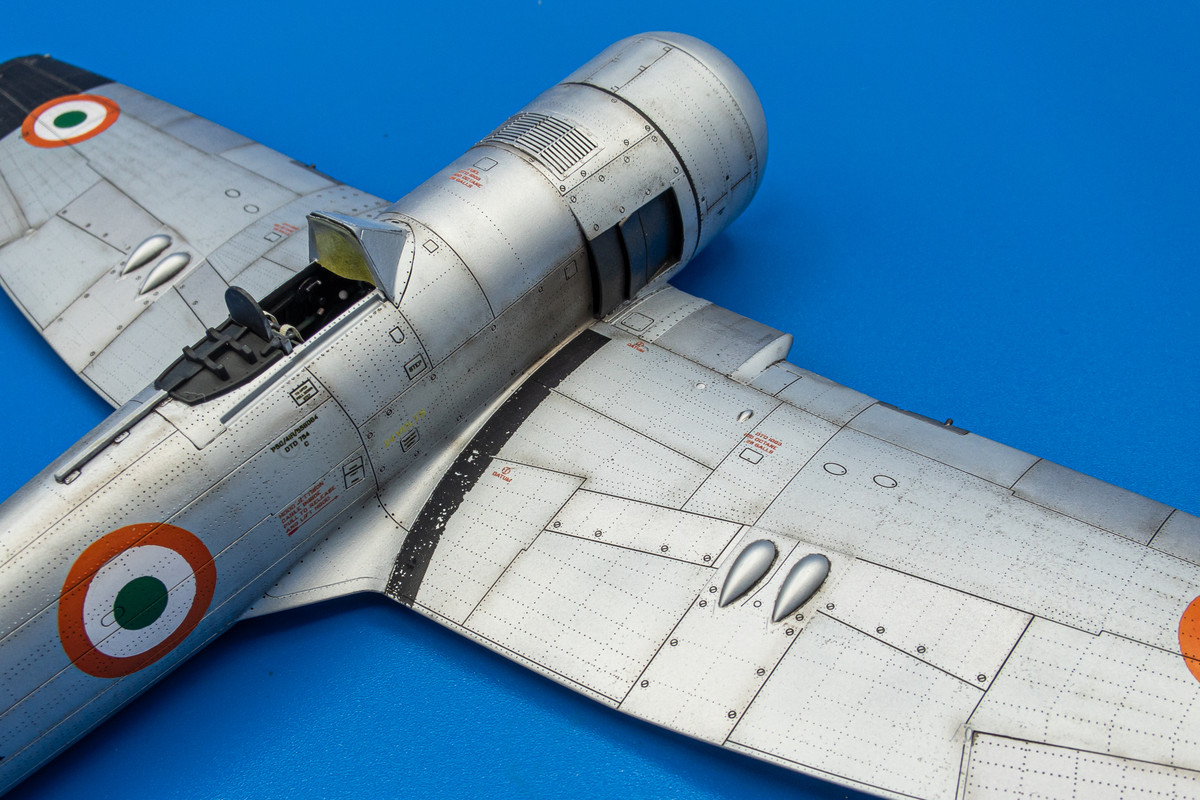
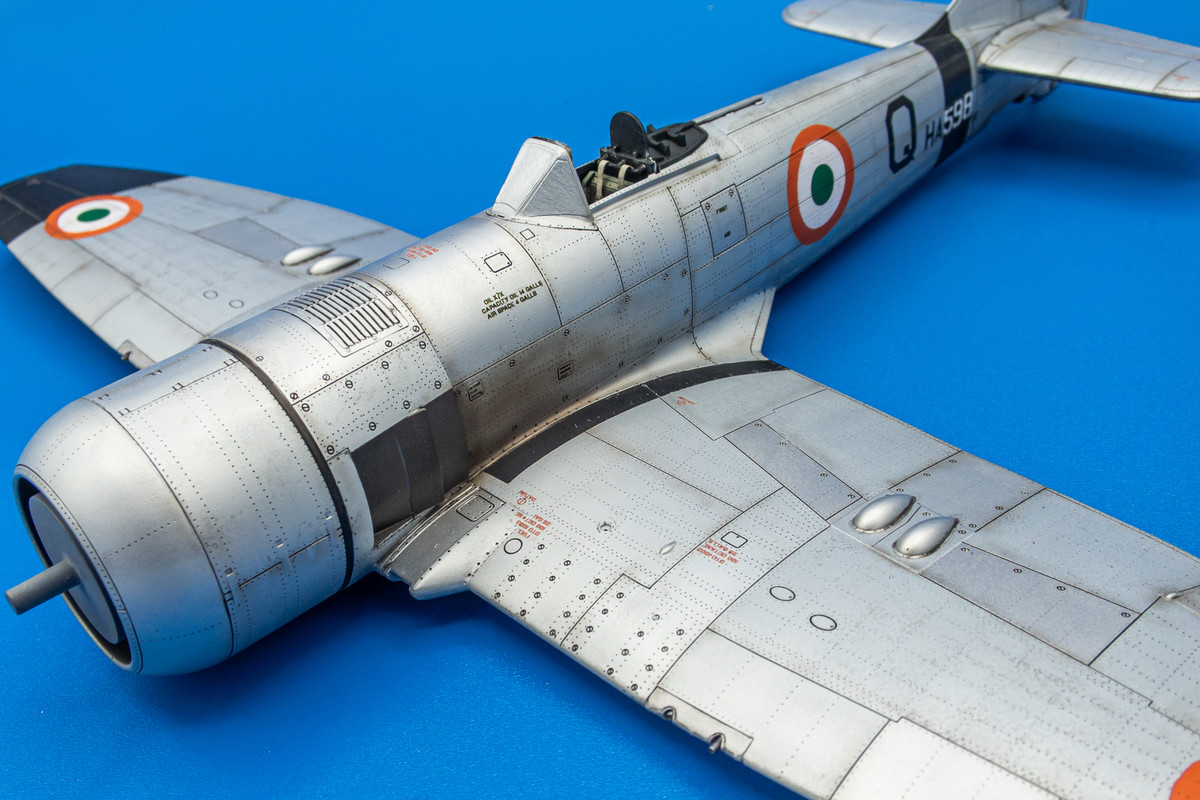
A little bit more post-shading done including exhaust stains.

John aka JKim
-----------<><
-----------<><
-
tempestjohnny
- Elite Member
- Posts: 3804
- Joined: Sat Oct 15, 2016 4:51 am
- Location: Naples. FL
Re: Eduard 1/48 Hawker Tempest II
The subtle shading is great
Re: Eduard 1/48 Hawker Tempest II
Thanks Johnny!
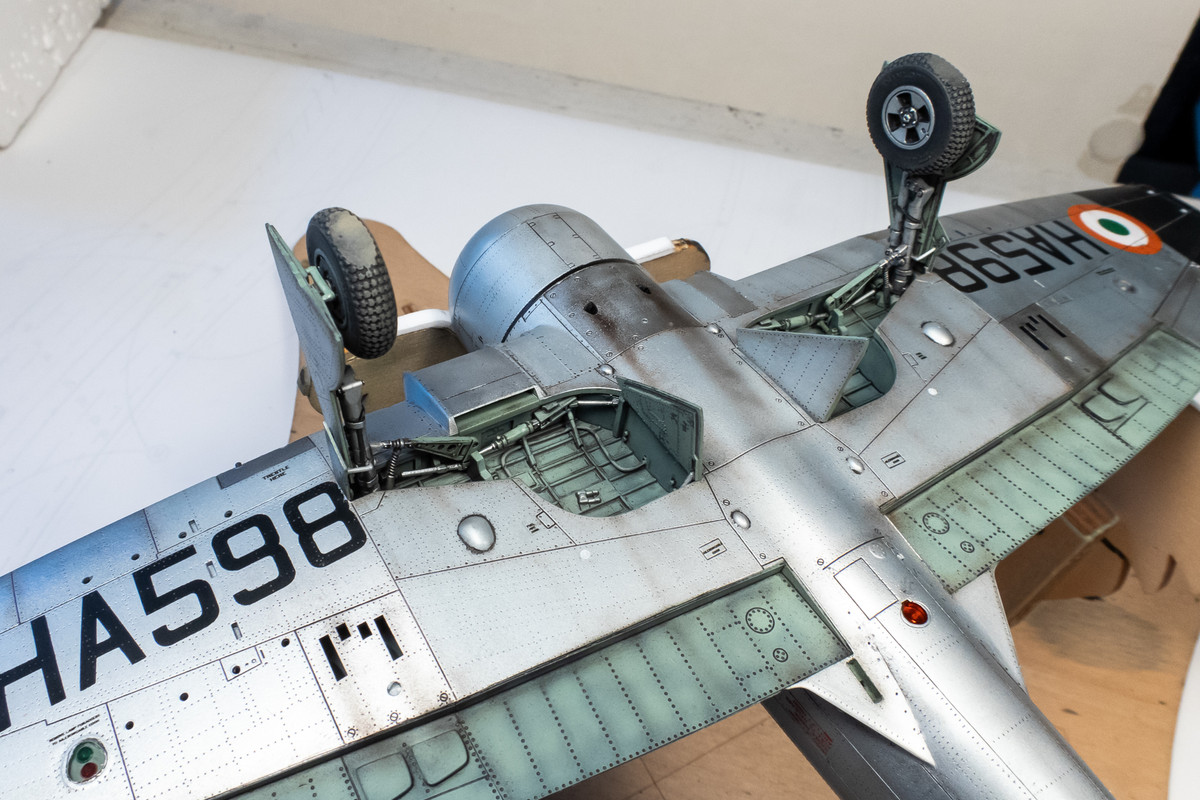
Now it is just a matter of gluing on the last bits and pieces. First, the landing gear...
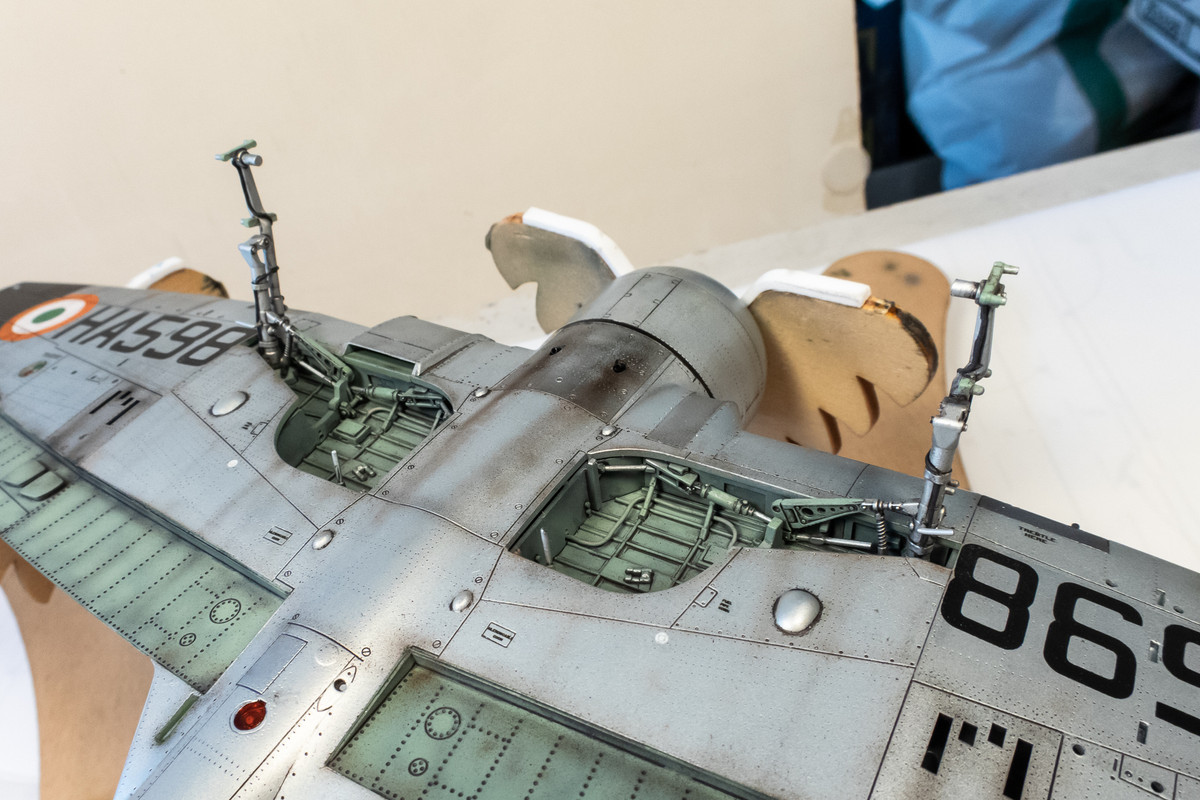
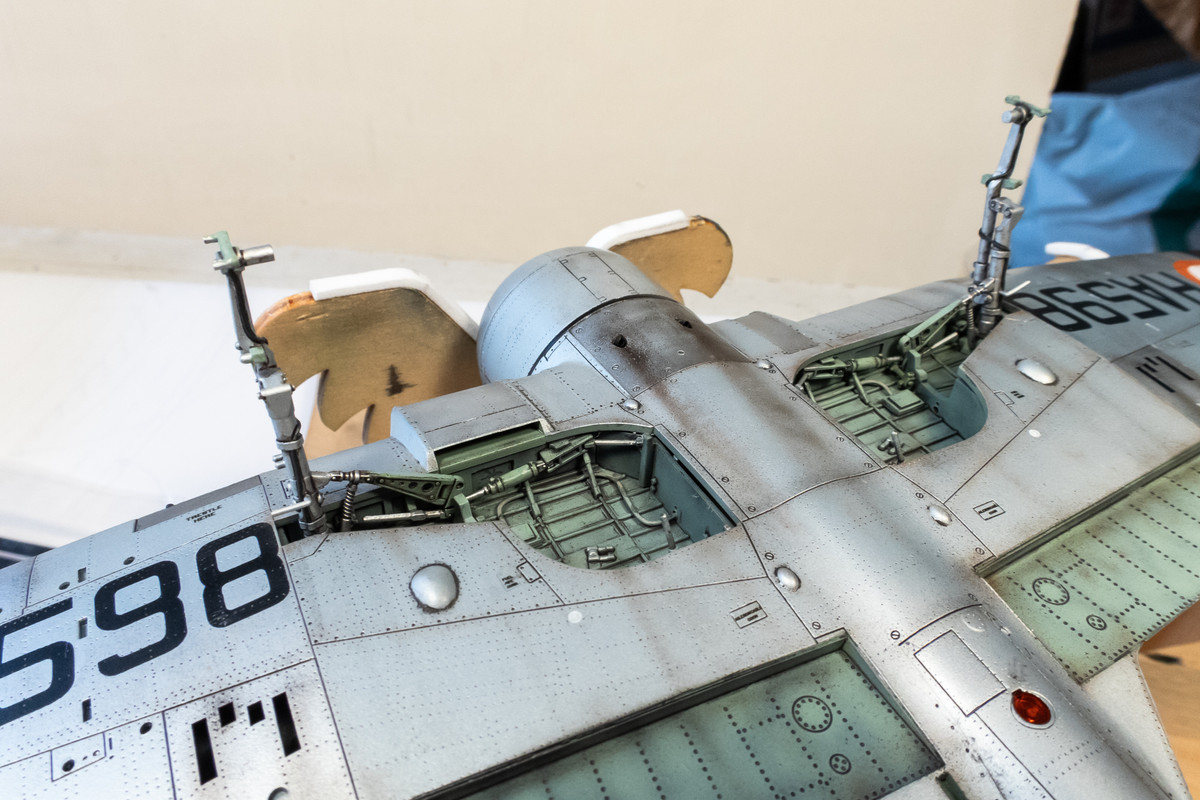
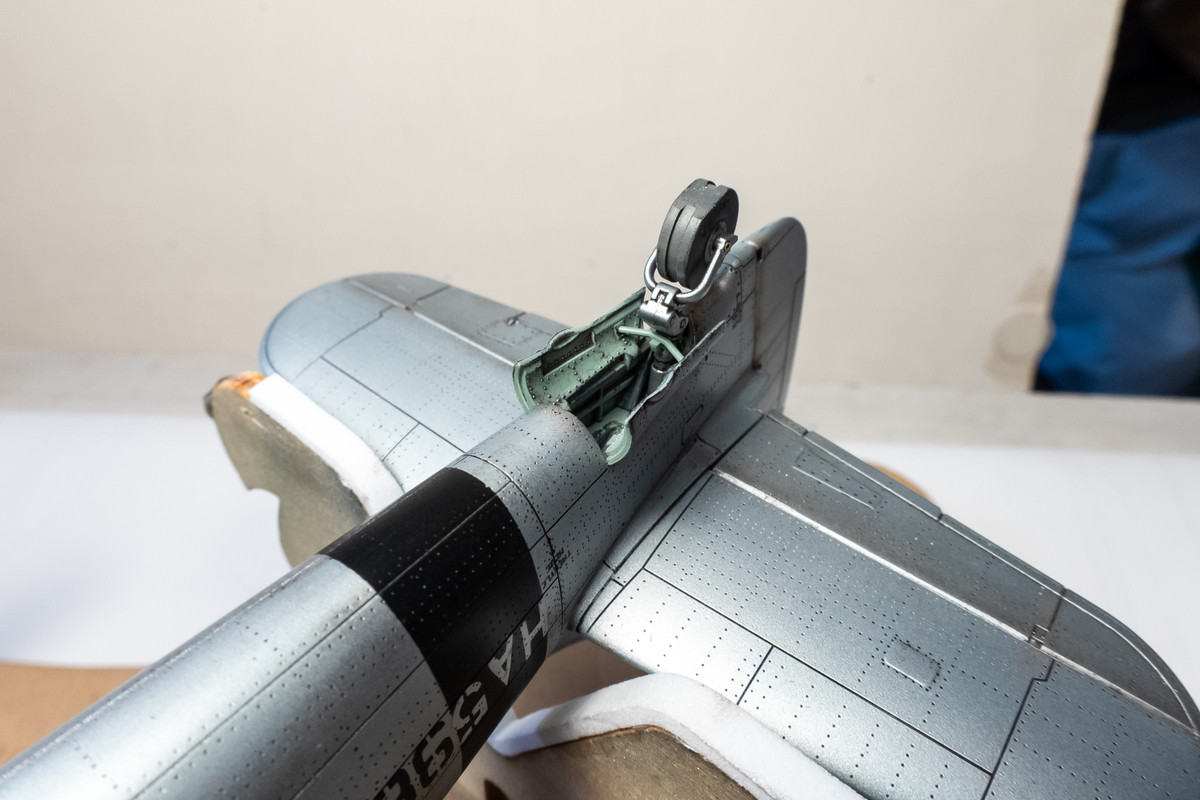
The wheels are added next. The brass tube axle lets the tail wheel turn freely so flat spot is aligned easily. The Barracuda resin main wheels are attached using JB Weld Kwikweld 2-part epoxy. This starts to harden in minutes so it gives me time to align the flat spots properly when resting the model on a sheet of glass.
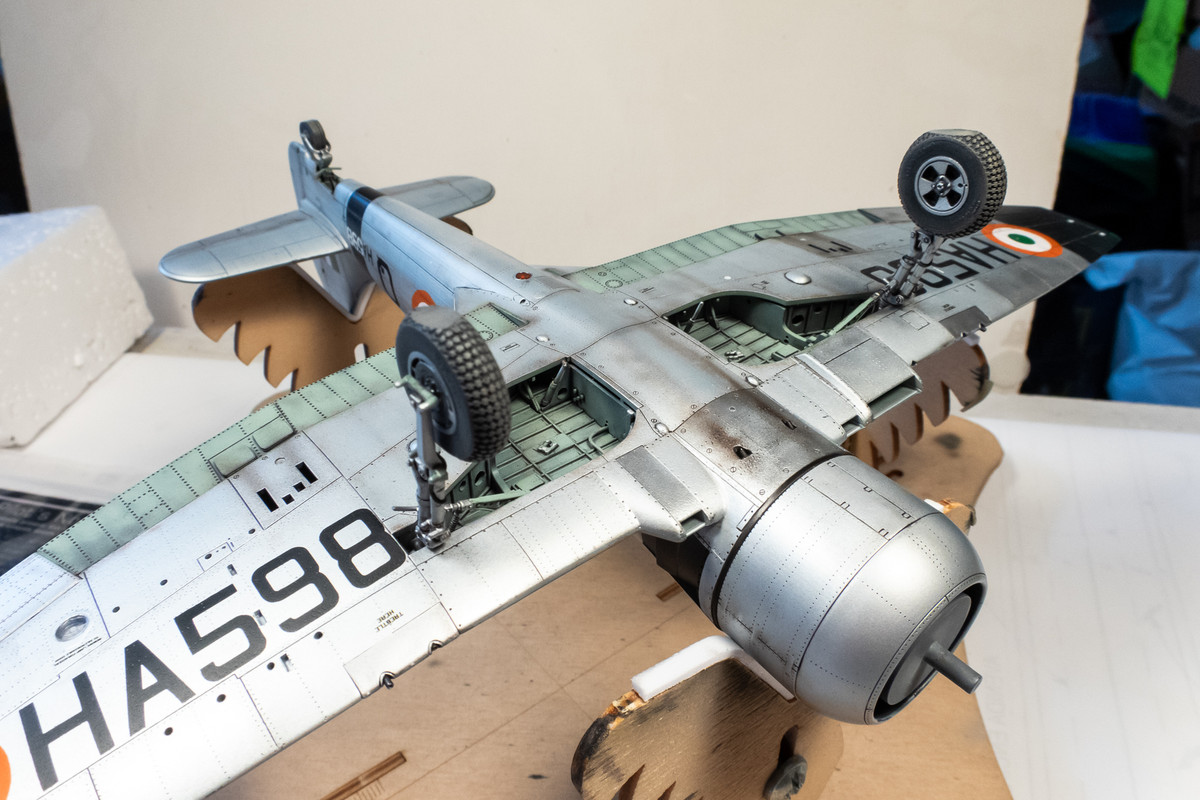
After the wheels are set, the landing gear covers are attached.
The Eduard resin flaps are glued in next. Unfortunately, the port flap cracked during the placement process.
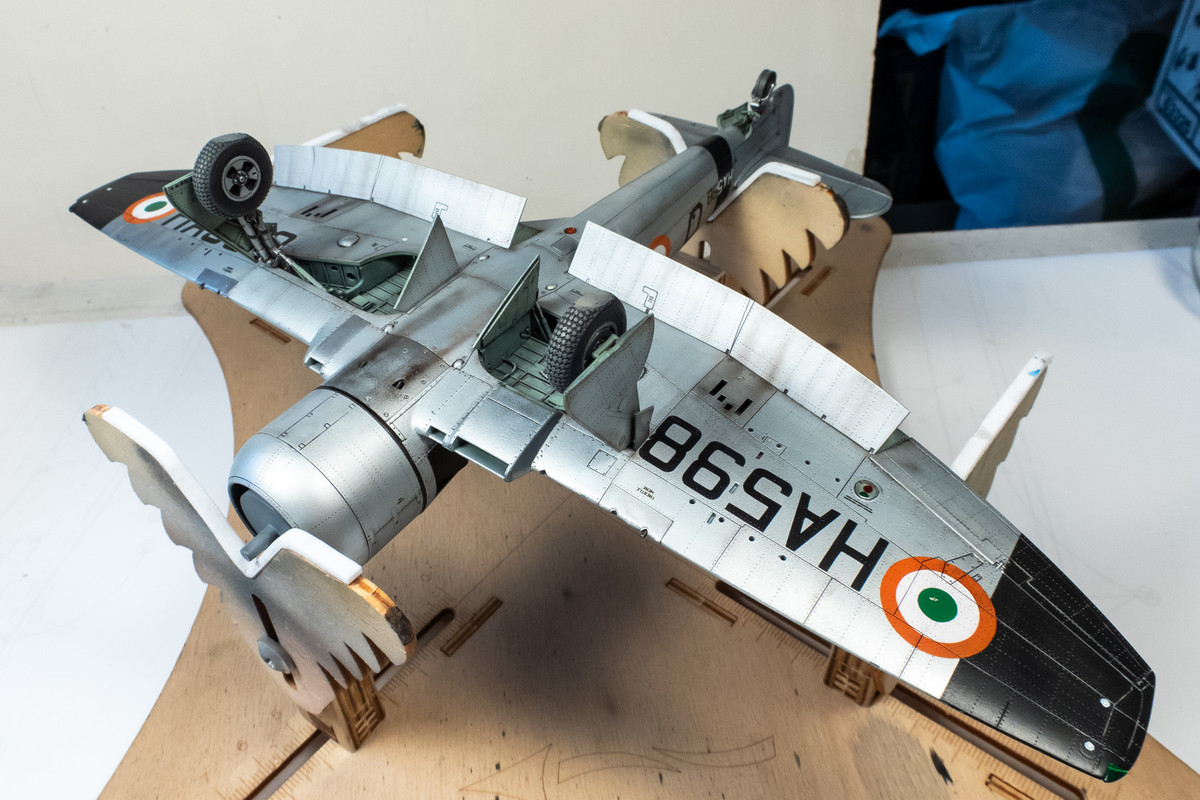
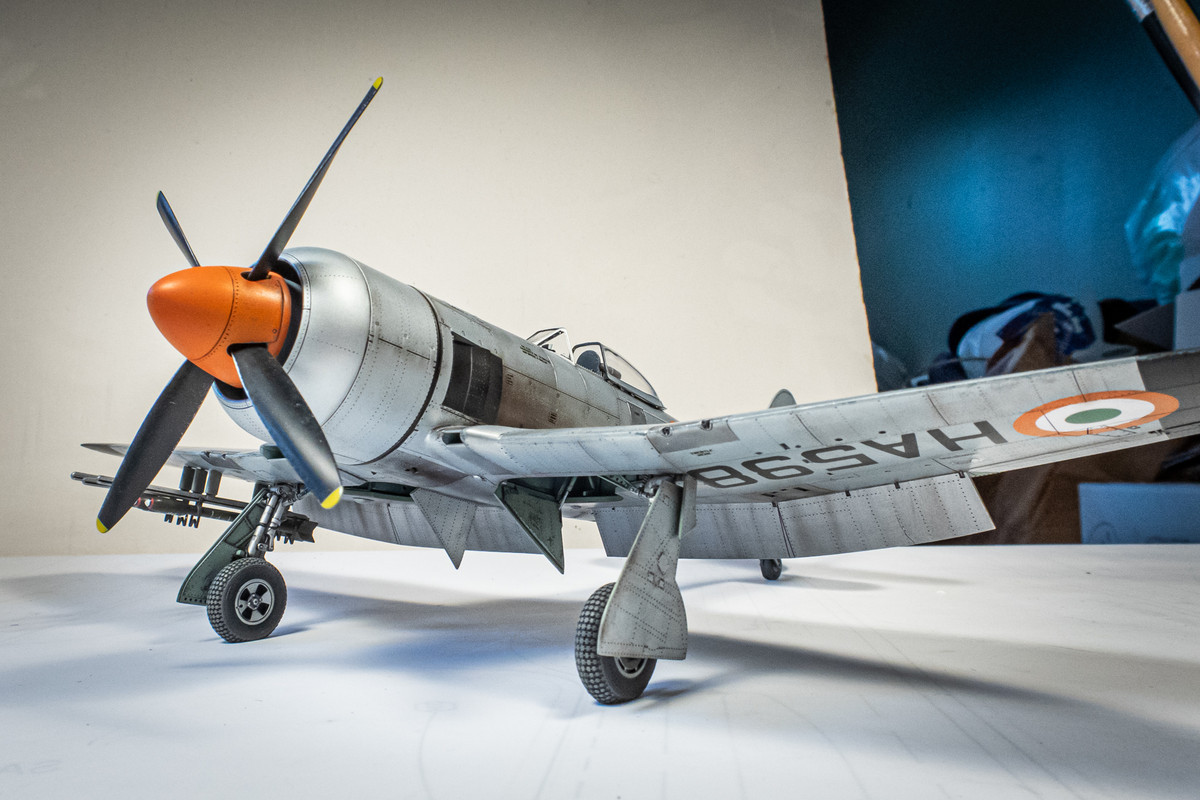
She's almost finished. Just a few more bits to add including the rockets. The next update will feature the completed model.
Now it is just a matter of gluing on the last bits and pieces. First, the landing gear...
The wheels are added next. The brass tube axle lets the tail wheel turn freely so flat spot is aligned easily. The Barracuda resin main wheels are attached using JB Weld Kwikweld 2-part epoxy. This starts to harden in minutes so it gives me time to align the flat spots properly when resting the model on a sheet of glass.
After the wheels are set, the landing gear covers are attached.
The Eduard resin flaps are glued in next. Unfortunately, the port flap cracked during the placement process.
She's almost finished. Just a few more bits to add including the rockets. The next update will feature the completed model.
John aka JKim
-----------<><
-----------<><

-
Stikpusher

- Moderator
- Posts: 21183
- Joined: Sat Apr 05, 2014 8:37 pm
- Location: Ceti Alpha 5
Re: Eduard 1/48 Hawker Tempest II
Man that looks fantastic!
"Surely I have made my meaning plain? I intend to avenge myself upon you, Admiral. I have deprived your ship of power, and when I swing 'round, I intend to deprive you of your life."
FLSM
FLSM
-
tempestjohnny
- Elite Member
- Posts: 3804
- Joined: Sat Oct 15, 2016 4:51 am
- Location: Naples. FL
Re: Eduard 1/48 Hawker Tempest II
Wow, what a fantastic finish.
-
BlackSheep214

- Elite Member
- Posts: 13412
- Joined: Sun Apr 06, 2014 8:47 pm
Re: Eduard 1/48 Hawker Tempest II
Oh wow.... look at her come together! Incredible work!
“Who controls the skies, controls the fate of this Earth”
Author unknown- 352nd Fighter Group, Blue-Nosed Bastards of Bodney
“Send one plane it’s a sortie; send two planes it’s a flight; send four planes it’s a test of airpower. - Richard Kohn
Author unknown- 352nd Fighter Group, Blue-Nosed Bastards of Bodney
“Send one plane it’s a sortie; send two planes it’s a flight; send four planes it’s a test of airpower. - Richard Kohn

Re: Eduard 1/48 Hawker Tempest II
BlackSheep214 wrote: ↑Thu May 23, 2024 6:09 am Oh wow.... look at her come together! Incredible work!
- Kari
---
On the bench:
MiniArt 1:48 - Junkers F13 Float Plane
https://www.facebook.com/GrundAsk-Scale ... 721218708/
On the bench:
MiniArt 1:48 - Junkers F13 Float Plane
https://www.facebook.com/GrundAsk-Scale ... 721218708/