Pacific Coast Models 1/32 Fw 190A-1. Black 13. Belgium, 1941

Post your work in progress of your aircraft builds in here.
User avatar
speedgraflex
Moderator
Posts: 11358
Joined: Fri Feb 10, 2017 11:08 pm
Contact:

Re: Pacific Coast Models 1/32 Fw 190A-0. Black 13. Belgium,

Post by speedgraflex »

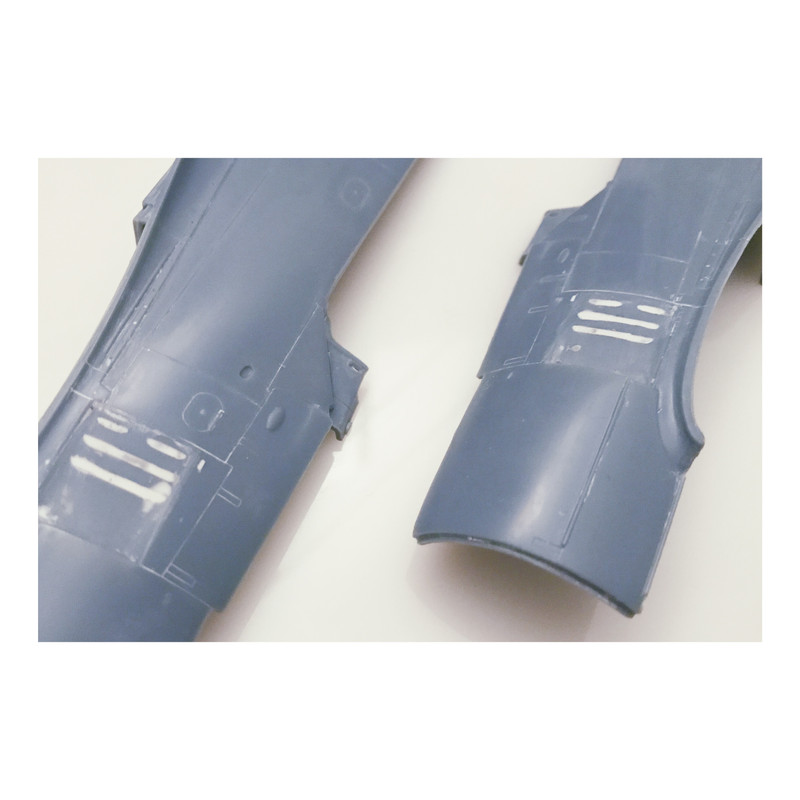
Vents at 2,000 grit

Image

I filled any low spots with CA

Image
Make more models!
User avatar
speedgraflex
Moderator
Posts: 11358
Joined: Fri Feb 10, 2017 11:08 pm
Contact:

Re: Pacific Coast Models 1/32 Fw 190A-0. Black 13. Belgium,

Post by speedgraflex »

Polished

Image
Make more models!
User avatar
LyleW
Admin
Posts: 15035
Joined: Fri Dec 13, 2013 7:25 am
Location: Mt. Washington KY

Re: Pacific Coast Models 1/32 Fw 190A-0. Black 13. Belgium,

Post by LyleW »

That looks great. Since I am a complete "know nothing" on these things.. really, did I miss the why you did this?
To make each build less crappy than the last one. Or, put another way, "Better than the last one, not as good as the next one!"..
User avatar
speedgraflex
Moderator
Posts: 11358
Joined: Fri Feb 10, 2017 11:08 pm
Contact:

Re: Pacific Coast Models 1/32 Fw 190A-0. Black 13. Belgium,

Post by speedgraflex »

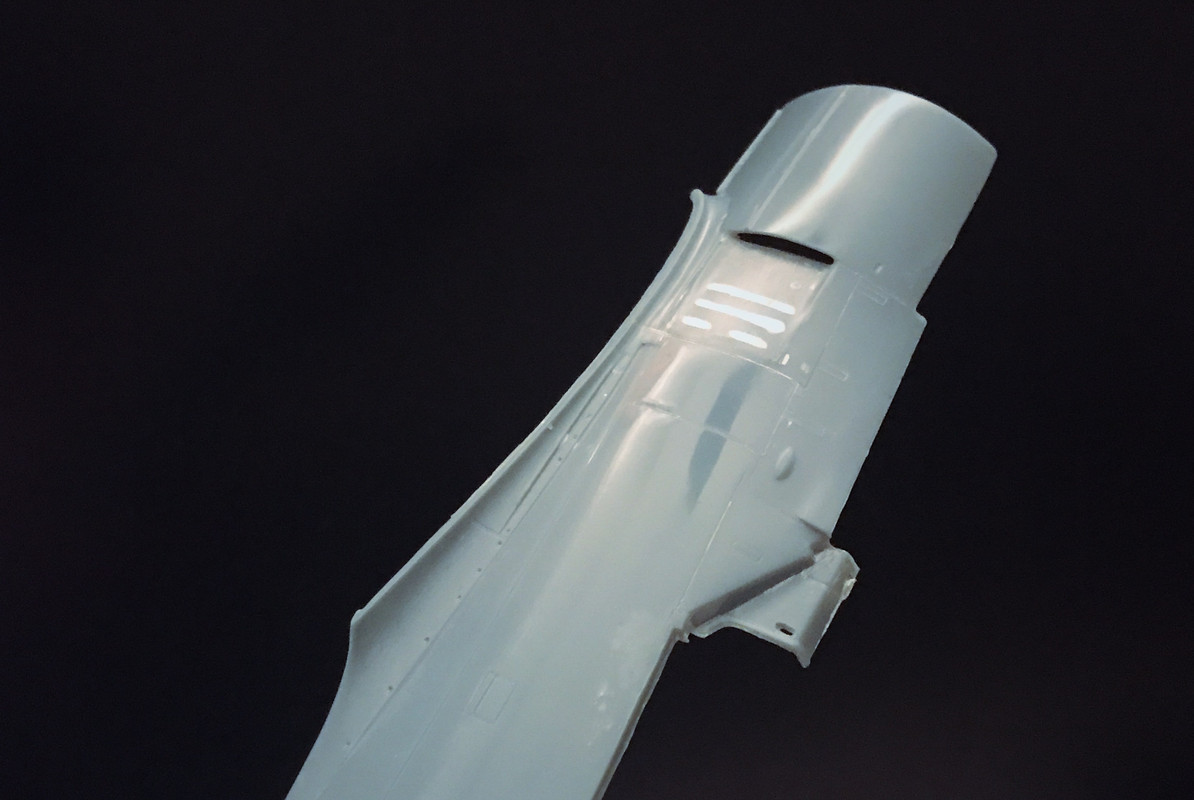
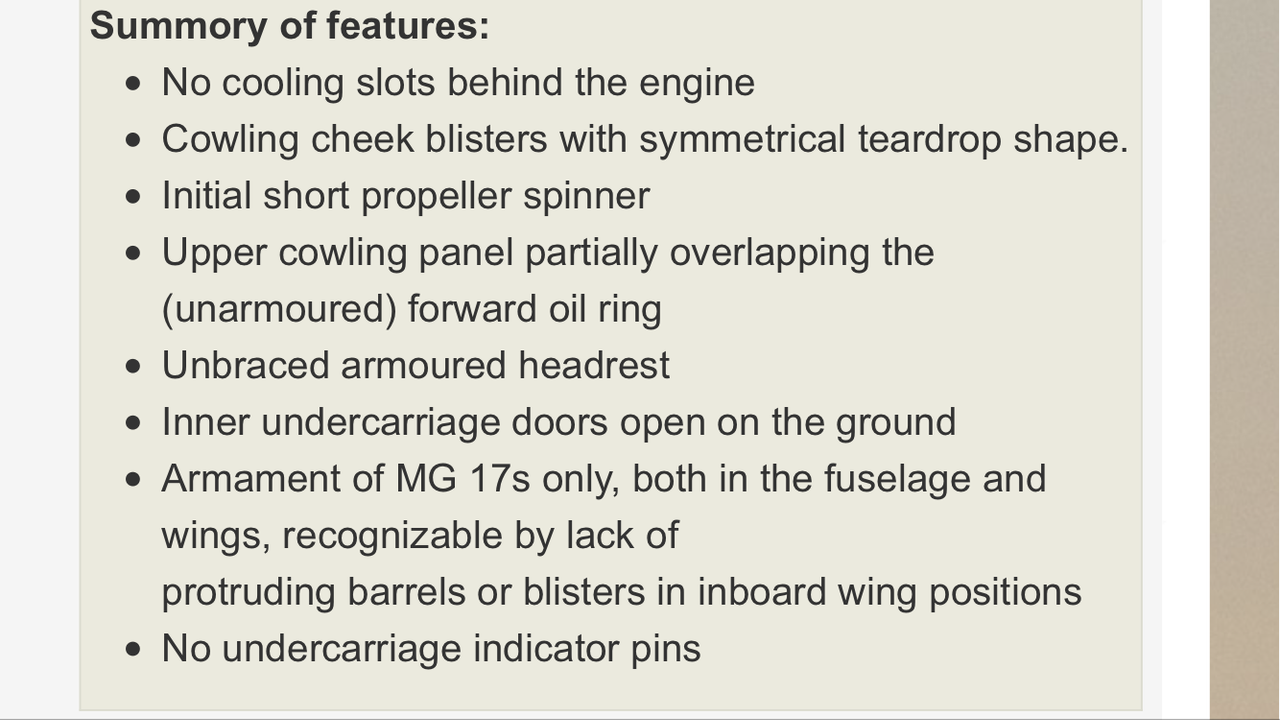
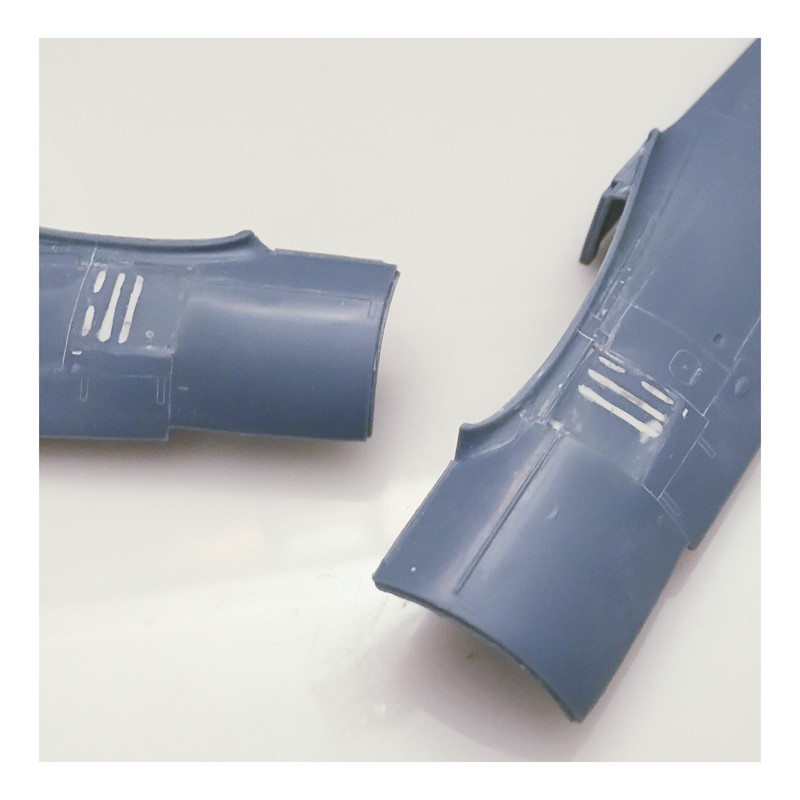
Morning, Lyle! I know nothing as well. ‘‘Twas Torben who pointed out the A-0 / A-1 series have no cooling slots. Slots came later.
Image

Image

I almost, nearly, “fingers crossed” have the fills on each half where they need to be. The transition to the panel edges is toughest for me to see without adding primer. I had to shine a light on the area to decipher what was happening.
Make more models!
User avatar
LyleW
Admin
Posts: 15035
Joined: Fri Dec 13, 2013 7:25 am
Location: Mt. Washington KY

Re: Pacific Coast Models 1/32 Fw 190A-0. Black 13. Belgium,

Post by LyleW »

Cool. Thanks for the info and thanks, Torben! We have so much knowledge on this site it is scary.
To make each build less crappy than the last one. Or, put another way, "Better than the last one, not as good as the next one!"..
User avatar
jkim
Elite Member
Posts: 4073
Joined: Mon Apr 10, 2017 4:03 pm

Re: Pacific Coast Models 1/32 Fw 190A-0. Black 13. Belgium,

Post by jkim »

Good work on the vent fills, Bruce! Are you going to re-establish the panel lines that may have gotten affected by the sanding?
John aka JKim
-----------<><
Image
User avatar
Stikpusher
Moderator
Posts: 21189
Joined: Sat Apr 05, 2014 8:37 pm
Location: Ceti Alpha 5

Re: Pacific Coast Models 1/32 Fw 190A-0. Black 13. Belgium,

Post by Stikpusher »

Looks good Bruce. I presume that they included the cooling slots because they wanted to get more versions from the molds?
"Surely I have made my meaning plain? I intend to avenge myself upon you, Admiral. I have deprived your ship of power, and when I swing 'round, I intend to deprive you of your life."

FLSM
User avatar
mostrich
Admin
Posts: 3106
Joined: Sun Apr 06, 2014 2:13 pm
Location: Hamburg, Germany
Contact:

Re: Pacific Coast Models 1/32 Fw 190A-0. Black 13. Belgium,

Post by mostrich »

I think they've just gone the easiest way. Many A-0 were converted to A-1 standard later on to avoid the engine issues. The production doubled from variant to variant (50 A-0, 100 A-1, 200 A-2).
Cheers,
Torben
User avatar
jkim
Elite Member
Posts: 4073
Joined: Mon Apr 10, 2017 4:03 pm

Re: Pacific Coast Models 1/32 Fw 190A-0. Black 13. Belgium,

Post by jkim »

Technically, the kit is sold as versions A-1/2/3 so the cooling slots were correct for all included versions. Savvy modelers can make the small adjustments to create a A-0 or even an A-4 from this kit.
John aka JKim
-----------<><
Image
User avatar
speedgraflex
Moderator
Posts: 11358
Joined: Fri Feb 10, 2017 11:08 pm
Contact:

Re: Pacific Coast Models 1/32 Fw 190A-0. Black 13. Belgium,

Post by speedgraflex »

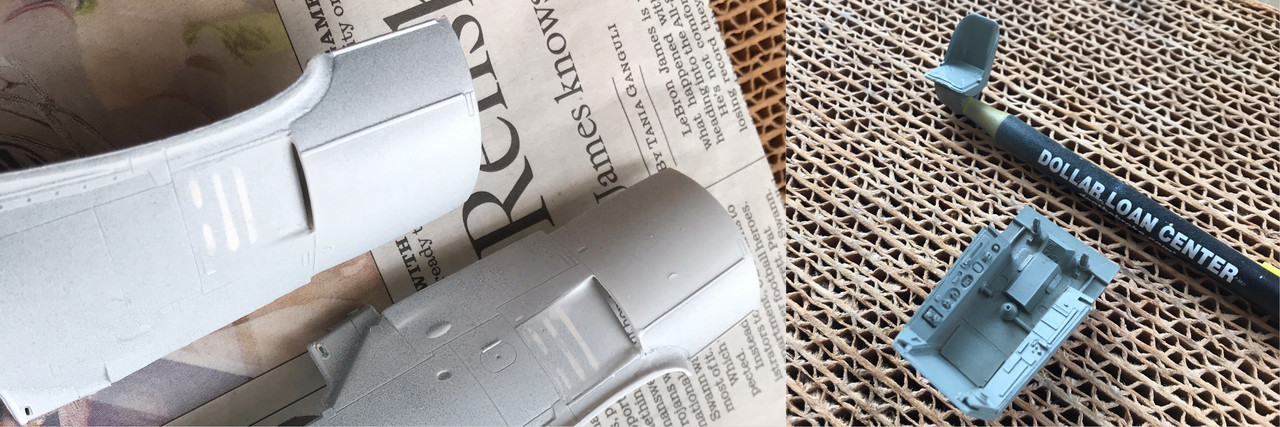
Image

I am using Tamiya White Extra Fine Primer decanted and thinned out on the fuselage halves. I saw that dude Flory build his Me 262 on a Tamiya White Extra Fine foundation and thought, yes! The white primer will make the pencil guides for riveting easier to see. I managed to save the panel lines, John. There is still a ghosting edge line where my blend is. My goal was not opacity here—which is why I stopped far short of painting out the vents. They are pretty “disappeared,” methinks; by “disappeared” I mean the surface is flattened. I managed to try out Gunze RLM66 on the cockpit tub and seat in order to break the ice officially on the color coats. I think I will glaze over this with Humbrol enamels for the details. Thoughts? When do I add the photo etch control levels?
Make more models!
Post Reply

Return to “Aircraft Work in Progress”