ASSEMBLY
After the pit and insides of the fuselage have been painted i gave the well detailed radio deck the same treatment. The exhaust setup was glued in and fuselage halves could then be closed. Even though this was a multi part lining up affair i had no problems whatsoever here due to revell incorporating some clever engineering by adding some ridges and notches in smart places

The wings are a one piece affair with the wing top parts glued onto a big underwing section. This whole assembly then gets glued onto the fuselage. I made a bit of a booboo here as i was assuming the tabs you see outlined in the next picture were part of the assembly. Turns out these were just part of the sprue and need to be removed. This was the only frowning moment i had during assembly as i think revell could do without such large attachment points.

Fit and alignment was pretty top notch during this whole process and if i do have any gaps to fill and sand it would be mostly due to human error and not the kit's fault. This one has a remarkably good fit! Especially the wing section mated and aligned with the fuselage undersides like a glove, something that often goes wrong in my opinion and requiring lots of filling and sanding. Not in this case.

The fuselage/ wingroot joint only has the tiniest, less than a millimeter gap that can easily be filled with some white glue. No sanding required whatsoever! For this picture i actually slightly forced the gap open. Excellent!

Oh,hold on,..... Another frown moment but seen on many, if not all revell/ monogram kits: One of the flaps has a stamp engraved on the undersides. I never quite understood why a manufacturer would do this. So yes, some sanding and buffing required here. Luckily it is located on a not so obvious place.

Word of caution! During my research prior to starting this kit i was informed she is a tail sitter! A clear plastic rod is provided with the kit to prevent this from happening but i chose to add some weight to the nosecone and forward of the cockpit.

The nosecone could then be glued on, immediately providing the distinct shark nose outline. Great fit as well!

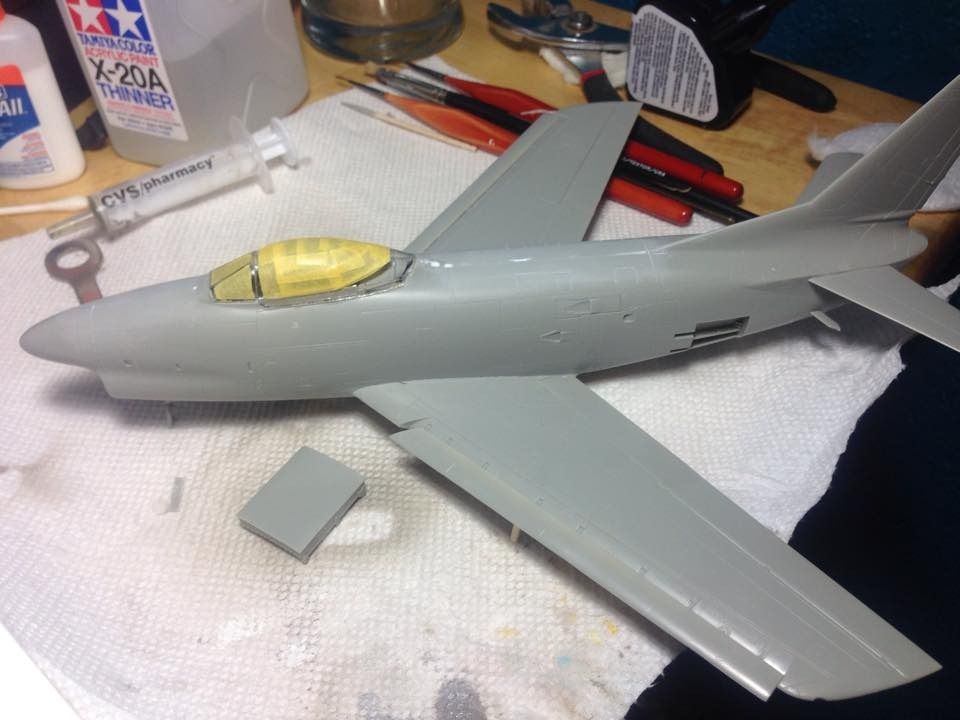
This leaves us with masking the canopy before initial assembly will be done. I always try to leave any landing gears, antennae and small parts off due to my clumsiness.
Thick as it is, it is still a nice looking one with small parts being added to the insides such as a mirror. I personally have no problem using the kit part but the demanding modeler will want vacform here.

Concluding this installment i cannot say other than positive things. It is a truly fun build and with some careful dryfitting and glueing you will need only a minimum of putty, if any at all. Detail is great, fit is top notch and yes, i can use the "she just literally falls together" cliche here.
 I'm looking forward to the next installment,,,