Page 2 of 3
Re: 1/72 FMA IA-58 Pucara
Posted: Sun Oct 11, 2015 6:27 am
by gino b2
nice detail work !
gino
Re: 1/72 FMA IA-58 Pucara
Posted: Mon Oct 12, 2015 3:00 am
by Stuart
Super extra detailing on that Pit.
I really like the idea of using Tamiya tape for cable clamping, extra structure etc. Great idea. Do you leave it stuck down with it's own glue or do you put a layer of something else over it so it doesn't lift?

Re: 1/72 FMA IA-58 Pucara
Posted: Mon Oct 12, 2015 5:38 pm
by Fermis
Thanks all!!!
dmminiatures wrote:
HI Fermis - want to know more about the cables. so, the wirings are some sort of copper wire?
Yes, just copper wire. I snagged a bunch of "pig tails" (wiring) from my airports old runway lights. Kinda fitting, to put it back into use in an airplane!
portman wrote:Super extra detailing on that Pit.
I really like the idea of using Tamiya tape for cable clamping, extra structure etc. Great idea. Do you leave it stuck down with it's own glue or do you put a layer of something else over it so it doesn't lift?
Yes and no!
For the cable ties, I'll use CA...but on "structure", just the tape itself, usually. Then just paint over the top as usual.
Re: 1/72 FMA IA-58 Pucara
Posted: Mon Oct 12, 2015 11:11 pm
by Stuart
Ah ok - thanks Fermis!
Re: 1/72 FMA IA-58 Pucara
Posted: Tue Oct 13, 2015 4:34 am
by BsYamato
I like this subject

Follow
Re: 1/72 FMA IA-58 Pucara
Posted: Mon Nov 30, 2015 6:30 pm
by Fermis
Back to this!
I shelved it after I had the fuse together. Pussed out on the sanding, filling, rescribing.
Did that stuff yesterday.
The bottom (chin/wing bottom stubs) fit was pretty crappy, and the wing bottoms angled downward a bit too much, so I had to add a spar (brass rod).

There is still a very slight angle to them, but it's acceptable.
Cut the flaps from the wings, so I can pose them down. Had to add a strip of plastic to the edge of the wing root to fill the gap.

That'll be all, until I get back from Germany.
Re: 1/72 FMA IA-58 Pucara
Posted: Wed Dec 23, 2015 8:02 pm
by Fermis
Got this one back on the bench for the moment!
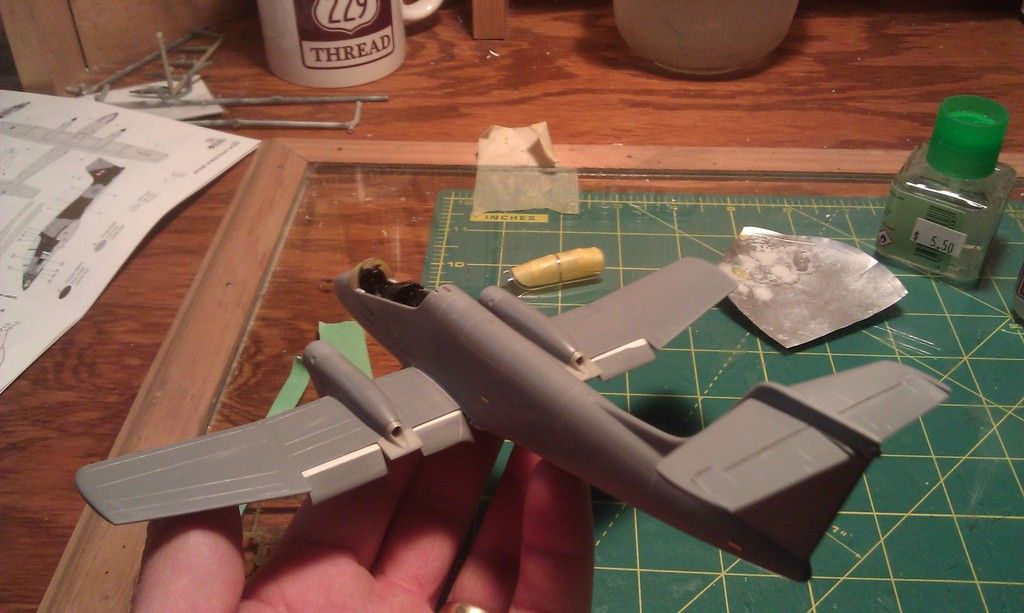
Got to workin, and realized...the windscreen (which I separated from the one piece canopy) was MIA. There's no a/m option, so I had to make a new one. I started with an F-4 windscreen (the curve matched the top of the other canopy piece). I did a lot of trimming, adding extra bits, sand, test, sand, test.....
Finally got a decent master out of it.
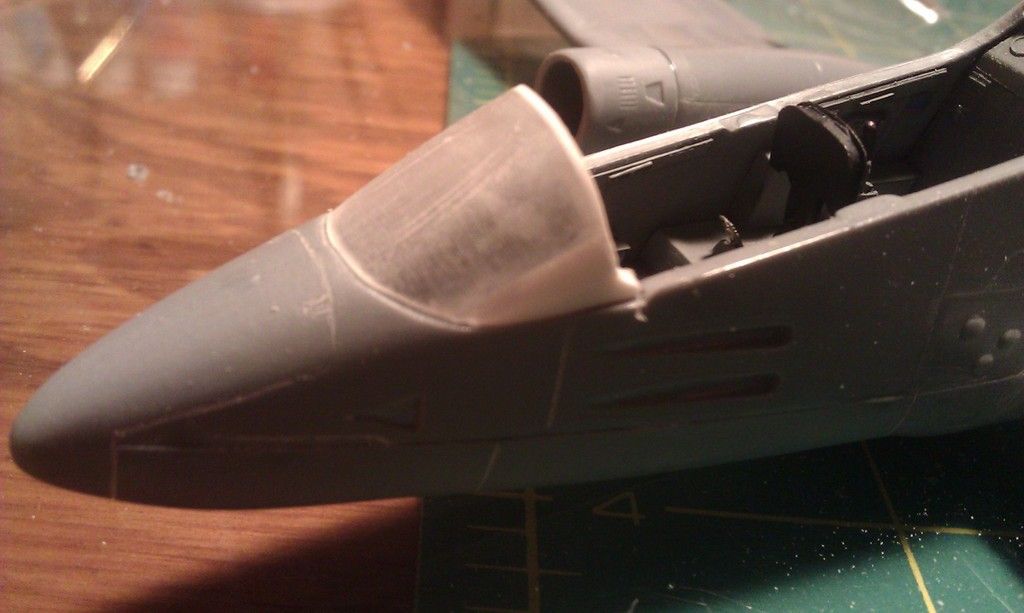
Smash molded a new part over that...
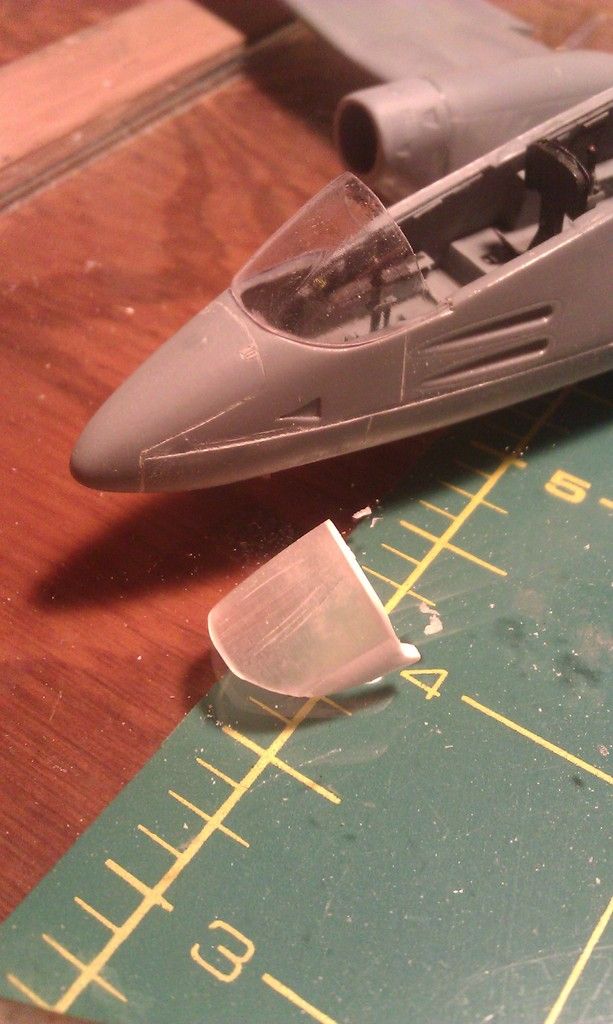
In the mean time...this thing took a terrible tumble off the bench

...had to glue all the wings back on, re-sand and all that fun stuff. Pilots IP went MIA, finally found it today.
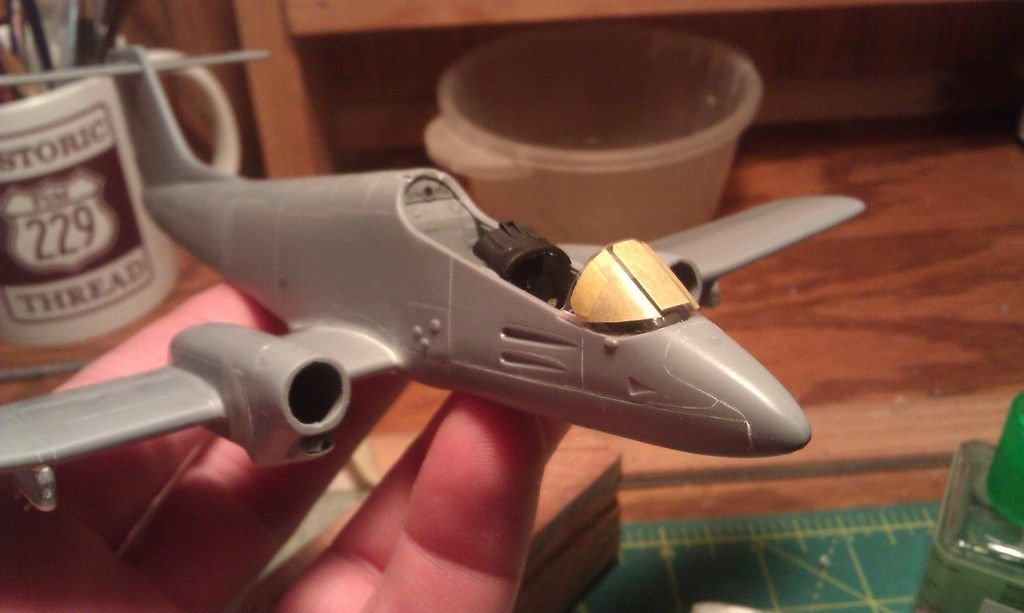
Paint layers will make up the framing.
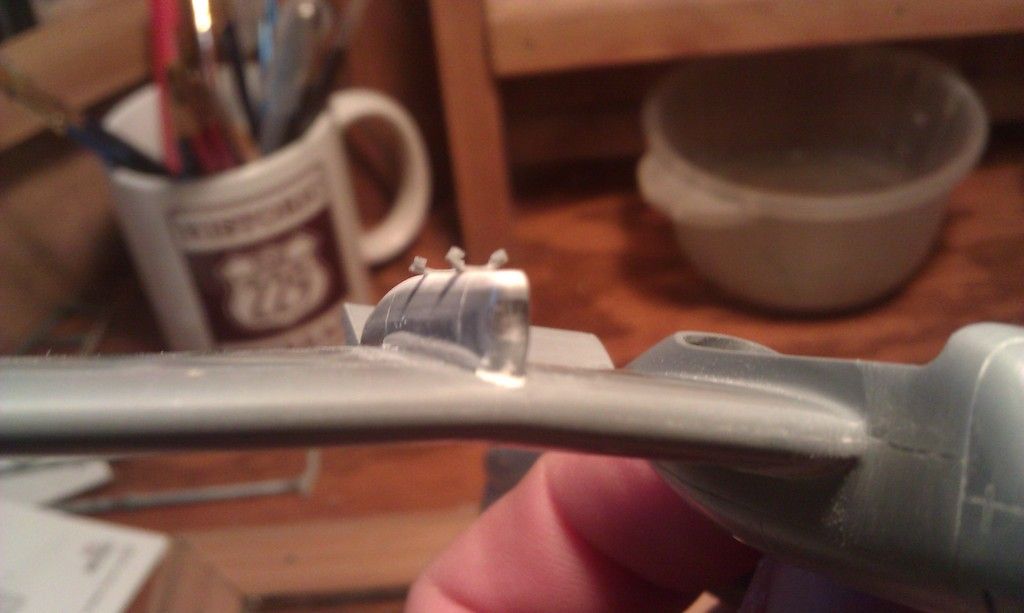
Added a couple layers of sheet stock to the pylons...they were a bit too stubby. Also added sway braces and clear landing lights.
A bit of masking and it's paint slingin time!
Re: 1/72 FMA IA-58 Pucara
Posted: Thu Dec 24, 2015 9:58 am
by LyleW
Y'all don't have to go through all this just to make me feel better, you know! I'd like to see how you do the smash mold sometime. I can't picture heating clear plastic with a flame.
Re: 1/72 FMA IA-58 Pucara
Posted: Thu Dec 24, 2015 11:32 am
by Fermis
LyleW wrote:Y'all don't have to go through all this just to make me feel better, you know! I'd like to see how you do the smash mold sometime. I can't picture heating clear plastic with a flame.
I'm just glad this thing doesn't have any belly windows!!!

Smash molding is pretty easy!
For canopies like this, I cut a strip of clear plastic about 2" long X 1" wide, hold both ends between finger and thumb, move it around a candle flame, about 2-3" above, til it's ready to be smashed over the part. Trial-n-error will tell you when it's ready!
Re: 1/72 FMA IA-58 Pucara
Posted: Thu Dec 24, 2015 12:14 pm
by BlackSheep214
Oh boy the trouble you went thru. Glad to hear you were managed to save it. Just you wait, you will find that "missing" canopy in the least expected places.