
1/72 Hasegawa EA-6B (Finished)
-
CallSignOWL

- Addicted Member
- Posts: 1754
- Joined: Mon Apr 07, 2014 12:45 pm
Re: 1/72 Hasegawa EA-6B
that looks freaking awesome!
Every take-off has a landing...some are just better than others

Re: 1/72 Hasegawa EA-6B
Break time is over!
Had another change in marking options.
Decided on VAQ-135 "Black Ravens"...

Got all the major painting done...
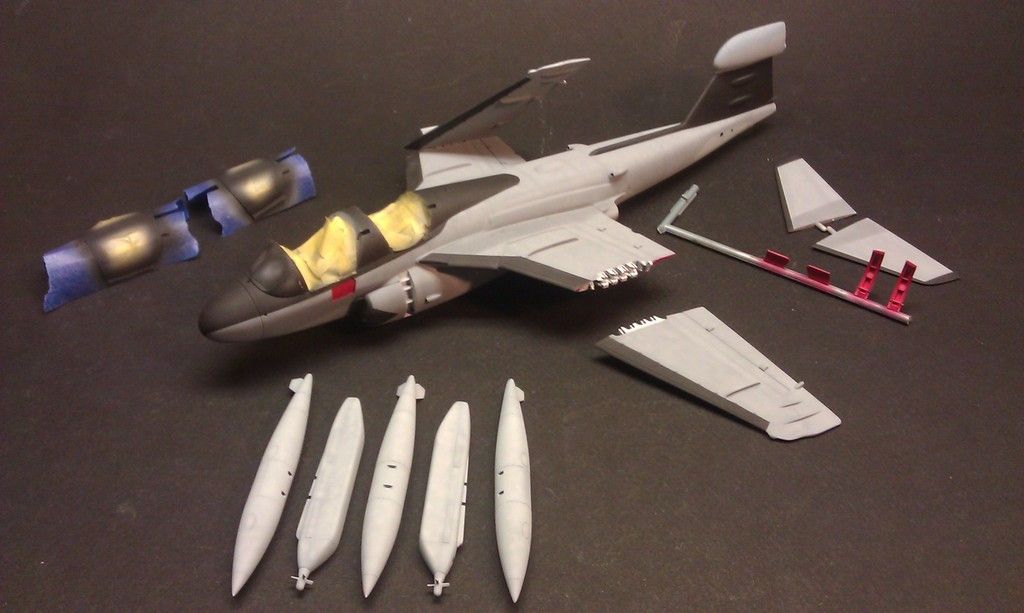
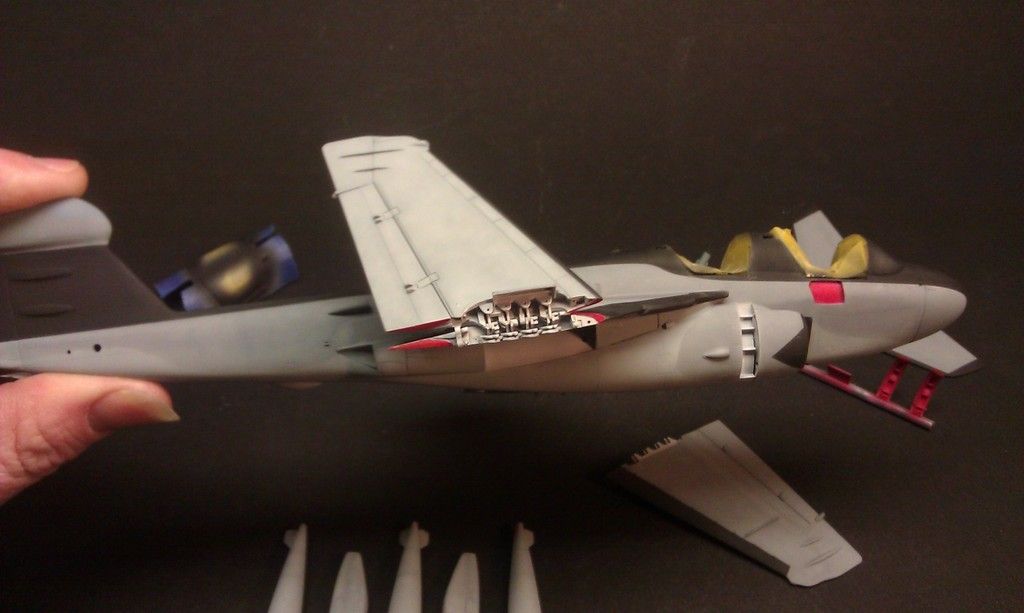
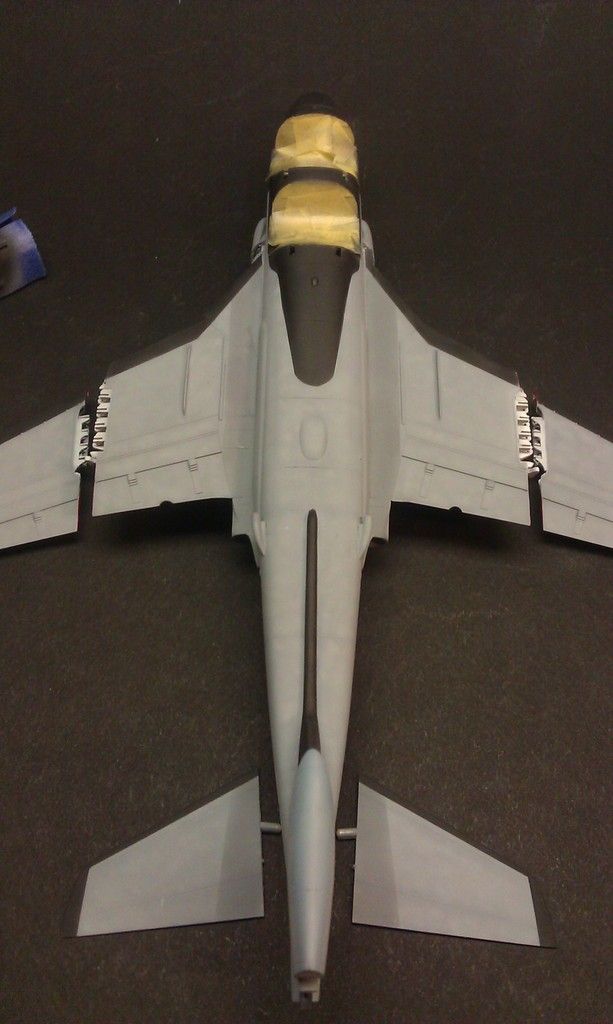
...and...back on break. Headed out in the a.m. for Indiana, to go to the Indy contest!
Had another change in marking options.
Decided on VAQ-135 "Black Ravens"...
Got all the major painting done...
...and...back on break. Headed out in the a.m. for Indiana, to go to the Indy contest!
-
CallSignOWL
- Addicted Member
- Posts: 1754
- Joined: Mon Apr 07, 2014 12:45 pm
Re: 1/72 Hasegawa EA-6B
b e a utiful!!!! 
Every take-off has a landing...some are just better than others
-
BlackSheep214

- Elite Member
- Posts: 13598
- Joined: Sun Apr 06, 2014 8:47 pm
Re: 1/72 Hasegawa EA-6B
Immaculate work so far. Good luck at Indy!!
“Who controls the skies, controls the fate of this Earth”
Author unknown- 352nd Fighter Group, Blue-Nosed Bastards of Bodney
“Send one plane it’s a sortie; send two planes it’s a flight; send four planes it’s a test of airpower. - Richard Kohn
Author unknown- 352nd Fighter Group, Blue-Nosed Bastards of Bodney
“Send one plane it’s a sortie; send two planes it’s a flight; send four planes it’s a test of airpower. - Richard Kohn

Re: 1/72 Hasegawa EA-6B
Wouh!

- Kari
- Kari
---
On the bench:
Eduard 1:48 - Fokker D.VII OAW
https://www.facebook.com/GrundAsk-Scale ... 721218708/
On the bench:
Eduard 1:48 - Fokker D.VII OAW
https://www.facebook.com/GrundAsk-Scale ... 721218708/

Re: 1/72 Hasegawa EA-6B
Thanks guys!.......Owl 
It's been slow going lately.
"Authentic Decals" is a good name to remember...to STAY AWAY FROM!!!! The first decal I tried to use just crumbled. (I've had the same experience from them before). I sealled the whole sheet (so I had to cut out each one, as close as possible)...they were still a major PITA to deal with. The smaller markings...not so bad...but the big ones on the tail...made me hate my mother for bringing me into a world that had "Authentic Decals"!
I did not realize how bad those tail marking were...until going back at looking at real pics. The "bird" should be nice straight lines. I had done a bit of touch up with a brush...but not good enough...
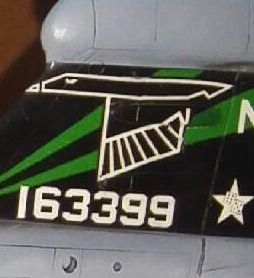
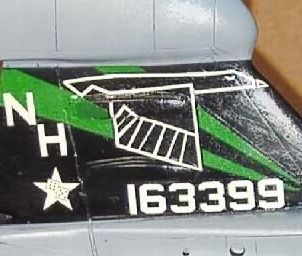
BOOOOOOOOOOO!!!!
In a high risk move...I masked over the decal, and erased the white line with black...pulled that off...re-masked and sprayed new white lines (top and bottom). The big risk was the possibility of pulling up decal with the tape...very minimal damage...simple mask and repaint to fix those couple of spots. End reslut...much better!
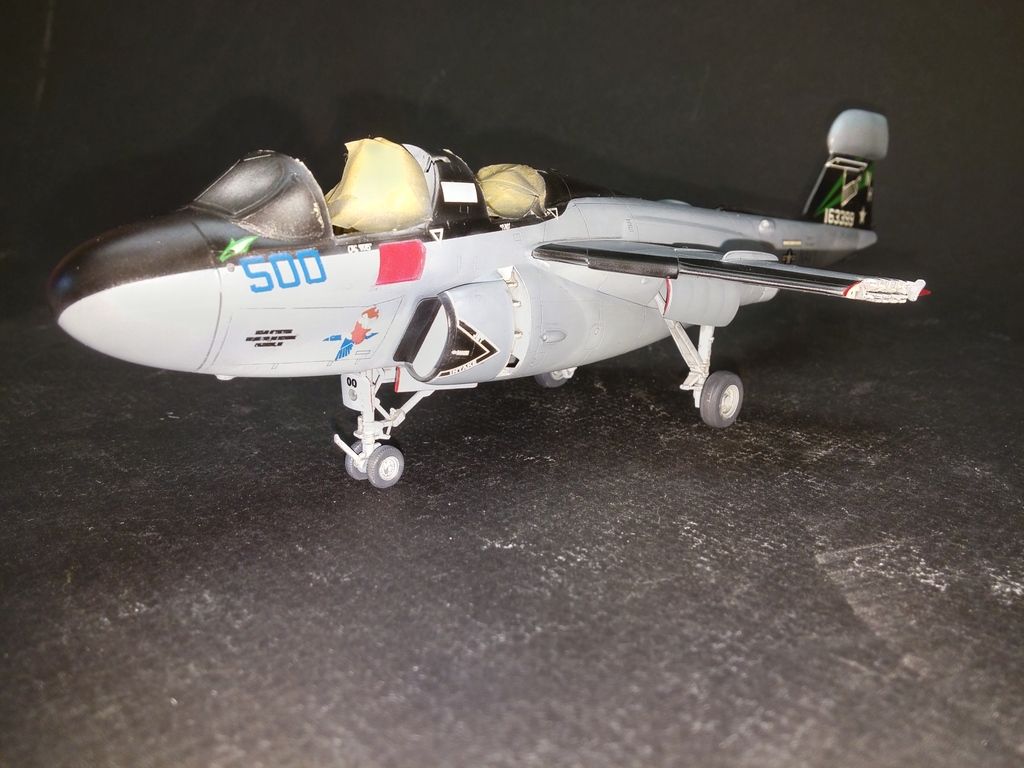
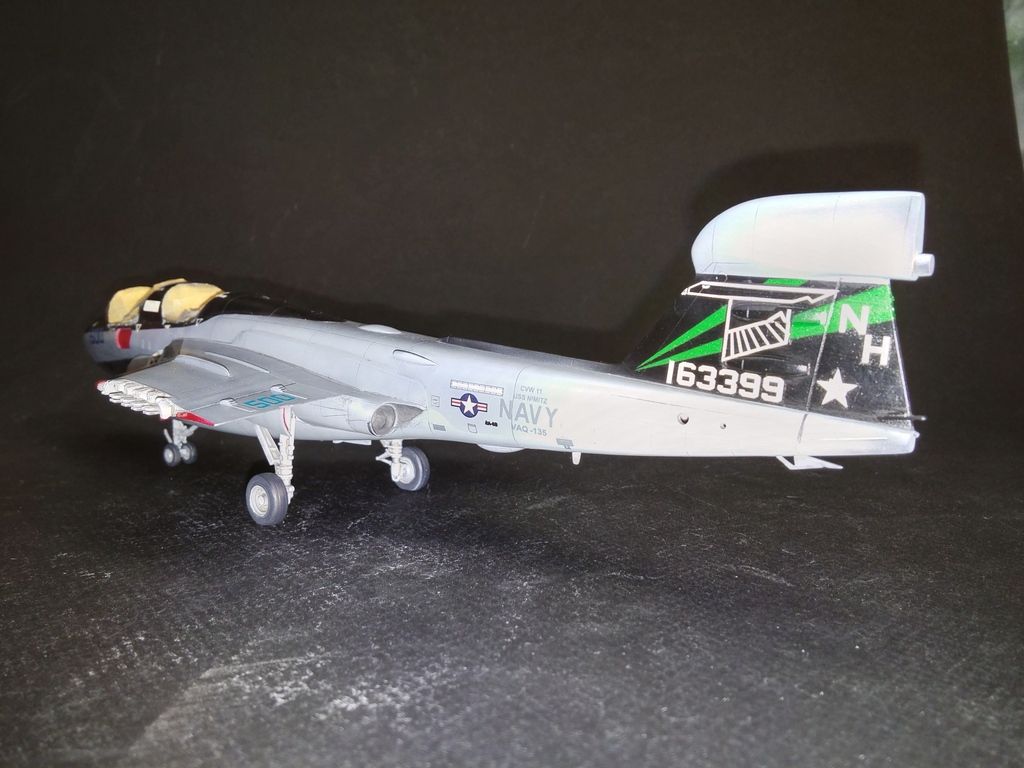
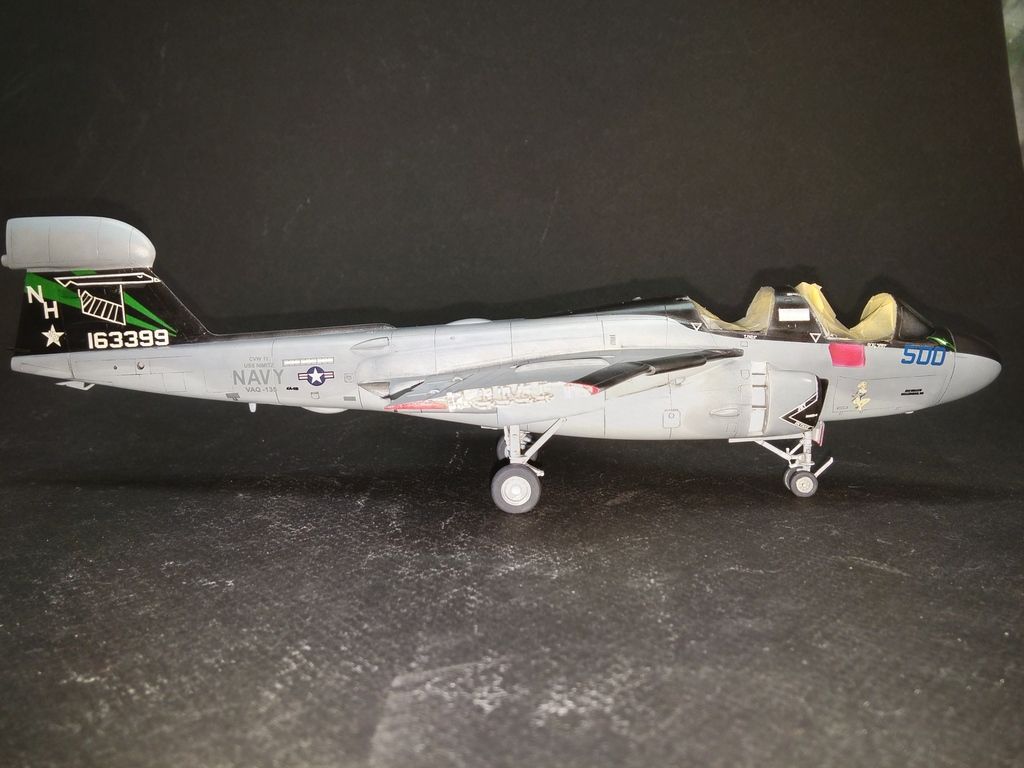
Hmmmm...not really liking the camera on this new phone.
It's been slow going lately.
"Authentic Decals" is a good name to remember...to STAY AWAY FROM!!!! The first decal I tried to use just crumbled. (I've had the same experience from them before). I sealled the whole sheet (so I had to cut out each one, as close as possible)...they were still a major PITA to deal with. The smaller markings...not so bad...but the big ones on the tail...made me hate my mother for bringing me into a world that had "Authentic Decals"!
I did not realize how bad those tail marking were...until going back at looking at real pics. The "bird" should be nice straight lines. I had done a bit of touch up with a brush...but not good enough...
BOOOOOOOOOOO!!!!
In a high risk move...I masked over the decal, and erased the white line with black...pulled that off...re-masked and sprayed new white lines (top and bottom). The big risk was the possibility of pulling up decal with the tape...very minimal damage...simple mask and repaint to fix those couple of spots. End reslut...much better!
Hmmmm...not really liking the camera on this new phone.

Re: 1/72 Hasegawa EA-6B
Very risky but well executed rescue, Fermis!
I like the schemes with the black burglar mask. Looks like a raccoon!
 - Like me?
No, you're a beaver...
I like the schemes with the black burglar mask. Looks like a raccoon!
- Like me? No, you're a beaver...
-
BlackSheep214
- Elite Member
- Posts: 13598
- Joined: Sun Apr 06, 2014 8:47 pm
Re: 1/72 Hasegawa EA-6B
A great save! I will keep in mind never to get Authentic Decals.
“Who controls the skies, controls the fate of this Earth”
Author unknown- 352nd Fighter Group, Blue-Nosed Bastards of Bodney
“Send one plane it’s a sortie; send two planes it’s a flight; send four planes it’s a test of airpower. - Richard Kohn
Author unknown- 352nd Fighter Group, Blue-Nosed Bastards of Bodney
“Send one plane it’s a sortie; send two planes it’s a flight; send four planes it’s a test of airpower. - Richard Kohn
Re: 1/72 Hasegawa EA-6B
Thanks dudes!
One last fix...
The kit had the big bump antenna, where there should be a blade antenna. Carved off the bump...leaving a gaping hole. I cut a piece of styrene sheet and glued on a "handle". Put some CA on the piece of sheet...(hehehe "piece of sheet"!!!)...finagled it into the hole (hehehe...I'm full of em!!!)...used the "handle" to pull the sheet back against the inside of the fuse. Some more sheet on top of that, to bring the "plug" closer to the fuselage surface...putty for the rest.
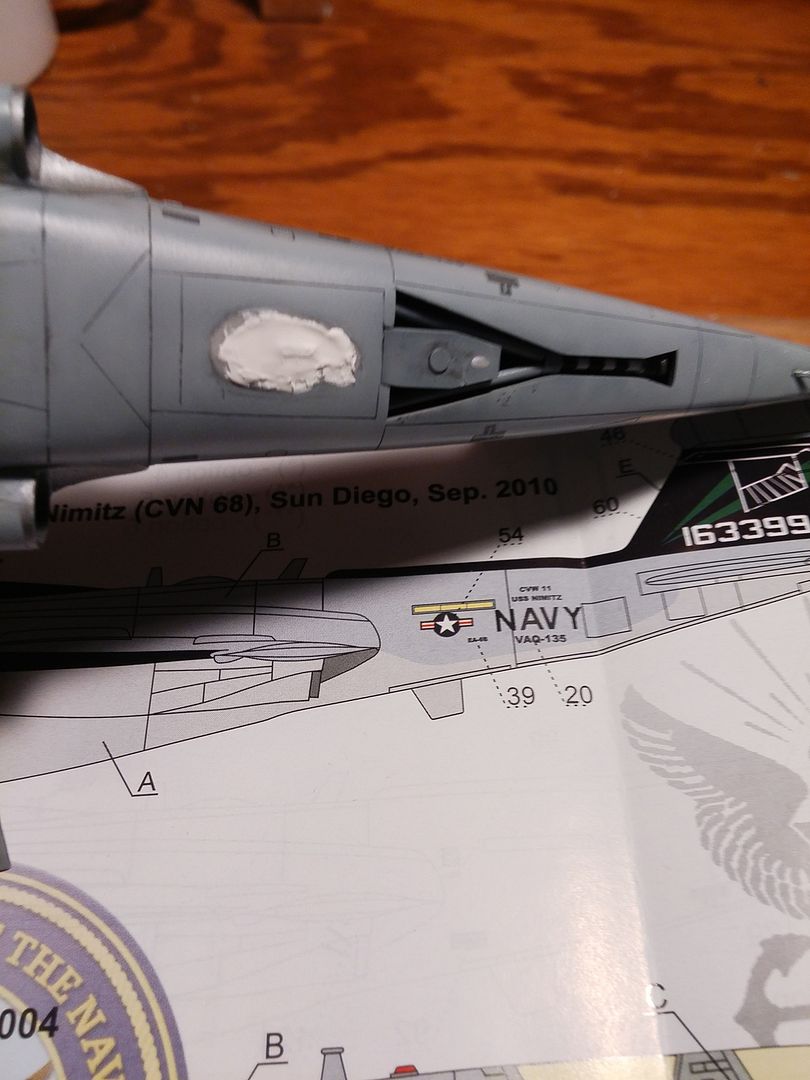
Blade antenna cut from sheet styrene.
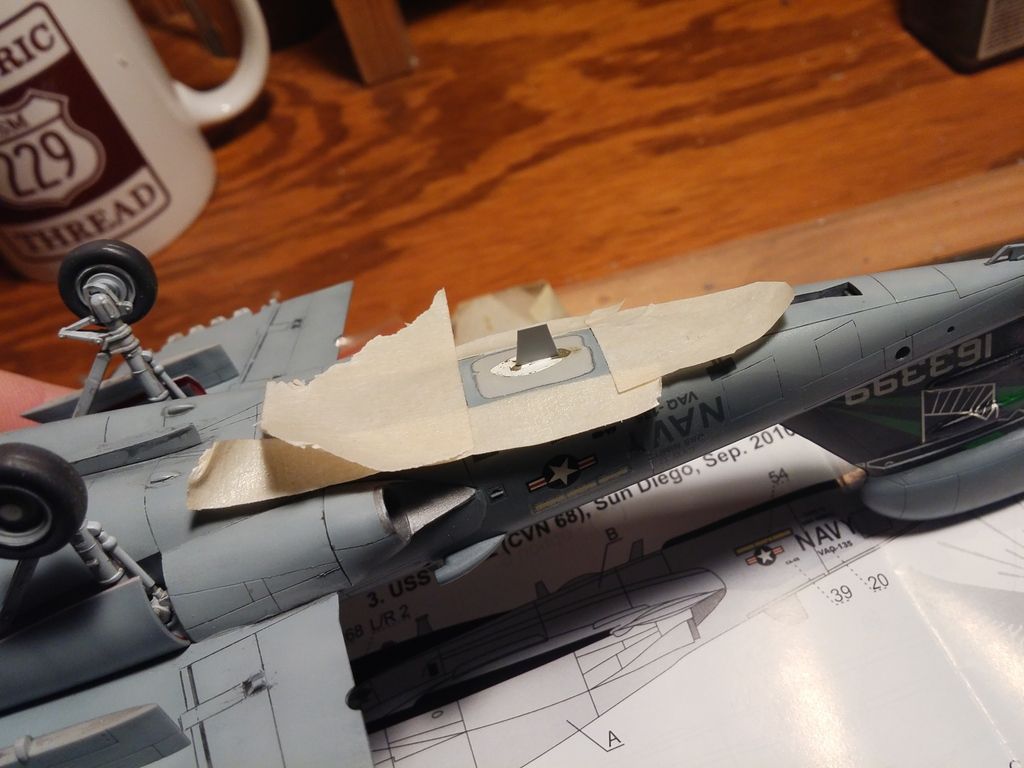
Painted...
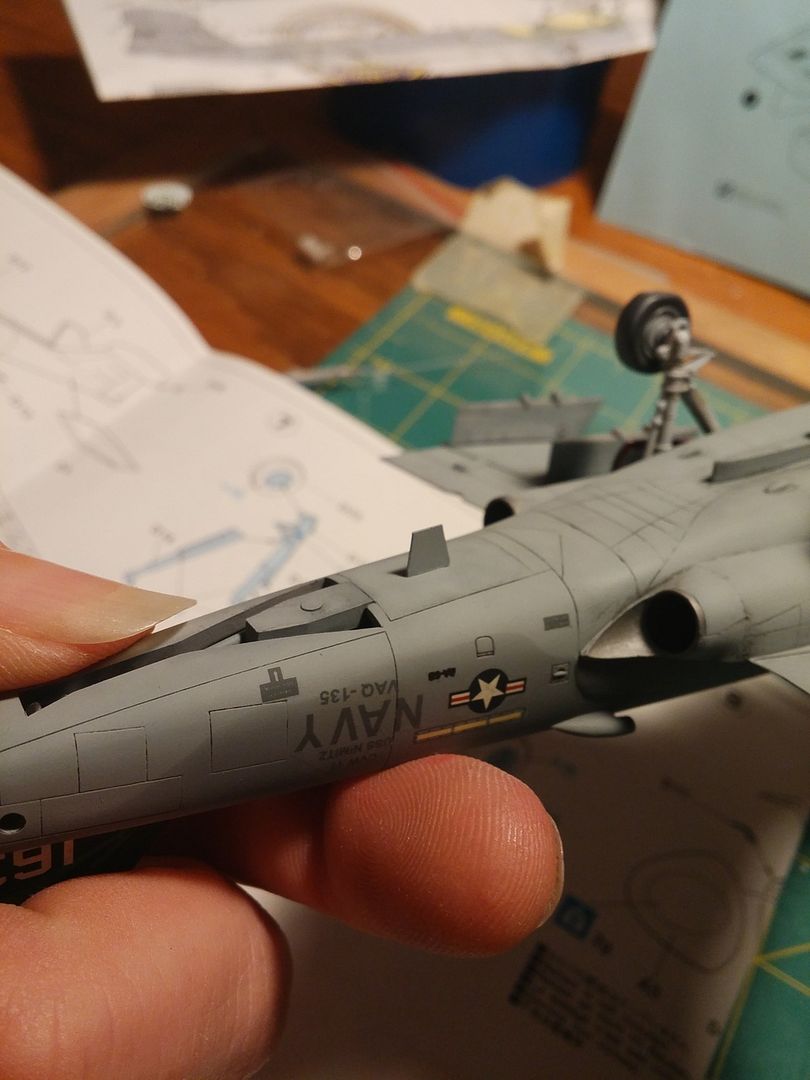
Finish pics shortly!
One last fix...
The kit had the big bump antenna, where there should be a blade antenna. Carved off the bump...leaving a gaping hole. I cut a piece of styrene sheet and glued on a "handle". Put some CA on the piece of sheet...(hehehe "piece of sheet"!!!)...finagled it into the hole (hehehe...I'm full of em!!!)...used the "handle" to pull the sheet back against the inside of the fuse. Some more sheet on top of that, to bring the "plug" closer to the fuselage surface...putty for the rest.
Blade antenna cut from sheet styrene.
Painted...
Finish pics shortly!