Page 2 of 4
Re: 1/72 Italeri A-26
Posted: Sat Jul 02, 2016 10:20 am
by Fermis
CallSignOWL wrote:
Does the string method work better than a saw blade?
I'd have to say...yes?
The advantages are..."cutting" on a curve and around the little "tabs".
It helps a lot to have a good groove, to help guide the thread...it can go off course pretty easily. In this case, here, there was a decent groove around the rudder...in other cases, it helps to score the groove a little more with a scriber or back side of a blade. It does not leave a smooth edge, so you'll have to deal with that. Also, since the friction generates heat...the thread is melting its way through the plastic, rather than cutting...if you stop the sawing motion, the plastic will solidify on the thread....you're stuck! If ya need to stop "sawing", gradually slow down the motion and you'll be ok. I haven't had one thread make it through more than two or three cuts(individual control surfaces)...it will give out from time to time.
Re: 1/72 Italeri A-26
Posted: Sat Jul 02, 2016 11:23 am
by CallSignOWL
Fermis wrote:CallSignOWL wrote:
Does the string method work better than a saw blade?
I'd have to say...yes?
The advantages are..."cutting" on a curve and around the little "tabs".
It helps a lot to have a good groove, to help guide the thread...it can go off course pretty easily. In this case, here, there was a decent groove around the rudder...in other cases, it helps to score the groove a little more with a scriber or back side of a blade. It does not leave a smooth edge, so you'll have to deal with that. Also, since the friction generates heat...the thread is melting its way through the plastic, rather than cutting...if you stop the sawing motion, the plastic will solidify on the thread....you're stuck! If ya need to stop "sawing", gradually slow down the motion and you'll be ok. I haven't had one thread make it through more than two or three cuts(individual control surfaces)...it will give out from time to time.
hmm... do you use basic sewing thread for this?
Re: 1/72 Italeri A-26
Posted: Sat Jul 02, 2016 11:25 am
by Fermis
Yup...just plain ole sewing thread from the dollar store.

Now that I think about it...I have a spool of braided fishing line...I may give that a whirl. Should work, it has some texture, and may be a lot stronger...longer lasting. I'll see how that goes...when the time comes to cut some elevators!
Re: 1/72 Italeri A-26
Posted: Sat Jul 02, 2016 11:35 am
by CallSignOWL
Fermis wrote:Yup...just plain ole sewing thread from the dollar store.
Now that I think about it...I have a spool of braided fishing line...I may give that a whirl. Should work, it has some texture, and may be a lot stronger...longer lasting. I'll see how that goes...when the time comes to cut some elevators!
Ill have to try this! I havent had the best of luck detaching rudders from those tabs.....
Re: 1/72 Italeri A-26
Posted: Thu Jul 07, 2016 3:58 pm
by Fermis
CallSignOWL wrote:Fermis wrote:Yup...just plain ole sewing thread from the dollar store.
Now that I think about it...I have a spool of braided fishing line...I may give that a whirl. Should work, it has some texture, and may be a lot stronger...longer lasting. I'll see how that goes...when the time comes to cut some elevators!
Ill have to try this! I havent had the best of luck detaching rudders from those tabs.....
Sometimes, it's just easier to cut through the tabs and replace em...as you'll see momentarily!
Also, I had mentioned the braided fishing line....the stuff I have is for salmon fishing, and is about 3x thicker than thread...so I didn't even try it.
So far...no two pieces have gone together without fighting...and when they finally do go together...it's ugly!
I cut the rear, clear piece from the vac-form set......
BOOOOOOOOOOOOOOOOOOOOOOOOOOOOO
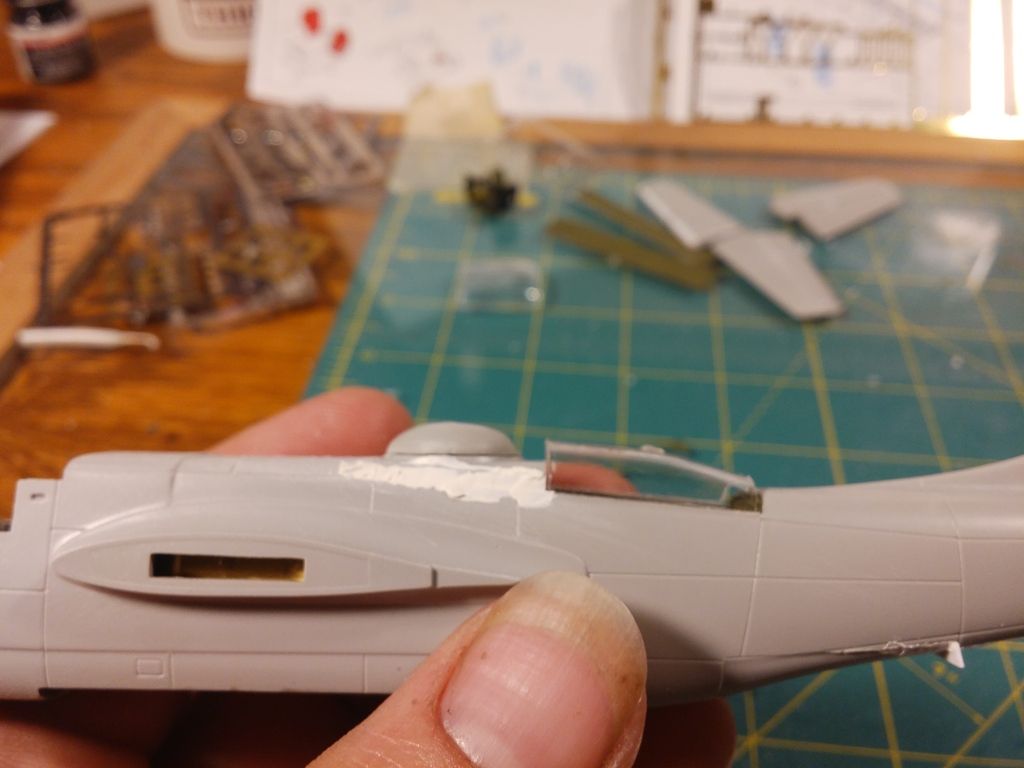
Kit part is a little better...
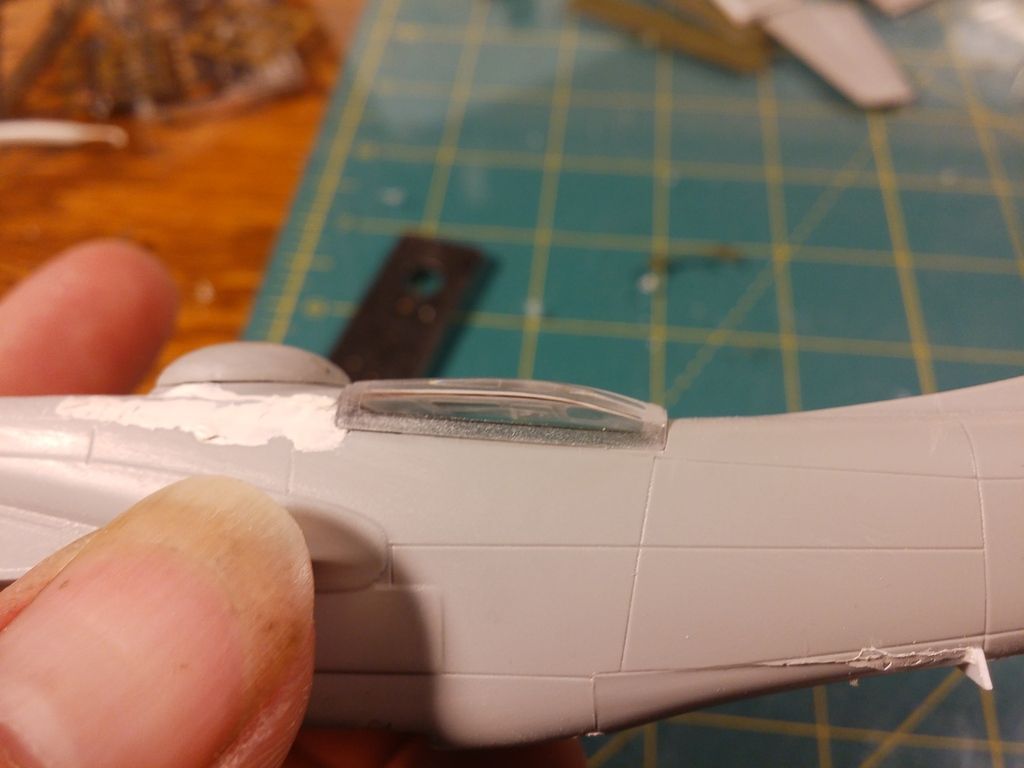
Still in the process of getting all the fuselage parts filled and sanded smooth.
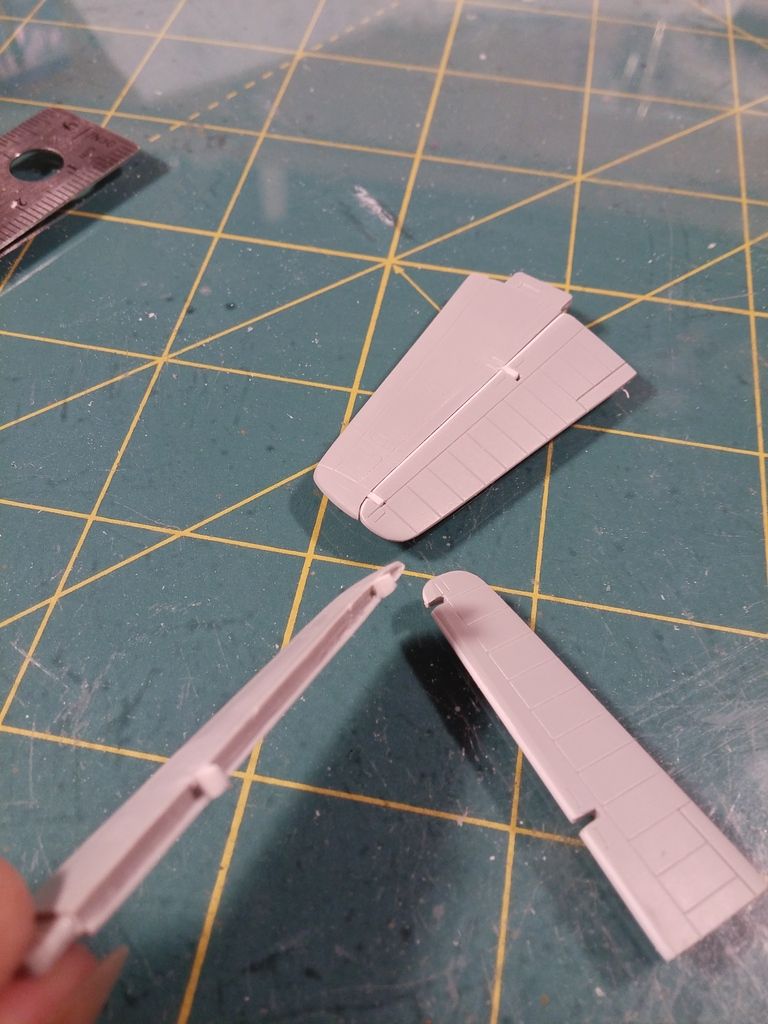
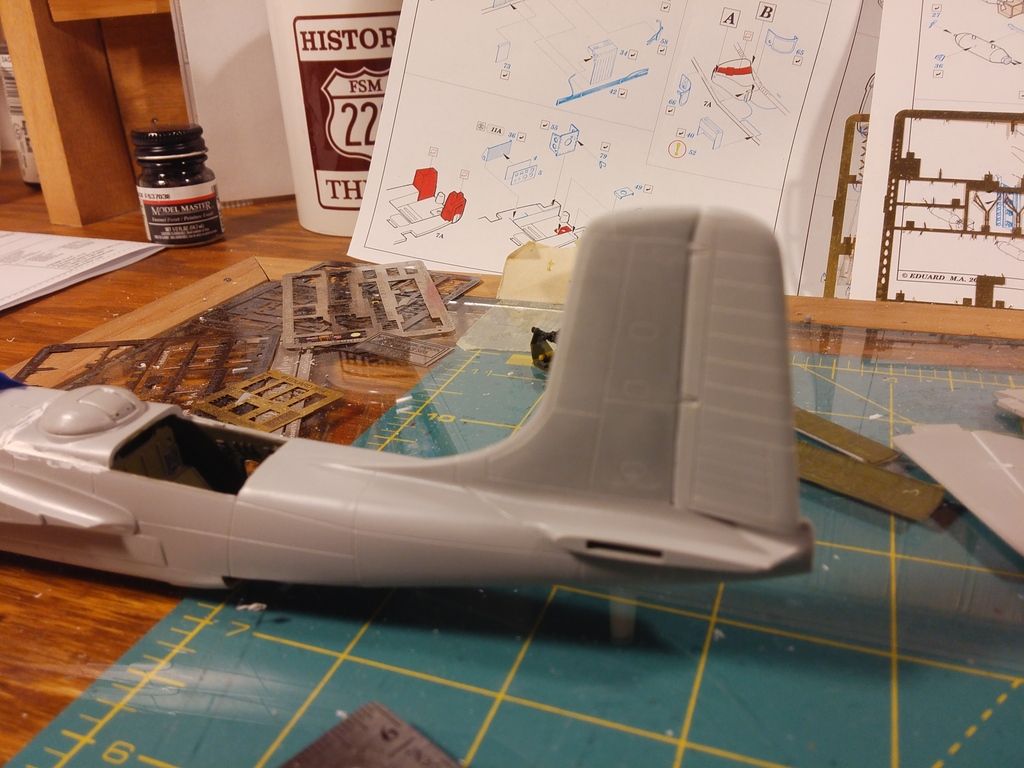
The tailplane/elevators are molded solid. I cut off the elevators, then carved a groove...tedious!
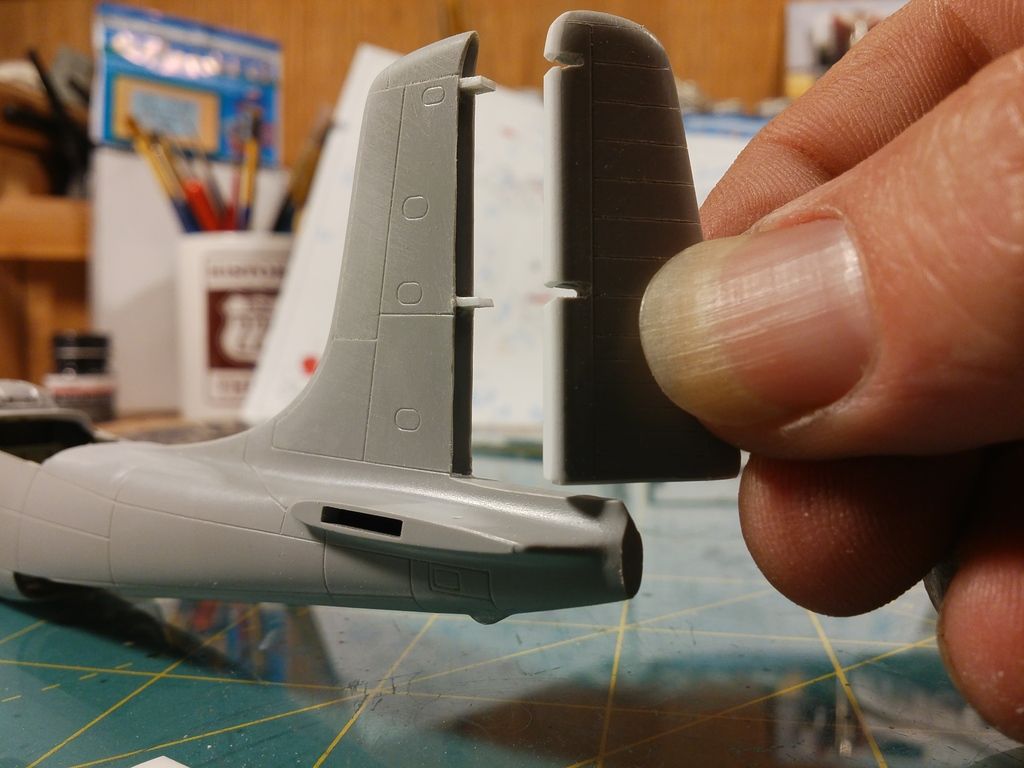
The rudder got the same treatment, but was much easier to bevel the inner edges before the fuse halves were glued up.
Re: 1/72 Italeri A-26
Posted: Fri Jul 08, 2016 4:11 am
by BorgR3mc0
Those rudders look nice, they will add some personal touch to the final result.
Re: 1/72 Italeri A-26
Posted: Fri Jul 08, 2016 8:36 am
by Duke Maddog
Looking great Fermis! You got this.
Re: 1/72 Italeri A-26
Posted: Sat Jul 16, 2016 6:45 am
by Fermis
The nacelles have to be modified, to accommodate the Vector engines....
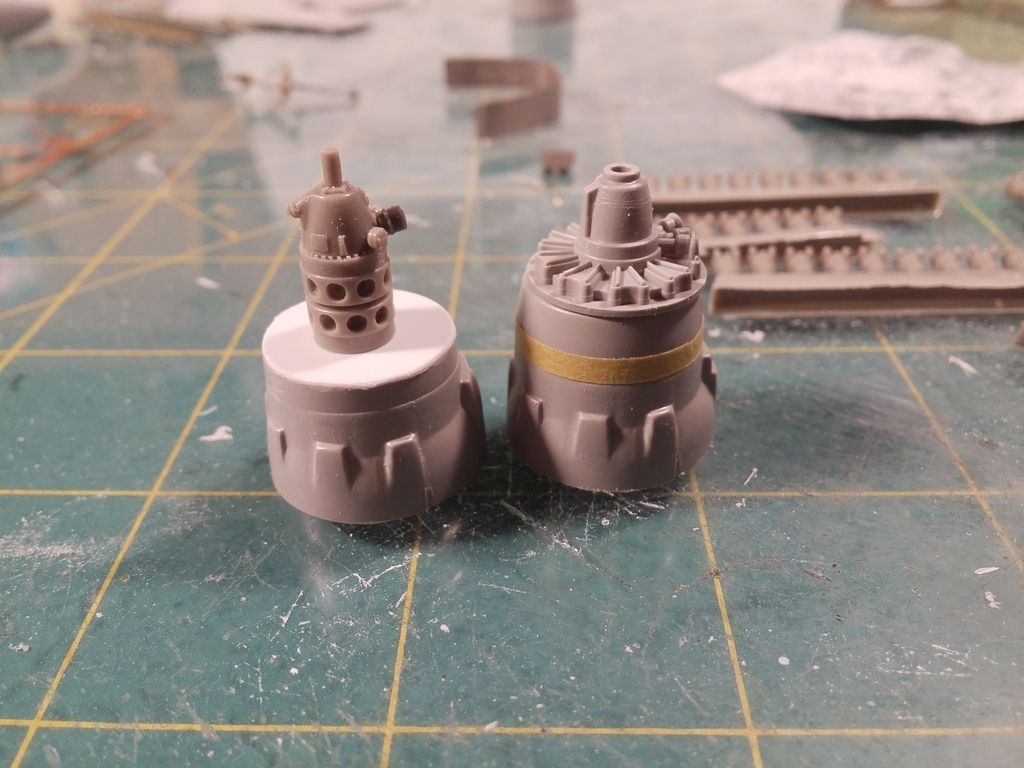
The engines a quite nice...fiddly as all get out, but nice. Problem is, there's no push rods...so I used aluminum tubing for those. The other problem...of course...they won't fit inside the nacelles, those will have to be ground down on the inside.
Fine copper wire for the ignition wires.
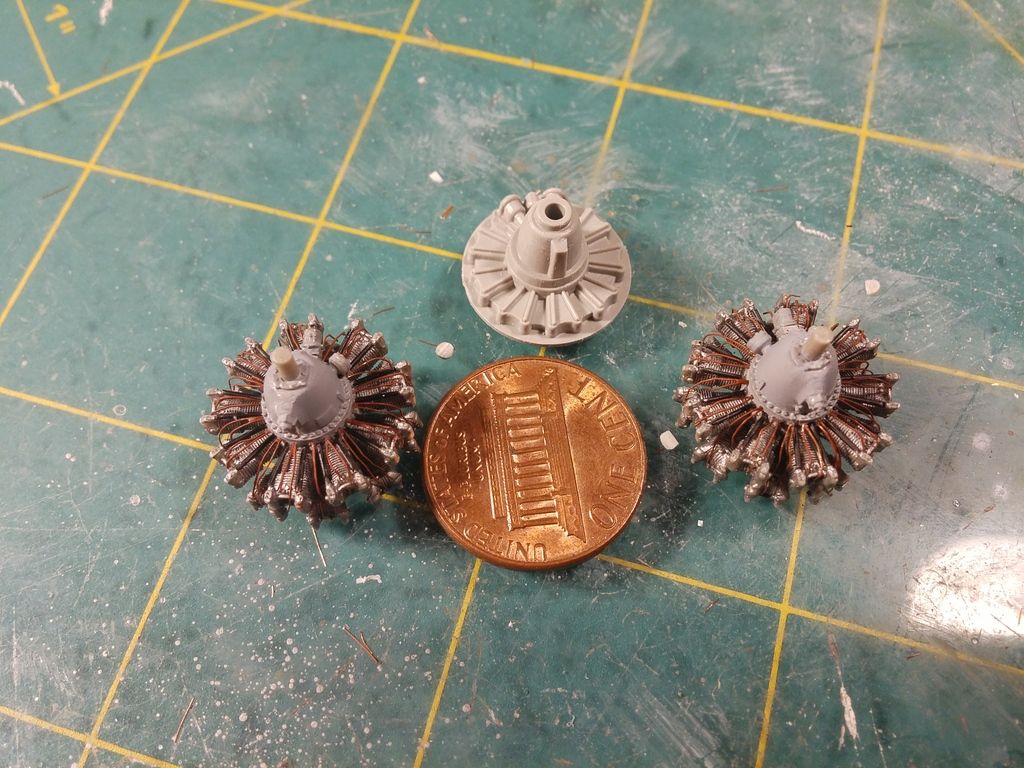
As it all sits right now.
I have to say...I absolutely hate that the main gears have to be installed before you get to the end....just furthering the PITA that is this kit.
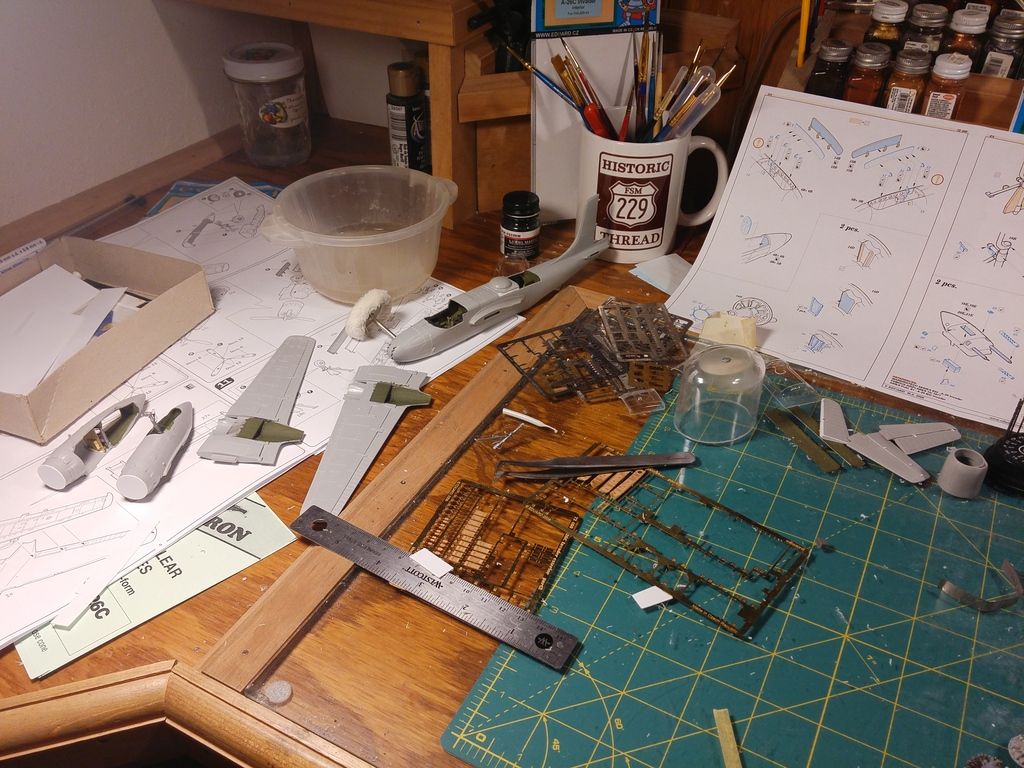
What a left handed MESS!!!
Re: 1/72 Italeri A-26
Posted: Sat Jul 16, 2016 6:49 am
by LyleW
Very intricate work! I have to agree, that installing the gear early on is a sure bet to break it. I usually just go ahead and do that, to get it out of the way.
Re: 1/72 Italeri A-26
Posted: Mon Jul 18, 2016 4:05 am
by Fermis
LyleW wrote:Very intricate work! I have to agree, that installing the gear early on is a sure bet to break it. I usually just go ahead and do that, to get it out of the way.
I had seriously considered cutting them off and pinning them back on later...but the way this thing has been going, I've had enough work! Gettin there though!
Almost ready to start painting!!!
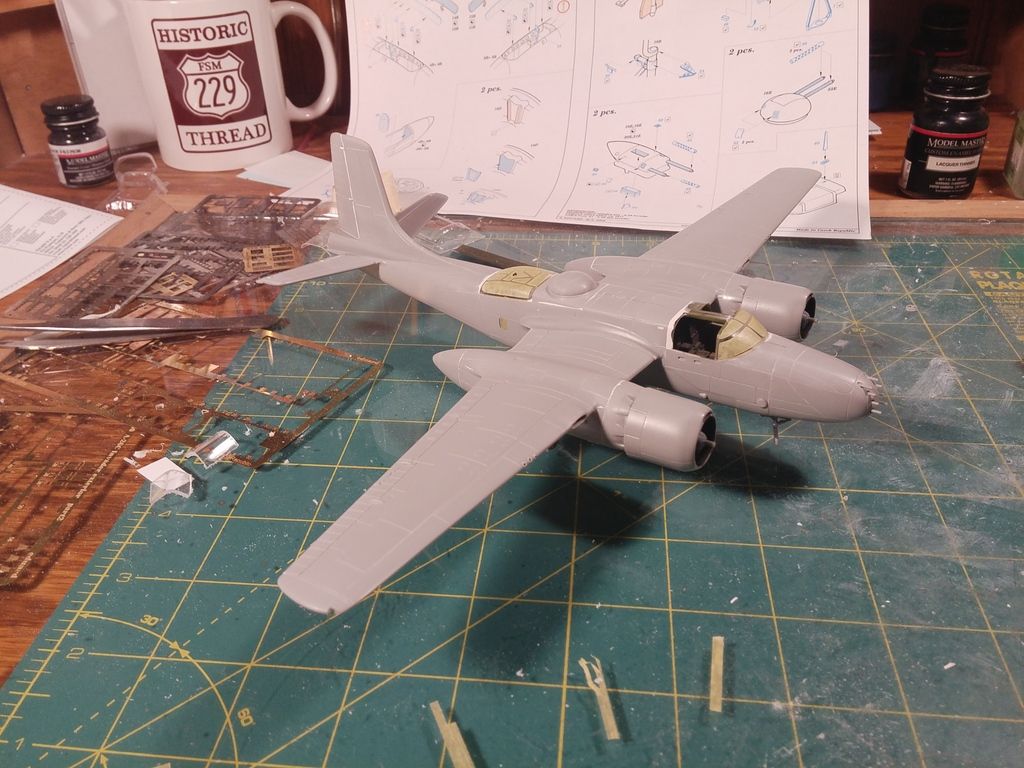
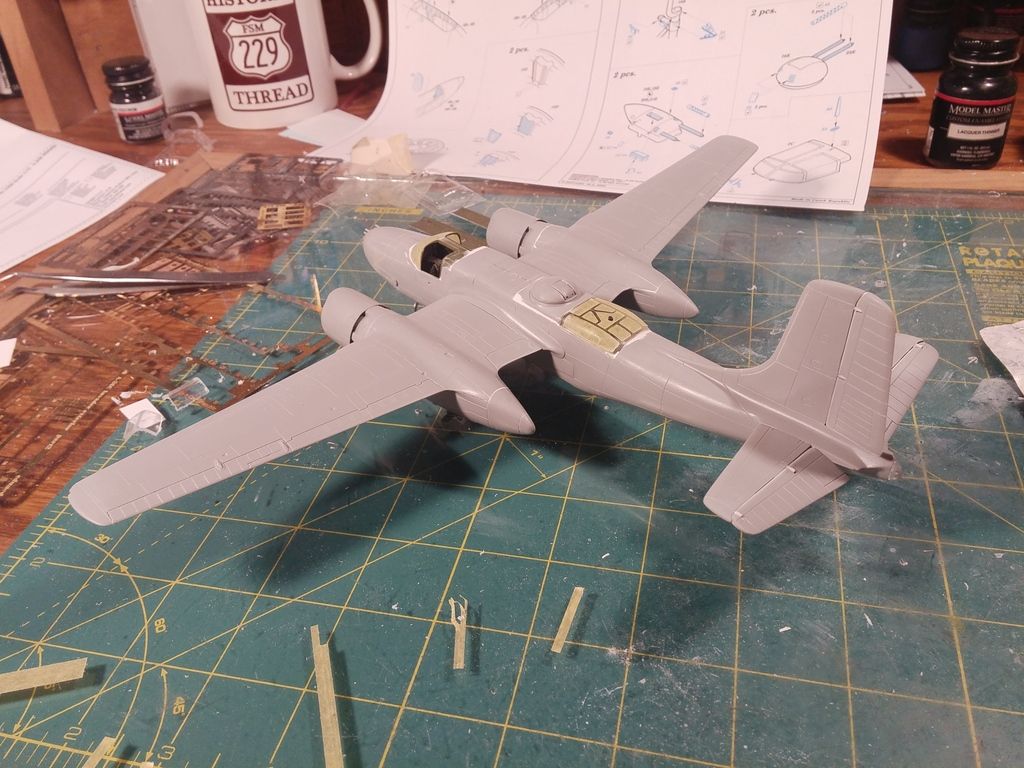
This thing has taken a lot more putty than I have ever used on anything!