Page 2 of 11
Re: Eduard 1/48 Bf109E-7 Trop, Libya, 1941
Posted: Sun Oct 16, 2016 5:35 pm
by BlackSheep214
Re: Eduard 1/48 Bf109E-7 Trop, Libya, 1941
Posted: Wed Oct 19, 2016 11:41 pm
by kahunaminor
Welcome back,
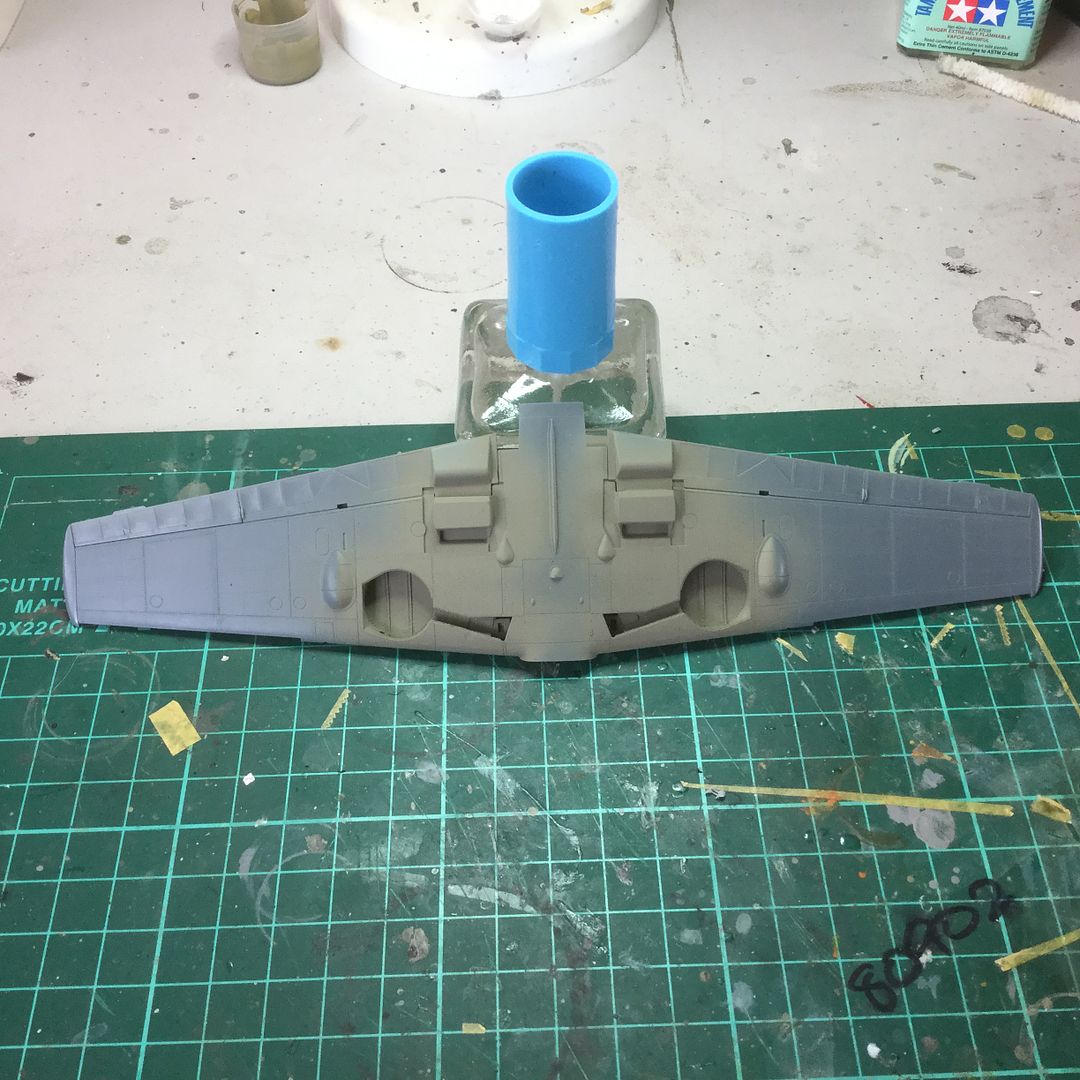
The last couple of weeks have been a bit of a mish mash. I have done a lot of little things but not much to show for it. I started on the MLG bays, cementing the kit pieces into the upper wing section and adding the PE. The PE instructions are a little ambiguous as far as the two strengthening strips on the inside. They show to just add the PE over the top of the moulded detail but looking at the cut outs on the wheel bay pieces, this would mean they interfere with the fit. My recommendation would be to sand the moulded detail off, fit the two inserts and then using the cut outs, slide the PE pieces into position and fix them in place. I say this as I didn't do it that way and had to remove the moulded detail after I had cemented the inserts. In the end you get something that should look like this:
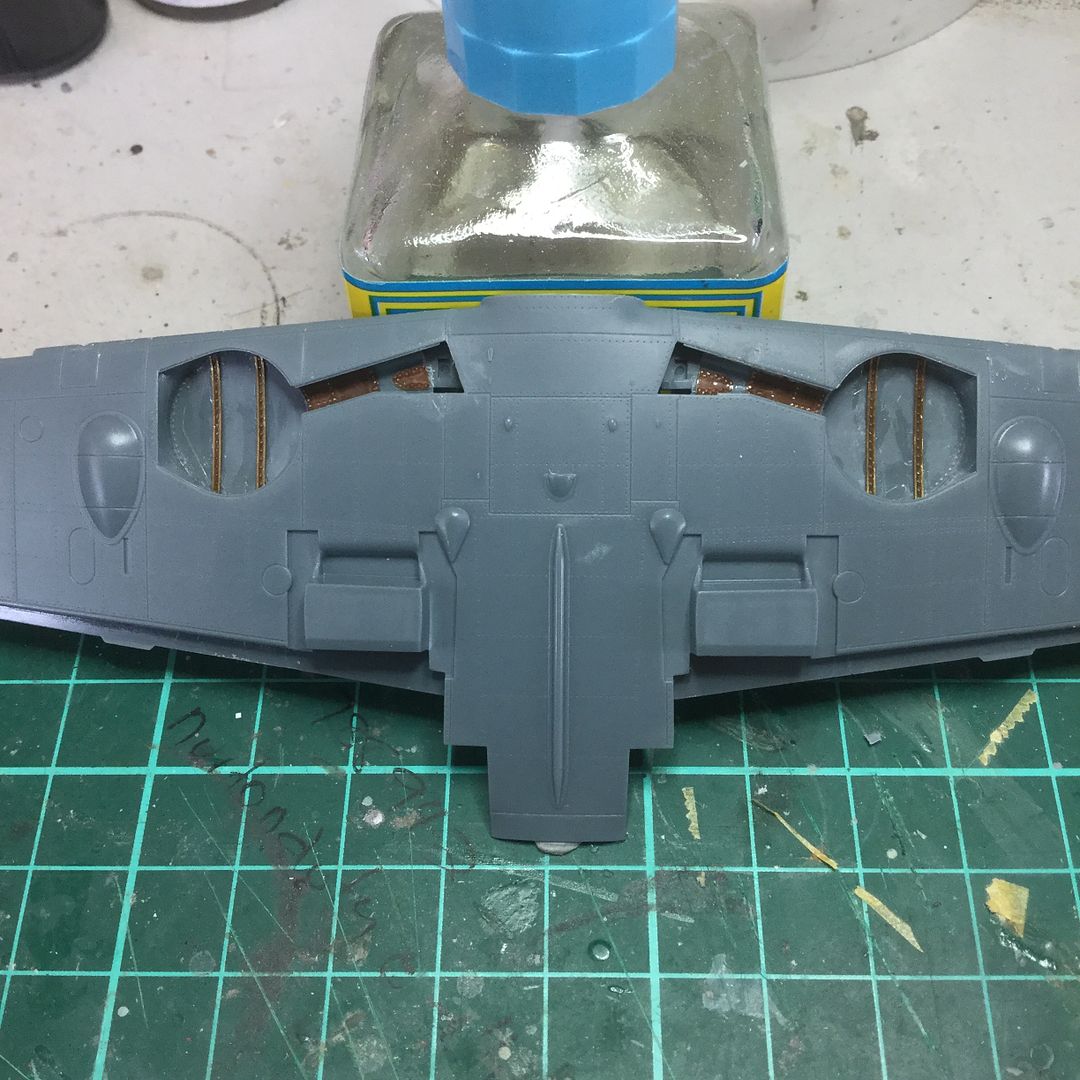
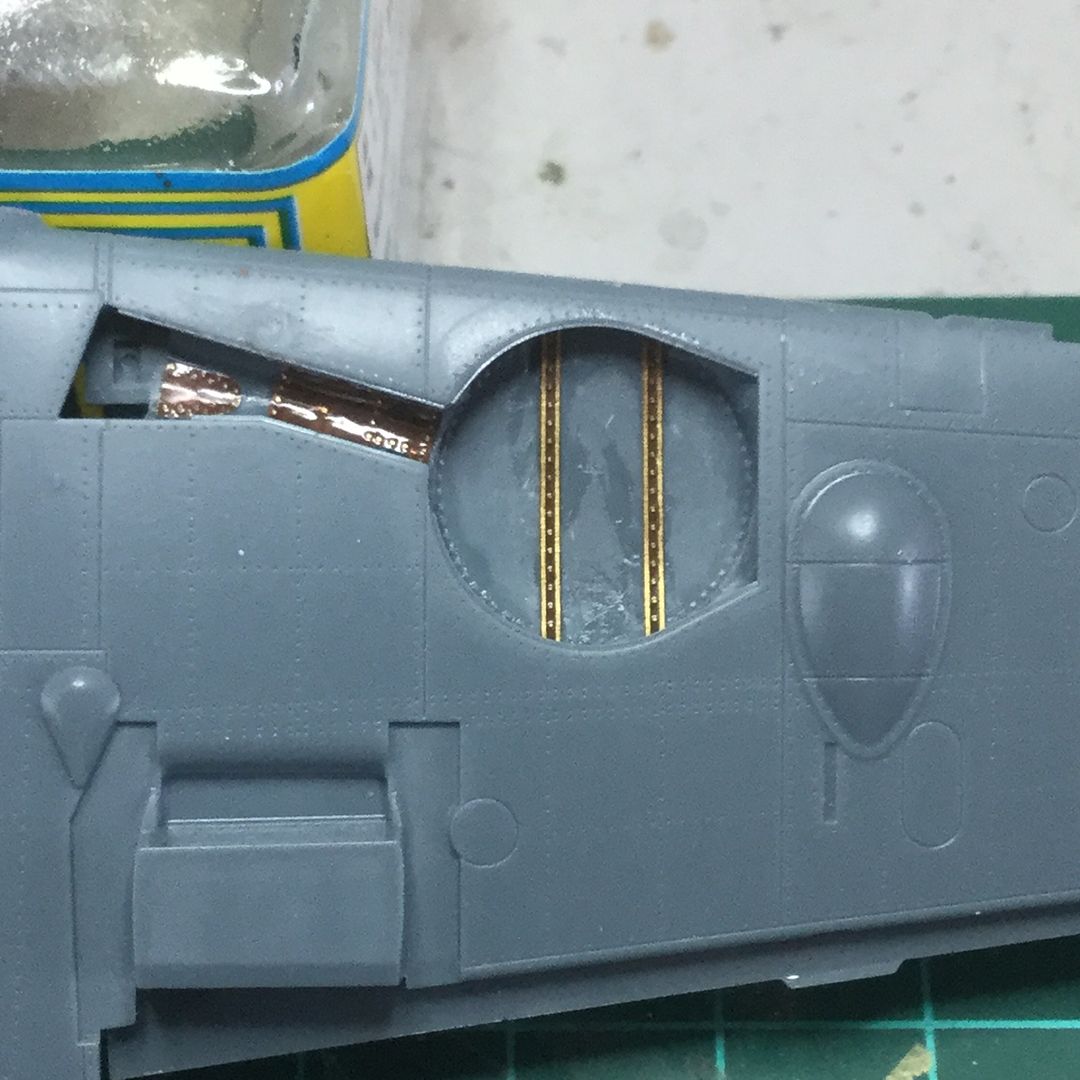
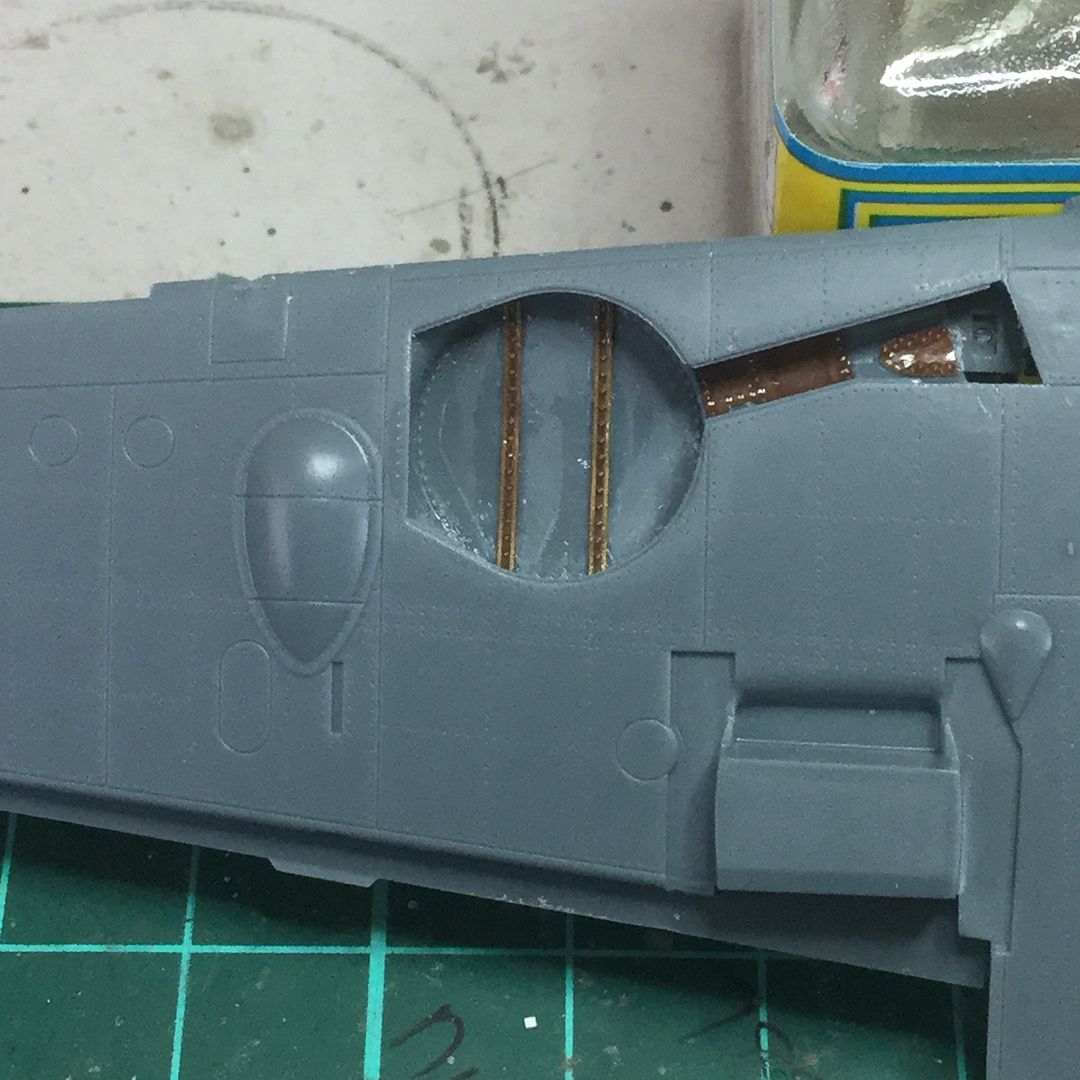
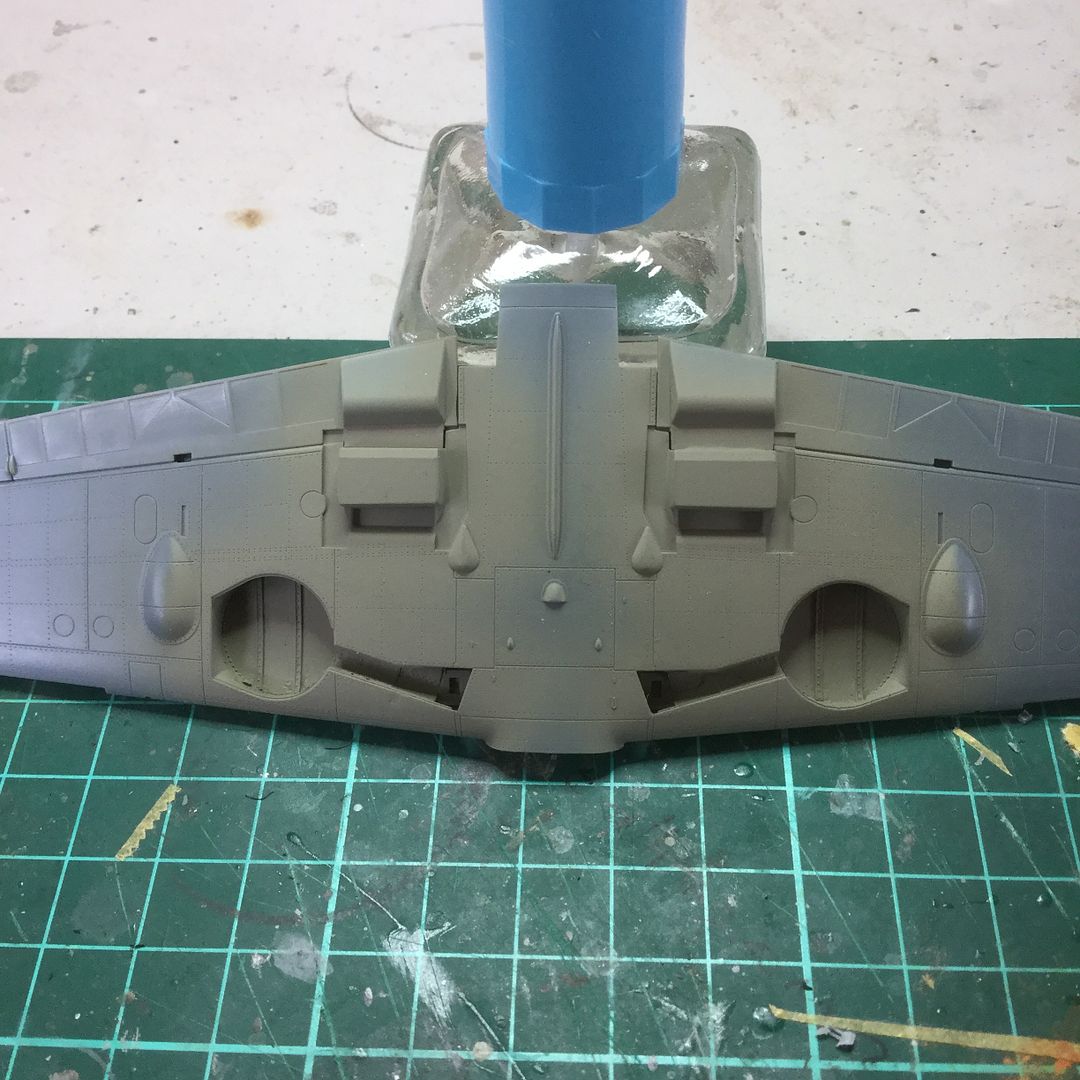
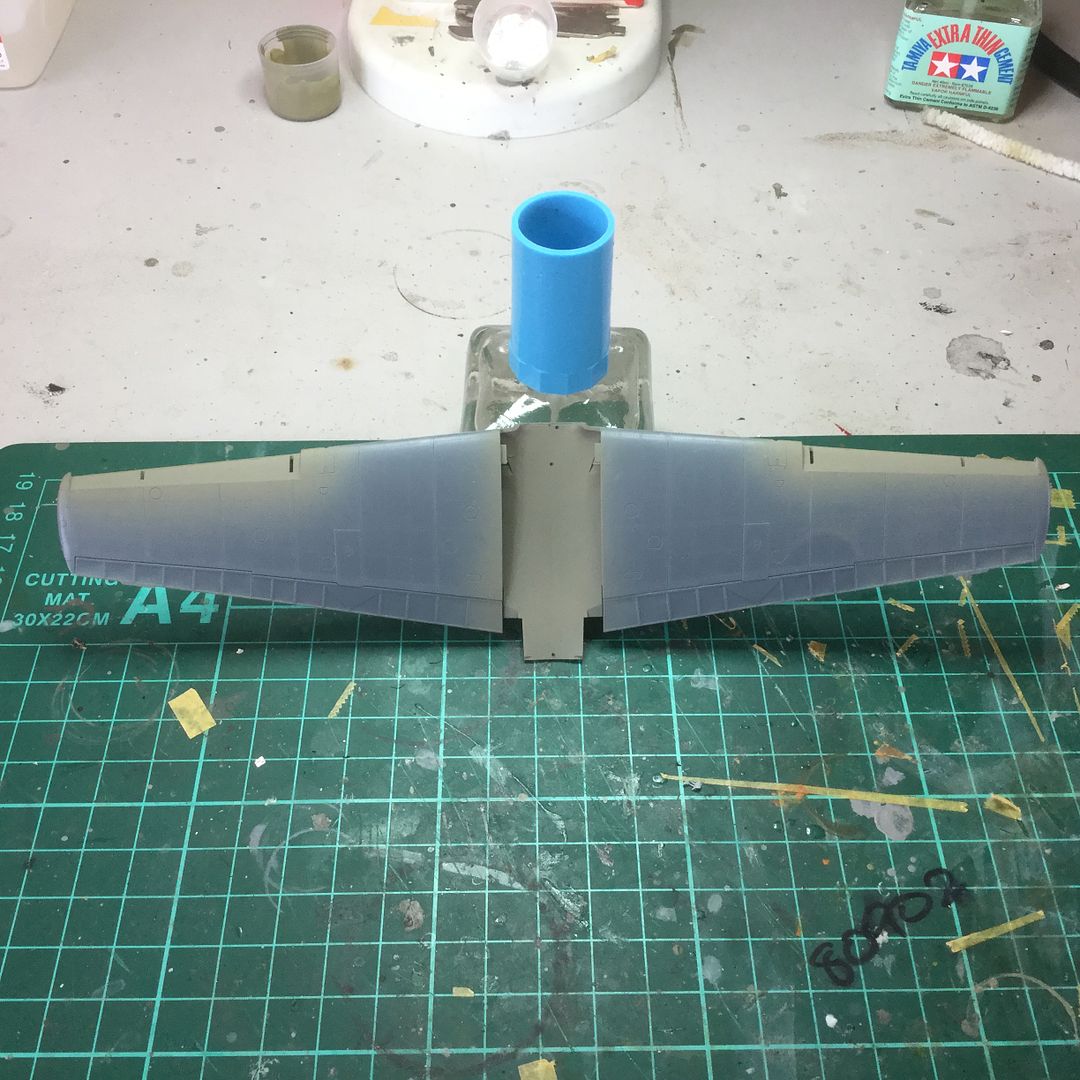
The wing uppers have also been fixed in place here. What I have also done, but not yet photographed, is attach all the trailing edge pieces as well. I wanted the flaps level and Eduard has cast them with a downwards angle by default, so I had to remove the tabs from the front and just cement them in place with TXT. Essentially the construction of the wings is complete as I have also painted the MLG bays and radiator inner surfaces RLM 02 as well as the lower wing interior upper surface "just in case":
Regards,
Re: Eduard 1/48 Bf109E-7 Trop, Libya, 1941
Posted: Sun Oct 23, 2016 10:00 pm
by kahunaminor
Welcome back,
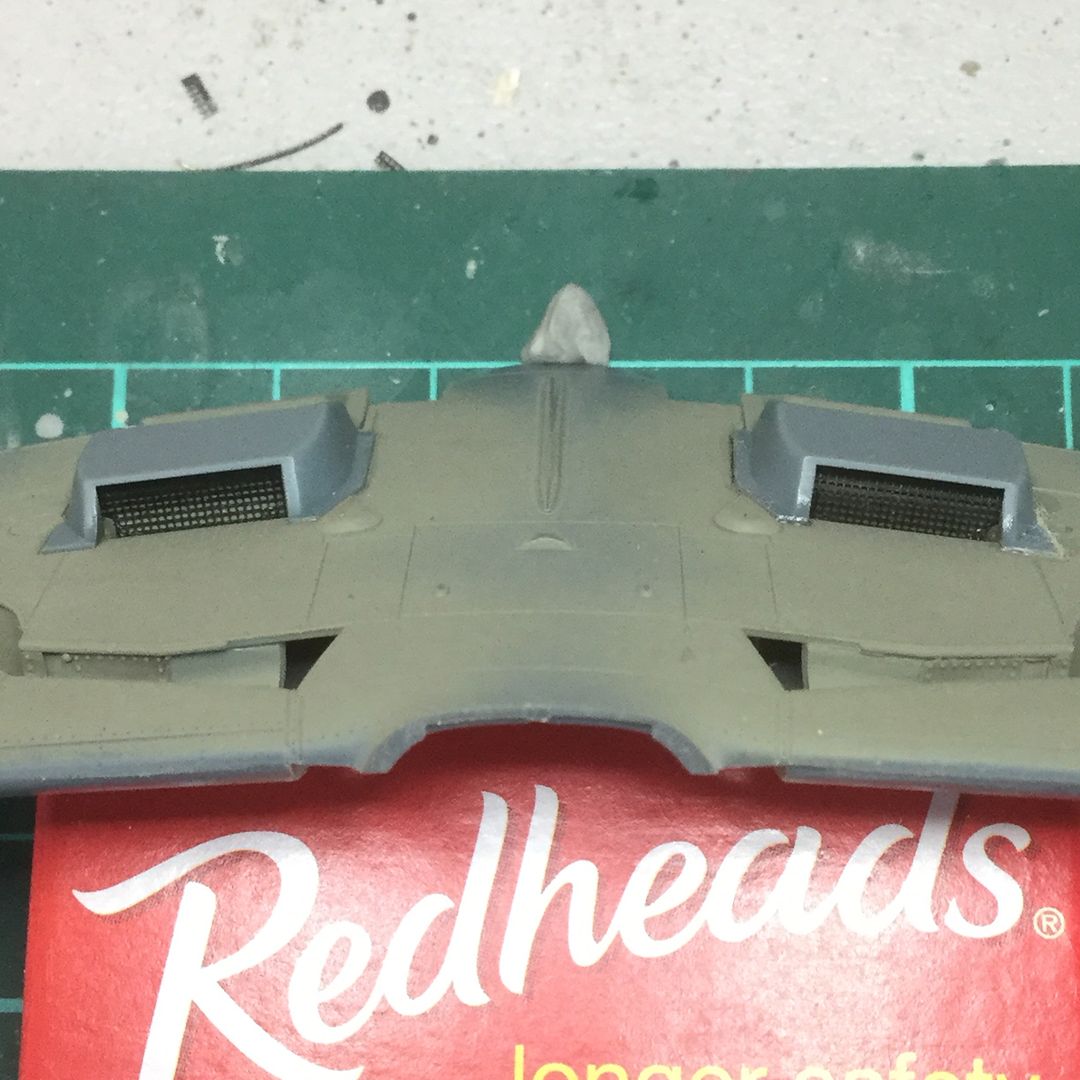
More small progress, I have added the PE mesh pieces and radiator covers after removing the rear flaps of same in preparation of the PE replacements:
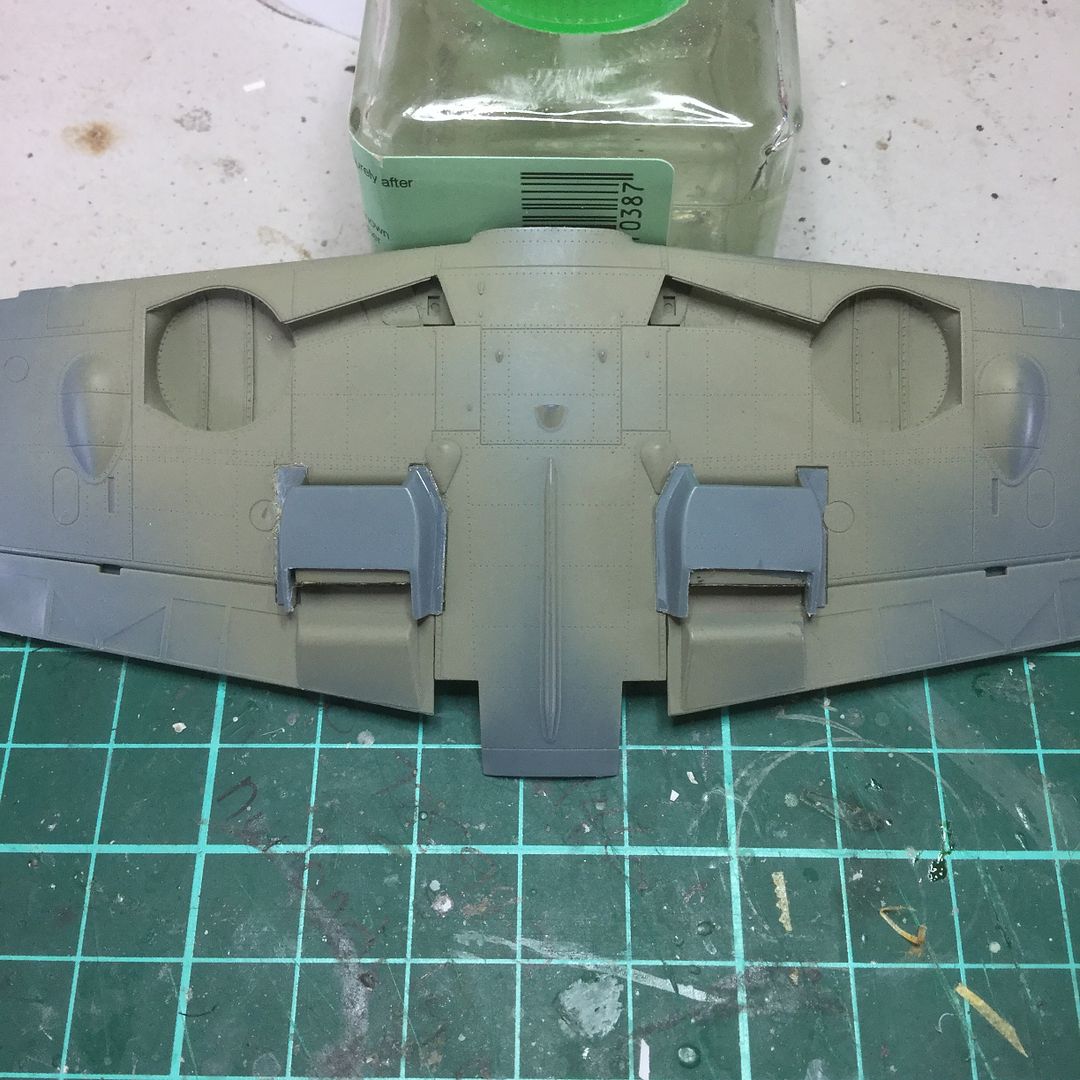
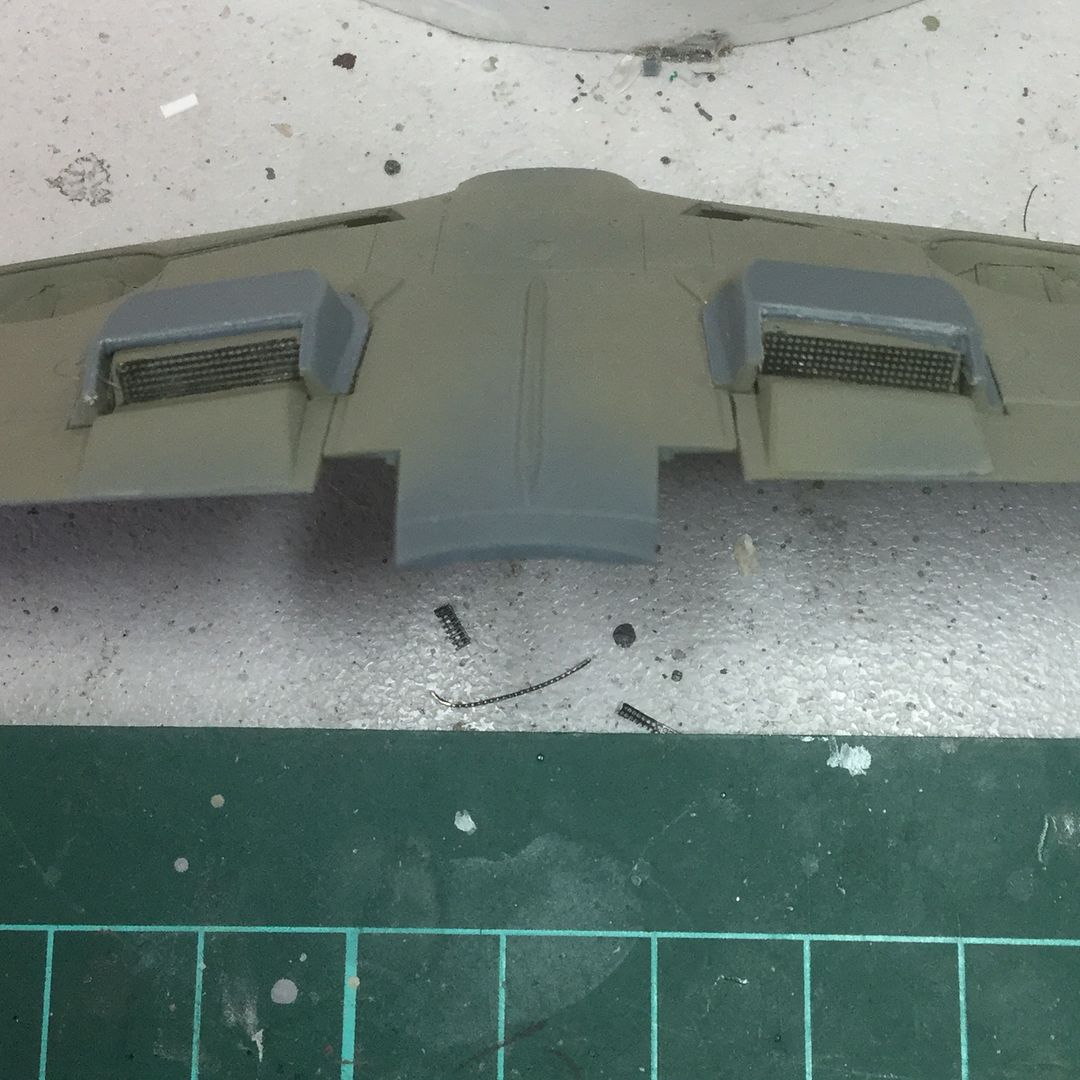
I found the rear pieces to be about two rows too tall so they were shortened appropriately. The forward PE mesh fit well:
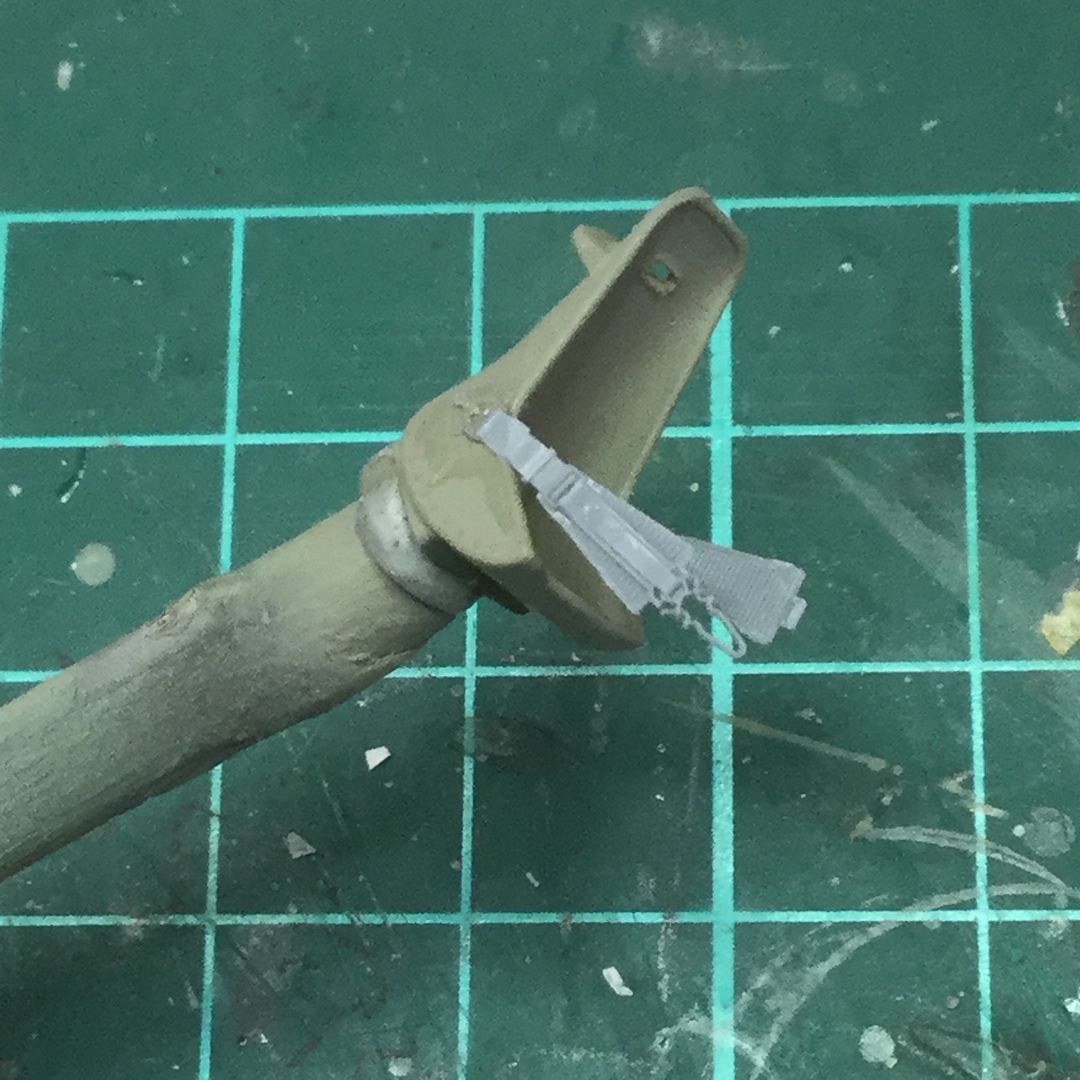
I have removed the Fine Molds harnesses from their sprues, cleaned them up, test fitted the upper harnesses and attached the lower belts in place using TXT. These now need to be carefully shaped with a heat source and then painted:
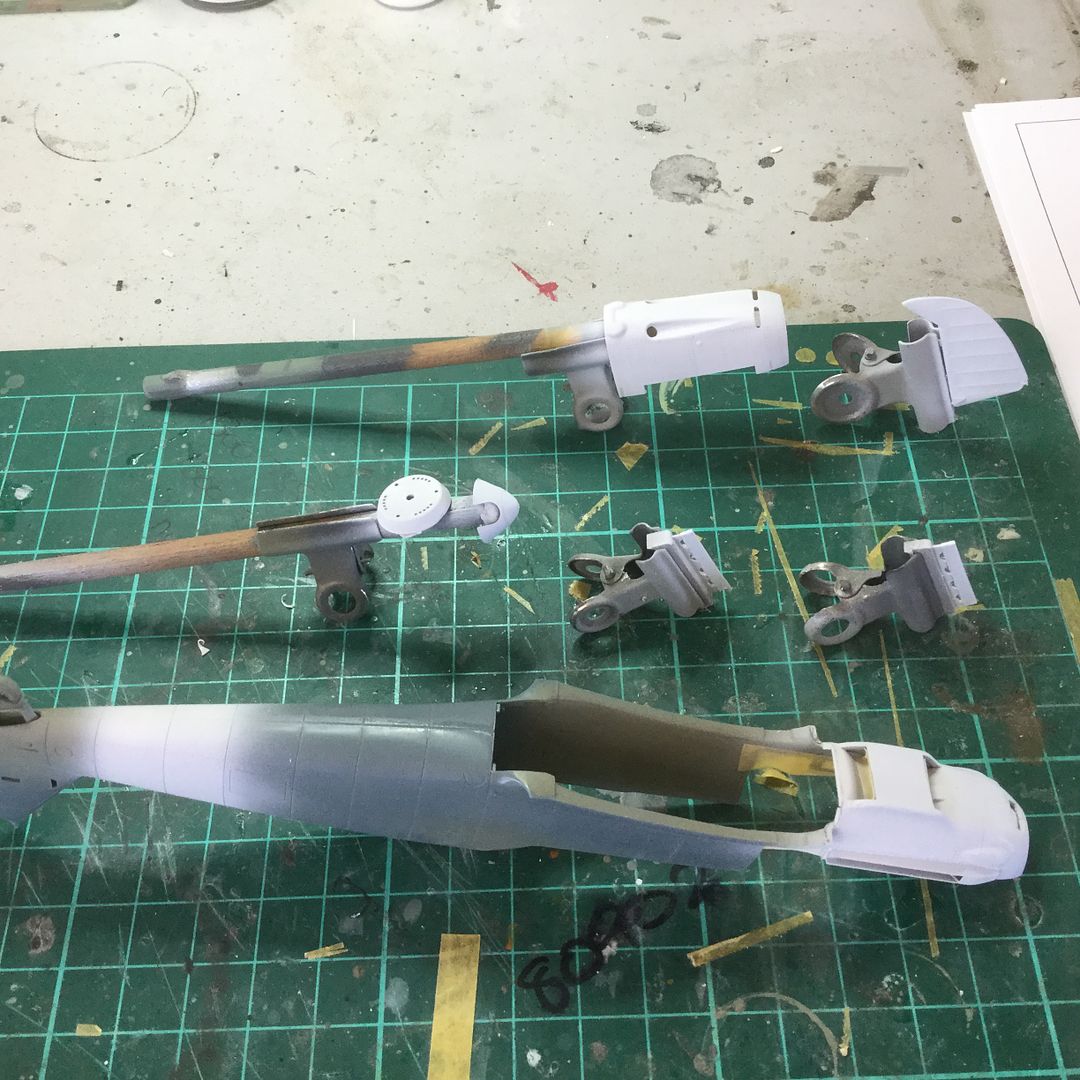
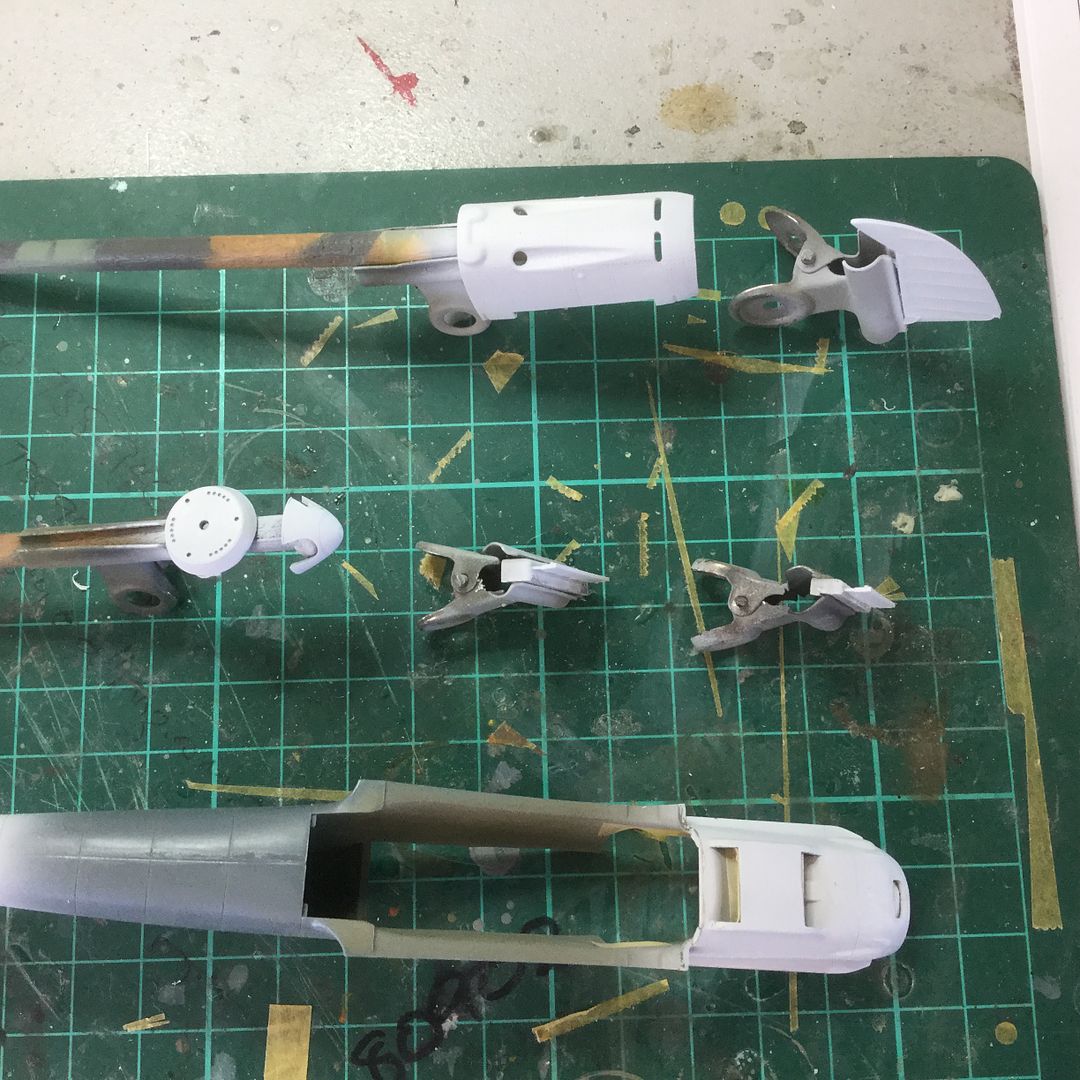
I have started detail painting the cockpit sidewalls. The oil cooler innards was masked and undercoated the areas that will eventually be yellow around the nose area and with Tamiya Flat White as well as the theatre recognition strip around fuselage which will be masked as it remains white:
Regards,
Re: Eduard 1/48 Bf109E-7 Trop, Libya, 1941
Posted: Mon Oct 24, 2016 10:52 am
by Stikpusher
Looking very sharp! So you start your finish painting (the white theater ID areas) well before your other finish painting or completion of assembly?
Re: Eduard 1/48 Bf109E-7 Trop, Libya, 1941
Posted: Mon Oct 24, 2016 1:02 pm
by KSaarni
I really truly enjoy to follow this WIP !!
- Kari
Re: Eduard 1/48 Bf109E-7 Trop, Libya, 1941
Posted: Mon Oct 24, 2016 2:06 pm
by kahunaminor
Stikpusher wrote:Looking very sharp! So you start your finish painting (the white theater ID areas) well before your other finish painting or completion of assembly?
Thanks Stik,
In this instance, the majority of the painted areas will be covered in yellow and the masked (as in the engine underside) or just put aside until completion as with rudder and prop spinner. I thought it easier to do now than later. The fuselage theatre marking remains white and to be honest I shot it as I had a bit left. I will mask it and shoot the camouflage colours over the top.
Regards,
Re: Eduard 1/48 Bf109E-7 Trop, Libya, 1941
Posted: Thu Oct 27, 2016 11:30 pm
by kahunaminor
Re: Eduard 1/48 Bf109E-7 Trop, Libya, 1941
Posted: Fri Oct 28, 2016 10:02 am
by Stikpusher
Looking real good!
As far as the area under the mesh housing on the filter goes, I would imagine it is like most any other air filter and has a fabric or paper fiber element for capturing dust particles. It will look solid and have those multi fold sides typically seen to increase the surface area for capturing the particles.

Re: Eduard 1/48 Bf109E-7 Trop, Libya, 1941
Posted: Fri Oct 28, 2016 12:01 pm
by tempestjohnny
Wow this is a must watch for any 109 aficionado.
Re: Eduard 1/48 Bf109E-7 Trop, Libya, 1941
Posted: Tue Nov 01, 2016 11:20 pm
by kahunaminor
Tempestjonny, you are too kind and thank you.
Welcome back,
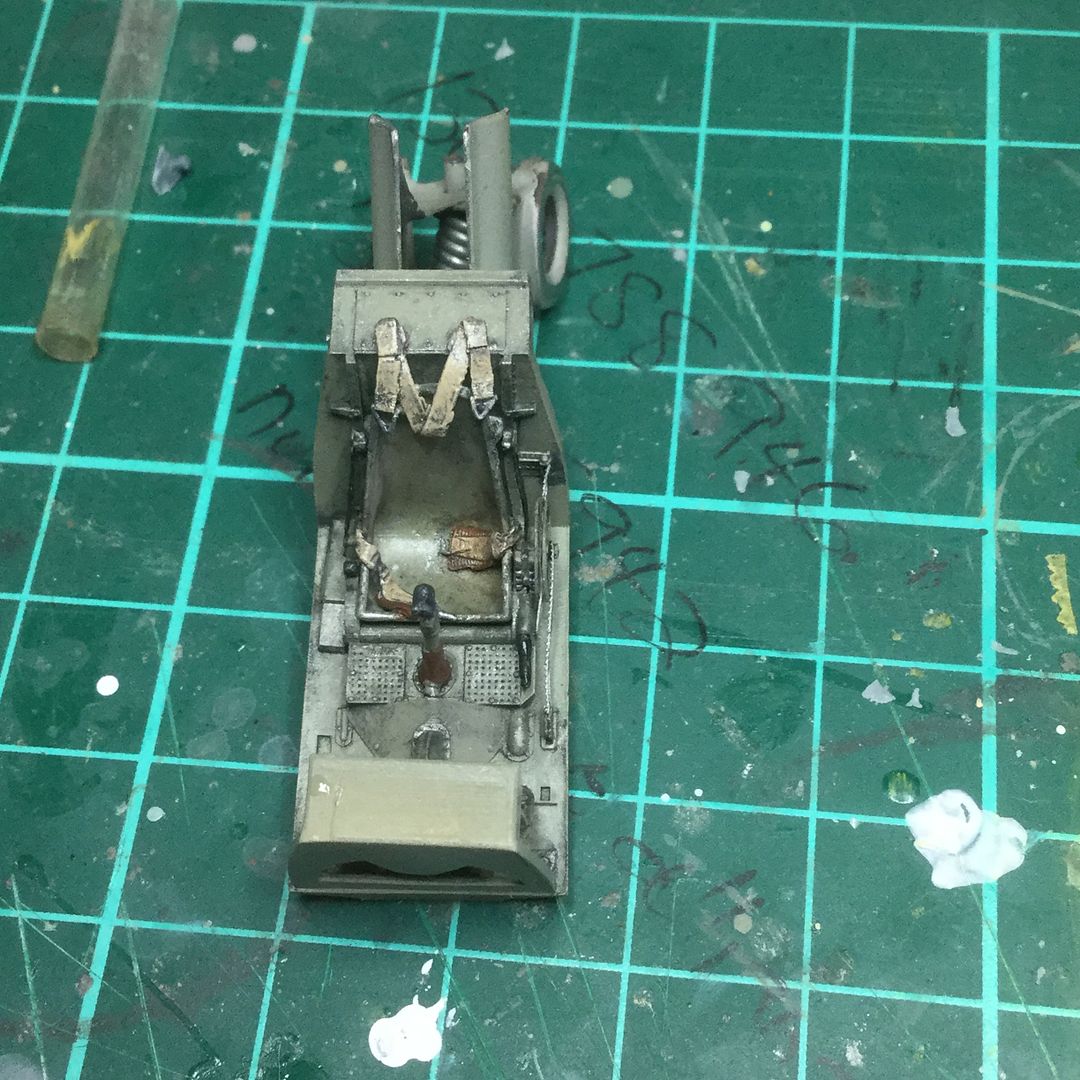
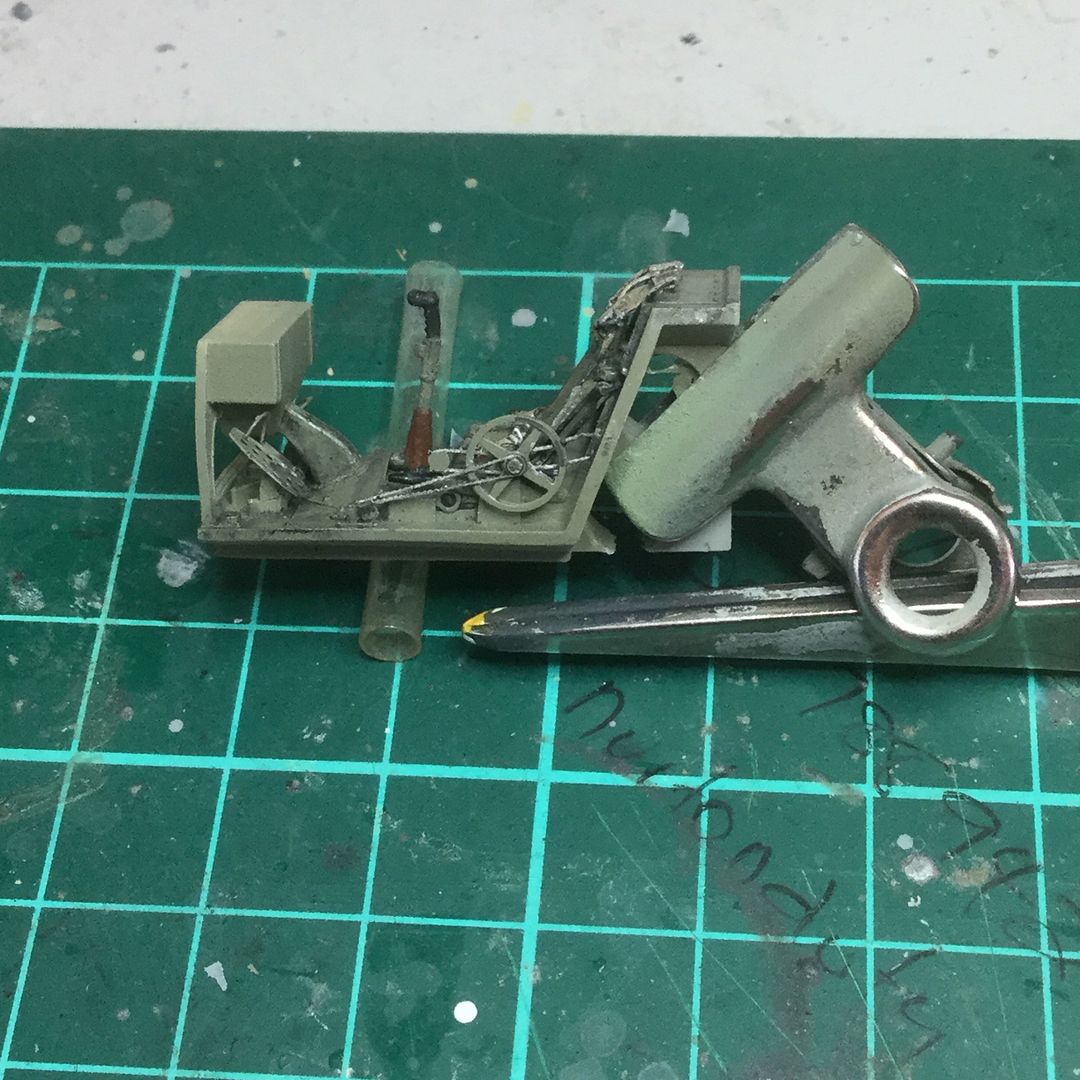
The Finemolds harnesses performed well but not entirely as I had hoped. Being ABS plastic, directed heat in the form of a carefully applied heat gun tends to cause them to contract a little. It makes them pliable but they lose that nice detail. Radiant heat from a soldering iron is just hard to not let other parts such as the seat take injury. My first plan was to have only one shoulder harness folded back upon itself and the other resting outside on the fuselage. It soon became obvious that would not fly, so both went up onto the rear deck:
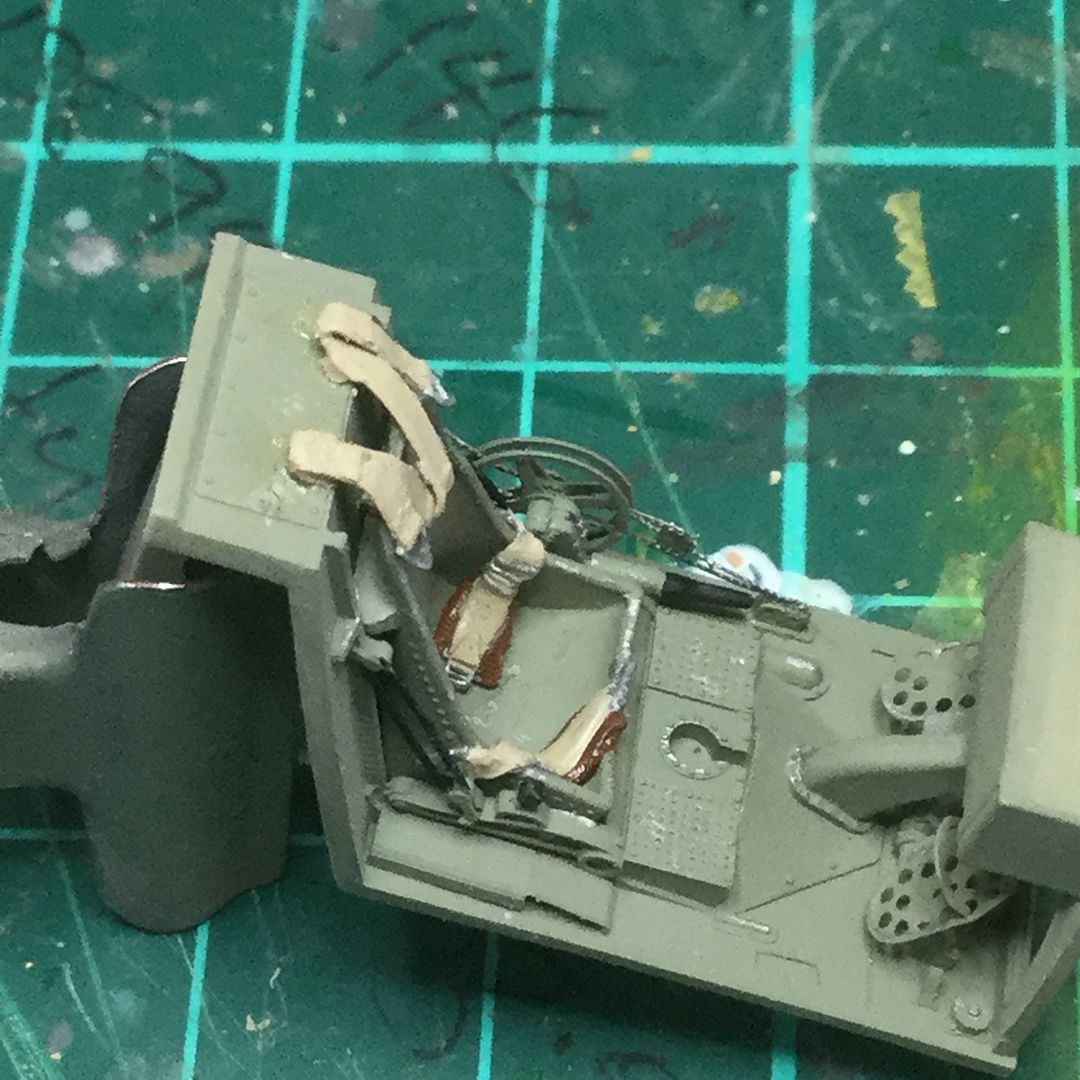
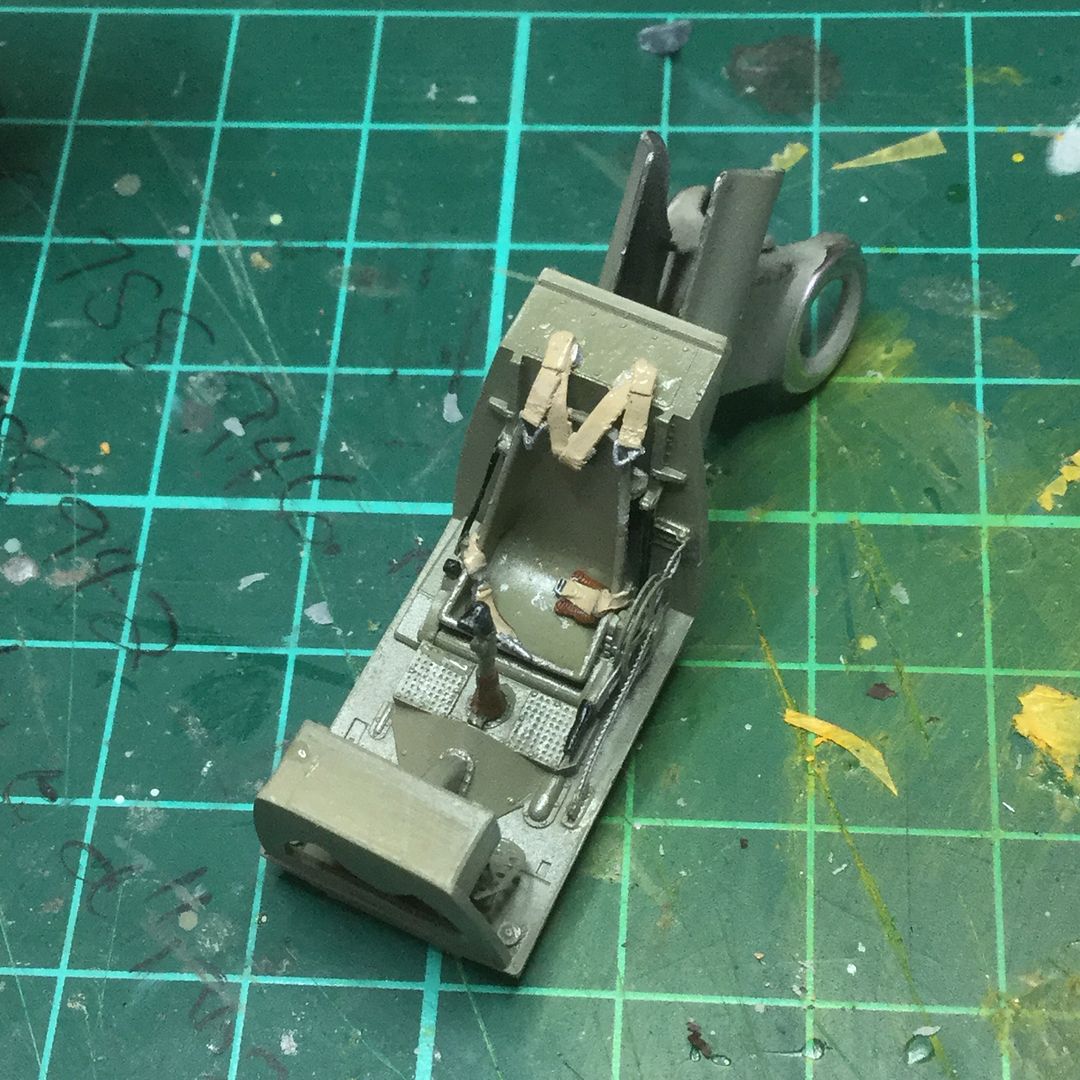
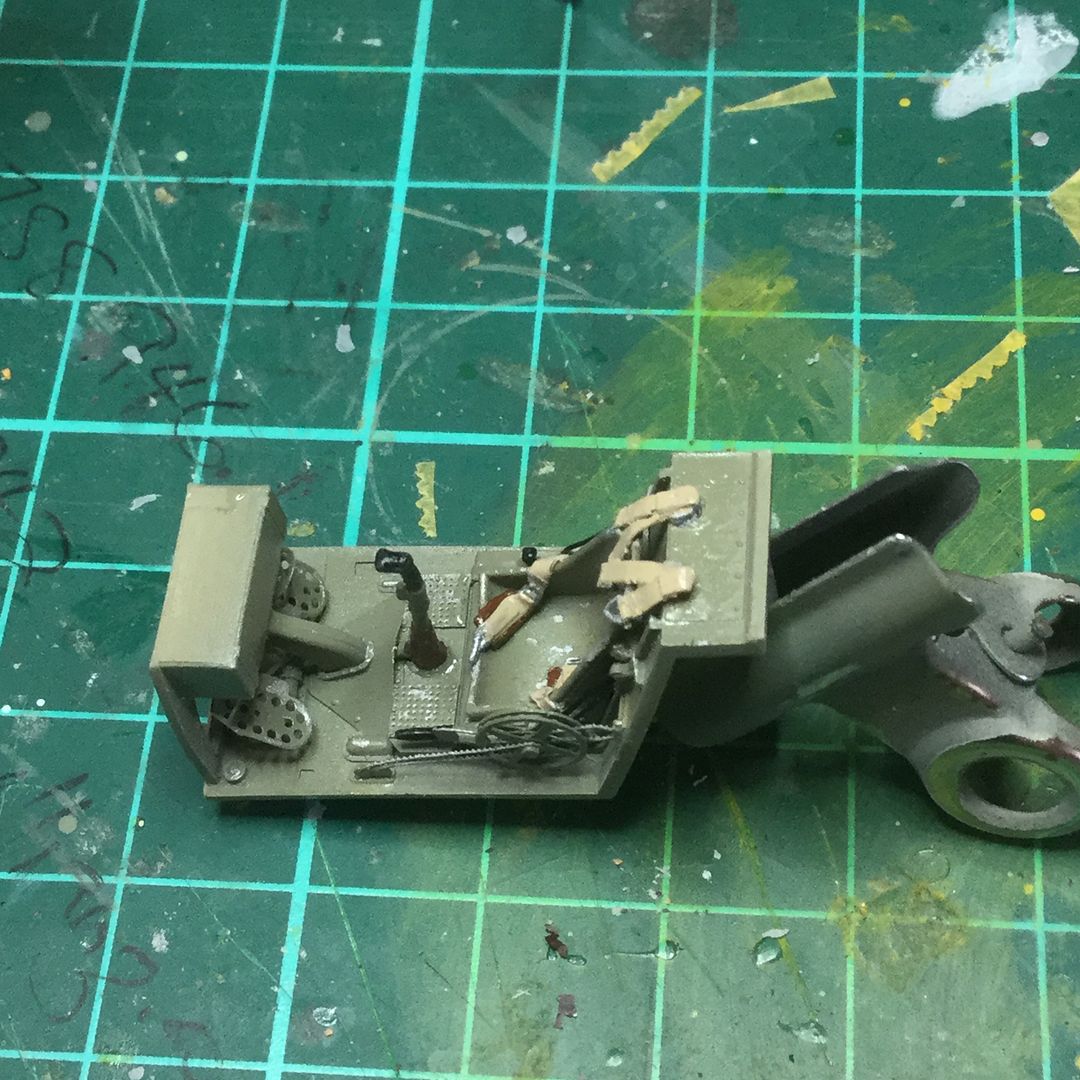
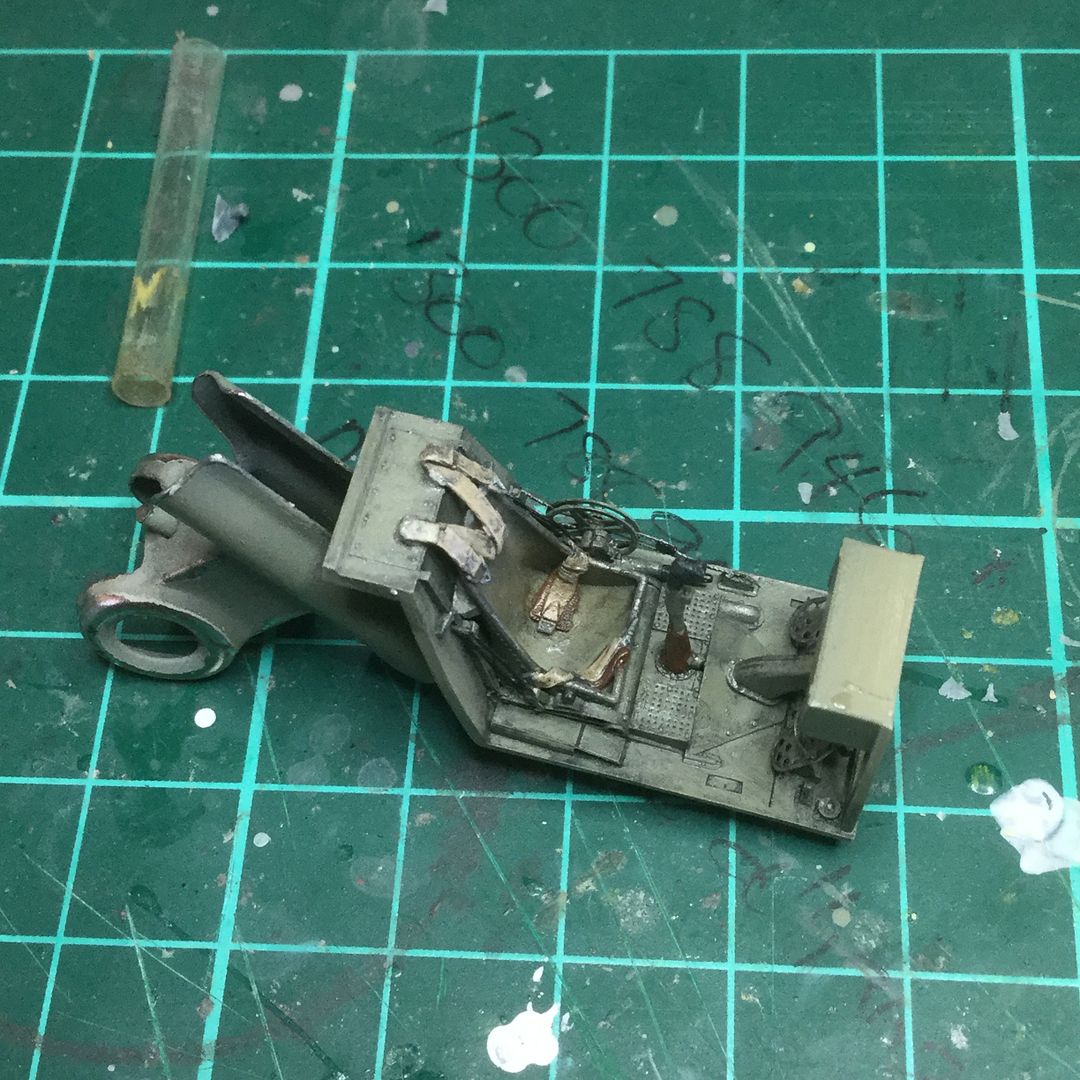
Work on the cockpit continues with Airscale LW cockpit placards, AK Neutral Grey wash and some highlights. The E-7 was the first of the Bf 109 lineage to have the fuel observation line running through the cockpit as it was the first to be plumbed for the 300l external fuel tank. The line became standard on the subsequent F, G and K series. The aircraft used the fuel from the external tank first and when dry, as observed by the pilot in the clear empty section of the tubing, it could be jettisoned. Damn clever those Germans! It isn't included in the kit so I made my own from clear stretched sprue, painted yellow and some BMF for the joins:
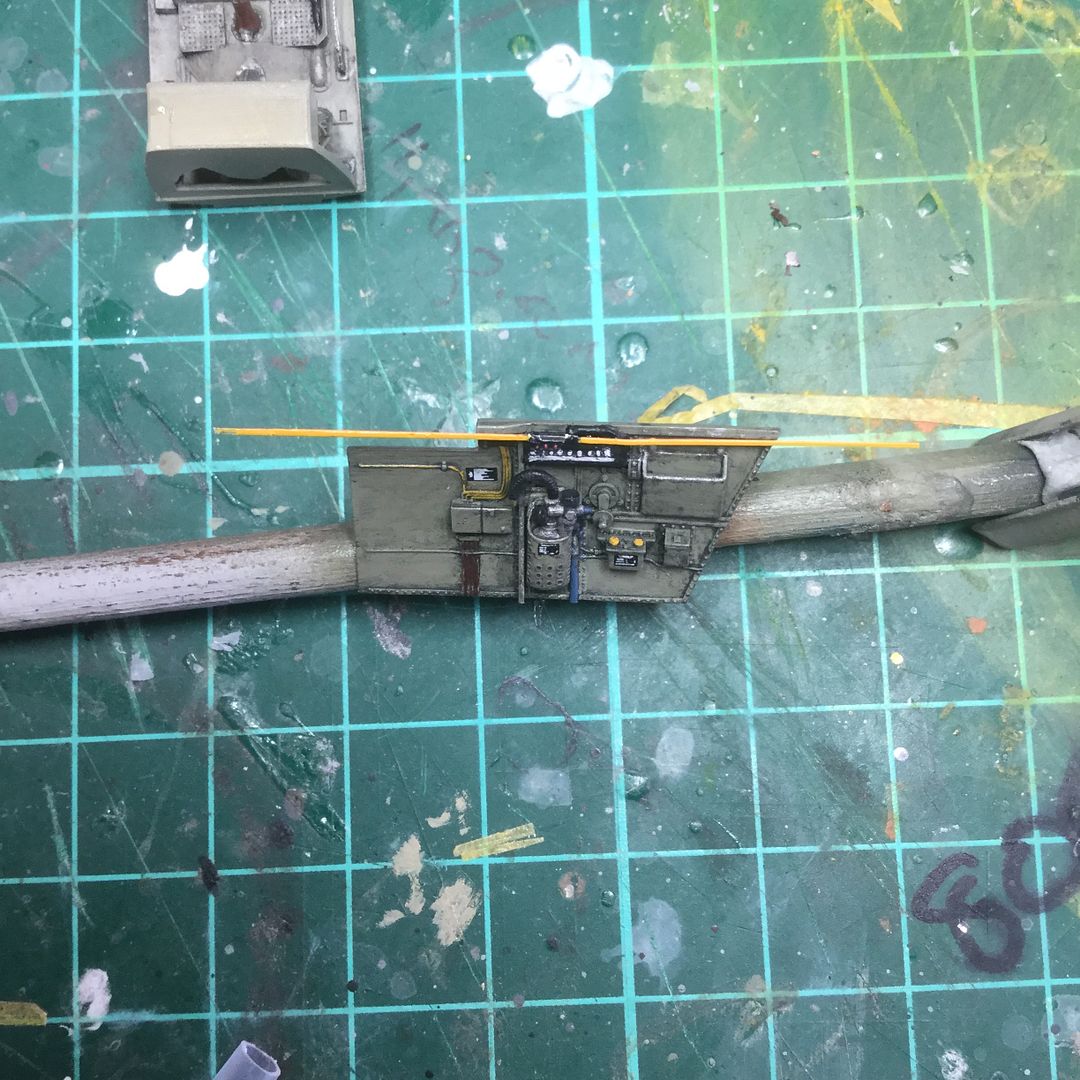
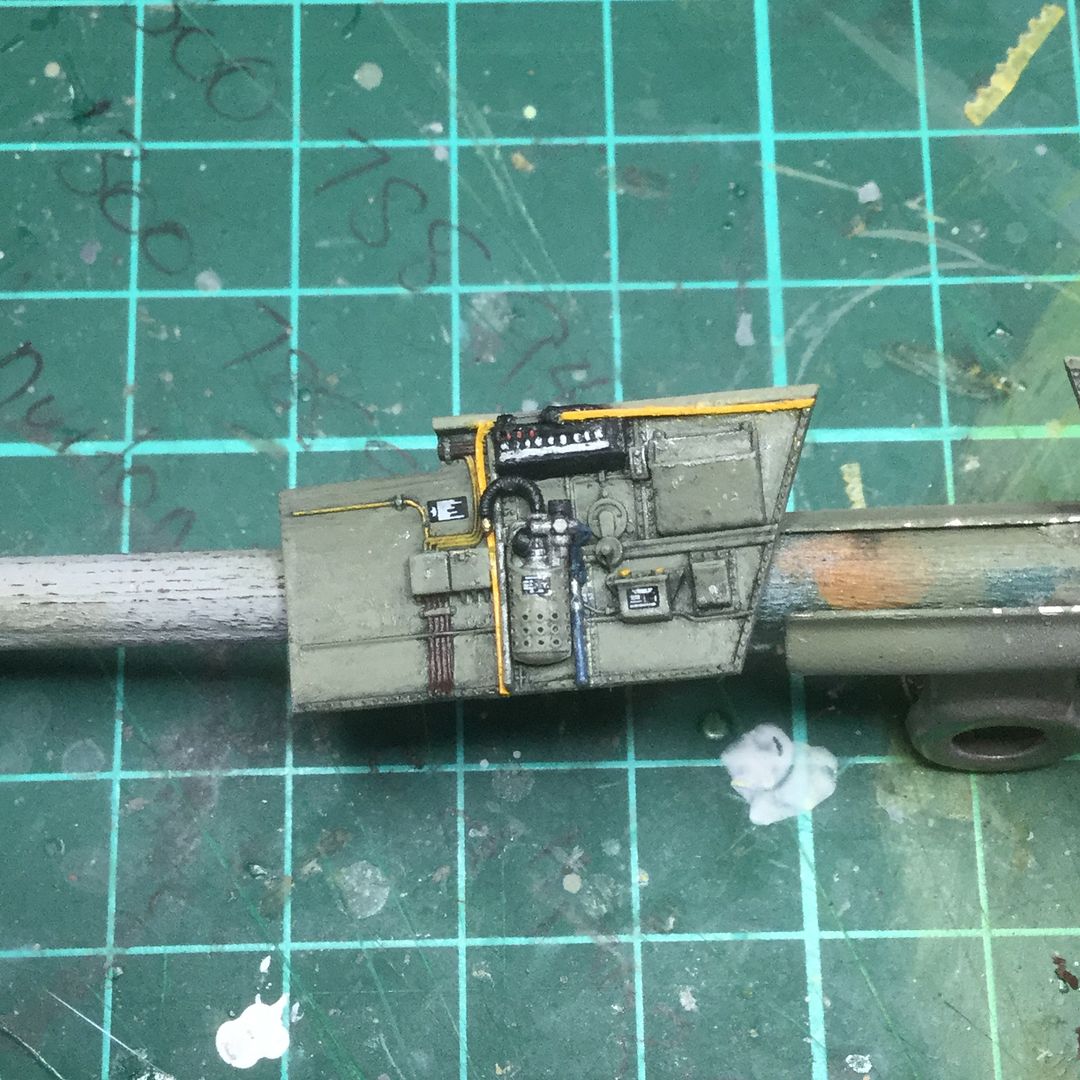
I have removed some of the forward edge detail on the port cockpit panel as it fouled the forward join:
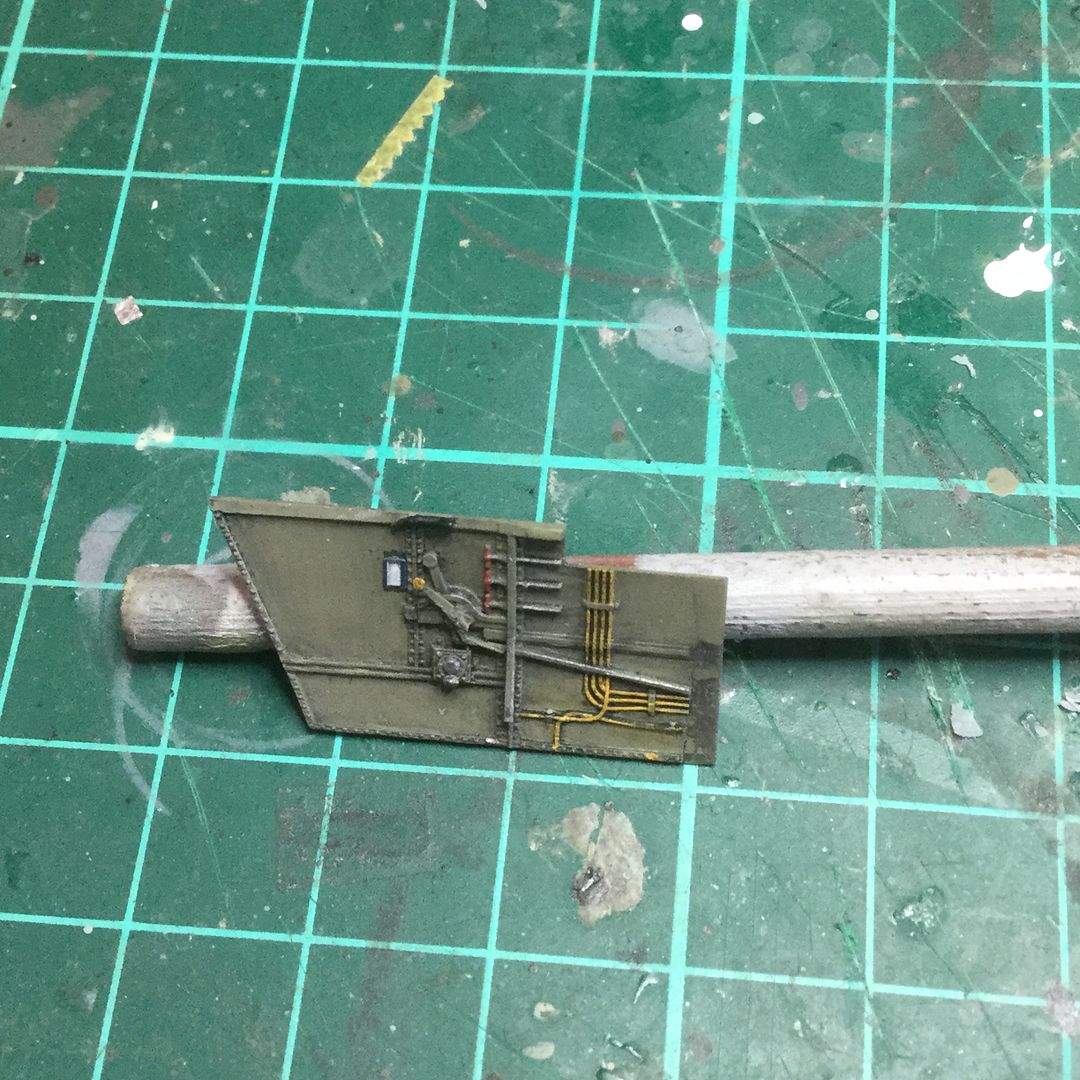
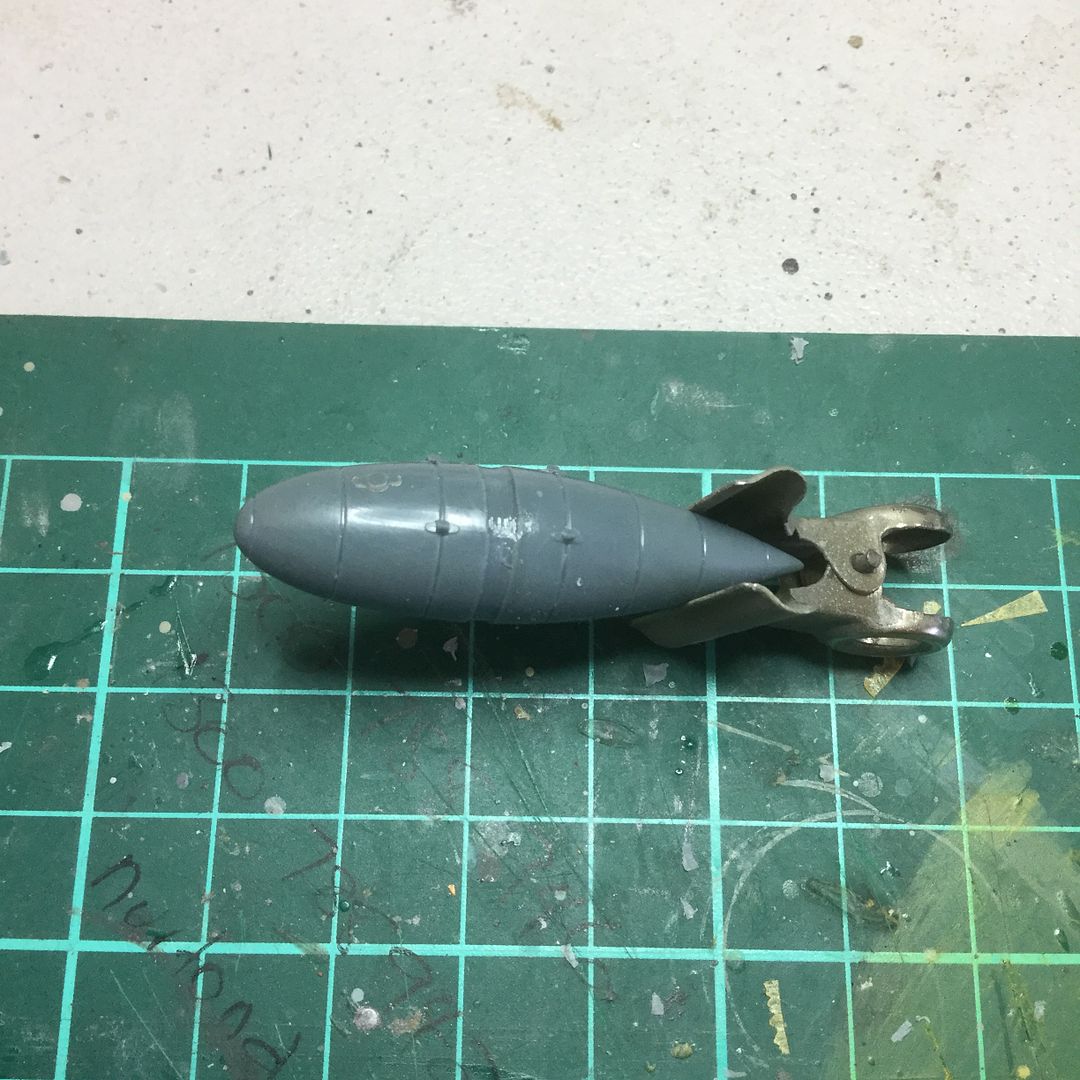
Elsewhere, I have removed the plastic detail from the external fuel tank in preparation for the PE replacement and removed the forward half moon edge of the engine bay assembly. I was however a little over vigorous on the port side so that will need fixing:
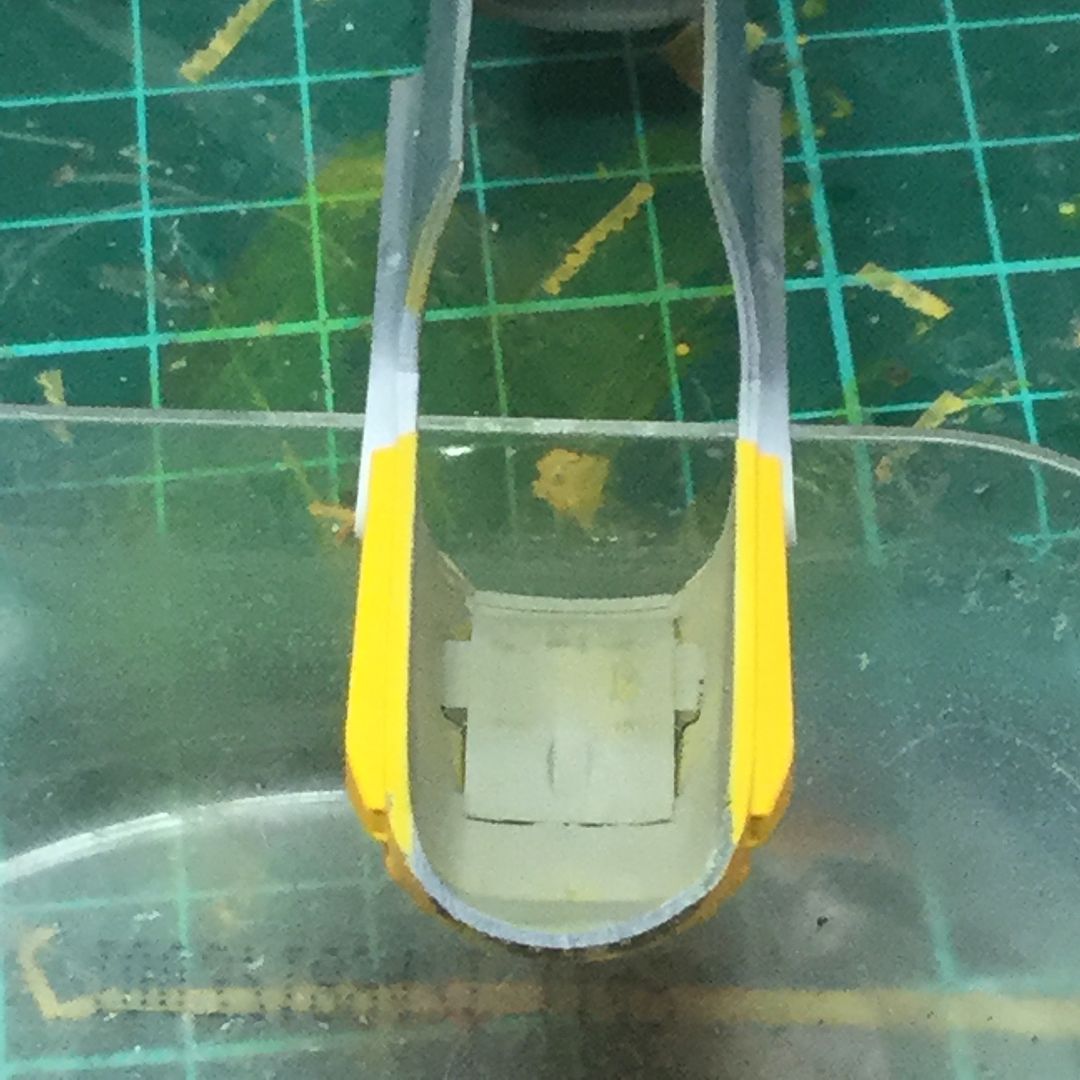
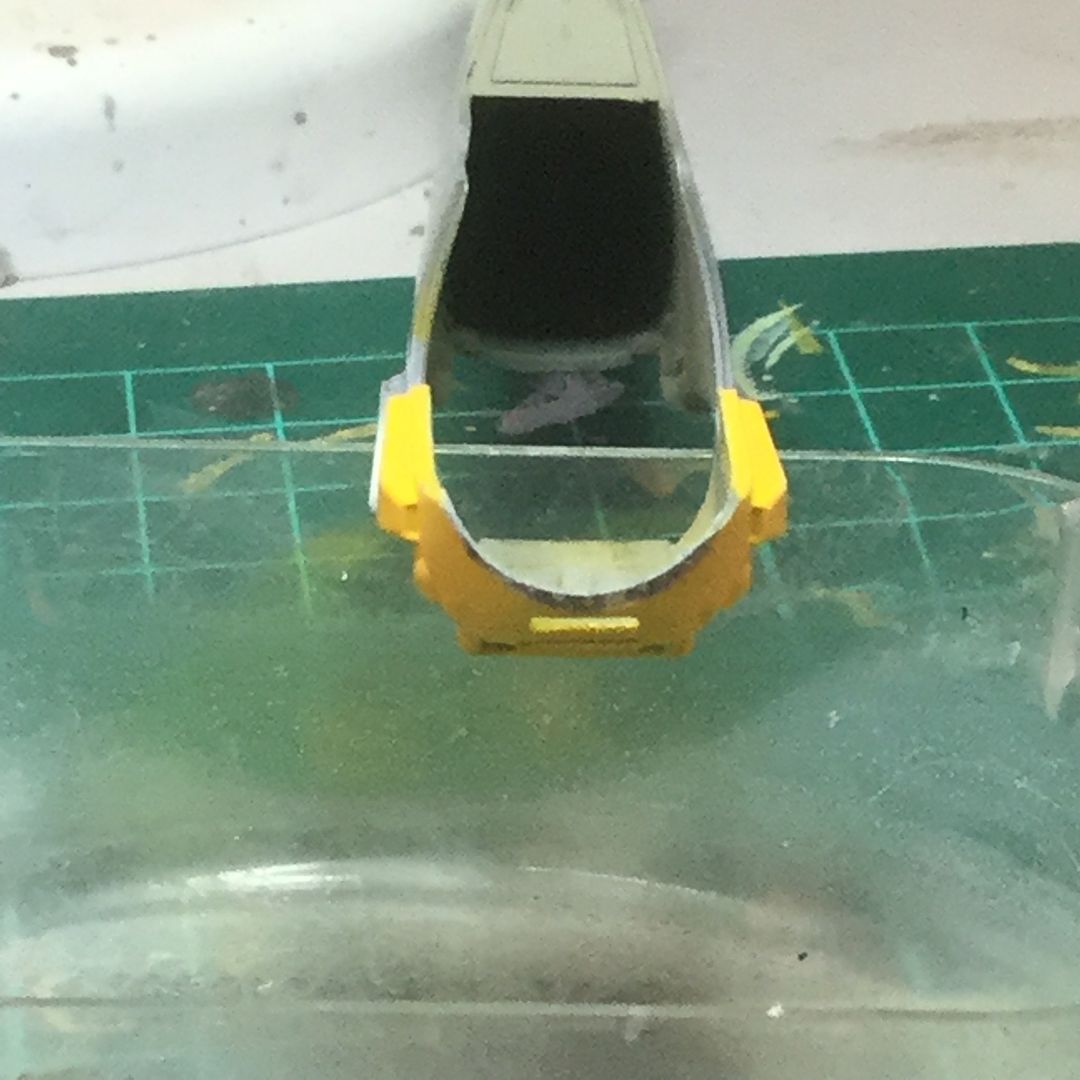
The MLG internal PE covers have also been painted and set in place along with the external tank mounting hardware:
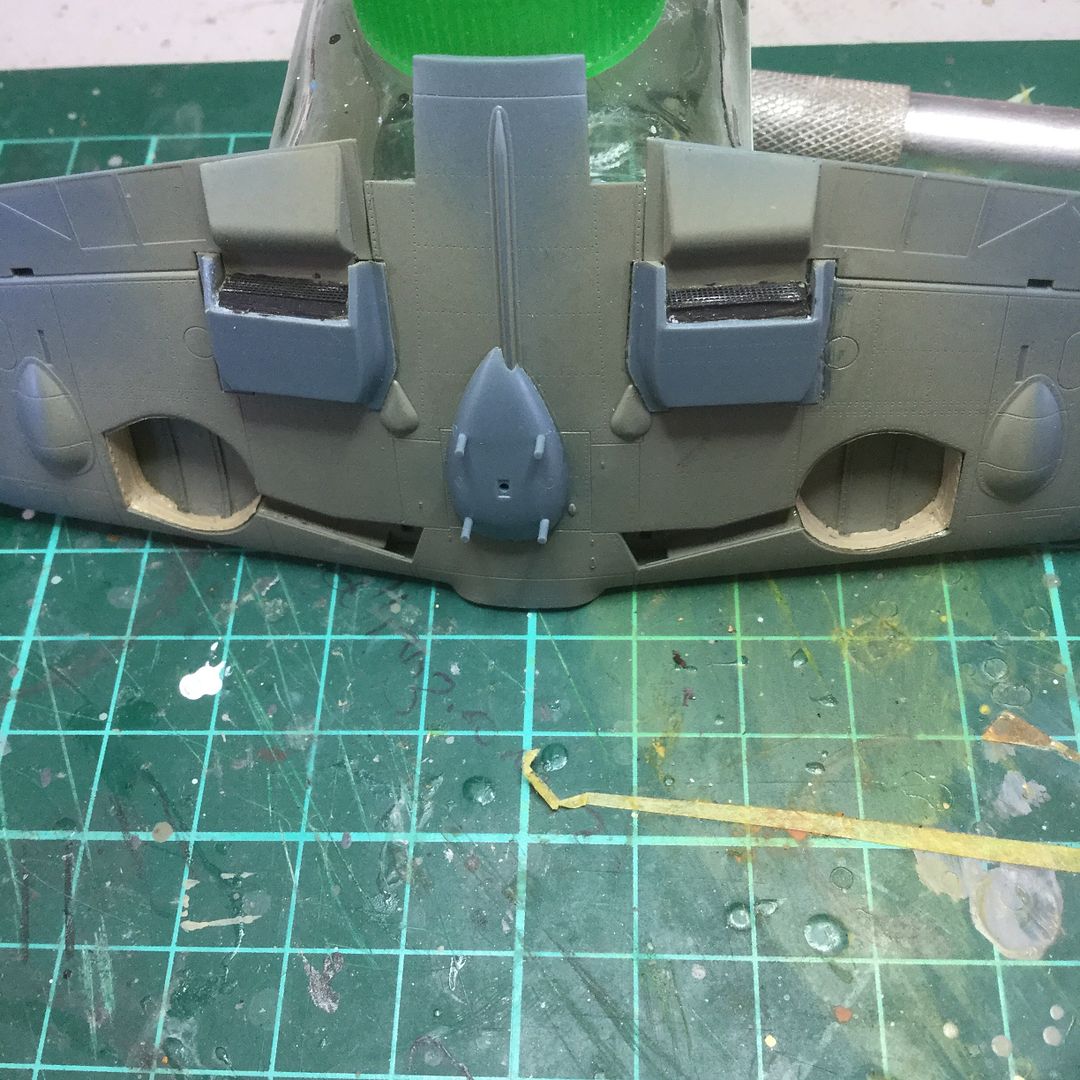
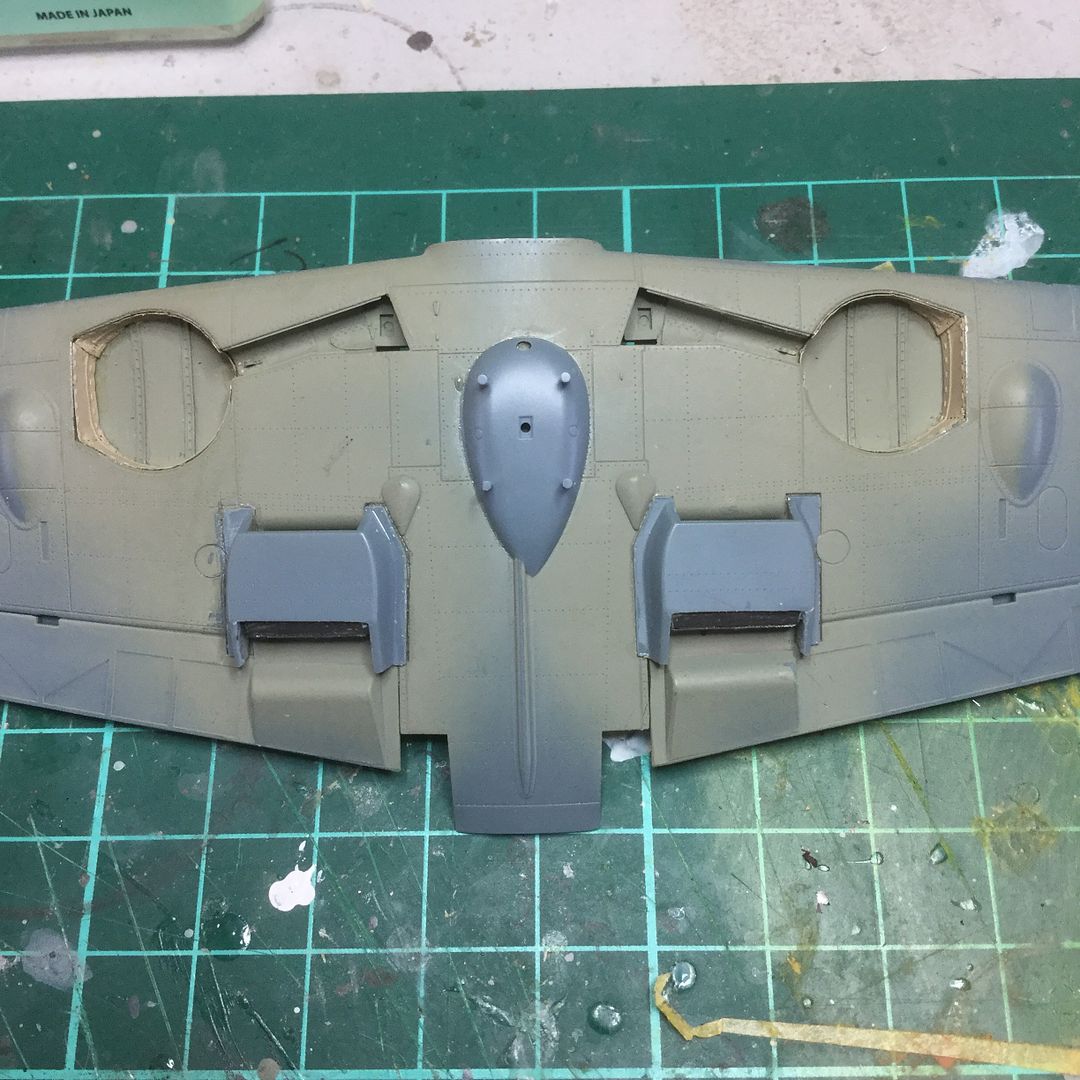
Next up is finishing the cockpit construction with flat coat and installation of the PE instrument panels. Once that is done and the cockpit assembly installed, I intend to attach the completed wing assembly to the fuselage. This should allow me to paint the undersides and fuselage sides in RLM78.
Regards,


