Page 2 of 16
Re: Trumpeter 1/32 Me262A-1 Yellow 3
Posted: Sat Feb 09, 2019 7:18 am
by Handiabled
This is gorgeous! I love the resin am parts you added! I made the 1/32 Trumpeter A-1a once upon a time and remember putting multiple shotgun slugs in the nose to keep it from being a tail dragger... Watching this one !!
Re: Trumpeter 1/32 Me262A-1 Yellow 3
Posted: Sat Feb 09, 2019 9:17 am
by Stikpusher
Handiabled wrote:This is gorgeous! I love the resin am parts you added! I made the 1/32 Trumpeter A-1a once upon a time and remember putting multiple shotgun slugs in the nose to keep it from being a tail dragger... Watching this one !!
Slugs?!?!?! That’s a LOT of weight...
Re: Trumpeter 1/32 Me262A-1 Yellow 3
Posted: Sat Feb 09, 2019 10:49 am
by Handiabled
Slugs?!?!?! That’s a LOT of weight...
Word... pounded them flat with a hammer... it took quite a bit of weight to change the balance point
Re: Trumpeter 1/32 Me262A-1 Yellow 3
Posted: Sat Feb 09, 2019 9:12 pm
by speedgraflex
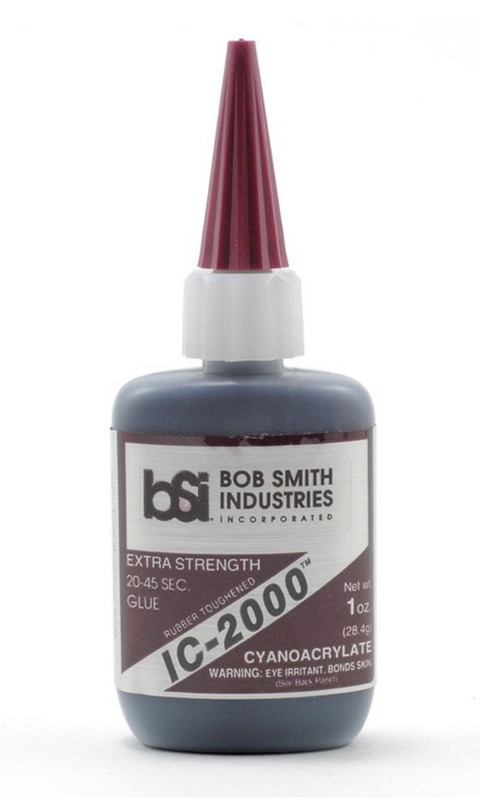
Black CA. Huh. D’ya mean this????
Re: Trumpeter 1/32 Me262A-1 Yellow 3
Posted: Sun Feb 10, 2019 12:57 am
by jkim
Re: Trumpeter 1/32 Me262A-1 Yellow 3
Posted: Sun Feb 10, 2019 2:15 am
by speedgraflex
This was actually the first post I read this evening and it was so perfectly timed for because I am color matching upper in RLM71/02 with RLM70 for the propeller nose and thinking about the interference layers and so on and so forth and wondering why this is so hard for me to figure out, then I looked at your post and felt so much better—here was proof that things will work out. Thank you so much, John. I thought, "Incredible!" several times as I marched through the photographs you sequenced here. I also thought, "The hands of a master!" too, because seriously, good. This is seriously, good. I add the comma because I have to catch my breath every time I think about how good the painting is here.
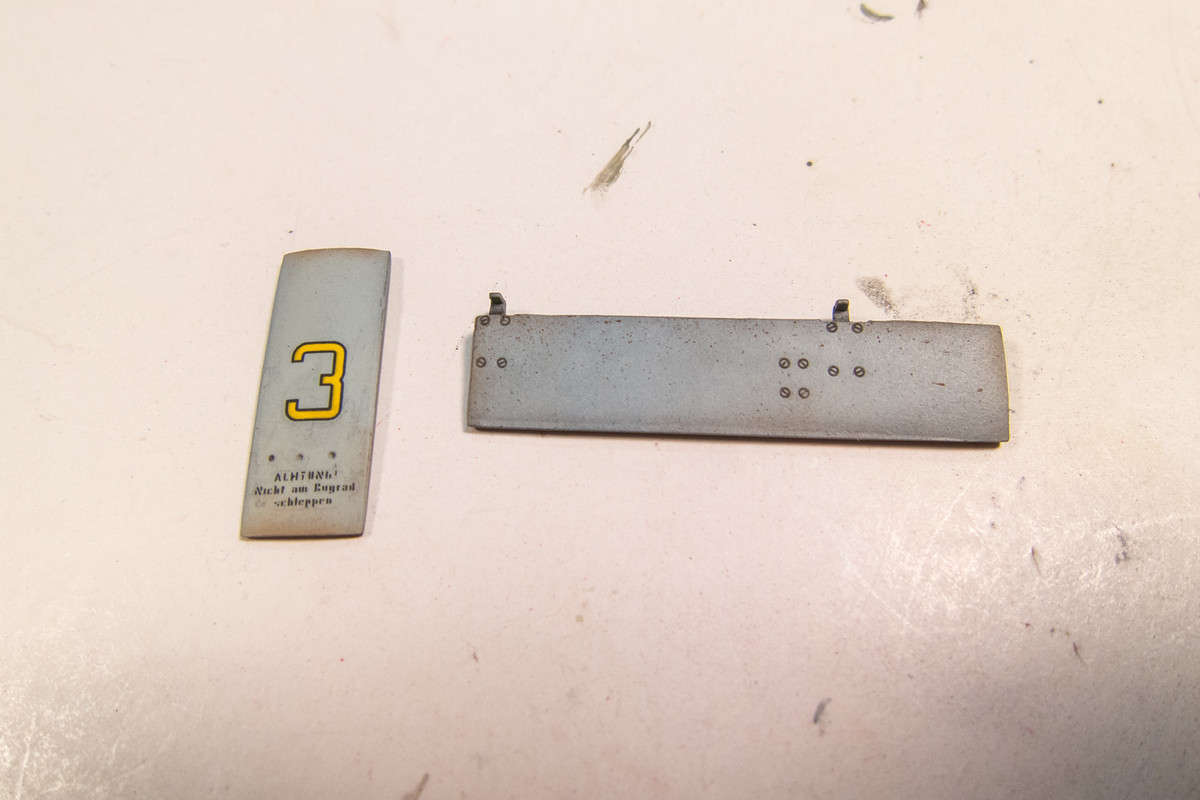
I have random thoughts—paint lays differently on wood than metal but even at 1/32 scale would this be visible (the tail fin is so amazing, truly). I also wonder if the profile is as close to the actual (witness the size of the '3') as possible and how the checkerboard pattern will be done by you... I think that will be quite a challenge, that whole tail fin section! I know you will succeed but how will this be achieved??? That's the question.
Re: Trumpeter 1/32 Me262A-1 Yellow 3
Posted: Sun Feb 10, 2019 2:40 am
by jkim
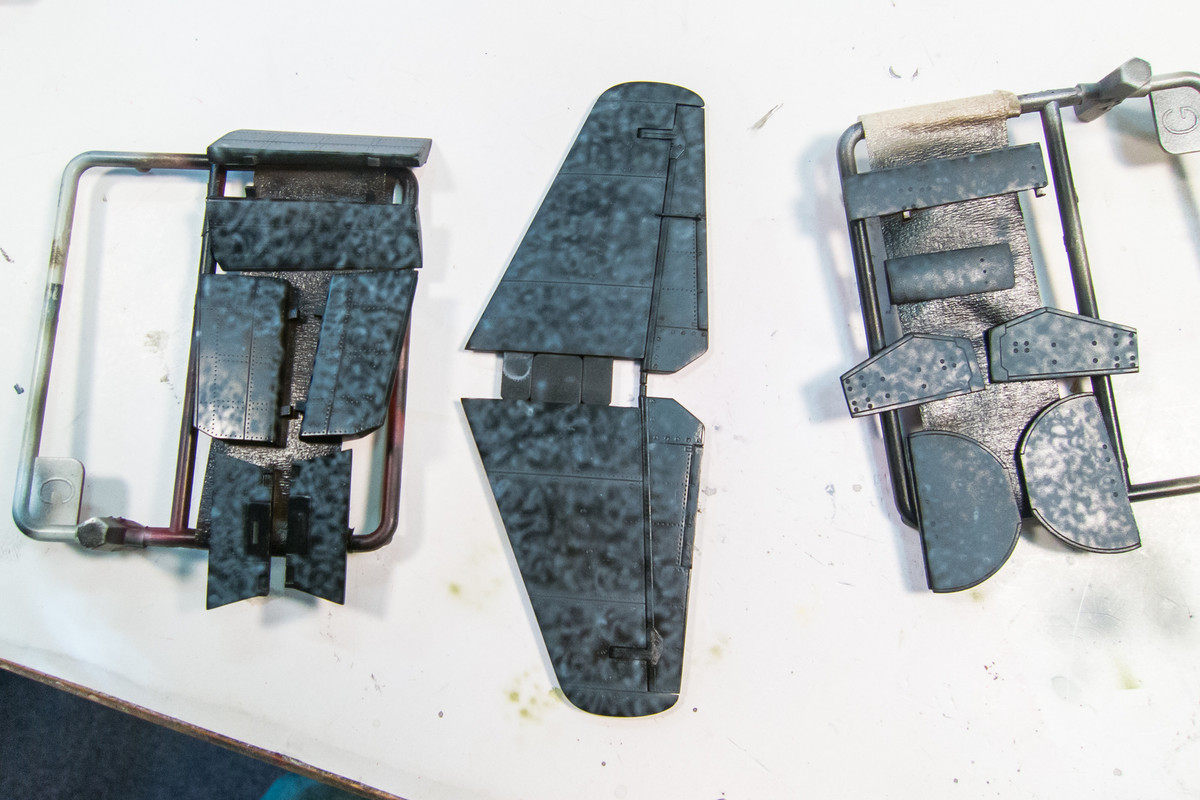
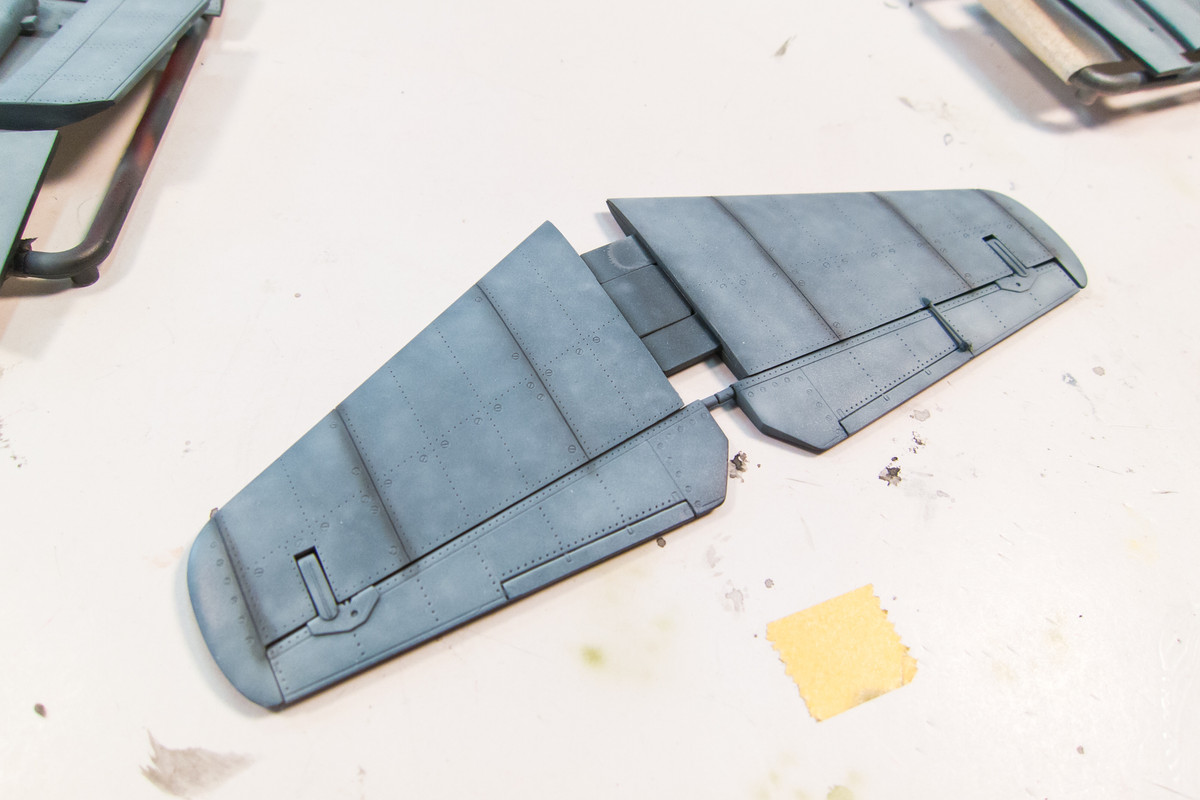
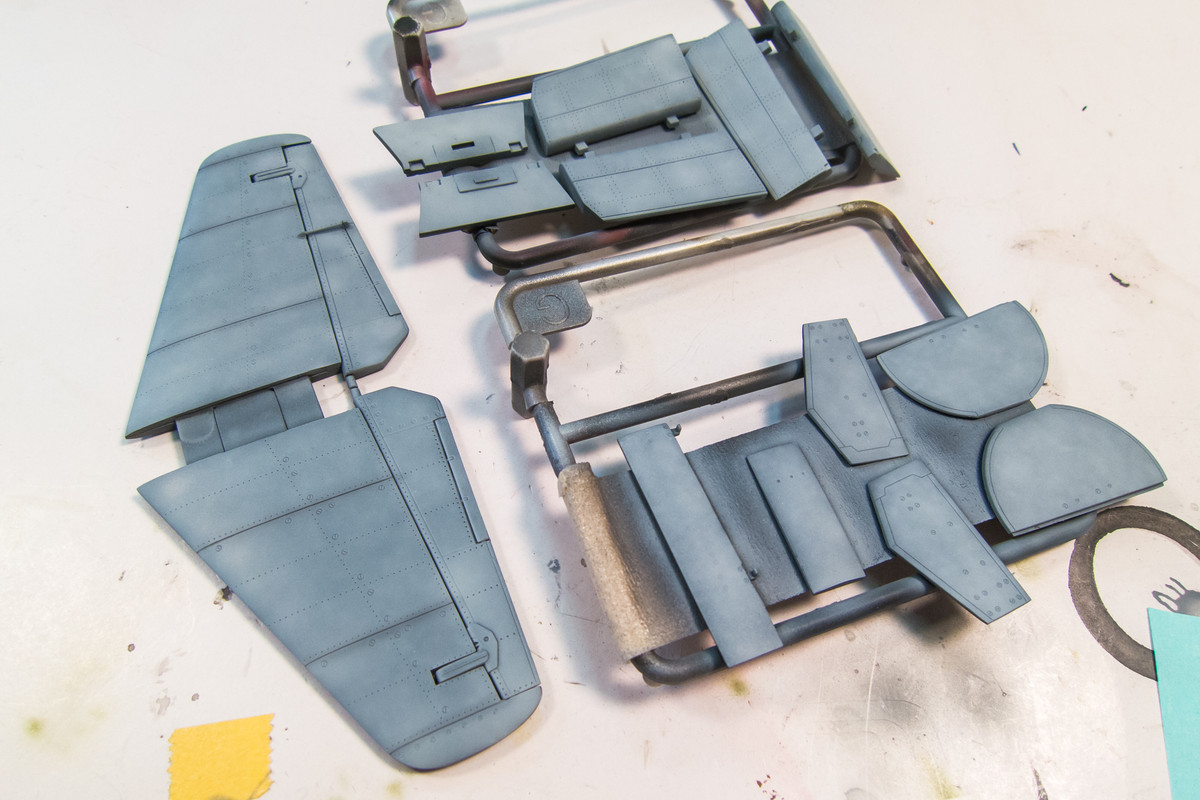
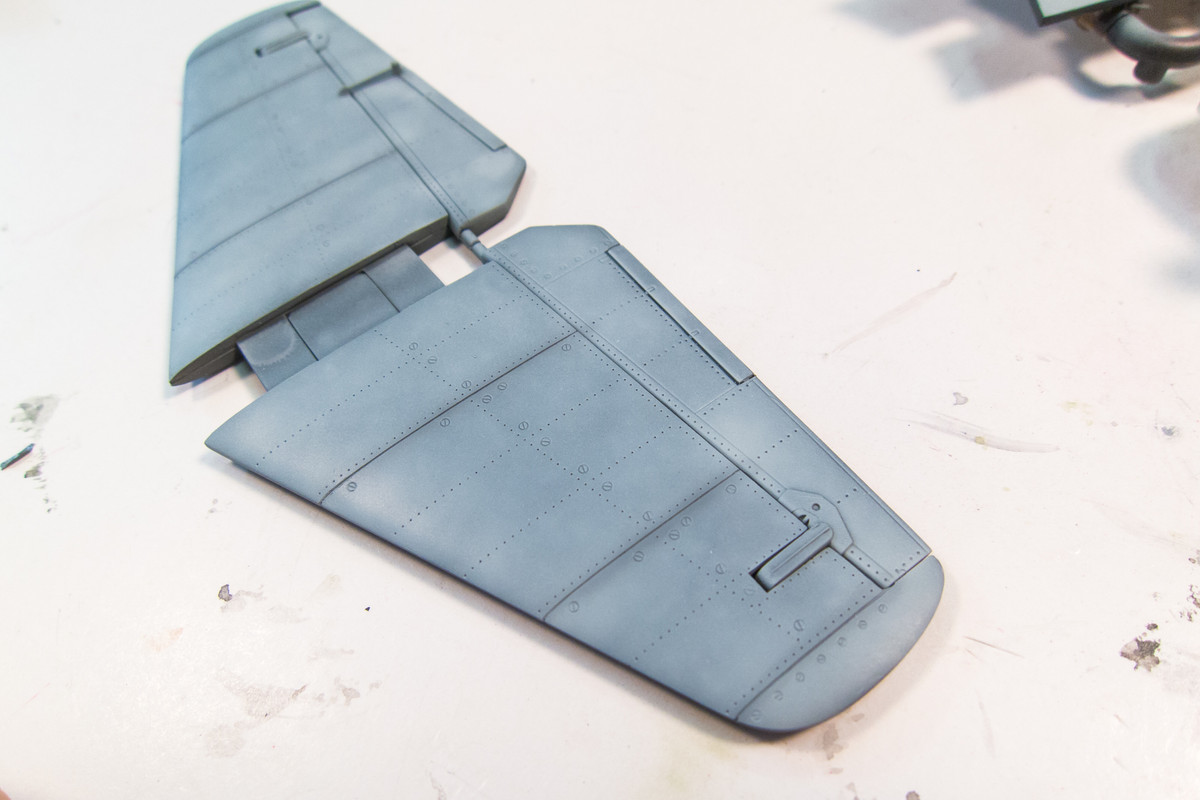
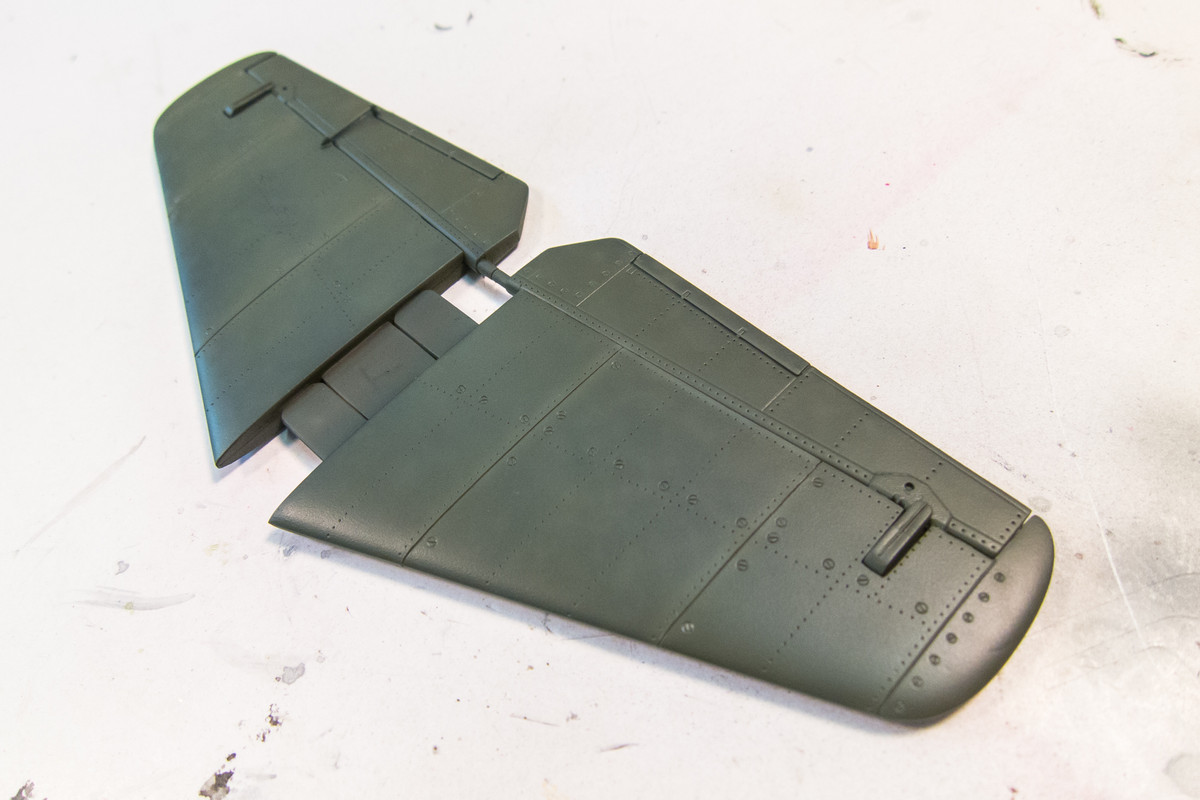
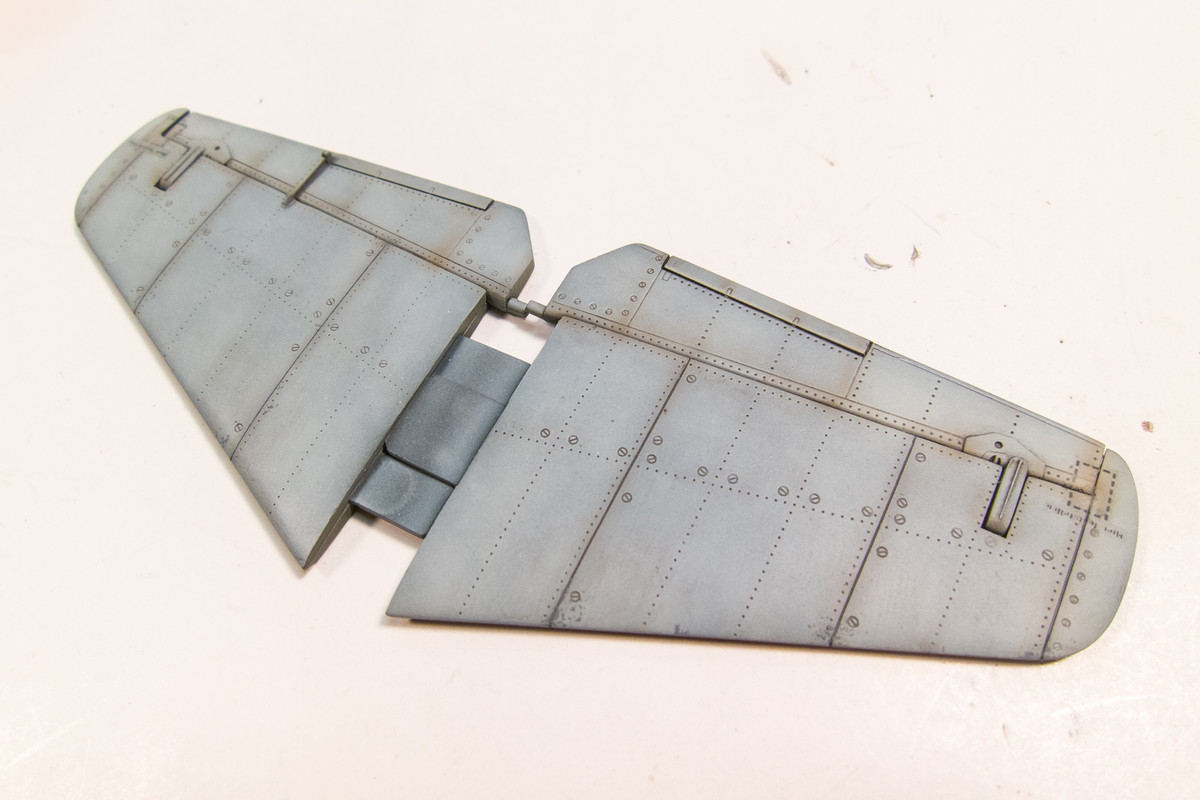
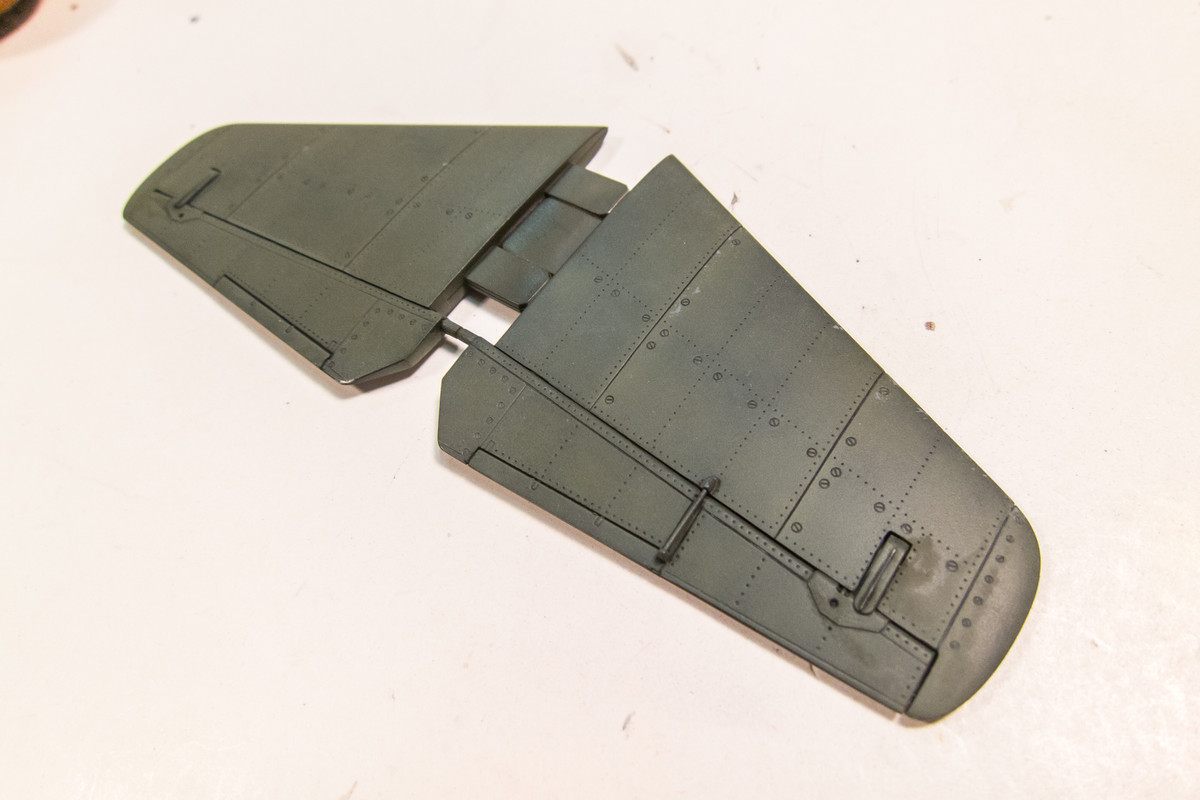
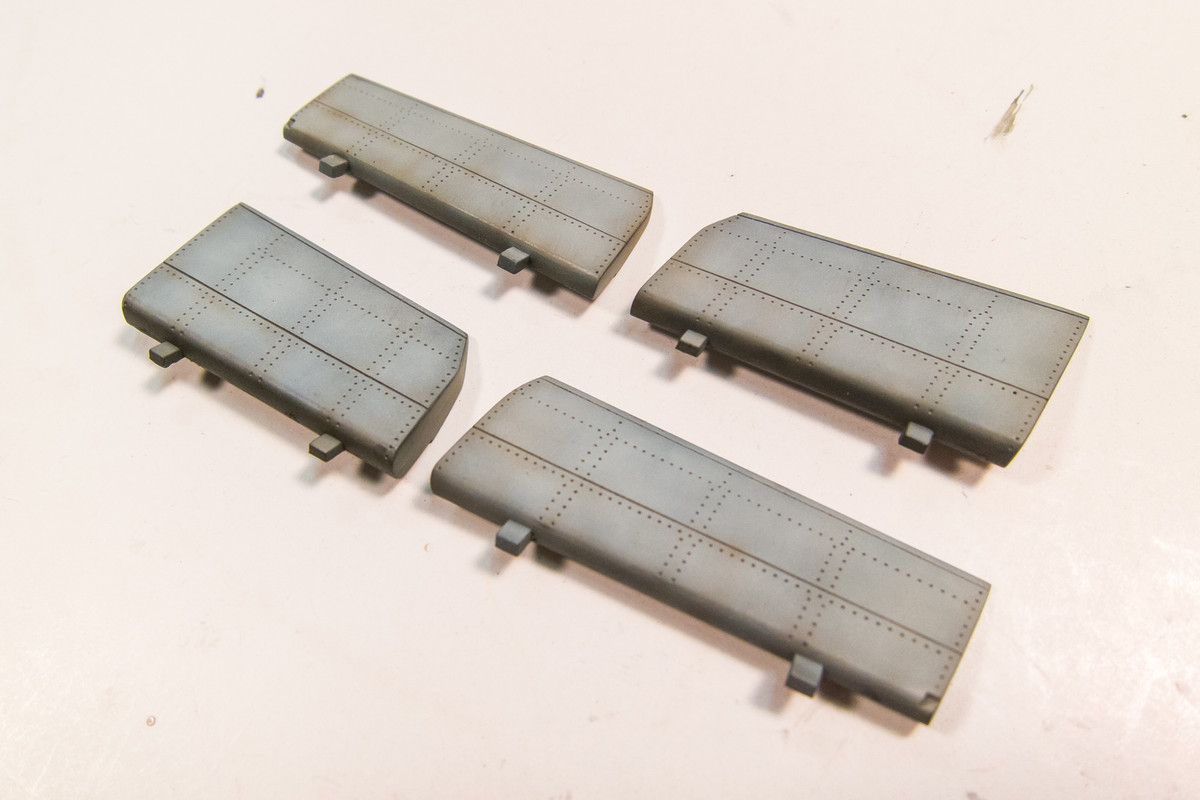
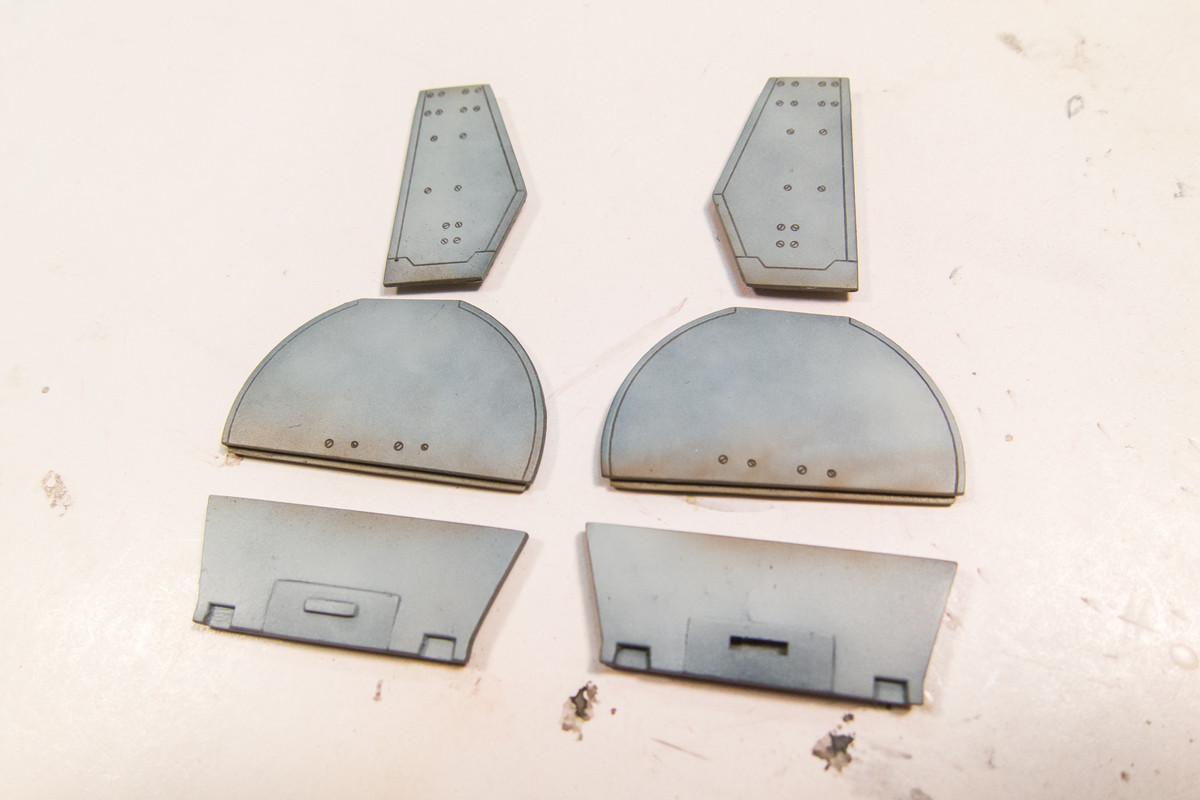
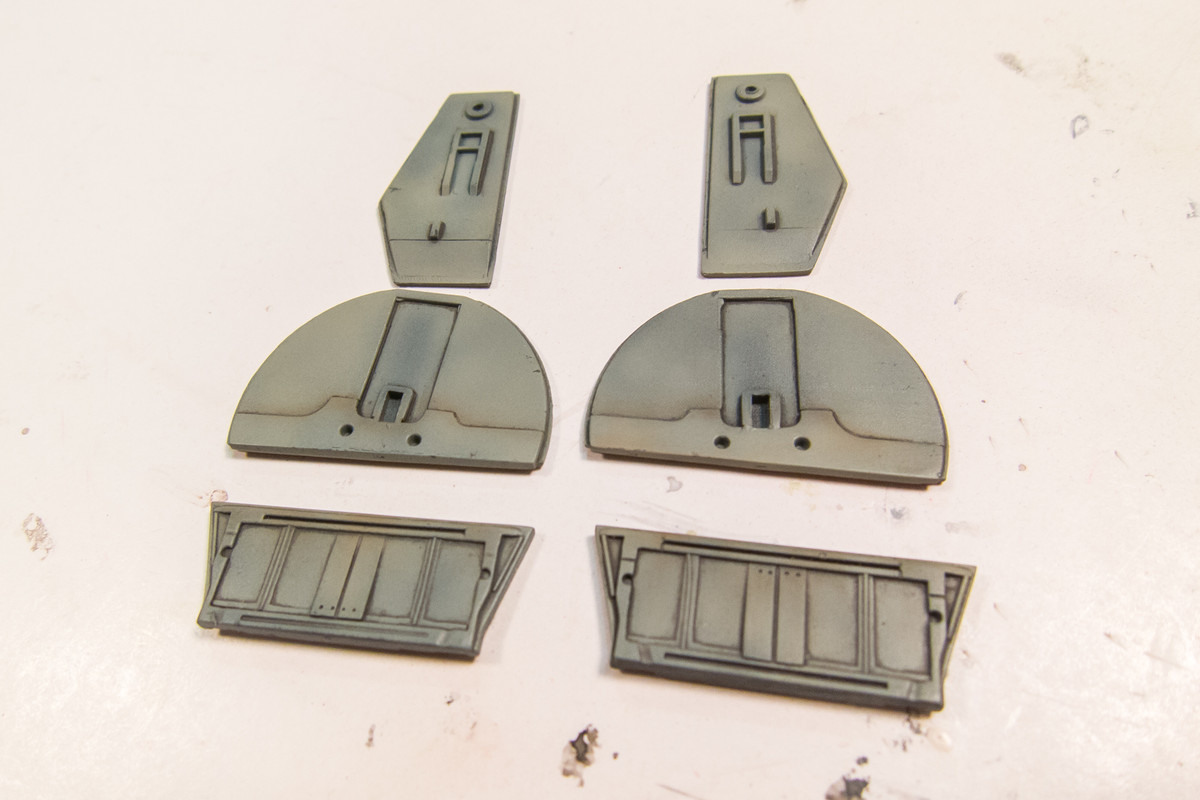
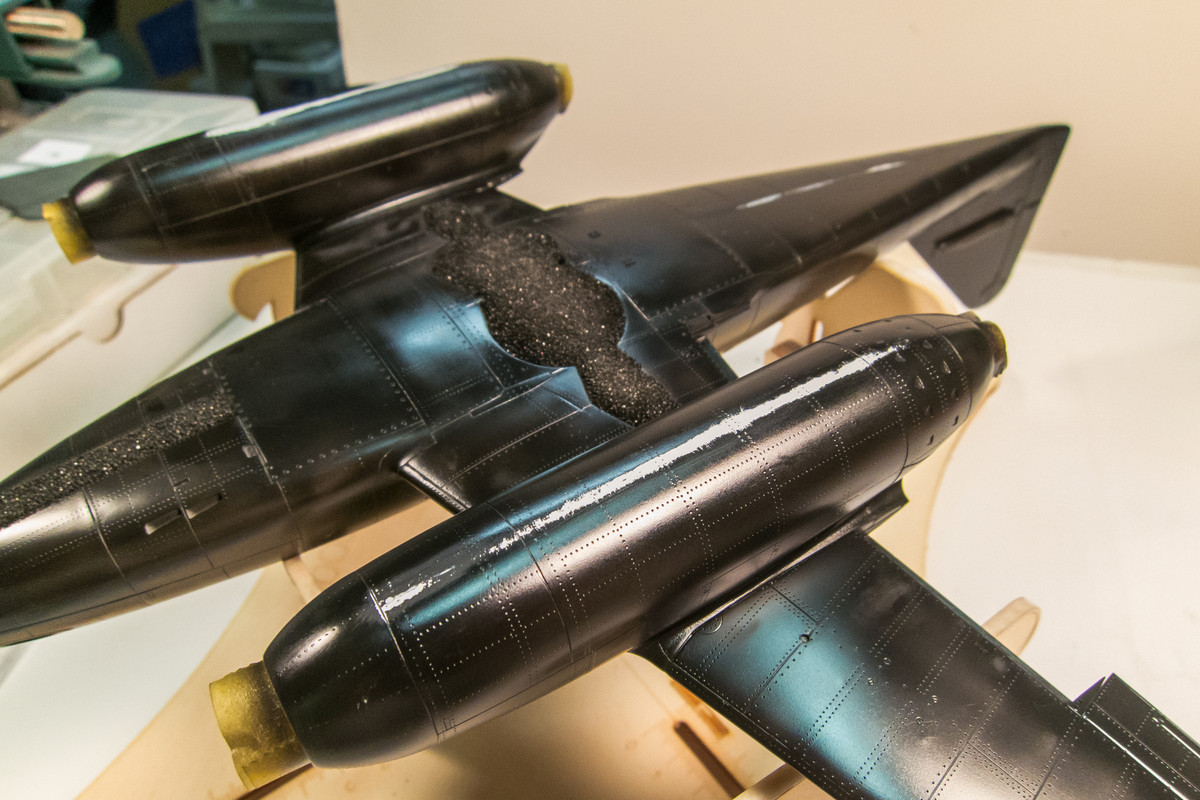
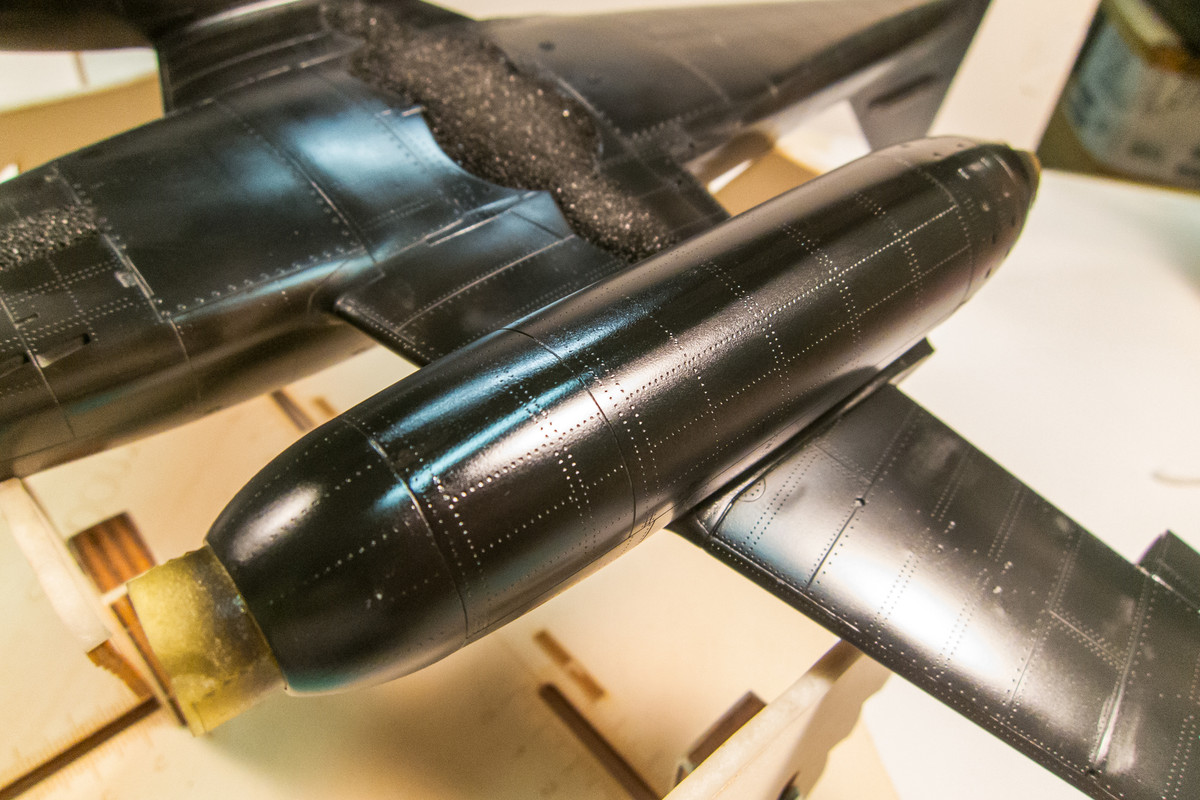
Thank you, Bruce! I’m actually mulling over those things too. The wood tail fin will take care of itself sine it was painted separately and with colors distinct from the rest of the airframe. RLM70 Black Green over a light version of RLM76. The hard mottle will be done inversely using Blu-tack. The checkerboard.... I’ll figure something out. Black-base vs hairspray chipping at the wing roots... need to figure how those go together. Based on the results on the stabs, I’m seriously considering masking the putty lines, although that would be quite the chore.
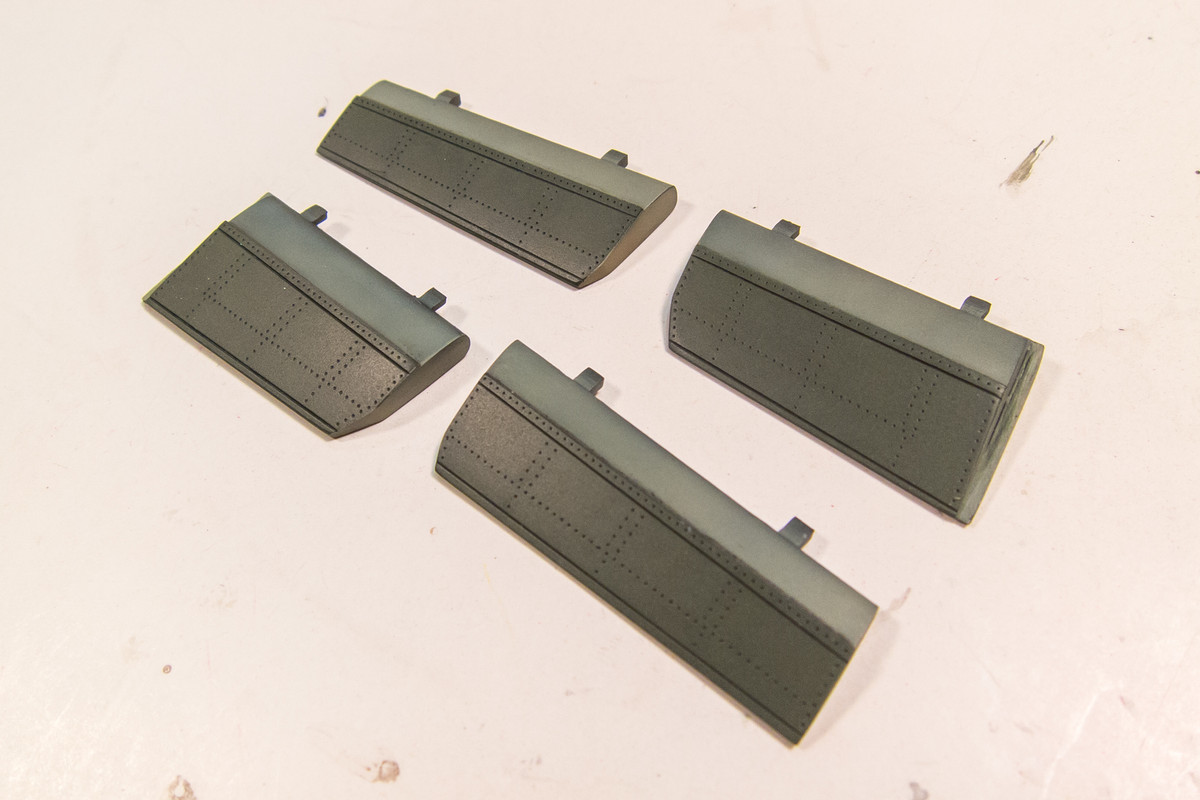
I may do the tail and checkerboard first and mask it off to paint the rest of the camo. That option is in play due to hard borders. Lots to think about but painting the stabs and various covers gives me a good idea of what might work with the RLM83/RLM76 scheme.
Re: Trumpeter 1/32 Me262A-1 Yellow 3
Posted: Sun Feb 10, 2019 2:55 am
by KSaarni
jkim wrote:Yup... that's the stuff, Bruce. Although it is in a different bottle, it is also called IC-2000 so my guess is that it is the same. Plain CA as a filler is ok but I find it gets too hard compared to the plastic and therefore more difficult to sand. This black stuff is a little easier from that standpoint and the black color makes it easy to see.
That is actually extremely smart! Wonder why the same ”principle” could not be applied to normal cements also? Would be easier to see and sand away. And nevertheless, in 99% or more cases, the glue will receive a layer of paint.
Imagine! Tamiya Extra Thin Cement Black Edition
- Kari
Re: Trumpeter 1/32 Me262A-1 Yellow 3
Posted: Sun Feb 10, 2019 9:22 am
by Stikpusher
Another beauty!!!!

Re: Trumpeter 1/32 Me262A-1 Yellow 3
Posted: Sun Feb 10, 2019 9:49 am
by BlackSheep214
Stikpusher wrote:Another beauty!!!!