I voluntarily spent a little time in the A6M2 Original Factory Color rabbit hole over the course of the past few days. It is very important to me -for some reason I can’t put my finger on- that I get the color for this bird as correctly as I can for the “not-quite-brand-spankin’-new-but-none-the-less-beautifully-and-meticulously-maintained” carrier-based aircraft I’ve envisioned this project to be.
I’ve found some really great stuff over at:
http://www.aviationofjapan.com/2012/05/ ... o.html?m=1
Most notably, this handy color chart:
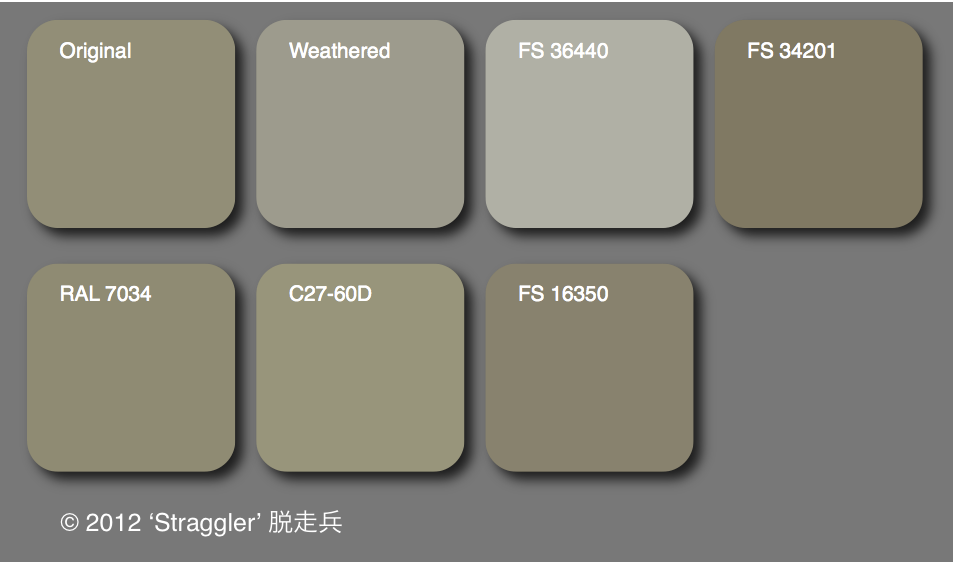
The closest colours with which to visualise the original Zero factory paint colour in available modern standards are FS 16350 in FS595b (fair), C27-60D (Munsell 7.5 Y 6/2) in JPMA (better) and RAL 7034 (best), the latter being designated, unsurprisingly, as Gelbgrau - yellow grey.
And as it happens, a fella by the name of Greg Springer over at J-Aircraft came up with a custom Tamiya paint mix which’ll get you pretty damn close to RAL 7034 / C27-60D. To my eye the result, when lightened with white for the ephemeral
scale effect you hear about is pretty nice looking.. It’s a far cry from gray, white, or even the gray green Tamiya manufactures.
The formula goes like this:
70% White
17% Yellow
8% Black
5% Red
I mixed the Red, Black, and Yellow first, then added White to get my base coat. For the lightened coat, I mixed a drop of White and a drop of Gray Green into the four-drop mix I’d set aside. Then Inwent back over it with my base mix, heavily thinned.
Here’s how I did it, on “Reggie The Paint Mule”—
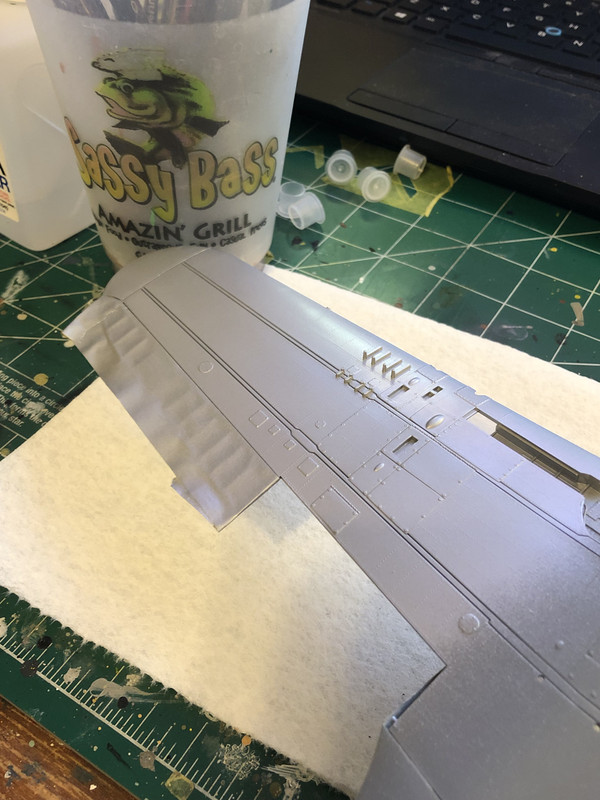
1. Lay down bare metal silver (I can’t get enough of this stuff):
2. Lay down your “red oxide primer” (Hull Red):
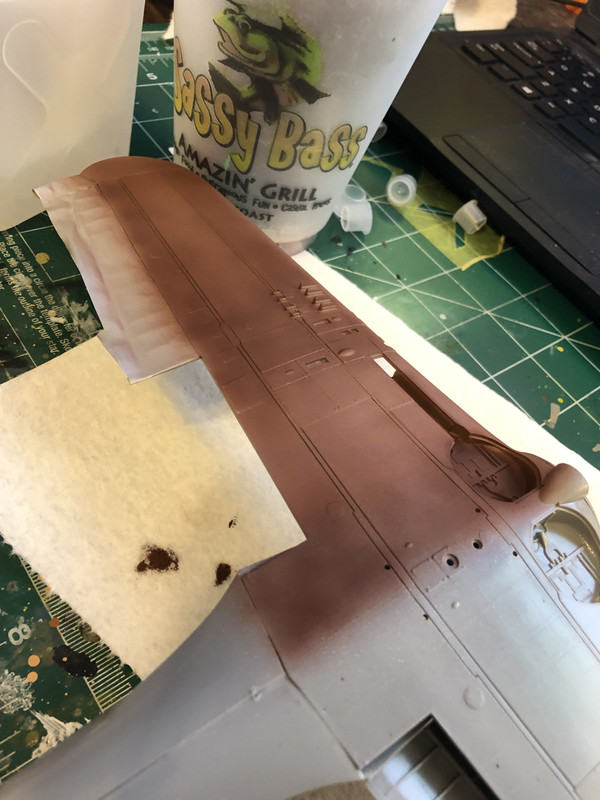
Why the “primer”? Because the Zero was primed that way and I theorize that the color won’t look right unless it’s sprayed over that color. Call me crazy. Don’t care.
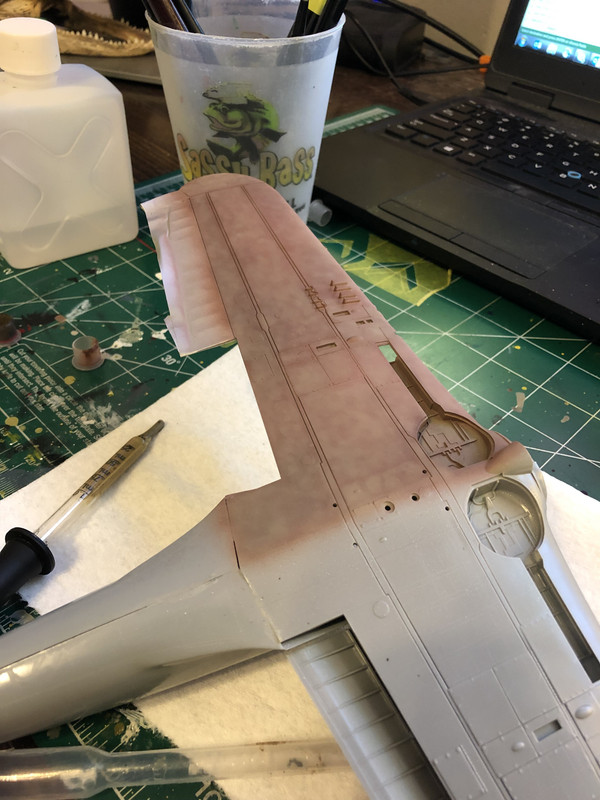
3. Next I marbled on the first coat of the base color:
4. And then I marbled some more of the base color on:
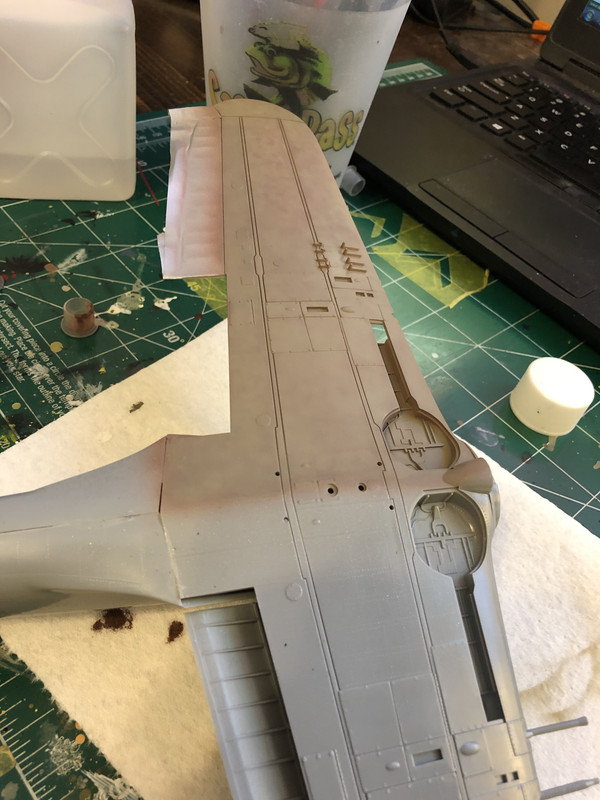
5. Next I lightened four drops of the base color with one drop of White and one drop of Gray Green, and marbled that in, staying away from the outer edges of the shapes I was working in:
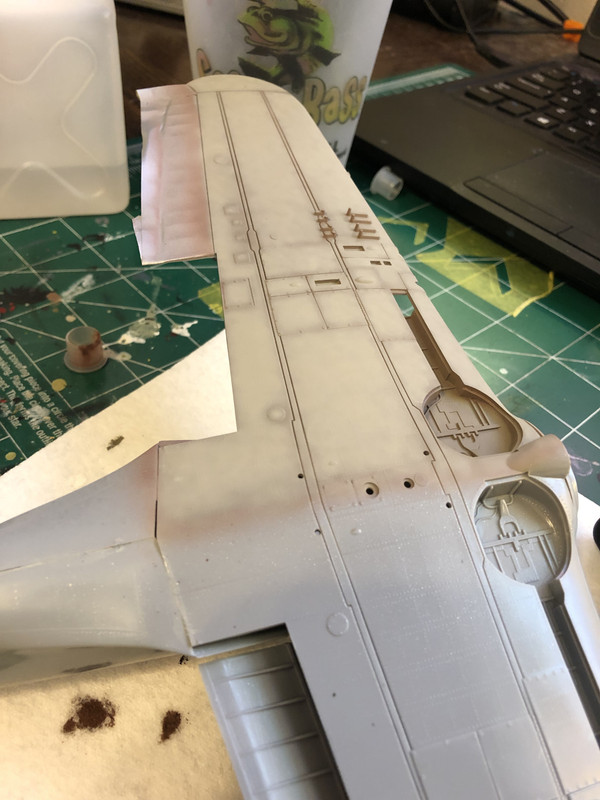
6. After that, I took the base mix, thinned it down 12:3 thinner to paint, and oversprayed everything. Here are the results:
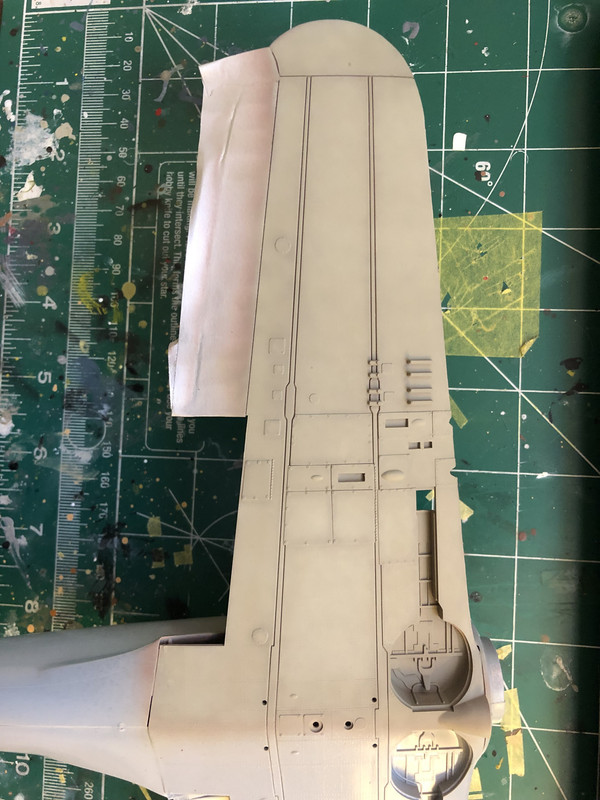
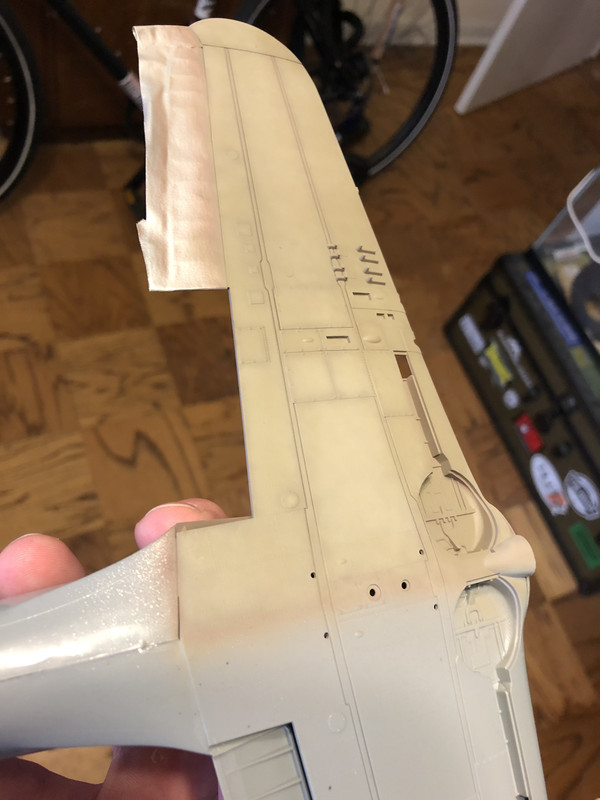
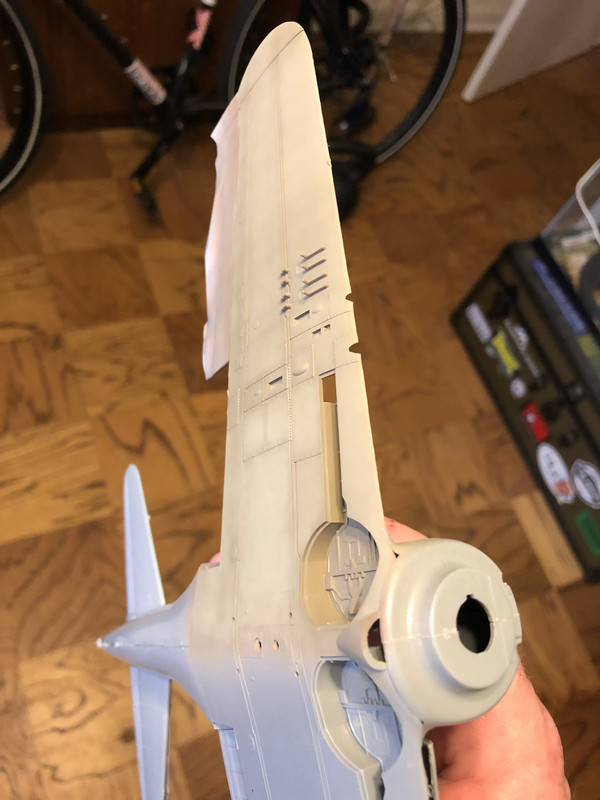
I am a tad disappointed about one thing- according to J-Aircraft and other corroborating sources, Mitsubishi didn’t spray the wheel wells Aotake. That’s a bummer. I like that color a lot. BUT, I am pleased with this custom color and it does look nice sprayed into the wheel well there. So there’s that.
Anyhow, this was a fun experiment, and I’m pleased with the results. So this is the manner in which I will paint the 1:32 Zeke.