Page 2 of 31
Re: 1/32 Zoukei-Mura Ta152H-1 White 7
Posted: Mon Dec 30, 2019 2:28 pm
by speedgraflex
What Thomas wrote on Scalemates confirms the Supercharger scoop did not have a grill when used by the Luftwaffe. The U.S. war prize which is an H-0 has the grill. Do you also have the RAF photo series of their captured H-1?
Re: 1/32 Zoukei-Mura Ta152H-1 White 7
Posted: Mon Dec 30, 2019 3:46 pm
by jkim
The references that I have for this build include:
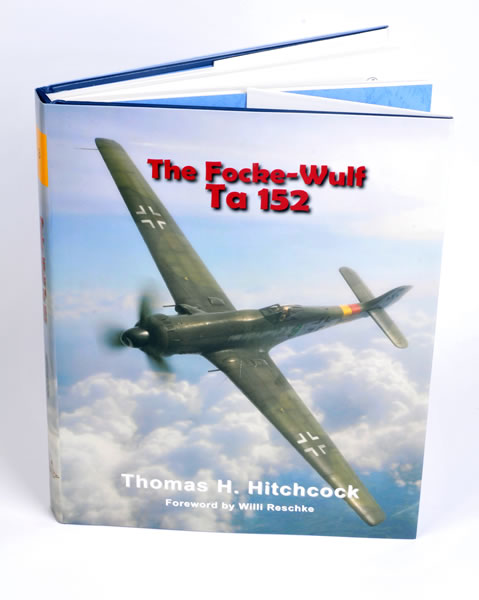


which include photos of the known Ta 152H's that were captured by Allied forces (150167, 150168 and Green 4). But if you know of any interesting photos, please share!
I also have an incoming issue of Luftwaffe Im Focus that Torben mentioned.
Re: 1/32 Zoukei-Mura Ta152H-1 White 7
Posted: Tue Dec 31, 2019 10:16 am
by speedgraflex
You have covered your bases! The cover of the Up Close book is a blow up of Та152 H-0 W.Nr. 150010 (or W.Nr. 150020 according to the NASM museum research) used in combat by JG301 Geschwader Stab, then captured by the British in Denmark in 1945 and handed over to the Americans who took it back to the USA for evaluation. The British-captured Ta 152 H-1, Werknummer 150168, used in combat by JG301 Geschwader Stab, tested by RAF, scrapped 1946.
All personal preferences aside, the tooling of the sprues appears top notch. The details are crisp and there is zero flash present as far as I can tell! Thank you so much for the tasty photographs!! I have often wondered why ZM designs originated in colored plastic based on component types. The easy answer would be that the ease of separating so many parts by color was a concern. Your comments remind me a little of what Chris Wauchop wrote about their usage of clear plastic (which I think was not really clear but more frosted) for the external shell. He found painting the clear to be a hassle.
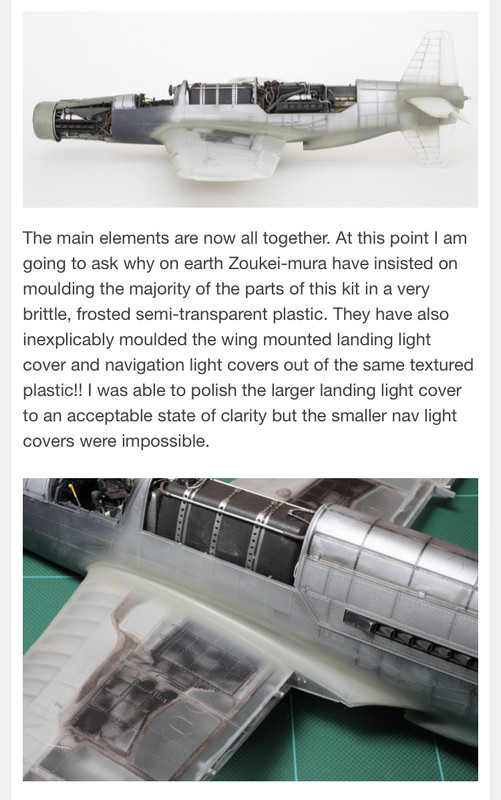
I mainly add this as an addendum, because it is a different aircraft, obviously. Seeing beautiful work ahead though!!!
Re: 1/32 Zoukei-Mura Ta152H-1 White 7
Posted: Tue Dec 31, 2019 11:06 am
by jkim
Clear styrene is the hardest and most difficult to work with so I totally understand Chris W's frustration. Next to clear, I would list black and metallic grey as the next worst colors for modeling, which is what I'll be working with on this build

. Most model companies have figured out that neutral grey plastic is the easiest for modelers to work with but Z-M continues to play around with colored plastic... very trendy and toy-like, IMO.
There is one more photo of White 7 that I found on the internet...
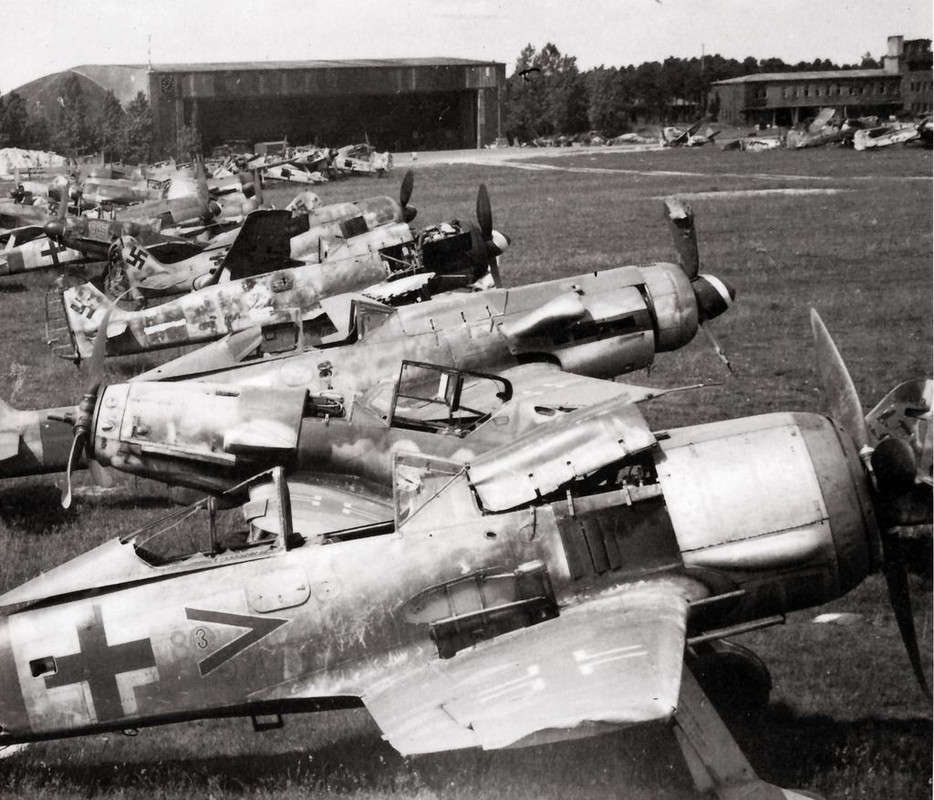
Good view of the starboard side camo with some glimpses of the top side of starboard wing. Exhaust area in painted in black. Wooden propeller blades. Spiral painted on the spinner. Note Bf109K-4 in front of the Ta152... looks like a 331xxx machine.
Re: 1/32 Zoukei-Mura Ta152H-1 White 7
Posted: Tue Dec 31, 2019 1:39 pm
by Thomas_M
Exactly the same reference books I own, with some more I lost track of...
On the plastic colour: not to forget that Zoukei-mura is rather new in doing plastic kits. The Ta 152 is just their second kit. A learning curve for them, too.
Then they followed a poll and moulded exterior parts in clear, but unfortunately frosted, plastic. But, they also left multi- coloured plastic behind them, and now do the clear parts additionally in grey. The Toriyu is made this way, while the Hs 129 tank buster is in a Tamiya-like tan colour only, with no clear exterior parts. Way to go for me, too.
Re: 1/32 Zoukei-Mura Ta152H-1 White 7
Posted: Wed Jan 01, 2020 12:01 am
by jkim
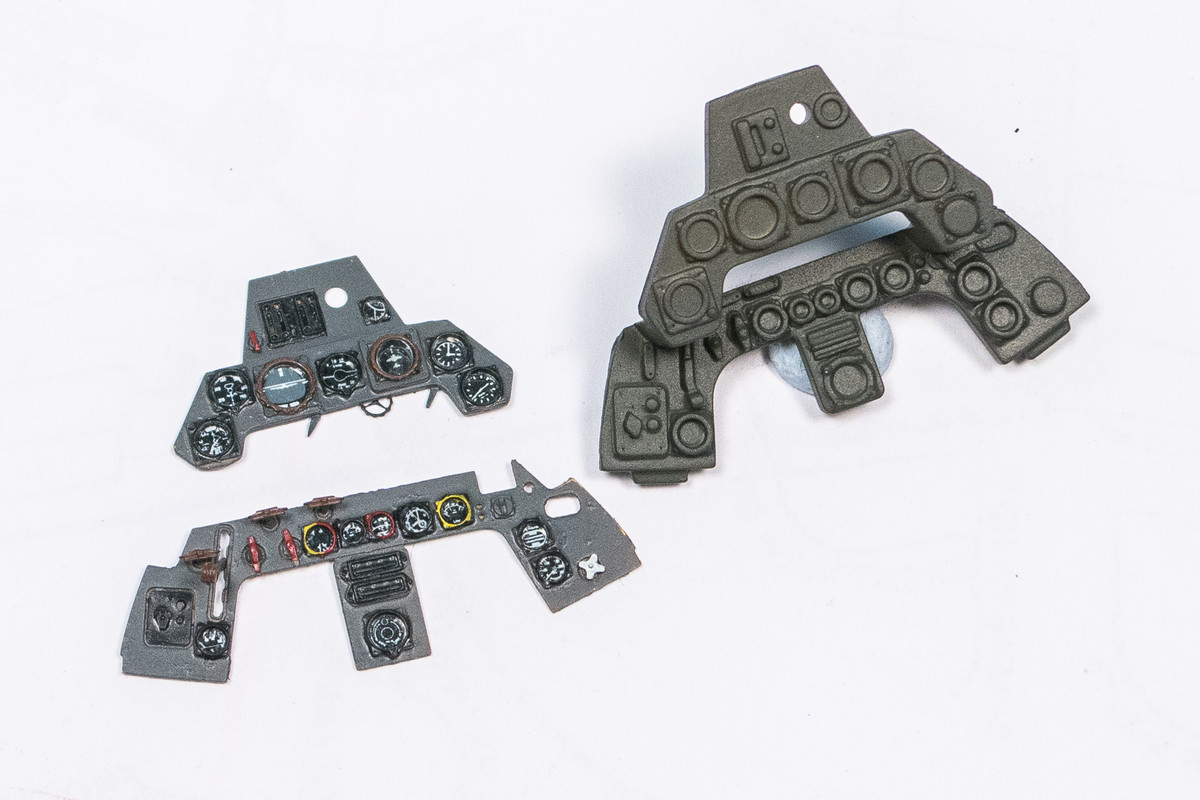
I've started to look at the kit a little closer. The cockpit parts are not overly impressive. It's not bad but I wouldn't call it good either. Fairly soft details and noticeably short of state-of-the-art. That's what aftermarket is for, I guess. I would prefer a resin cockpit but I'll have to settle for a bunch of photoetch instead. This is the RB Productions Ta152H cockpit set, comprised of a single fret of brass.
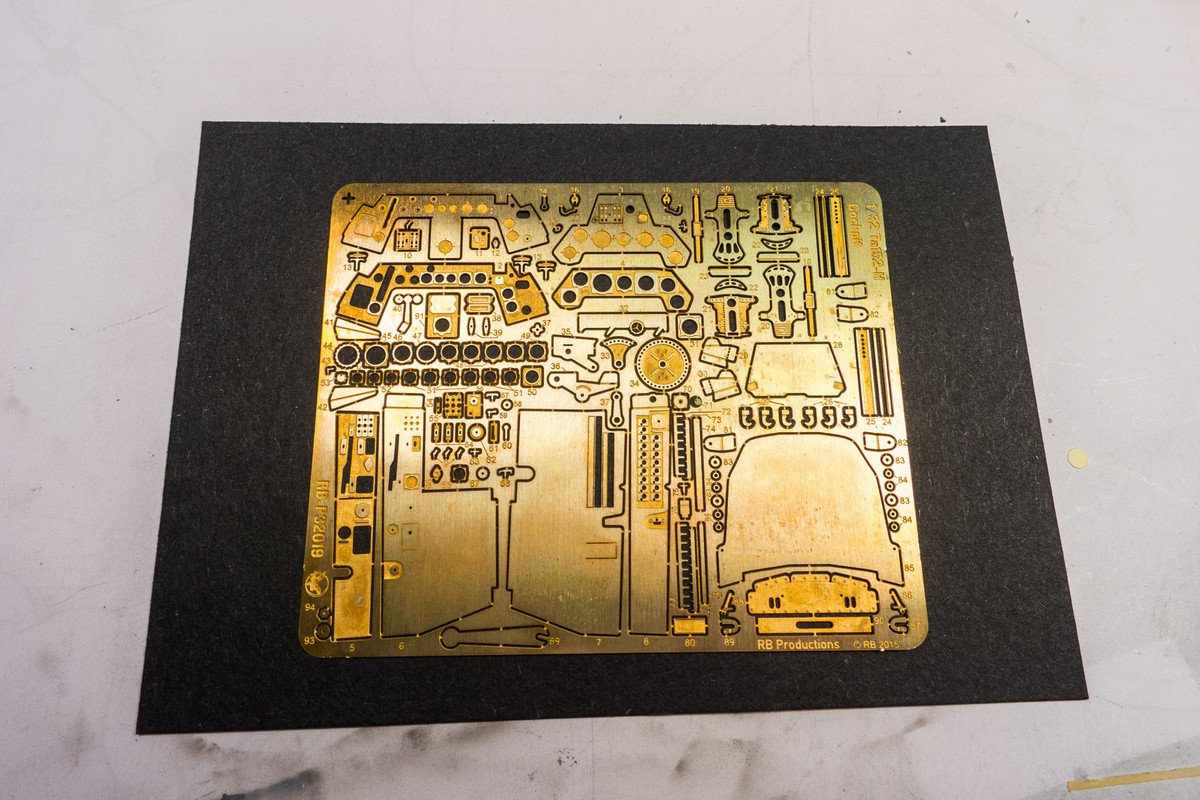
As you can see, it has some fairly big components such as the seat back, the side consoles and the instrument panel components. It's also got a ton of tiny bits and pieces, of which I'm sure I'll be losing or electing not to use. As a warm-up, I decided to see if I could get the seat back assembled.
This is designed to augment the kit seat not replace it, so I'll have to chop up the kit part if I want to use it.
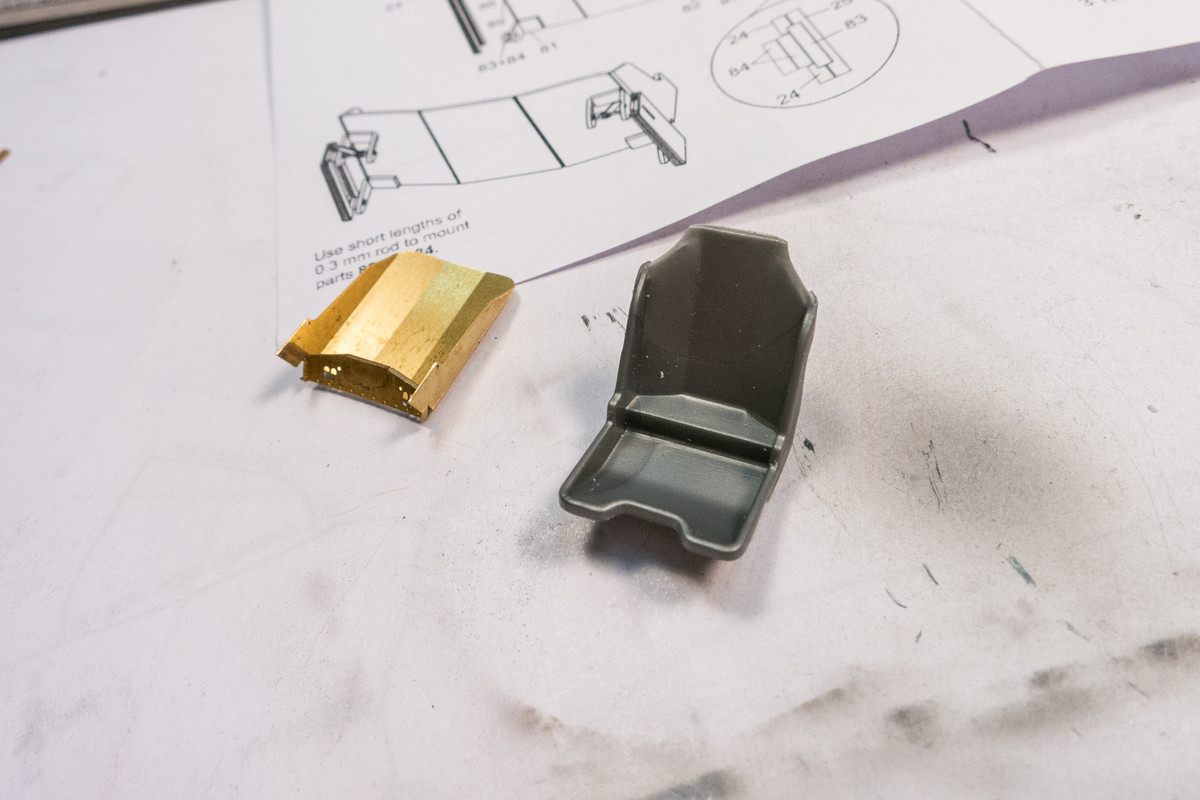
When I'm fairly confident that I can make this work, I cut the seat back off of the kit seat. I've deviated from the instructions by leaving the little platform at the back of the seat and seeing if I can utilize that plastic to serve as a base for the brass seat back.
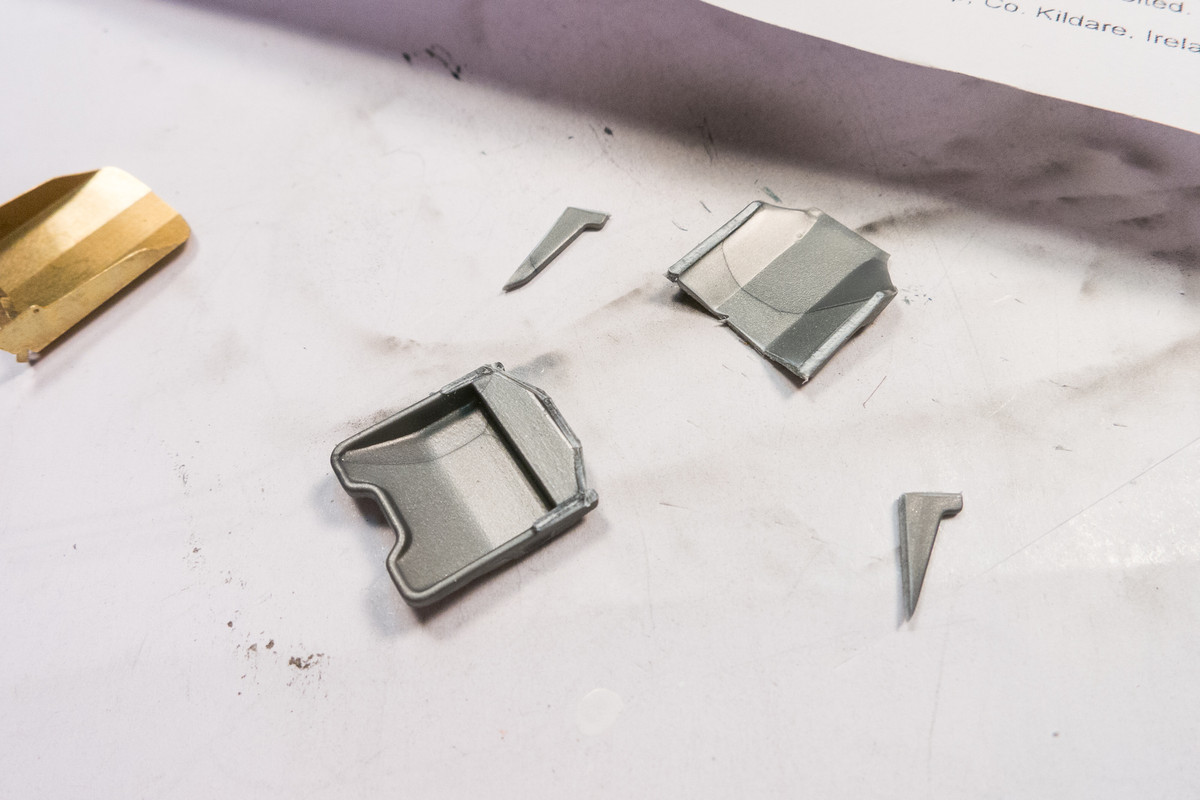
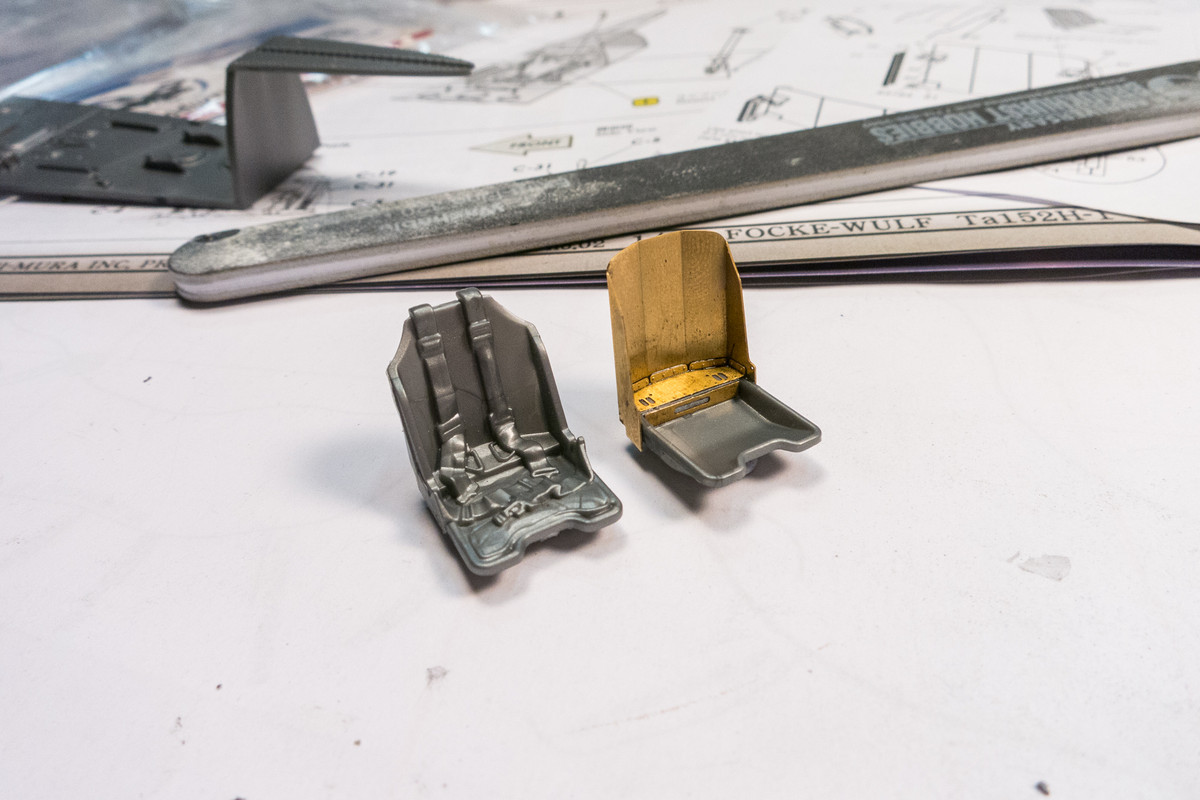
Here is what the new seat looks like compared to the kit seat (with molded harnesses). The phototech set has an elaborate set of parts to mimic the adjustable height mounting frame for the seat. I'll probably simplify this as much as possible since it will be largely unseen anyway. I just want to establish a positive connection between the seat and the rear cockpit bulkhead.
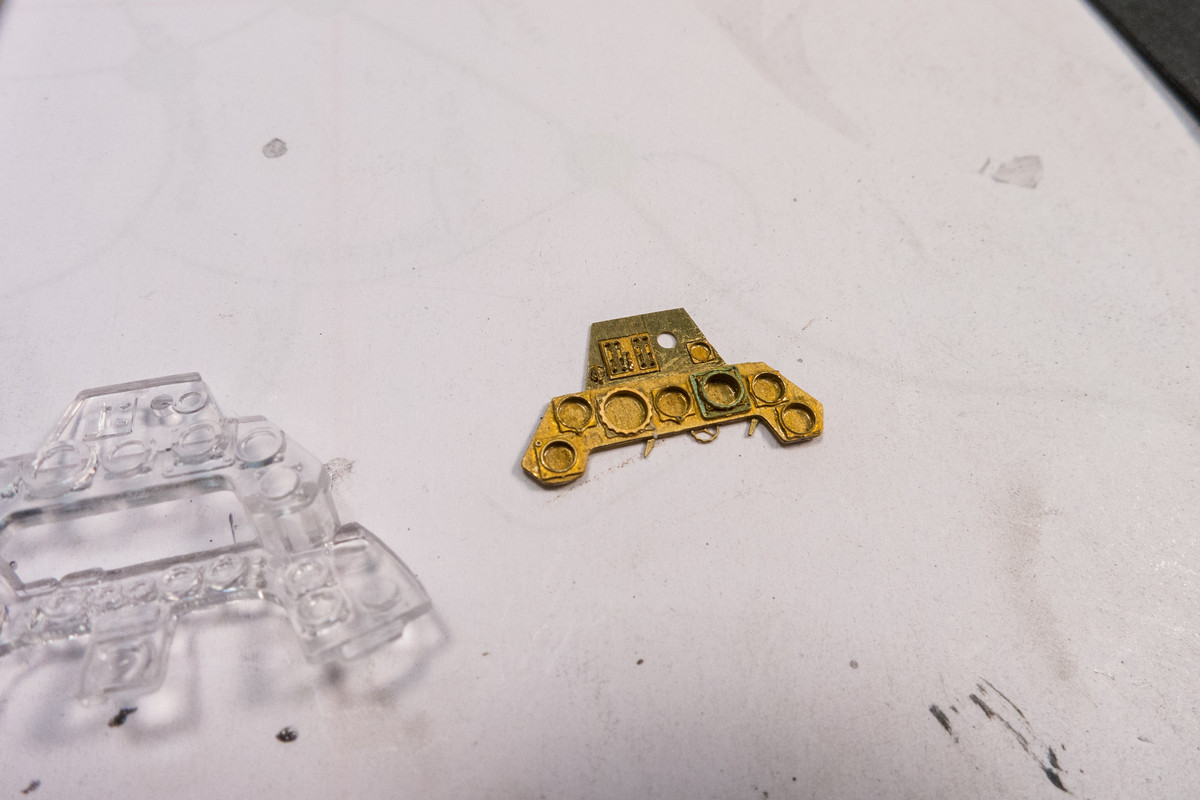
Having wet my feet with the seat, I decided to tackle the upper instrument panel.
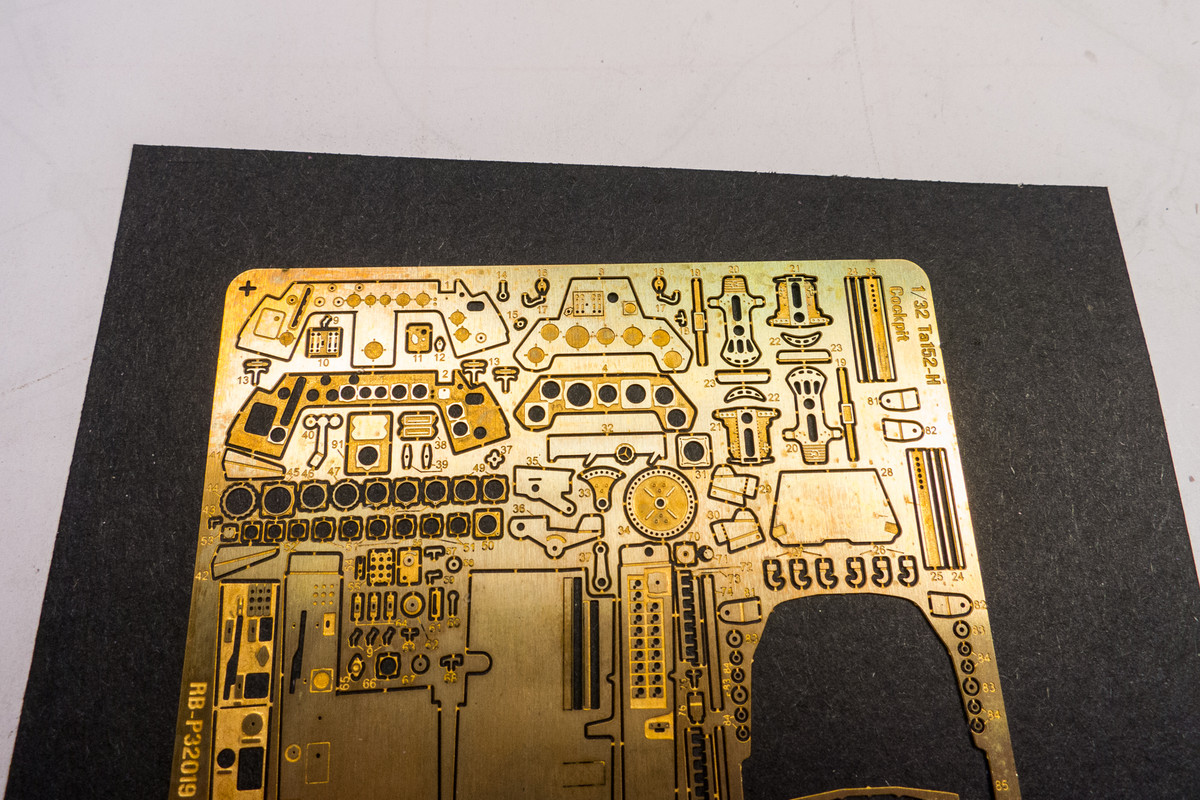
Pretty fiddly work... the upper IP alone has EIGHTEEN parts! The price for an upgrade here is pretty steep but hopefully it'll look noticeably better than the kit part, which I'll shoot with paint for a comparison when I get further along. This episode emptied my gas tank and I'll have to re-gather my energy/patience for more fun with brass tomorrow.
Re: 1/32 Zoukei-Mura Ta152H-1 White 7
Posted: Wed Jan 01, 2020 7:46 am
by mostrich
Looks fiddly, but also quite rewarding!
Re: 1/32 Zoukei-Mura Ta152H-1 White 7
Posted: Wed Jan 01, 2020 10:22 am
by Floki
The end result looks well worth the effort.
Re: 1/32 Zoukei-Mura Ta152H-1 White 7
Posted: Wed Jan 01, 2020 11:19 am
by BlackSheep214
Nothing like kicking off the new year watching the maestro work his magic on all his kits. Bravo!
Re: 1/32 Zoukei-Mura Ta152H-1 White 7
Posted: Thu Jan 02, 2020 12:04 am
by jkim
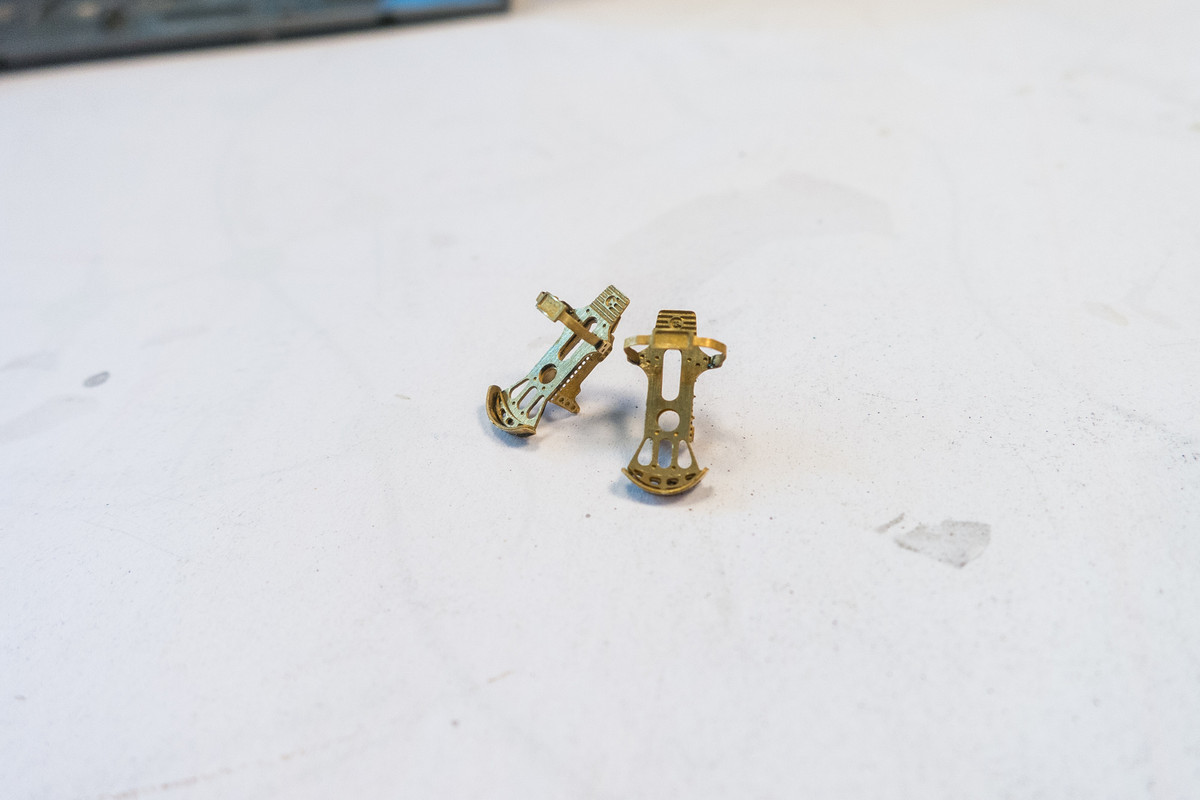
Thanks guys! The fiddly work continued with the RB Productions photo etch stuff. I folded up the foot pedals...
The upper and lower instrument panels have been assembled. 18 parts for the upper panel and 22 for the lower... must be some kind of record. Taking Radu's specific advice, the smaller bits were attached using Future. Not the most "binding" of adhesives but it worked out ok. Some of the larger attachments were secured using CA glue.
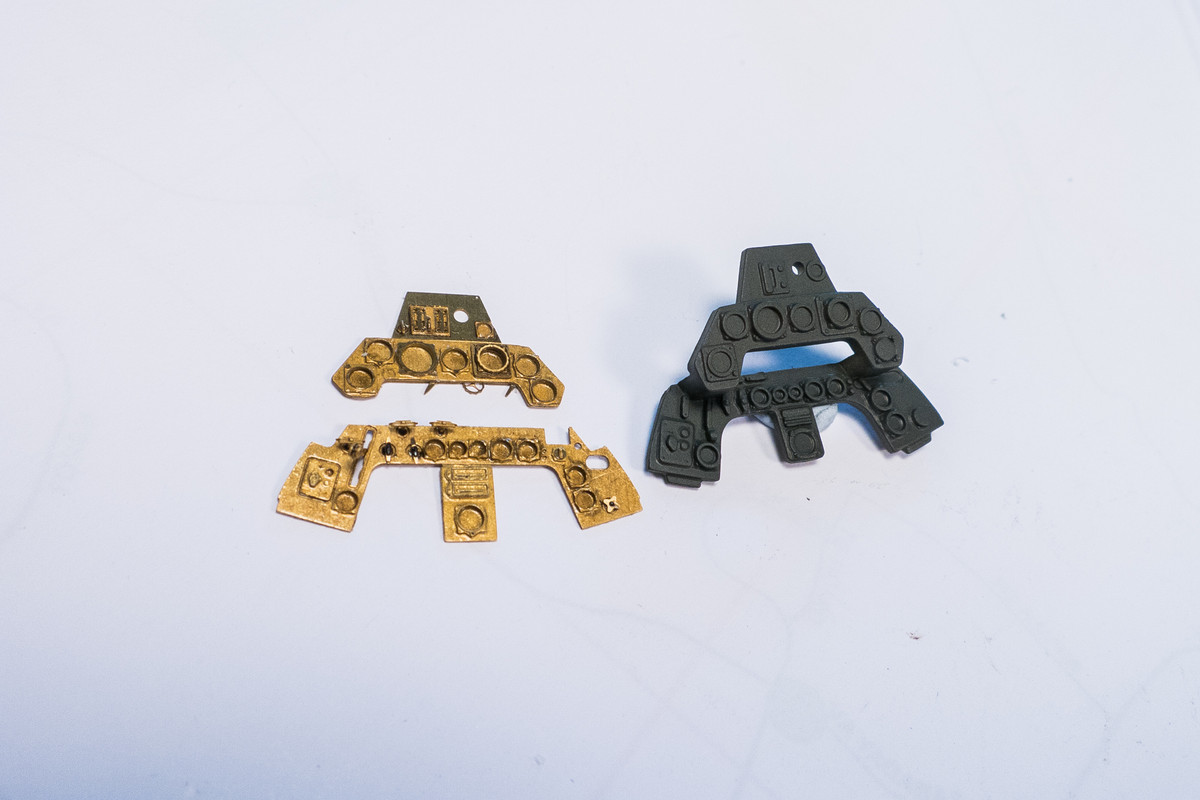
Again, per Radu's advice, the instrument panels were coated with Mr Metal Primer and then painted in RLM 66 Dark Grey (Mr Hobby Aqueous).
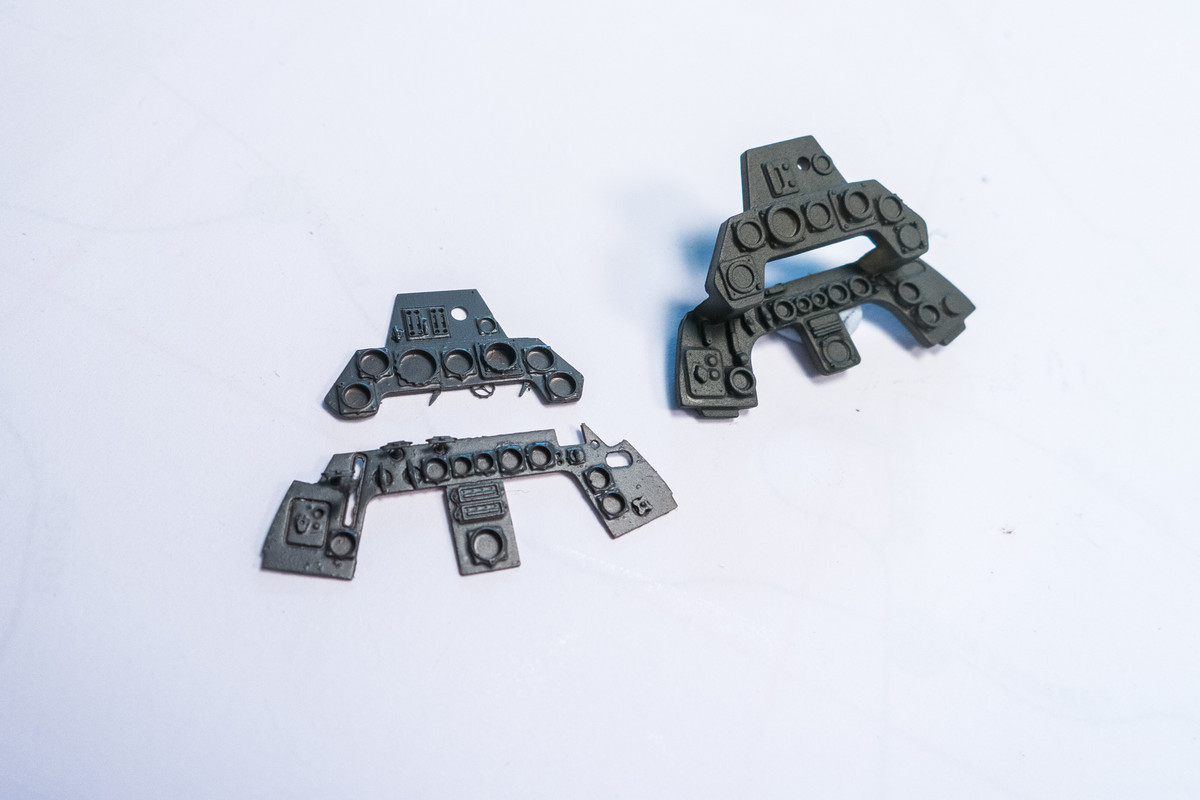
Various details were brush painted and the panels were given a flat coat to seal. I then populated each of the instruments using Airscale decals and then topped off each gauge with a punched piece of clear acetate.
Since the RB Productions set doesn't include a Revi 16 gun sight, I'll have to dig into my spares box to see if I can drum something up. If the search comes up empty, I'll have to take a look at the kit part to see if it is usable.