Page 2 of 34
Re: 1/32 Revell Me262B-1/U1 Nachtjager
Posted: Mon Nov 16, 2020 3:40 pm
by Medicman71
Nice! It does look much better than the PE parts.

Re: 1/32 Revell Me262B-1/U1 Nachtjager
Posted: Mon Nov 16, 2020 3:53 pm
by Stuart
Medicman71 wrote:Nice! It does look much better than the PE parts.

I fully agree with Mike - that's definitely the one I'd go with.
Re: 1/32 Revell Me262B-1/U1 Nachtjager
Posted: Mon Nov 16, 2020 6:11 pm
by Floki
I'm going to be watching this one closely. Night fighters are my absolute favorite. If I can I also try to use the kit panel with dial decals. I like to use aeroscale, but in this case them decals look great and I would of done the same thing breaking them down into smaller sections.
Re: 1/32 Revell Me262B-1/U1 Nachtjager
Posted: Tue Nov 17, 2020 11:42 am
by Stikpusher
One more fan of your work with the kit IP part and instrument decals. That looks far superior to the PE pre colored parts.
Re: 1/32 Revell Me262B-1/U1 Nachtjager
Posted: Tue Nov 17, 2020 11:44 am
by jkim
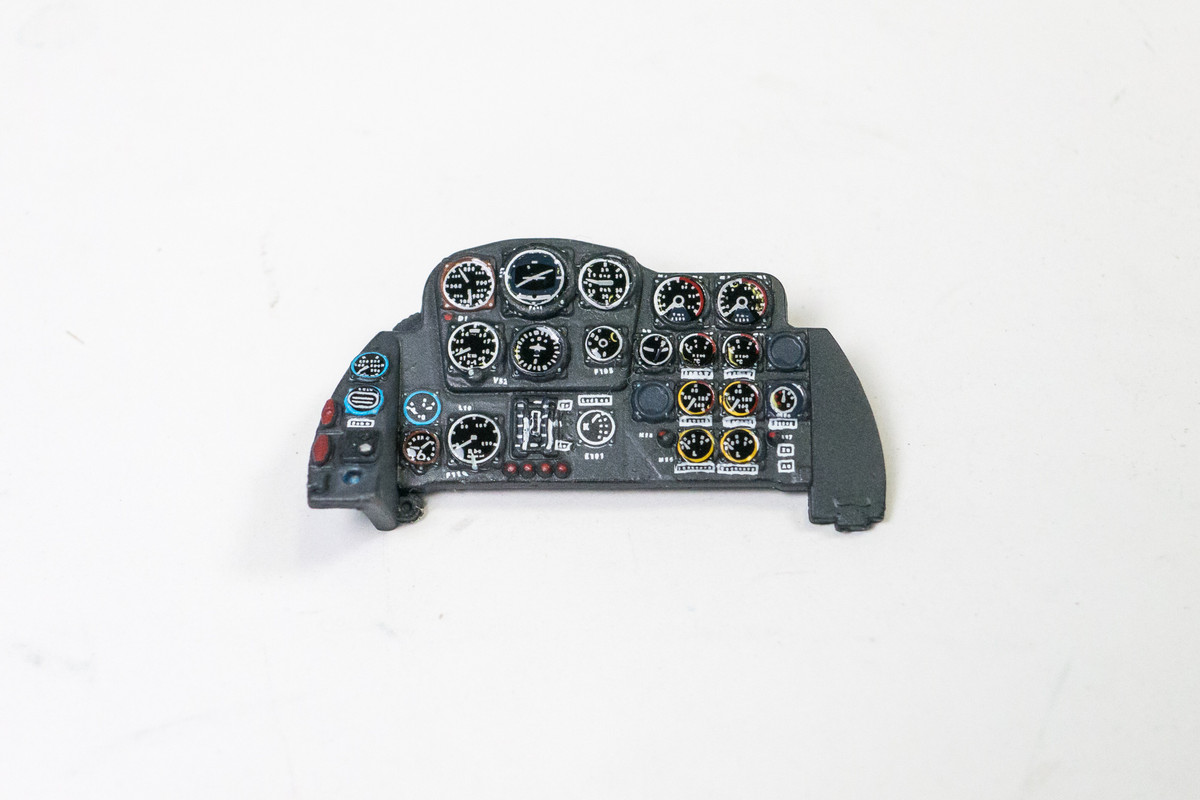
I think Revell's choice to include high resolution decals and a well-molded instrument panel with smooth bezels (no raised instrument details) should be considered by all manufacturers as a viable alternative to aftermarket instrument panels.
I've added UV-activated clear epoxy into the dial faces to complete the instrument panel.
Re: 1/32 Revell Me262B-1/U1 Nachtjager
Posted: Tue Nov 17, 2020 12:20 pm
by Stikpusher
The perfect finishing touch of the lenses.
Re: 1/32 Revell Me262B-1/U1 Nachtjager
Posted: Wed Nov 18, 2020 12:40 am
by jkim
Thanks Carlos!
After I've verified that decals over kit parts is a viable approach to the cockpit, I started looking at the pilot side panels. Once I've committed to the decal approach, I think I need to follow through with this throughout the cockpit.
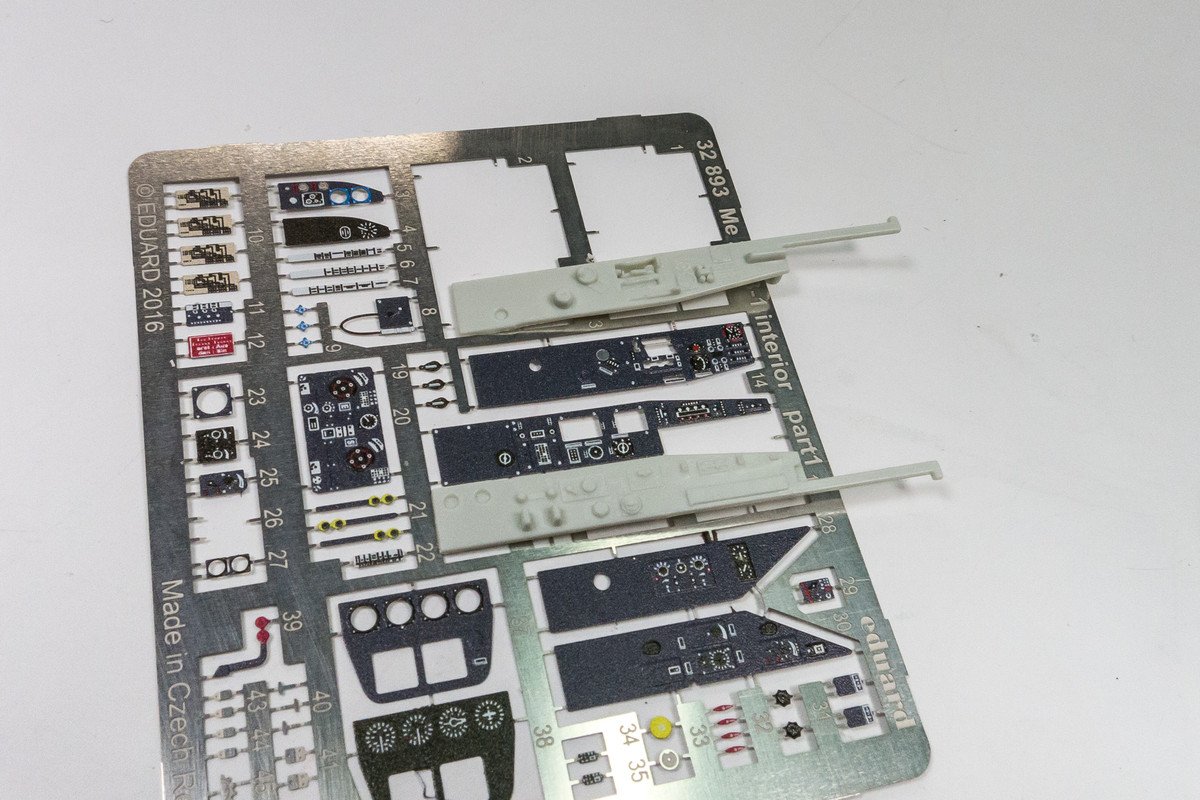
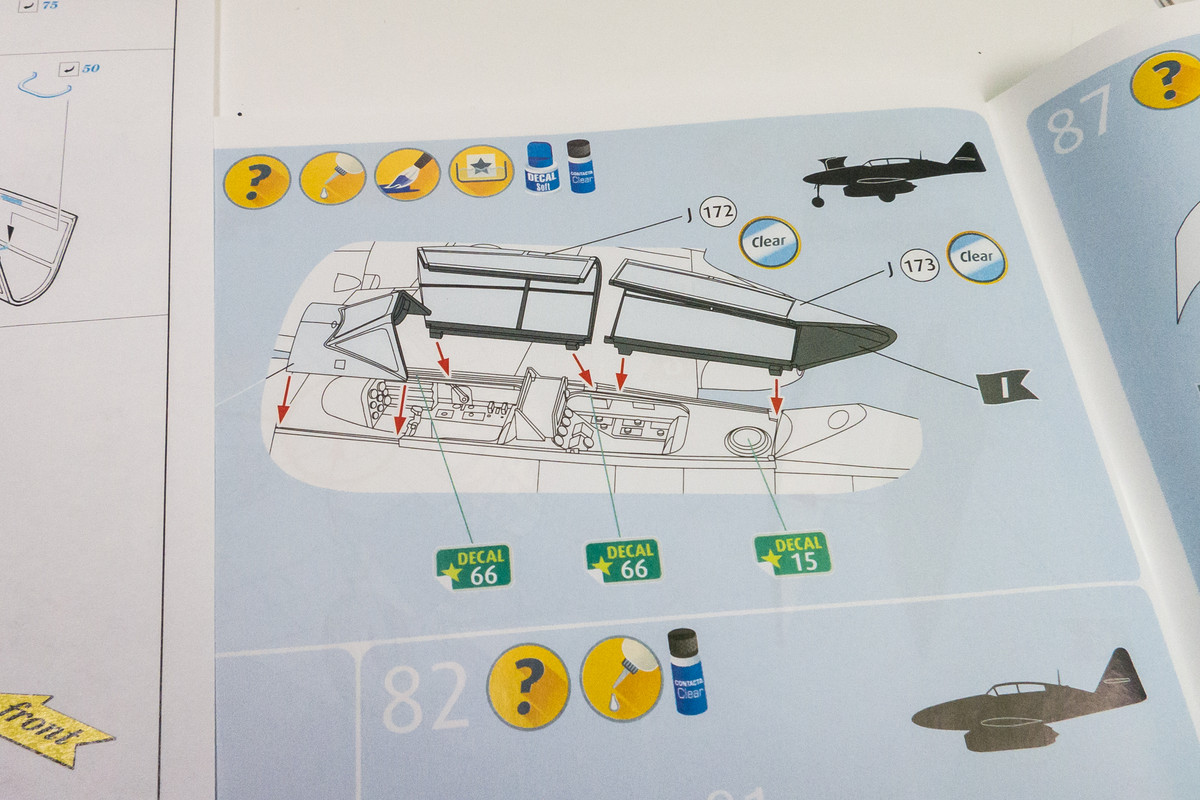
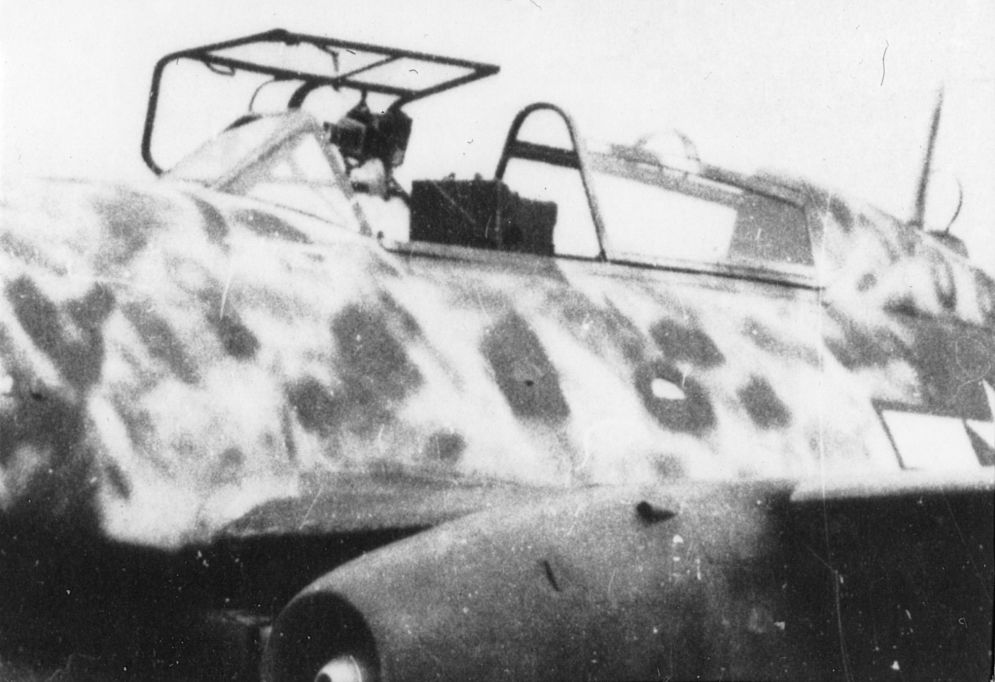
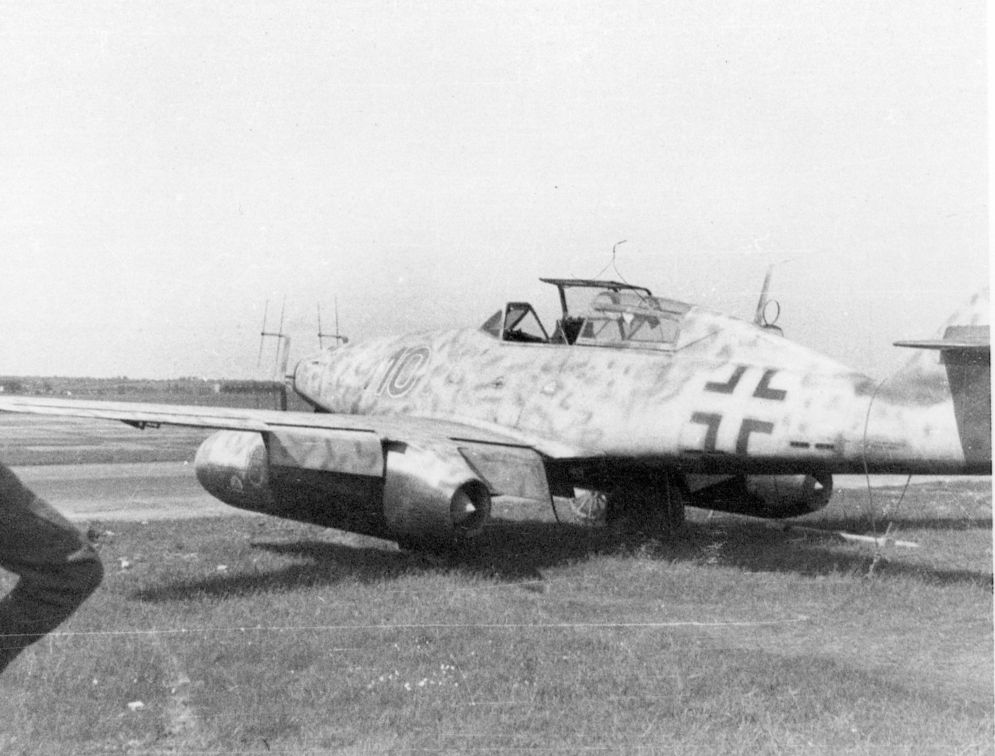
The build of the 262B interior is not exactly simple. There is no cockpit "tub" to speak of and front and rear cockpits are separated. And the bottom of the cockpit forms the ceiling of the wheel wells. So I thought it would be a good idea to slow down and take a good look at kit instructions as well as the Eduard photoetch instructions to form a more cohesive strategy. There are some photoetch parts that I'm planning on using such as the Revi gunsight. There are also some mix-and-match opportunities like using the photoetch frame for the kit-supplied radar equipment box. Something in the Eduard instructions that puzzled me. Can anyone clarify the component shown on the bottom of the page that is mounted on the rear of the forward canopy?
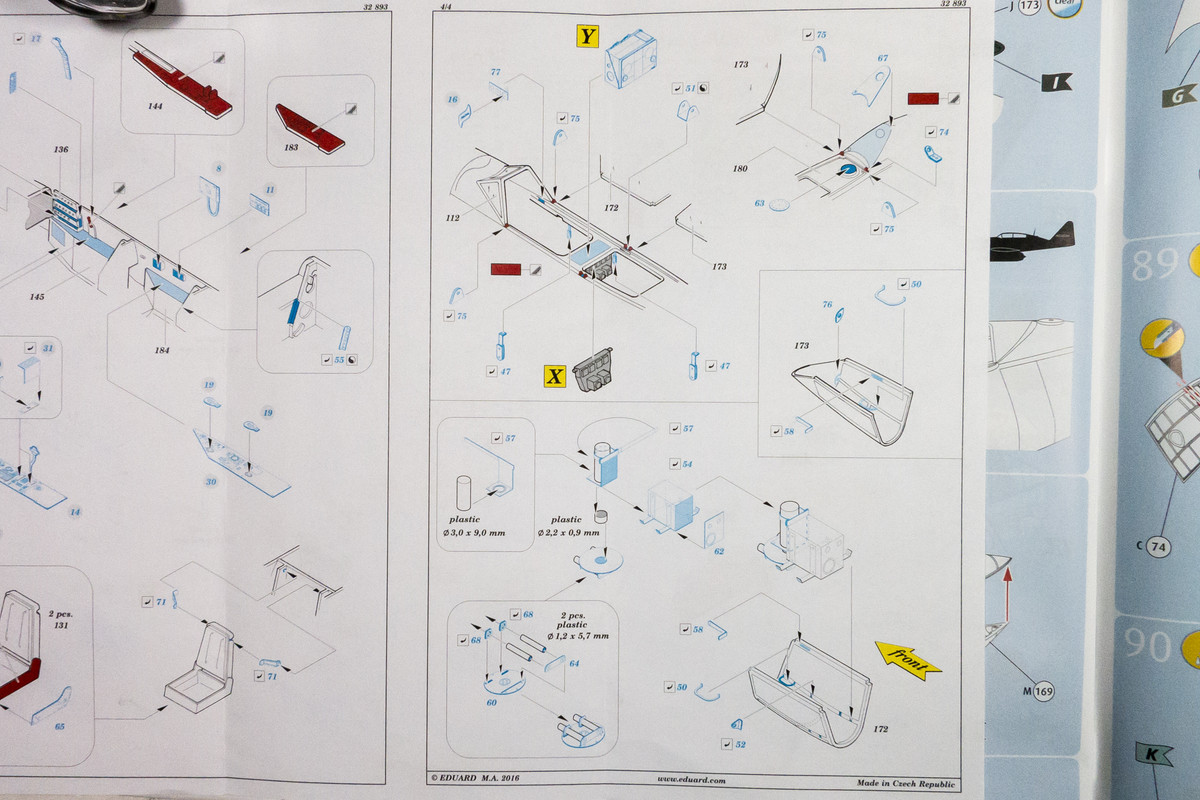
It is not the radar equipment housing, which is represented as Assembly Y below.
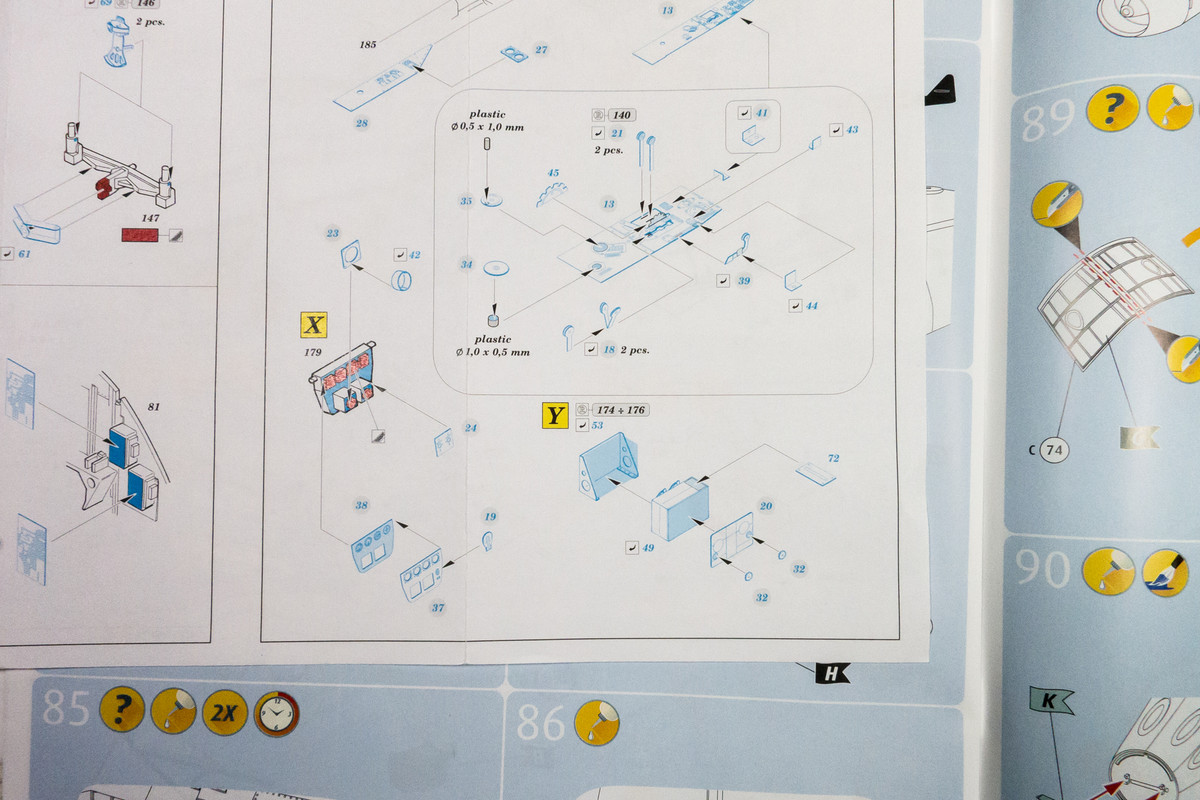
The Revell instructions show nothing there.
I assume this is object in question mounted on Red 6 (110306 aka FE610).
It does not appear to be present on Red 10 (110635), which is the machine I'm planning to depict.
Re: 1/32 Revell Me262B-1/U1 Nachtjager
Posted: Wed Nov 18, 2020 2:07 am
by Floki
That is a good question, I wonder if it could be some type of night vision scope or a gun cam to confirm downed aircraft.
Re: 1/32 Revell Me262B-1/U1 Nachtjager
Posted: Wed Nov 18, 2020 10:10 am
by Stikpusher
It looks to be some sort of display scope. But with no obvious connecting cables for display input. Night vision was very primitive and of the active infra red type at that point of development - way too short ranged to be of any use in aerial combat. Not to mention that it required a projector light in IR wavelengths to function.
IIRC, the 262 had its gun camera mounted in the tip of the nose.
Re: 1/32 Revell Me262B-1/U1 Nachtjager
Posted: Wed Nov 18, 2020 10:25 am
by Stikpusher
When all else fails, google is your friend... or not...

The canopy mounted item is a Naxos 360 scope. An antenna receiver array on the aircraft would detect airborne radar emissions, and the scope would indicate a bearing of the emitting airborne radar relative to the receiver aircraft.