Re: Maddog Manufacturing Now Open for 2022!
Posted: Wed Mar 09, 2022 5:07 pm
Here is my latest update on my work at Maddog Manufacturing. First, I want to let everyone know why it took me so long to get any progress done and posted. Back in the second week of February, we had to move from one storage unit to a smaller one. In the process of moving, I dropped a 200 lb +/- block of wood on my right foot. Naturally it swelled up, but only as far as my shoe would allow. The bad thing was, I had to go back the next day and finish moving out since that was the last day to get out of the old one. Only by the grace of God and His strength did I succeed with this foot as it was. I then kept it iced and propped up all day the next day. We went to Urgent Care where X-rays were taken and again by the grace of God there were no breaks or fractures. Still, it took me almost a full month to get back to where I could walk and drive. Since there was no place to prop my foot up and keep it iced in the hobby room; I was unable to do anything on my workbench all that month of time.
Now that I've recovered enough, it is time to re-start my tours of Maddog Manufacturing. The trams have all been tuned up and are ready to go. All aboard!
This past Monday night we had a Hobby Night at the St. Crispin's Hall. I brought quite a number of things down to the hall to work on and try to regain the momentum I'd lost.
Starting in the hanger, we have these projects...
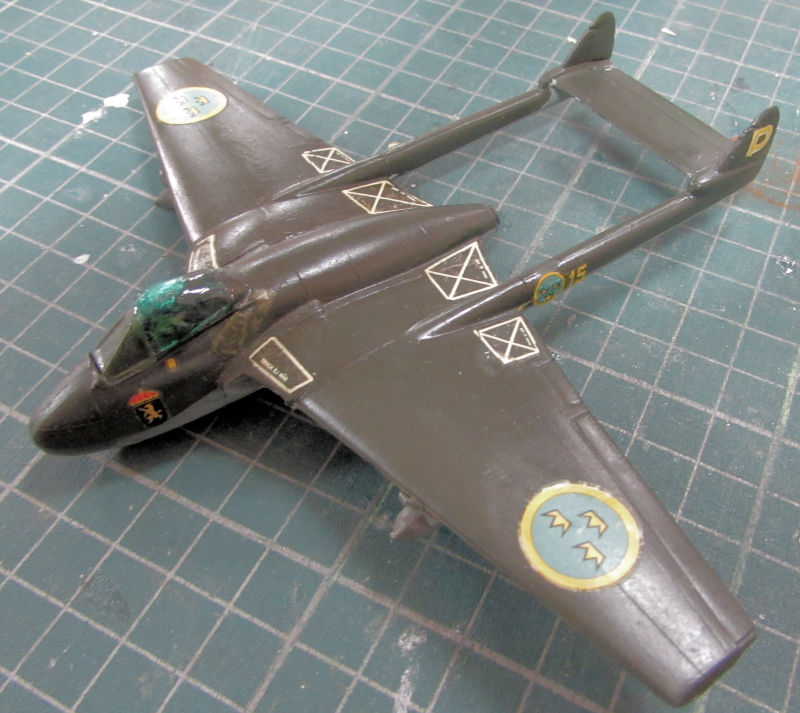
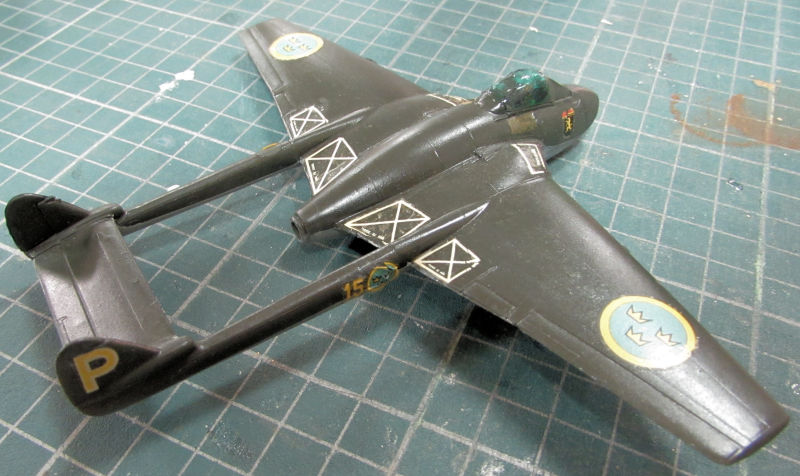
The first thing I wanted to show was the Swedish Vampire. It finally got decals on it. Again, they look like total crap because they are the ancient kit decals which did not want to stay flat. I had to convince them with Tamiya Extra Thin cement. I could have passed on using them, but I had no spares that could work, nor did I know when I'd be able to afford to get replacements. So in order to call this one further done, I used what I had:
After that, it was time to move on. This time I got something started. This is the Atlantis re-pop of the ancient Aurora(?) kit of the AH-56 Cheyenne attack helicopter. This is certainly one odd looking bird.
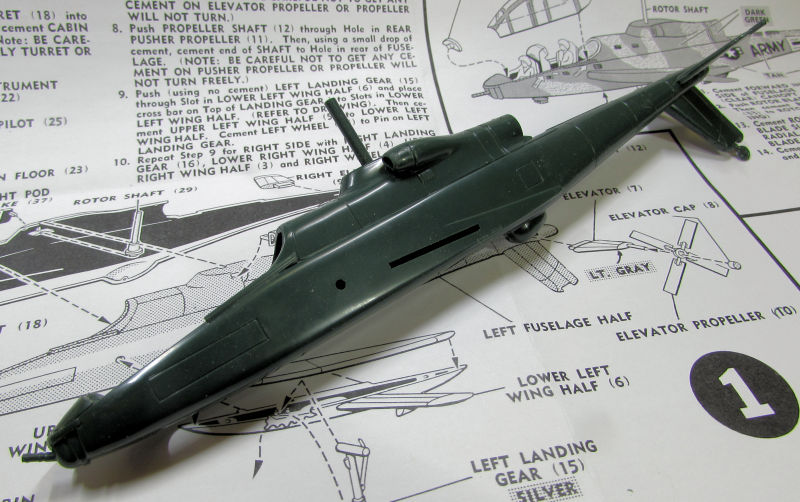
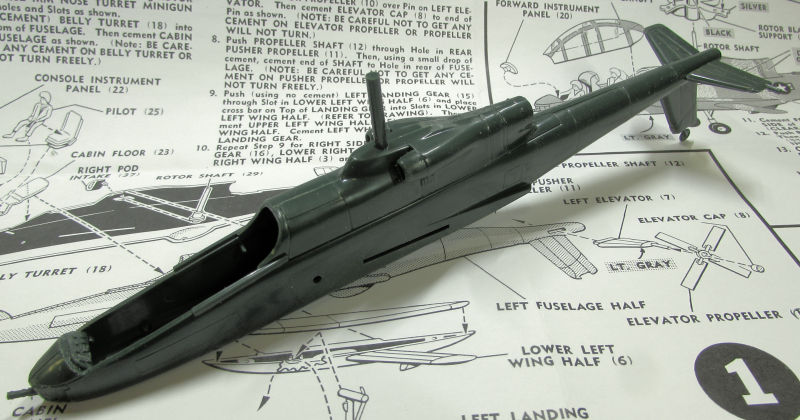
First thing it tells you to do is cement the fuselage together, trapping the forward mini gun and rotor in between them. Okaaaaay...
After that I got started on the cockpit and pilots. This is a simple cockpit so it went together well:
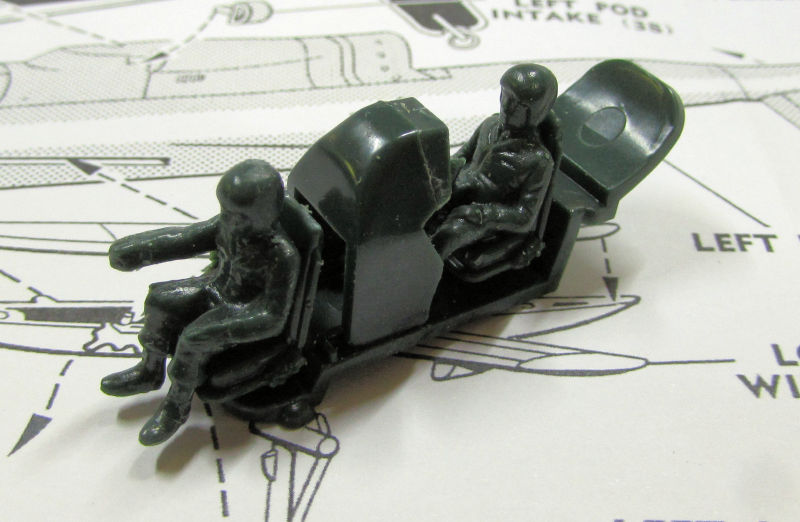
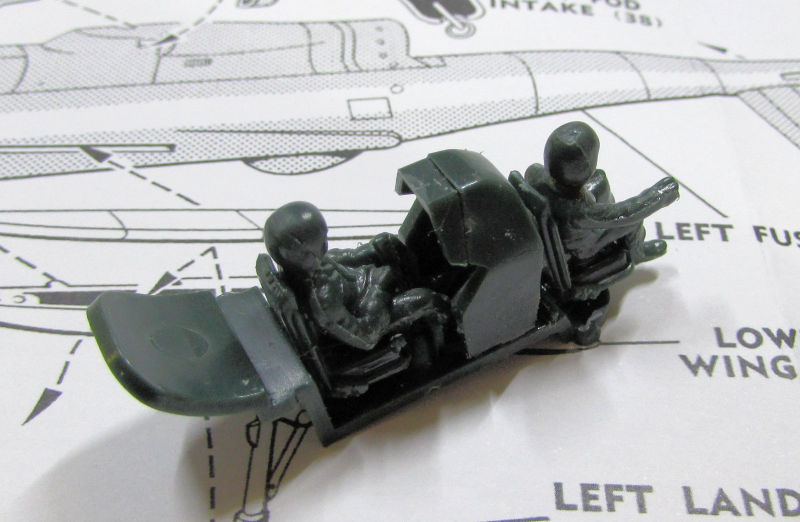
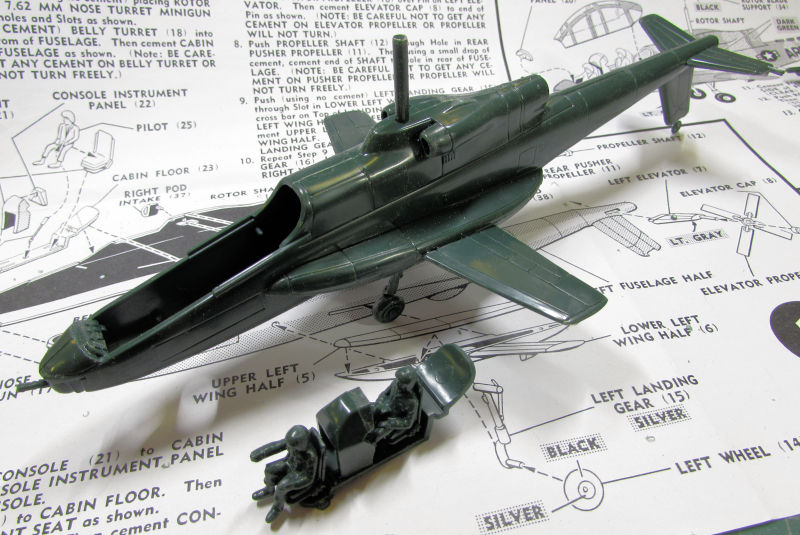
There's still some sink marks and other details to fix before painting this, but I like how it looks. After that was done, I set it aside and added the horizontal stabilizers to the back of the helicopter. I then assembled the landing gear sponsons and attached wings and cemented everything to the fuselage. The landing gear are actually designed to retract. Cool!
Looking good so far. The cockpit seen next to this just pops right in, so this will be easy to do once I get it all painted:
While that was all drying, I assembled the main rotors. These were a little tough, but I got them done. I do like how sturdy they are at the base of the blades. Later when they had dried enough I popped the cockpit in place in the fuselage and added the main rotor to see how this bird is looking:
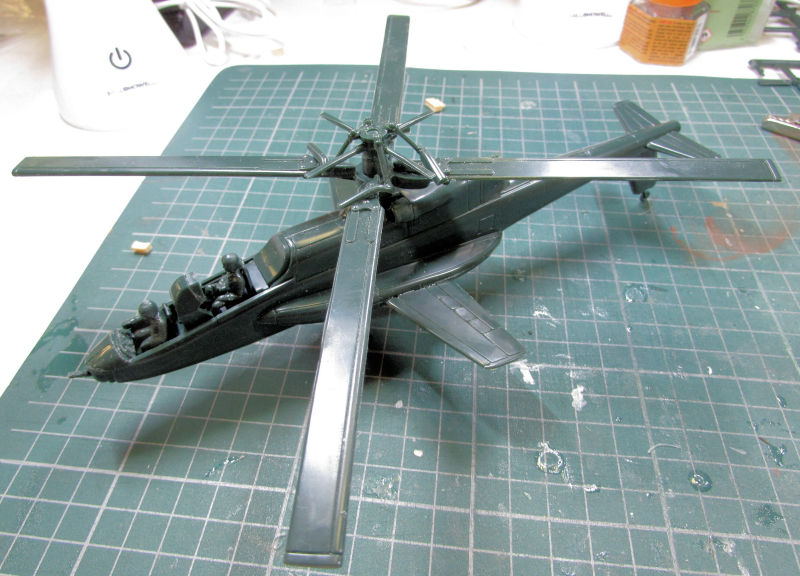
The cockpit and rotors come off so I'll be able to paint them separately. That's as far as I got now. Hopefully I'll have time and opportunity to get this painted..... along with the other 17 models that need paint!
Moving on to my shipyards, we laid the keel for this one....
This is another model I'd been wanting to start. This is the Revell Swift Boat that I got for Christmas. Of course I'm slapping myself in the head for not entering this into the "Charlie Still Don't Surf" campaign here.
Anyway, this went so fast I got this far before I remembered to take pics:
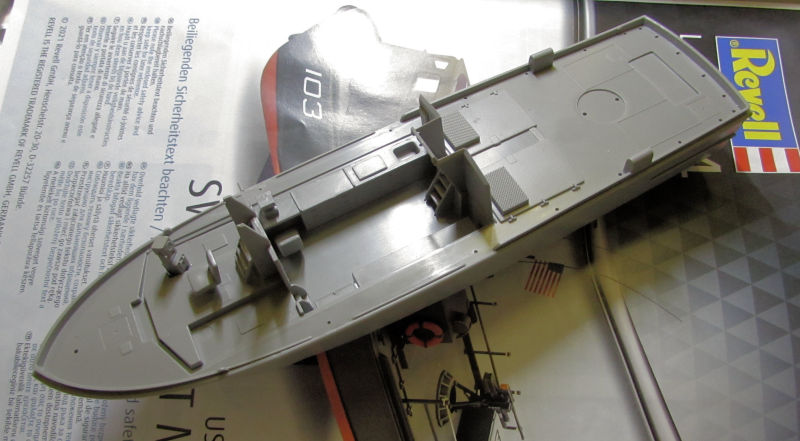
I gotta get that interior painted before I go on.
Now on to the motor pool and maintenance yard
Finally I got this little thing started. I got it over a decade and a half ago and left it sitting on the workbench because I didn't feel comfortable enough to do all that P/E as I was just starting out using it. Having done so many models with P/E since then that I felt it was time to get it off the bench.
This is a 1/72 scale German field maintenance heavy crane used for lifting turrets and engines. I still did a pretty crappy job despite my experience; this was so difficult to keep in place without bending cross members:
Here is the first half done. After that I moved on to something else to relieve the stress of working with this tiny model:
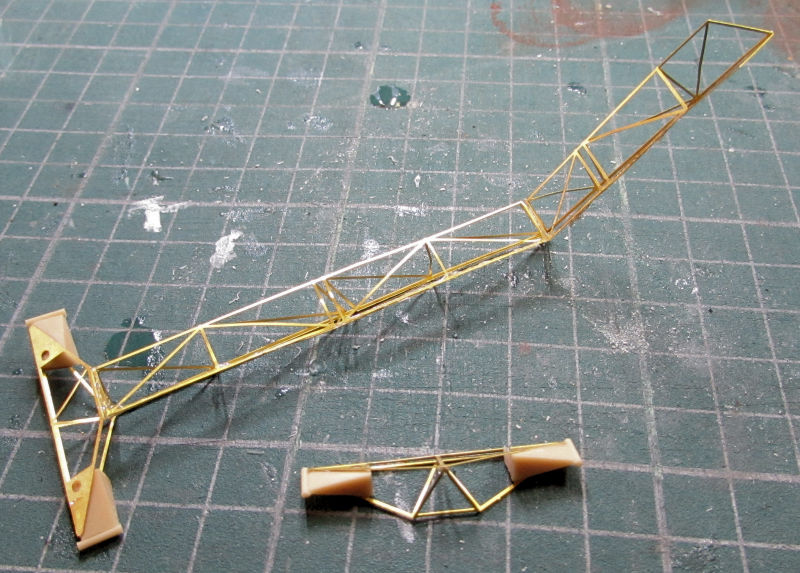
Later I came back and finished this off:
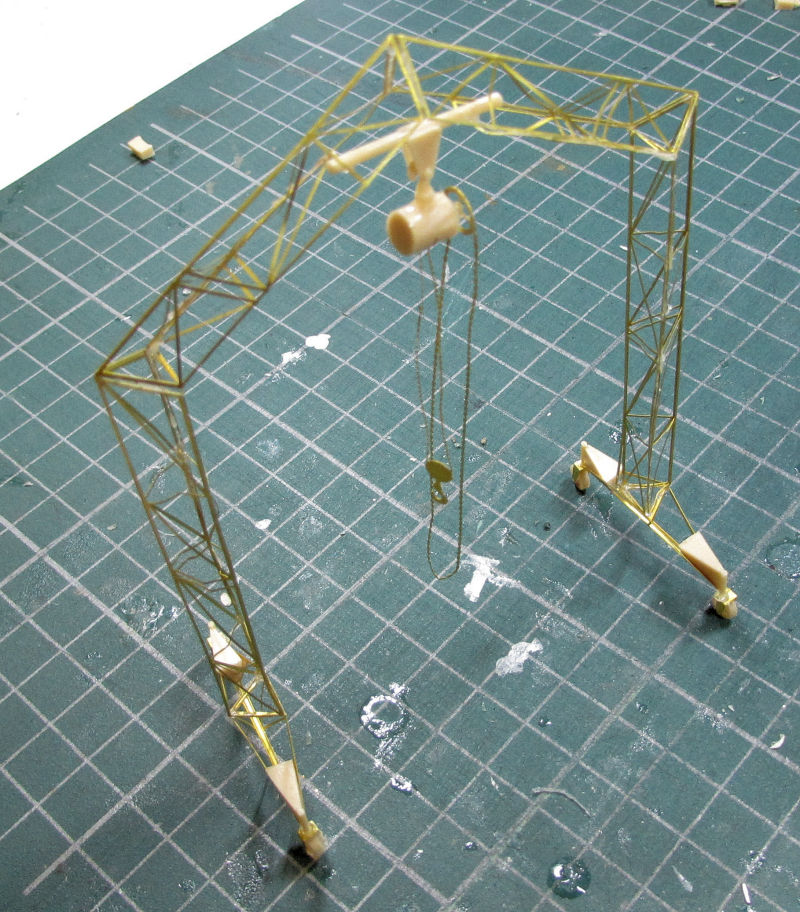
Now to figure out how to paint it. both colors and technique! Those chains re-defined the word "delicate" and I'm surprised I didn't break them even more than the one time I did!
Okay, now that that was done, I decided to have some fun.
I started my British Crusader AA tank and got this far before I remembered to shoot pics:
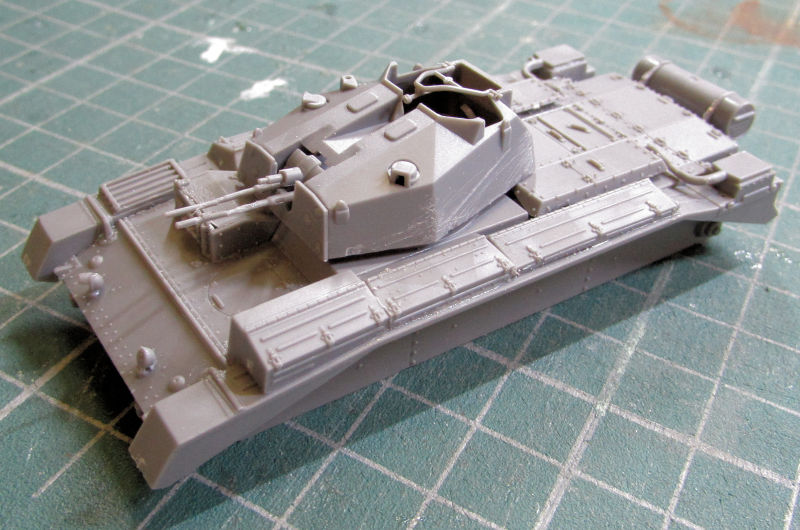
Those gun barrels will go once I can source some new metal ones for this kit and raise the funds to buy them. Until then, this little beastie will keep those so I can move forward.
Now the last model I'm showing is this borderline shelf queen. This is my Modelcollect Russian Coastal Defense Missile System CLUB II. I had gotten it for my birthday last year from a friend and had started it some months back. I had stopped because I couldn't figure out how to make the launch tubes elevate. I finally figured it out awhile ago, so out it came. I had assembled the rear launch container about halfway already so the only thing I needed to do now was set up the tubes to elevate and then paint the interior. I chose a faded olive drab for the interior since the color call out specified a light green for the interior:
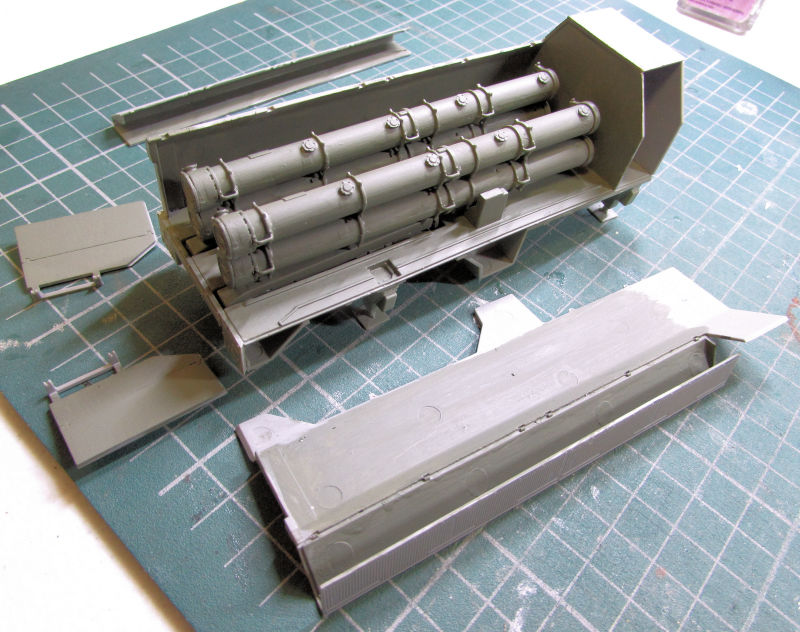
It's hard to see the light green in there, it looks so much like the grey plastic outside in this light...
Here you can see how well the launch tubes elevate into firing position:
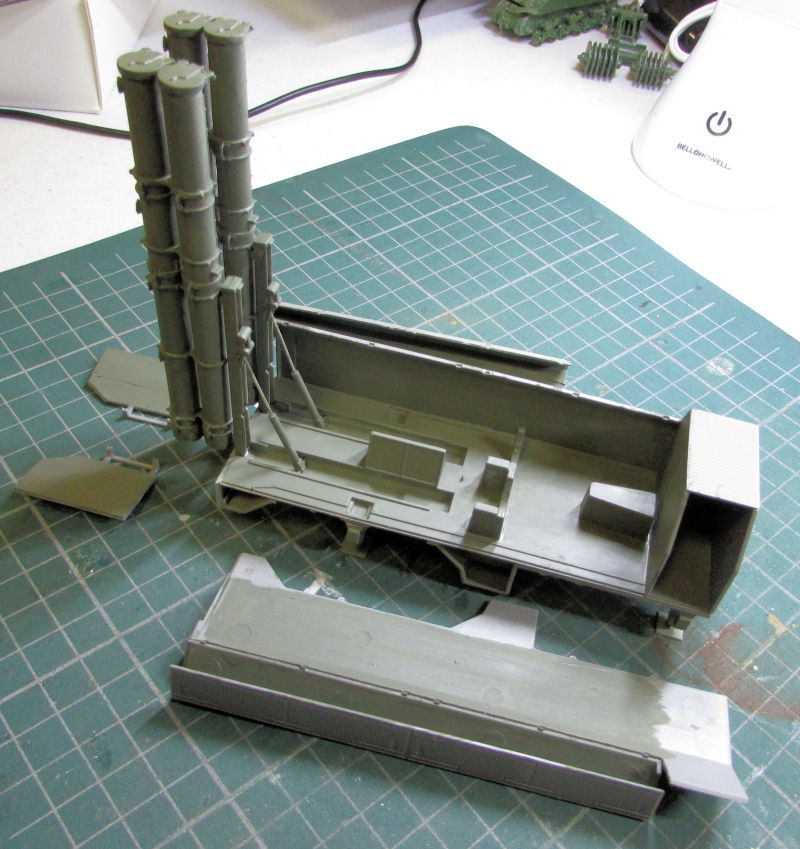
Later on, I painted the interior of the driver's cab and glued it to the chassis:
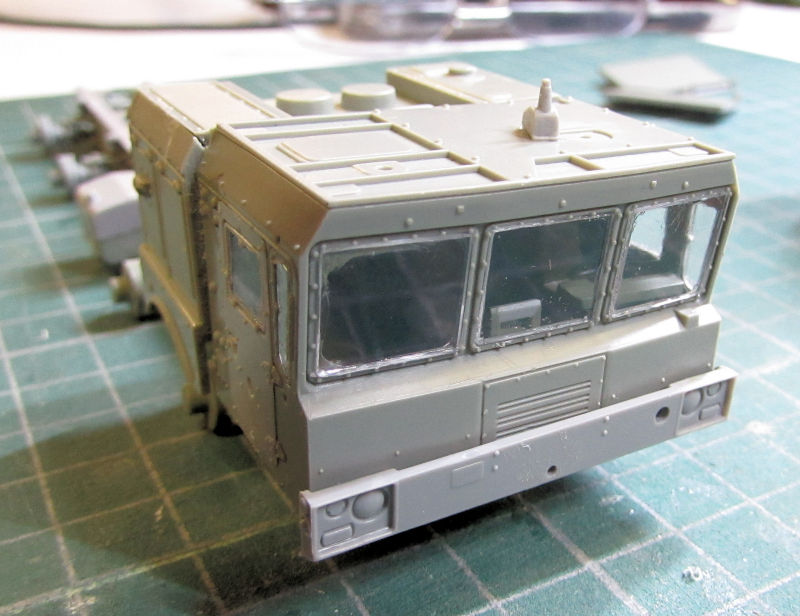
Here is a back view of the whole chassis and cab assembly:
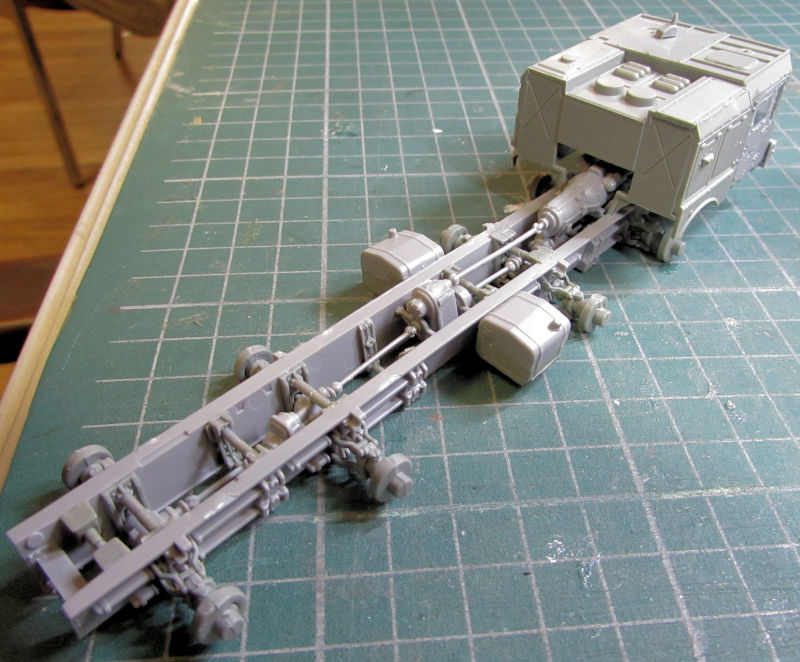
All that's left now is to mask the windows, mask the rear missile cabin; and then shoot paint on this. Wow, I do hope I can finally get this done!
Anyway, that is all I have for now. Hopefully this week I'll be able to find some time to shoot paint. Thanks all for joining this latest tour and comments are always welcome.
Now that I've recovered enough, it is time to re-start my tours of Maddog Manufacturing. The trams have all been tuned up and are ready to go. All aboard!
This past Monday night we had a Hobby Night at the St. Crispin's Hall. I brought quite a number of things down to the hall to work on and try to regain the momentum I'd lost.
Starting in the hanger, we have these projects...
The first thing I wanted to show was the Swedish Vampire. It finally got decals on it. Again, they look like total crap because they are the ancient kit decals which did not want to stay flat. I had to convince them with Tamiya Extra Thin cement. I could have passed on using them, but I had no spares that could work, nor did I know when I'd be able to afford to get replacements. So in order to call this one further done, I used what I had:
After that, it was time to move on. This time I got something started. This is the Atlantis re-pop of the ancient Aurora(?) kit of the AH-56 Cheyenne attack helicopter. This is certainly one odd looking bird.
First thing it tells you to do is cement the fuselage together, trapping the forward mini gun and rotor in between them. Okaaaaay...
After that I got started on the cockpit and pilots. This is a simple cockpit so it went together well:
There's still some sink marks and other details to fix before painting this, but I like how it looks. After that was done, I set it aside and added the horizontal stabilizers to the back of the helicopter. I then assembled the landing gear sponsons and attached wings and cemented everything to the fuselage. The landing gear are actually designed to retract. Cool!
Looking good so far. The cockpit seen next to this just pops right in, so this will be easy to do once I get it all painted:
While that was all drying, I assembled the main rotors. These were a little tough, but I got them done. I do like how sturdy they are at the base of the blades. Later when they had dried enough I popped the cockpit in place in the fuselage and added the main rotor to see how this bird is looking:
The cockpit and rotors come off so I'll be able to paint them separately. That's as far as I got now. Hopefully I'll have time and opportunity to get this painted..... along with the other 17 models that need paint!
Moving on to my shipyards, we laid the keel for this one....
This is another model I'd been wanting to start. This is the Revell Swift Boat that I got for Christmas. Of course I'm slapping myself in the head for not entering this into the "Charlie Still Don't Surf" campaign here.
Anyway, this went so fast I got this far before I remembered to take pics:
I gotta get that interior painted before I go on.
Now on to the motor pool and maintenance yard
Finally I got this little thing started. I got it over a decade and a half ago and left it sitting on the workbench because I didn't feel comfortable enough to do all that P/E as I was just starting out using it. Having done so many models with P/E since then that I felt it was time to get it off the bench.
This is a 1/72 scale German field maintenance heavy crane used for lifting turrets and engines. I still did a pretty crappy job despite my experience; this was so difficult to keep in place without bending cross members:
Here is the first half done. After that I moved on to something else to relieve the stress of working with this tiny model:
Later I came back and finished this off:
Now to figure out how to paint it. both colors and technique! Those chains re-defined the word "delicate" and I'm surprised I didn't break them even more than the one time I did!
Okay, now that that was done, I decided to have some fun.
I started my British Crusader AA tank and got this far before I remembered to shoot pics:
Those gun barrels will go once I can source some new metal ones for this kit and raise the funds to buy them. Until then, this little beastie will keep those so I can move forward.
Now the last model I'm showing is this borderline shelf queen. This is my Modelcollect Russian Coastal Defense Missile System CLUB II. I had gotten it for my birthday last year from a friend and had started it some months back. I had stopped because I couldn't figure out how to make the launch tubes elevate. I finally figured it out awhile ago, so out it came. I had assembled the rear launch container about halfway already so the only thing I needed to do now was set up the tubes to elevate and then paint the interior. I chose a faded olive drab for the interior since the color call out specified a light green for the interior:
It's hard to see the light green in there, it looks so much like the grey plastic outside in this light...
Here you can see how well the launch tubes elevate into firing position:
Later on, I painted the interior of the driver's cab and glued it to the chassis:
Here is a back view of the whole chassis and cab assembly:
All that's left now is to mask the windows, mask the rear missile cabin; and then shoot paint on this. Wow, I do hope I can finally get this done!
Anyway, that is all I have for now. Hopefully this week I'll be able to find some time to shoot paint. Thanks all for joining this latest tour and comments are always welcome.

