Page 2 of 29

Re: Hasegawa 1/32 Fw 190D-9 Brown 4

Posted: Mon May 16, 2022 2:21 pm
by Stuart
Superb work John and I love those sanding cocktail sticks!
Re: Hasegawa 1/32 Fw 190D-9 Brown 4

Posted: Mon May 16, 2022 6:12 pm
by BlackSheep214
Nice!

Re: Hasegawa 1/32 Fw 190D-9 Brown 4

Posted: Mon May 16, 2022 6:16 pm
by jkim
Thank you Stuart!

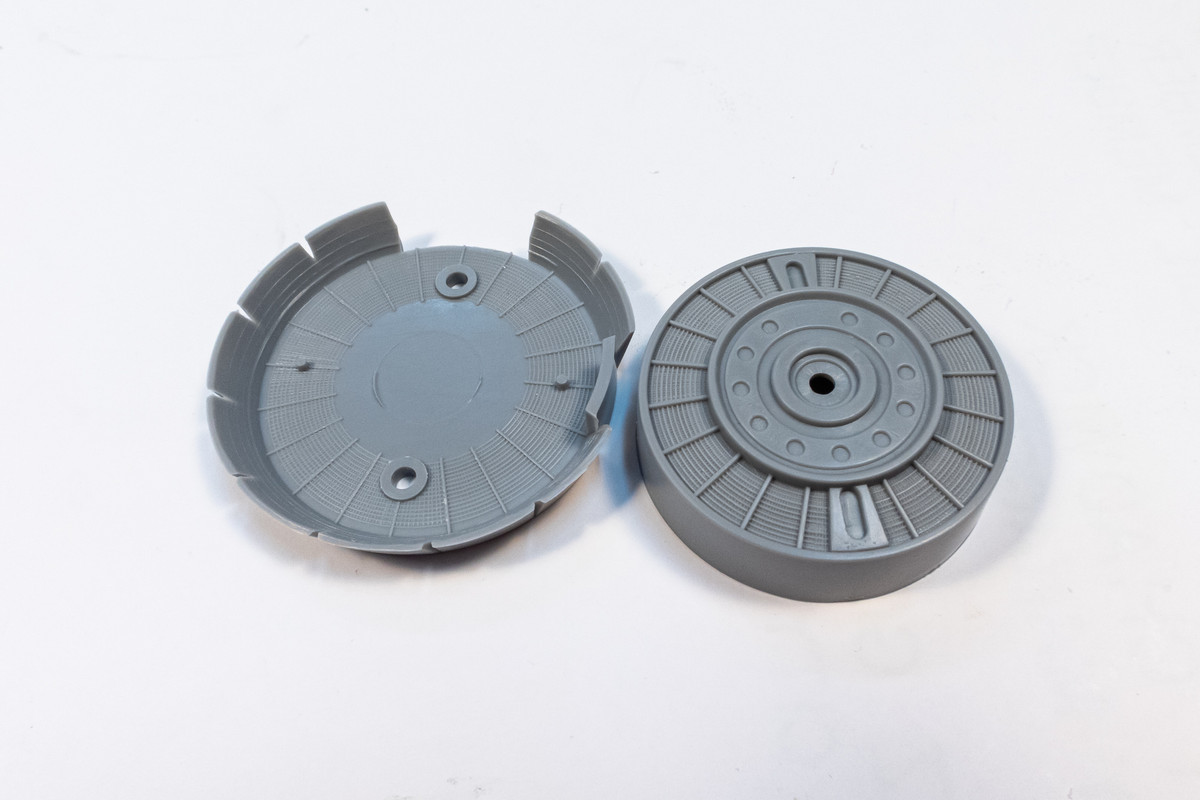
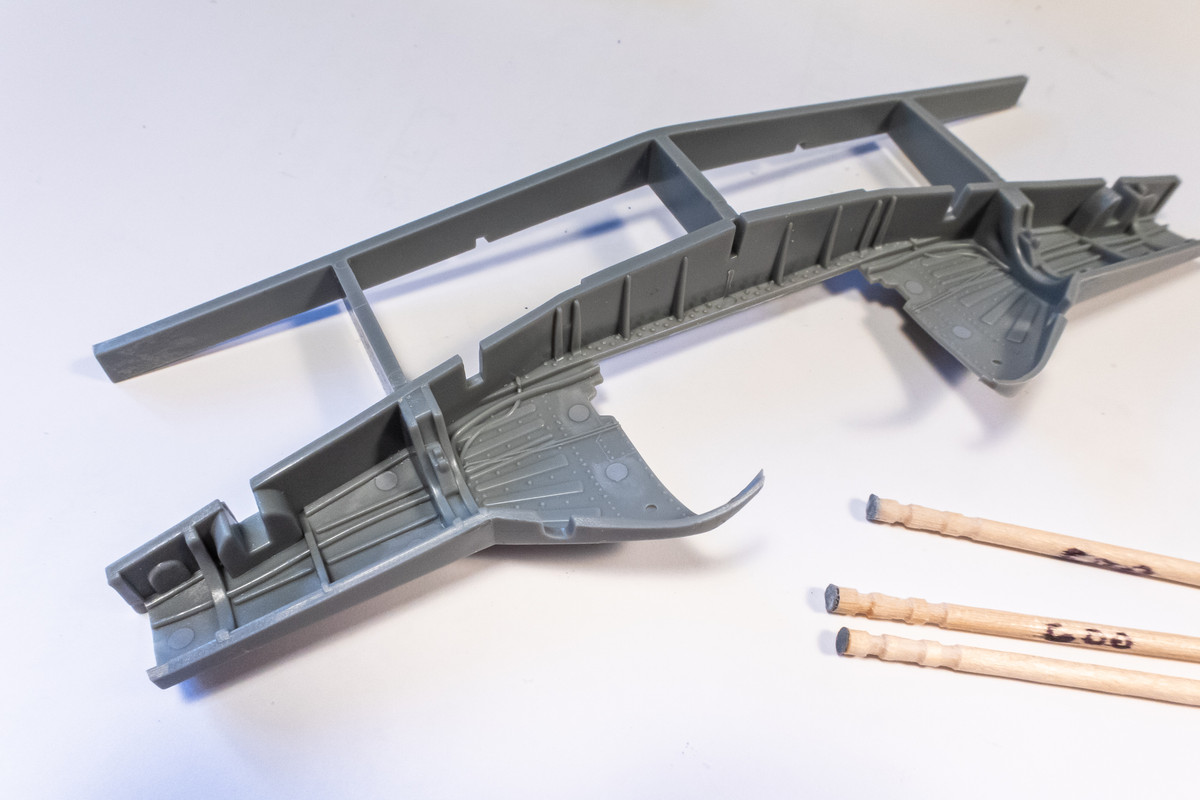
The ejector pin marks in the wheel well have been addressed. At one point, I tried to get fancy and chucked the toothpick into my rotary tool but the higher speed ended up separating the sanding surface from the backing paper.
Image

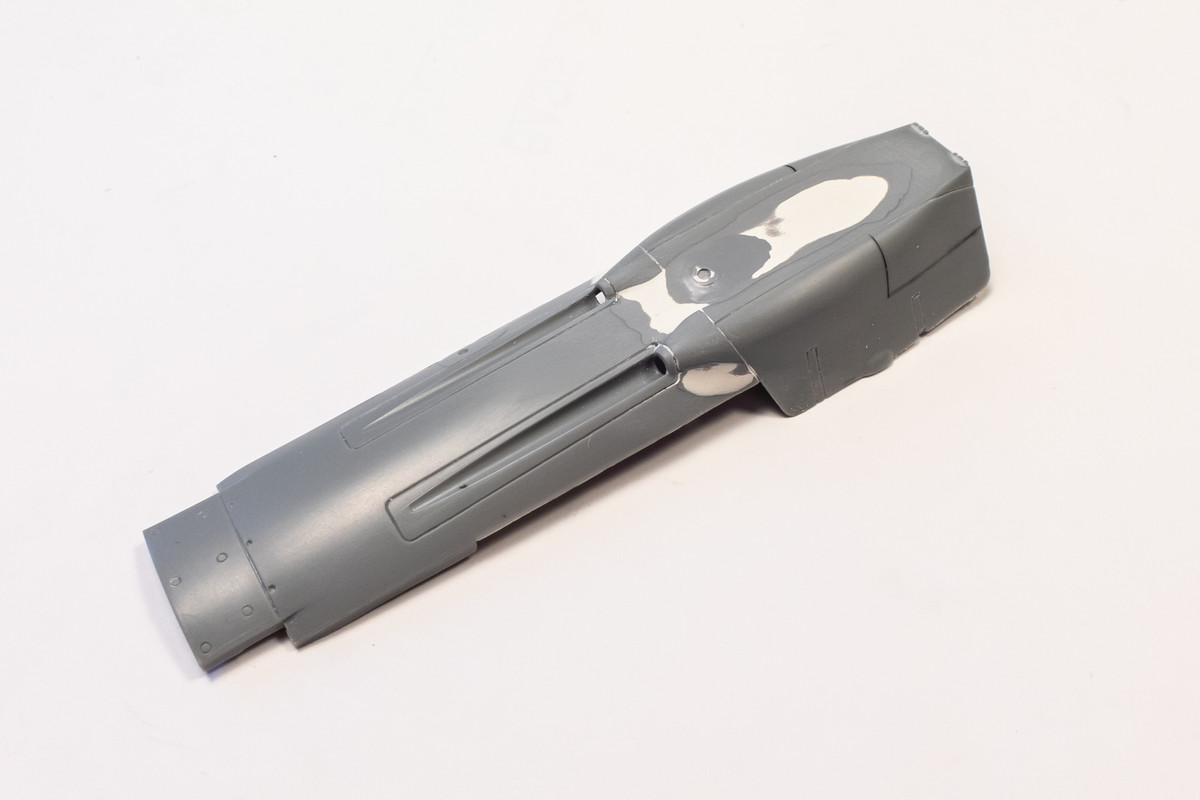
Here is the gun cowling after puttying around the starter hole crank.
Image

After the sanding, I put a coat of Mr Primer Surfacer on the cowling to check my work.
Image
Image

It needs a bit more refinement to get rid of some barely perceptible edges but I think it is a big improvement from the original kit part.
Image

Re: Hasegawa 1/32 Fw 190D-9 Brown 4

Posted: Tue May 17, 2022 2:02 am
by jkim
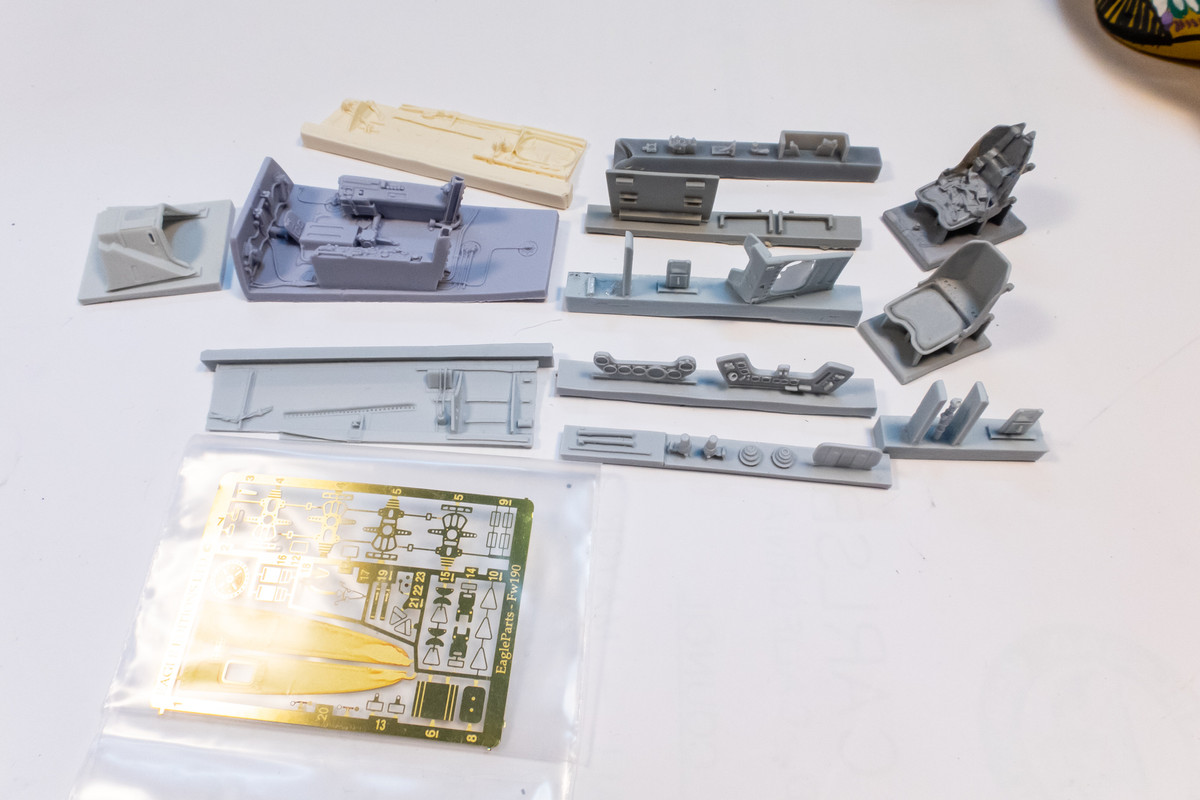
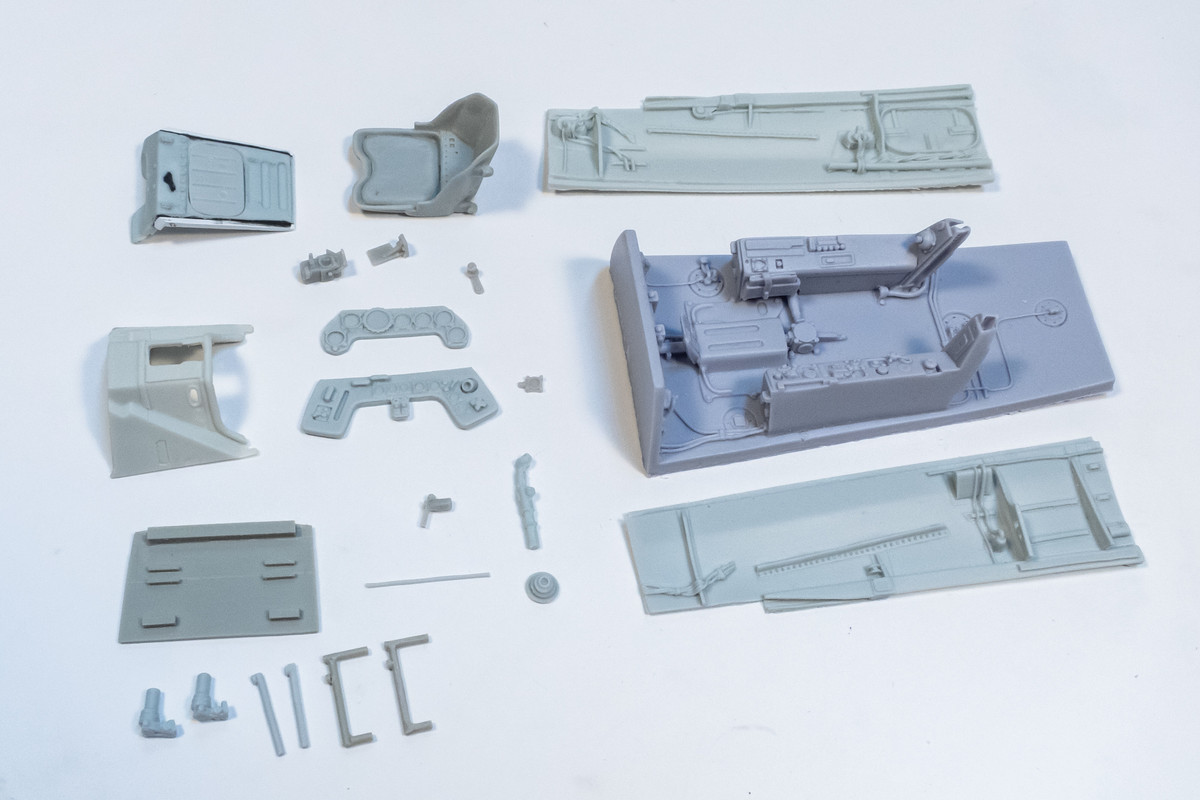
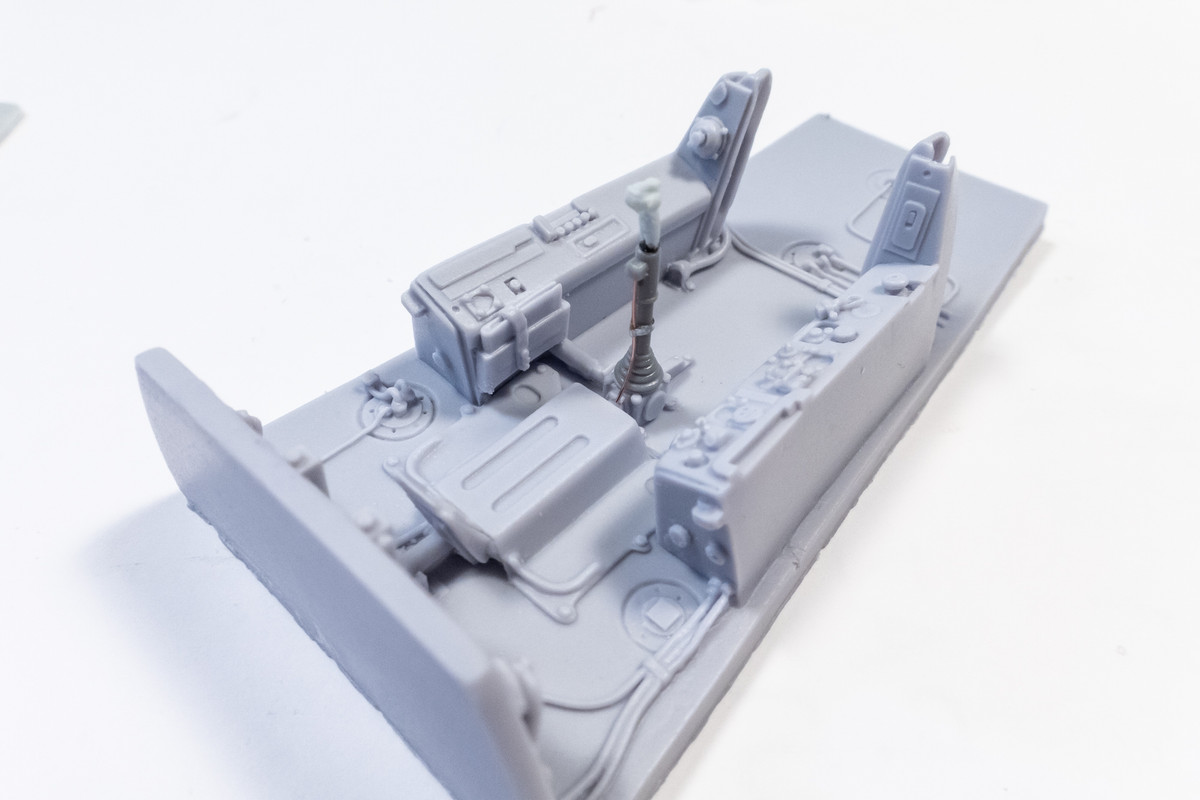
Let's take a look at the Eagle Editions resin cockpit for the 190D. I think it is the best cockpit upgrade on the market but it is not without its faults. It's a comprehensive set of resin and brass components. Note the difference in the resin colors. There is inconsistency in the casting quality and from conversations with Judy Crandall, I think they stem from different people doing the castings, hence the different colors.
Image

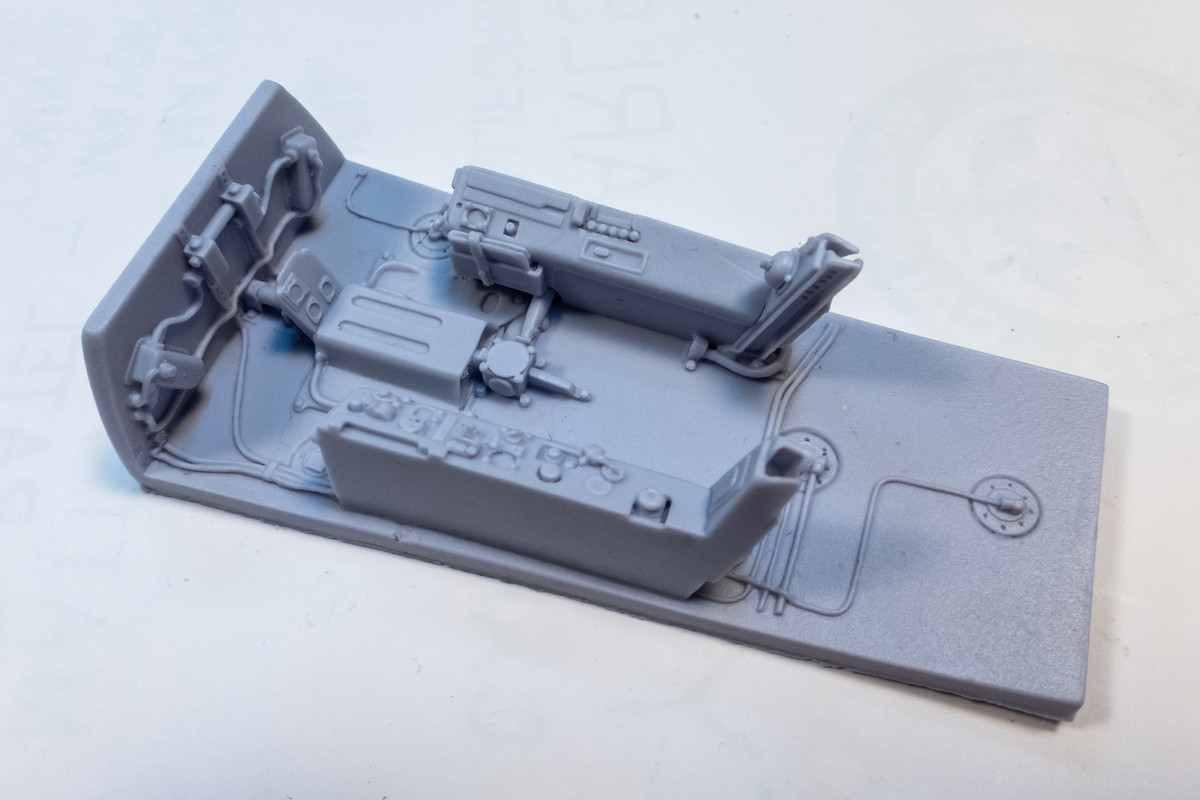
The cockpit tub is cast in a bluish grey color and casting quality if great on this piece. Nice and crisp with no visible warping or air bubbles.
Image

In the past, I've requested replacement of broken or shortcast resin parts from Eagle Editions and Judy has always been very responsive. Because of that, I have multiple copies of certain components such as the sidewalls. None of them are perfect. The grey sidewall below has some warping and the yellow one, while much straighter, has very prevalent cracking in its surface texture. I elected to use the grey part, which is easily straightened following a dip in hot water.
Image

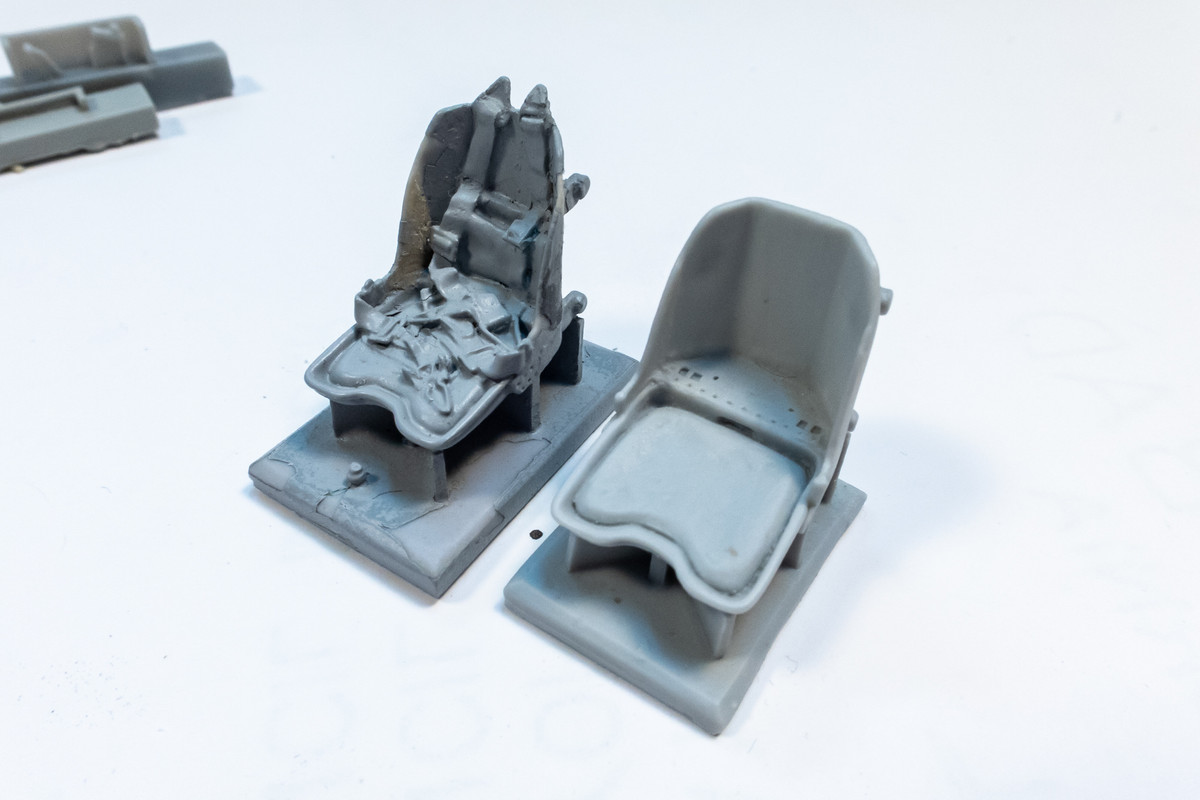
Two seats are provided, one with seatbelts and one without. I'd be tempted to use the seatbelted version if it were cast better. The details are just too soft for my tastes. Also the thickness of the seat itself is bothersome.
Image

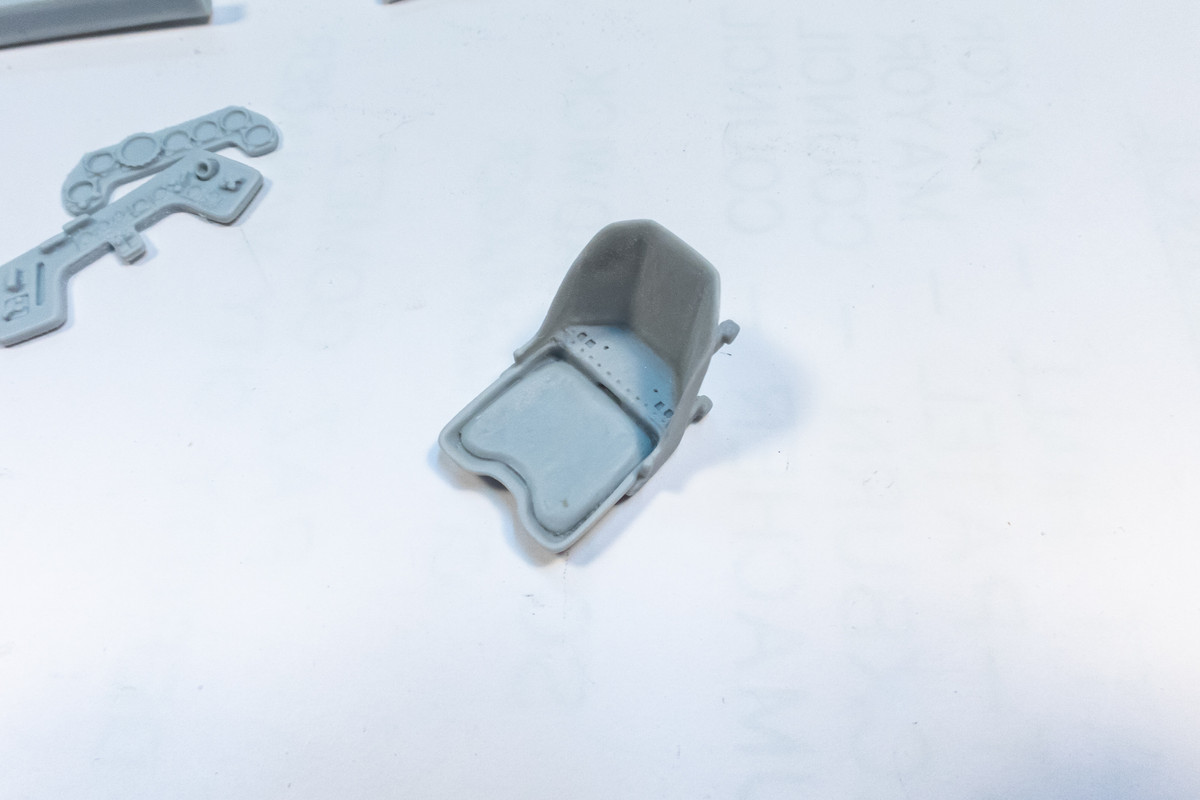
I gave the seat backs a good scraping and sanding to get at least the edges sharper.
Image

The Revi 16B reflector sight is nicely molded.
Image

But the control stick is not. It looks lumpy and to top it off, the grip is skewed to one side.
Image

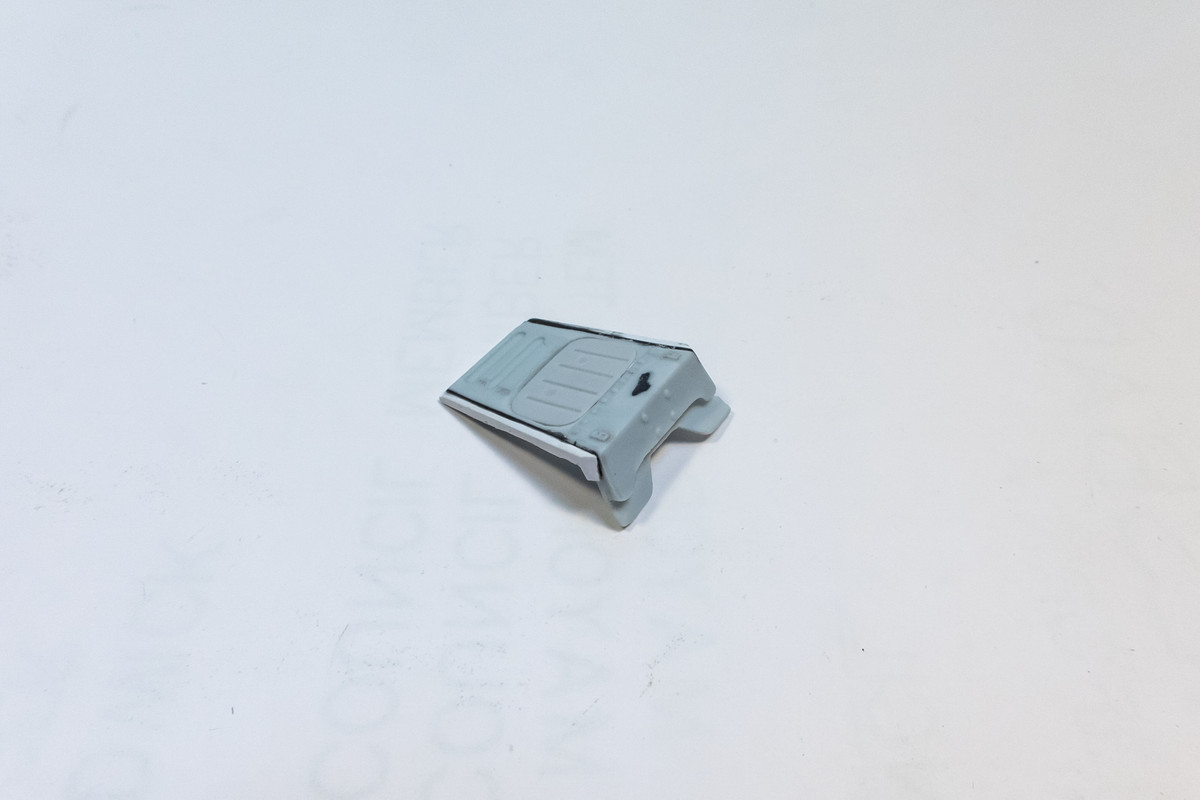
The rear decking had multiple issues. First of all, it must've shrunk because it was way undersized and would not catch on the rails on the inside of the fuselage, even with a thin section of casting block still attached to one side. There was also a congregation of bubbles in the front of the deck resulting in a jagged hole. The hole was plugged with black CA glue and I added width to the sides using strips of sheet plastic.
Image

Now it fits the way it is supposed to.
Image

All of the parts have been detached from their casting blocks. This is not a plug-n-play set and I'll need to perform some surgery on the fuselage to make this cockpit fit.
Image

Re: Hasegawa 1/32 Fw 190D-9 Brown 4

Posted: Tue May 17, 2022 11:27 pm
by jkim
I frankensteined the control stick by gluing the resin hand grip to the kit control stalk. I added a wire and a strap of aluminum tape to finish it off.
Image

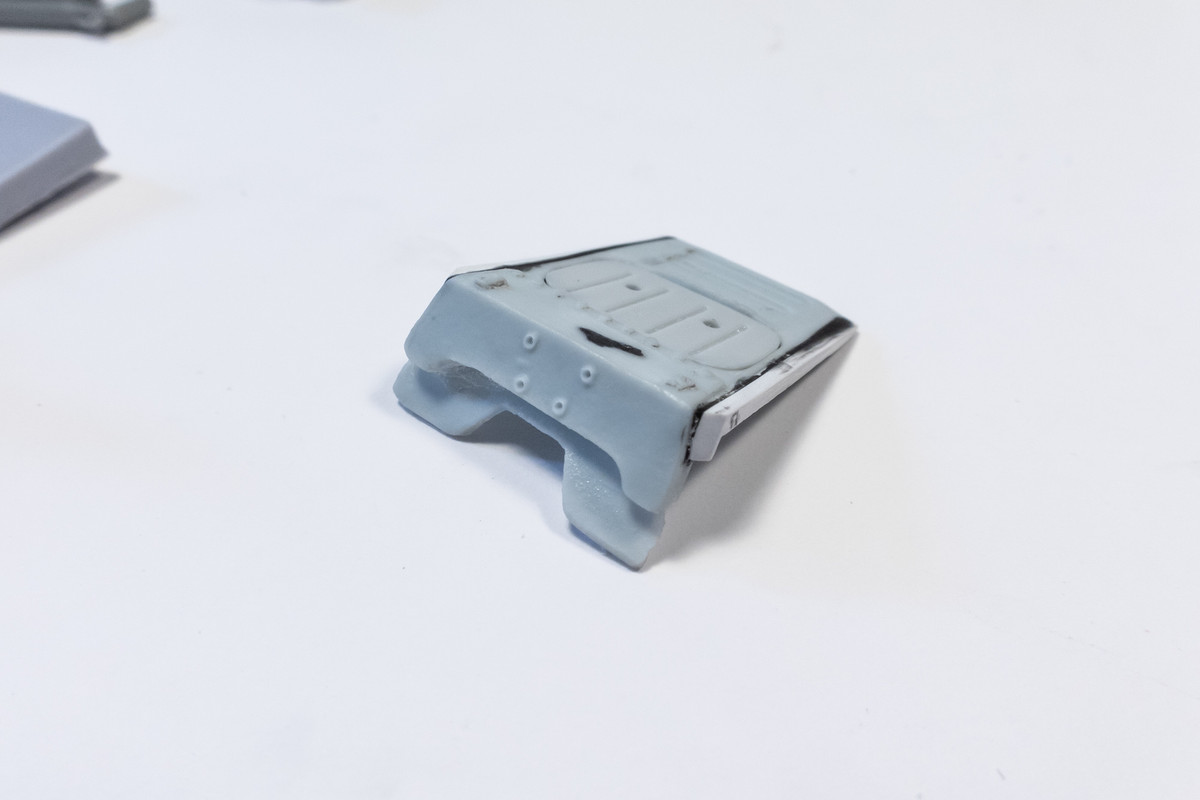
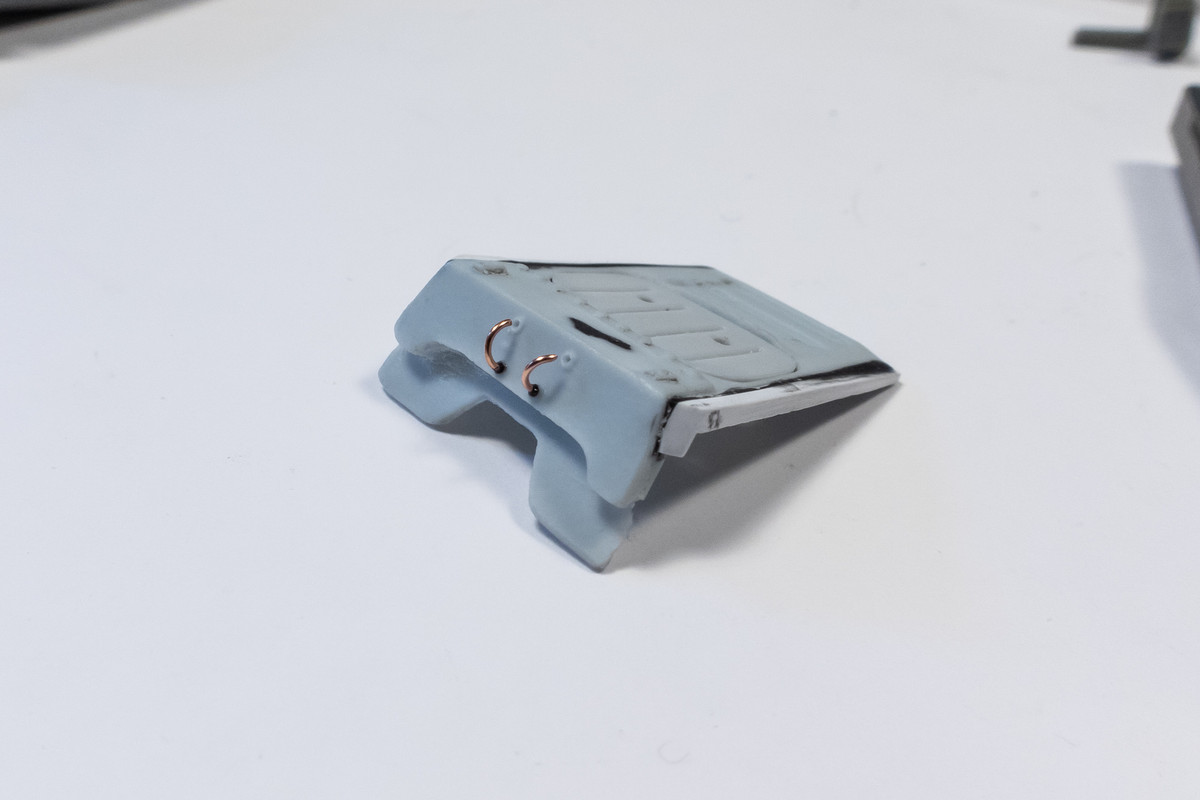
Small holes were drilled into the back deck.
Image

Semi-circles of copper wire were glued into the bottom holes. After the seat is painted, I can hang the HGW shoulder harnesses into the into the open end and then close the loop.
Image

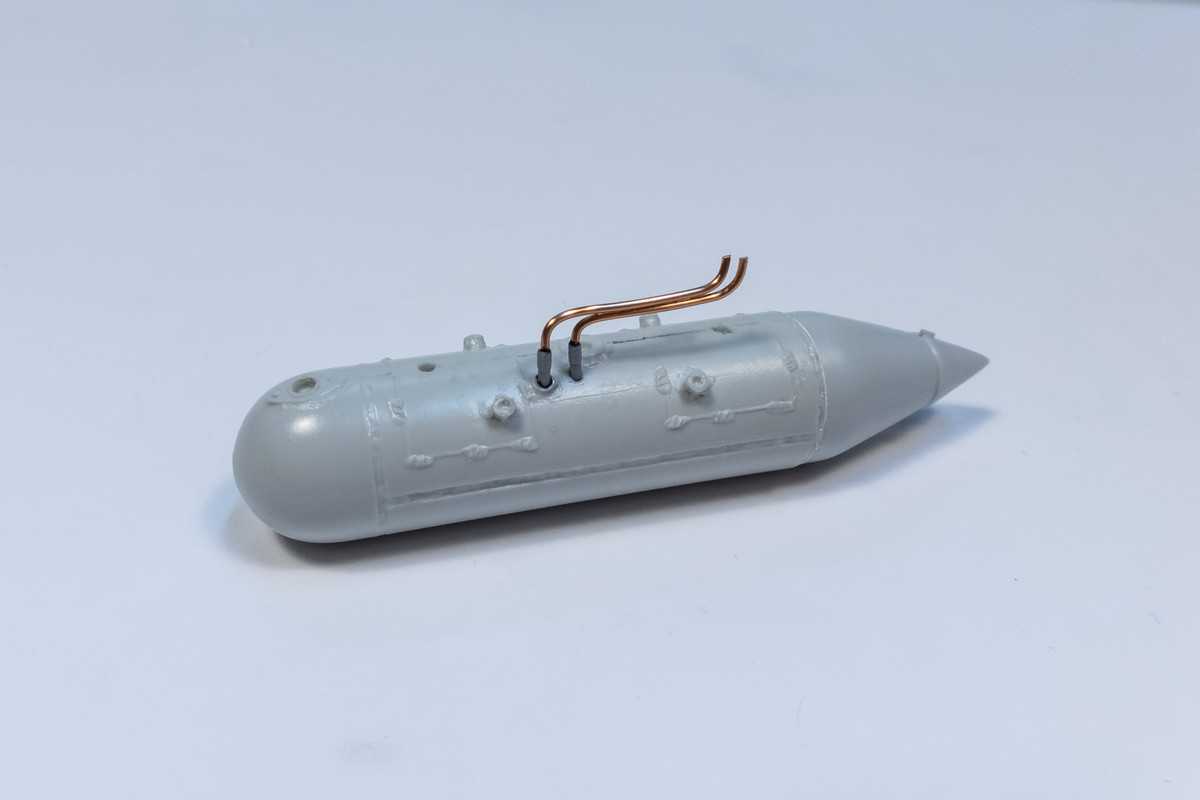
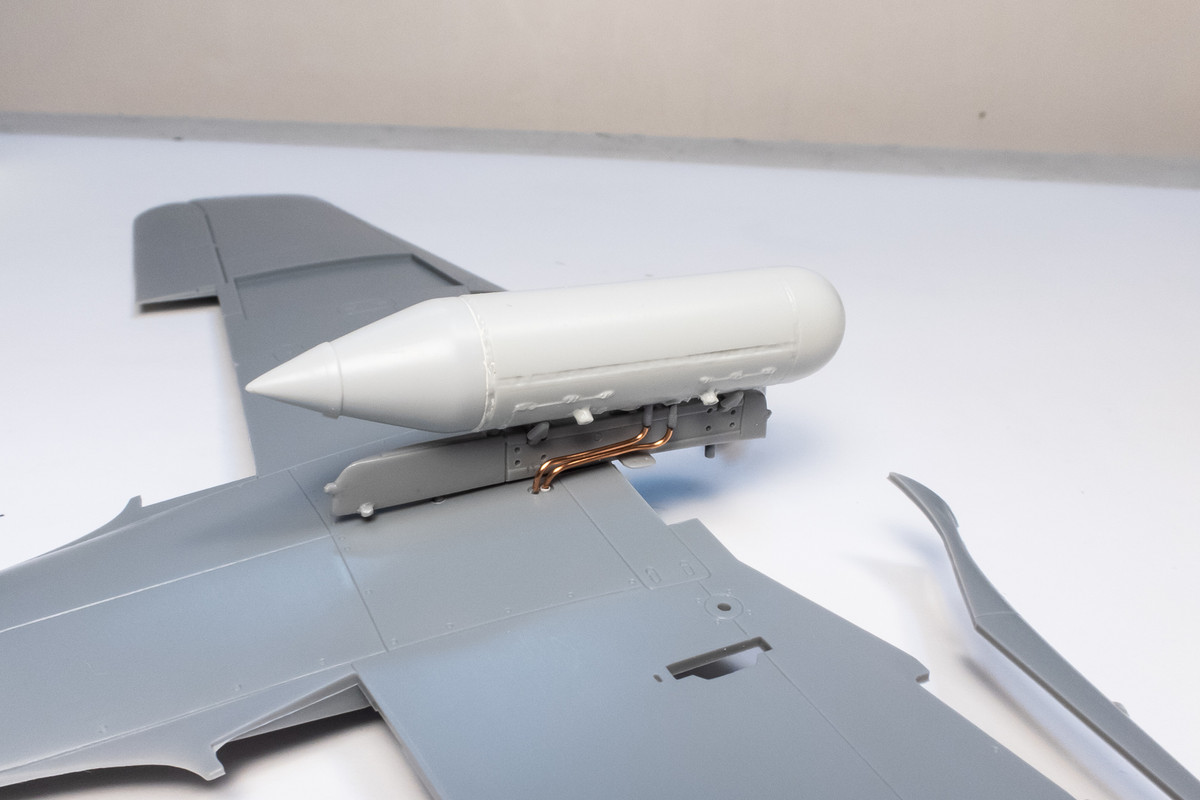
I salvaged the connectors from the kit drop tank plumbing tubes and glued them into two existing holes in the cigar drop tank. I'm totally guessing that this is where the fuel connection is. I shaped a couple of copper wires, loosely based on the kit part, and glued them into the connectors.
Image

The wires terminate where the kit plumbing terminates so unless someone can point out otherwise, I think I'm good with the drop tank plumbing.
Image

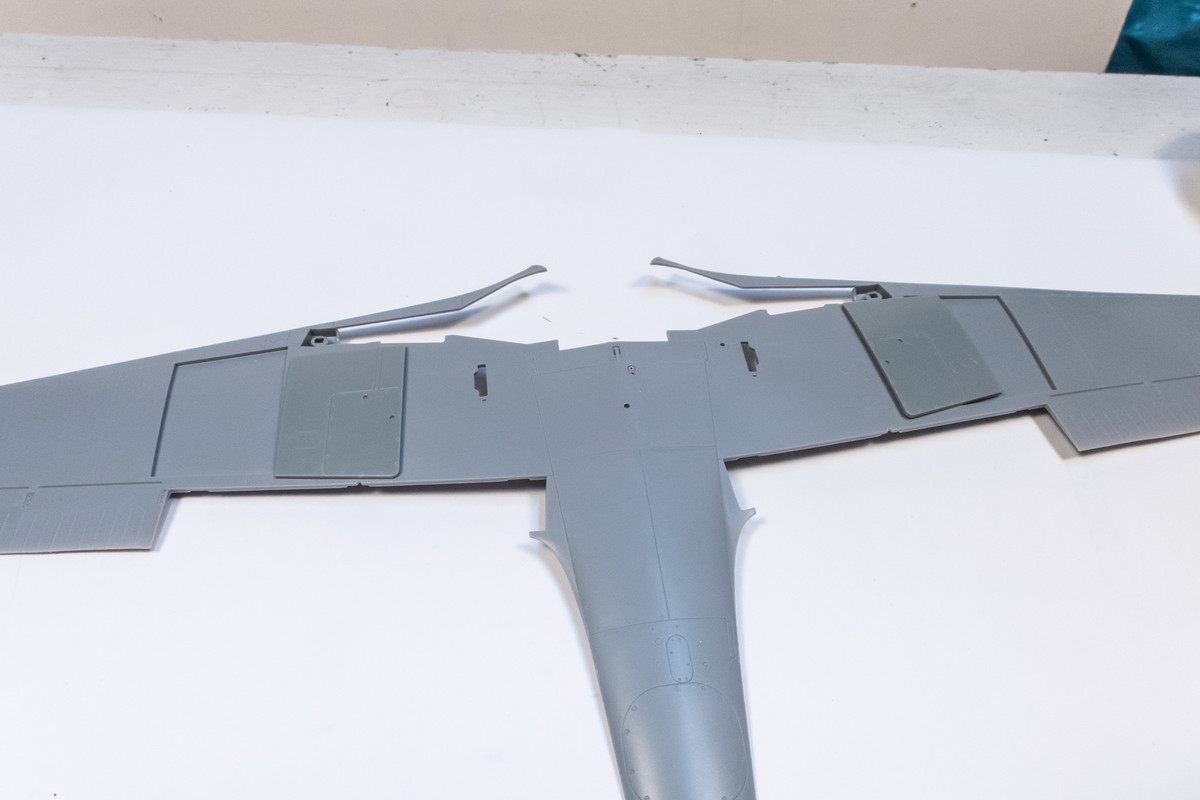
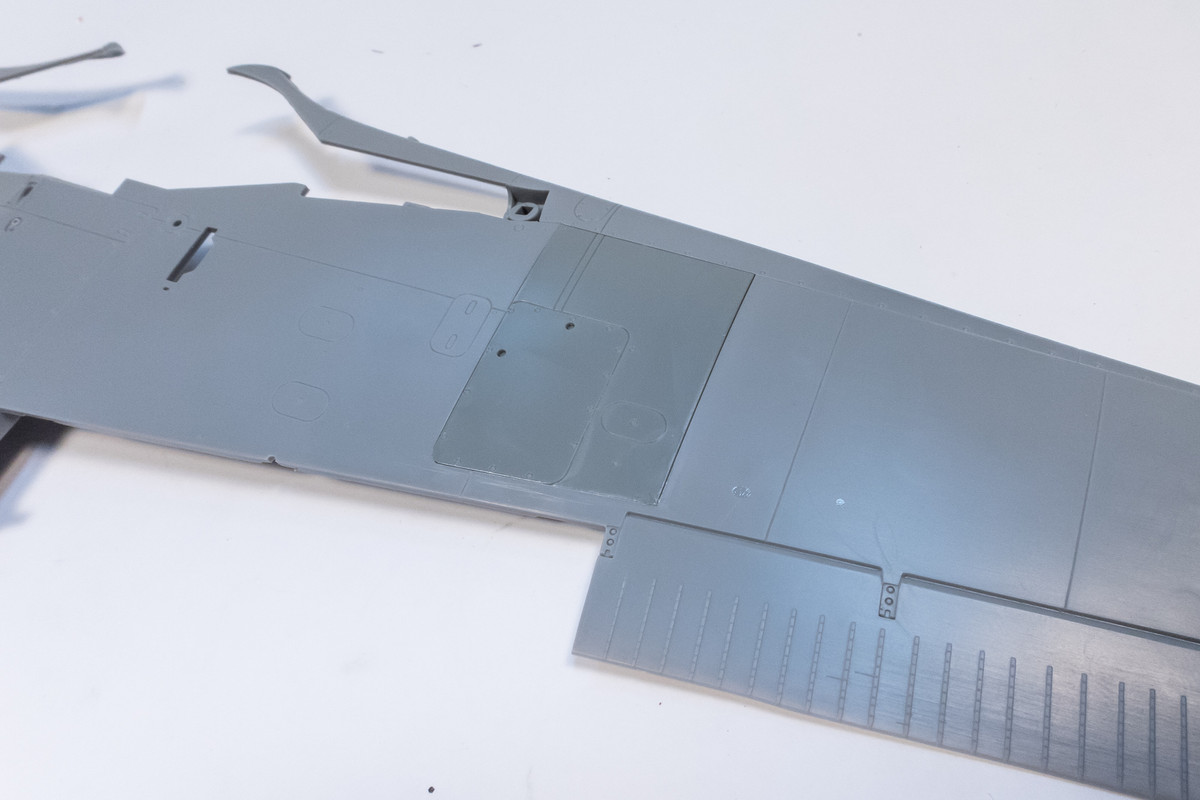
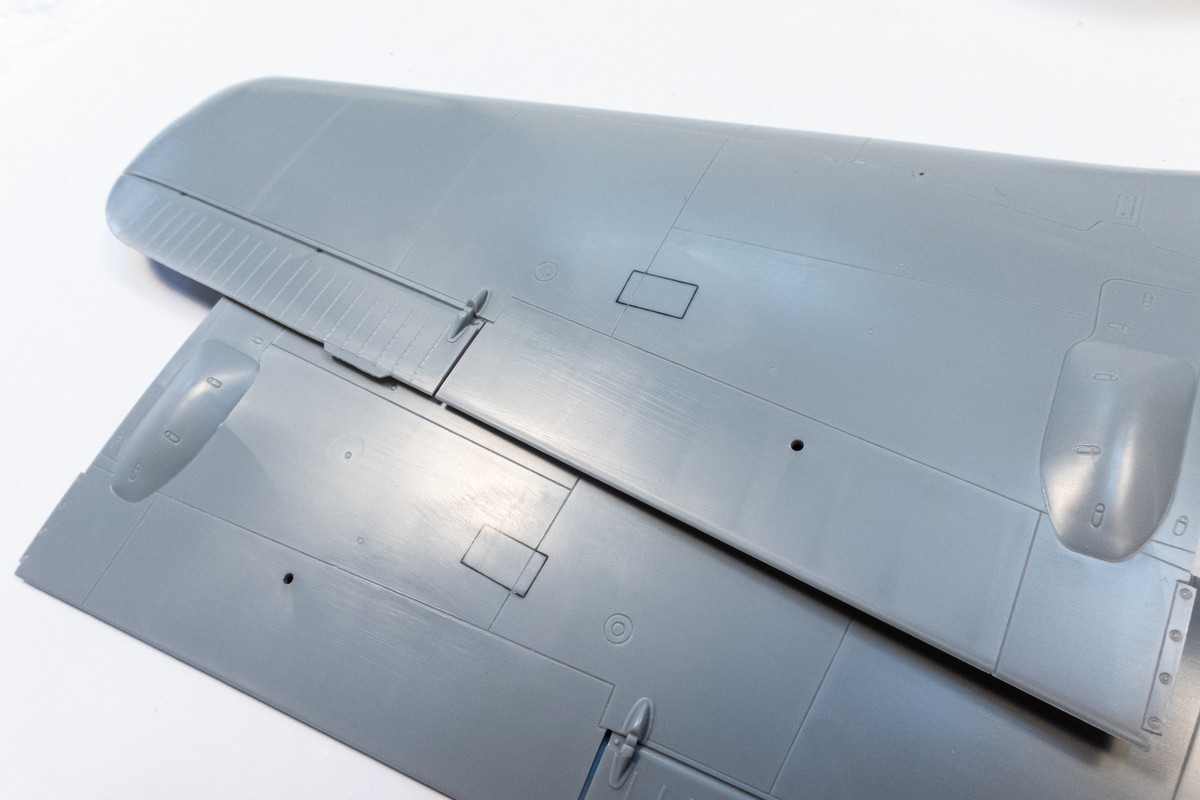
The inserts for the bottom of the wings are glued into place at this point. The outline of the inserts do not correspond to panel lines so some filling and sanding will need to be done before I start the riveting process.
Image
Image

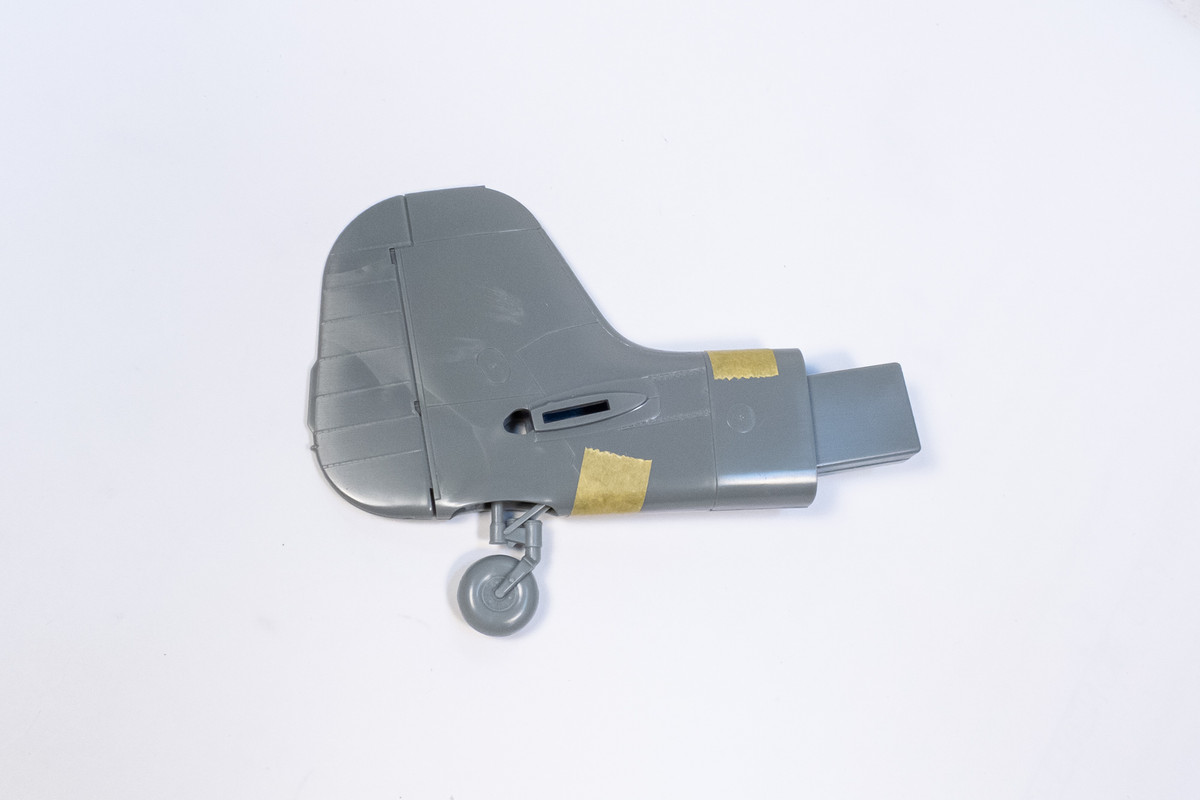
A check of the tail wheel placed into the tail unit. Based on photos, I think this is overextended for an operational aircraft and I'd like to have it poking out less. But with two connection points, I can't get my head around the math to do this without weakening the connection. I think I'll just order the Eagle Editions 190D tail wheel. Height is easier to adjust and since the wheel is separate, it will be easier to paint and orient the flat spot.
Image

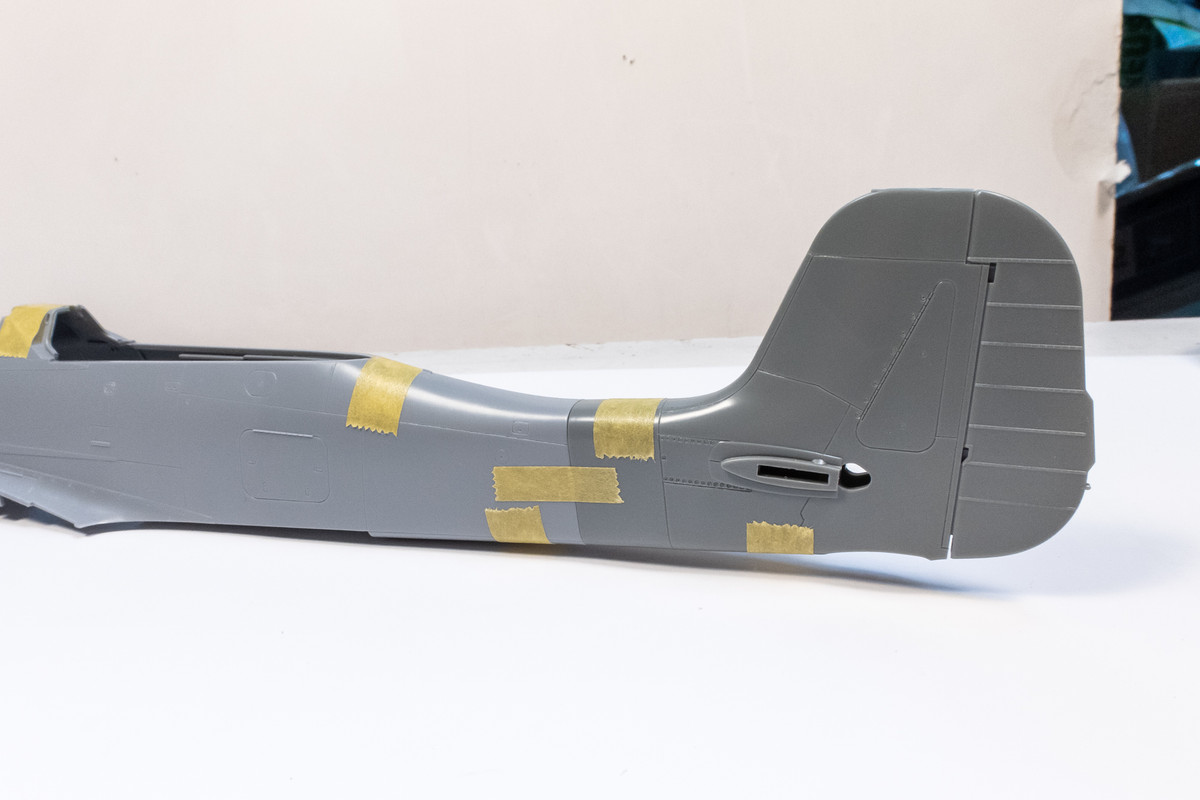
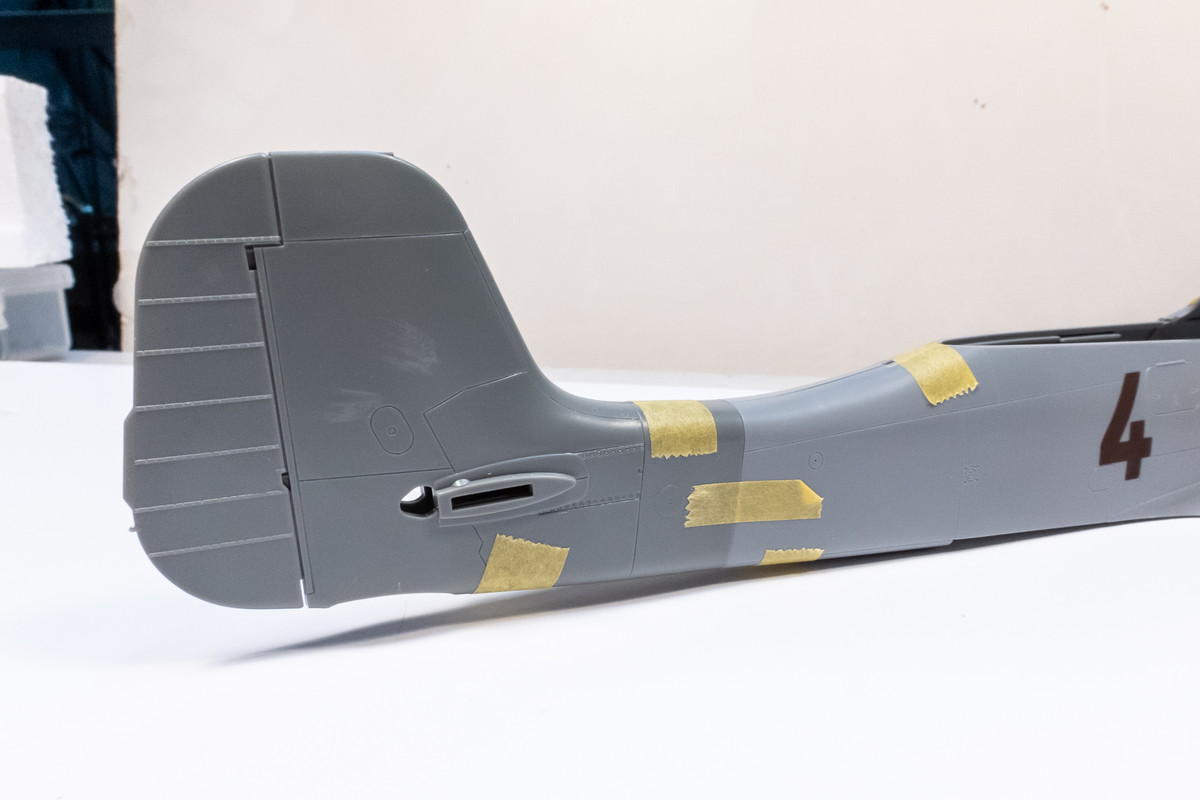
The tail unit fits pretty well into the fuselage. Like my other Dora builds, I am going to glue the fuselage and tail together before joining the halves. This will ensure better fit and simplify the riveting process.
Image
Image

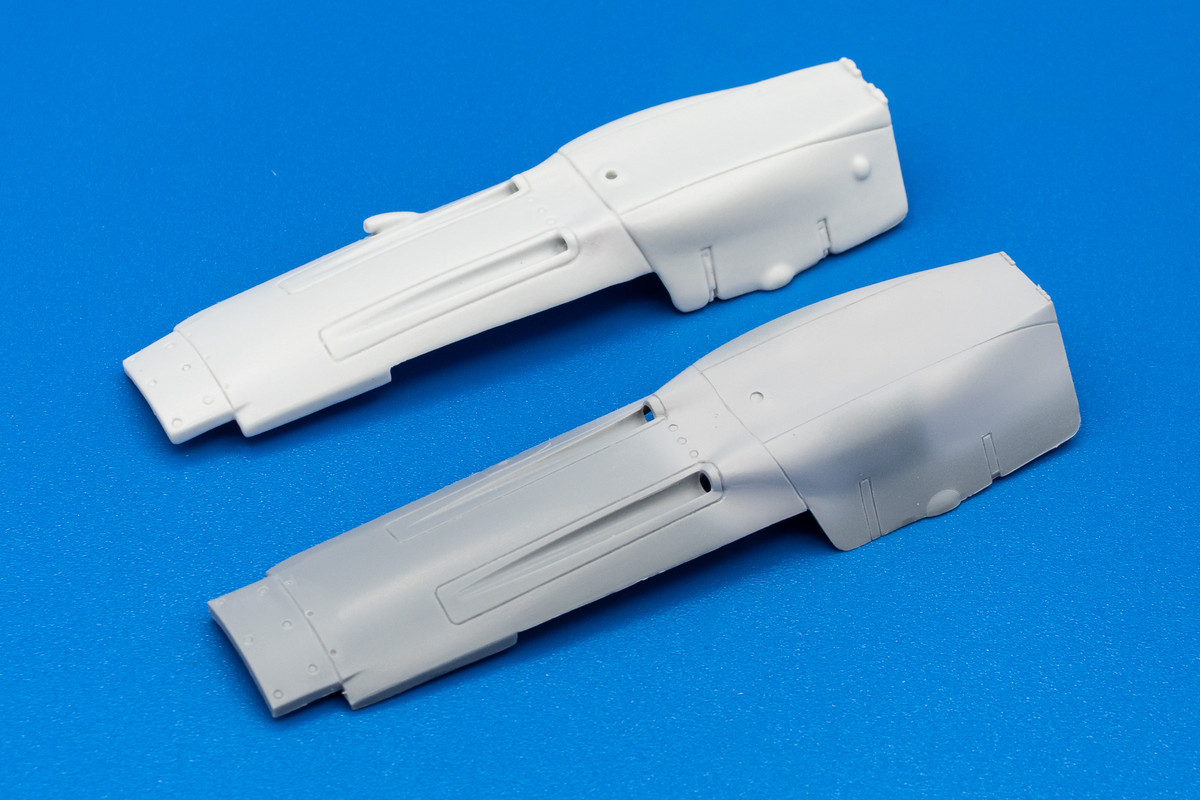
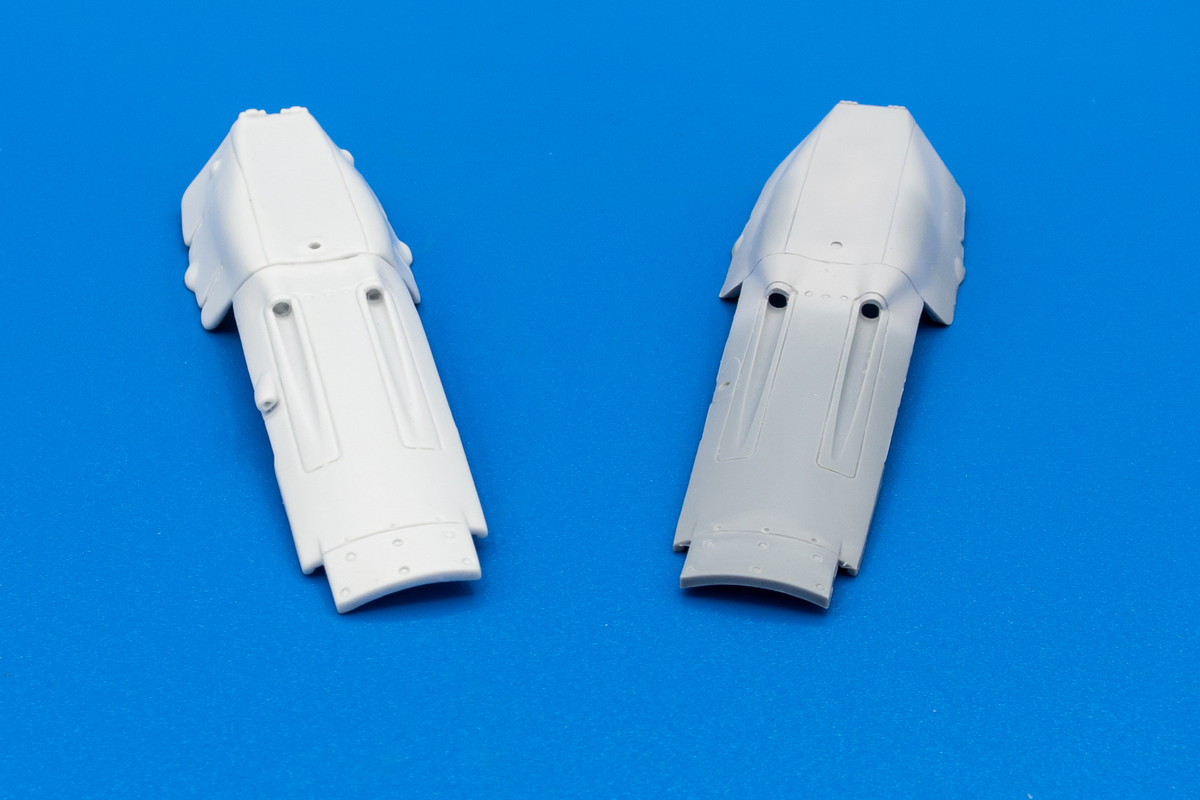
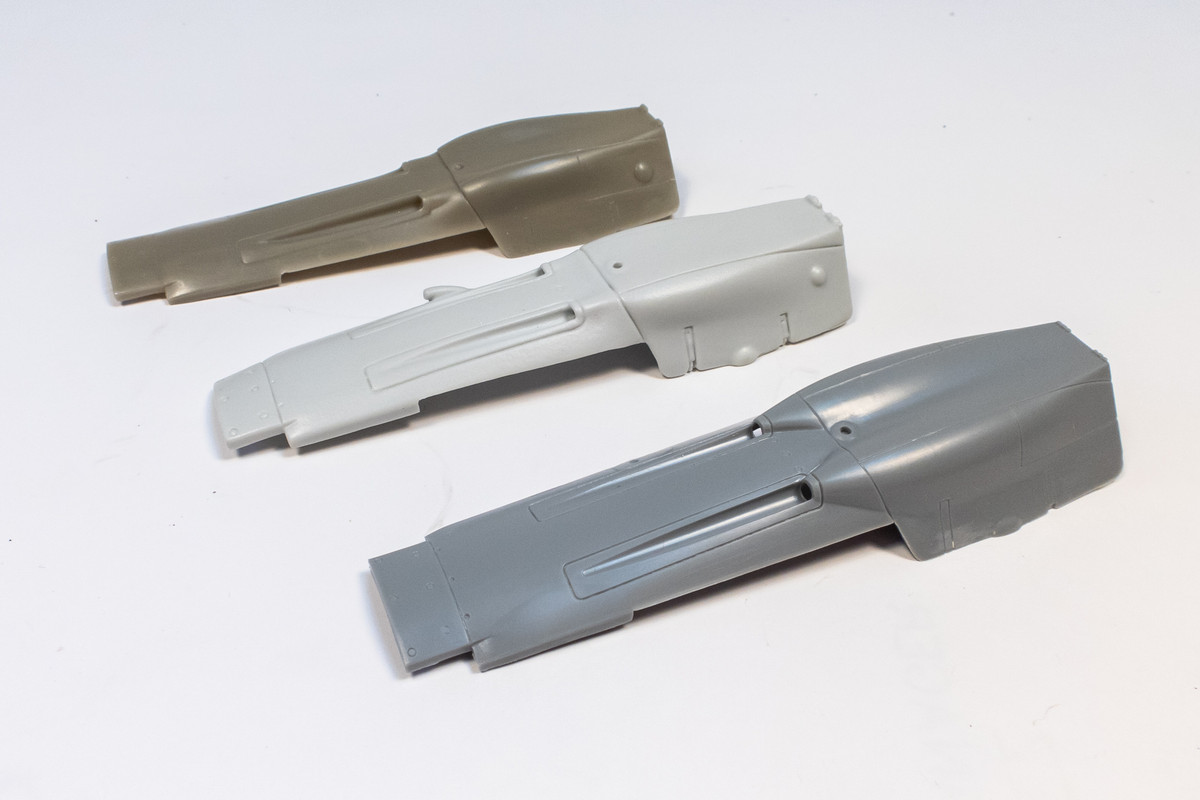
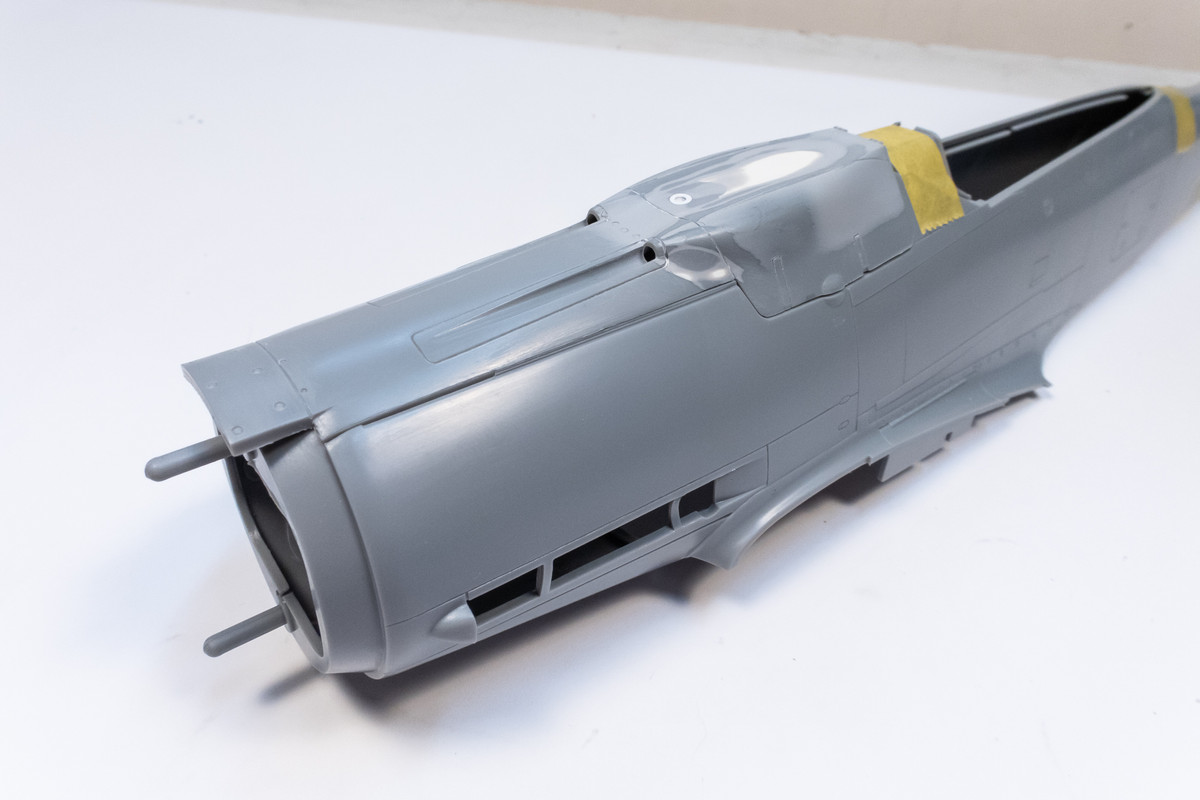
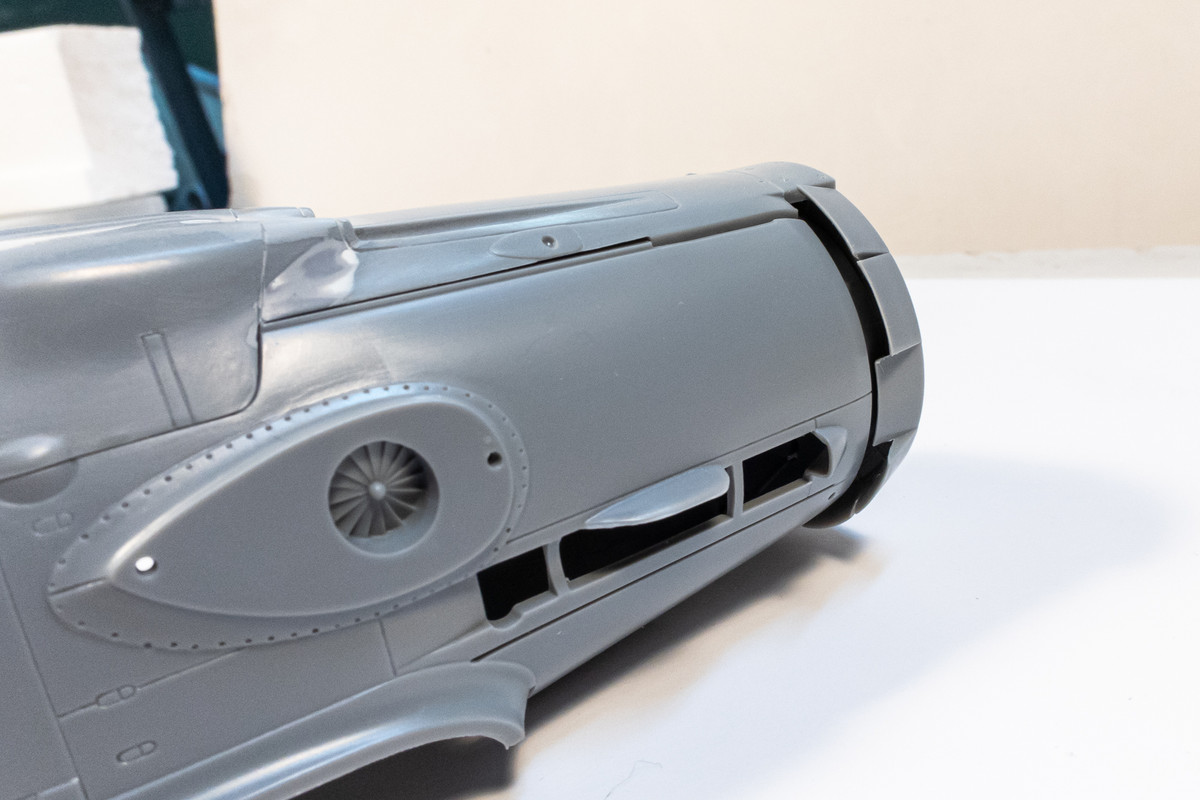
The gun cowling re-sculpting is finished and the it fits perfectly.
Image

Re: Hasegawa 1/32 Fw 190D-9 Brown 4

Posted: Wed May 18, 2022 5:02 am
by tempestjohnny
Lets see. John is doing a Dora. :popcorn: :popcorn: :popcorn: :writing:

Re: Hasegawa 1/32 Fw 190D-9 Brown 4

Posted: Wed May 18, 2022 5:40 am
by Floki
Gun cowling turned out very well. As well did the drop tank and control stick

Re: Hasegawa 1/32 Fw 190D-9 Brown 4

Posted: Thu May 19, 2022 10:49 am
by jkim
Thank you! For the sake of completeness, I am including a post that I made on a separate thread about a year ago...
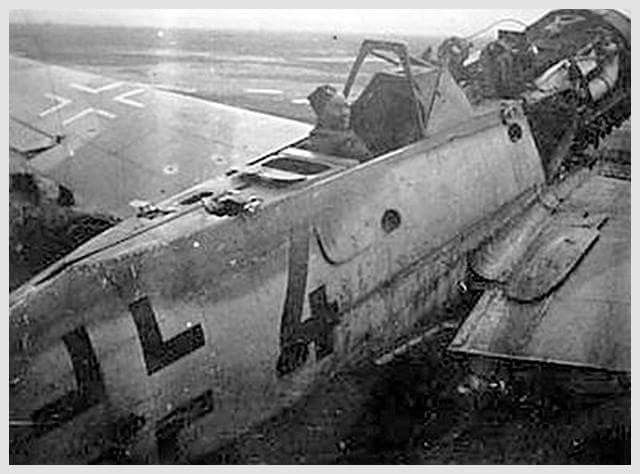
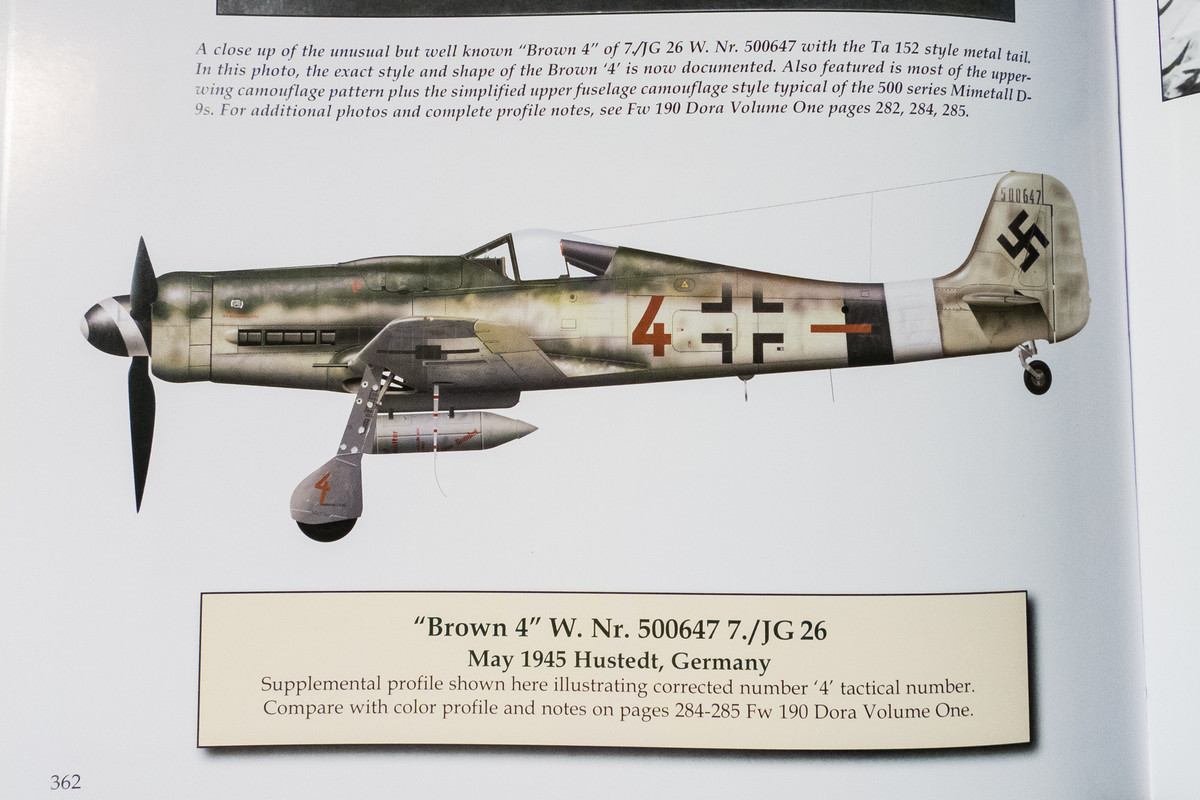
In Dora Volume 2, there is an addendum to 500647 based on a more recently discovered photograph showing Brown 4's starboard side with a clear view of the "4" marking.
Image

There is a revised profile based on this new photo and the style of the "4" was changed to feature a curve that is seen in the photo.
Image

I've always had an issue with this assessment since there is a curvature in the fuselage cross section that could be distorting the "4", similarly to what is seen happening to the fuselage cross. Since I have several Dora kits in hand and can created custom painting masks with my Silhouette Portrait cutter, I thought it would be an easy and interesting experiment to see if my doubts had any teeth.

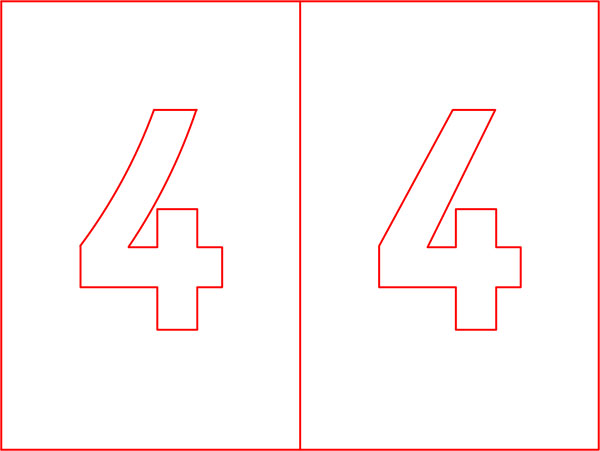
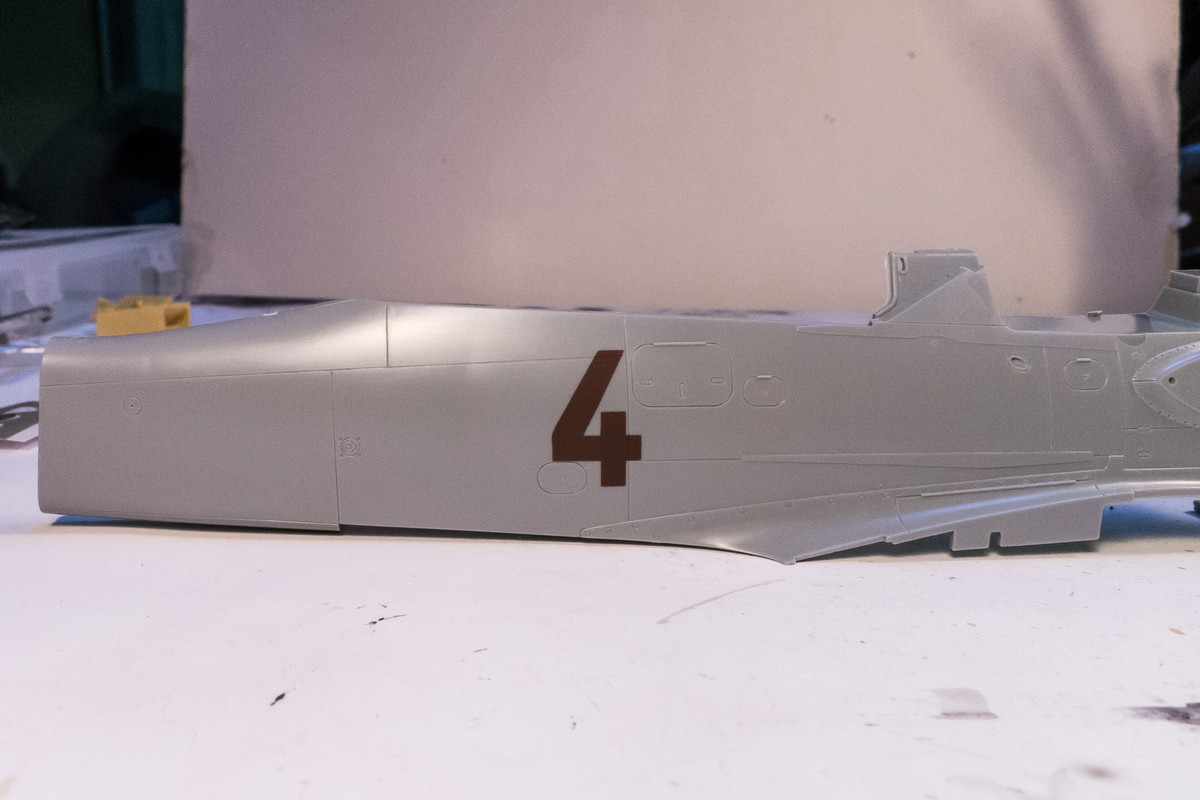
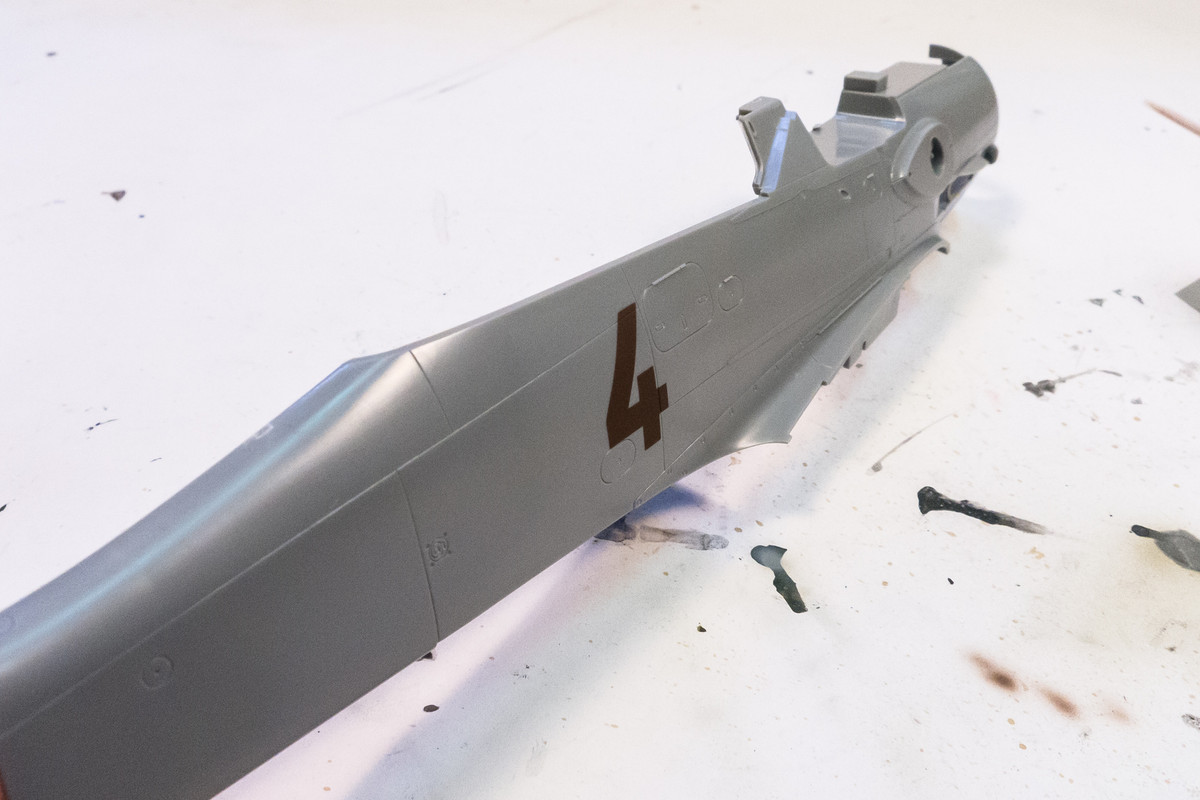
I created a mask based on the "4" marking found on the Eagle Cal decal sheet EC32-126. But I replaced the curved element with a straight one.
Image

This was sprayed onto the starboard side of an unbuilt Hasegawa 190D-9 fuselage.
Image

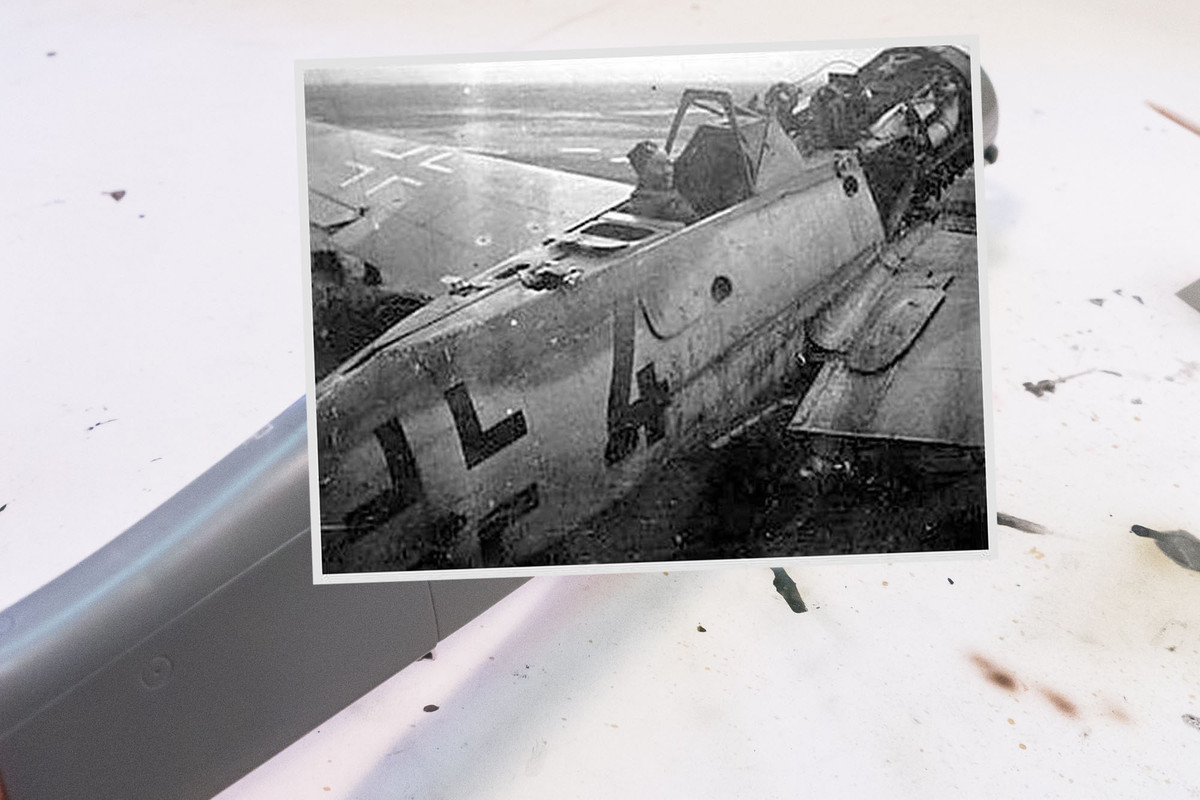
I then photographed the marking at an angle that approximates the archive photo. It is immediately apparent that curvature of fuselage could very well make the straight "4" look curved.
Image

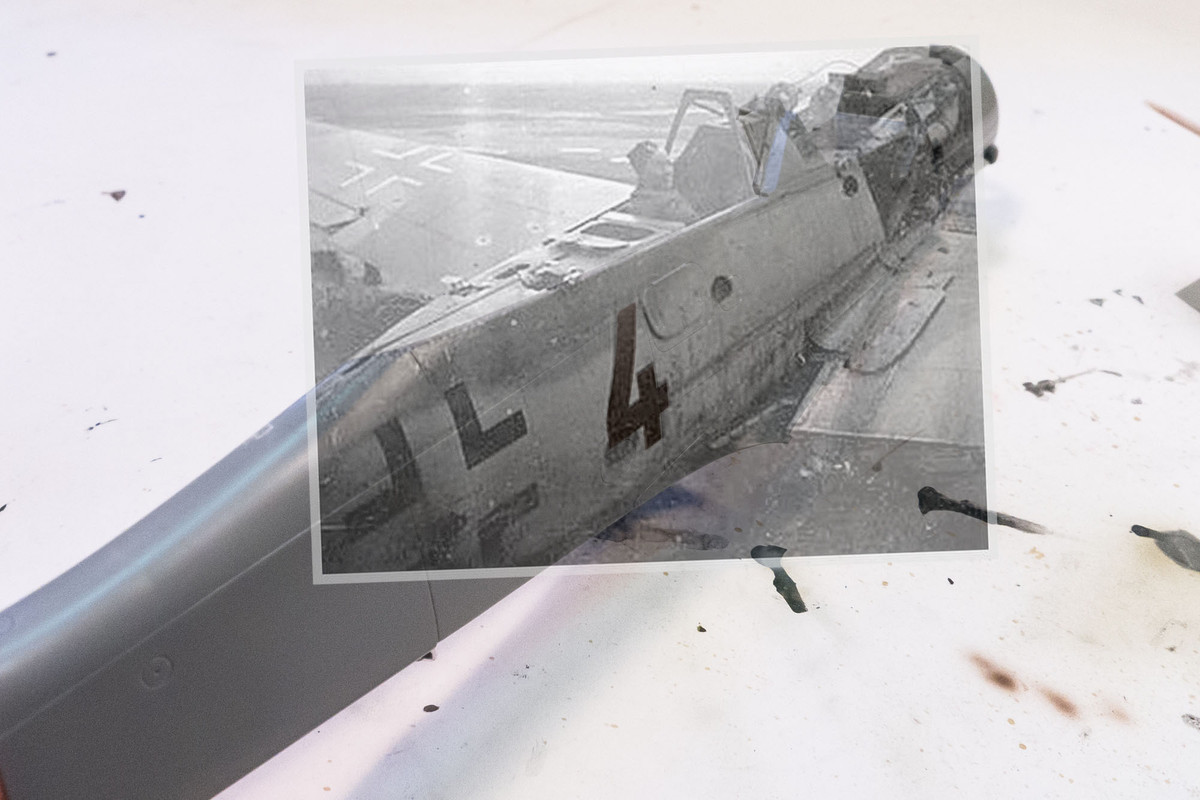
For further confirmation, I composited the two images in Photoshop and used transparency to see that two "4" markings are almost exact matches.
Image
Image
Image

Since comparing photos like this can be tricky, I don't consider this a fool-proof analysis but it is enough for me to believe that the "4" marking on Brown 4 did NOT have curvature.
Re: Hasegawa 1/32 Fw 190D-9 Brown 4

Posted: Thu May 19, 2022 10:54 am
by jkim
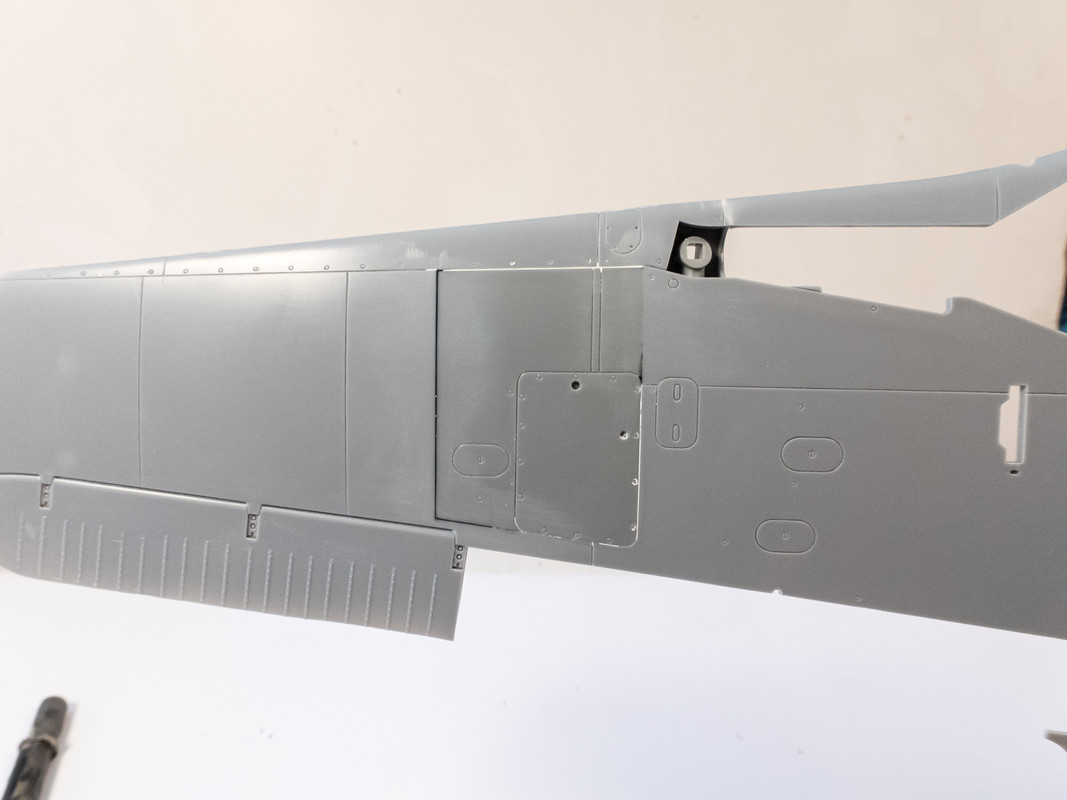
And speaking of that same photo... on my last Dora build, a modeler asked about a panel on the upper wing that did not appear to be present on Brown 4. Since I was not doing Brown 4 at the time, I did not consider it but now it seems to be appropriate. Based on the photo, I am deleting this panel. It has been filled with black CA glue.
Image

The underwing insert joints have been dealt with using a combination of black CA glue on the non-panel lines and white Milliput on the panel lines.
Image

The radiator cowling flaps are thick. I've found that shaving down the trailing edges of the flaps make them look much more presentable.
Image
Image

Re: Hasegawa 1/32 Fw 190D-9 Brown 4

Posted: Thu May 19, 2022 11:23 am
by Stikpusher
Should you change your screen name to Dora 9 John? You are truly becoming a branch factory of Focke Wulf :wink:
Everything is coming along wonderfully. Of course you have had a bit of practice on the type… :giggles: