Page 2 of 5
Re: Typhoon Mk I
Posted: Sun Dec 07, 2014 11:40 am
by ajcmac
Thank you for following and commenting

.
After placing the mask in stripes I painted the yellow onthe leading edge of the wings.


I put the mask on the leading edge and all ready to start painting Camouflage.


I painted the spinner, the propellers and wheels. Landing gear ready.


Missing weathering the spinner and the clear flat in propellers and wheels.
Regards
ajcmac
Re: Typhoon Mk I
Posted: Wed Dec 10, 2014 1:59 pm
by ajcmac
Re: Typhoon Mk I
Posted: Thu Dec 11, 2014 3:20 am
by BorgR3mc0
Great work ajmac!
Re: Typhoon Mk I
Posted: Sat Dec 13, 2014 7:26 am
by ajcmac
Re: Typhoon Mk I
Posted: Sat Dec 13, 2014 10:54 am
by Paul
Man this is gonna be nice. I always have trouble painting those invasion stripes. I can never get the width correct.
Re: Typhoon Mk I
Posted: Sat Dec 13, 2014 11:09 am
by Thomas_M
Paul wrote:Man this is gonna be nice. I always have trouble painting those invasion stripes. I can never get the width correct.
I usually measure the width in total and divide it by the number of black and white stripes, for example 5 stripes 6 millimetres wide of both colours.
Apply a base coat of a white colour where the invasion stripes will be located. This will get you the white stripes.
Cut 5 stripes 6 millimetres wide and apply them side by side on the wing, starting where the first white invasion stripe should be. Having placed the Tamiya stripes side by side remove each second one. This will give you the mask to paint the black stripes. Apply the black colour of your choice.
By removing all remaining stripes you should get equally wide black and white stripes.
At least this is my way doing it. Others mileage may vary.
Re: Typhoon Mk I
Posted: Sun Dec 14, 2014 8:47 am
by ajcmac
Thomas_M wrote:Paul wrote:Man this is gonna be nice. I always have trouble painting those invasion stripes. I can never get the width correct.
I usually measure the width in total and divide it by the number of black and white stripes, for example 5 stripes 6 millimetres wide of both colours.
Apply a base coat of a white colour where the invasion stripes will be located. This will get you the white stripes.
Cut 5 stripes 6 millimetres wide and apply them side by side on the wing, starting where the first white invasion stripe should be. Having placed the Tamiya stripes side by side remove each second one. This will give you the mask to paint the black stripes. Apply the black colour of your choice.
By removing all remaining stripes you should get equally wide black and white stripes.
At least this is my way doing it. Others mileage may vary.
That's exactly what I did. Measure the width of the stripes (decals) in the case of the Typhoon were 10 m / m. After proceeded exactly as Thomas explained.
Completed camouflage.

Lights and shadows.


Now wait that everything dry in order to remove the mask.
Regards
ajcmac
Re: Typhoon Mk I
Posted: Sun Dec 14, 2014 9:39 am
by Thomas_M
Love you shadow job! Looks very nice! How do you do it?
Re: Typhoon Mk I
Posted: Sun Dec 14, 2014 10:50 am
by CallSignOWL
wowowowHHH love it!
i REALY NEED MORE PRACTICE WITH MY AIRBRUSH
Re: Typhoon Mk I
Posted: Sun Dec 14, 2014 7:54 pm
by ajcmac
CallSignOWL and Thomas
Thanks.
Thomas_M wrote:Love you shadow job! Looks very nice! How do you do it?
Thomas
For each color that I apply make two mixtures. One to apply the lights and the other for the shadows.
In this case, a P-47 ended just over two months ago, used the XF-53 Tamiya.
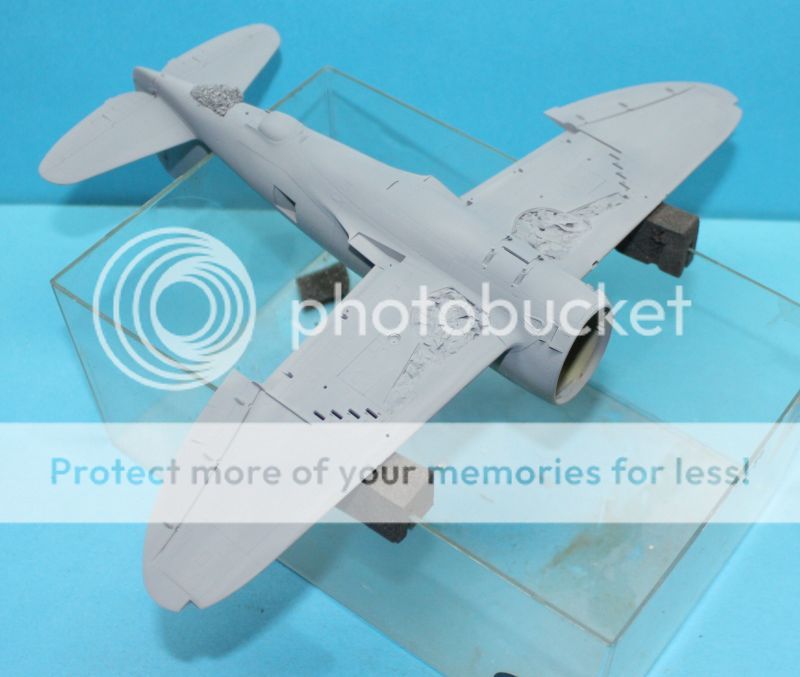

Then, the first mixture.
XF-53 (1) + XF-02 (0.5) and X-20 A (4)
Apply this mixture inside the panels.
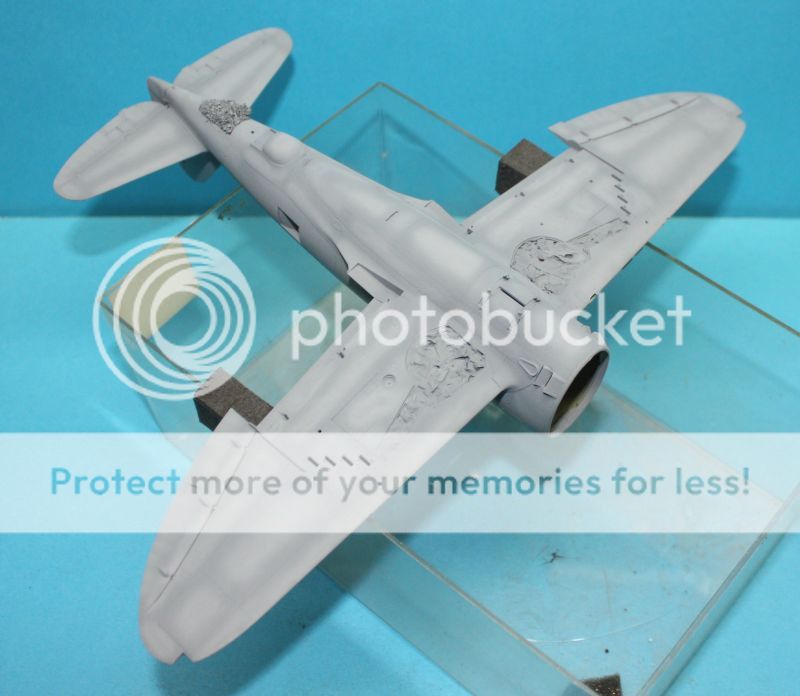

The second mixture.
XF-53 (1) + a drop or two of XF-01 and X-20 A (4).
Apply this mixture on the lines of the panels.
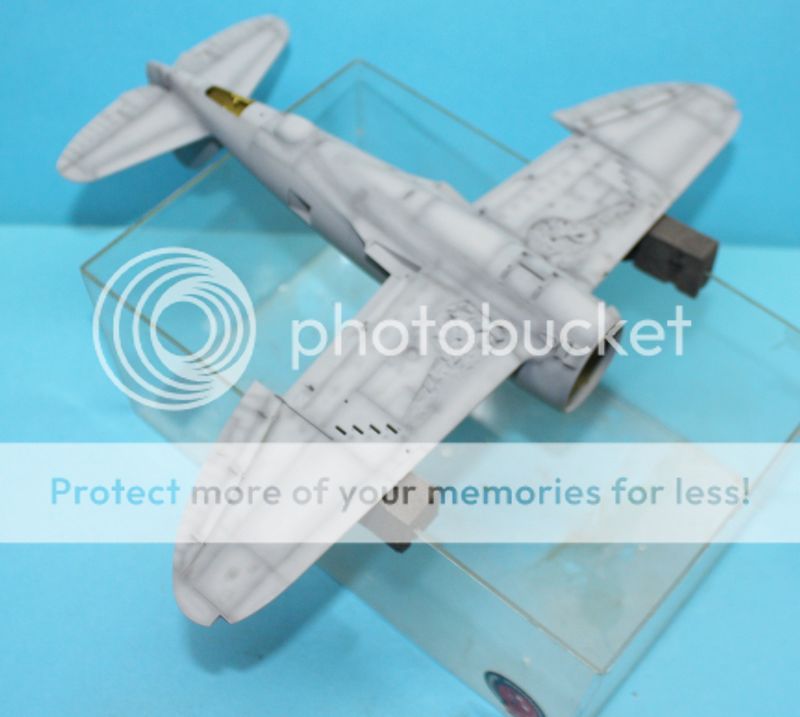

Then apply the two mixtures again. On the wings in the direction of flight and fuselage vertically.


Hope this helps.
Regards
ajcmac


 .
.


