Page 2 of 9
Re: Heller 1/48 Etendard IV M
Posted: Thu Dec 01, 2022 8:27 pm
by Stikpusher
So believe it or not, I’ve actually been working on this one a bit as well. I was a bit let down by the kit seat,
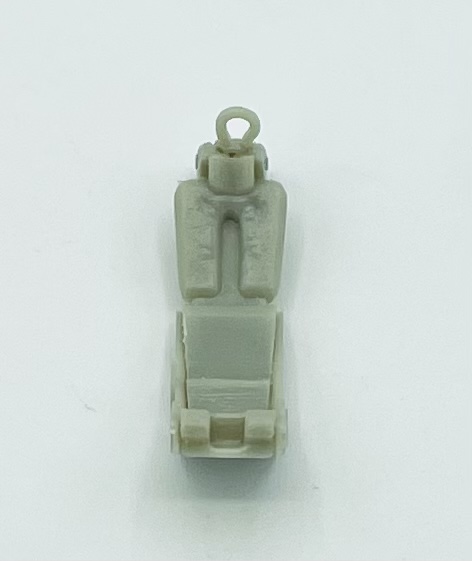
so I did some googling and ordered this PE harness set to dress it up some. Did I mention that I really don’t like PE harnesses?
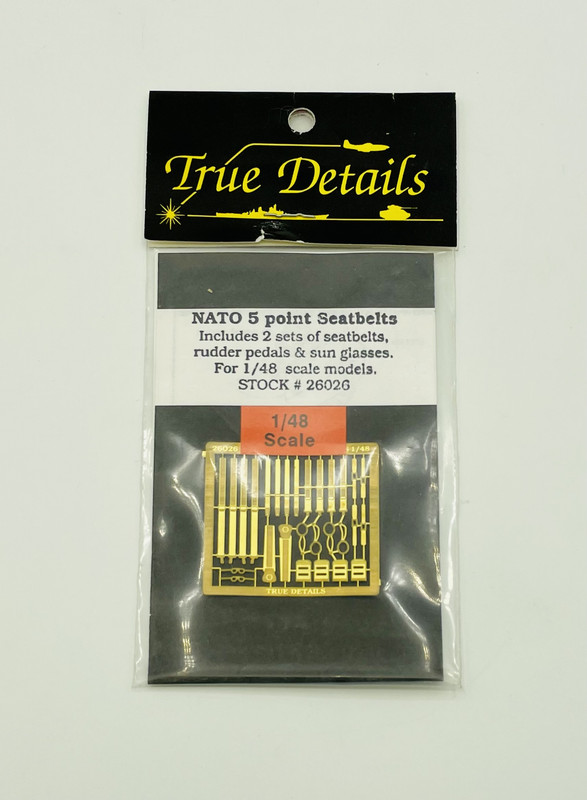
In hindsight, I should have just ordered a resin Mirage III C seat with harness. I’m 90% certain that both types used the same seat, a MB Mk. 4. Anyways this is how the PE harness turned out once installed.
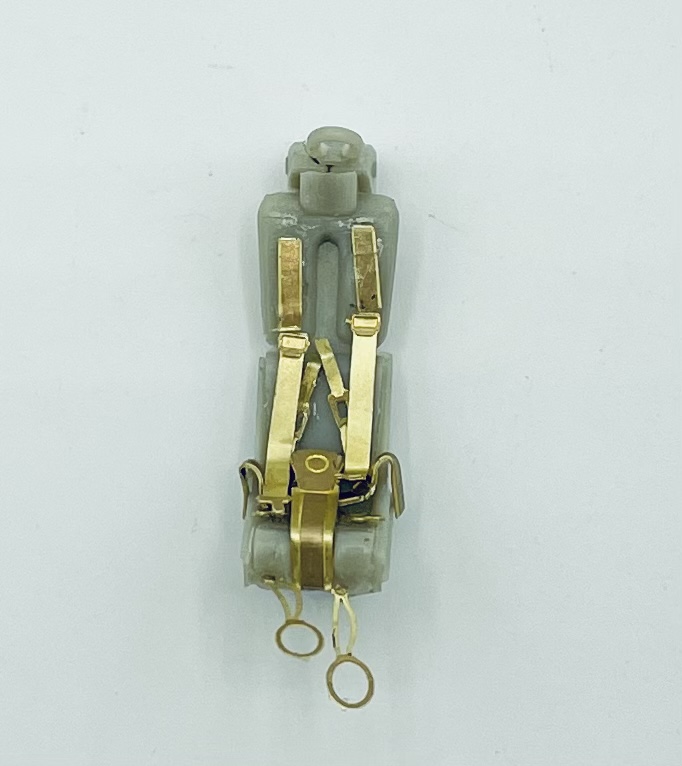
Not the greatest, but far better than the bare kit seat.
In the meantime, I found another build of this same kit over on Brit Modeler, and decided to do some simple additions to the cockpit based on what I saw there to add some details on some bare areas.
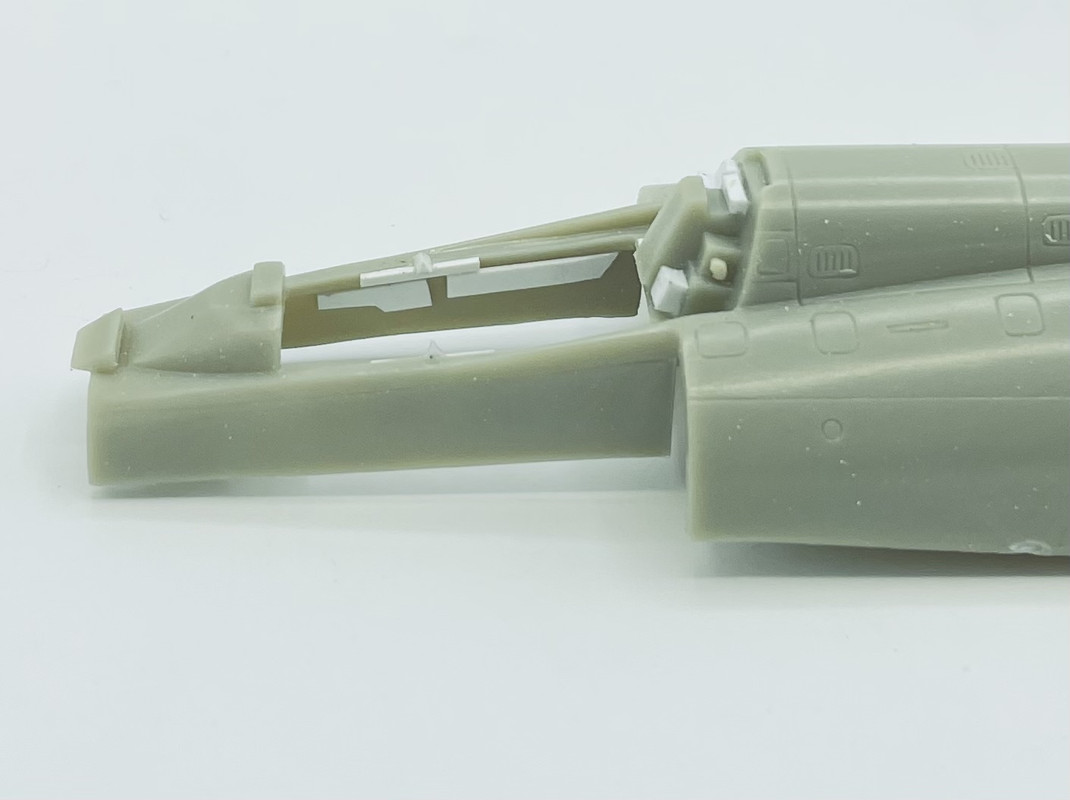
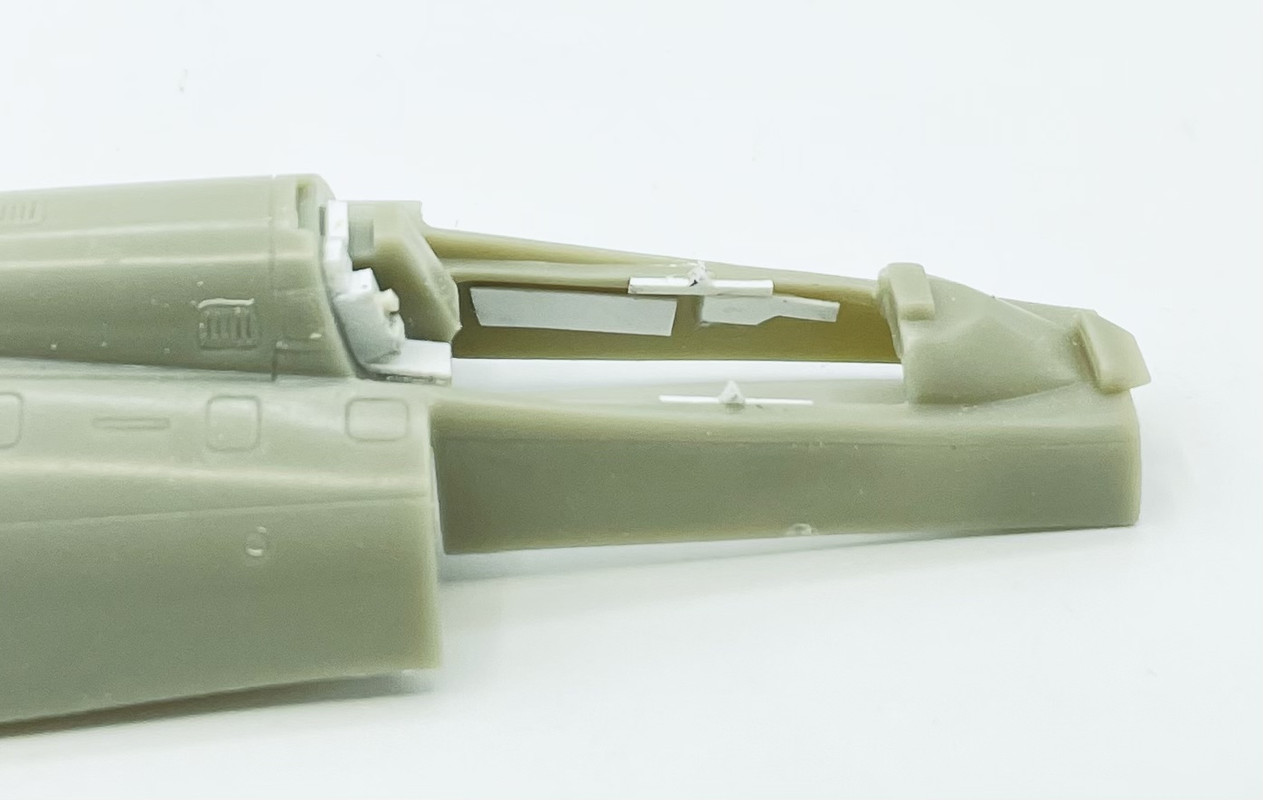
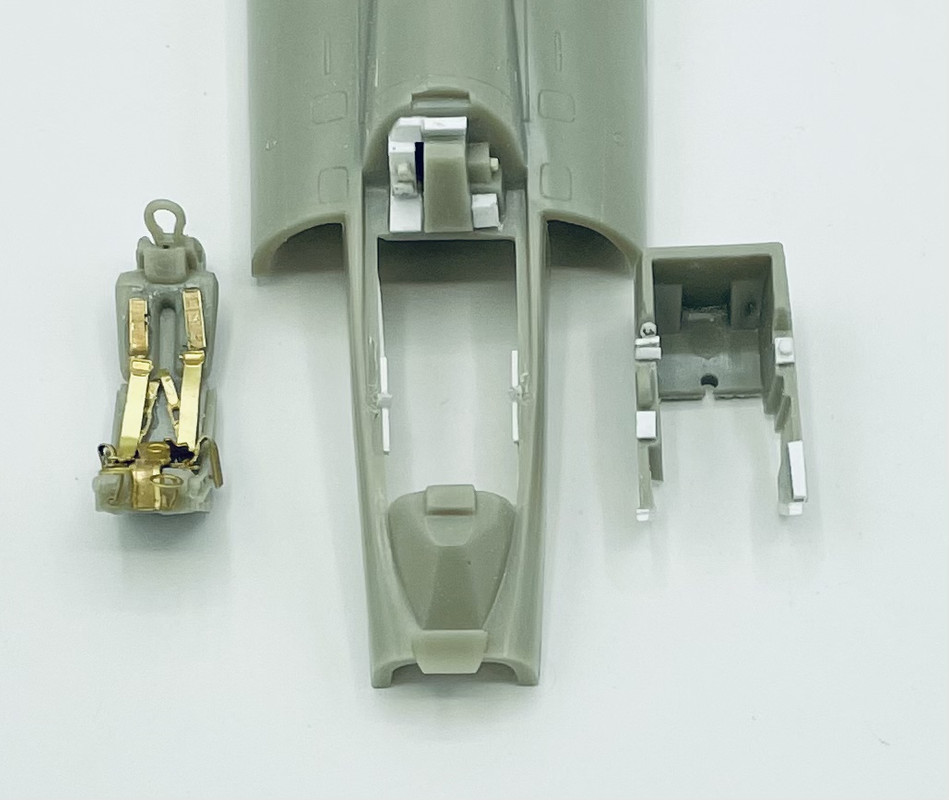
Now to get some paint on this and get it all closed up…
Re: Heller 1/48 Etendard IV M
Posted: Fri Dec 02, 2022 3:27 am
by Stuart
That a great bit of improvement work Carlos, it'll look good under some paint. I'm not a big fan of PE either, or resin for that matter

bit stuffed either way really.
Re: Heller 1/48 Etendard IV M
Posted: Thu Dec 15, 2022 5:01 pm
by Stikpusher
Stuart, the one thing that I really like in resin for aircraft are seats with harnesses. With some good paint those really look best I think. Since I am pretty sure that the Etendard and early Mirage III use the same seat type, I will be hunting for those seats or harnesses for the Etendard IV P and Super Etendard in my stash.
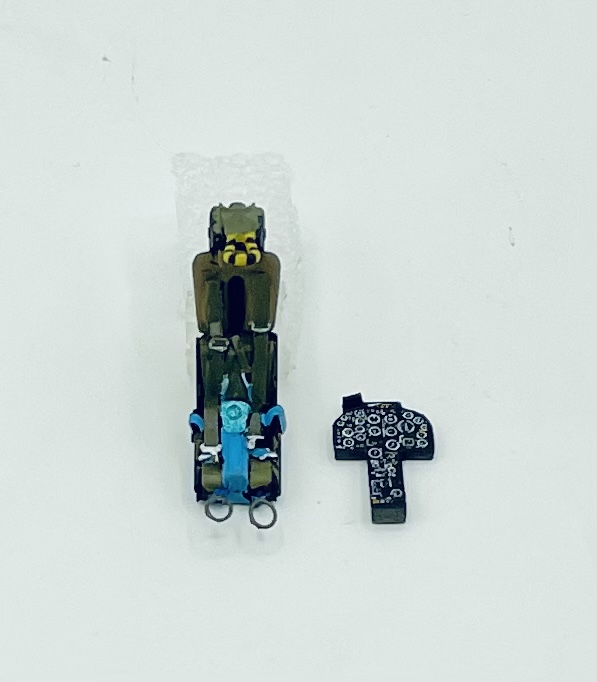
And now back to our Etendard IV M build. This week I did get painting in the cockpit done, and the IP decal applied. It’s a beautiful decal and really just could use some raised bezels to look outstanding. But no time for that here.
Then a test fit of everything into the cockpit
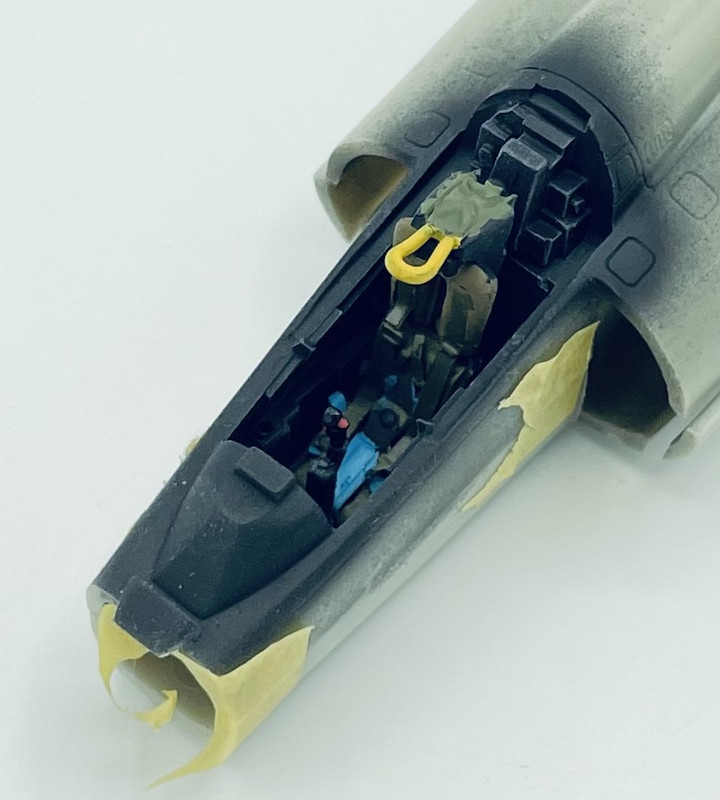

So far so good… but then disaster strikes during the fuselage assembly…. While I was adjusting the fit of the seat in the cockpit, the front of the fuselage broke off!!!
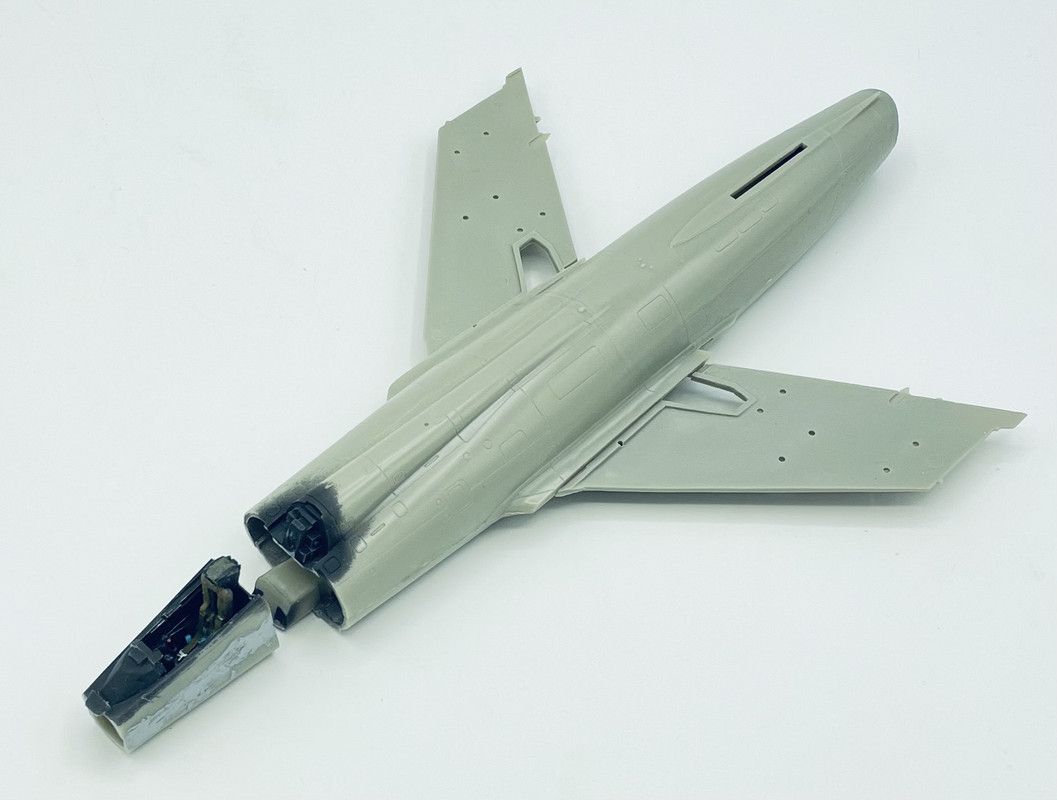
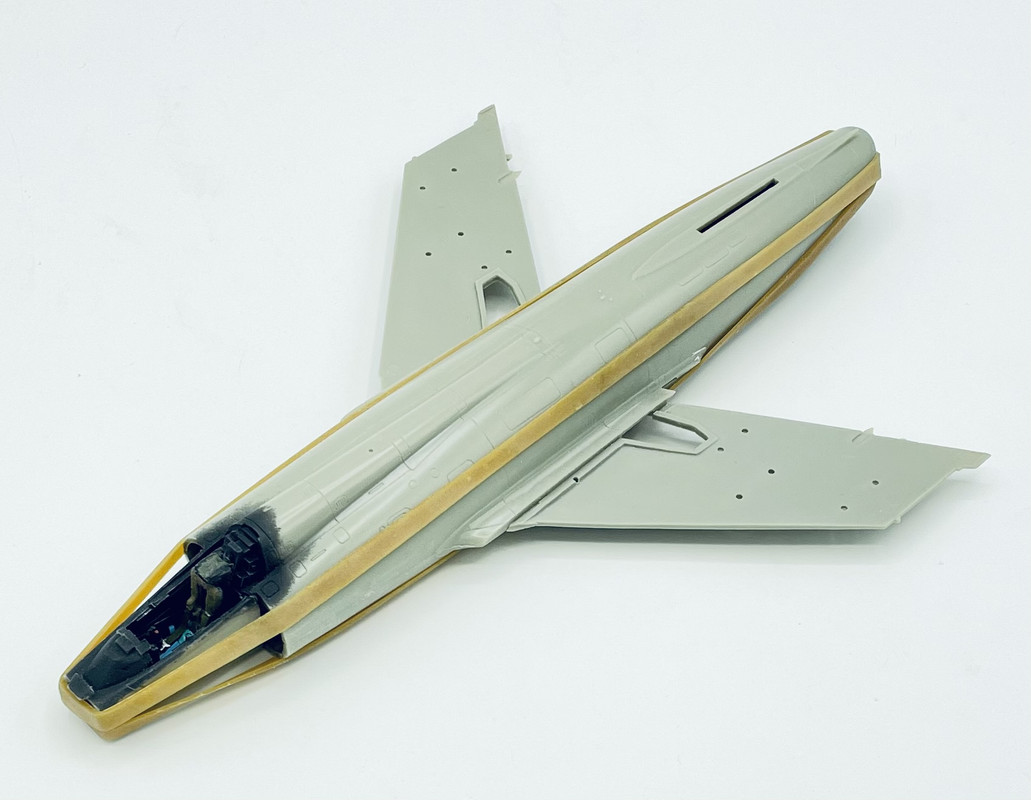
After seam clean up, I reattached the front to the main fuselage… I don’t know what I would do without a good supply of various size rubber bands
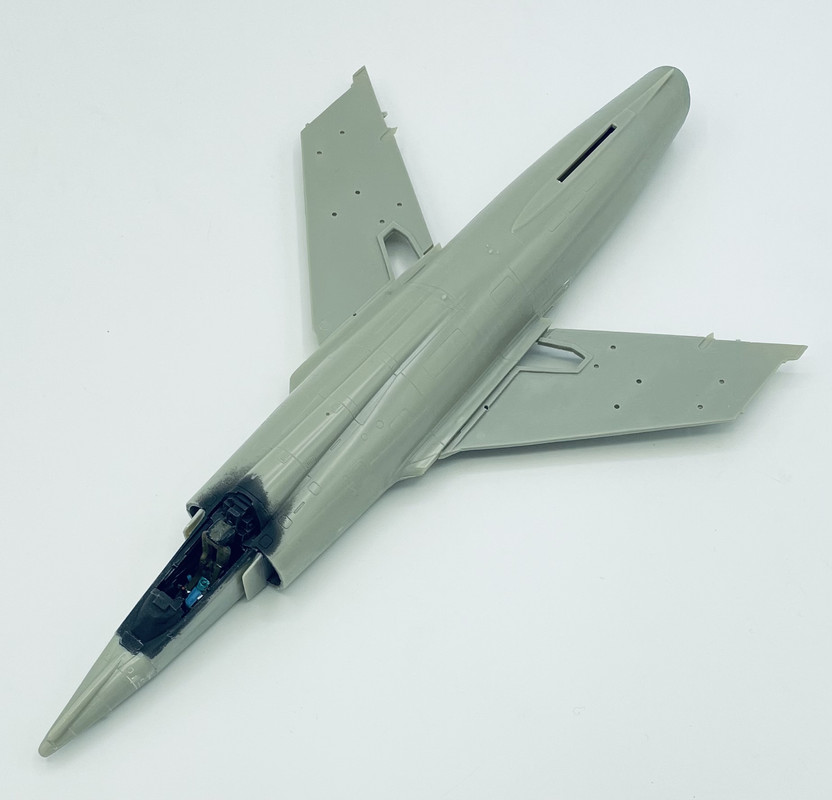
And lastly once the fuselage had dried, I added the intake splitter plates and the nose (with lead shot in there just in case…)
More to come next week…
Re: Heller 1/48 Etendard IV M
Posted: Thu Dec 15, 2022 5:14 pm
by Medicman71
Very cool! I'd replace that yellow grab handle for the ejection seat with something smaller. It looks WAY to big.
Re: Heller 1/48 Etendard IV M
Posted: Thu Dec 15, 2022 8:58 pm
by Stikpusher
Medicman71 wrote: ↑Thu Dec 15, 2022 5:14 pm
Very cool! I'd replace that yellow grab handle for the ejection seat with something smaller. It looks WAY to big.
I was thinking the same thing. I took it off during the installation, as I was pretty damn sure that it would get broken off. A piece of wire will do much better.
Re: Heller 1/48 Etendard IV M
Posted: Fri Dec 16, 2022 6:47 pm
by BlackSheep214
Nice save on the cockpit section.
Re: Heller 1/48 Etendard IV M
Posted: Fri Dec 16, 2022 11:33 pm
by Stikpusher
Thanks Tom.
One more update before next week. I finished up basic airframe construction today, addin the upper wing halves, intake lips, and the tail planes. The fit of the stabilators is terrible, so I had to add some shims in there. And there will be some filling and sanding to fair the intake lips in smoothly to the fuselage.
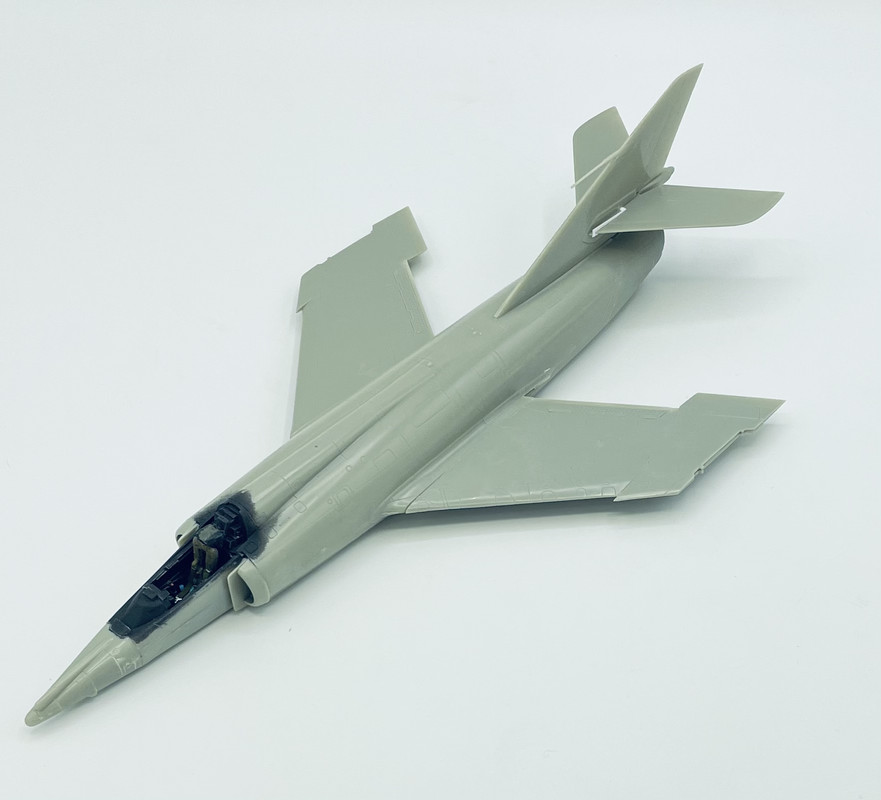
More coming next week…
Re: Heller 1/48 Etendard IV M
Posted: Sun Dec 18, 2022 3:23 am
by Stuart
Nice progress Stik!

Re: Heller 1/48 Etendard IV M
Posted: Sun Dec 18, 2022 10:05 am
by Stikpusher
Thanks Stuart. The next step of gap filling, sanding, and rescribing any lost detail is gonna be a bear.
Re: Heller 1/48 Etendard IV M
Posted: Wed Dec 28, 2022 5:29 pm
by Stikpusher
Now for my Etendard… this one has been fighting me too! The intake area had some warping, so needed a good amount of shims and putty to fair everything in smoothly. I also used strip styrene to fill in the gaps at the wing roots, upper and lower surfaces. I was afraid that putty would crack and fall out, and I’m out of gel CA for gap filling. The local shops are a good distance away and I didn’t want to lose the bench time, so it was a case of using what I had on hand.
Once I had all the sanding completed, I added the tail and the under nose strake so characteristic of the Etendard IV

Here’s a close up of the worst filling area
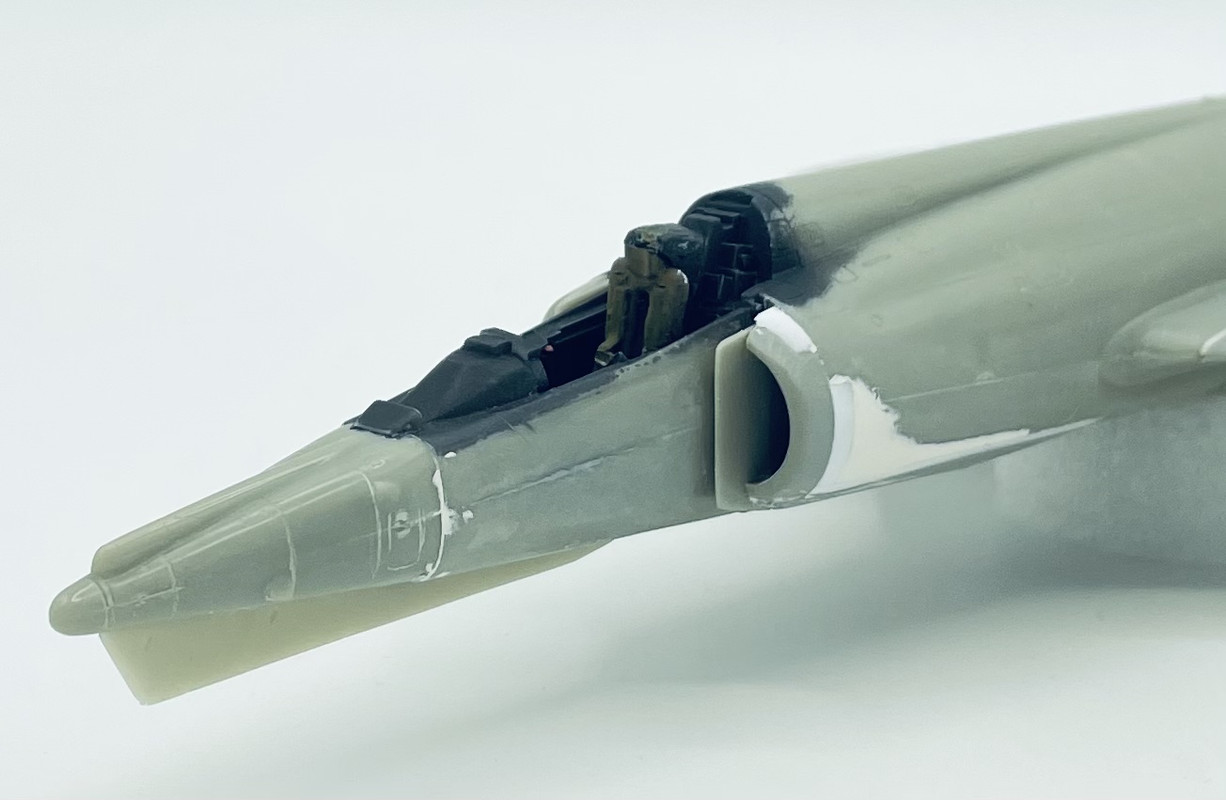
I left off the wingtips and the staibilator is not glued in place to aid with painting that I should be able to start after adding the last few little scoops and such…