Page 2 of 9

Re: Eduard 1/48 Hawker Tempest II

Posted: Sun Apr 28, 2024 10:15 pm
by jkim
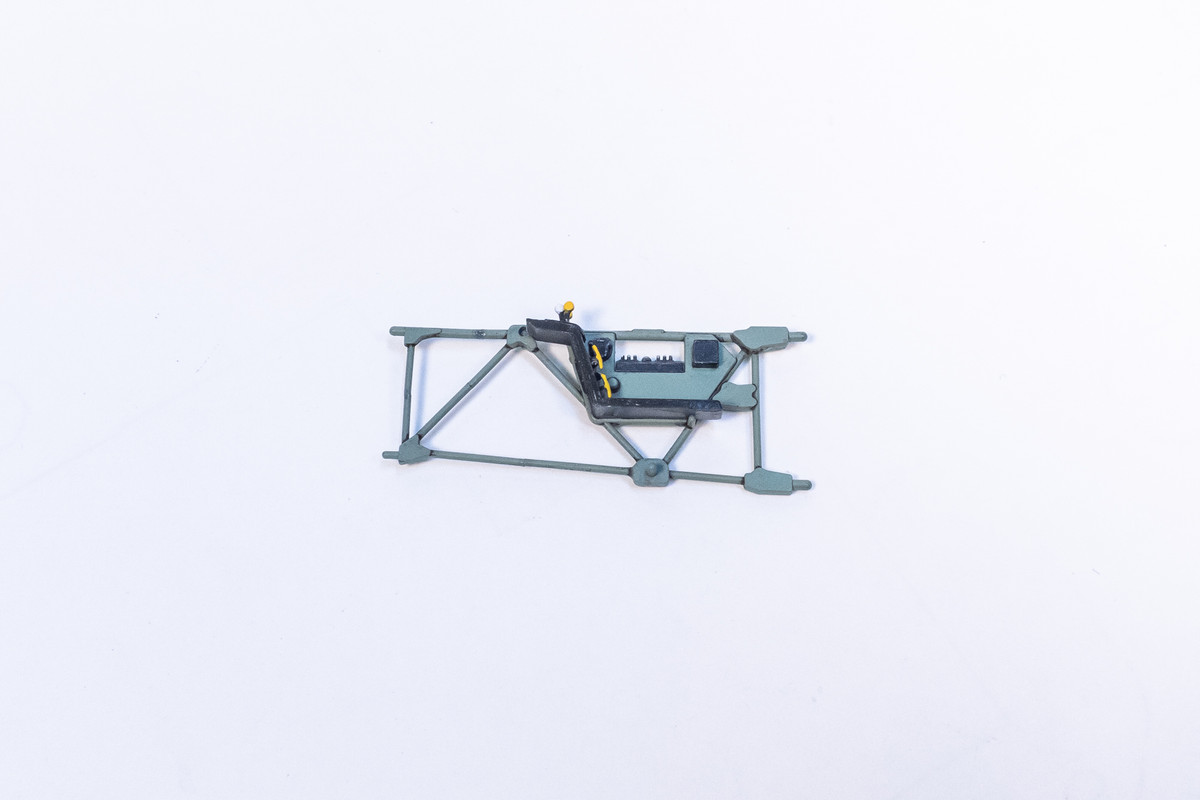
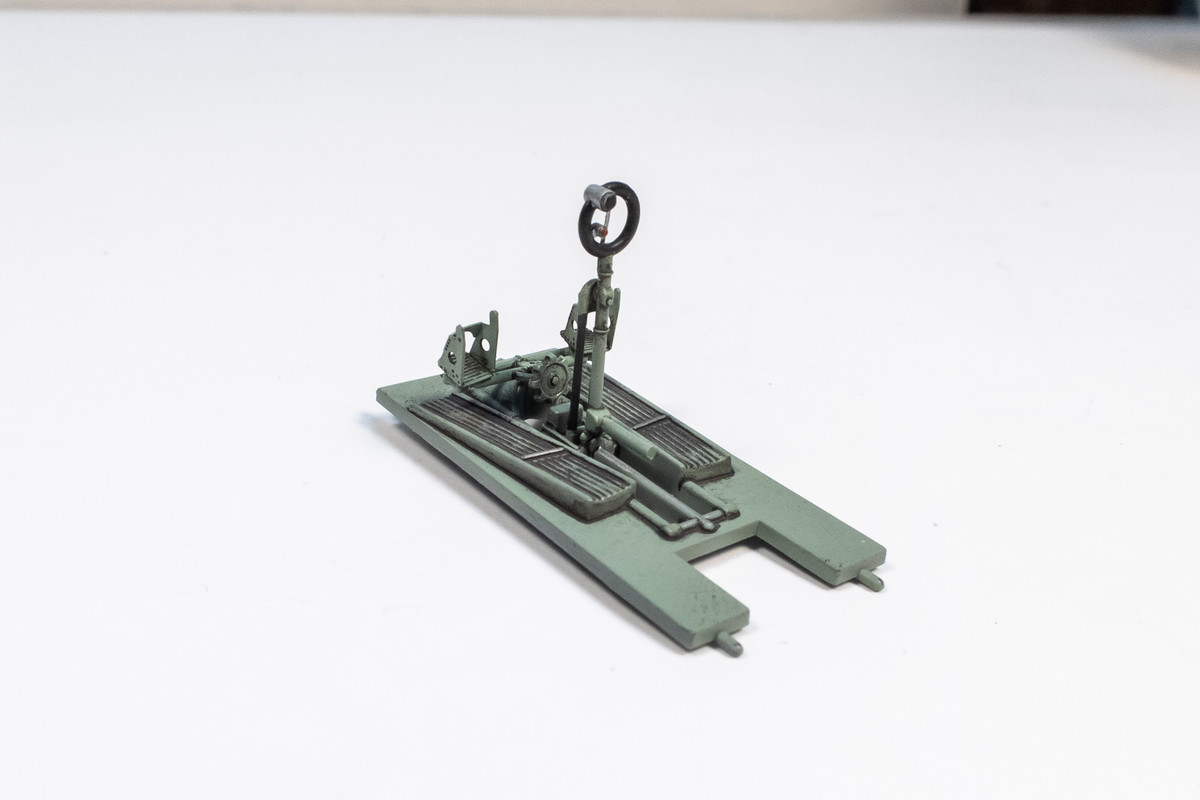
Time to start cobbling the cockpit parts together. Here is the floor board with the foot rests and control stick in place.
Image

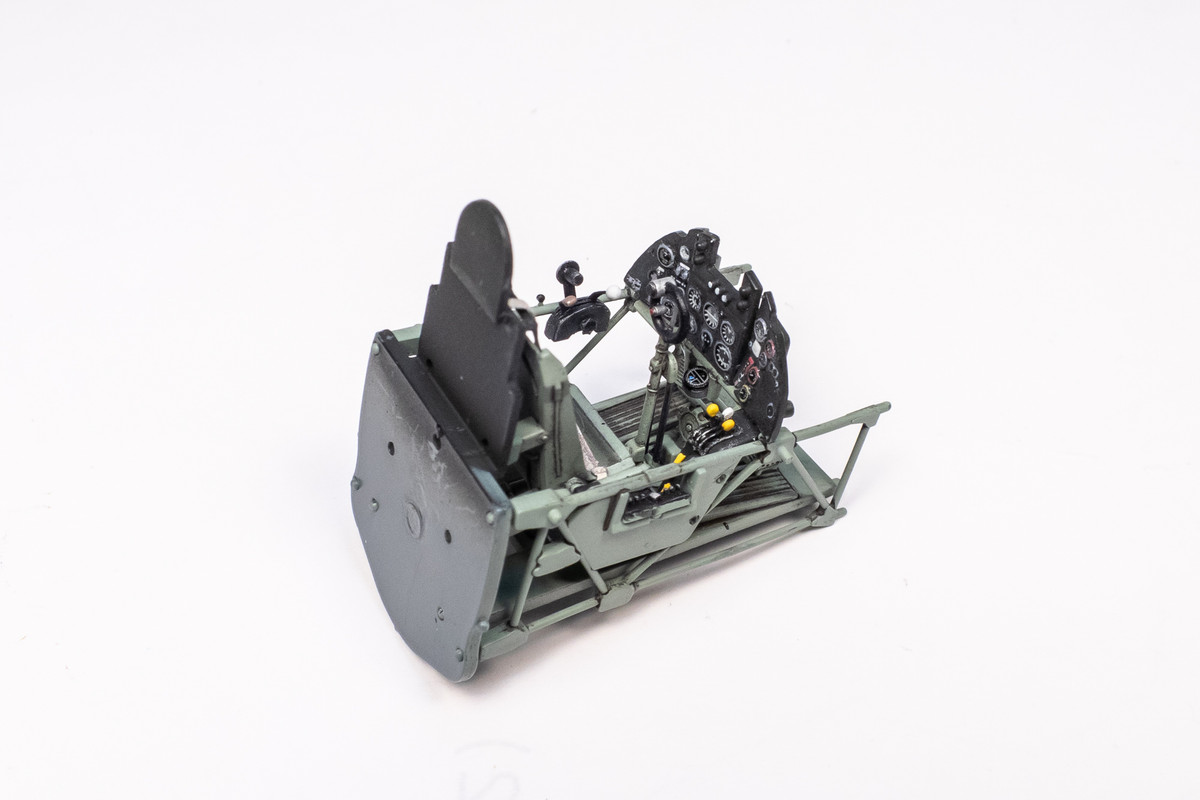
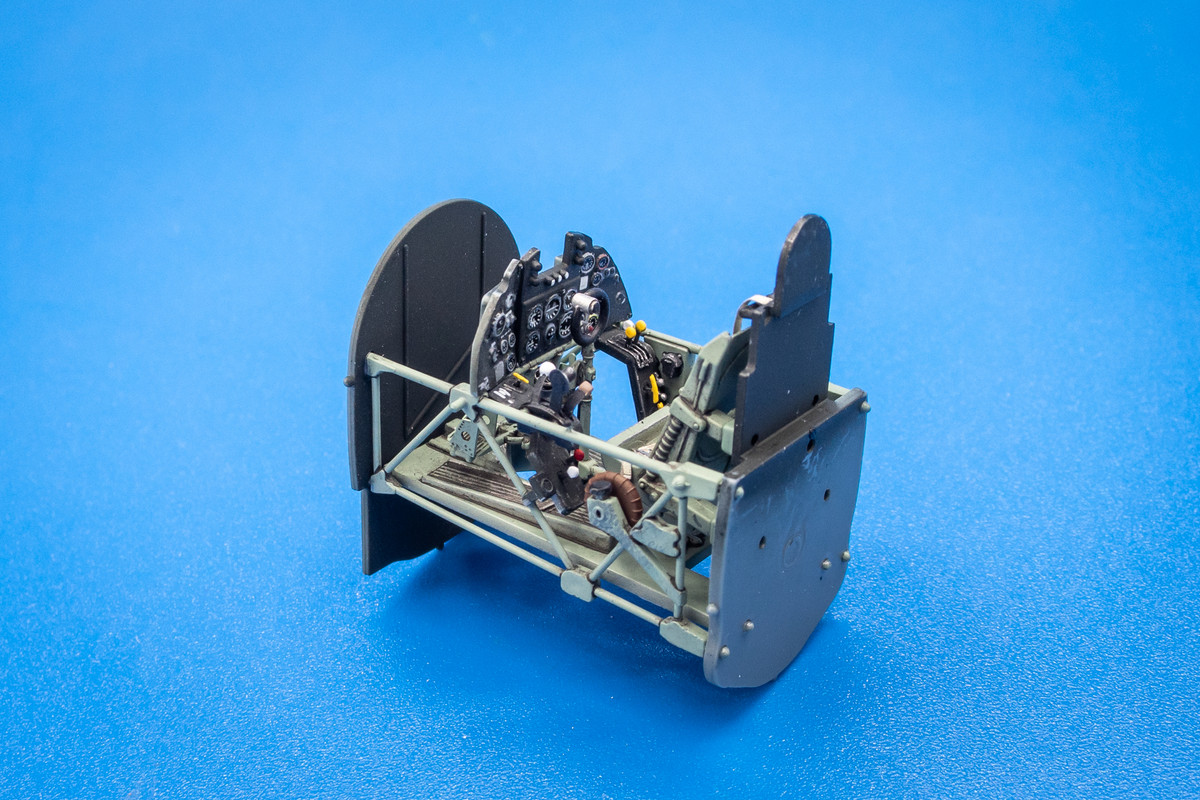
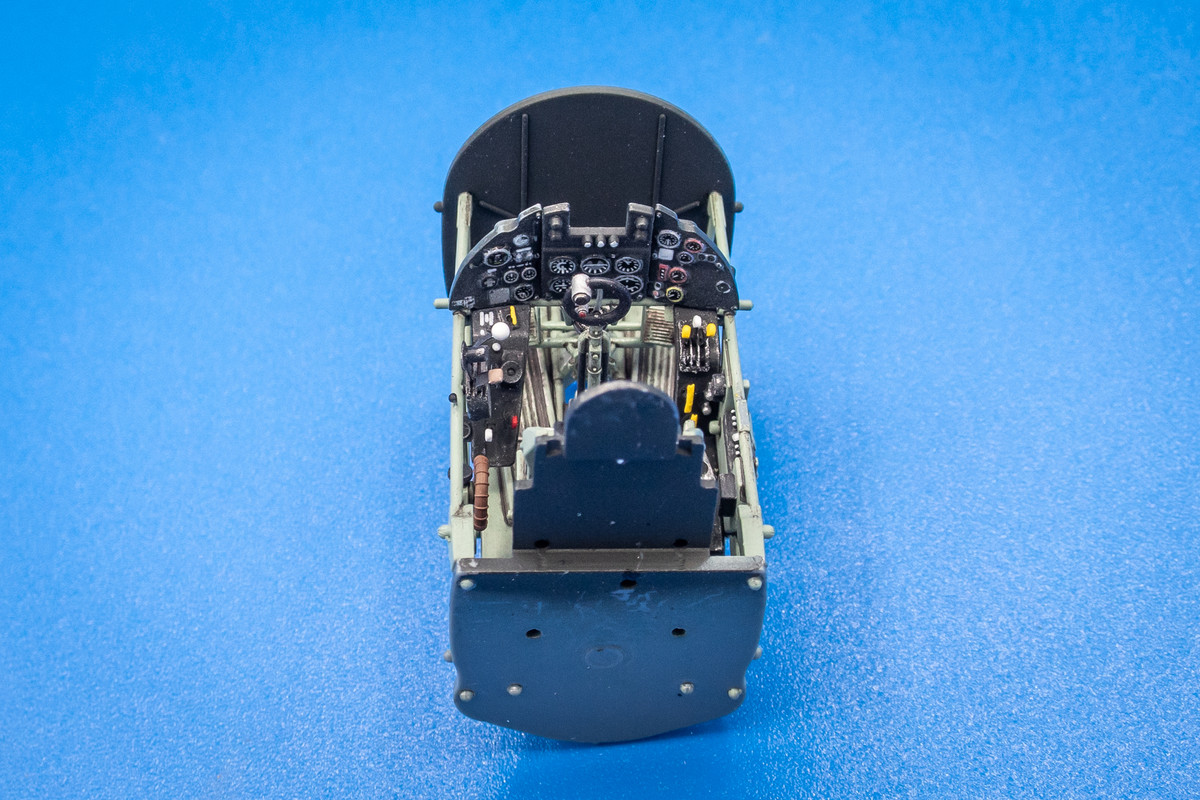
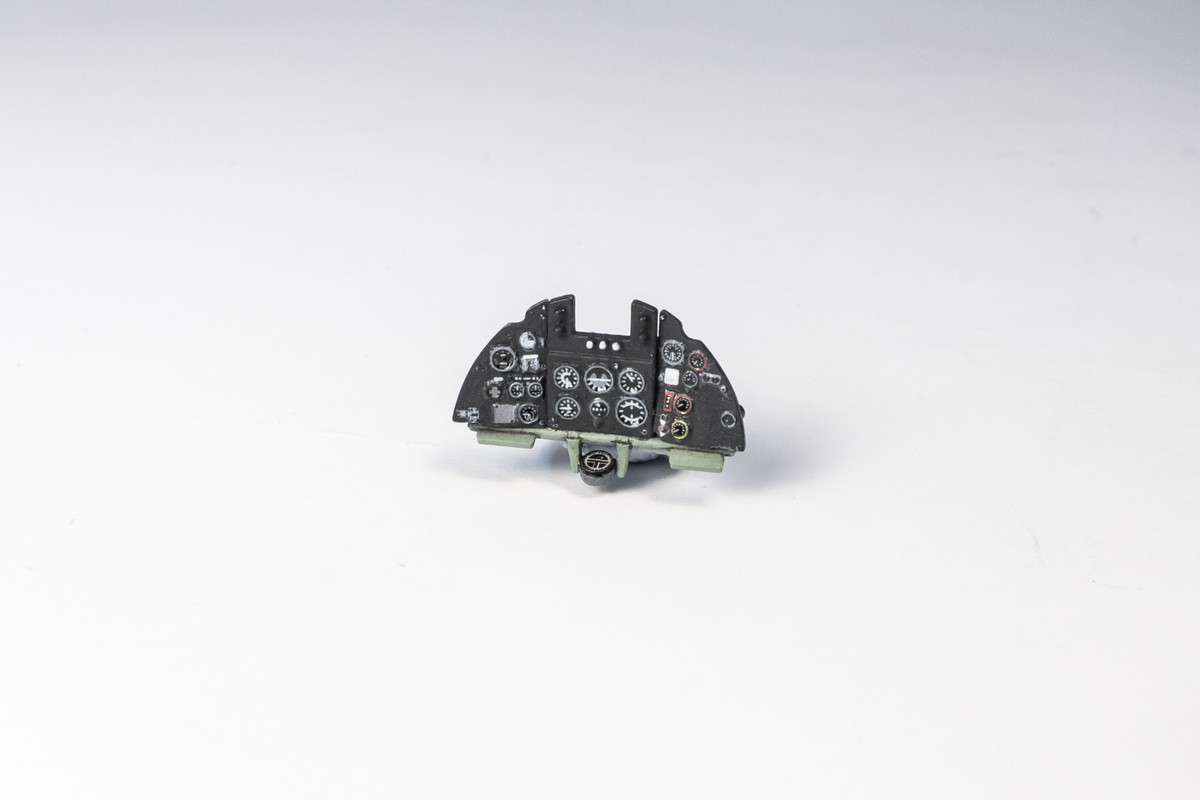
I've decided to use the decaled instrument panel instead of the photoetch. Detail is noticeably heavier than the PE but this might be a good thing once the panel gets covered by the coaming. The compass has been added, topped off by PE cover as the decal folded onto itself and became unusable.
Image

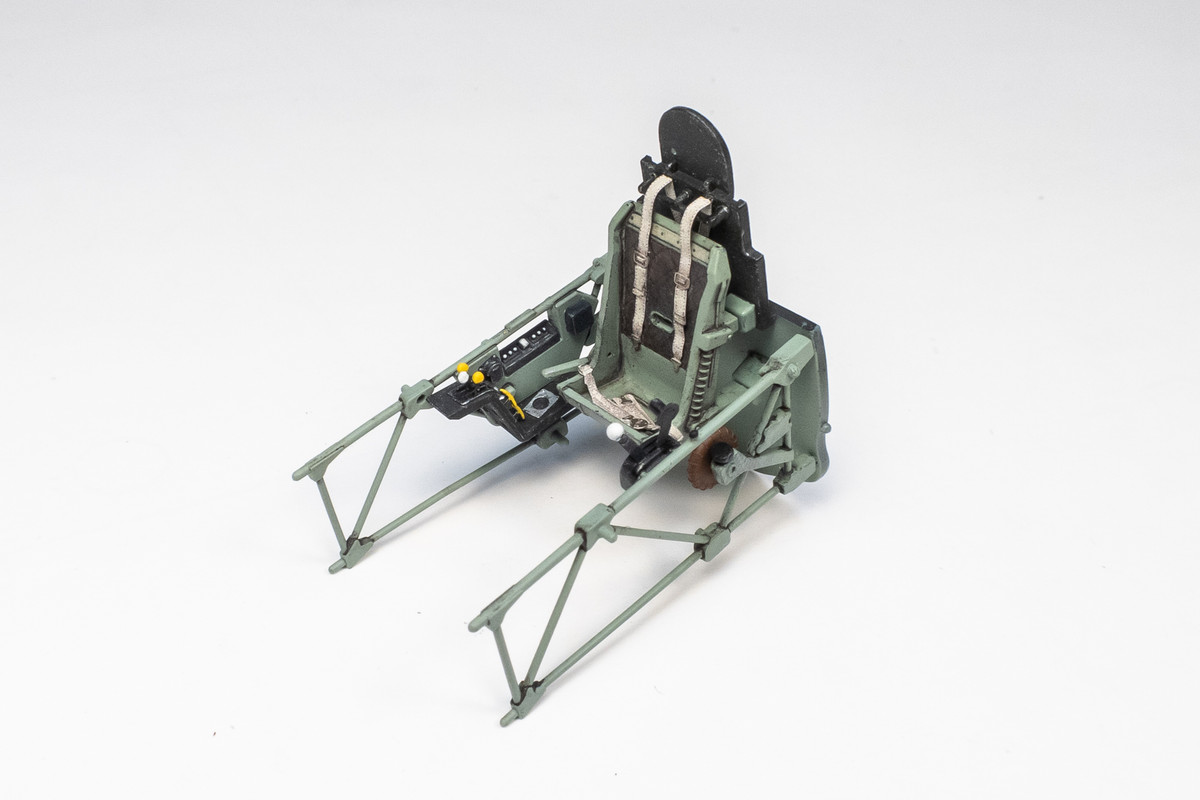
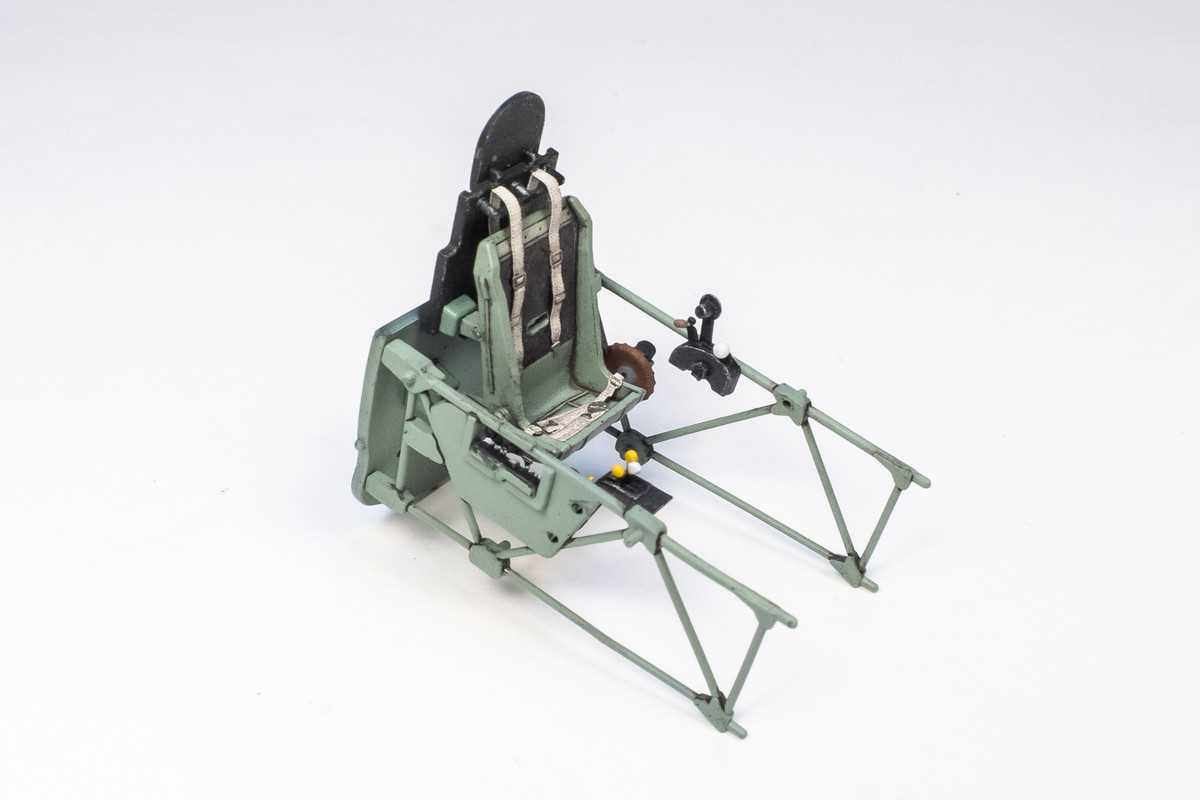
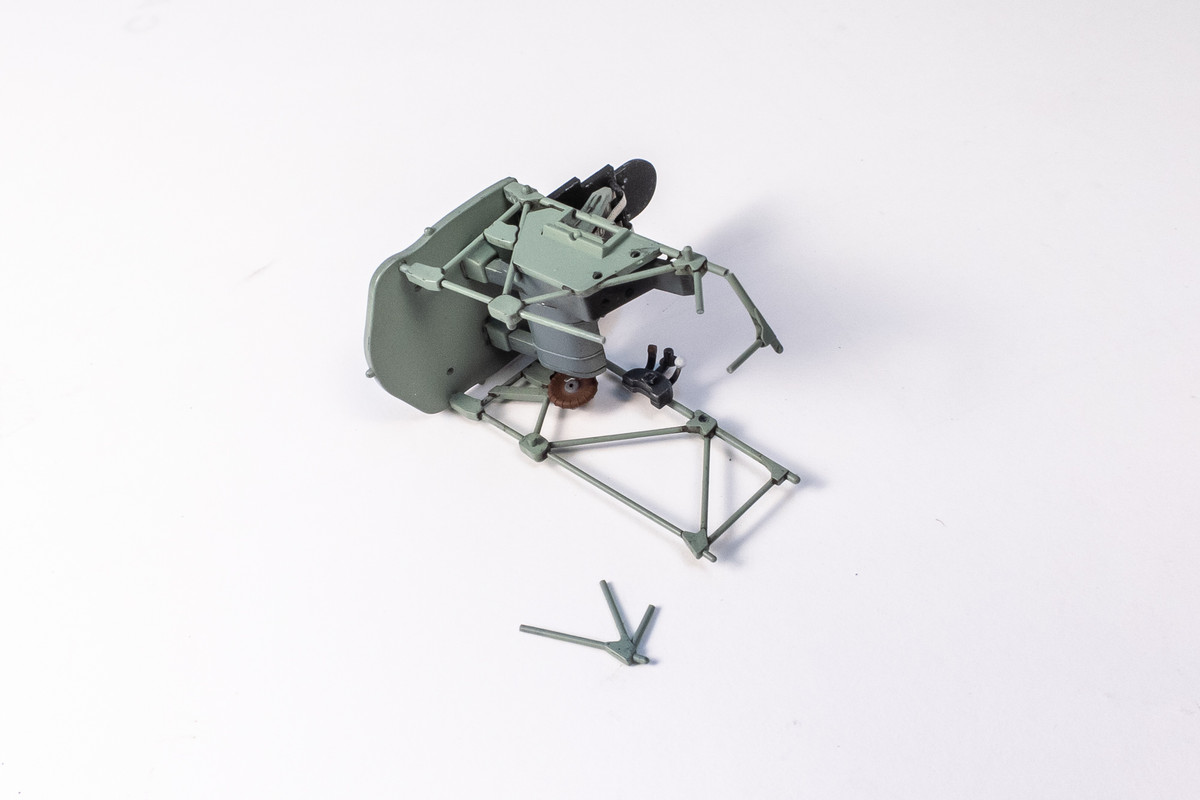
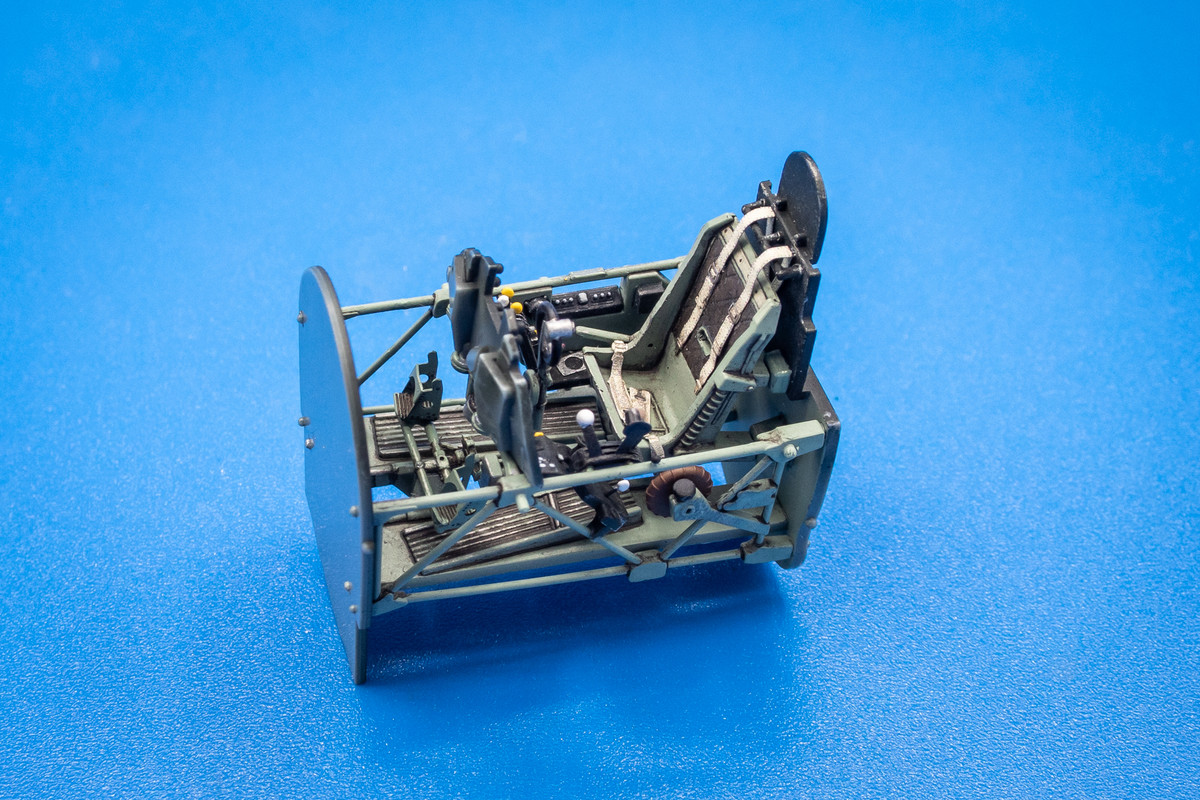
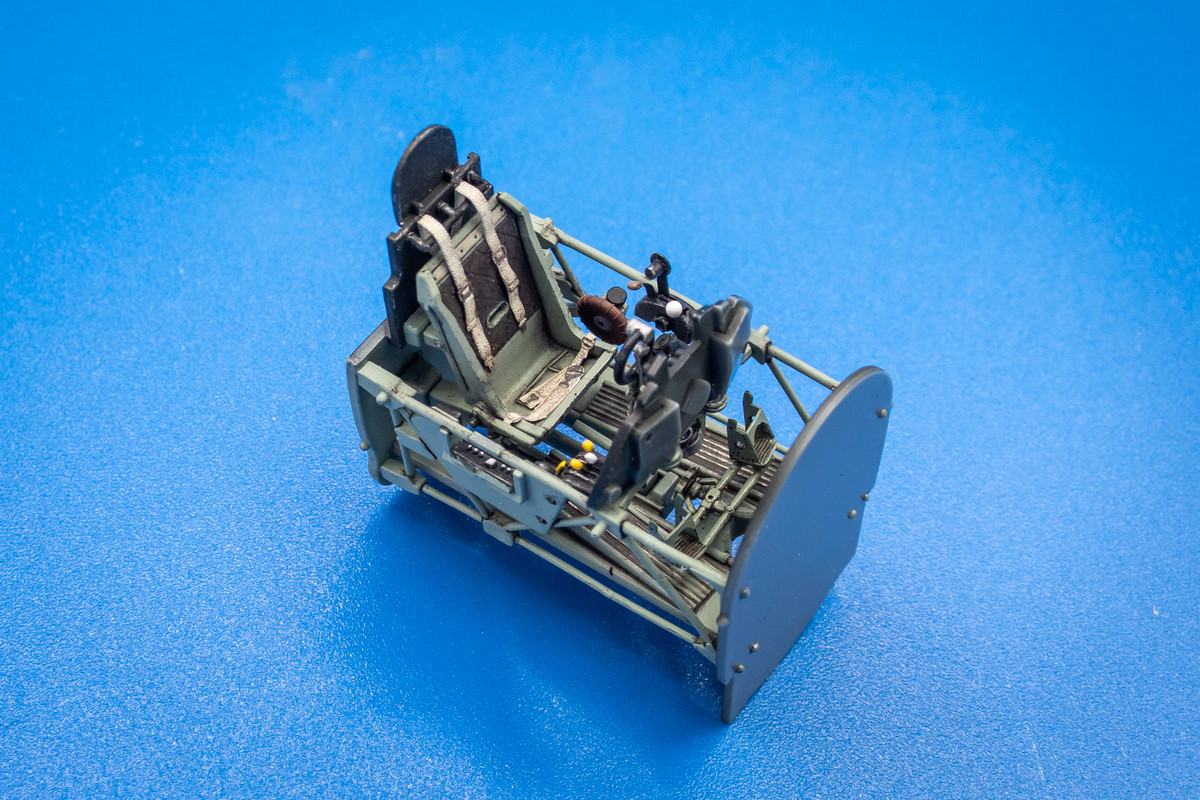
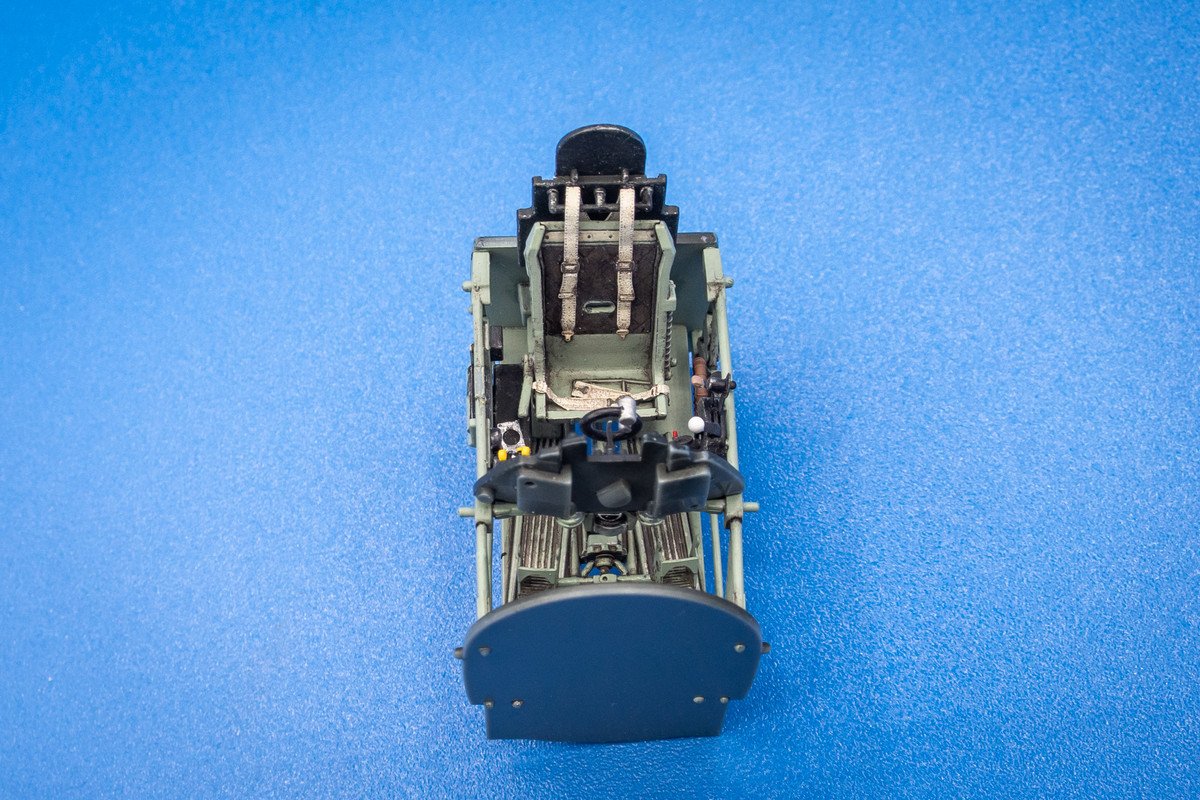
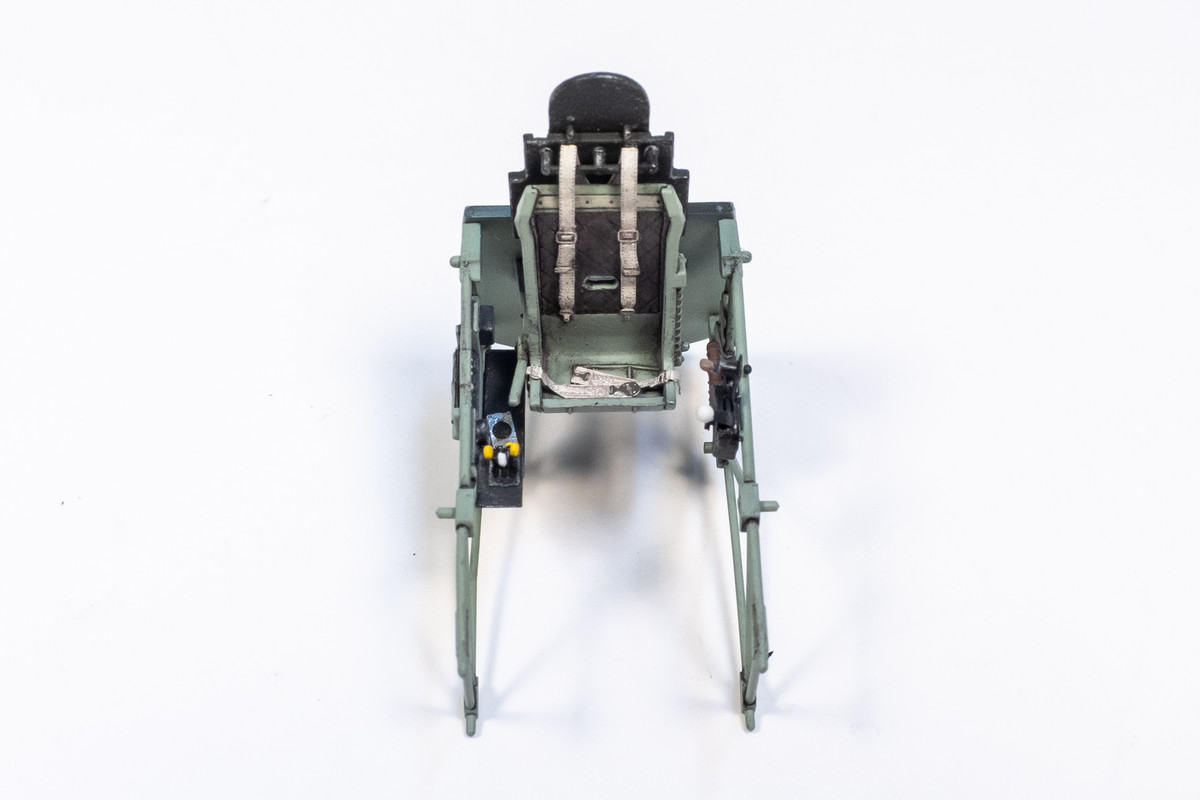
The seat has been glued onto the bulkhead and the PE harnesses have been added. I've added some random kinks and bends to get rid of that straight-as-ruler look that PE belts often have. I also dirtied them a little by adding a dark wash around the buckles. The delicate tubular sidewalls have been not been glued onto the bulkhead just yet as I'm just checking out fit.
Image
Image
Image

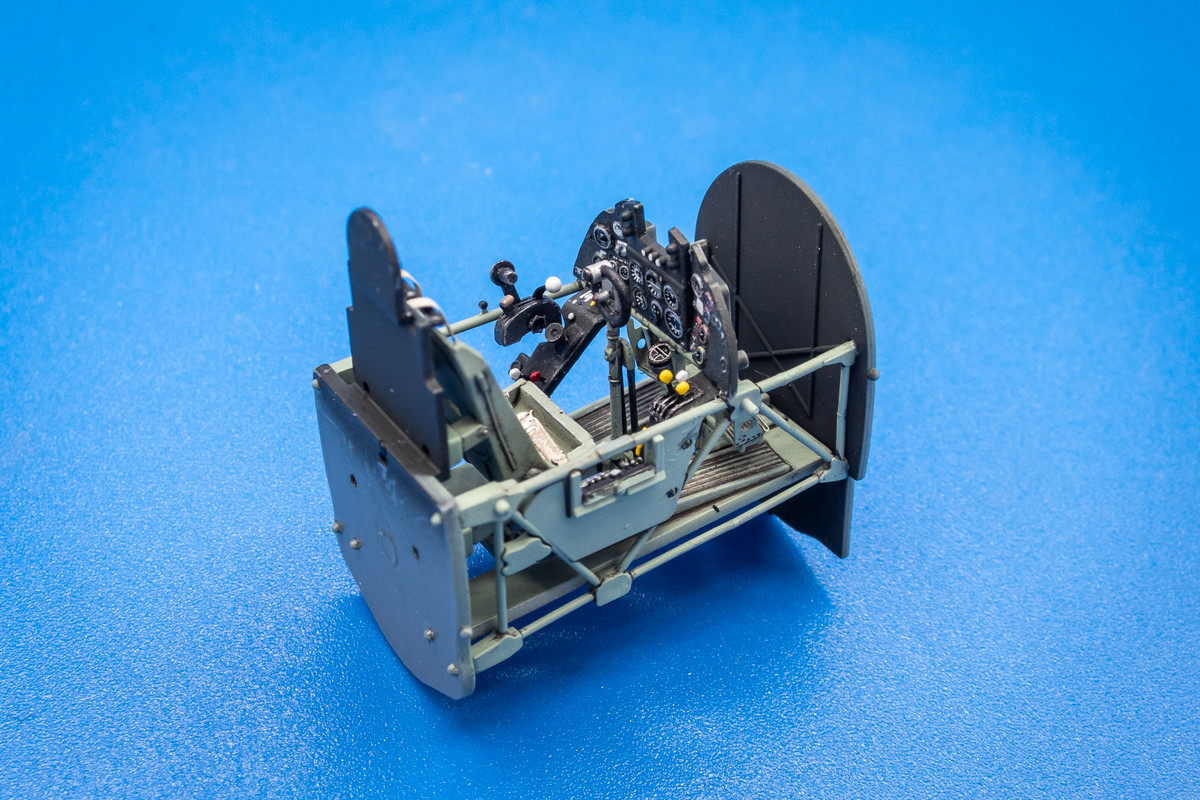
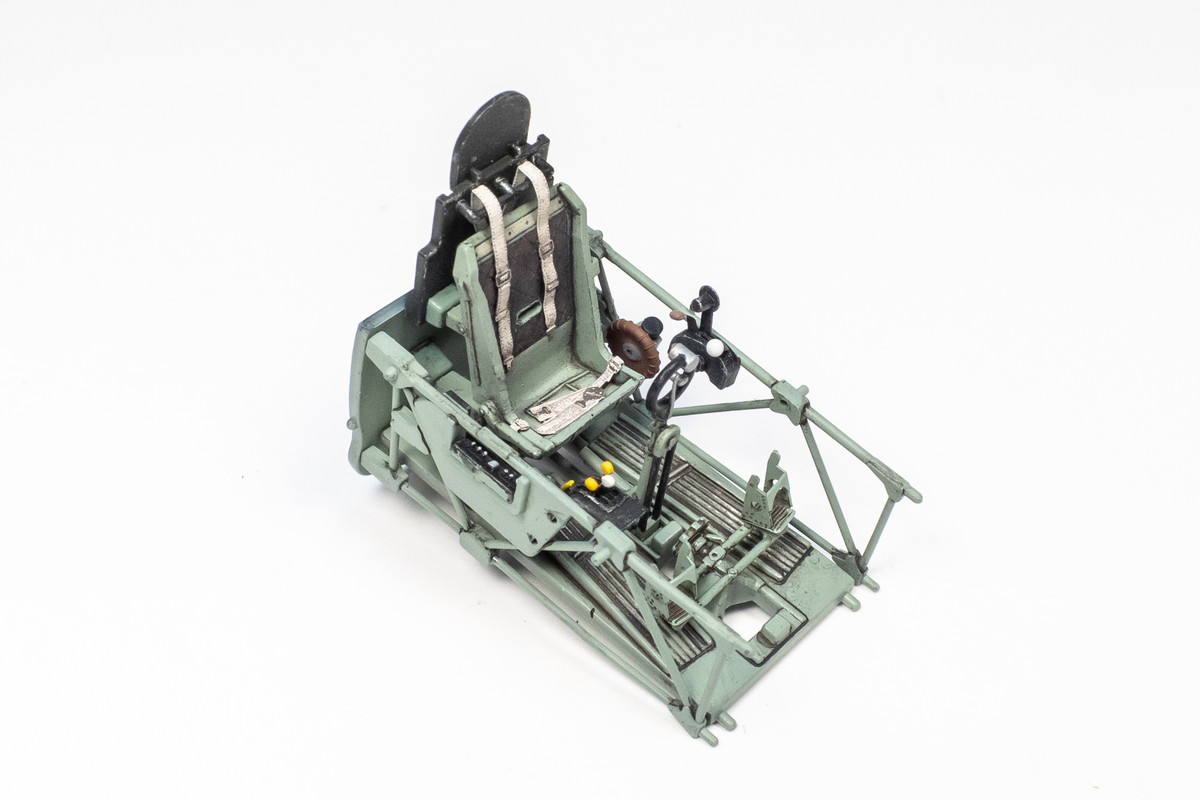
The floor board is now temporarily slide into place.
Image
Image

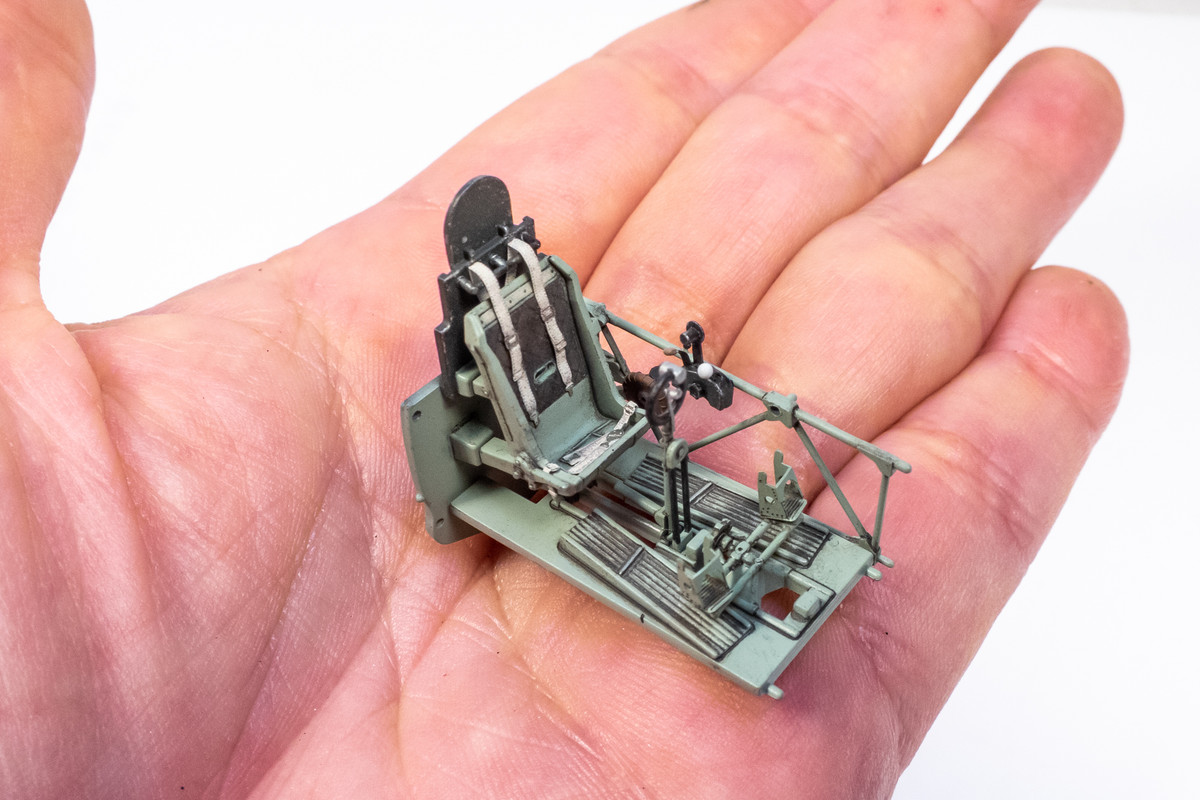
The cockpit is noticeably smaller than what I am used to working on but very good detail out of the box.
Image

Re: Eduard 1/48 Hawker Tempest II

Posted: Mon Apr 29, 2024 10:12 am
by Stikpusher
Wow! That looks really sharp so far John…

Re: Eduard 1/48 Hawker Tempest II

Posted: Mon Apr 29, 2024 12:05 pm
by Medicman71
Very nice!!

Re: Eduard 1/48 Hawker Tempest II

Posted: Mon Apr 29, 2024 12:08 pm
by keavdog
Looking great John. Nice details.

Re: Eduard 1/48 Hawker Tempest II

Posted: Mon Apr 29, 2024 4:35 pm
by BlackSheep214
Very nice work! :shoutout: :shoutout: :shoutout: :shoutout: :shoutout:

Re: Eduard 1/48 Hawker Tempest II

Posted: Mon Apr 29, 2024 6:21 pm
by jkim
Thanks guys! Last night, I went a little further and tried to get the instrument panel into place.
Image

A little too much pressure and the starboard side sidewall collapsed.
Image

I managed to get the tubular frame back together with some Tamiya Extra Thin cement. I decided to let the glue cure overnight and then reinforce the broken joints with CA glue the next day.
Image

Thankfully, the repair went well and I was able to proceed with the cockpit assembly without further hiccups.
Image
Image
Image
Image
Image
Image

Re: Eduard 1/48 Hawker Tempest II

Posted: Mon Apr 29, 2024 7:04 pm
by keavdog
Fantastic work as always John. Even in this scale!

Re: Eduard 1/48 Hawker Tempest II

Posted: Tue Apr 30, 2024 2:30 am
by tempestjohnny
Repair....I don't see no stinkin' repair. Looks great, you'd never know you had an issue

Re: Eduard 1/48 Hawker Tempest II

Posted: Tue Apr 30, 2024 4:09 am
by Stuart
Cracking work as ever John. How're you finding working in 1/48th for a change?

Re: Eduard 1/48 Hawker Tempest II

Posted: Tue Apr 30, 2024 11:30 am
by jkim
keavdog wrote: Mon Apr 29, 2024 7:04 pm Fantastic work as always John. Even in this scale!
Thank you John! I appreciate it!
tempestjohnny wrote: Tue Apr 30, 2024 2:30 am Repair....I don't see no stinkin' repair. Looks great, you'd never know you had an issue
Thanks Johnny! Because of how the part broke, I was able to align the breaks so that the parts fit back together naturally. The plastic reacted very well to spot welding with Tamiya Extra Thin and I played it safe and let it dry overnight. If you look really close in the photos, you can see the glue joints but they will not be visible once the cockpit is closed up within the fuselage as you'll see.
Stuart wrote: Tue Apr 30, 2024 4:09 am Cracking work as ever John. How're you finding working in 1/48th for a change?
Thank you Stuart! I am enjoying the change of pace, especially the speed of the build. But I prefer the larger 1/32 scale personally. Bigger is better in my (ageing) eyes.

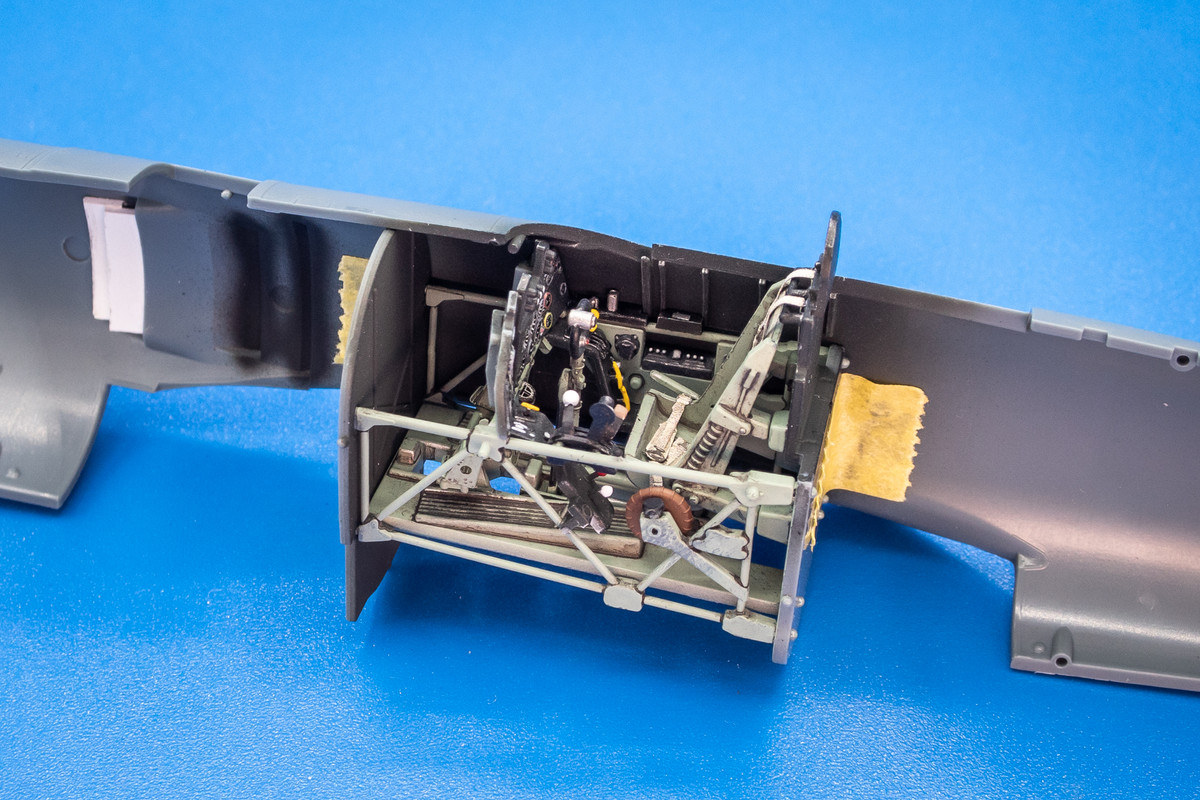
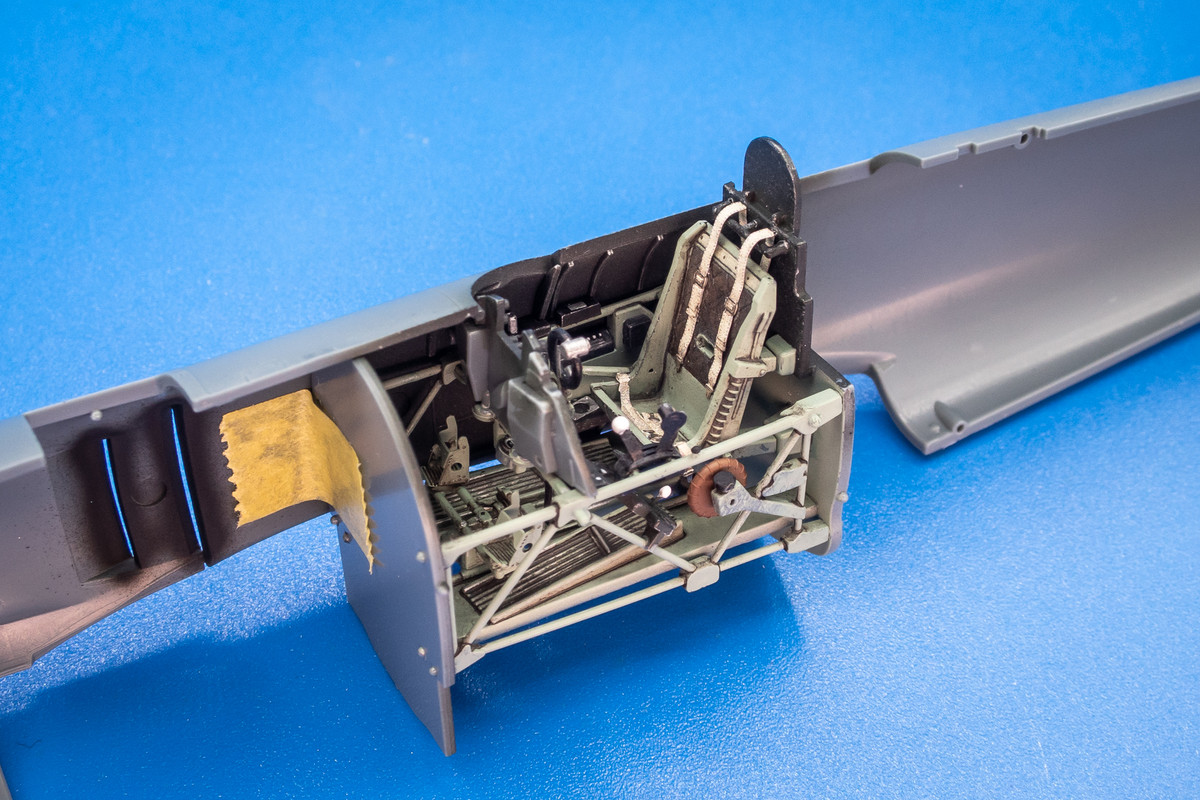
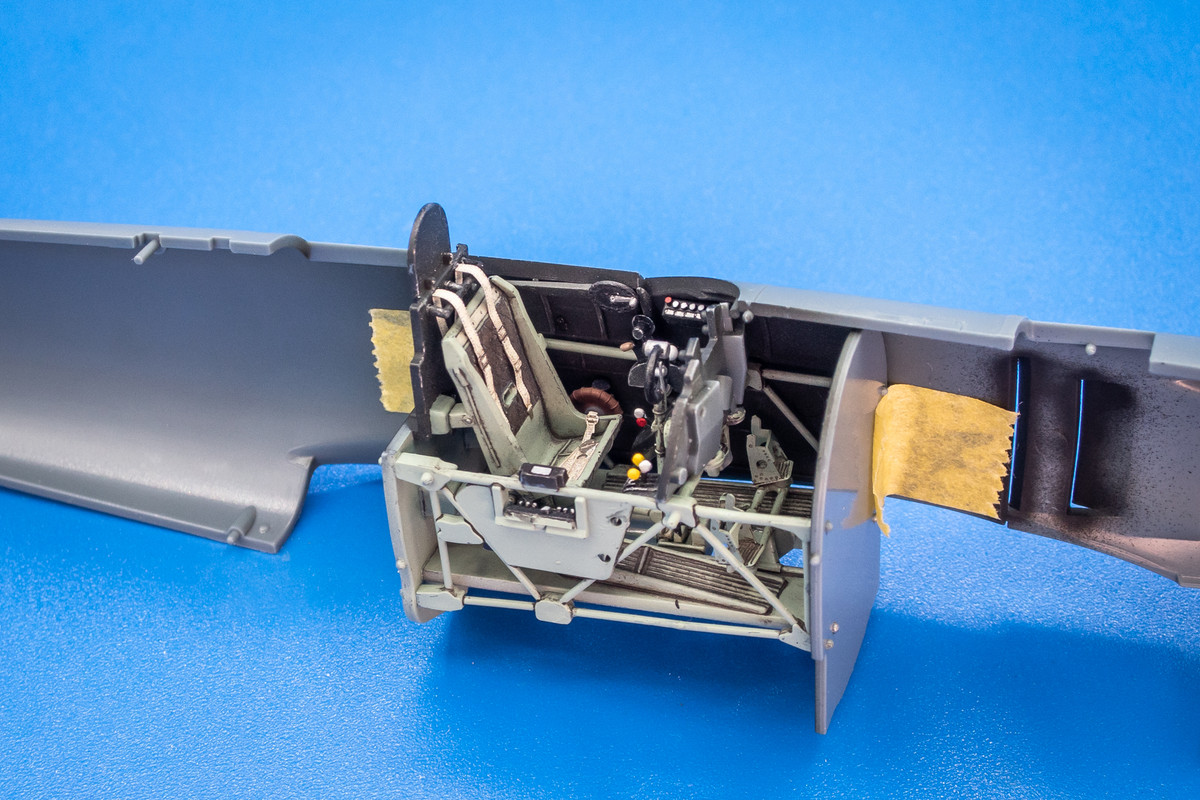
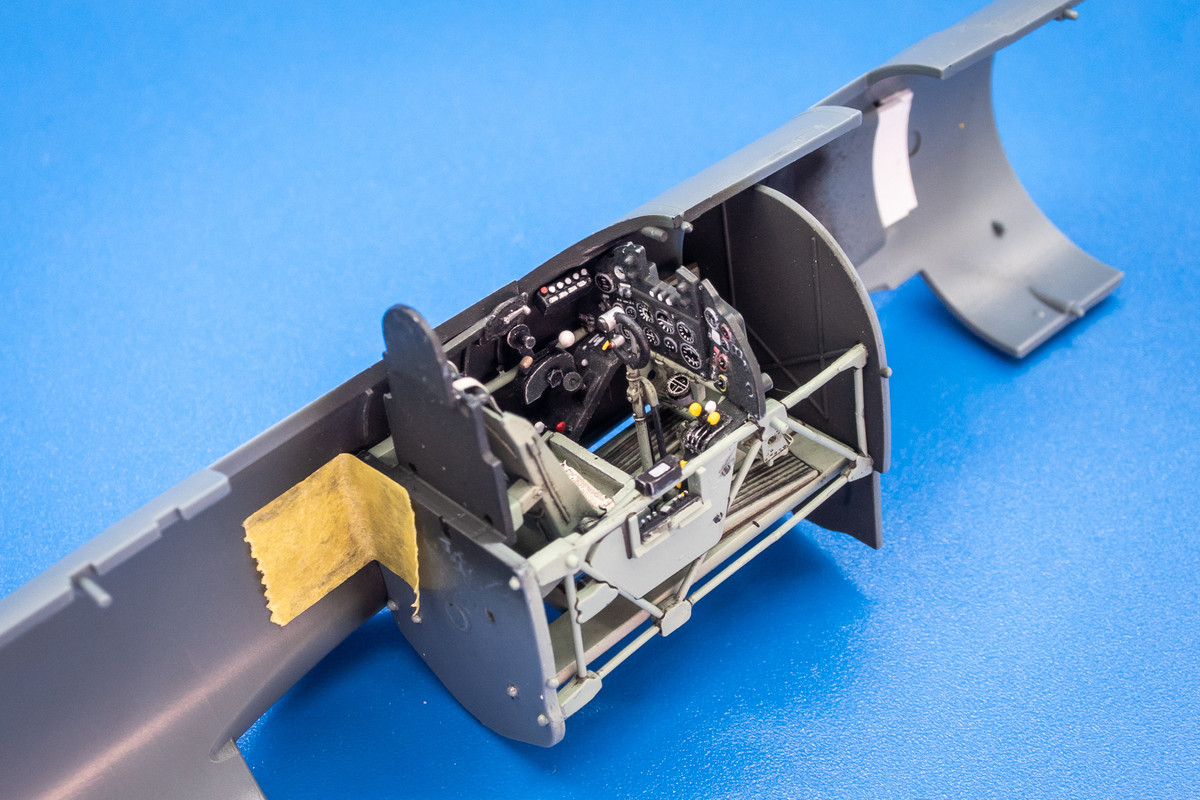
A few views of the cockpit embedded in each side of the fuselage.
Image
Image
Image
Image

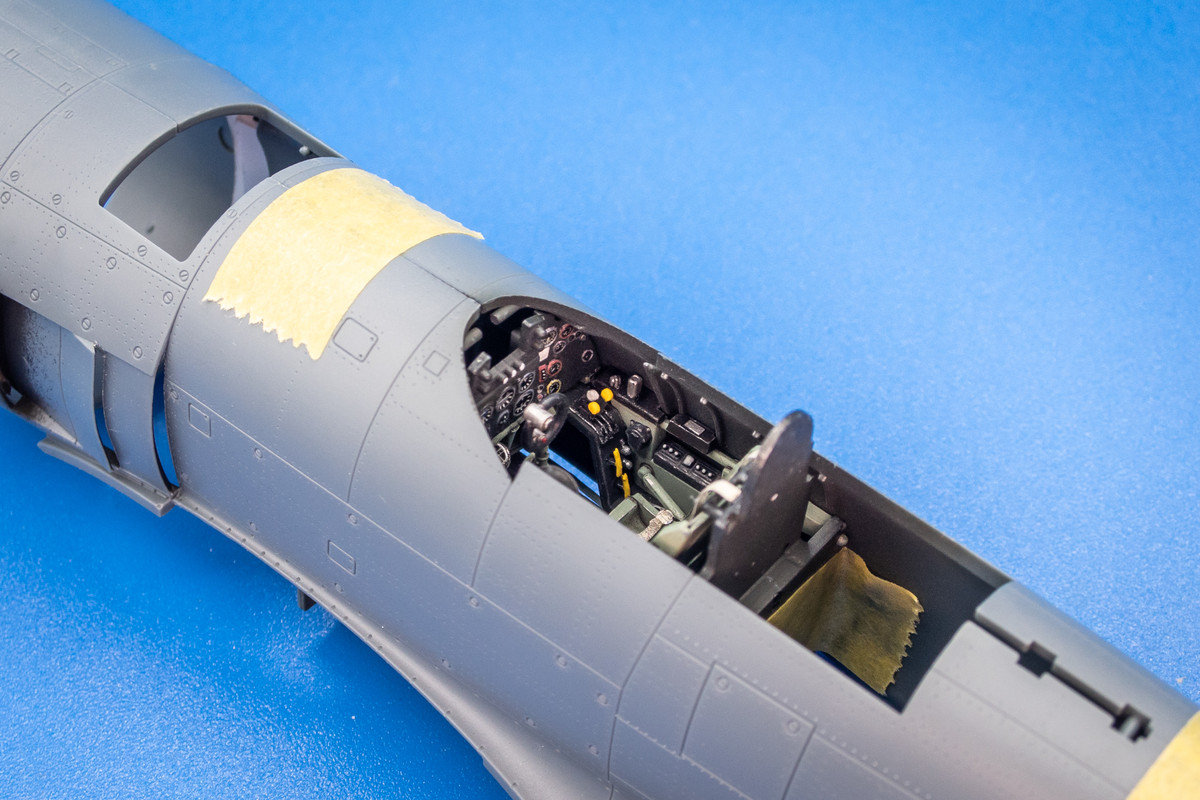
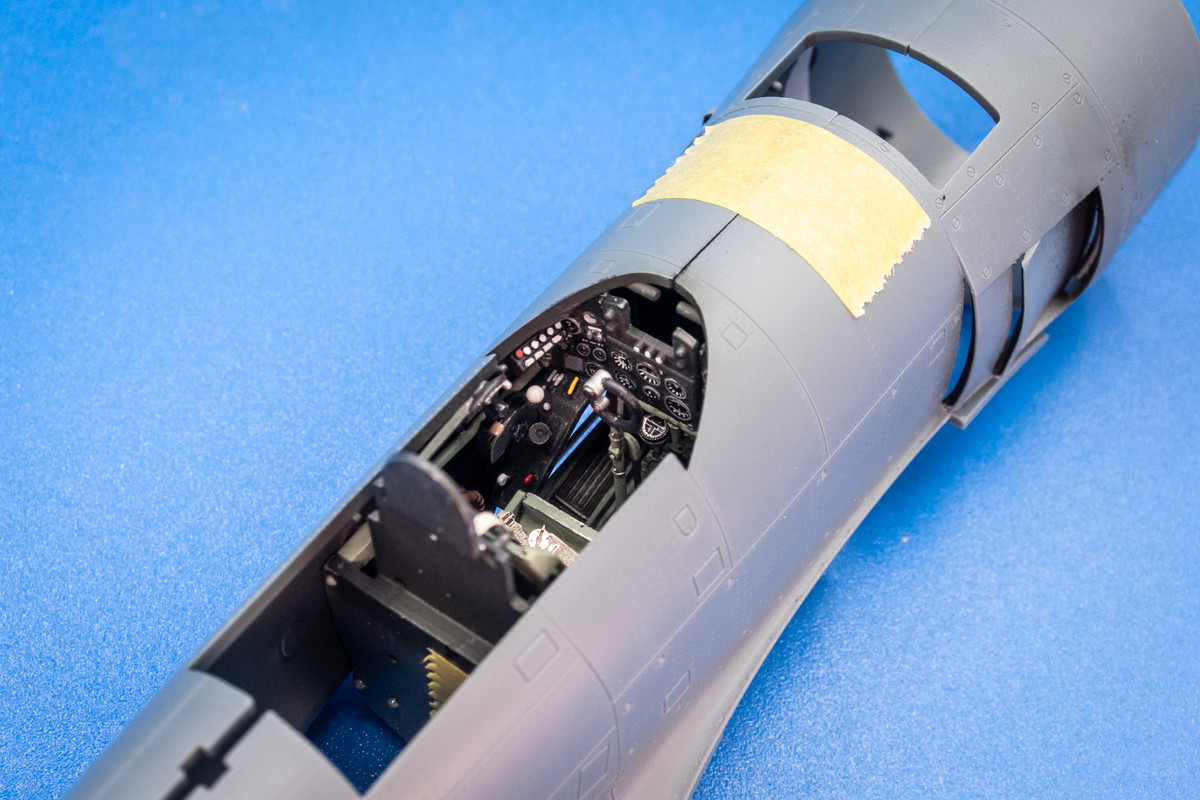
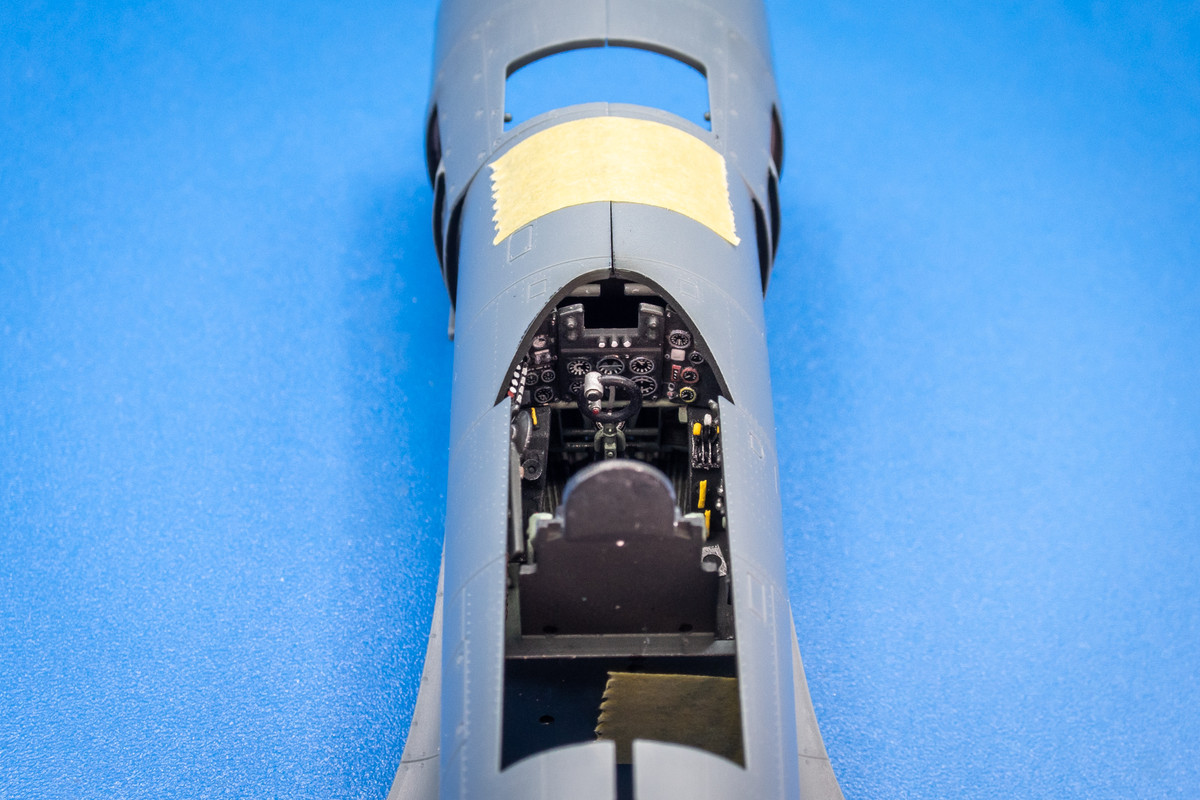
This is just a test fit but you can see how the cockpit starts to disappear once the fuselage halves go together. The view will be further restricted by the top deck piece which includes the coaming over the instrument panel and the turtle deck behind the pilot seat.
Image
Image
Image

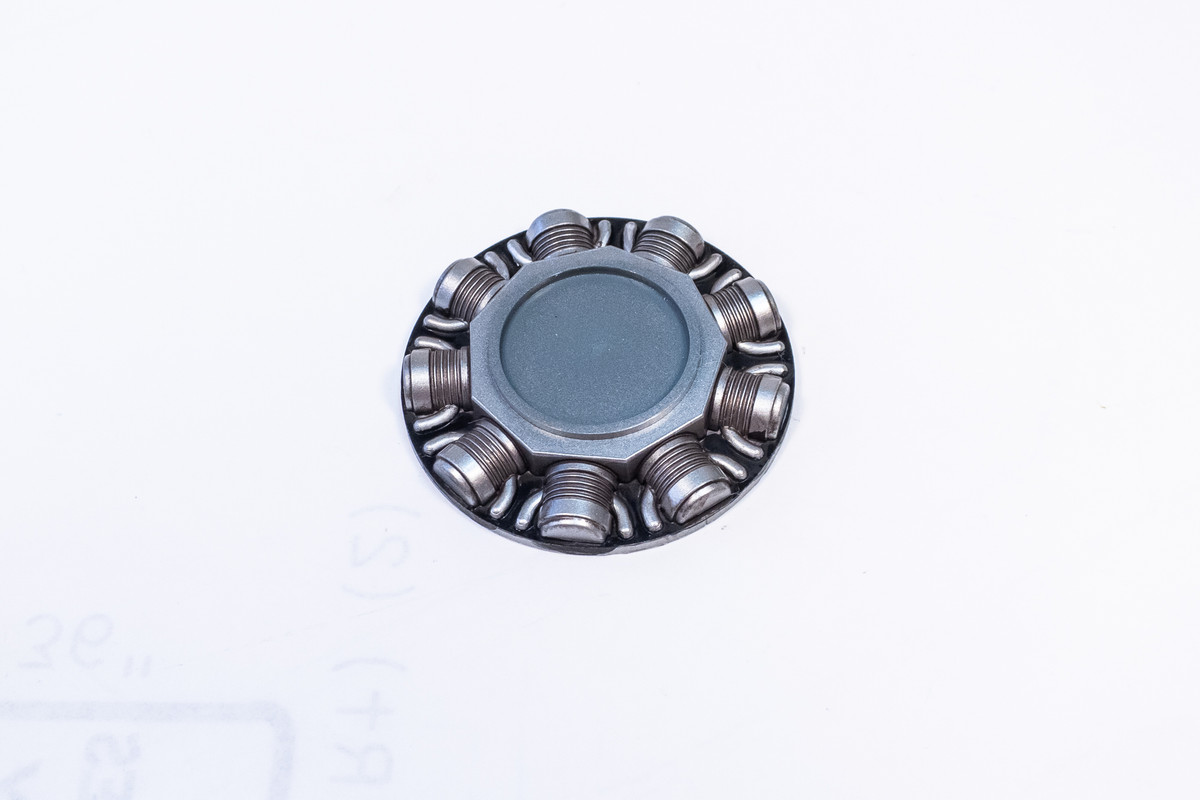
Before the fuselage halves are glued together, the radial engine facsimile is painted. Keeping it simple since hardly anything will be seen through the front cowling.
Image