
Hobbyboss 1/32 Mk. 5b
-
BlackSheep214

- Elite Member
- Posts: 13596
- Joined: Sun Apr 06, 2014 8:47 pm
Re: Hobbyboss 1/32 Mk. 5b
Wait… 1/35 scale??? Now those are gonna be big birds next to some of the 1/35 scale armor kits.
“Who controls the skies, controls the fate of this Earth”
Author unknown- 352nd Fighter Group, Blue-Nosed Bastards of Bodney
“Send one plane it’s a sortie; send two planes it’s a flight; send four planes it’s a test of airpower. - Richard Kohn
Author unknown- 352nd Fighter Group, Blue-Nosed Bastards of Bodney
“Send one plane it’s a sortie; send two planes it’s a flight; send four planes it’s a test of airpower. - Richard Kohn
-
Stikpusher

- Moderator
- Posts: 21383
- Joined: Sat Apr 05, 2014 8:37 pm
- Location: Ceti Alpha 5
Re: Hobbyboss 1/32 Mk. 5b
Yes, but slightly smaller than 1/32. And you can easily do dioramas or vignettes with 1/35 vehicles, figures, and/or accessories.BlackSheep214 wrote: ↑Fri Dec 13, 2024 12:41 pm Wait… 1/35 scale??? Now those are gonna be big birds next to some of the 1/35 scale armor kits.
"Surely I have made my meaning plain? I intend to avenge myself upon you, Admiral. I have deprived your ship of power, and when I swing 'round, I intend to deprive you of your life."
FLSM
FLSM

Re: Hobbyboss 1/32 Mk. 5b
The hobby industry is attacking on two fronts: 1/35 aircraft and 1/48 vehicles. Who will win 
Thanks,
John
John
-
Stikpusher
- Moderator
- Posts: 21383
- Joined: Sat Apr 05, 2014 8:37 pm
- Location: Ceti Alpha 5
Re: Hobbyboss 1/32 Mk. 5b
Well 1/48 requires less display space and is more affordable… but there are those with more time space and money…
"Surely I have made my meaning plain? I intend to avenge myself upon you, Admiral. I have deprived your ship of power, and when I swing 'round, I intend to deprive you of your life."
FLSM
FLSM
-
BlackSheep214
- Elite Member
- Posts: 13596
- Joined: Sun Apr 06, 2014 8:47 pm
Re: Hobbyboss 1/32 Mk. 5b
True. 1/32 scale biplanes are equal in size as 1/48 scale aircraft considering they are small planes of its time. I tried to build 1/72 scale biplanes but man…. they’re tiny. Tried rigging them but ended trashing them. Too much stress. LOL!Stikpusher wrote: ↑Sat Dec 14, 2024 11:57 amWell 1/48 requires less display space and is more affordable… but there are those with more time space and money…
1/48 scale biplanes can be a bit manageable to build but rigging them are a challenge. Heck…. any rigging regardless the scale are challenging.
“Who controls the skies, controls the fate of this Earth”
Author unknown- 352nd Fighter Group, Blue-Nosed Bastards of Bodney
“Send one plane it’s a sortie; send two planes it’s a flight; send four planes it’s a test of airpower. - Richard Kohn
Author unknown- 352nd Fighter Group, Blue-Nosed Bastards of Bodney
“Send one plane it’s a sortie; send two planes it’s a flight; send four planes it’s a test of airpower. - Richard Kohn
-
jeaton01

- Elite Member
- Posts: 2374
- Joined: Thu Apr 23, 2020 9:20 am
- Location: Northern California
- Contact:
Re: Hobbyboss 1/32 Mk. 5b
More work on the Spitfire, still waiting for the HGW belts which now are supposed to arrive tomorrow. Yes, it would be fun to display the engine but there's a Tamiya kit for that. I did paint it semigloss black and will add as much extra kit parts as will fit with the cowls on. Just for fun. Hobbyboss would have you paint the engine steel but I don't think I have ever seen a Merlin that color.
The main flap fit wasn't the best, probably because the kit was designed for them to be down. Some material was taken off the front of the flaps
so they would fair with the wing, preserving the surface detail on the trailing edge of the flap. The inner flaps needed a little adjustment also.
The radiator and the oil cooler parts fit well and included details like photo etch faces for the oil cooler inside the duct and braces, gun
heating ducts, and fuel vents in the radiators, along with plastic faces for the radiator.
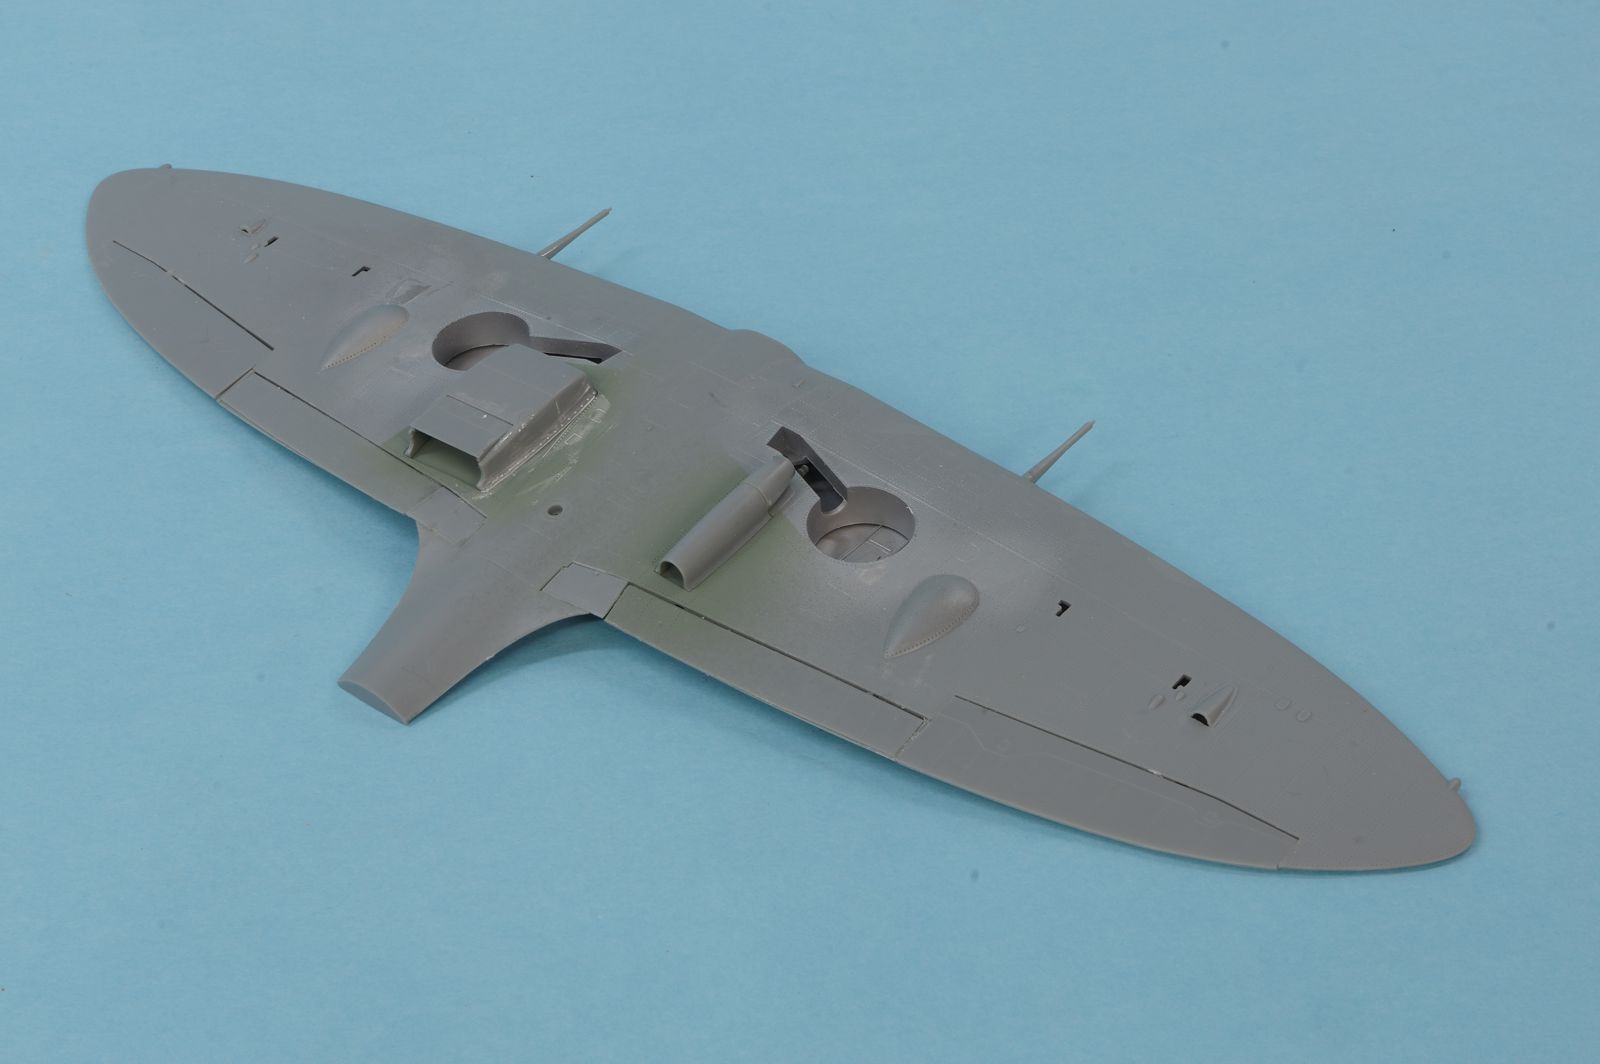
The aileron fit was nice. It's always fun to slap wings together, it all of a sudden feels like you are making good progress. I had to trim some
off of the aft top of the outboard guns so they would not interfere with the top of the wing and the clear gun covers there.
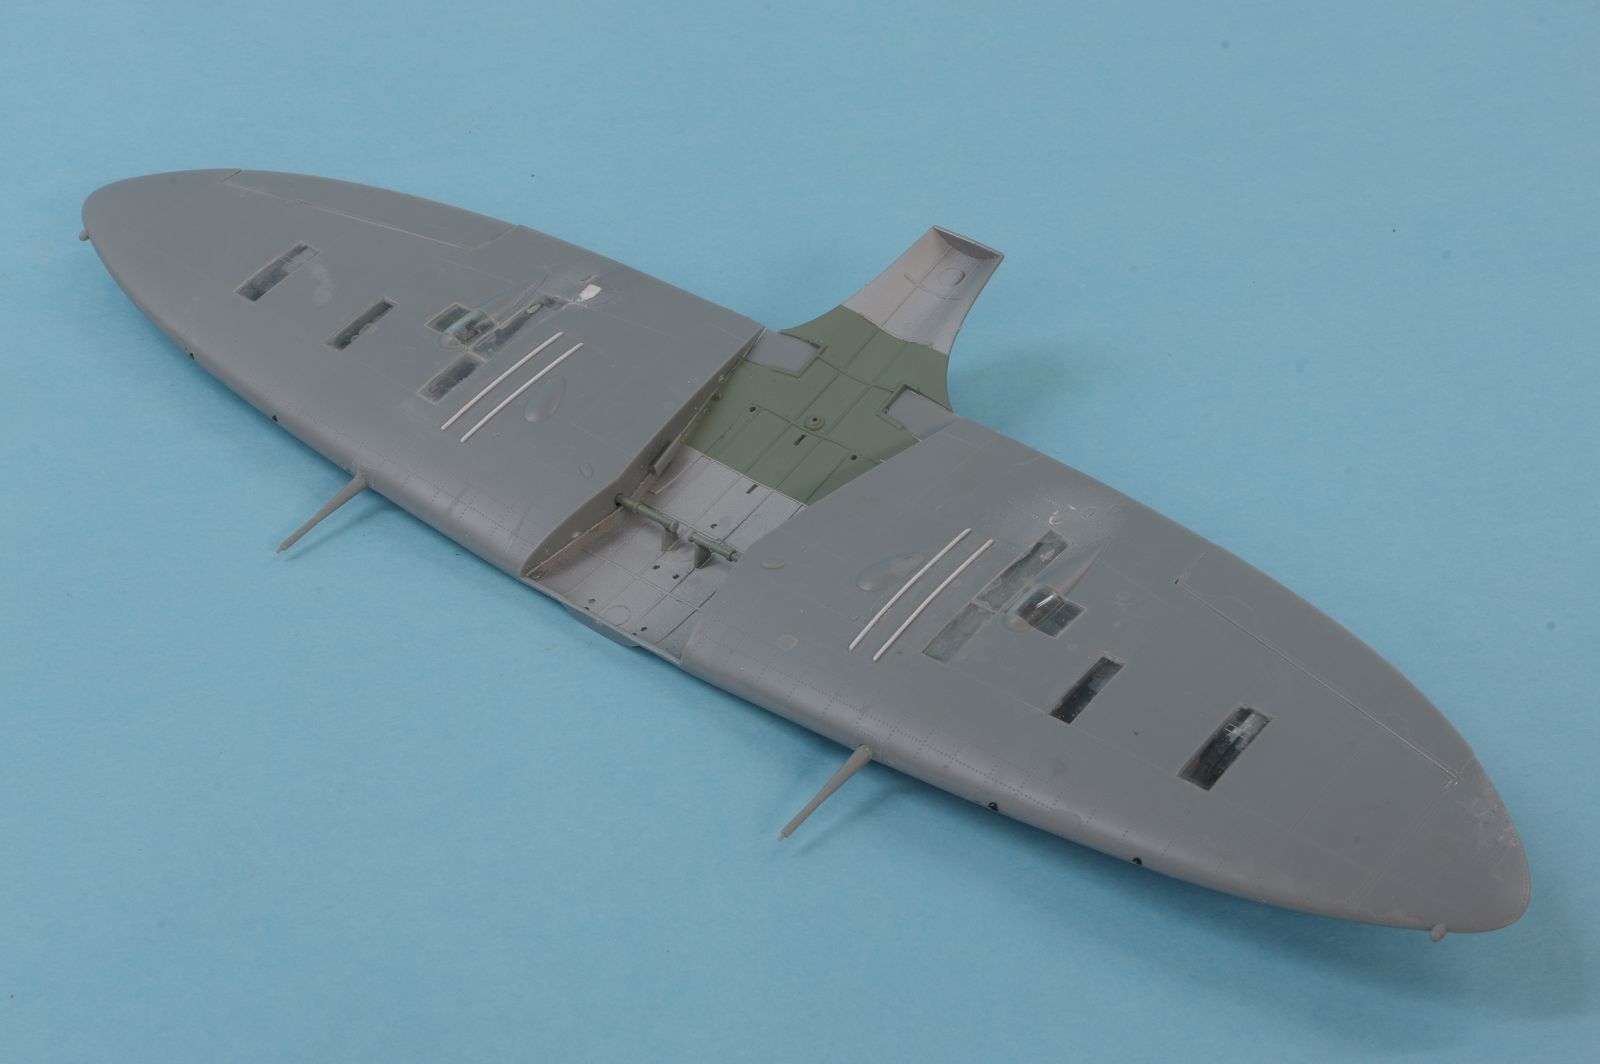
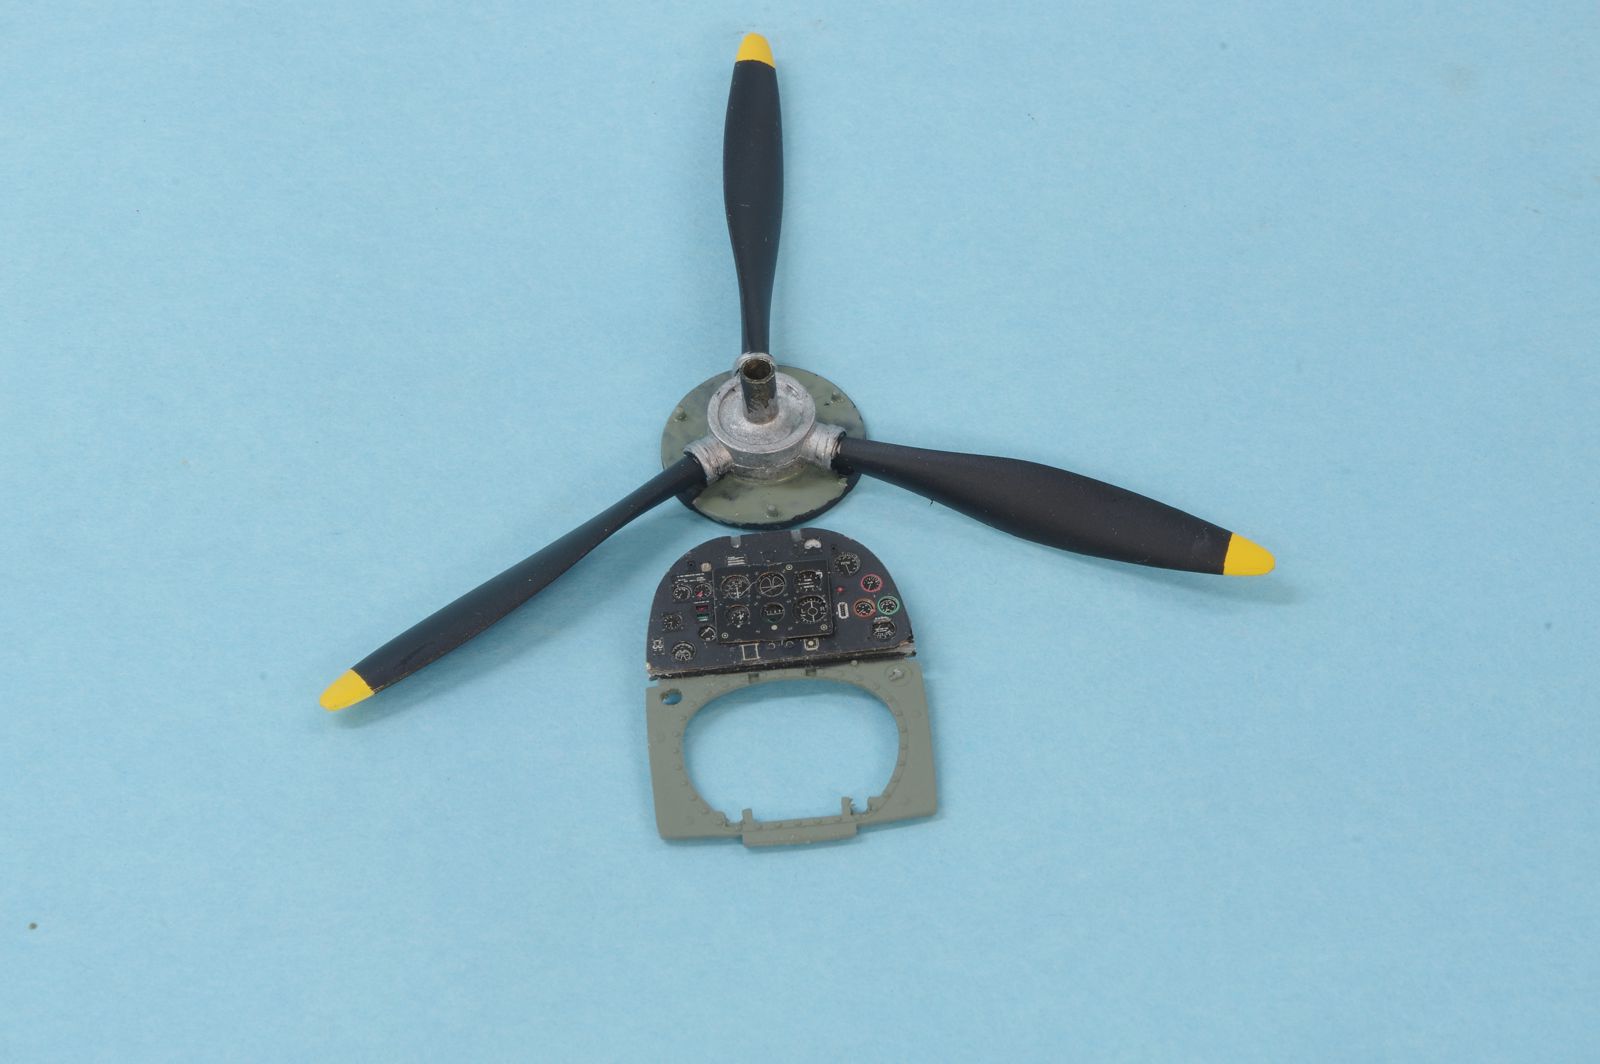
A few minutes work with a file and some superglue resulted in a panel I surely could never duplicate myself, and a big improvement
over the kit parts. If you turn it the right way in the light you get a reflection from the instrument glass. Thanks, Yahu!
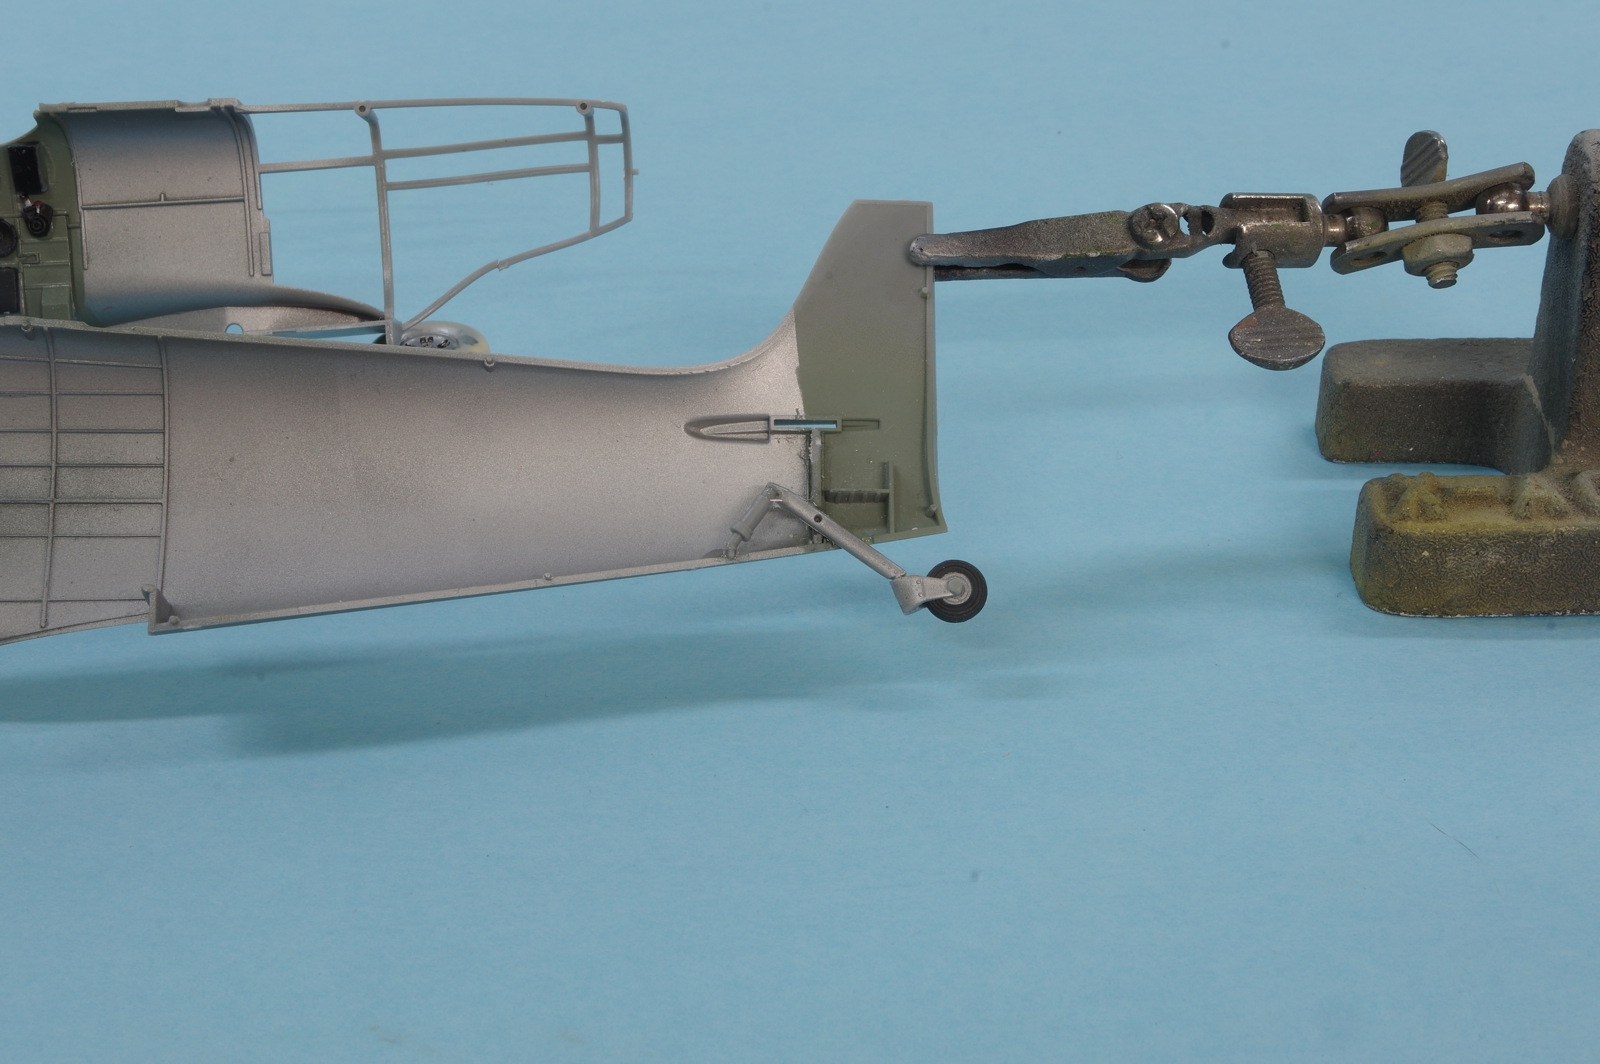
I wish they had worked harder to design a durable tail wheel rather than add detail no one will ever see. It was reinforced with CA.
I was really happy with the neat job I did painting the head cushion on the armor plate behind the seat, and then a closer look at the photos of the restored Spitfire
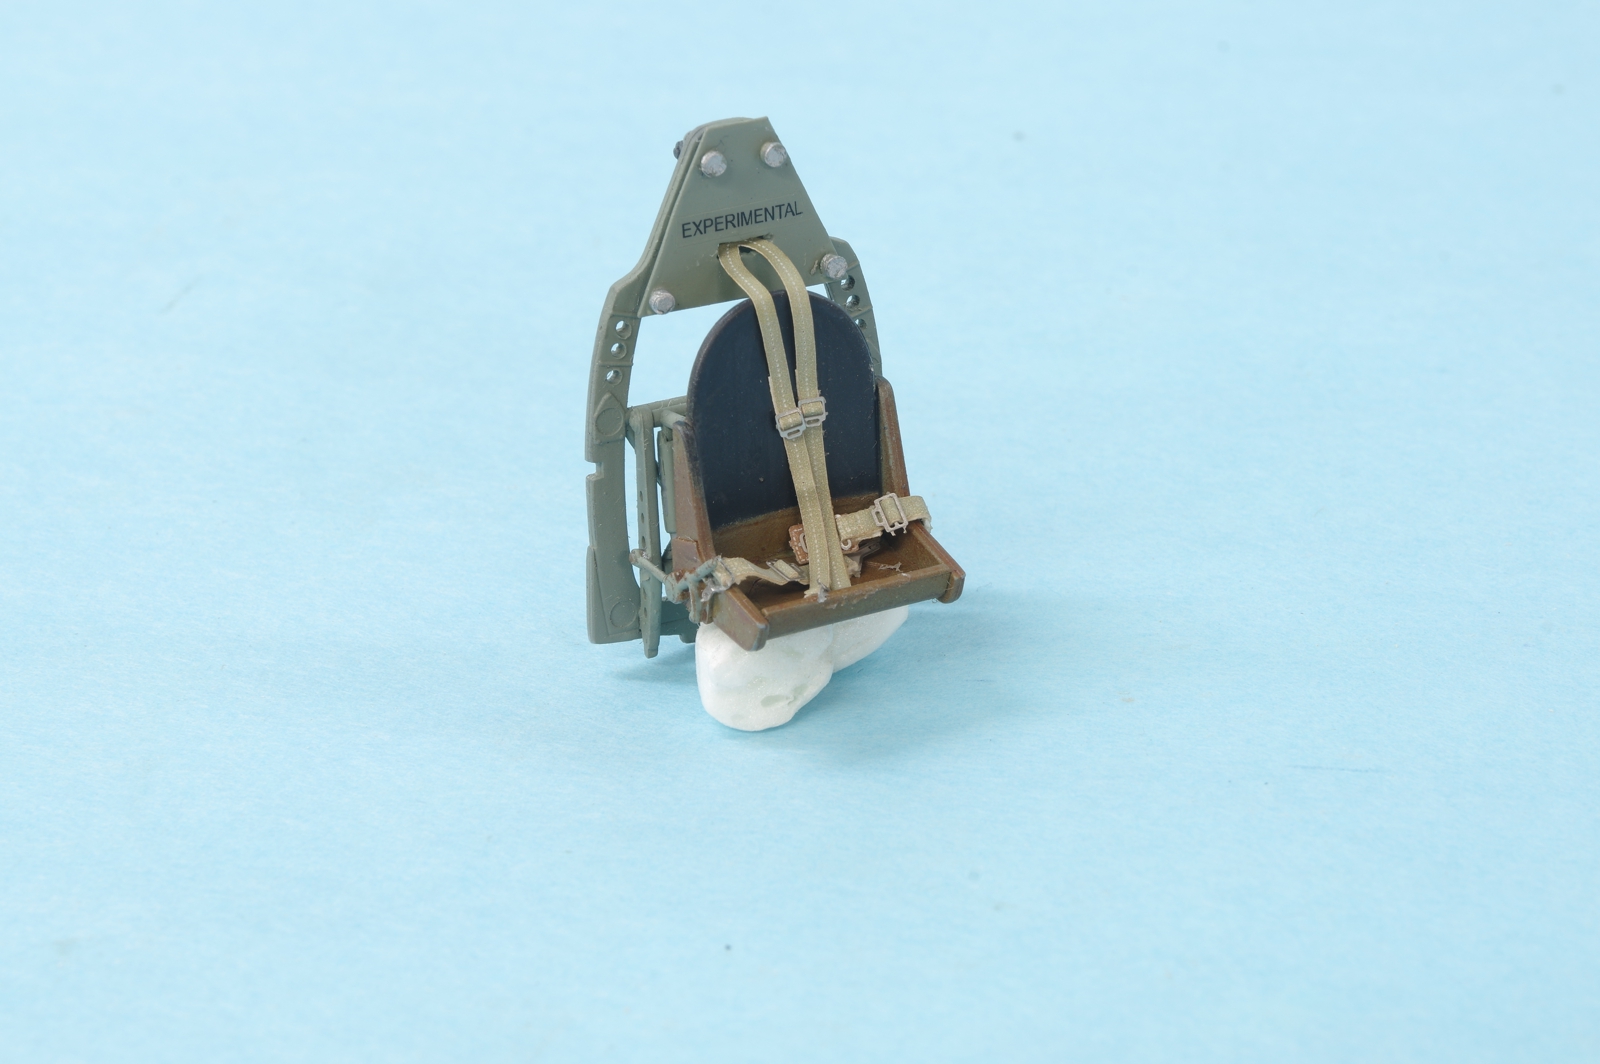
I am modeling had no such cushion. The kit armor plate was removed and a new armor plate was made from .015 styrene sheet. Knobs were made, painted aluminum.
A matte coat was sprayed on the cockpit sides to allow some shading later. A decal will have to be made for the armor plate saying experimental.
Many warbirds are licensed in that category. Another change I made was to cut off the the gear selector handle and relocate it to the down position.
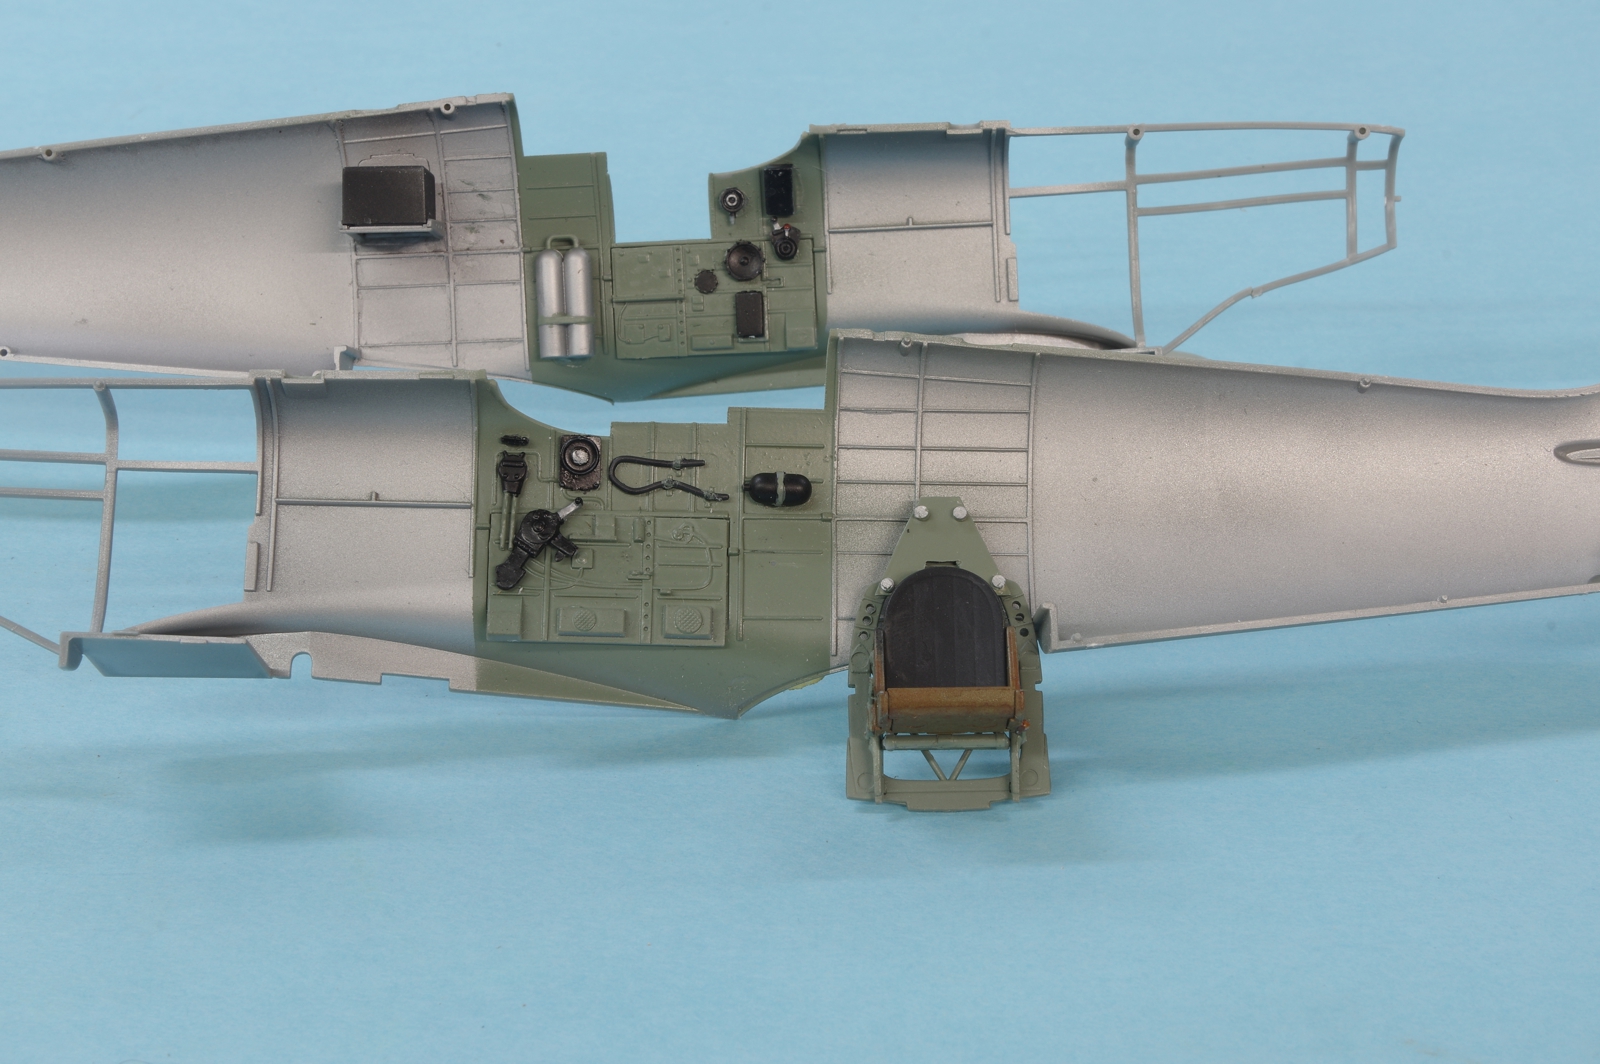
The main flap fit wasn't the best, probably because the kit was designed for them to be down. Some material was taken off the front of the flaps
so they would fair with the wing, preserving the surface detail on the trailing edge of the flap. The inner flaps needed a little adjustment also.
The radiator and the oil cooler parts fit well and included details like photo etch faces for the oil cooler inside the duct and braces, gun
heating ducts, and fuel vents in the radiators, along with plastic faces for the radiator.
The aileron fit was nice. It's always fun to slap wings together, it all of a sudden feels like you are making good progress. I had to trim some
off of the aft top of the outboard guns so they would not interfere with the top of the wing and the clear gun covers there.
A few minutes work with a file and some superglue resulted in a panel I surely could never duplicate myself, and a big improvement
over the kit parts. If you turn it the right way in the light you get a reflection from the instrument glass. Thanks, Yahu!
I wish they had worked harder to design a durable tail wheel rather than add detail no one will ever see. It was reinforced with CA.
I was really happy with the neat job I did painting the head cushion on the armor plate behind the seat, and then a closer look at the photos of the restored Spitfire
I am modeling had no such cushion. The kit armor plate was removed and a new armor plate was made from .015 styrene sheet. Knobs were made, painted aluminum.
A matte coat was sprayed on the cockpit sides to allow some shading later. A decal will have to be made for the armor plate saying experimental.
Many warbirds are licensed in that category. Another change I made was to cut off the the gear selector handle and relocate it to the down position.
-
BlackSheep214
- Elite Member
- Posts: 13596
- Joined: Sun Apr 06, 2014 8:47 pm
Re: Hobbyboss 1/32 Mk. 5b
Looking great! 
“Who controls the skies, controls the fate of this Earth”
Author unknown- 352nd Fighter Group, Blue-Nosed Bastards of Bodney
“Send one plane it’s a sortie; send two planes it’s a flight; send four planes it’s a test of airpower. - Richard Kohn
Author unknown- 352nd Fighter Group, Blue-Nosed Bastards of Bodney
“Send one plane it’s a sortie; send two planes it’s a flight; send four planes it’s a test of airpower. - Richard Kohn
-
jeaton01
- Elite Member
- Posts: 2374
- Joined: Thu Apr 23, 2020 9:20 am
- Location: Northern California
- Contact:
Re: Hobbyboss 1/32 Mk. 5b
Thanks, John and Tom, much appreciated!
Finally got the HGW seat belts. I think I like them in 1/32 but I am not sure my fat fingers will be happy in smaller scales. I did leave the PE parts on the fret while I threaded the textile parts through.
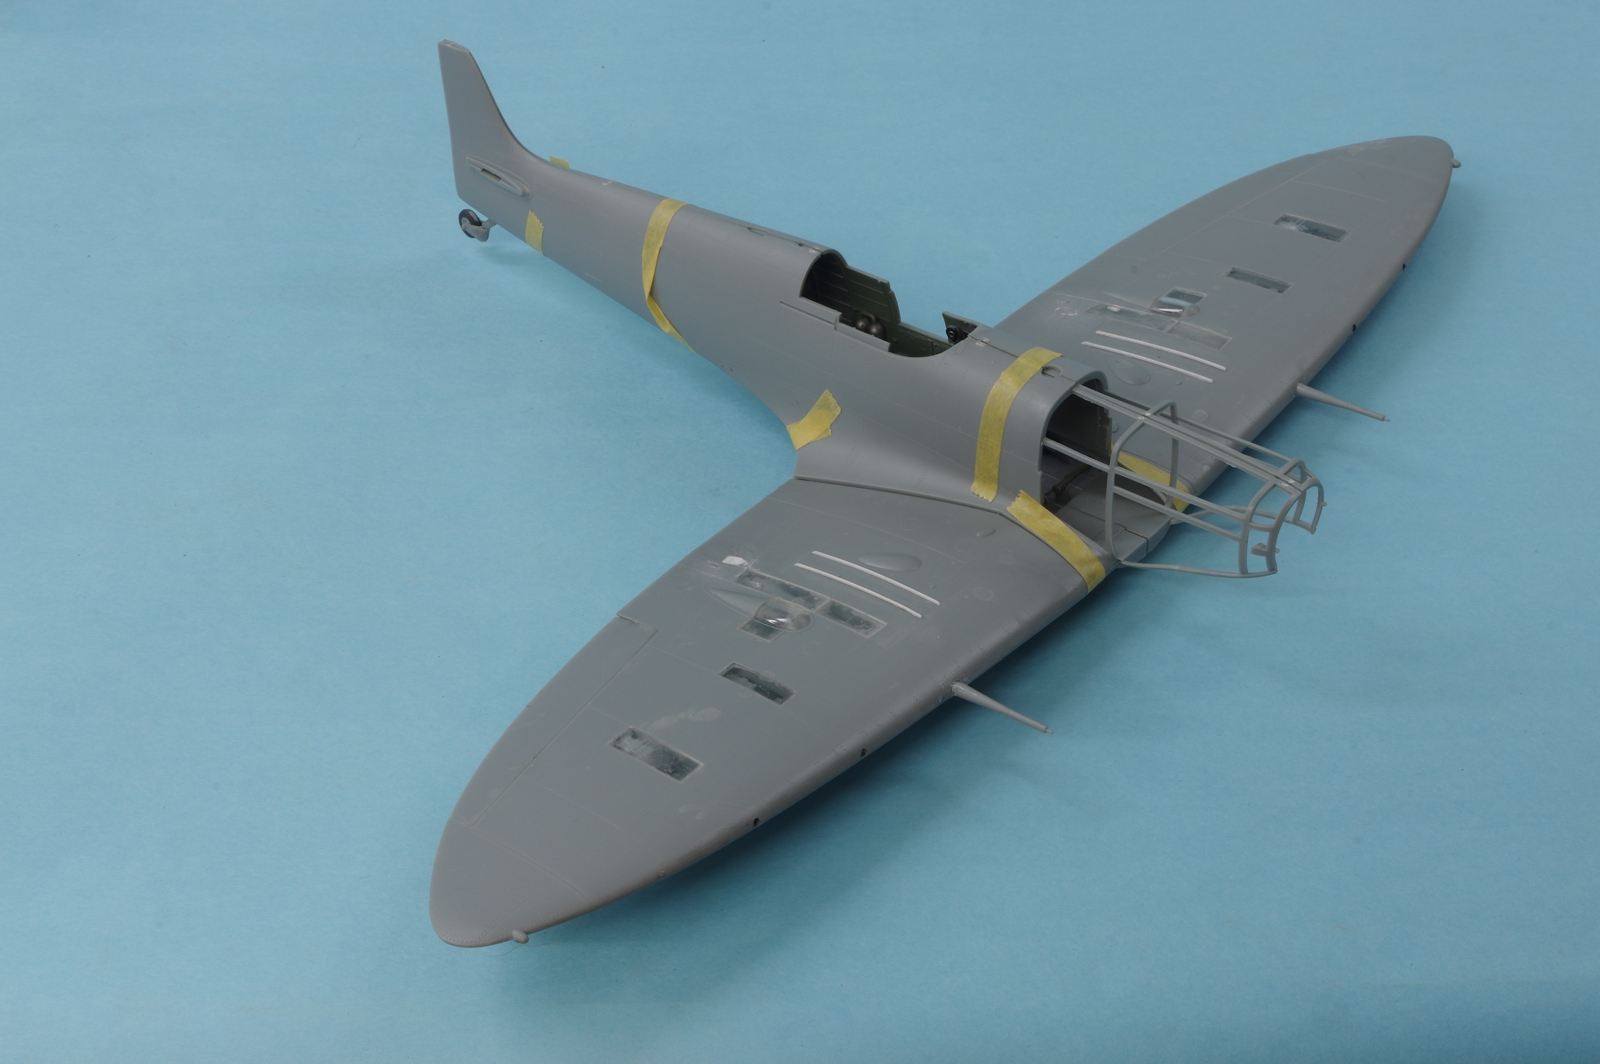
I like to check the fit of the major components before adding the internal parts, helps define what the issue is if there are fit problems later.
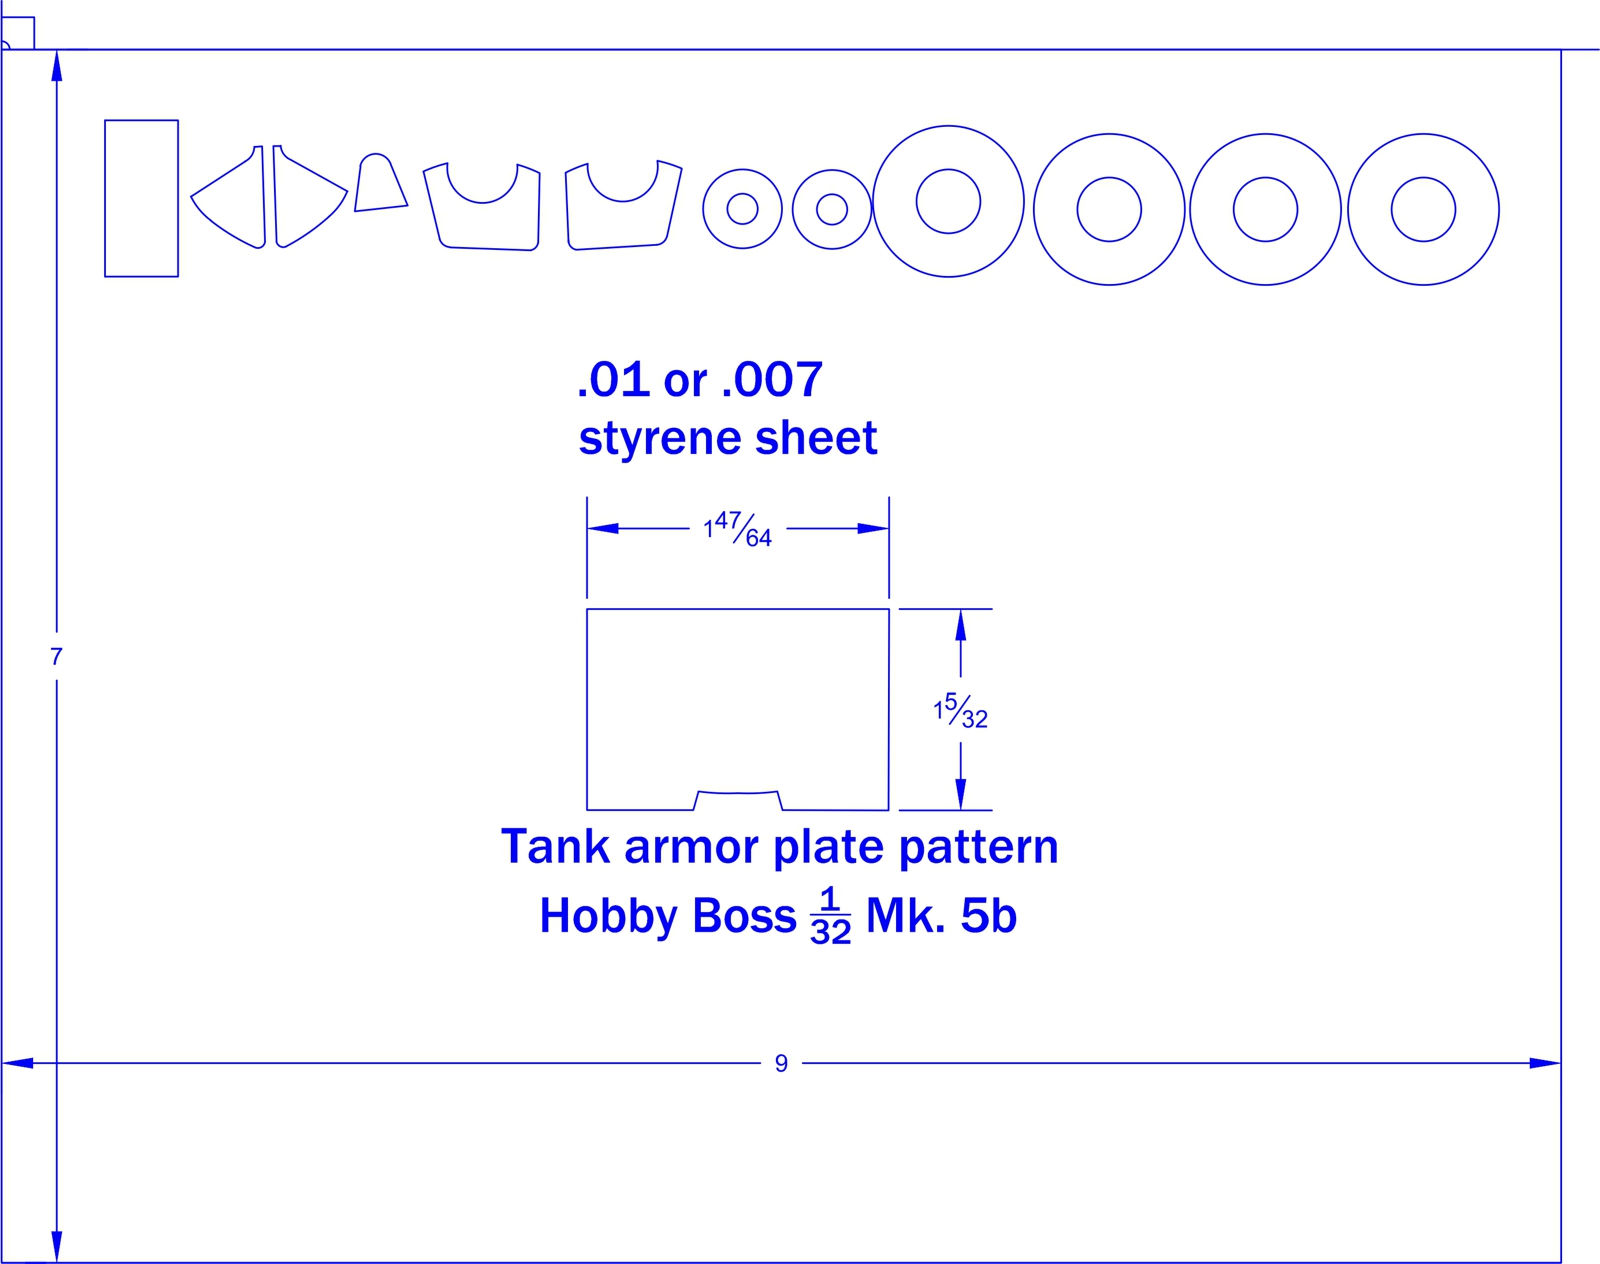
As with many Spitfire kits, there was no armor plating over the fuel tank, so a pattern was made for that, as well as masks for painting the wheels and the canopy. You can download this drawing as a dxf file for cutting here:
https://goldeneramodel.com/mymodels/spi ... dmasks.dxf
Starting to fit the internal assemblies. The seat bulkhead and the aluminum frame behind it were test fit first, and then glued to the left side only. When they were dry, the instrument panel with the rudder pedals and stick were test fit and then glued to the left side and then left for an hour to set. All in all the engineering and fit was pretty nice. I did re-position the lever to the left side of the seat, it would have been too far forward compared to photos. You can see the white block that was used to move it, still to be painted. I also replaced the plastic link that the control stick is mounted to with brass rod, the plastic did not look like it was good for the long term.
The engine and mount assembly was pretty frustrating until I figured out the best order to do it, which was to attach the side frames to the engine and add the u-shaped cross member. After that was dry that assembly was glued to the firewall. Those joins were done with gel CA.
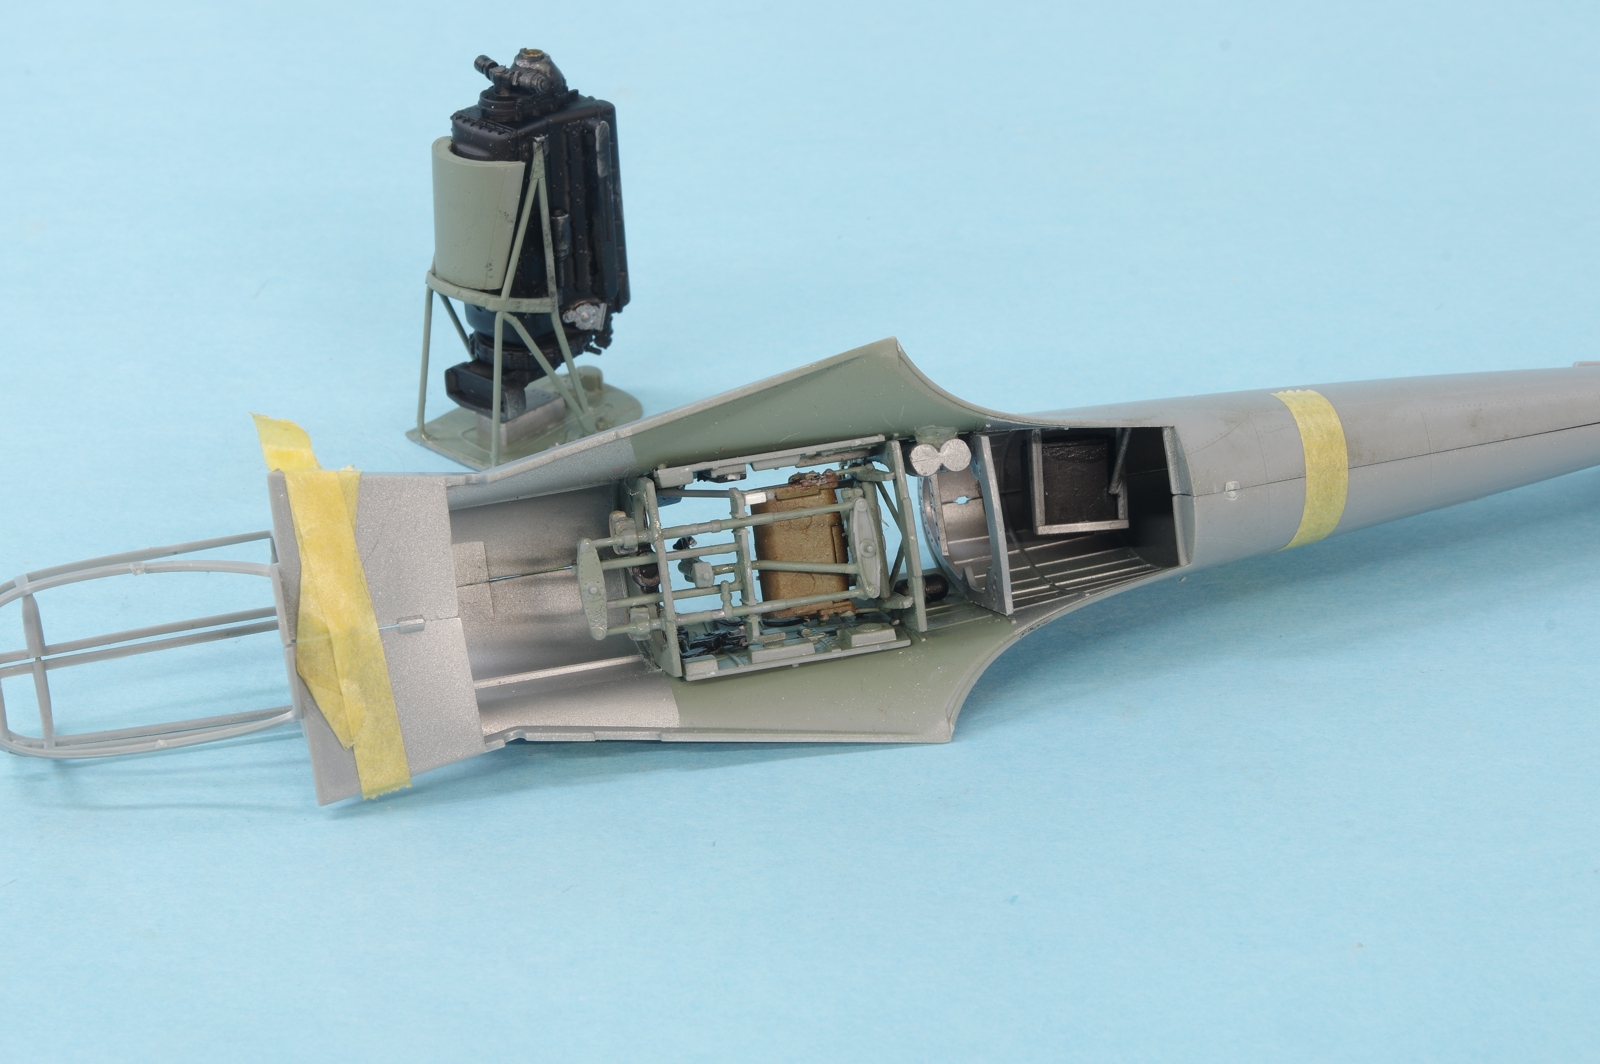
The shoulder harness still needs it's extension through the last frame to its anchor point.
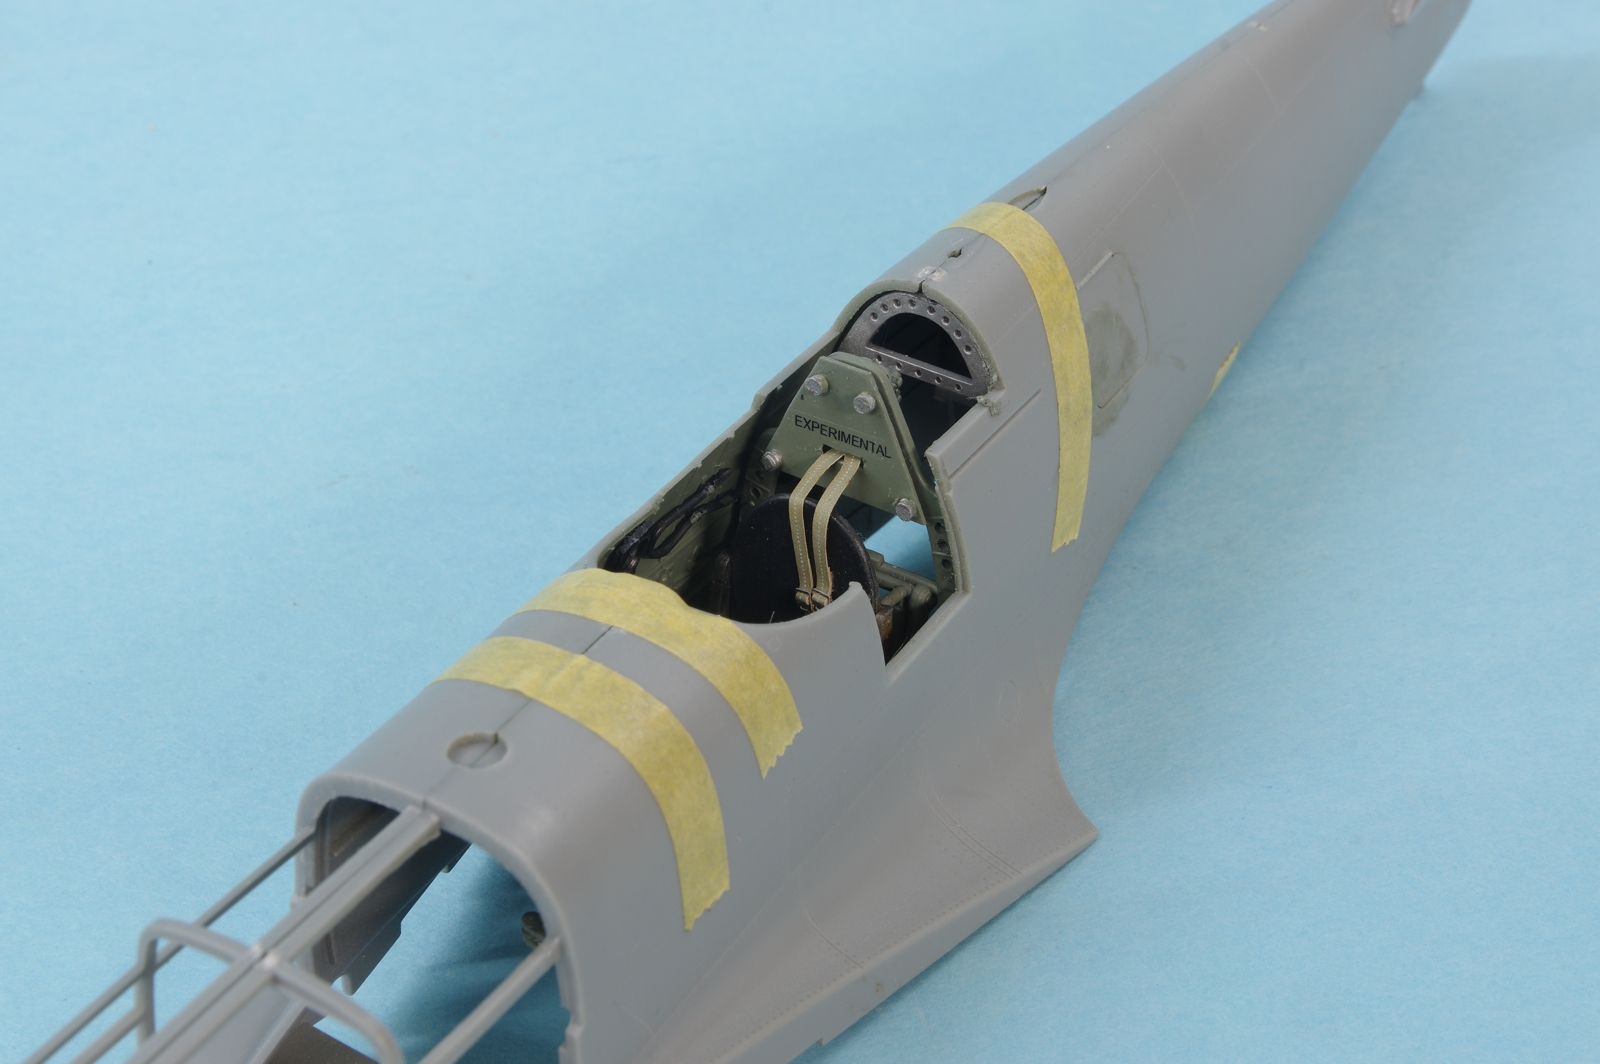
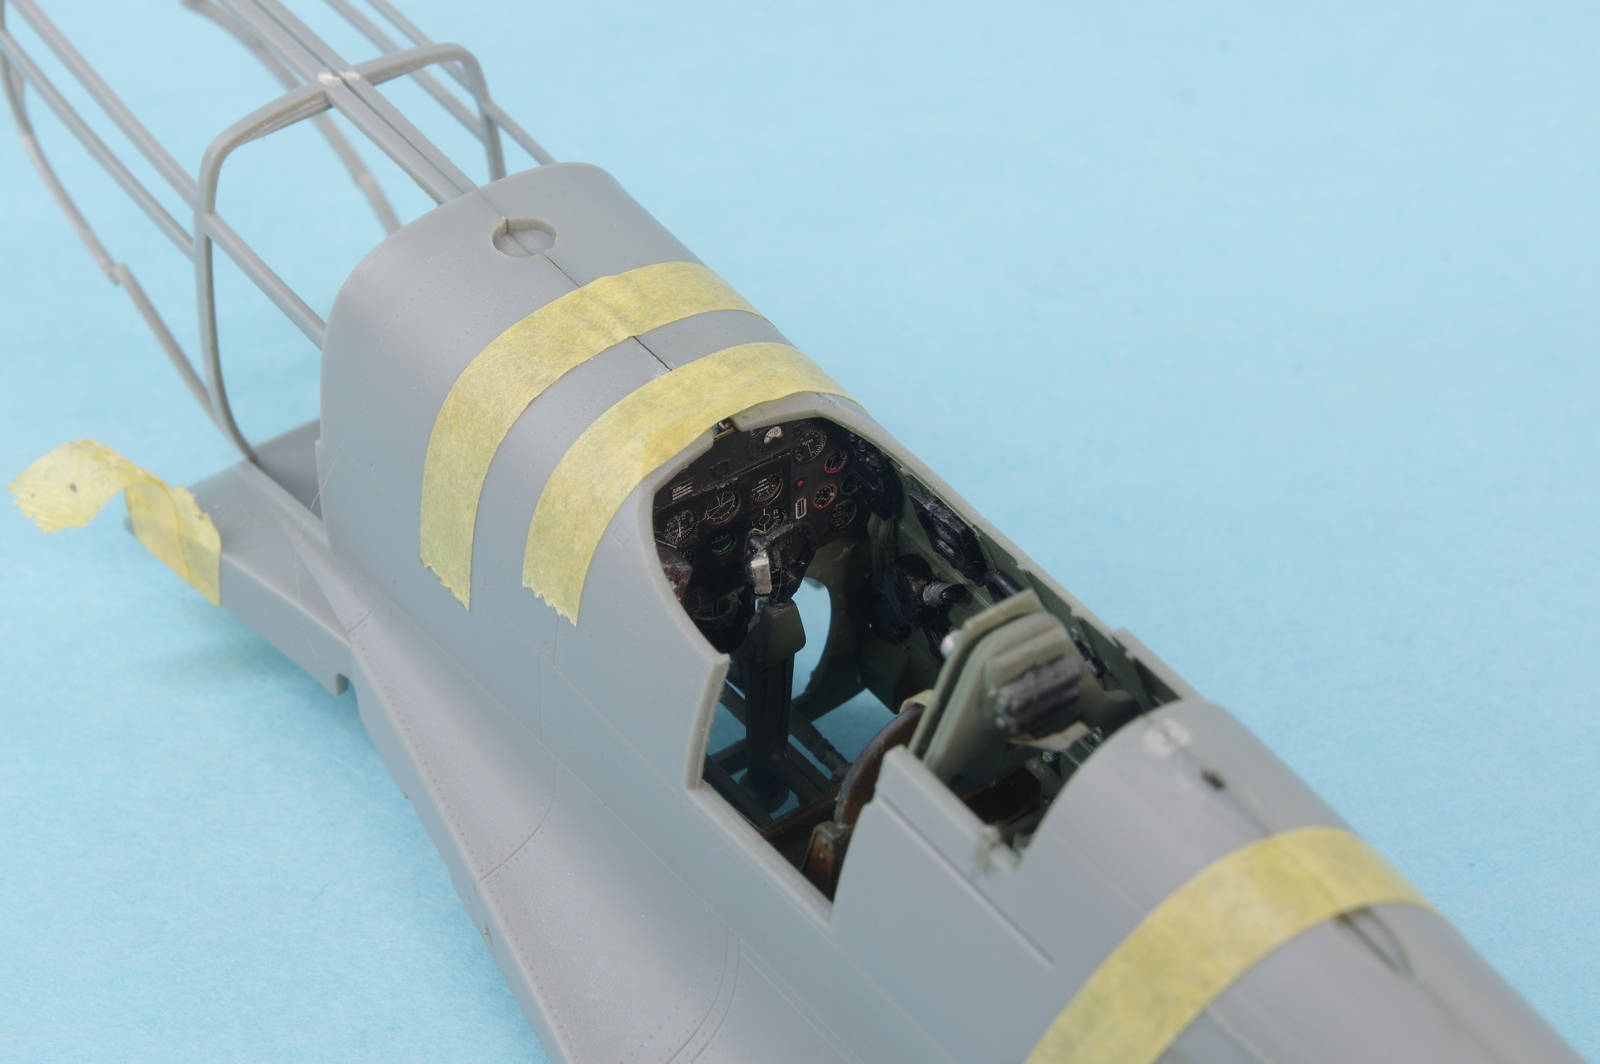
Everything taped together to insure that the cowling and engine alignment is right, which it appears to be. The firewall is not glued in place yet and won't be until all the cowling parts are securely fitted and the spinner aligns correctly.
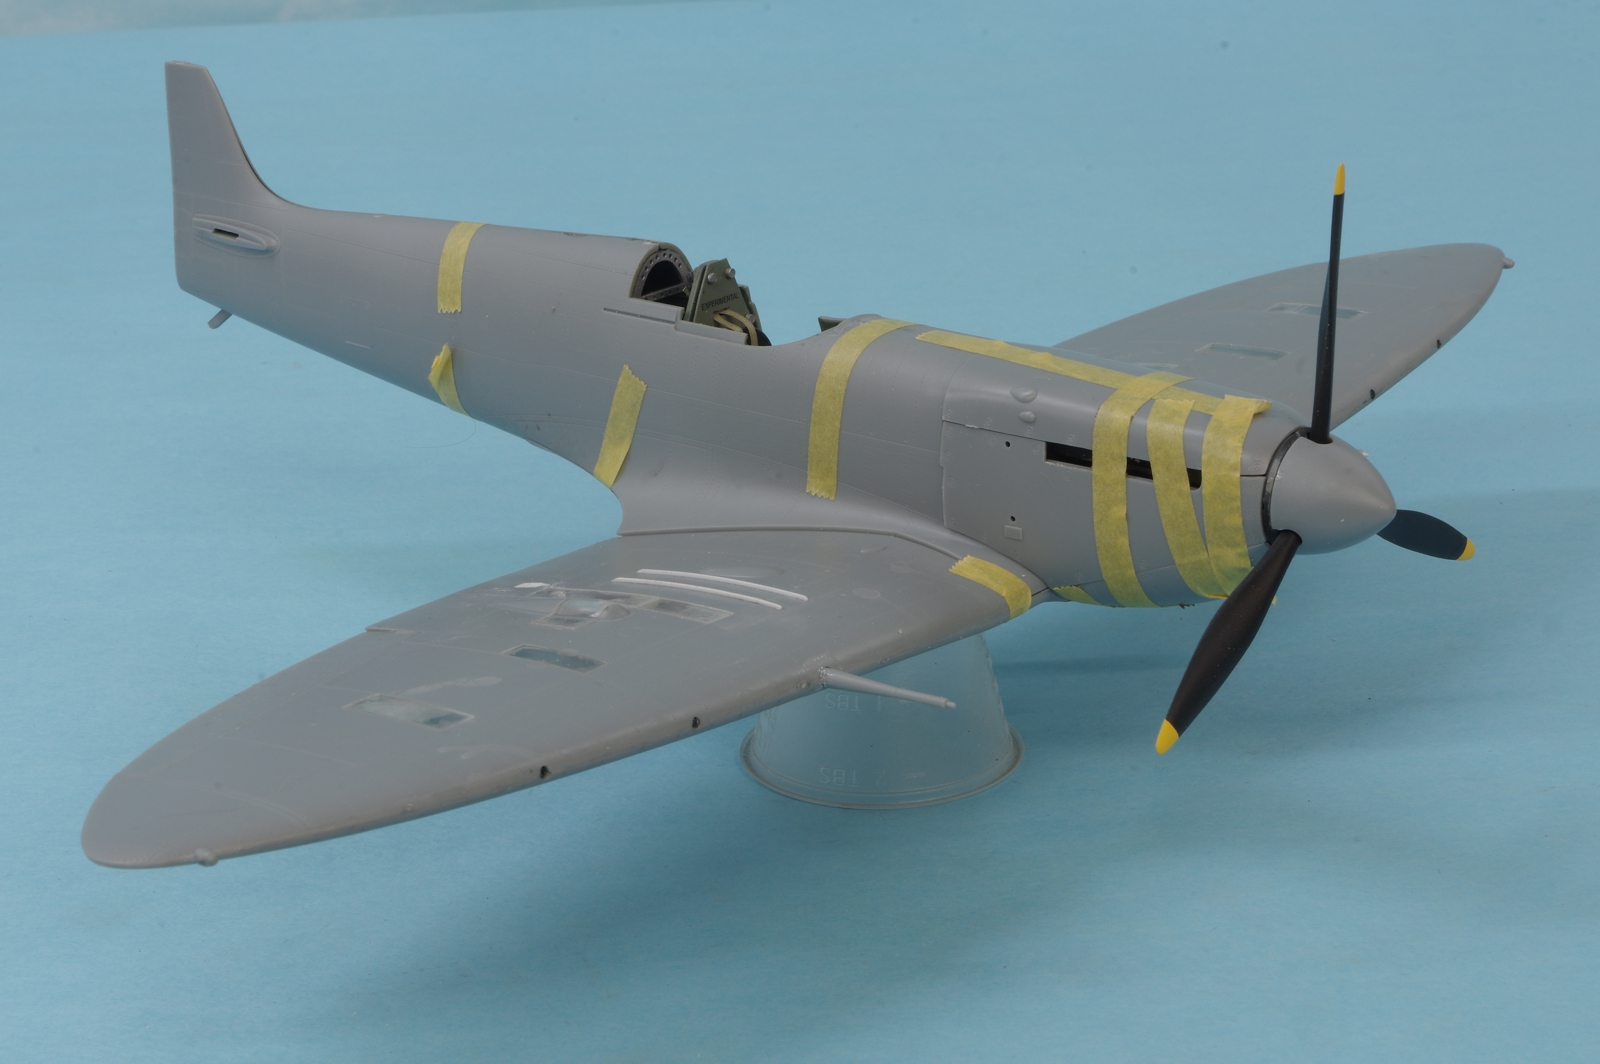
Finally got the HGW seat belts. I think I like them in 1/32 but I am not sure my fat fingers will be happy in smaller scales. I did leave the PE parts on the fret while I threaded the textile parts through.
I like to check the fit of the major components before adding the internal parts, helps define what the issue is if there are fit problems later.
As with many Spitfire kits, there was no armor plating over the fuel tank, so a pattern was made for that, as well as masks for painting the wheels and the canopy. You can download this drawing as a dxf file for cutting here:
https://goldeneramodel.com/mymodels/spi ... dmasks.dxf
Starting to fit the internal assemblies. The seat bulkhead and the aluminum frame behind it were test fit first, and then glued to the left side only. When they were dry, the instrument panel with the rudder pedals and stick were test fit and then glued to the left side and then left for an hour to set. All in all the engineering and fit was pretty nice. I did re-position the lever to the left side of the seat, it would have been too far forward compared to photos. You can see the white block that was used to move it, still to be painted. I also replaced the plastic link that the control stick is mounted to with brass rod, the plastic did not look like it was good for the long term.
The engine and mount assembly was pretty frustrating until I figured out the best order to do it, which was to attach the side frames to the engine and add the u-shaped cross member. After that was dry that assembly was glued to the firewall. Those joins were done with gel CA.
The shoulder harness still needs it's extension through the last frame to its anchor point.
Everything taped together to insure that the cowling and engine alignment is right, which it appears to be. The firewall is not glued in place yet and won't be until all the cowling parts are securely fitted and the spinner aligns correctly.

Re: Hobbyboss 1/32 Mk. 5b
John, splendid progress! You are indeed a treasure!
To make each build less crappy than the last one. Or, put another way, "Better than the last one, not as good as the next one!"..