Revell 1/32 P-51D
-
BlackSheep214

- Elite Member
- Posts: 13409
- Joined: Sun Apr 06, 2014 8:47 pm
Re: Revell 1/32 P-51D
Most likely it’s a repop of the Revell Berlin Express Mustang. Yeah… the fit was a bit troublesome at times.
“Who controls the skies, controls the fate of this Earth”
Author unknown- 352nd Fighter Group, Blue-Nosed Bastards of Bodney
“Send one plane it’s a sortie; send two planes it’s a flight; send four planes it’s a test of airpower. - Richard Kohn
Author unknown- 352nd Fighter Group, Blue-Nosed Bastards of Bodney
“Send one plane it’s a sortie; send two planes it’s a flight; send four planes it’s a test of airpower. - Richard Kohn
-
jeaton01

- Elite Member
- Posts: 2374
- Joined: Thu Apr 23, 2020 9:20 am
- Location: Northern California
- Contact:
Re: Revell 1/32 P-51D
No, this kit has nothing to do with the P-51B, those molds were made in the 60's.
-
jeaton01
- Elite Member
- Posts: 2374
- Joined: Thu Apr 23, 2020 9:20 am
- Location: Northern California
- Contact:
Re: Revell 1/32 P-51D
Back on this one now. Yes, I did rip it apart, luckily with no damage to the innards other than popping the seat out, but that will be OK, just needs to be re-glued. I am only using the fuselage shells from the partial kit I bought so I'll have lots of extra parts. If the carpet monster attacks anyone, let me know as I will not being doing another one of these. I have a Zoukei-Mura P-51D kit and two Tamiya 1/32 P-51D kits in the stash. I had thought the Revell kit would be a quicker build than those but it does not seem to be the case so far.
I first started back by fitting just the bare fuselage together with nothing inside, and test fit the windscreen and wing. The windscreen is not an exact fit, but it is very close and should be fine. The wing is another matter. The fuselage is supposed to fit into channels in the top of the one piece upper wing, but even without any internals the fuselage is a bit too wide to fit. In addition, the wing fairings sit proud of the upper surface of the wing far more than they should. I filed down the underside of the fairings, and also took a bit off each side to narrow that dimension up some, it didn't take much. At this point the wing fit was acceptable with the wing to fuselage fairing only slightly above the wing skin as it should be.
The next step was to fit the cockpit capsule into the fuselage. I filed down the sides at the front. When I assembled the fuselage with the cockpit inside, but not the radiator assembly, the wing would not fit . I removed some material from the bottom of the cockpit assembly, making sure it was level with the wing fairings, but still the wing was down too low.
Lastly I removed the aft sections of the coolant pipes and finally the wing fit properly.
After that I checked the fit of the radiator assembly, which without adjustment fit well with the exception of a slight gap between the radiator duct and the tail wheel well, which I will just fill as it would be very difficult to make any adjustment without fouling the fit of the radiator duct and fuselage sides. Next I test fit both the radiator assembly and the cockpit in both fuselage halves, which seemed pretty good, so I glued the radiator duct and cockpit into one fuselage half and clamped them tight.

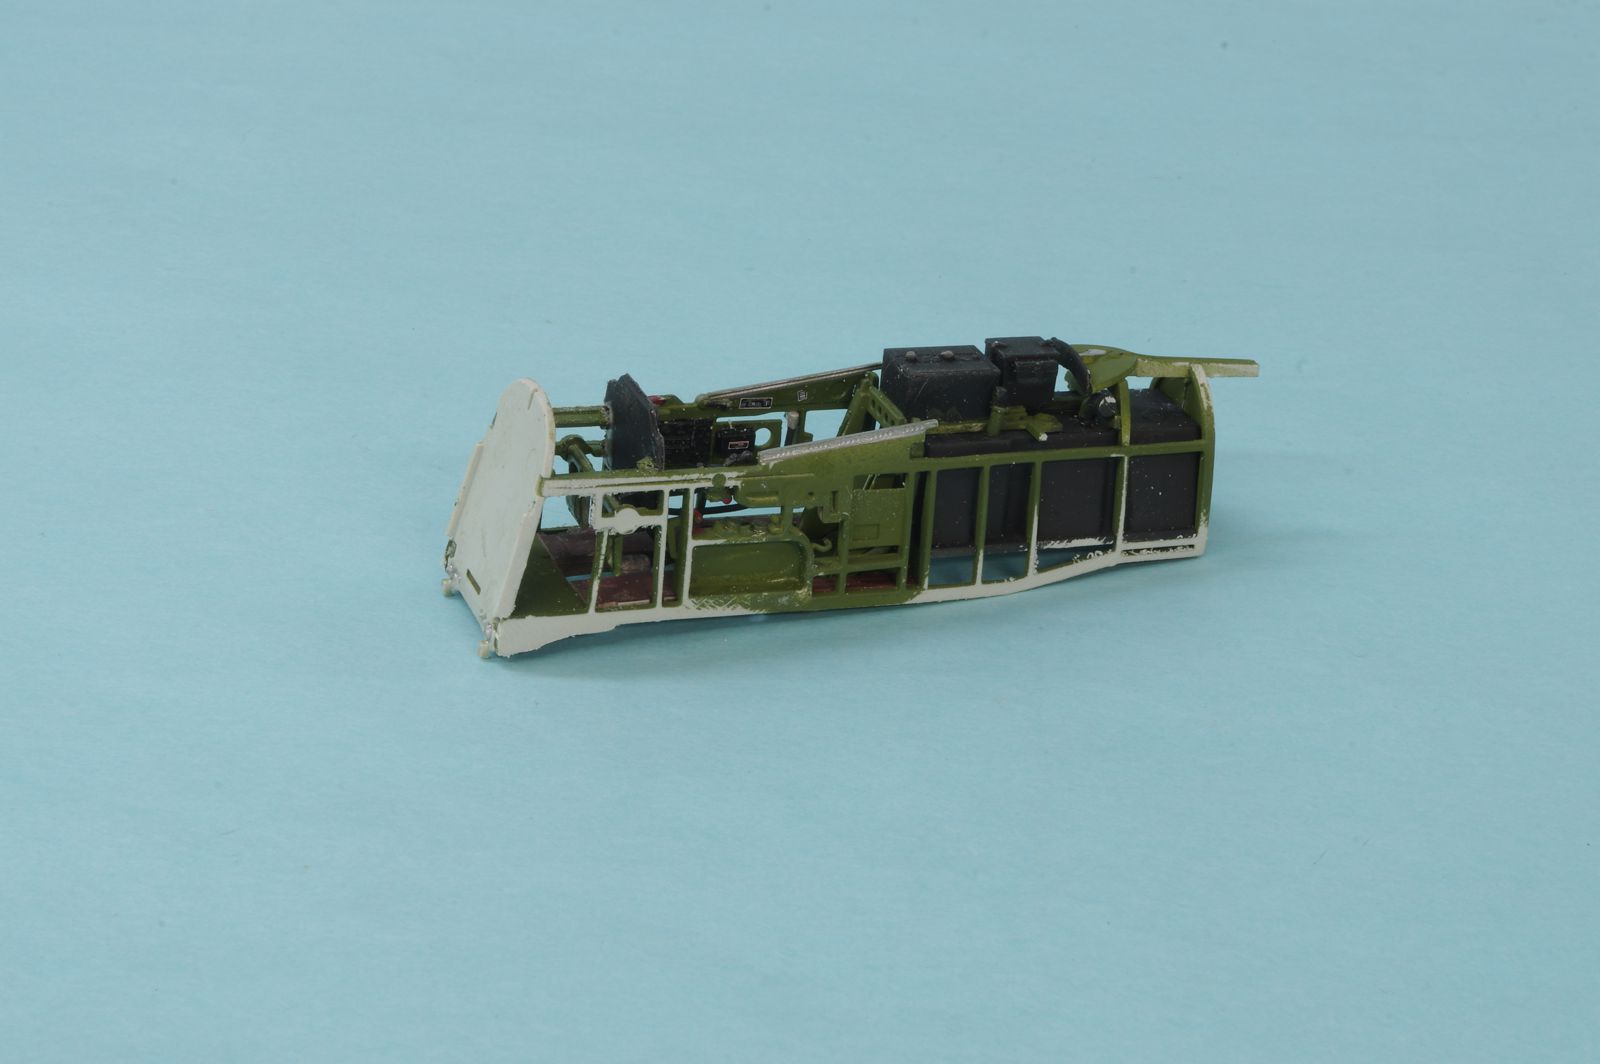
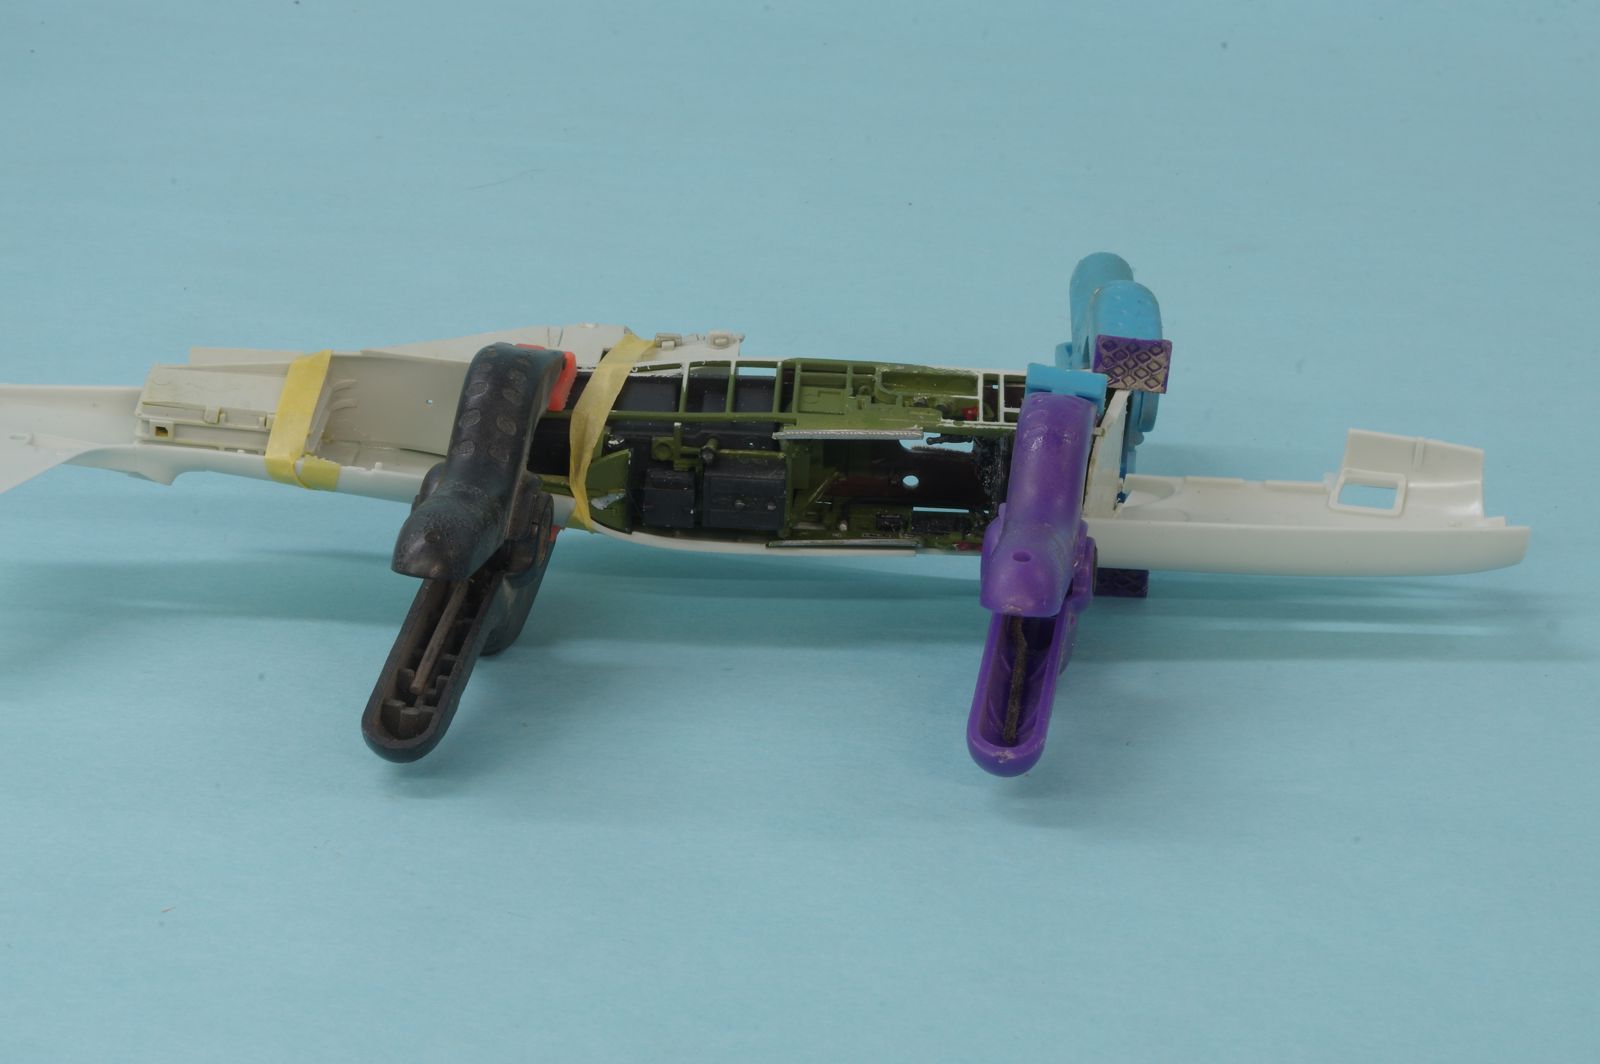
I first started back by fitting just the bare fuselage together with nothing inside, and test fit the windscreen and wing. The windscreen is not an exact fit, but it is very close and should be fine. The wing is another matter. The fuselage is supposed to fit into channels in the top of the one piece upper wing, but even without any internals the fuselage is a bit too wide to fit. In addition, the wing fairings sit proud of the upper surface of the wing far more than they should. I filed down the underside of the fairings, and also took a bit off each side to narrow that dimension up some, it didn't take much. At this point the wing fit was acceptable with the wing to fuselage fairing only slightly above the wing skin as it should be.
The next step was to fit the cockpit capsule into the fuselage. I filed down the sides at the front. When I assembled the fuselage with the cockpit inside, but not the radiator assembly, the wing would not fit . I removed some material from the bottom of the cockpit assembly, making sure it was level with the wing fairings, but still the wing was down too low.
Lastly I removed the aft sections of the coolant pipes and finally the wing fit properly.
After that I checked the fit of the radiator assembly, which without adjustment fit well with the exception of a slight gap between the radiator duct and the tail wheel well, which I will just fill as it would be very difficult to make any adjustment without fouling the fit of the radiator duct and fuselage sides. Next I test fit both the radiator assembly and the cockpit in both fuselage halves, which seemed pretty good, so I glued the radiator duct and cockpit into one fuselage half and clamped them tight.

Re: Revell 1/32 P-51D
Great explanation of the process, John. Good to have you back at this!
To make each build less crappy than the last one. Or, put another way, "Better than the last one, not as good as the next one!"..

Re: Revell 1/32 P-51D
A pain, but I'm sure you'll get it sorted John.
Stuart Templeton 'I may not be good but I'm slow...'
-
jeaton01
- Elite Member
- Posts: 2374
- Joined: Thu Apr 23, 2020 9:20 am
- Location: Northern California
- Contact:
Re: Revell 1/32 P-51D
Thanks for the comments and interest, troops!
Fuselage is together with only some small gaps aft of the radiator outlet. Hopefully I am over the hump on this one now.

Fuselage is together with only some small gaps aft of the radiator outlet. Hopefully I am over the hump on this one now.


-
jeaton01
- Elite Member
- Posts: 2374
- Joined: Thu Apr 23, 2020 9:20 am
- Location: Northern California
- Contact:
Re: Revell 1/32 P-51D
No takin' no chances! 
-
jeaton01
- Elite Member
- Posts: 2374
- Joined: Thu Apr 23, 2020 9:20 am
- Location: Northern California
- Contact:
Re: Revell 1/32 P-51D
Getting closer. Tamiya Dark Green and Medium Sea Grey, the colors for Passion Wagon. Sadly I do not share such passion for this kit! All will be forgiven (but not likely forgotten) once it gets to the display case.
