Page 11 of 17
Re: BsYamato's rotors
Posted: Mon Jan 21, 2019 3:10 pm
by BorgR3mc0
BsYamato wrote:Thanks guys

heres temporary finished pictures of the BK-117
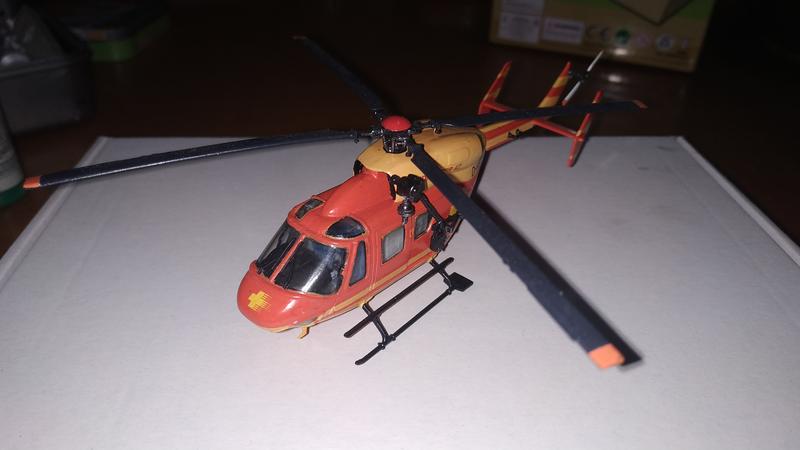
(...)
Nice! Medicopter 117 is actually a very long running TV show:
https://www.rtlplus.de/cms/sendungen/me ... r-117.html
Re: BsYamato's rotors
Posted: Tue Jan 22, 2019 5:20 am
by BsYamato
I knoiw about the TV show (reported on the revell box) but never seen in Italy, more popular Cobra 11 as german show

Re: BsYamato's rotors
Posted: Tue Jan 22, 2019 2:45 pm
by speedgraflex
Sylvio!
Beautiful!
When you attach clear canopies, what is your method?
Paint edges black semi-gloss first... then use vinyl glue thinned with water?
Apologies if you answered earlier.
I would like to try the method on canopies based on your ideas!
Re: BsYamato's rotors
Posted: Tue Jan 22, 2019 3:29 pm
by BsYamato
You're right, this is the method I used on 117, 135 and bo105, but I'm not satisfied of the strength of vinil glue; the method I tried to copy use CA glue instead of vinil glue and a preventive bath in the future of the clear parts avoiding white times of CA glue.
ASAP I'll put the sea King , actually working to paint inners
Re: BsYamato's rotors
Posted: Wed Jan 23, 2019 12:38 am
by speedgraflex
Silvio, Thanks!
First method; paint black edges then use thinned vinyl glue
Second method; clear floor polish (Future) parts dip then use CA glue
Is this correct?
Maybe there will be a third method to discover...

Re: BsYamato's rotors
Posted: Wed Jan 23, 2019 4:42 am
by BsYamato
Almost,
The original method :
1) paint the windowws border with black (eventually remove pegs that could distort the visibility)
2) dip in the future and let dry (prevent fog fumes from the CA)
3) gue the windows with CA glue
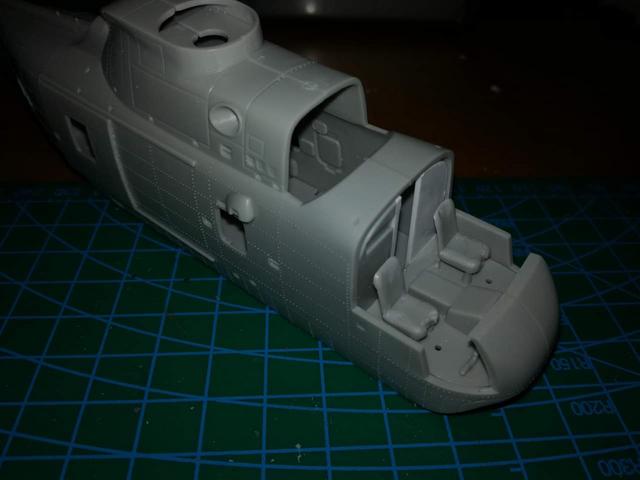
Introducing the yellow sea king:
Fujimi 1/72
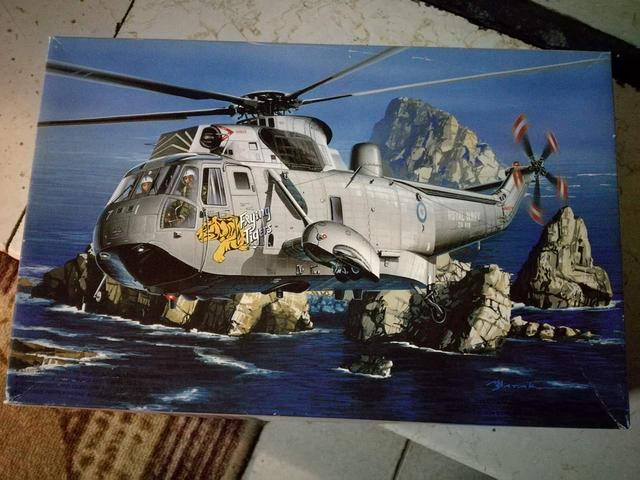
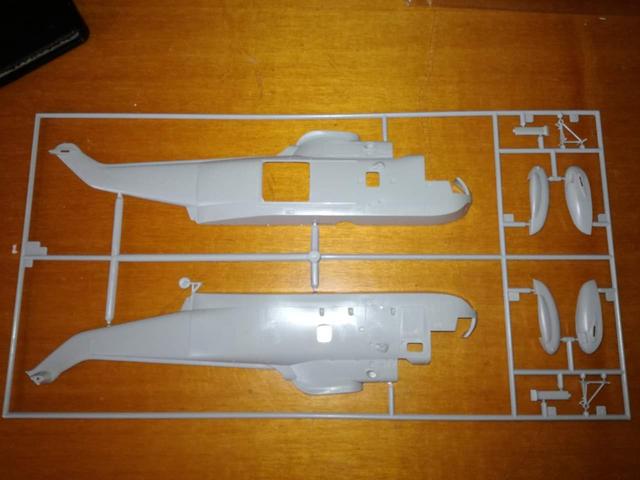
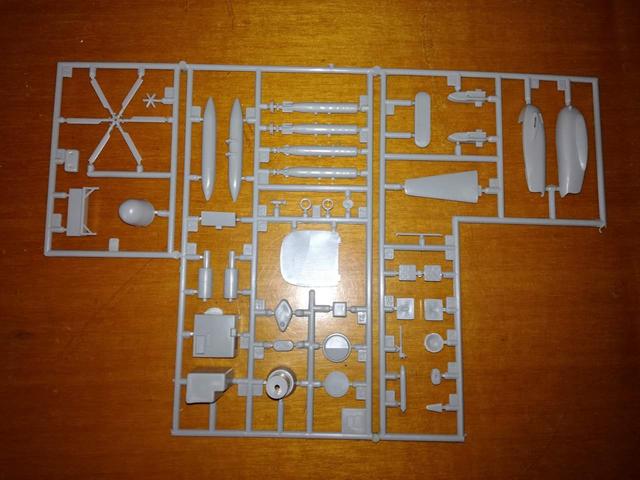
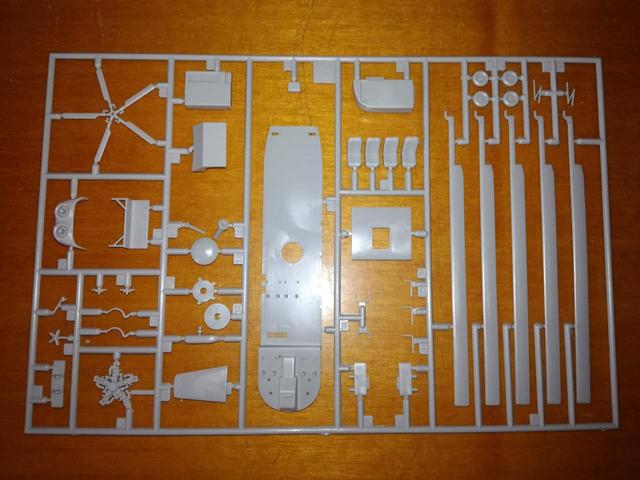
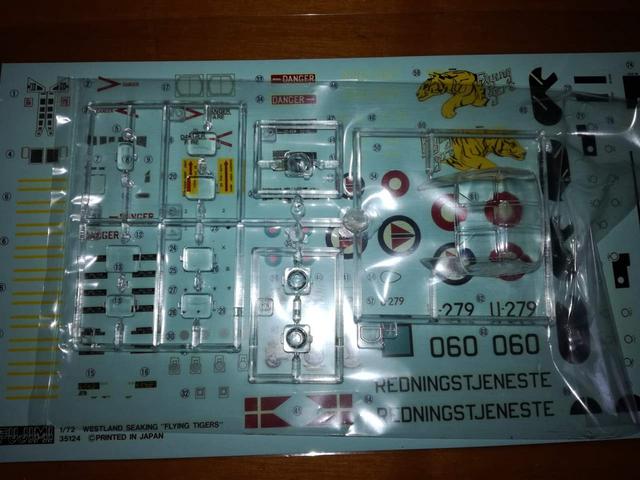
I'll going to build the Raf rescue HAR3 versione .. even if not the correct box
https://www.flickr.com/photos/ajw1970/9508893385
Nor yet decided if with old airintakes deflector or the latest boxed filter (six various sea kings with a lot of options pieces..) , i have two sets of decals for both types.
Woks done till now
Cut the original back bulkead and added the left side and sctatched the left missing command stick
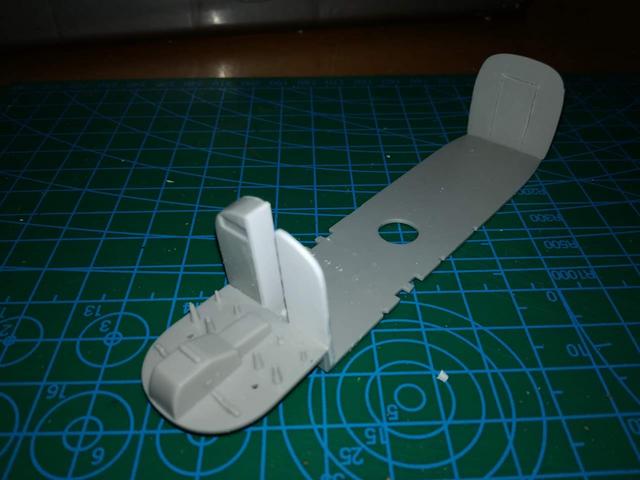
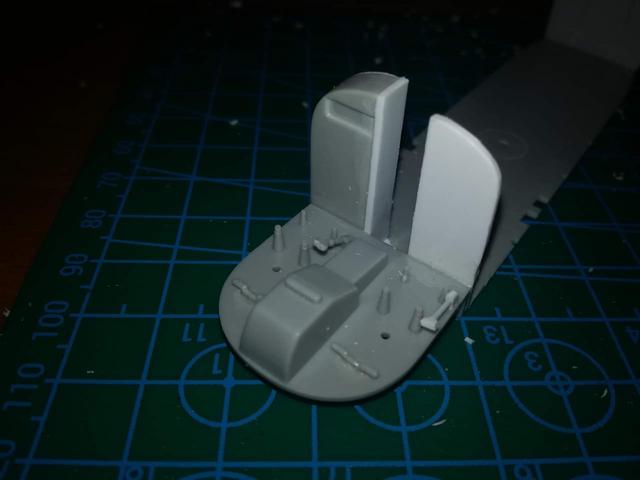
shaped original seats
Detailing enines exhaust closed in the kit, added and shaped an auxiliary tank from another kit and added a rod to simulate engine shaft
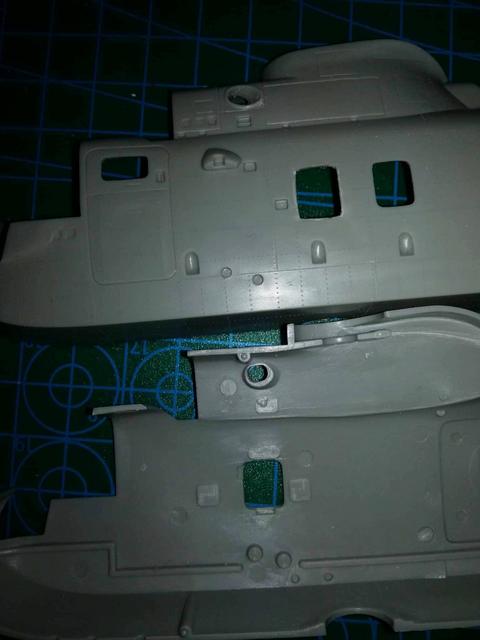
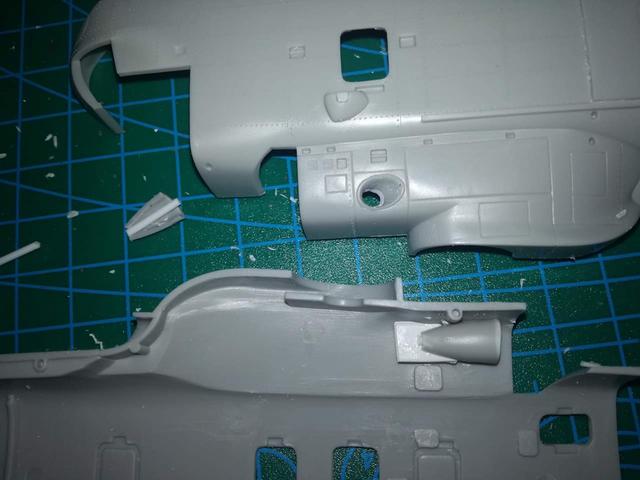
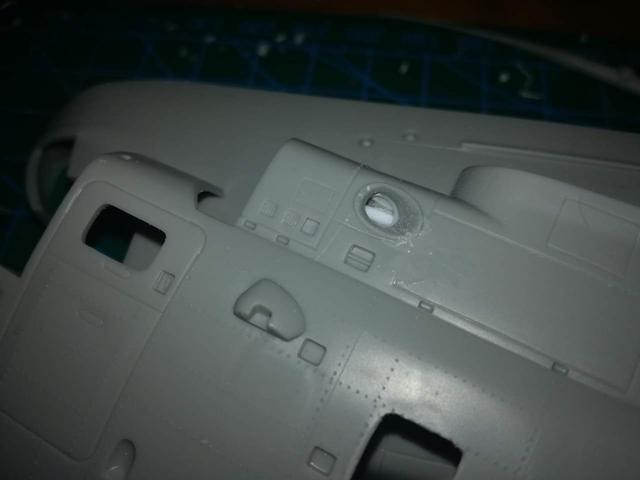
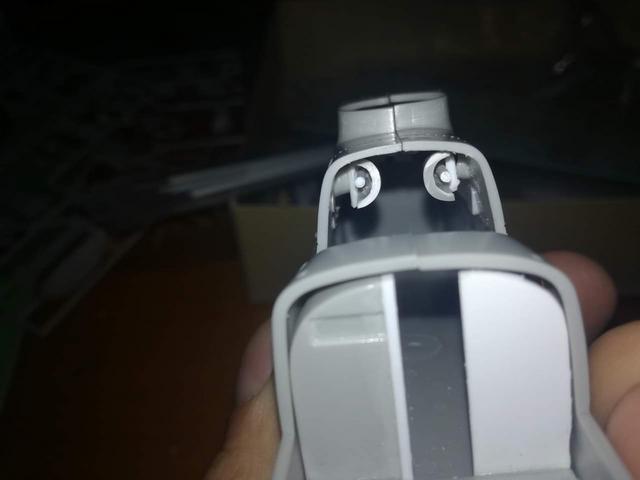
the last picture shows some more refine about cockpit bulkhead
Done and added upper consolle in the canopy , also reshaped the IP to better decal fitting
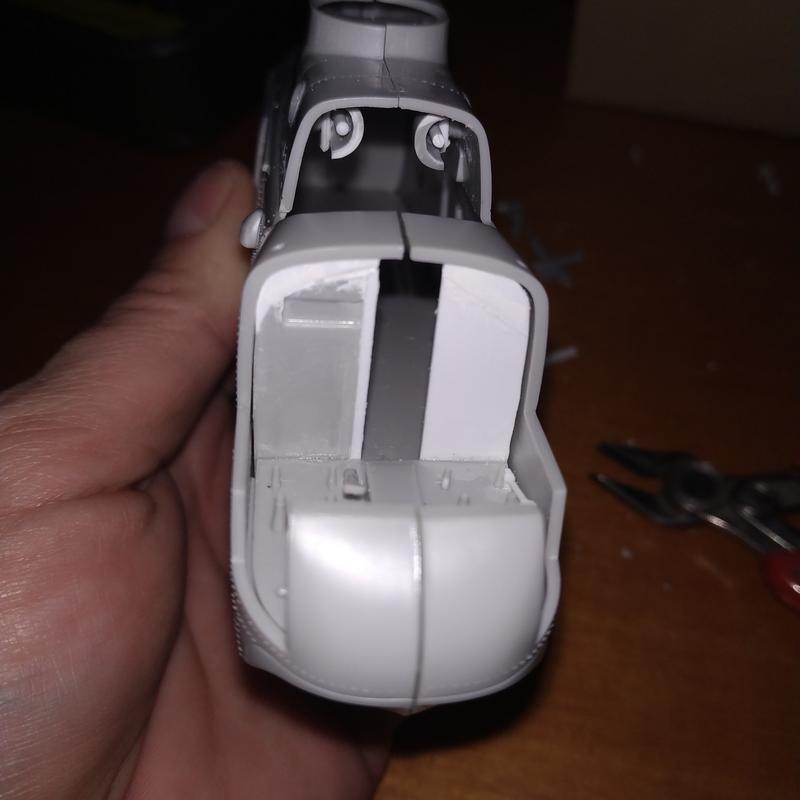
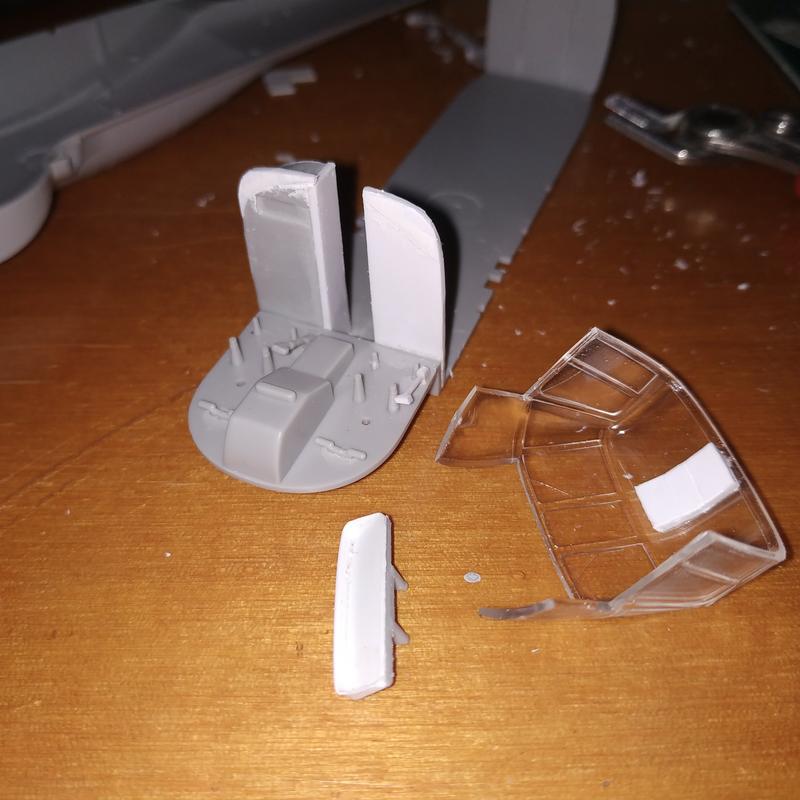
Primer on
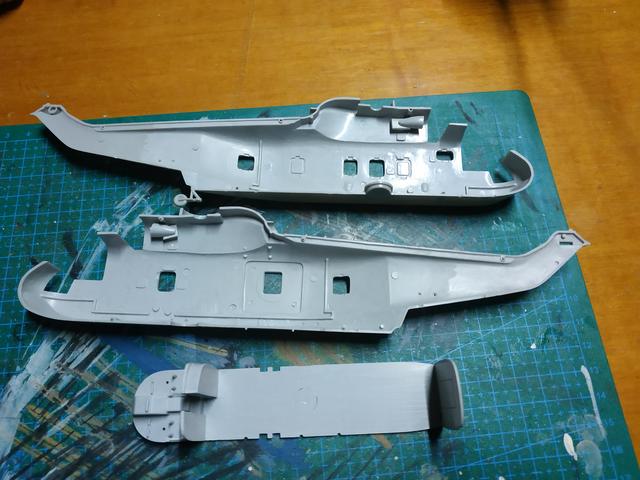
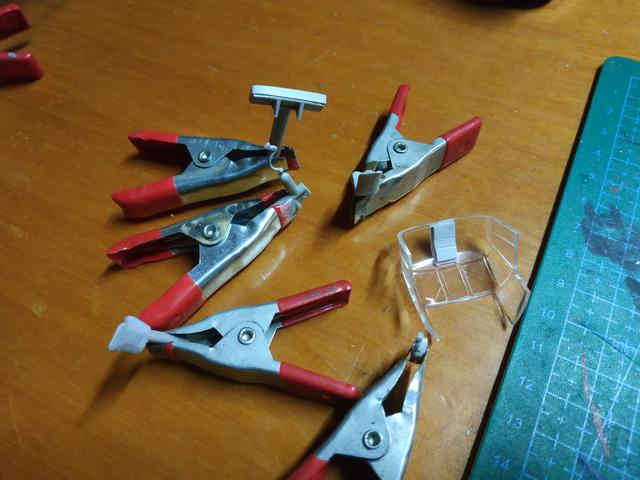
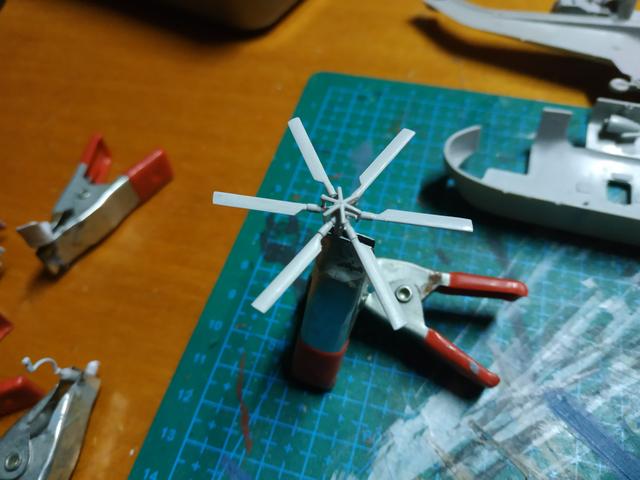
Yesterday painted the main inner colors and protect with glossy coat


At the next!
Re: BsYamato's rotors
Posted: Wed Jan 23, 2019 12:58 pm
by speedgraflex
Thanks for the important correction! Beautiful modifications now beginning!!! Exquisite work!

Re: BsYamato's rotors
Posted: Fri Jan 25, 2019 10:07 am
by BsYamato
Thanks Bruce

Heres some color
Put on decals as instruments this time, added seat belts and protect the inner with glossy and mat final coat. Glued the windows with normal style.. glue and transparents..
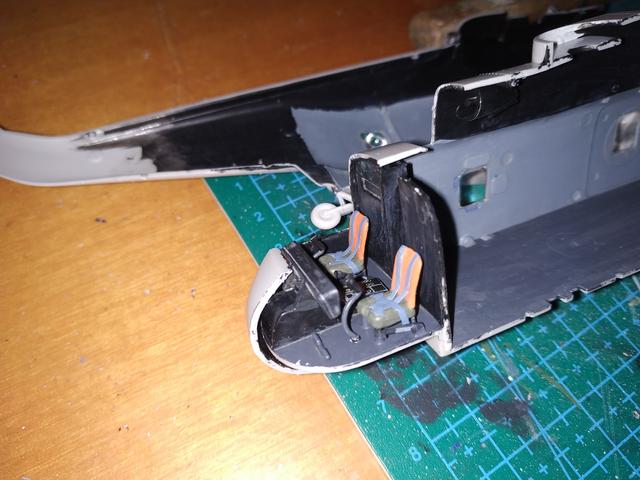
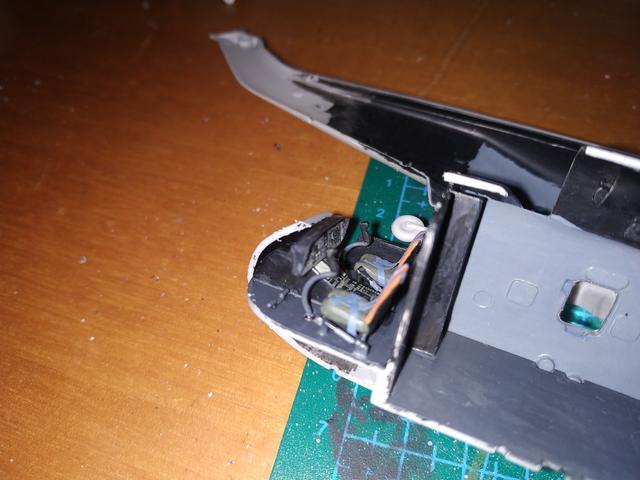
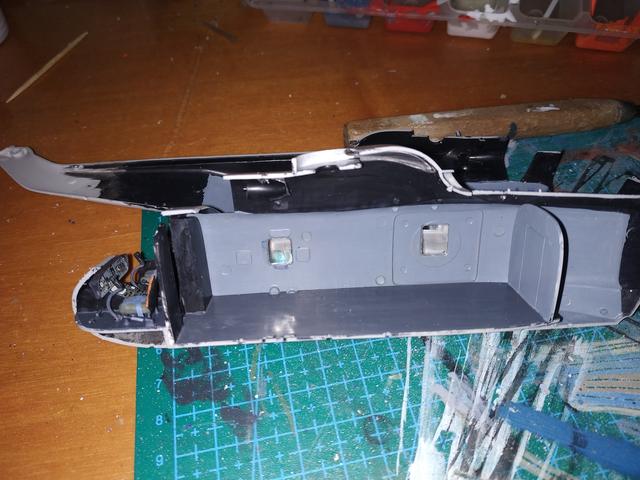
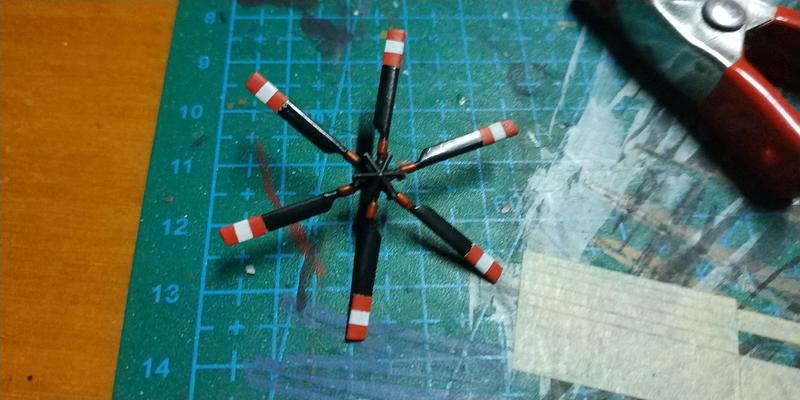
Tail rotor almost done, stripes are painted
And glued the king
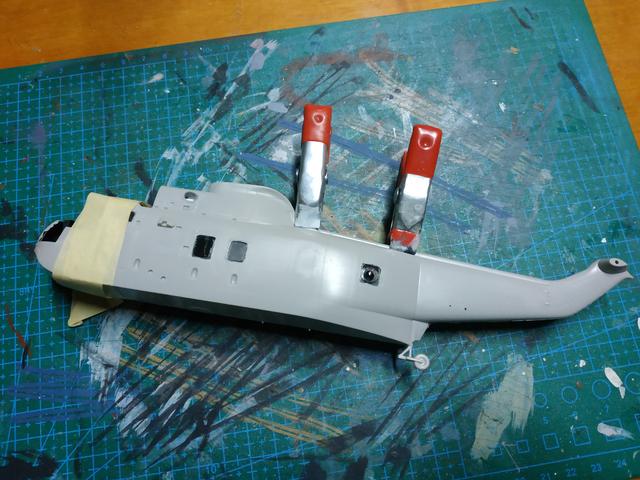
This afternoon lots of sandind up the cockpit ( a step between the canopy and the fuselage) and gued canopy and tail rudder, and engines front
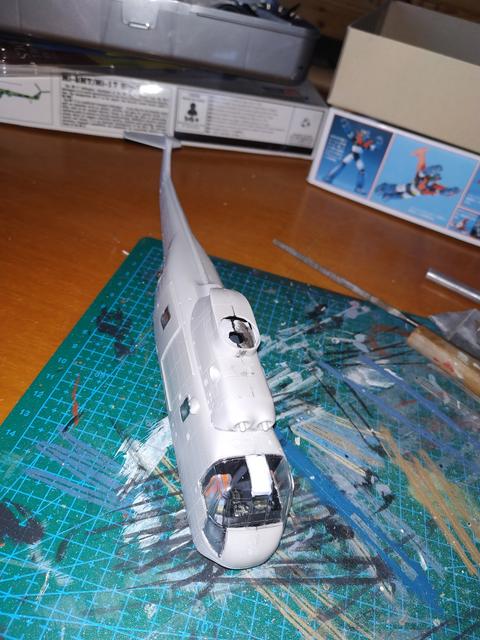
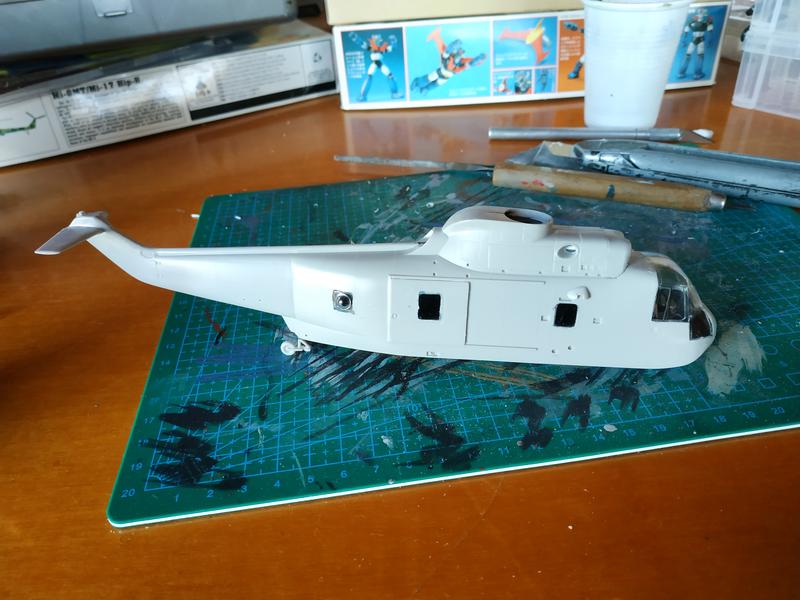
At the next!
Re: BsYamato's rotors
Posted: Fri Jan 25, 2019 11:15 am
by Stikpusher

You hand painted those tail rotor stripes? Those are not decals? Wow! Excellent work on that detail!
Your Sea King is progressing beautifully.
Re: BsYamato's rotors
Posted: Fri Jan 25, 2019 11:31 am
by BsYamato
Not free hand painted
used tape masks