Re: Maddog Manufacturing 2018 Production
Posted: Fri Jun 15, 2018 1:37 pm
Thanks Joe! Fortunately, those ejector pins were easy to fix, but yeah; there were too many! As for the tracked vehicle; that has been put away so I can focus on easier models for now. The results are seen below....
Well after only three days during which I was left alone during my recuperation; I was able to get a lot of progress done on a number of models. Warning: This is a long update so please have patience with me.
Starting once again with my aircraft, I was finally satisfied enough with the white on my Boeing that I shot a coat of gloss on it:
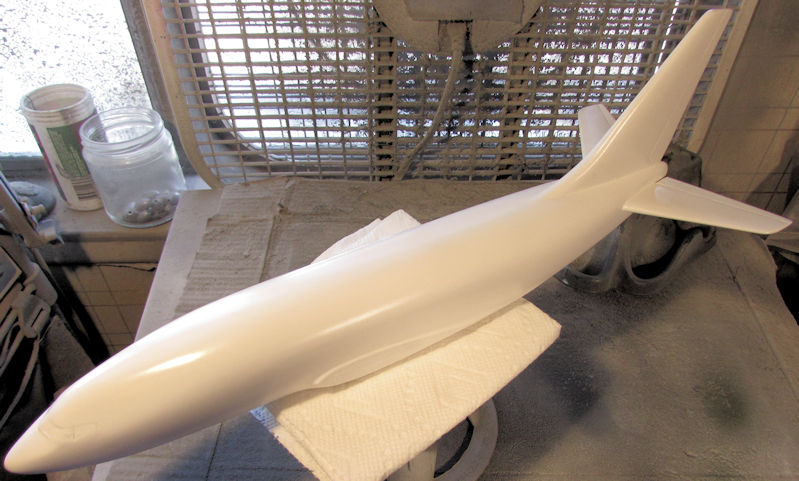
Now I just need to find the decals for this plane and get them added.
Next I decided to paint a base green color on the Australian HAP Tigre:
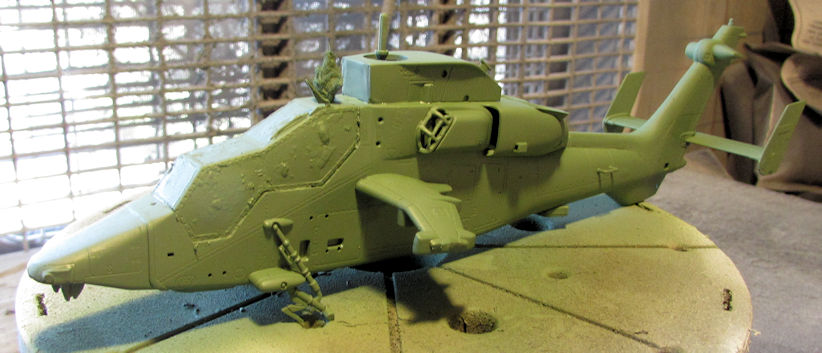
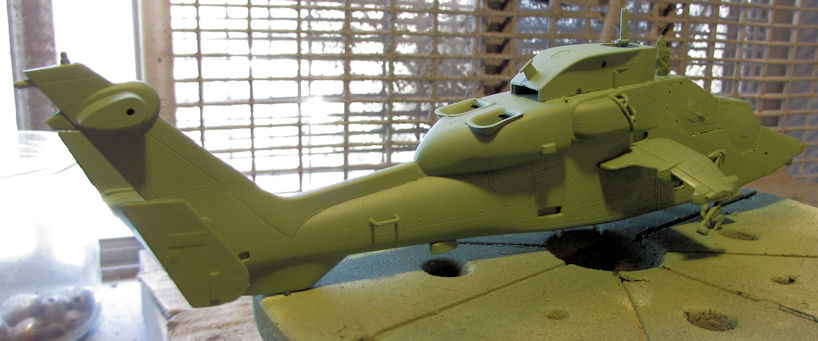
Later I will mask that and shoot the second camo color on it.
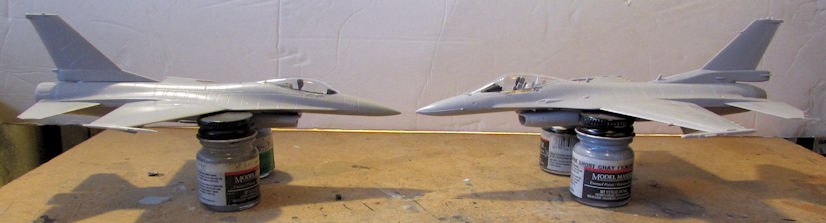
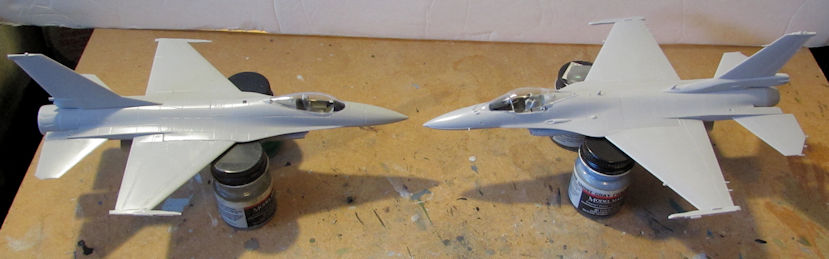
Moving on, I got a lot of progress on three of my jets. Two of them are the Italian jets I've been doing. Before I show them, I'll post some comparison pictures between the Italian F-16 and the Japanese F-2A so everyone can see the slight differences overall between the two aircraft:
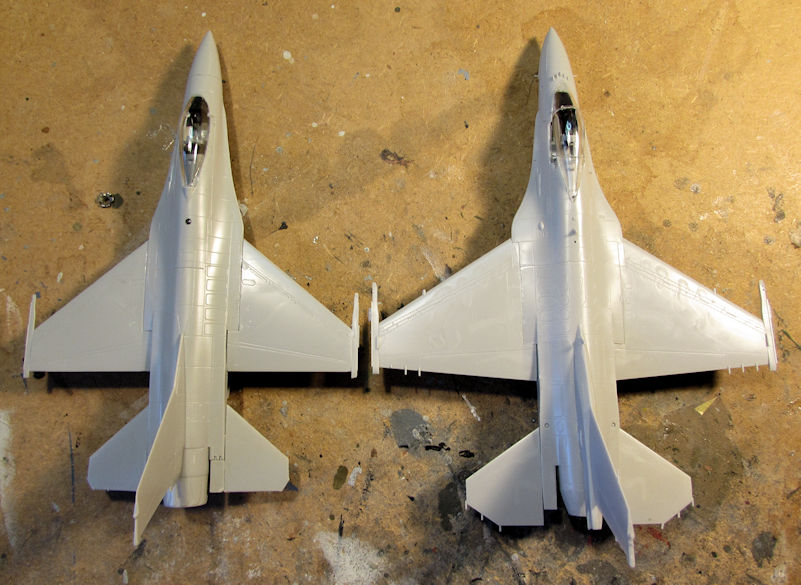
The Italian F-16 is on the left, the Japanese F-2A is on the right. Plan view above.
Profile view:
Upper angle view:
Okay, now that I got that done; here is my latest progress on the Italian F-16...
First I masked off the canopy which was later trimmed down when it was dry:
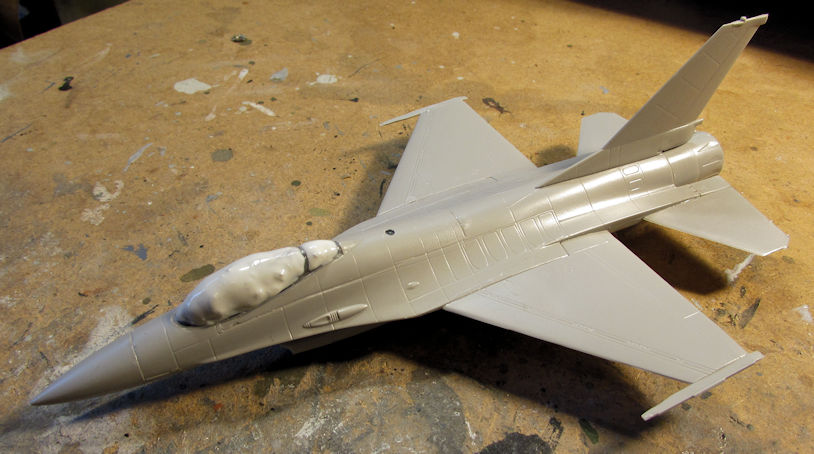
Once that was done, I shot the underside with Light Ghost Grey. It is tough to see in these pics, but then I am shooting grey paint over grey-molded aircraft:
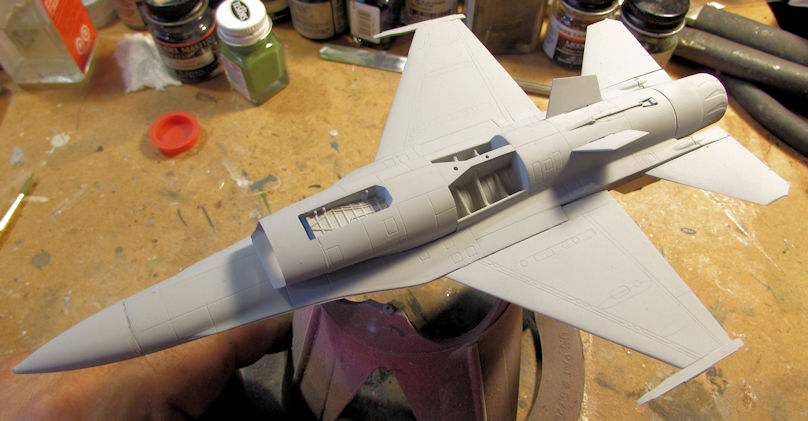
I also later shot the nose with Dark Gull Grey, and when all that was dry, I masked off the bottom and the nose:
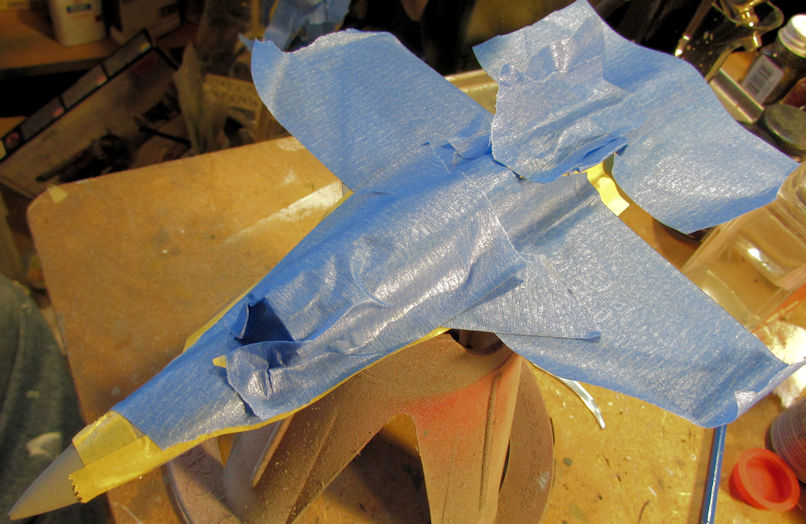
Next came the Dark Ghost Grey on the top and on the tail fin:
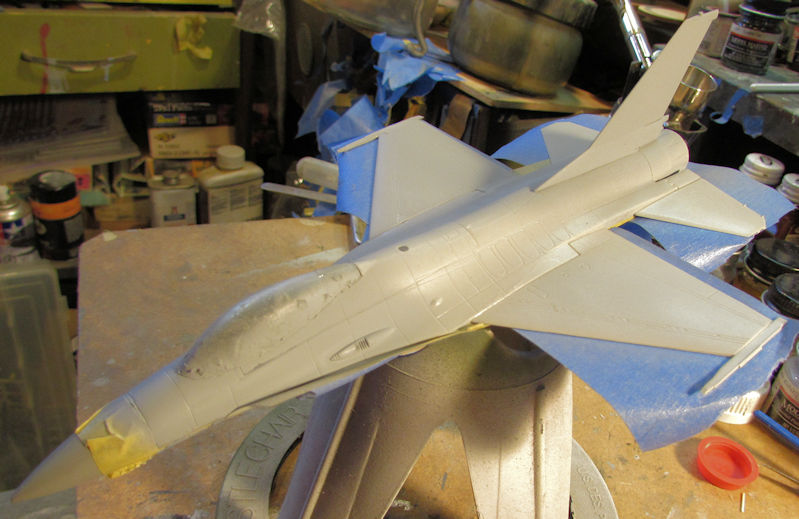
Again, very difficult to see. The Dark Ghost Grey is dull whereas the bare plastic is still shiny.
When that dried, I masked off the tail fin and front part of the upper fuselage:
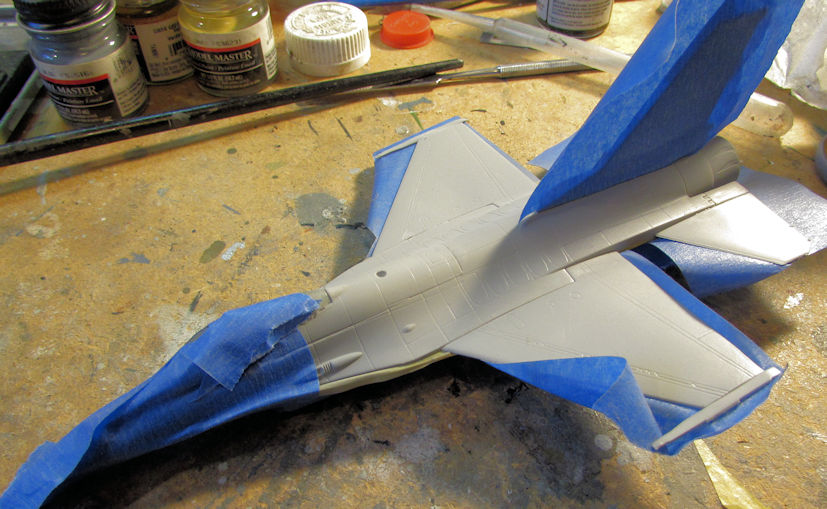
Then came the Gunship Grey over the remaining exposed plastic:
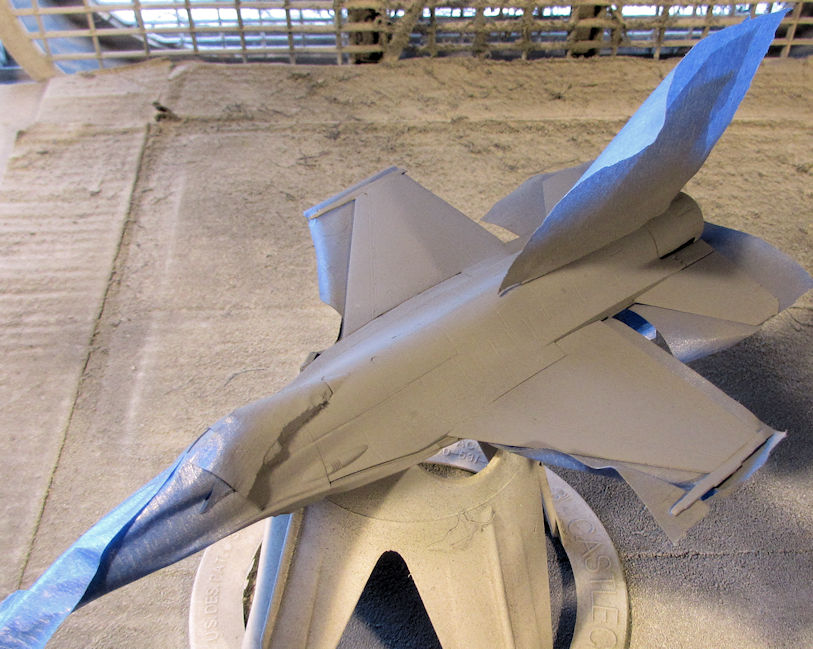
The next morning, I removed all the masking tape. Not bad if I do say so myself:
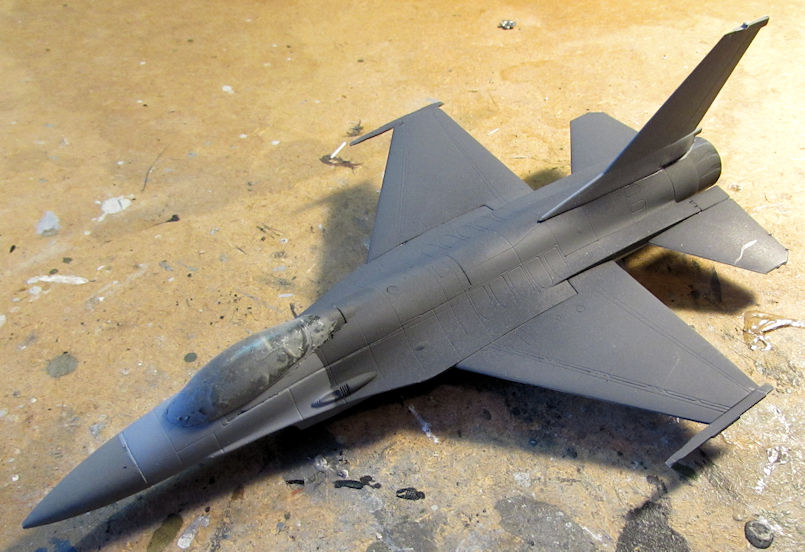
Later on, this got a coat of gloss to prepare it for decals:
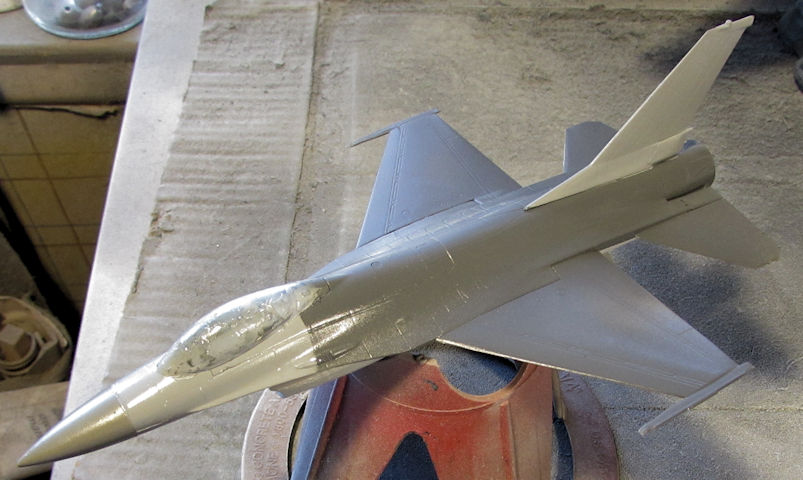
Now, since a couple of the colors were the same as the F-16; I also worked on the Italian Harrier jet alongside the Falcon. First came the canopy masking which was trimmed again after it dried:
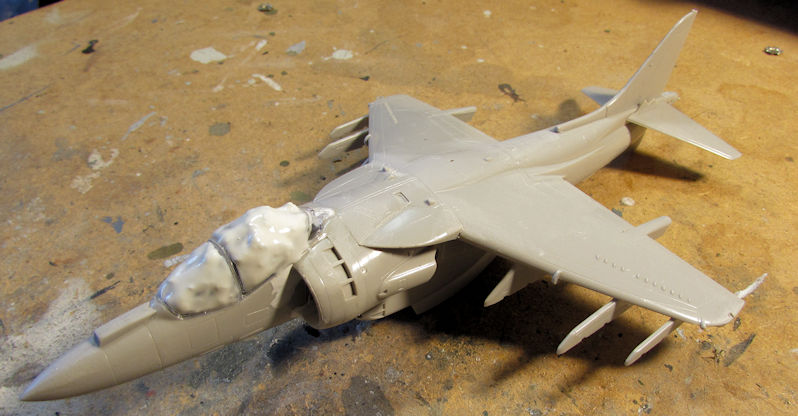
Next came the Light Ghost Grey on the underside. I had shot it right after tyhe Falcon. You'll have to trust me on that given how difficult it is to see.....
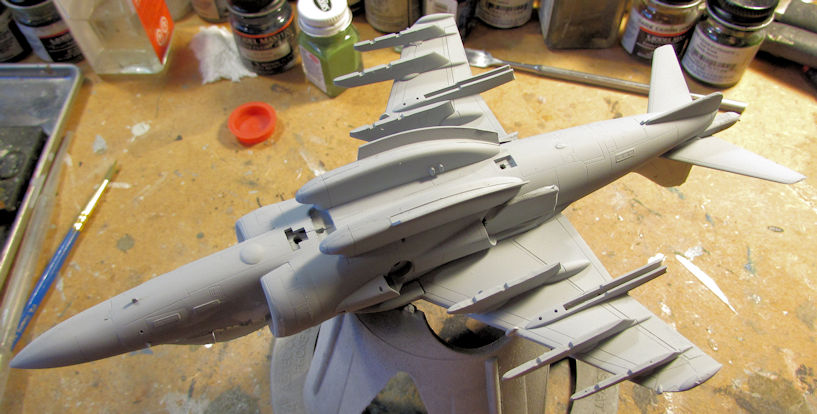
Later came the masking, just like on the Falcon:
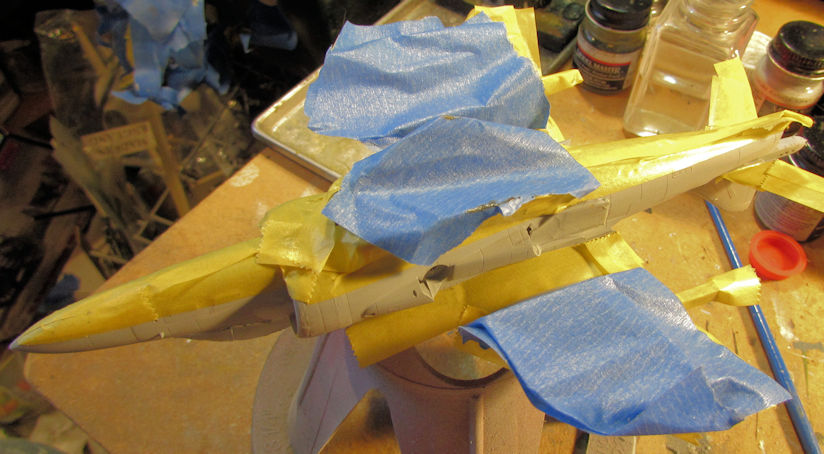
So, when I shot the Falcon with the Dark Ghost Grey, I also shot the topside and sides of this Harrier with the same color:
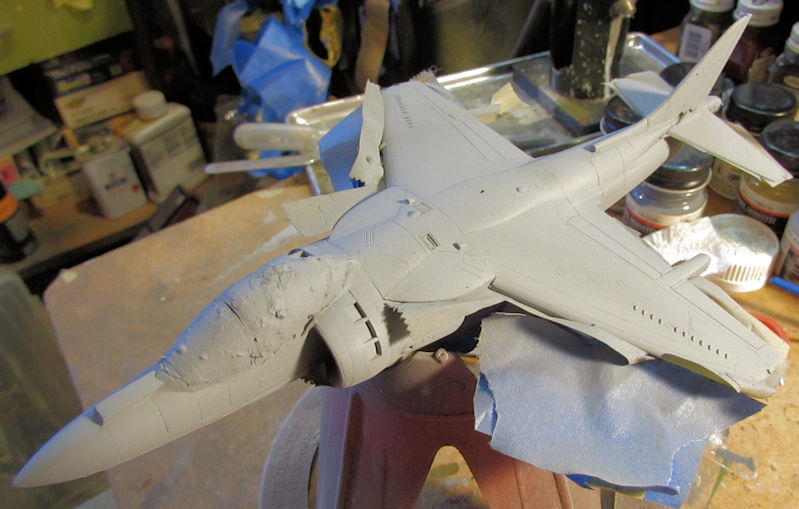
Later, when the masking tape came off the Falcon, I also removed it from this Harrier:
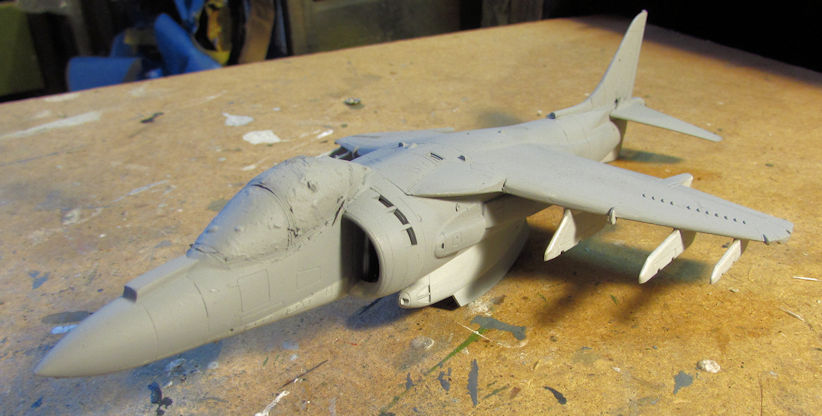
There you can see the two colors on this plane. Finally, I shot a coat of gloss on this in preparation for decals:
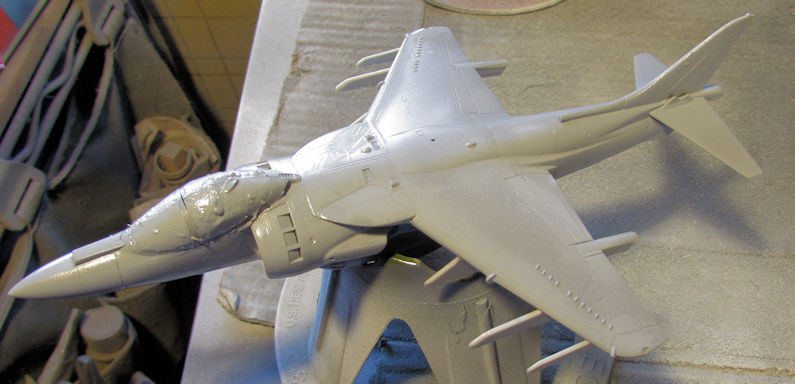
Next up, I added the canopy to the Japanese F-2A:
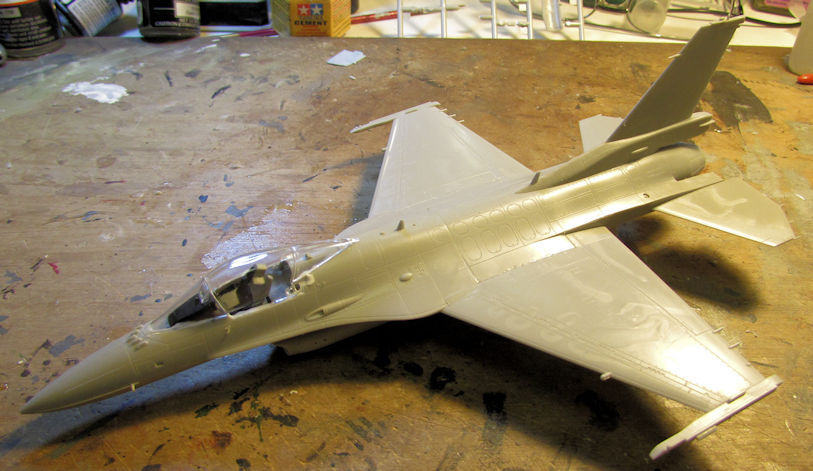
It fit surprisingly well. Naturally, I masked it off at the same time as I masked the Italian jets:
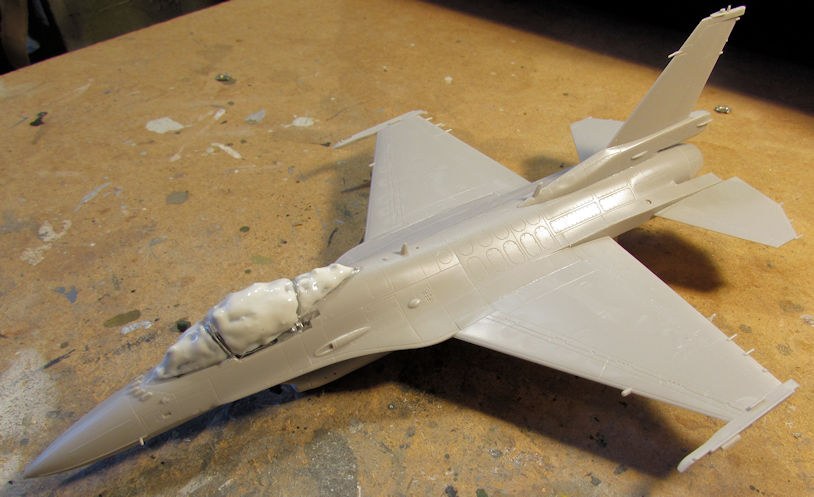
Finally, when it came time to start painting this aircraft, I took a bit of artistic license on this plane. The instructions call for a dark green underneath the aircraft with a Navy Blue topside. Yet, on the box top photograph of the real aircraft; the underside appears to actually be an Intermediate Blue color. It probably was a trick of the light when that pic was taken, but I like the look of the blue on blue scheme better so I shot the underside of this plane with Intermediate Blue:
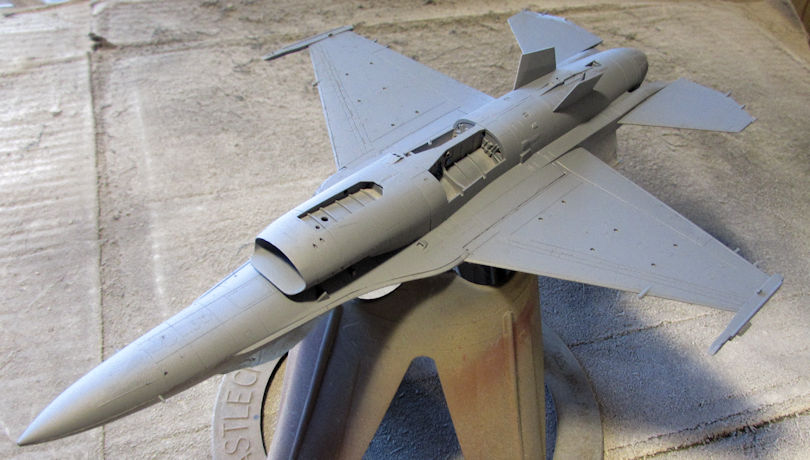
Later I masked off a portion of the underside and the nose (which had already been painted a Dark Gull Grey when I painted the Falcon nose):
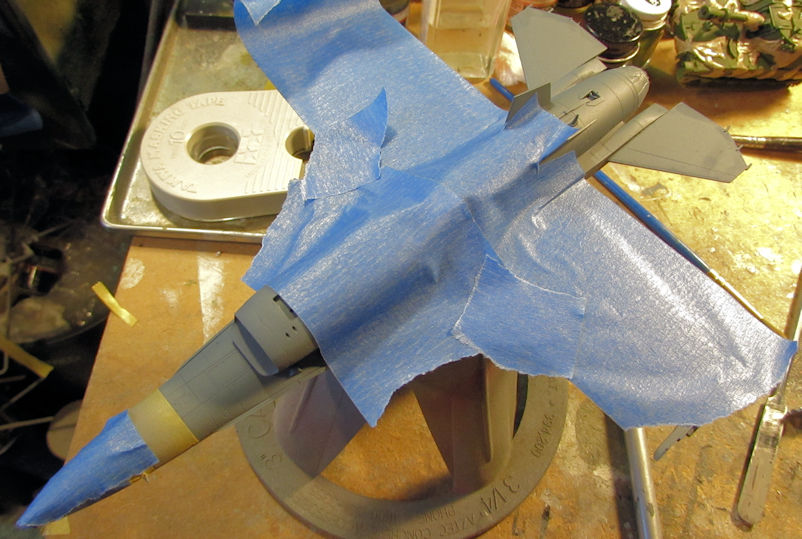
This wasn't masked completely because I will be coming back to the Intermediate Blue later to refine the pattern on the top of the plane. Meanwhile, I shot the Navy Blue color in an oversized pattern in the same splotch pattern indicated on the instructions:
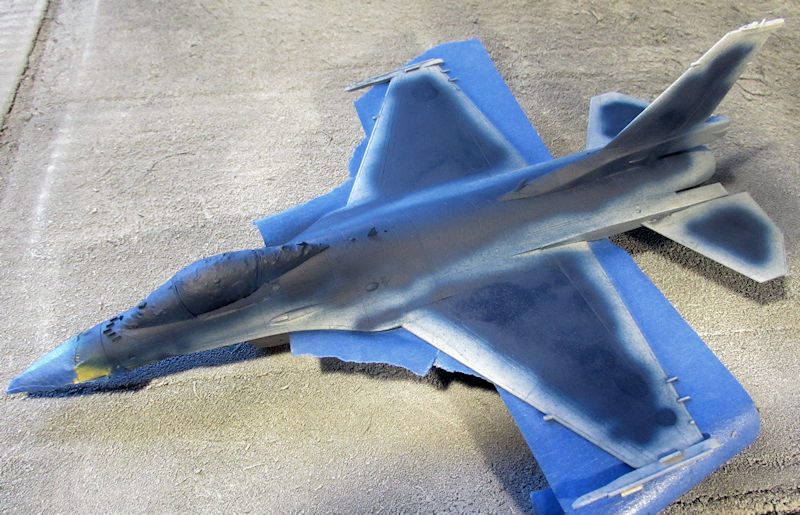
Later on I will be going back over the top, adding the Intermediate Blue to the areas between the Navy Blue splotches with my Sotar fine-tipped airbrush. Right now this is sitting aside waiting till I have time for that.
Well, that is all I have on my aircraft; time to check out my latest armor progress.
First up, I decided to try and progress on my Russian Zil-5 truck. I added the windshield and the side windows to the cab, along with the headlights:
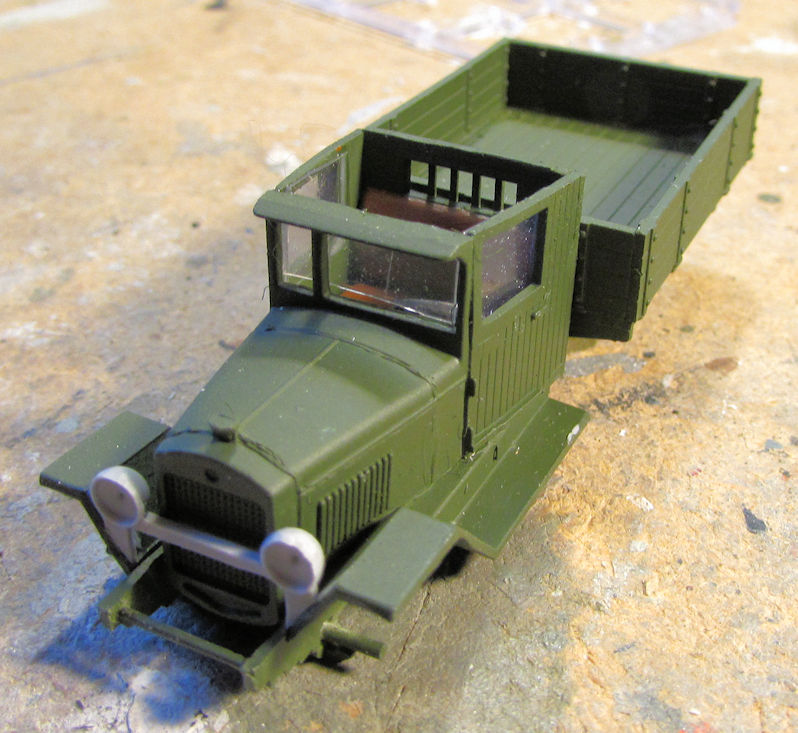
From the looks of things, I didn't cut that front windscreen very well. Time to pull that out and replace it.
Moving on, I was searching through my stash for one box containing the instructions for another model I was working on and I 'stumbled' over this RAF Airfield Service set that I'd already started some time ago. So, it was time to move forward on these trucks. First off I painted the interiors and assembled the cabs. First came the Bedford truck:
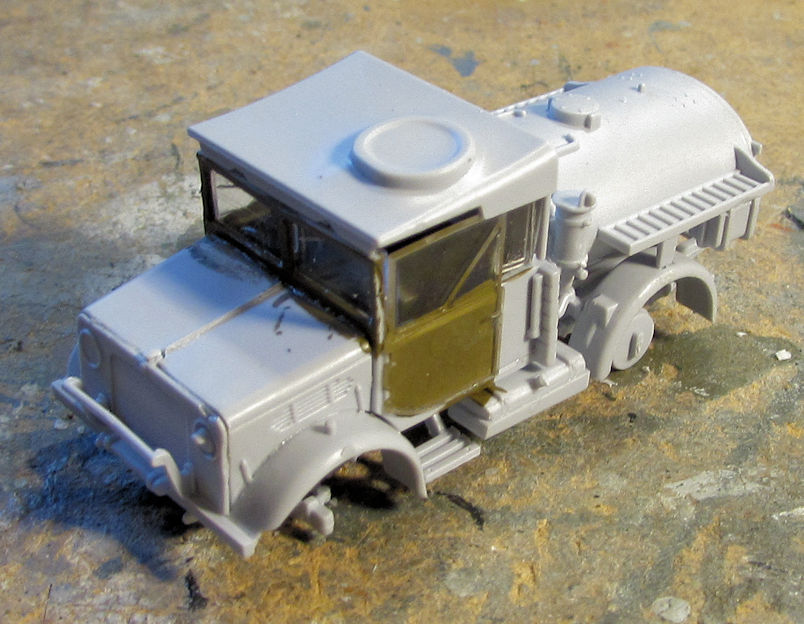
The top is only dry-fit on there. Next came the Tilly:
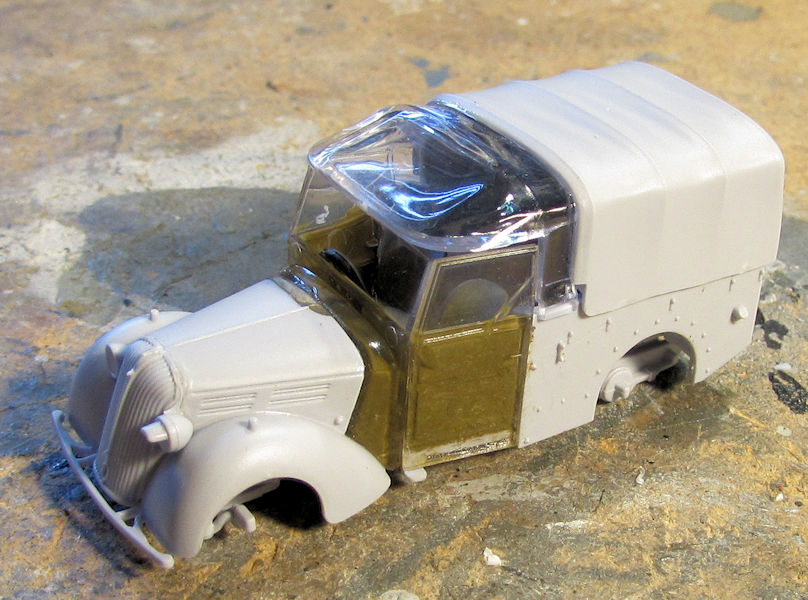
Then, since I made the Bedford into a fuel truck instead of a cargo truck; I had the cargo truck bed parts left over. Just for fun, I assembled the truck bed for the Bedford. Maybe I'll make it into a trailer or something.....
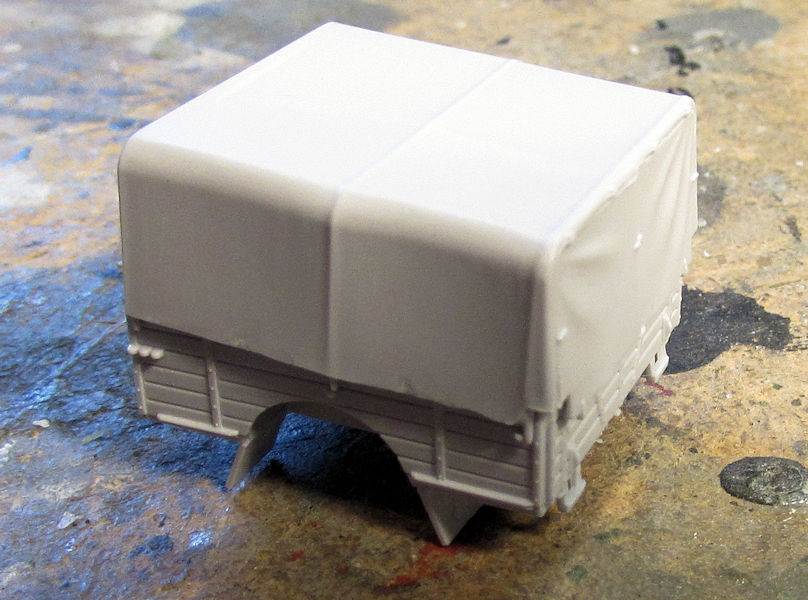
Next I started work on the German MAN truck. I decided to try something different when painting this. I 'assembled' the cab, closing it up with Silly Putty to hold it together:
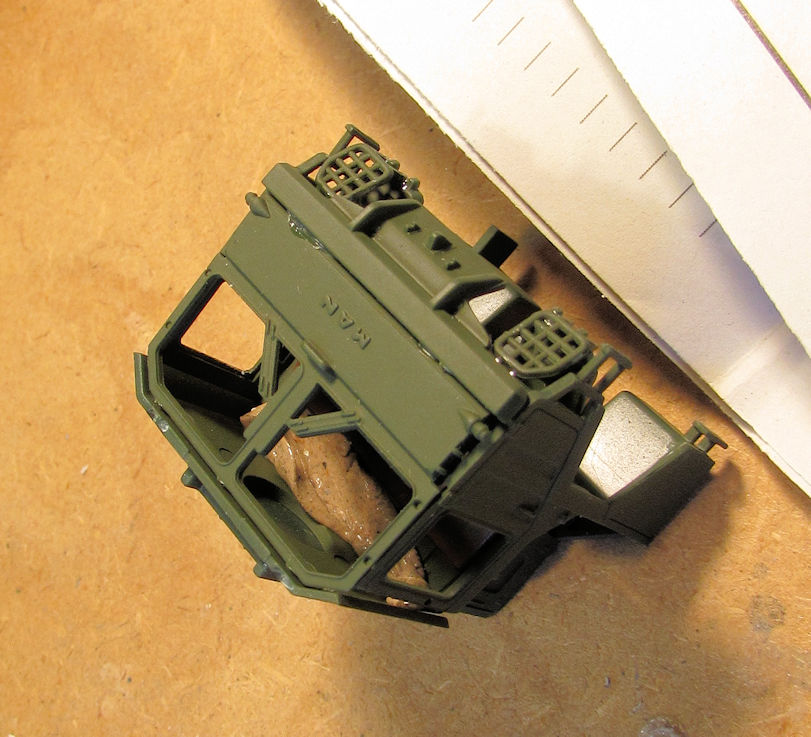
I then added all the remaining bits and bobs underneath the truck bed:
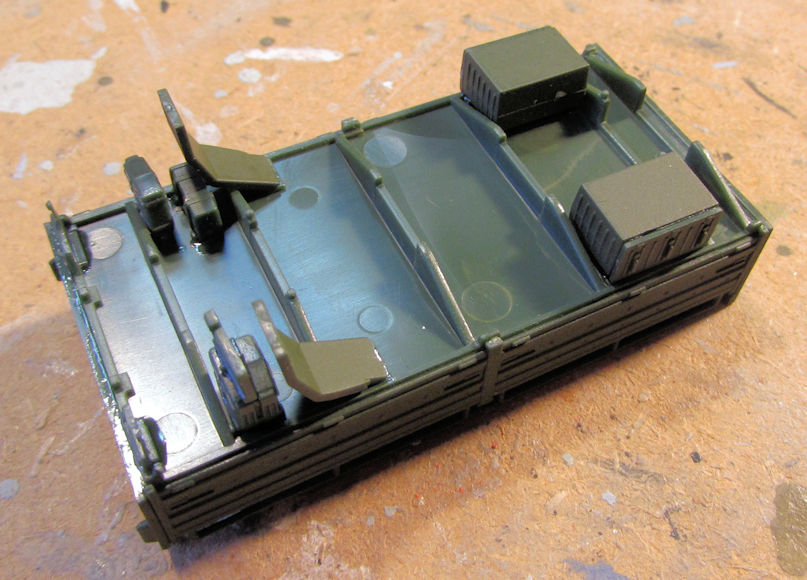
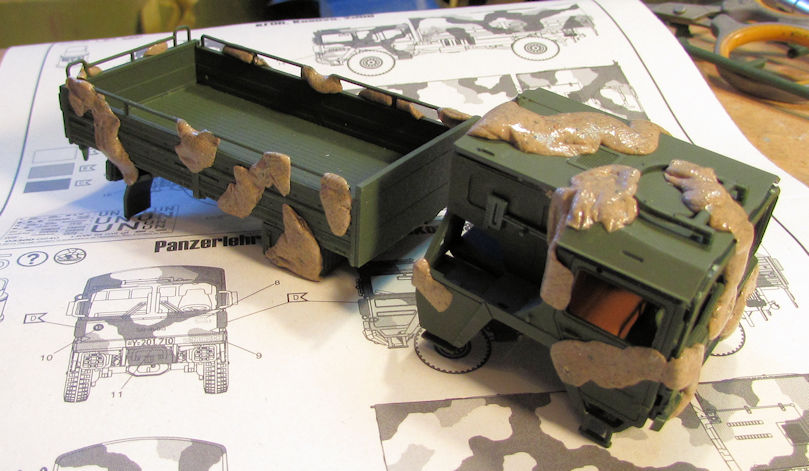
Later, I added more Silly Putty to the cab and bed to cover the green that I wanted to remain green:
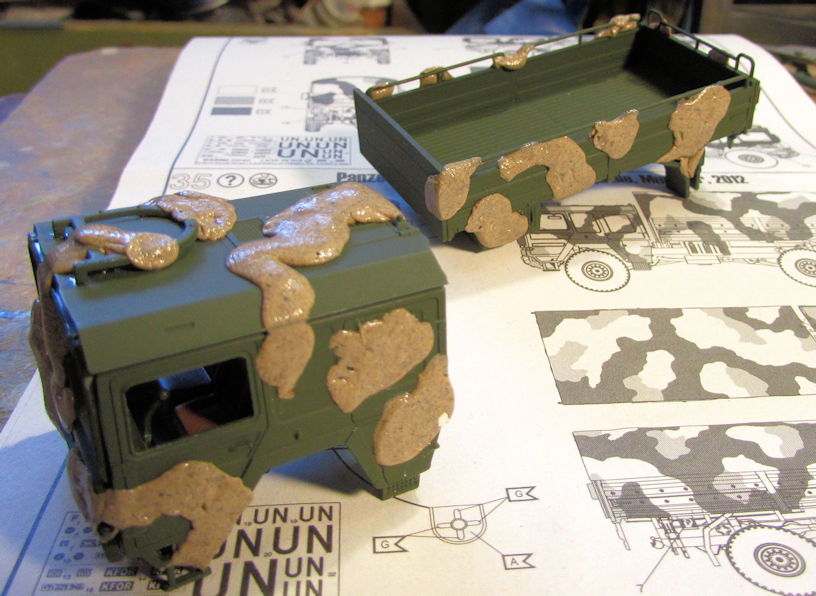
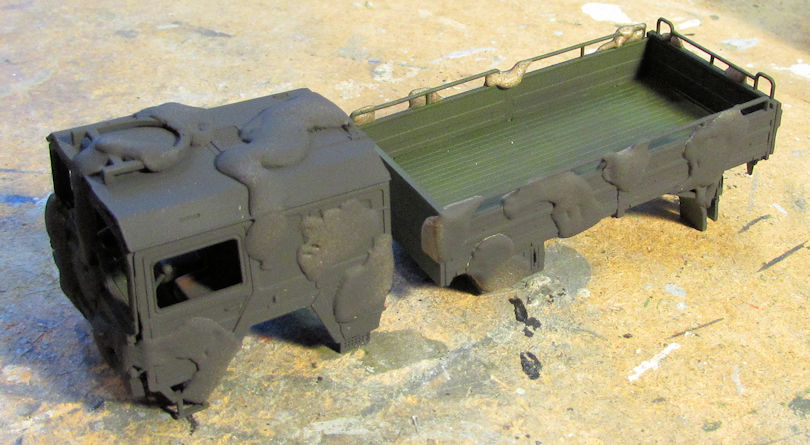
Next I painted the second color, a NATO Black:
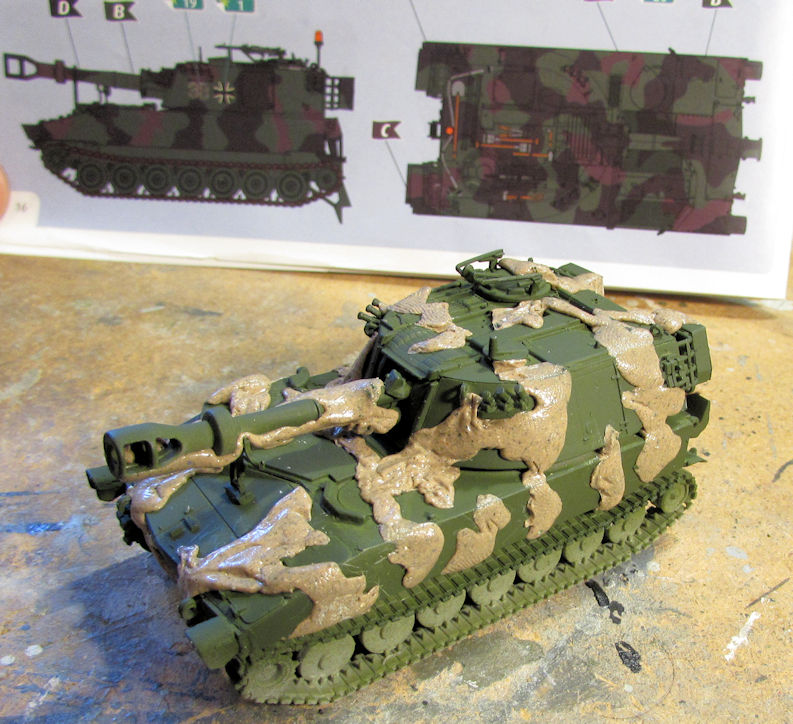
While doing all that, I also masked off the German M-109 Paladin since it shares the same camo colors as the MAN truck:
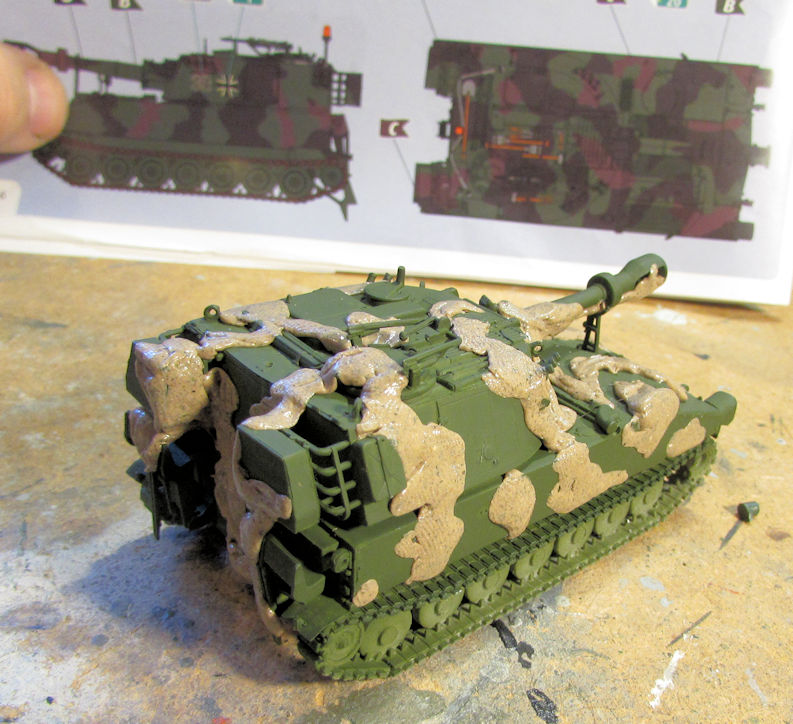
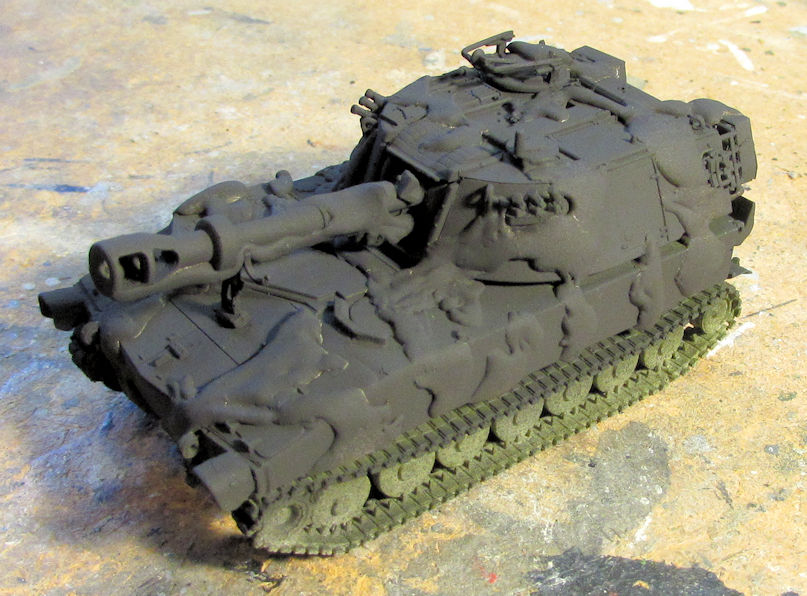
Later on, when I shot the NATO Black on the truck, I also shot this gun:
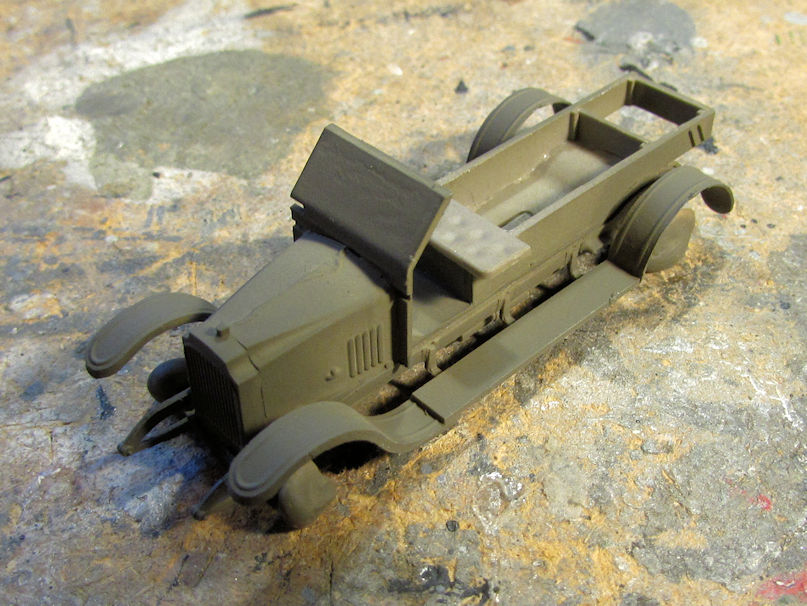
After all this, I wanted to do something simple. I pulled out the Vauxhall ambulance and shot the finders and other sections with the Olive Drab ANA color:
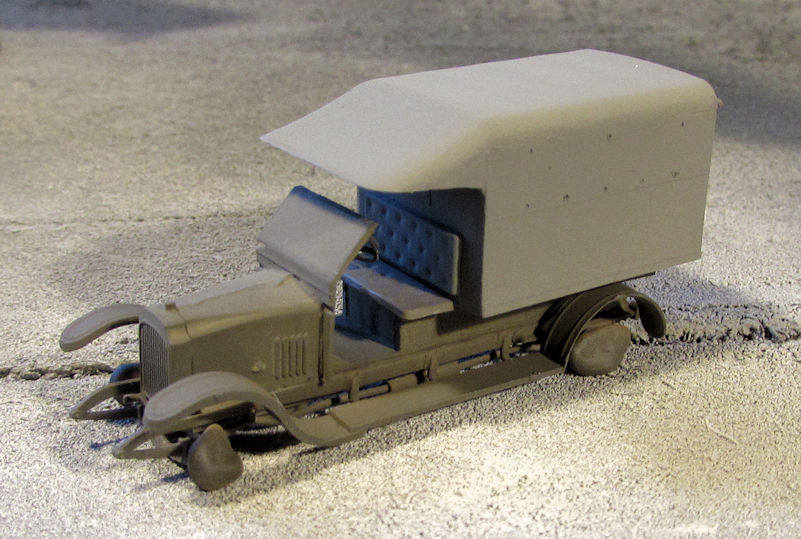
Later I painted the rear area with the 'stone grey' they called for in the instructions. I used Dark Gull Grey, since I had it out to paint the noses of my two aircraft. Here it is dry-fit to the lower part of the ambulance:
Later on, while looking for something else to move forward on; I found my German Br-58 Panzerlok and decided it was time to paint that. I started by painting the underside and wheels. I used an Oily Black on this as a first coat:
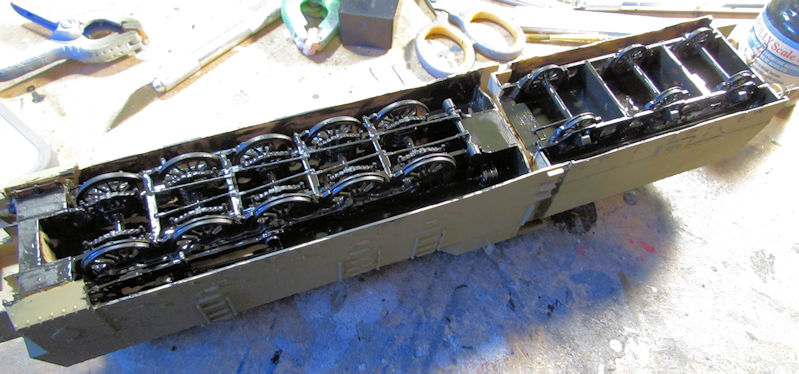
The lights were really washing this out. I then started painting the camouflage pattern on the side. I got this far before the fatigue really set in and I fell asleep:
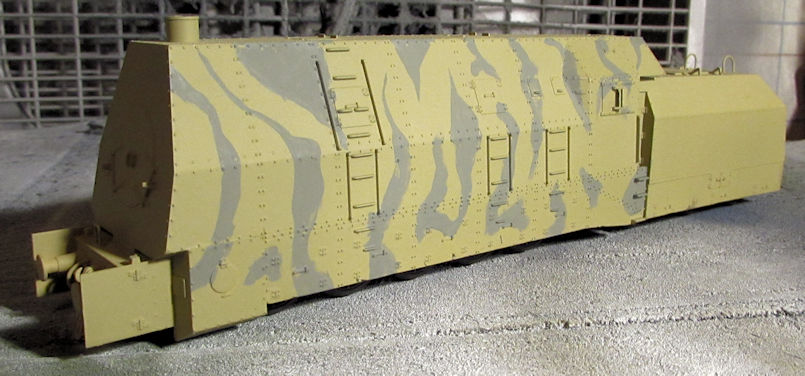
That pic was taken the following day.....
Okay, that completes the depiction of my marathon efforts on my hobby bench these past three or four days. I apologize for the lengthy post, but I'm thrilled to have gotten this much done.
Thanks all for looking in, comments are welcome.
Well after only three days during which I was left alone during my recuperation; I was able to get a lot of progress done on a number of models. Warning: This is a long update so please have patience with me.
Starting once again with my aircraft, I was finally satisfied enough with the white on my Boeing that I shot a coat of gloss on it:
Now I just need to find the decals for this plane and get them added.
Next I decided to paint a base green color on the Australian HAP Tigre:
Later I will mask that and shoot the second camo color on it.
Moving on, I got a lot of progress on three of my jets. Two of them are the Italian jets I've been doing. Before I show them, I'll post some comparison pictures between the Italian F-16 and the Japanese F-2A so everyone can see the slight differences overall between the two aircraft:
The Italian F-16 is on the left, the Japanese F-2A is on the right. Plan view above.
Profile view:
Upper angle view:
Okay, now that I got that done; here is my latest progress on the Italian F-16...
First I masked off the canopy which was later trimmed down when it was dry:
Once that was done, I shot the underside with Light Ghost Grey. It is tough to see in these pics, but then I am shooting grey paint over grey-molded aircraft:
I also later shot the nose with Dark Gull Grey, and when all that was dry, I masked off the bottom and the nose:
Next came the Dark Ghost Grey on the top and on the tail fin:
Again, very difficult to see. The Dark Ghost Grey is dull whereas the bare plastic is still shiny.
When that dried, I masked off the tail fin and front part of the upper fuselage:
Then came the Gunship Grey over the remaining exposed plastic:
The next morning, I removed all the masking tape. Not bad if I do say so myself:
Later on, this got a coat of gloss to prepare it for decals:
Now, since a couple of the colors were the same as the F-16; I also worked on the Italian Harrier jet alongside the Falcon. First came the canopy masking which was trimmed again after it dried:
Next came the Light Ghost Grey on the underside. I had shot it right after tyhe Falcon. You'll have to trust me on that given how difficult it is to see.....
Later came the masking, just like on the Falcon:
So, when I shot the Falcon with the Dark Ghost Grey, I also shot the topside and sides of this Harrier with the same color:
Later, when the masking tape came off the Falcon, I also removed it from this Harrier:
There you can see the two colors on this plane. Finally, I shot a coat of gloss on this in preparation for decals:
Next up, I added the canopy to the Japanese F-2A:
It fit surprisingly well. Naturally, I masked it off at the same time as I masked the Italian jets:
Finally, when it came time to start painting this aircraft, I took a bit of artistic license on this plane. The instructions call for a dark green underneath the aircraft with a Navy Blue topside. Yet, on the box top photograph of the real aircraft; the underside appears to actually be an Intermediate Blue color. It probably was a trick of the light when that pic was taken, but I like the look of the blue on blue scheme better so I shot the underside of this plane with Intermediate Blue:
Later I masked off a portion of the underside and the nose (which had already been painted a Dark Gull Grey when I painted the Falcon nose):
This wasn't masked completely because I will be coming back to the Intermediate Blue later to refine the pattern on the top of the plane. Meanwhile, I shot the Navy Blue color in an oversized pattern in the same splotch pattern indicated on the instructions:
Later on I will be going back over the top, adding the Intermediate Blue to the areas between the Navy Blue splotches with my Sotar fine-tipped airbrush. Right now this is sitting aside waiting till I have time for that.
Well, that is all I have on my aircraft; time to check out my latest armor progress.
First up, I decided to try and progress on my Russian Zil-5 truck. I added the windshield and the side windows to the cab, along with the headlights:
From the looks of things, I didn't cut that front windscreen very well. Time to pull that out and replace it.
Moving on, I was searching through my stash for one box containing the instructions for another model I was working on and I 'stumbled' over this RAF Airfield Service set that I'd already started some time ago. So, it was time to move forward on these trucks. First off I painted the interiors and assembled the cabs. First came the Bedford truck:
The top is only dry-fit on there. Next came the Tilly:
Then, since I made the Bedford into a fuel truck instead of a cargo truck; I had the cargo truck bed parts left over. Just for fun, I assembled the truck bed for the Bedford. Maybe I'll make it into a trailer or something.....
Next I started work on the German MAN truck. I decided to try something different when painting this. I 'assembled' the cab, closing it up with Silly Putty to hold it together:
I then added all the remaining bits and bobs underneath the truck bed:
Later, I added more Silly Putty to the cab and bed to cover the green that I wanted to remain green:
Next I painted the second color, a NATO Black:
While doing all that, I also masked off the German M-109 Paladin since it shares the same camo colors as the MAN truck:
Later on, when I shot the NATO Black on the truck, I also shot this gun:
After all this, I wanted to do something simple. I pulled out the Vauxhall ambulance and shot the finders and other sections with the Olive Drab ANA color:
Later I painted the rear area with the 'stone grey' they called for in the instructions. I used Dark Gull Grey, since I had it out to paint the noses of my two aircraft. Here it is dry-fit to the lower part of the ambulance:
Later on, while looking for something else to move forward on; I found my German Br-58 Panzerlok and decided it was time to paint that. I started by painting the underside and wheels. I used an Oily Black on this as a first coat:
The lights were really washing this out. I then started painting the camouflage pattern on the side. I got this far before the fatigue really set in and I fell asleep:
That pic was taken the following day.....
Okay, that completes the depiction of my marathon efforts on my hobby bench these past three or four days. I apologize for the lengthy post, but I'm thrilled to have gotten this much done.
Thanks all for looking in, comments are welcome.

