Page 11 of 18
Re: MENG 1/35 Sd.kfz. 173 Jagdpanther
Posted: Fri Jan 11, 2019 4:16 pm
by KSaarni
LyleW wrote:You left it outside? Man, that looks good.
Hehh, thanks... And I think the roof in the Jagdpanther is leaking...

- Kari
Re: MENG 1/35 Sd.kfz. 173 Jagdpanther
Posted: Fri Jan 11, 2019 4:58 pm
by speedgraflex
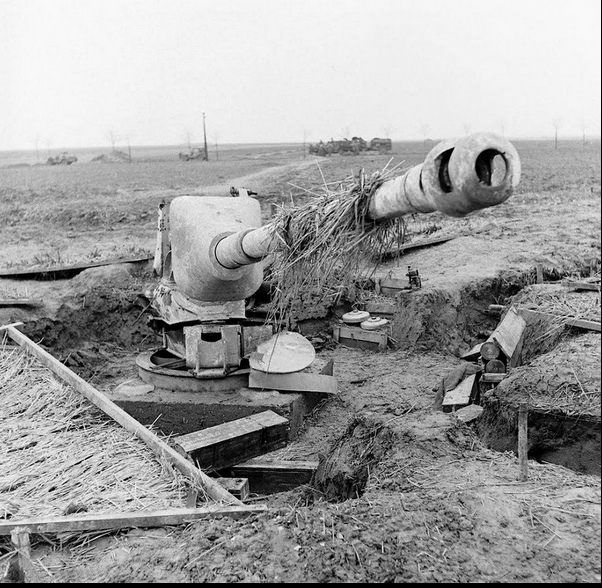
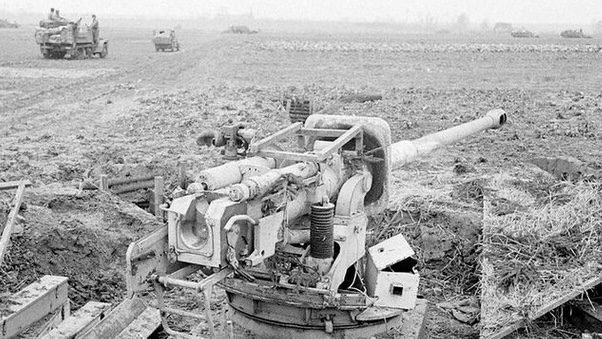
Brilliant weathering, Kari. Do these two images help you in any way?
Re: MENG 1/35 Sd.kfz. 173 Jagdpanther
Posted: Fri Jan 11, 2019 5:23 pm
by KSaarni
Thanks Bruce, I have also seen these two fantastic pictures before...
... and cannot stop wondering, how desperate can this be.. To put a 88 gun from a tank into a pit in the ground, without really any protection what so ever... And then believe you can do something about the situation...

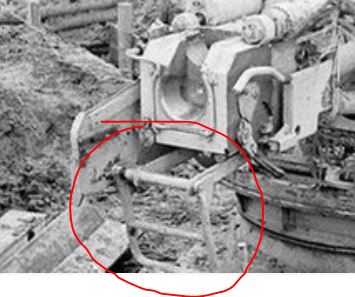
The second pic is actually great, especially this detail.... That this part can be turned downwards...
- Kari
Re: MENG 1/35 Sd.kfz. 173 Jagdpanther
Posted: Fri Jan 11, 2019 5:30 pm
by speedgraflex
Of course you have seen these, my apologies. When Lyle mentioned outside I wondered if these mighty guns were used in other ways....
p.s. There was a body in the long shot below the breech. I cropped the form out, with respect.
Re: MENG 1/35 Sd.kfz. 173 Jagdpanther
Posted: Fri Jan 11, 2019 9:38 pm
by BlackSheep214
Re: MENG 1/35 Sd.kfz. 173 Jagdpanther
Posted: Sat Jan 12, 2019 3:47 am
by KSaarni
OK, work with the axe...
My first though, was to follow Bruces advice to scratchbuild it.. But then I remembered my Sd.Kfz. 251/1 and "borrowed" the axe from that project. As I definitely will finish the Jagdpanther before the Hanomag, I will have time to solve, or who knows, find the missing axe.
There was only one small problem, the axe in Hanomag the blade is "hanging" downwards, but in Jagdpanther upwards.
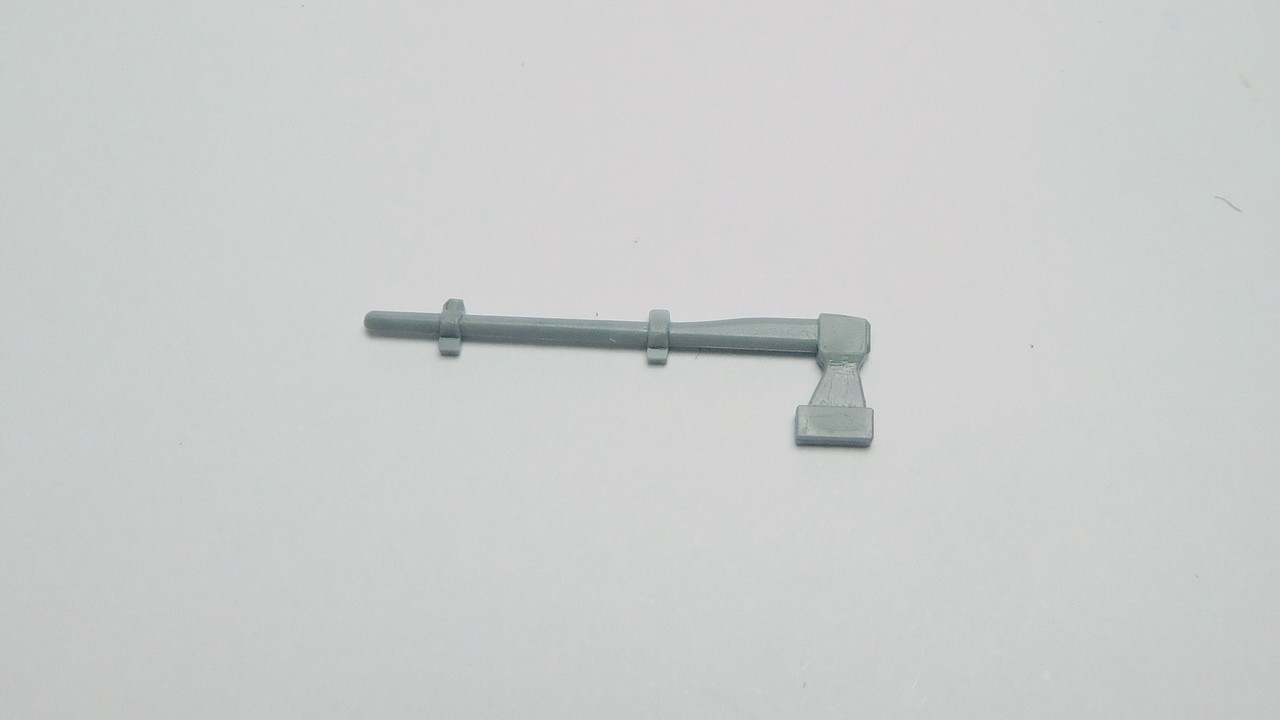
So some surgery had to be carried out, to "turn" the blade upwards. Fortunately the blade was as detailed on both sides, meaning there was no need for any corrections!
Best place to saw it was just before one of the fixings.. Some sanding and
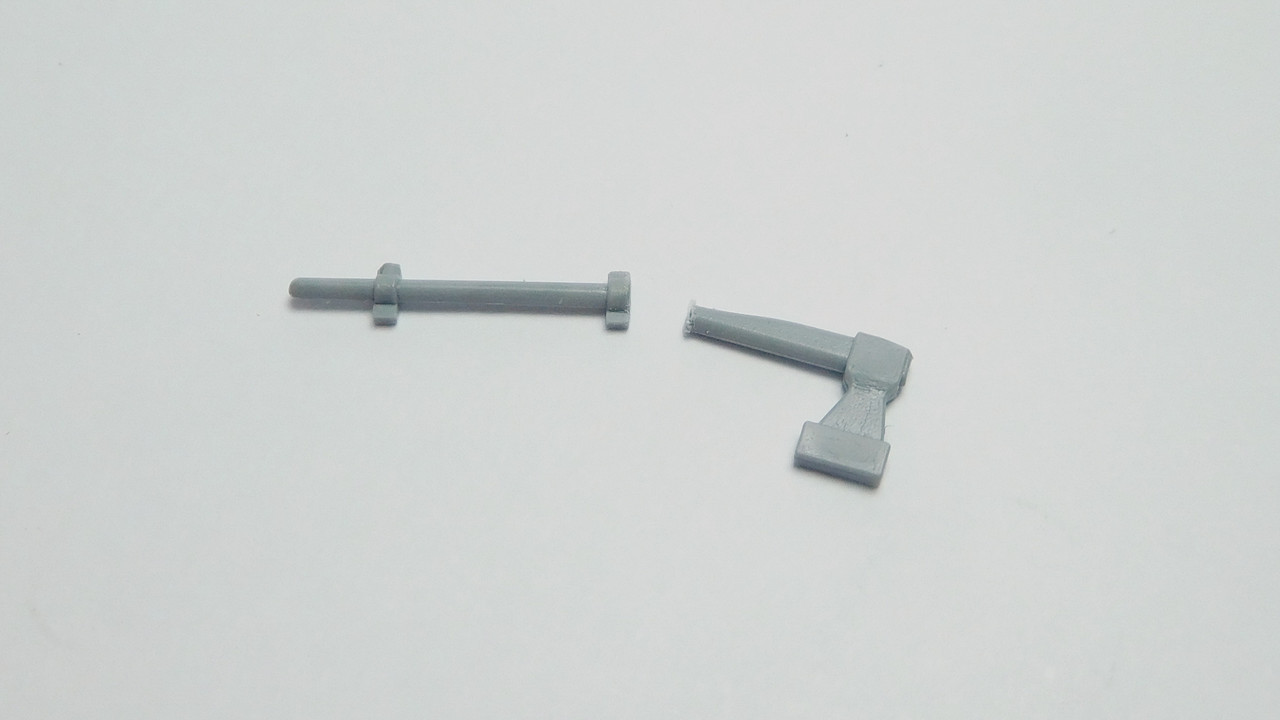
And then a drop of Tamiya Extra Thin Quick setting to re-attach the pieces..
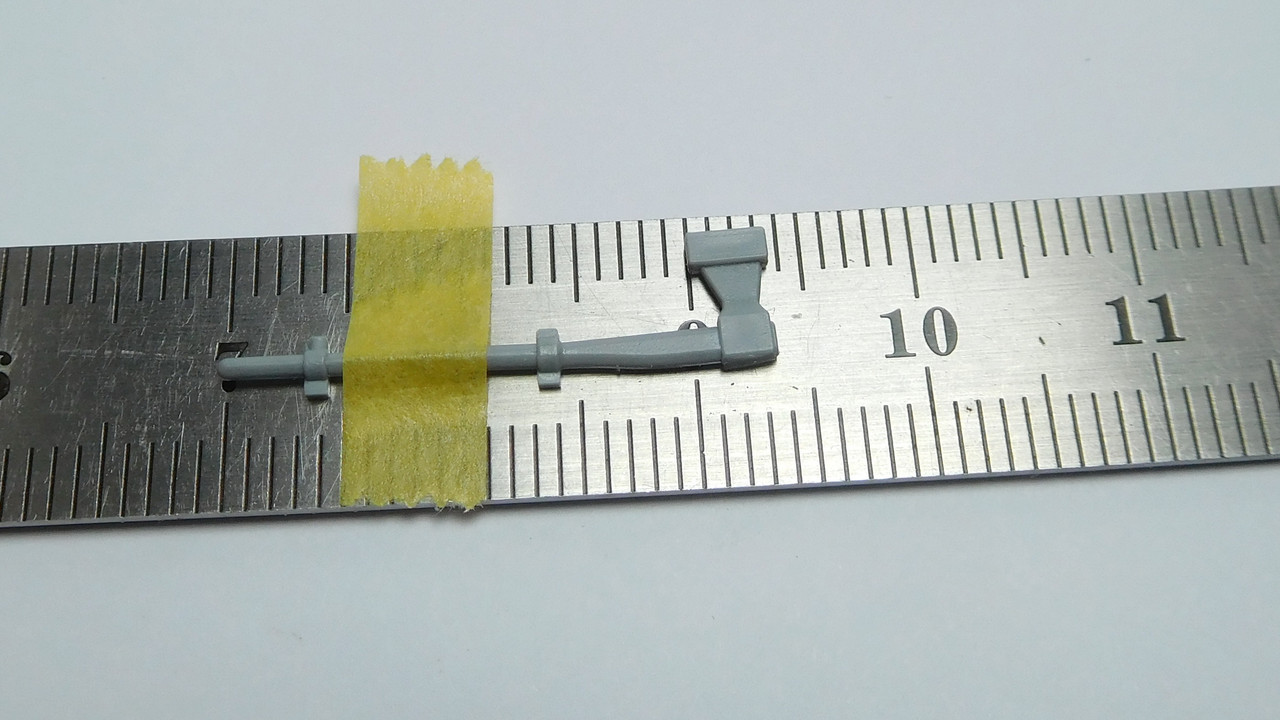
After the joint was secured, painting could start.. Again, those fixings color aligns the camo of the tank
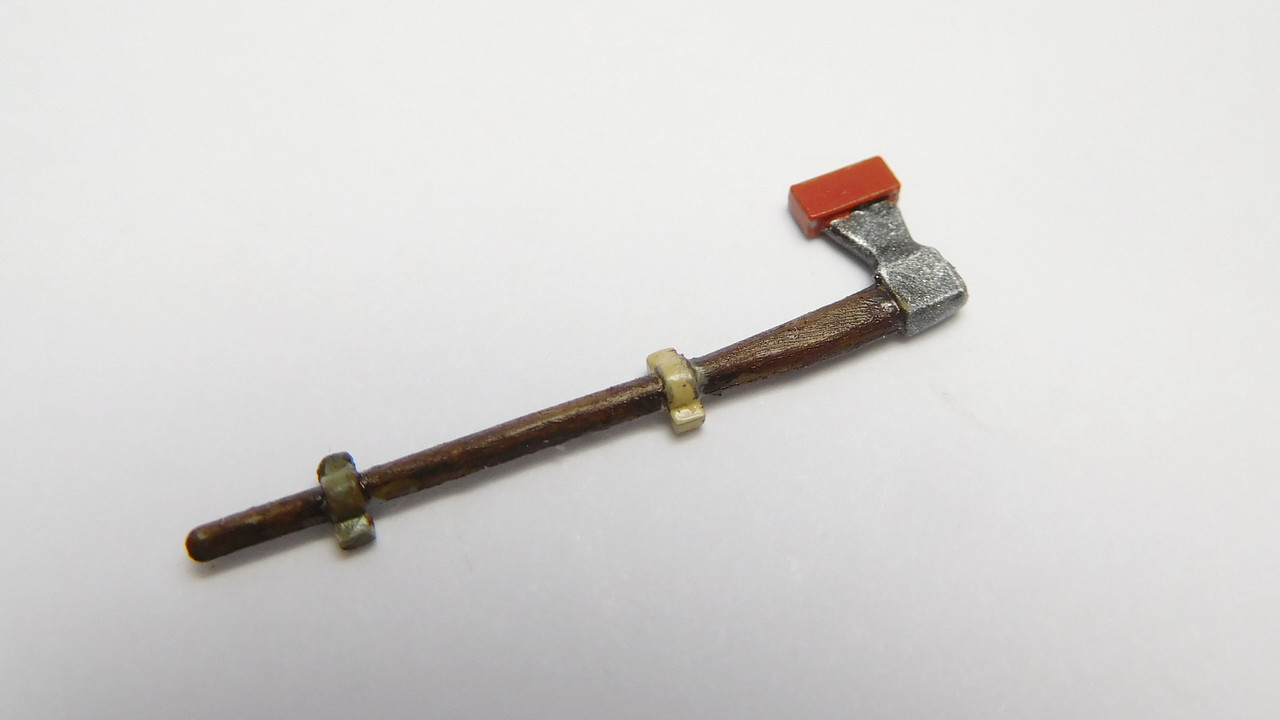
I find the combination of Tamiyas Gun Metal X-10 and Tamiyas Silver X-11 (though drybrushed) as a pretty good simple combination to present this kind of metal tools in a pretty correct way.
- Kari
Re: MENG 1/35 Sd.kfz. 173 Jagdpanther
Posted: Sat Jan 12, 2019 4:14 am
by speedgraflex
Kari, What a simple and pure modification! A fantastic idea, too! Thank you so much for the steps in your process. I was organizing my small "Art Box" of Humbrol, Testors, Mig Ammo, Tru-Color and yes I found two jars of Tamiya paint! One is gun metal and the other is silver, so it was nice to visit with these 'Old Friends" again... but even nicer to see your work with these colors! You take them to a very high level, Kari! Congratulations on your solution.
It's raining... I love Los Angeles when it rains!
Re: MENG 1/35 Sd.kfz. 173 Jagdpanther
Posted: Sat Jan 12, 2019 7:58 am
by Stikpusher
I’m surprised that you can dry brush Tamiya paints. That takes practice! Nice fix on the axe!
What colors and steps did you use for the wood? It looks fantastic!
Re: MENG 1/35 Sd.kfz. 173 Jagdpanther
Posted: Sat Jan 12, 2019 8:27 am
by KSaarni
Thank you Bruce and Carlos!
Yes, with Tamiyas acrylics dry brushing goes well, not sure if with Tamiyas enamels ?
I added first layer of khaki color (again Tamiya, XF-40). Then after the color had dried (1-2 minutes), I added a quite thick layer of Burnt umber oil paint.
After roughly 30 minutes "curing" time, I carefully, with a quite hard brush, brushed the excess away, all the time pulling the brush in same direction. It caused micro "scratches" that imitates quite nicely those typical wooden patterns.
- Kari
Re: MENG 1/35 Sd.kfz. 173 Jagdpanther
Posted: Sat Jan 12, 2019 8:35 am
by Stikpusher

I have never had much luck drybrushing any acrylics, especially Tamiya. They just dry too fast on the brush. Now enamels on the other hand...

